How to Transfer Images to Wood Using Wax Paper and a Spoon
It’s not as hard as you might think to transfer images to wood.
Don’t you love all the beautiful signs and projects you see around the internet these days? Cute signs above coffee stations, used to add interest to gallery walls, and given as gifts at baby showers.
There’s really no end to the types of things that can be turned into beautiful art projects when you have the skills to do so! And the skills are not as out-of-reach as they may seem!
A couple of other processes I have used before to transfer images to wood are
- Decoupage – or more commonly known as mod podge – like this sign I made of Joshua 24:15 that hangs in our fireside room.
- Stenciling – the best example of which I have is actually for a chalk board project I did – but the idea works the same for wood! Stenciling is great for pulling even small details through!
Today, though I’m going to be talking about one of the most simple processes that can be done easily with items you probably already have at home!
I actually tried a different version of this process using goo gone a little while ago and wasn’t happy with the results, but was resolved to try again.
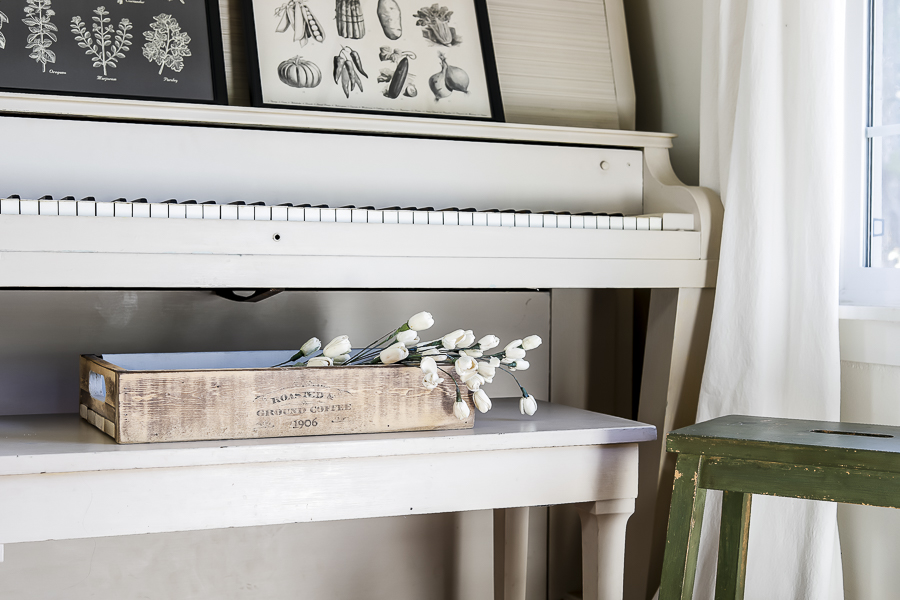
This time with a really cute handmade wooden crate I received from Kilz and one of the Magnolia makers in Waco, Tx. I was really excited about using this trick to add a vintage crate label to make this crate more at home in my decor.
Before I started, however, I wanted to age the crate and add even more overall vintage flair. In order to do this, I used a product from Krylon to distress the wood. It actually didn’t end up looking how I had planned, so I sanded down the outside portions to make them more my liking! (Isn’t that just the way DIY projects go sometimes?)
The inside was too hard to get to with my hand sander, so I chose to paint the inside a beautiful light grey to match some of the furniture pieces in our master bedroom – namely my husband’s upcycled armoire, and our bi-fold closet doors.
I’ve mentioned this “Paris Flea Market” paint from the Maker’s Studio Amy Howard line before, but I’ll mention it again because it smells so amazing! That’s not something you typically hear when someone is recommending a paint product – but Amy adds vanilla scent to her paints, and it is wonderful.
Once I had my crate and it was ready to go, I followed this really simple process using things I often have laying around the house!
Here are the supplies that you’ll need to transfer images to wood:
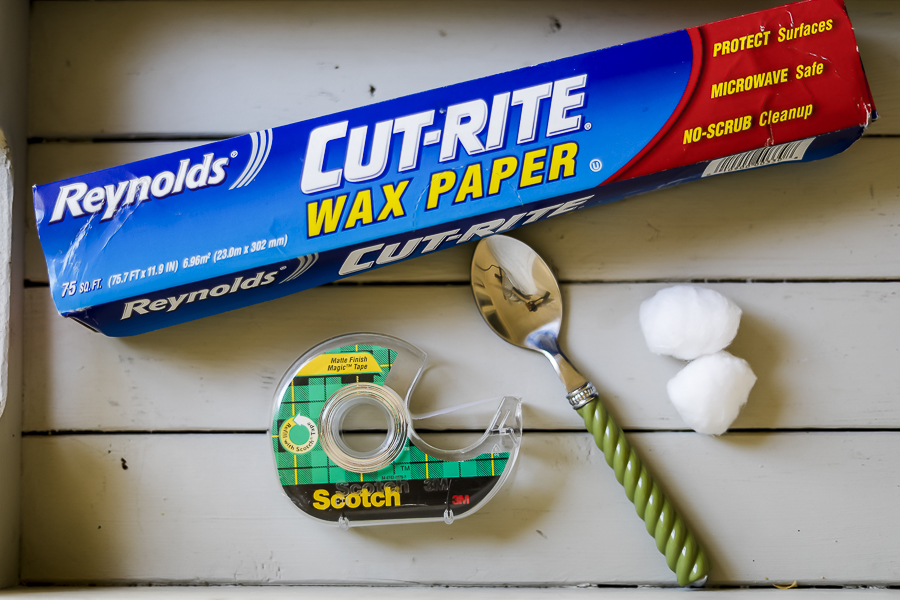
*This post contains affiliate links to products I know &/or love.
- Your wooden item. (Sanded down to remove excess texture. This should help the transfer “take” better than if it is raw and has too much character.)
- Wax paper or parchment paper
- A metal spoon
- Tape
- Inkjet printer (This is important! A laser jet printer will most likely print too hot and will melt the wax paper, ruining the transfer – and possibly your printer as well. Don’t risk it!)
- Scissors or paper cutter
- Damp cotton balls or rag
- Your design – printed in reverse.
That last item there deserves a better explanation! While literally any image can work, if you’re looking for something specific, you can search free printables on Pinterest, or resources like the Graphics Fairy for beautiful vintage style designs.
If you aren’t able to find exactly what you’re looking for, you can also design your own image using Canva or other similar design programs. I use canva for a lot of items here on the blog and for other events and projects! It’s pretty intuitive, and I’ve been able to get all I need done with the free service – though there is an upgrade available.
Please also pay special attention to where it says “printed in reverse”. Because this design will be transferred from your wax paper to your item, you want it printed in reverse so that it will be correct once transferred! Most printers have this capability, or the design software you use should had an option to reverse the image as well.
The steps:
- Cut your wax paper to fit the standard size letter paper from your printer. Make sure not to leave any jagged edges that could get snagged.
- Load it into your printer – doesn’t matter which side is up – & print your reversed image in your desired size. Be careful to let it dry once it comes out of the printer so you don’t smudge it – like freshly painted fingernails… oh the heart ache!
- Trim the image down to size (with small margins around the edges) to make it easier to work with once it’s printed.
- Dampen the area that your transfer is going to be placed – lightly! If it’s not wet, the transfer won’t take, but if it’s too soggy, the ink will run and smudge!
- Lay your printed image down as still as possible and keep it pressed into place while you tape a few edges onto your item.
- Then you just rub the wax paper over the transfer with the back of the spoon until it ends up on the wood! You’ll be able to see areas darken as the ink transfers over to the wood. I suggest rubbing over each area for about 10 seconds before moving on.
- If the transfer doesn’t seem to be taking to the wood in any specific areas, you can lightly wet it down again and carefully replace the transfer to try those areas again.
- Once you’re happy with the look of the transfer, remove the wax paper and tape and let it dry!
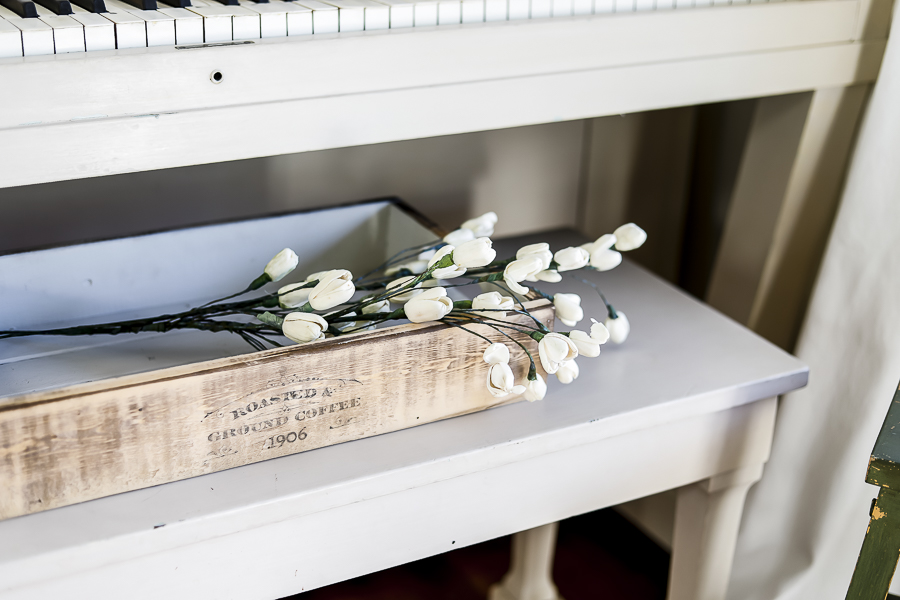
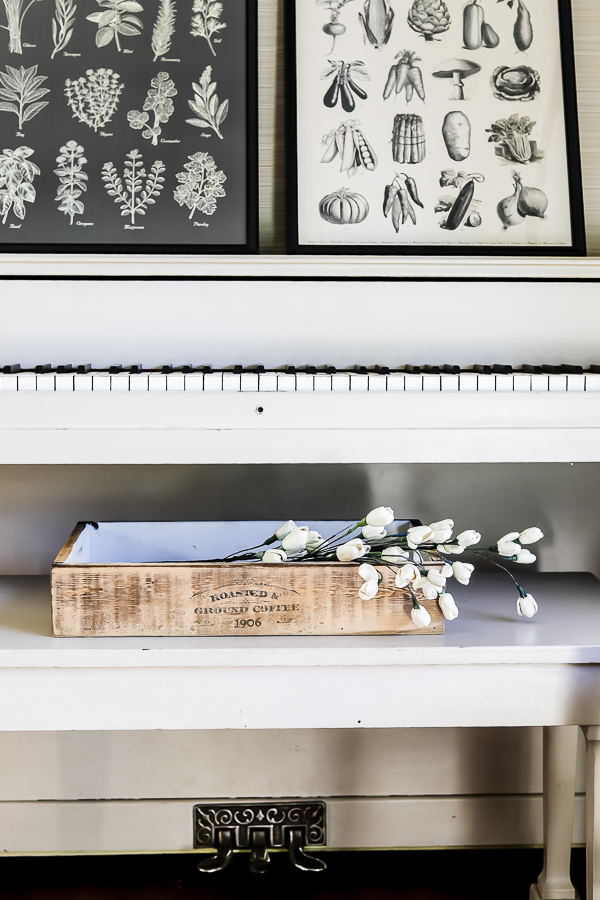
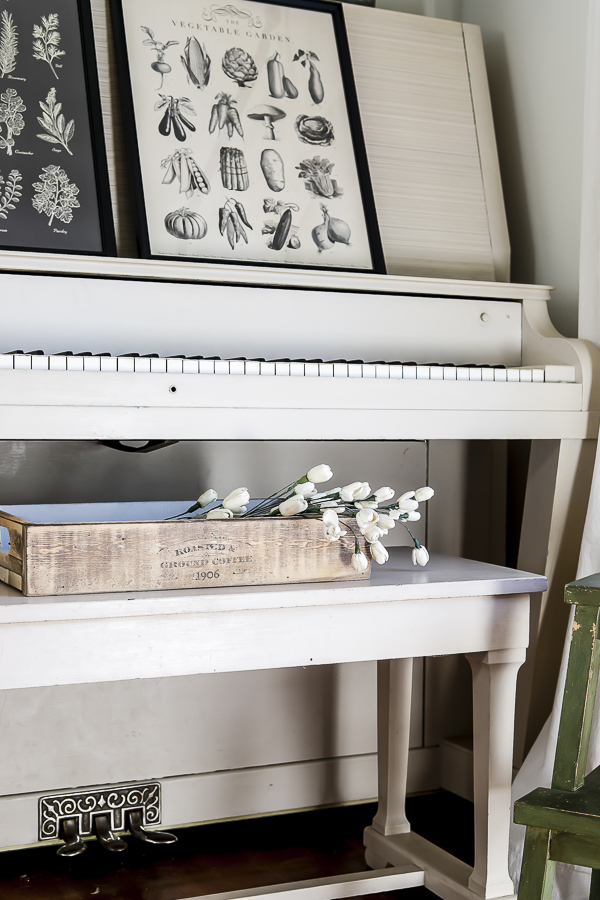
Viola! You’re done!
When you’re finished you should have a project that any DIY’er would be proud of.
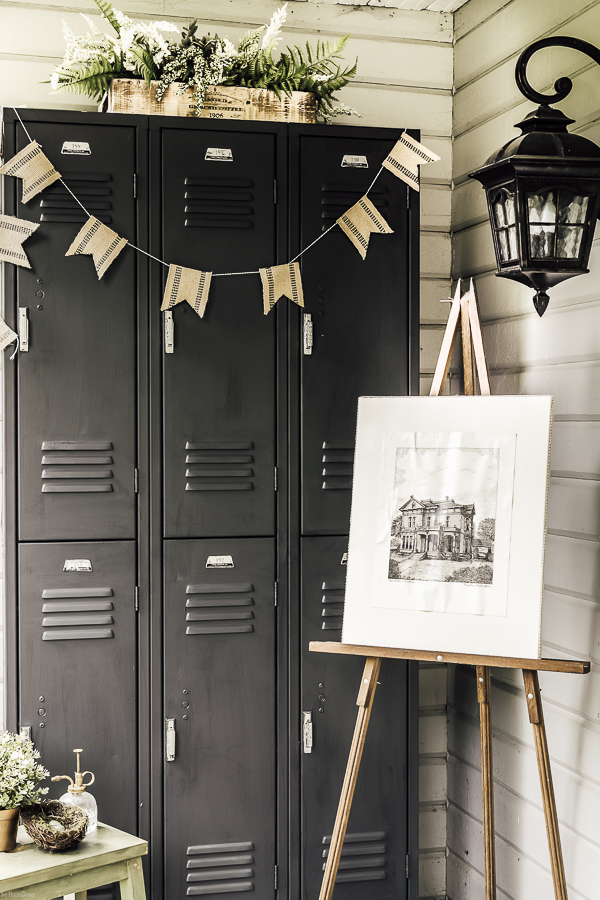
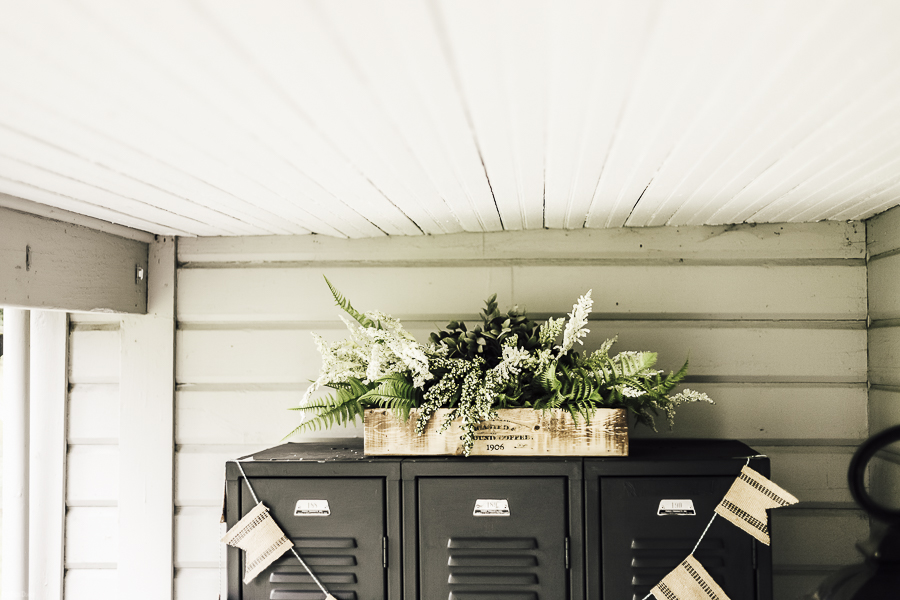
I LOVE how my new crate looked styled on top of the thrifted lockers I painted with Fusion Mineral paint! (Click the link to shop and earn 10% off as part of the She Holds Dearly Community!)
I know I have a few ideas still of other projects that I can’t wait to use this same transfer process for, and I am excited to hear what you might use these tips for in your very own home!
Pin for later