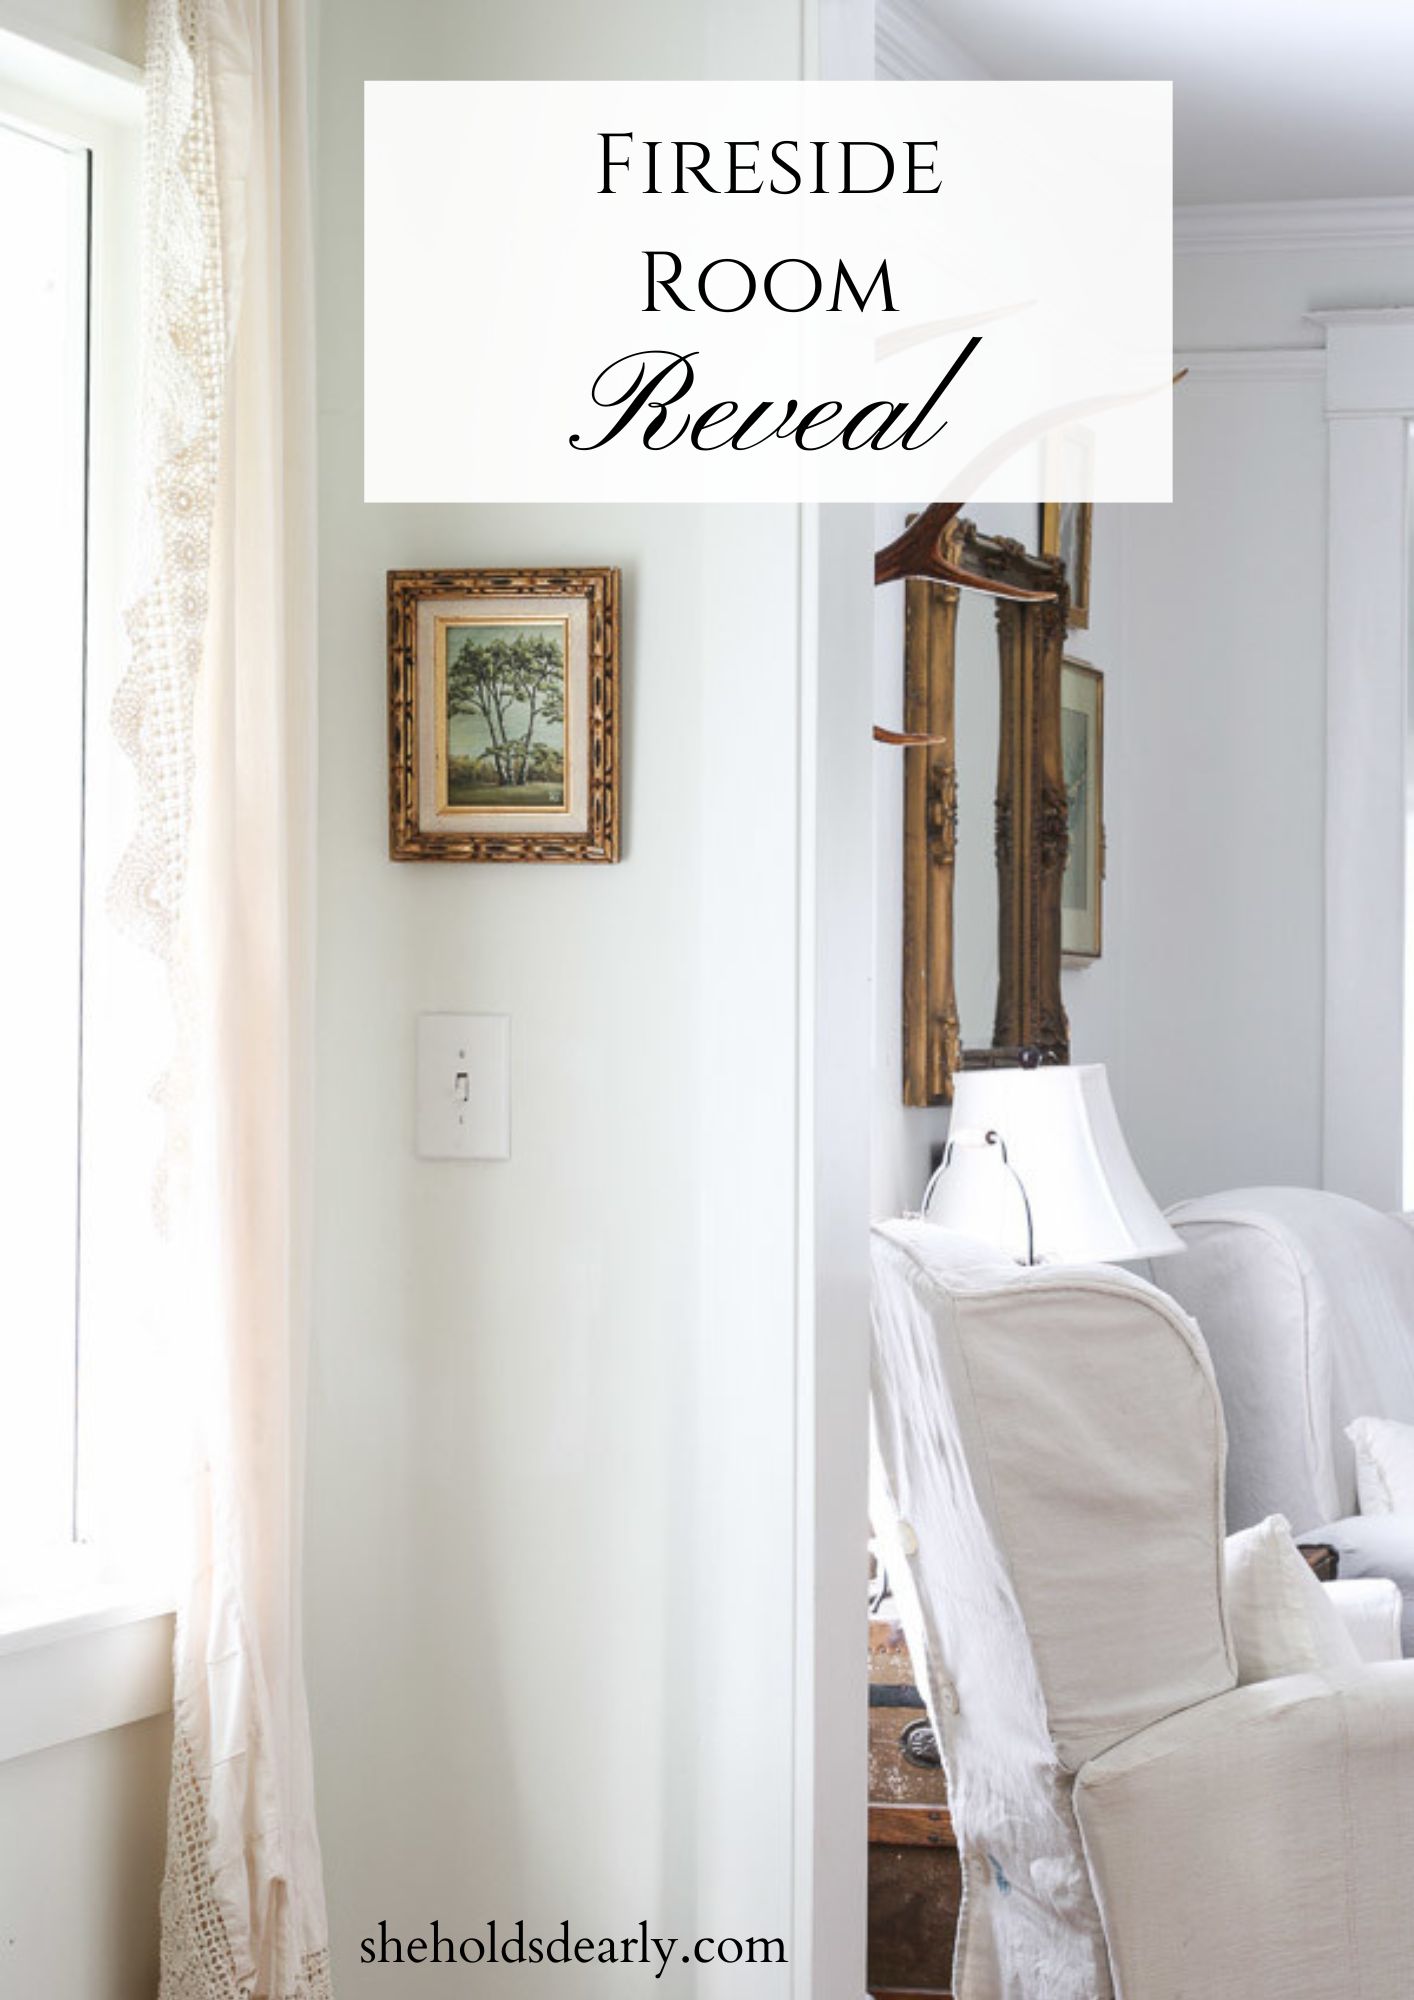
Fireside Room Reveal
Today’s the day: The Fireside Room Reveal! I just love getting to reveal rooms here on the blog! It’s so gratifying to see everything compiled together from all the work that goes into a space like this! I hope you enjoy it as much as I do!
” A house is no home unless it contain food and fire for the mind as well as for the body.”
-Margaret Fuller, 1845
I know I should be blogging about Christmas decor right now and that is coming next, but let me just take a moment to throw a mini celebration for completing our Fireside Room!!! The before and after shots are so fun for me. I know you understand.
What is a Fireside Room, you ask? Well, it’s the room that houses our wood stove and the only two purposes of the room are acting as a glorified hallway connecting the kitchen, living room and stairs and being a place to warm up by the fire. Maybe it should be called a “parlor”.
This is where the original family of nine (!) had their dining room, so I suppose we should tack on a third purpose, as well. We planned to build an addition before we moved in that included a glassed in dining room. That was seven years ago. Sniff. We have been serving the kids at the breakfast bar and my husband and I sit in the two recliners to eat our meals. With our feet up. By the fire. Not that I’m complaining. . . Ok, so sometimes I wish we had a table, but the current solution is working just fine.
This room has proved to be the most difficult of all the rooms to remodel. So many awkward issues. I randomly asked Marian at Miss Mustard Seed how she would decorate around a wood stove and she ended up doing the first of her “Decorating Dilemma” posts and a couple of follow ups here and here which was fun. She really got me out of my rut and I am so thankful for her.
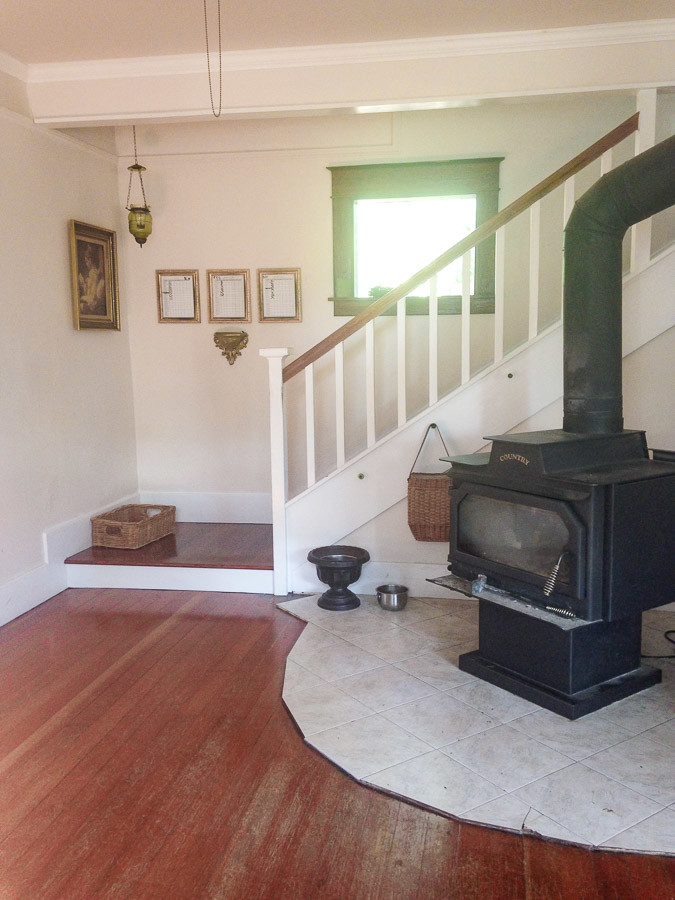
The first thing we really did after the initial rewiring, plumbing, sheet rocking and wood floor restoration was to re-design the railing.
Forgive the quality of these before pictures!

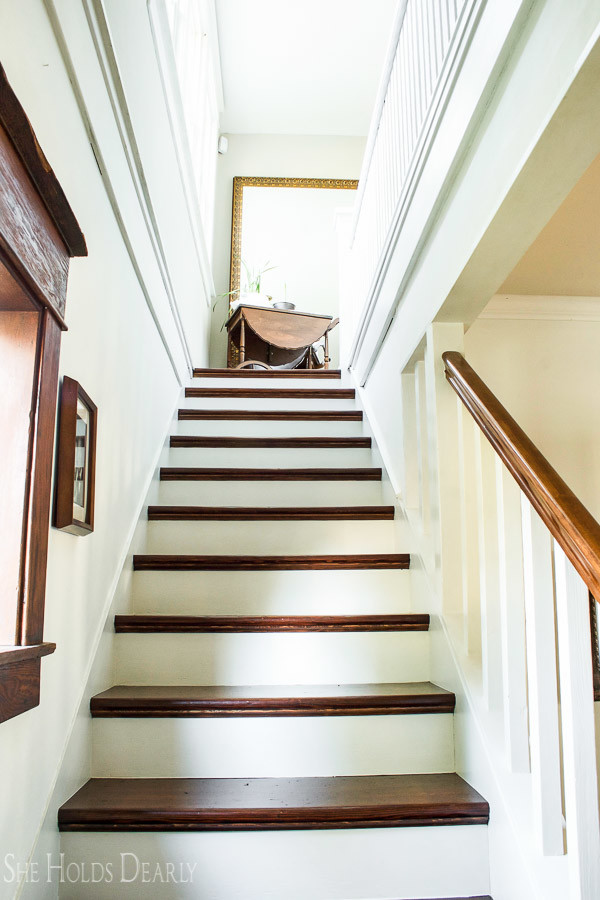
Then, we restored the stairs.

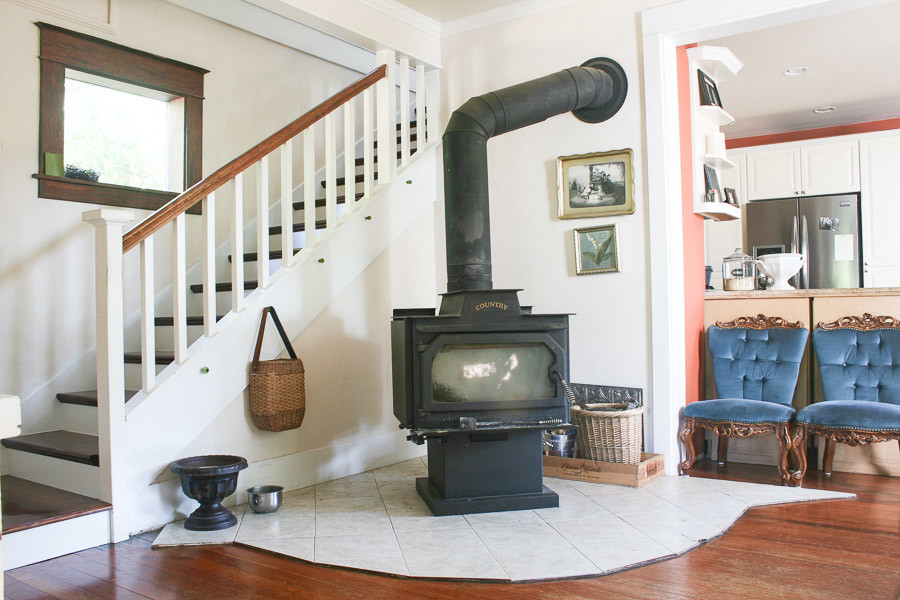
The kitchen was a terra cotta orange, which I thought I loved at one point, but in the end it just didn’t flow very well.

The day after Thanksgiving last year we painted the walls white in Benjamin Moore Cloud Nine.
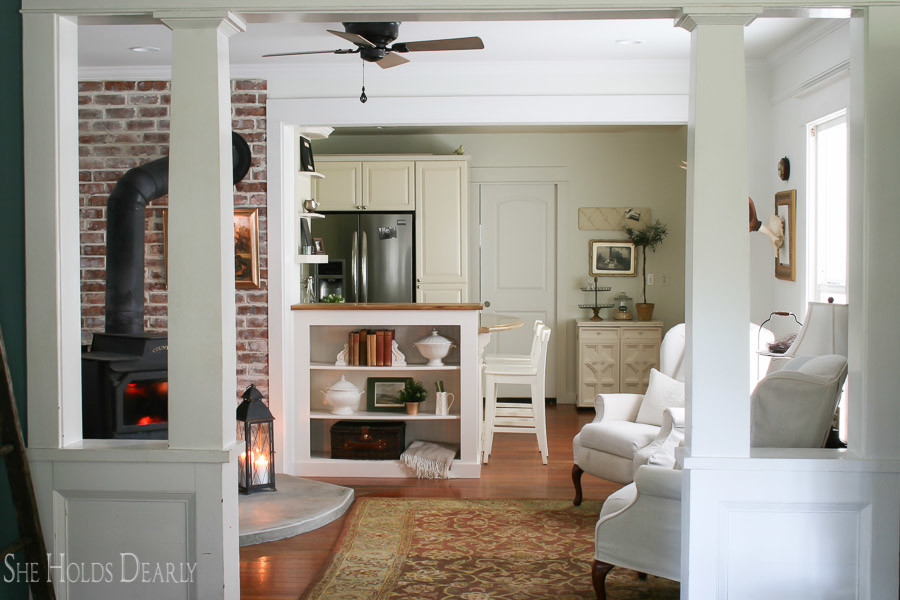

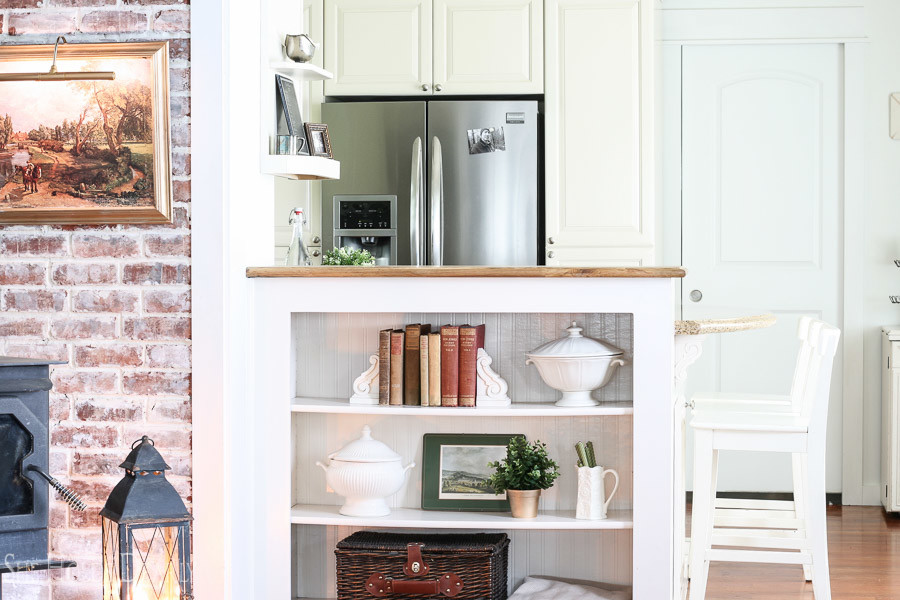
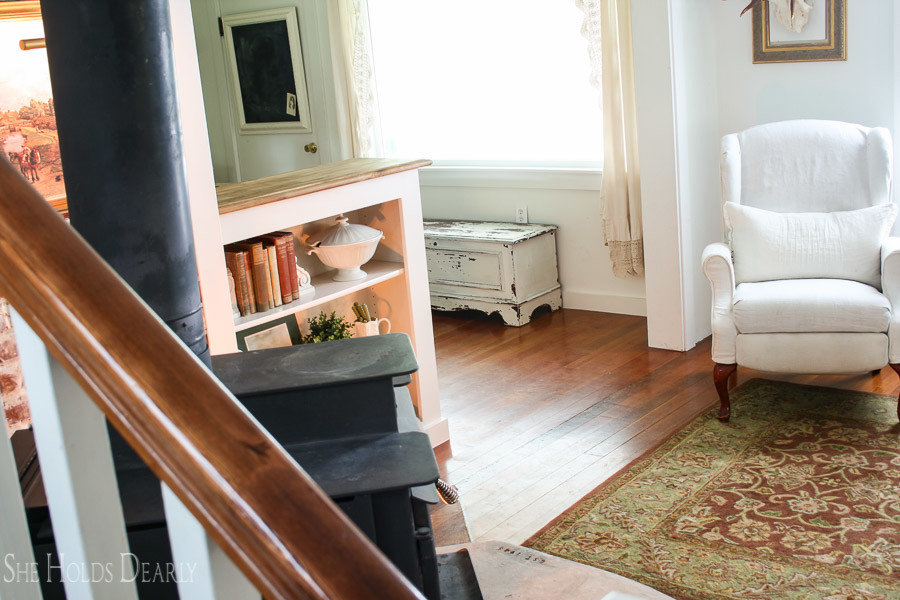
Over the next few months, we built a bookshelf to finish the cabinetry.
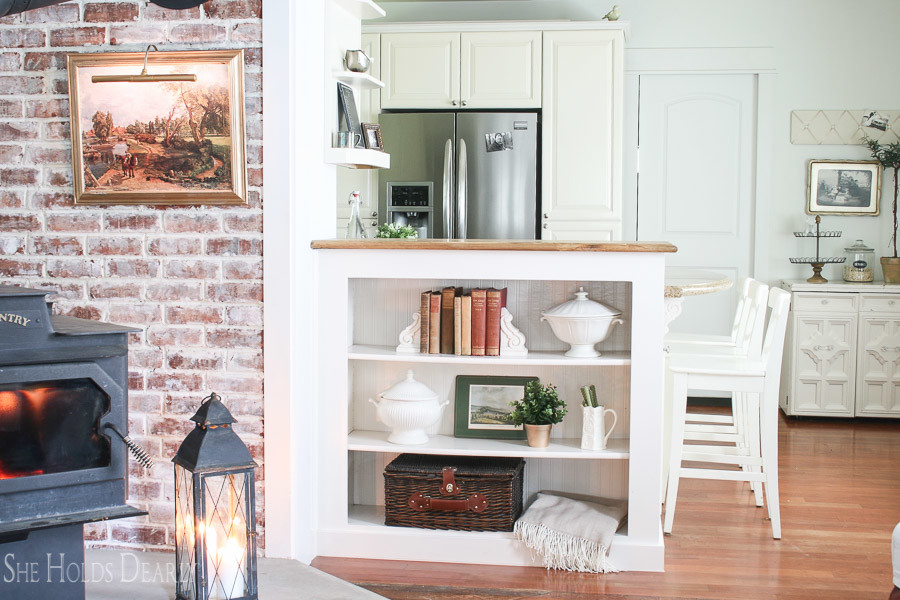
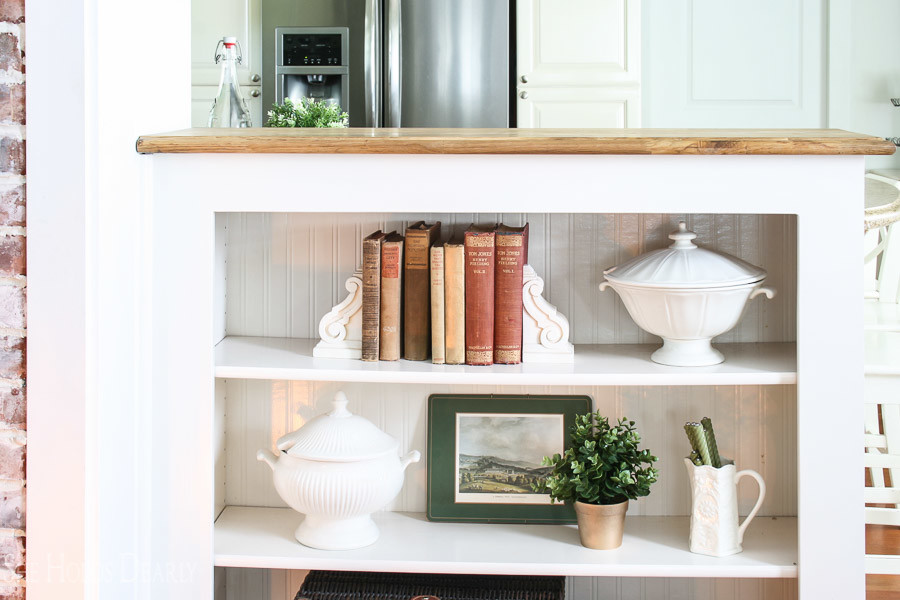
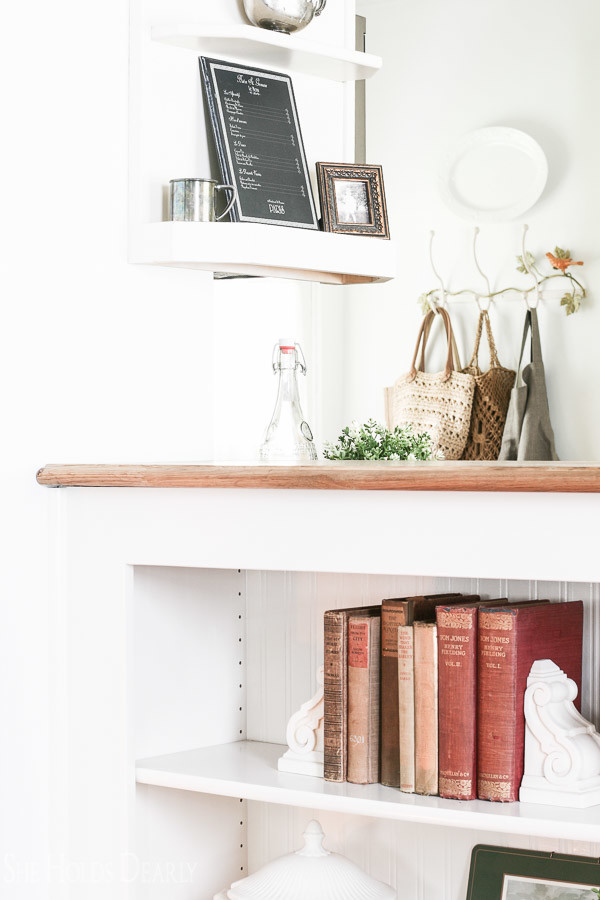
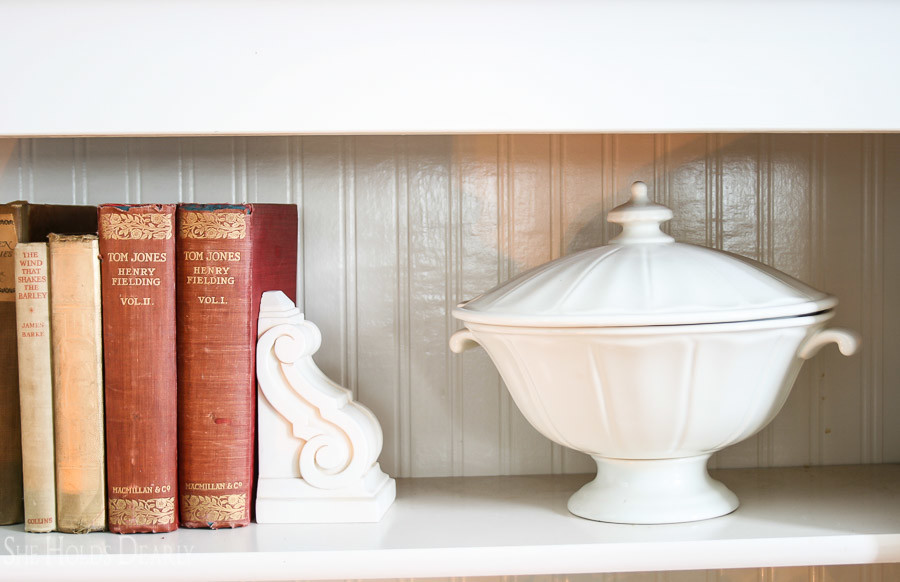
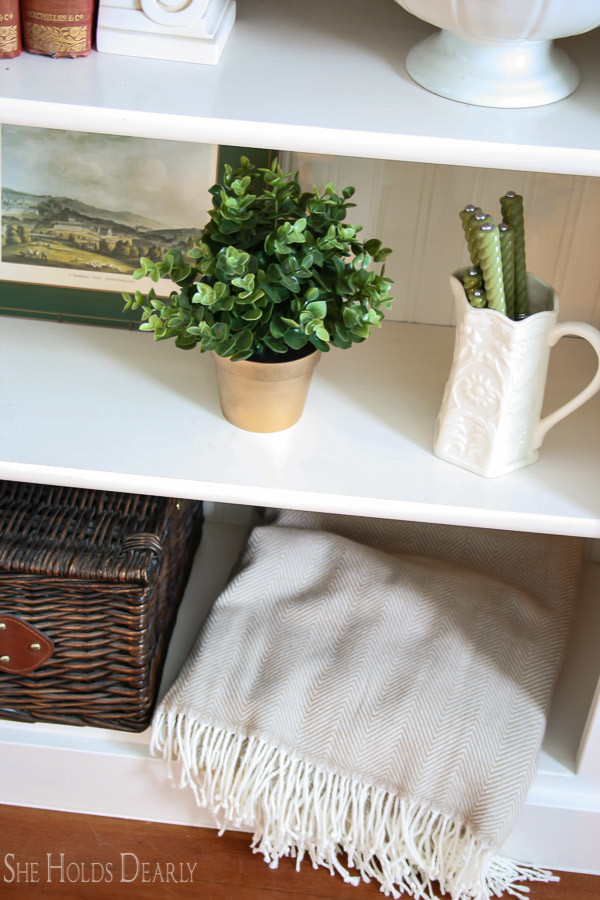
It is backed with my favorite 3-D beadboard wallpaper from Lowes and topped with some butcher block from IKEA. We customized the look by routering the edges and finished the counter with a coat of MMS hemp oil.
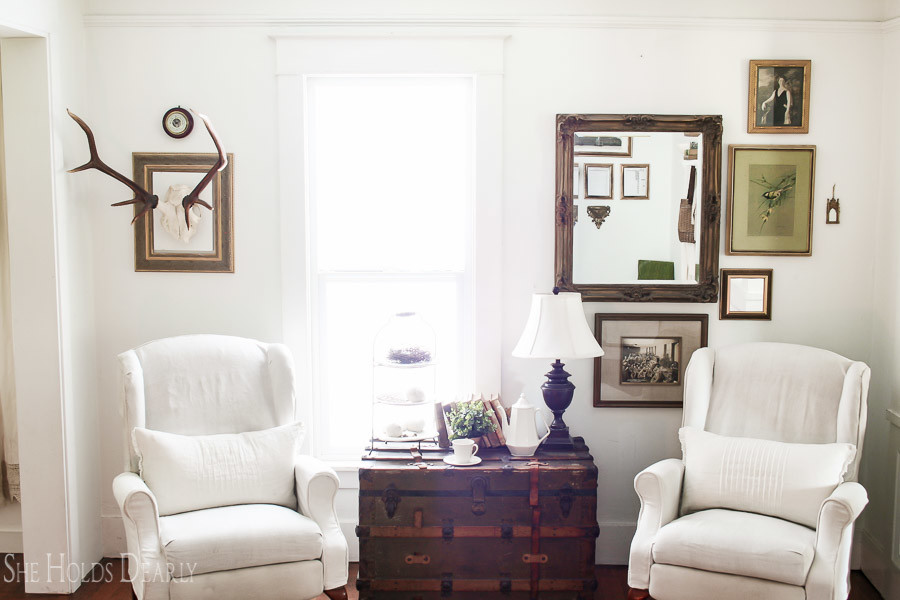
I slipcovered the recliners in antique hemp sheets and wrote a detailed post on how to slipcover recliners. While I worked on these, my husband finished all the millwork in the kitchen.

There is brick behind the sheet rock when the chimney meets the wall, but it only covers half of the wall. So, we went with a brick veneer and covered the entire wall.
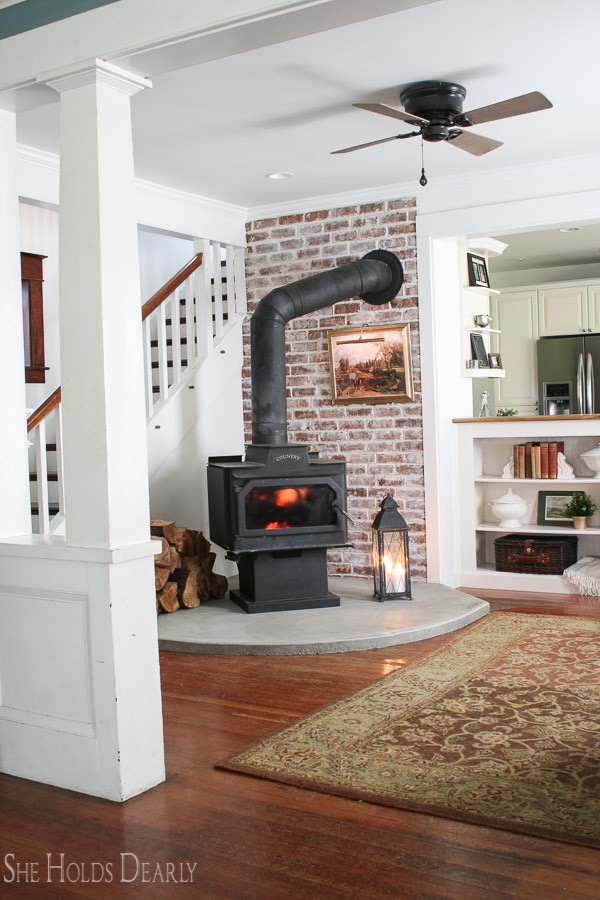
I wanted it to look like that wall had been there for 100 years. The week after we finished a bunch of people came over and no one noticed it until I pointed it out. They said it was so authentic looking that they thought it had always been there! Perfect.
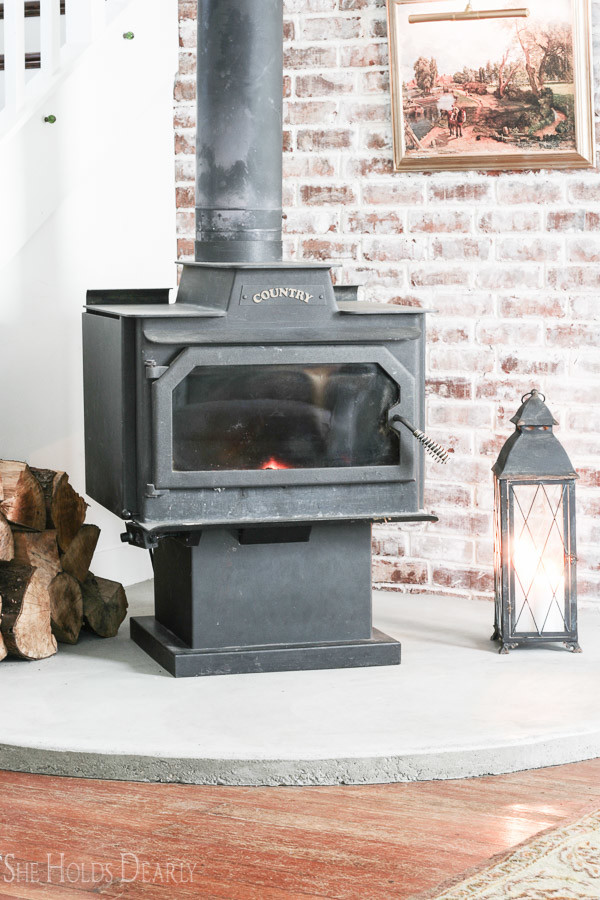
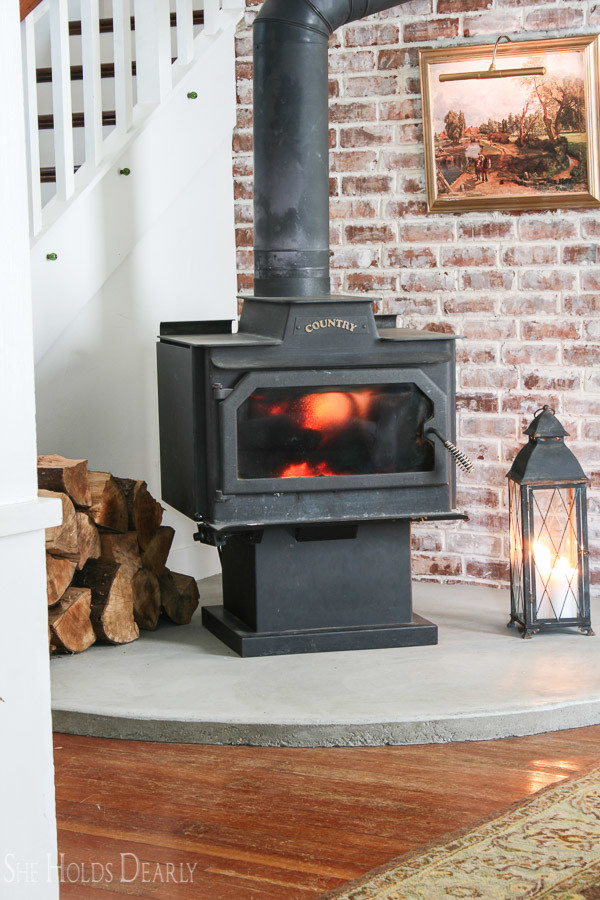
When I was adding the mortar, I hammered in a nail and mortared around it. I’m so glad I did, I love changing out the decor on this wall. The picture light is battery operated and it is one my favorite parts on the room.
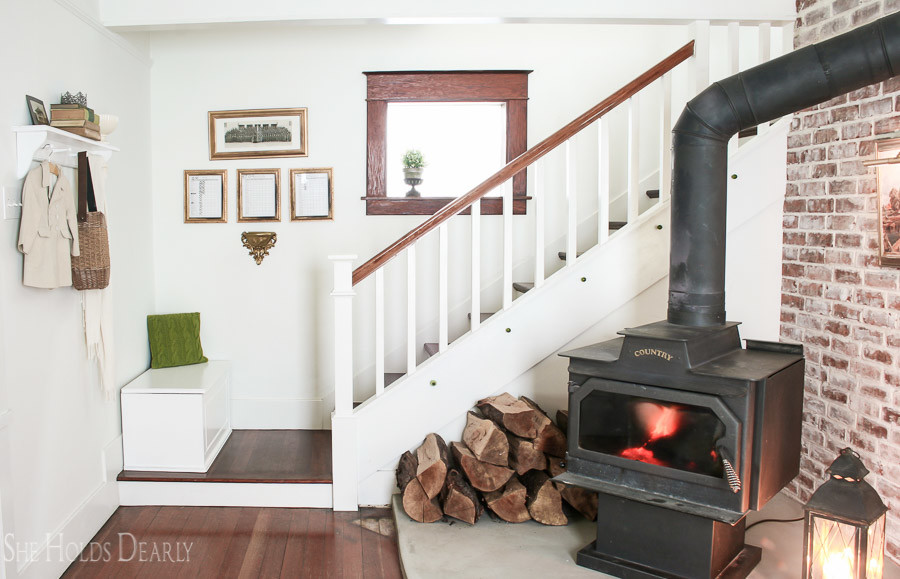
The newel post was redesigned from this. . .
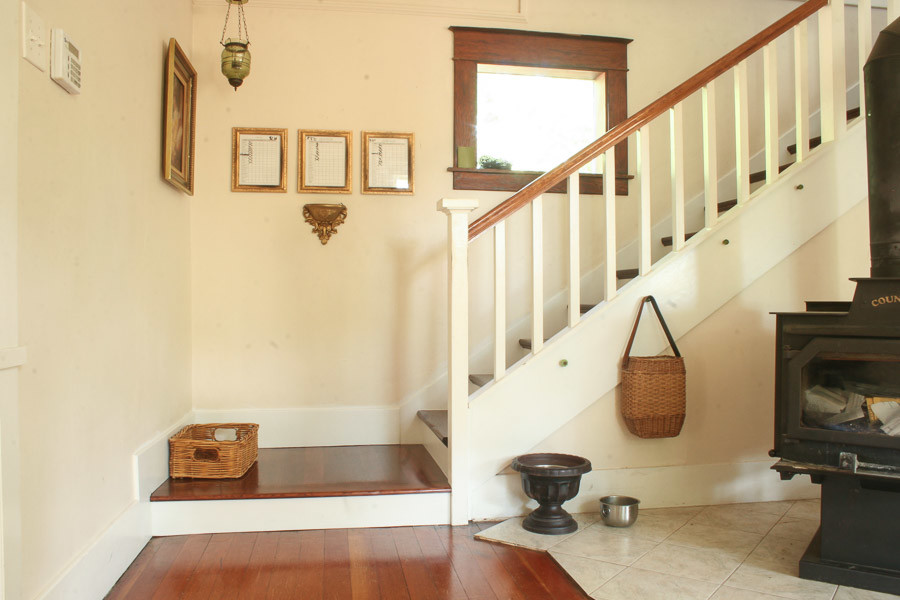
to this.
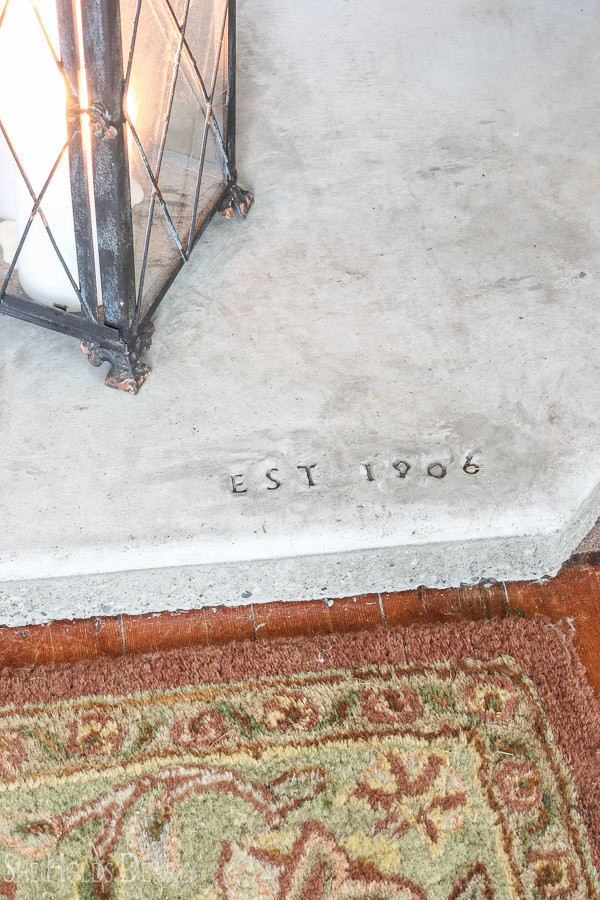
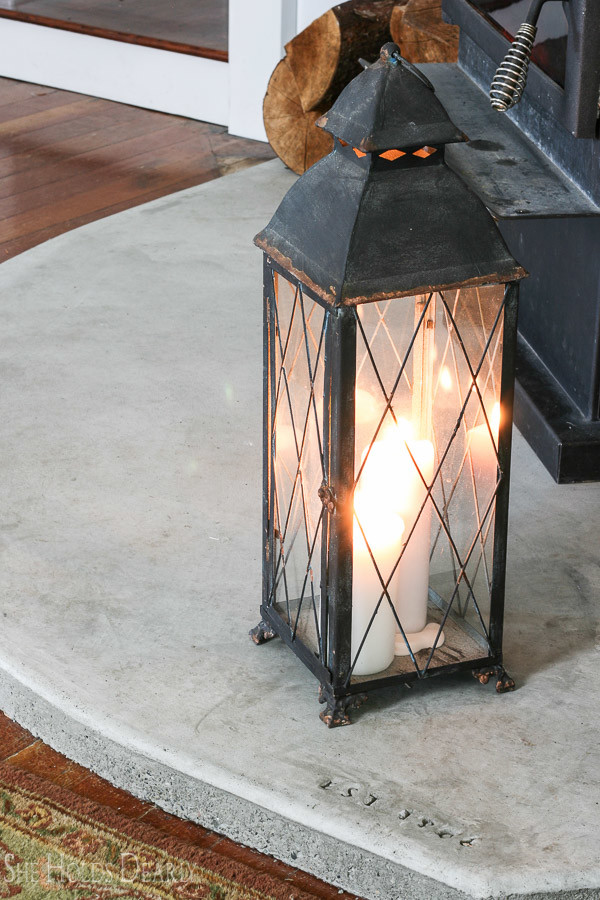
The concrete slab with “EST 1906” stamp was poured for the new hearth.
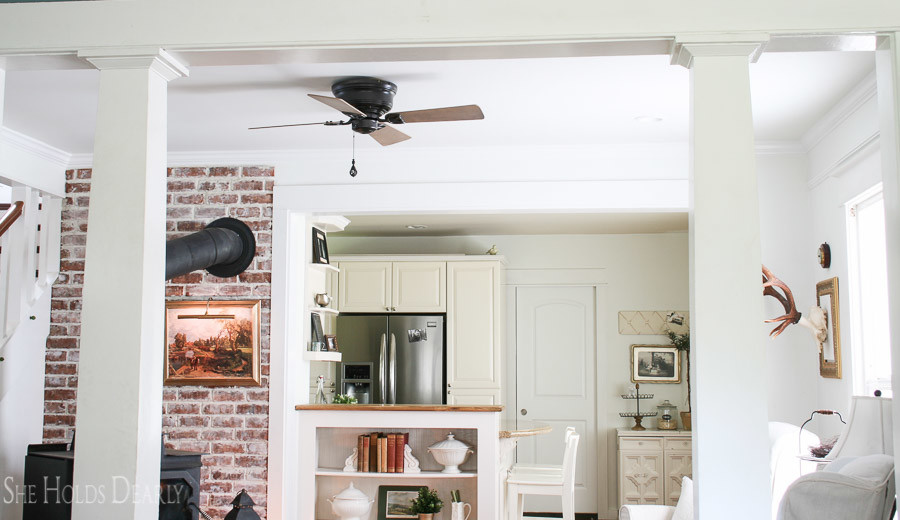
And, finally, my husband took down the ceiling fan with lights and rewired the ceiling for four recessed lights. The new lighting was a game changer, recessed lighting strategically placed gives a room a museum quality. We found a simple four blade ceiling fan on Craigslist and repainted it to look more industrial.

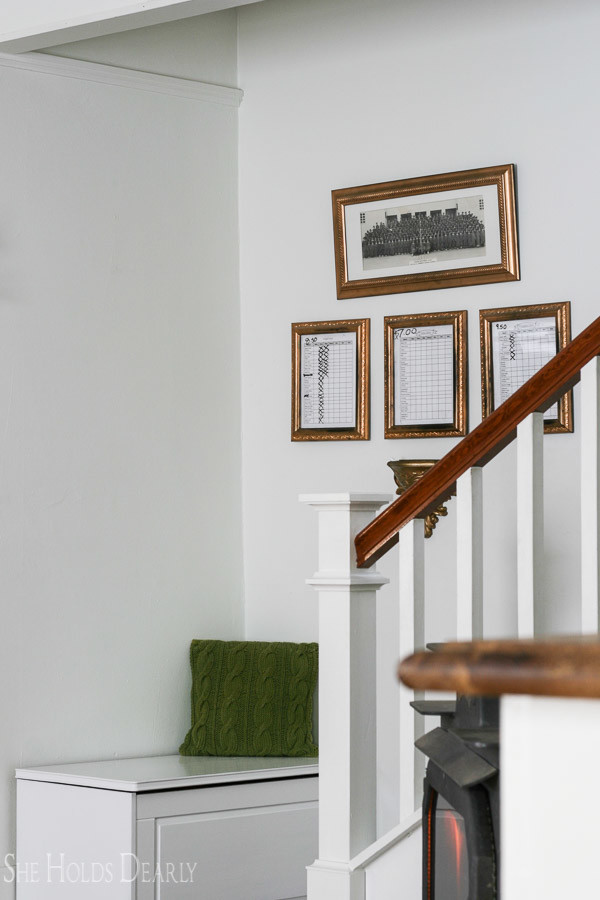
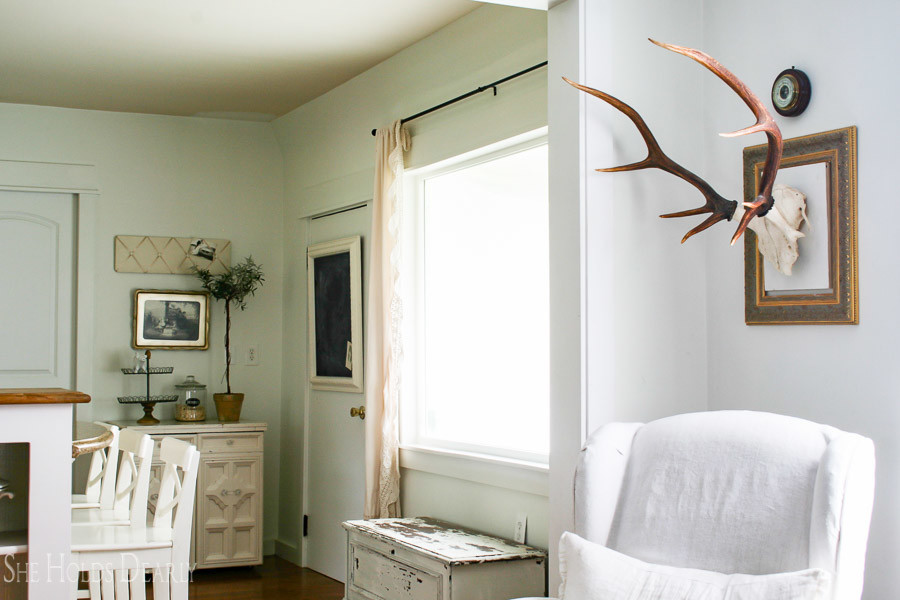
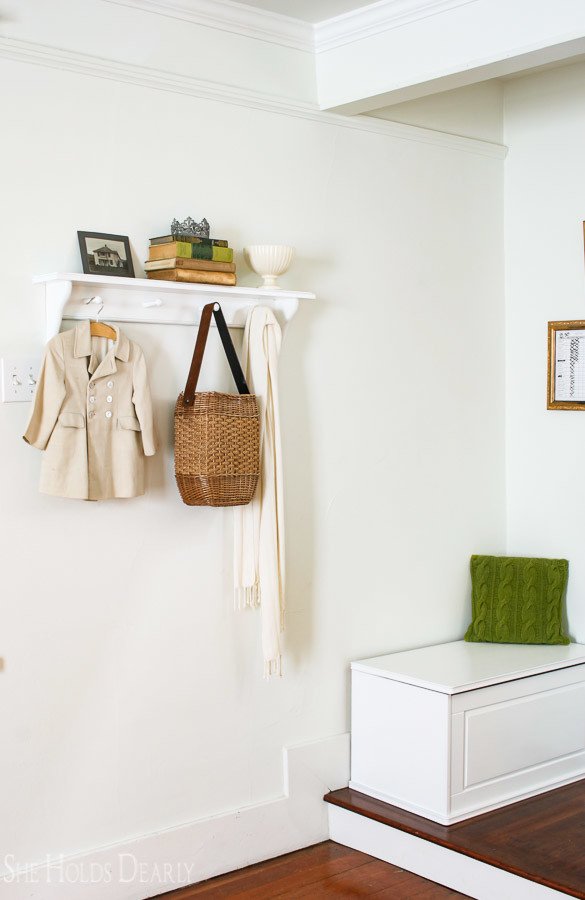
As for the details, my kids call this corner “the servant’s corner” because I hang their chore charts here. Isn’t that funny?
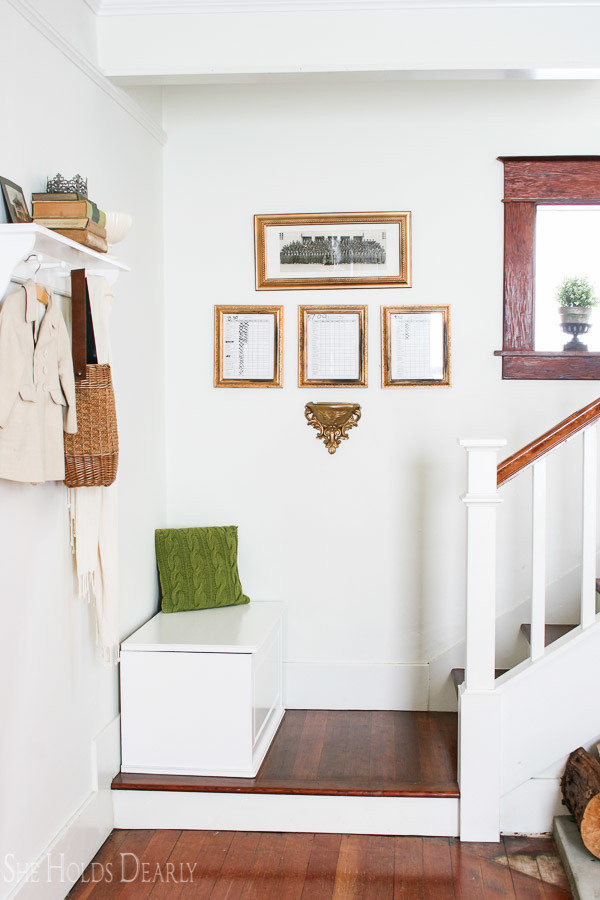
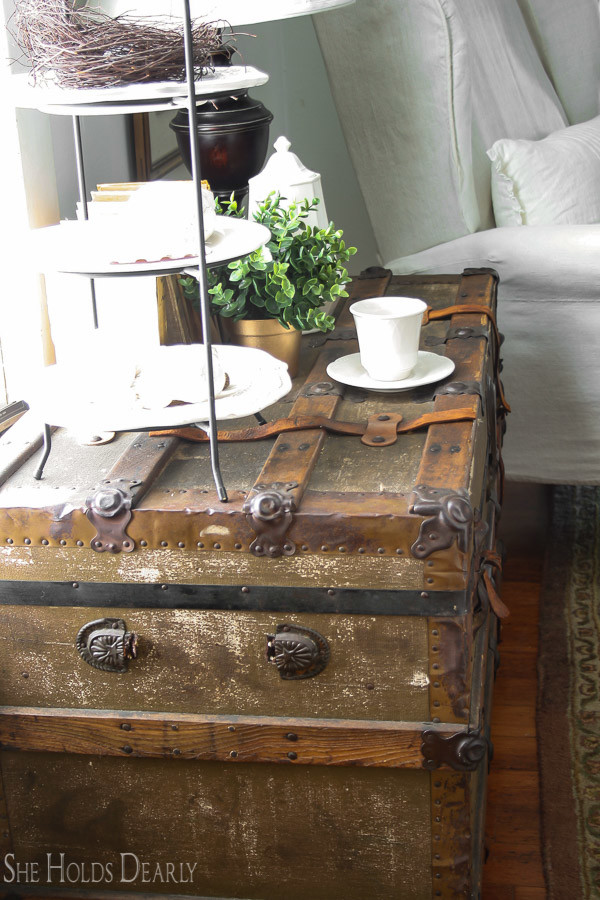
I decided to paint an old toy box we had and put it at the bottom of the stairs to kind of look like a built in. We keep the gloves, kindling and paper for the fire building in there.
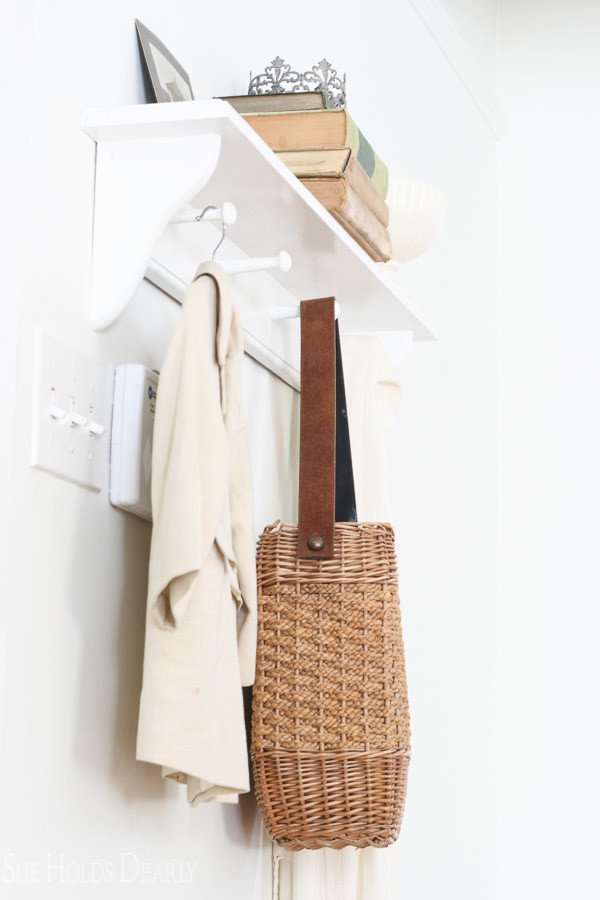
One of the things that I never liked about this wall was the alarm key pad, now the shelf and decor disguise it and it’s not too annoying for anyone using the key pad.
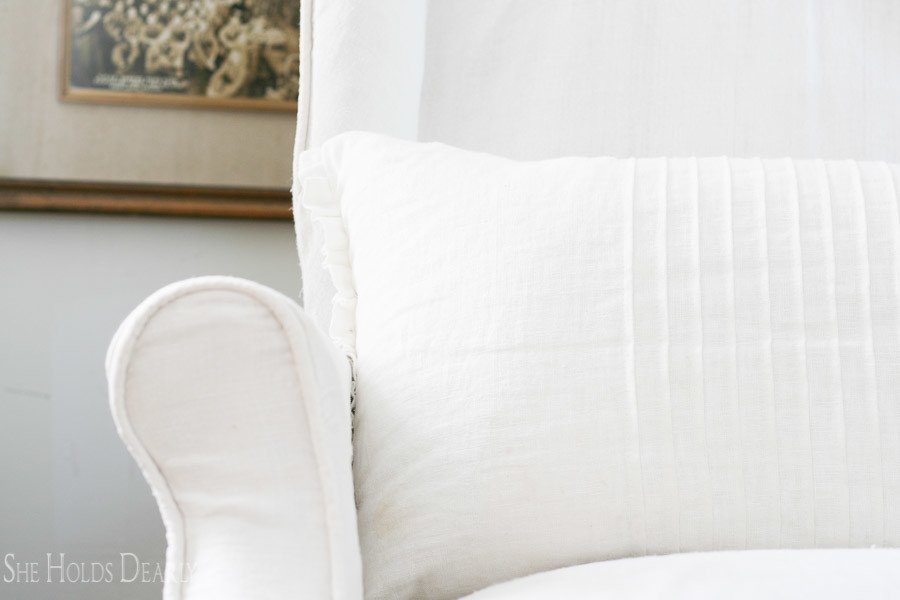
I wanted pillows in the chairs, but everything was crowding the seat too much, until I tried these feather pillows. They compact just enough when someone sits in the chairs, so they were a perfect solution.
I went out to the wood shed and hand selected the prettiest wood I could find. Then, I stacked it next to the wood stove and counted- 15 pieces.
Everyone was solemnly informed that I will be counting that wood pieces frequently to make sure no one has burned the “decorative” wood! My family patiently accepts my idiosyncrasies.
This post contains some affiliate links to products we know and love. Click here to read a full disclosure.
Shop This Look:
[show_shopthepost_widget id=”2960178″]
Now I’m off to decorate this room for Christmas!
Source List:
- Benjamin Moore Cloud Nine
- 3-D Wallpaper
- Butcher Block
- Picture Light
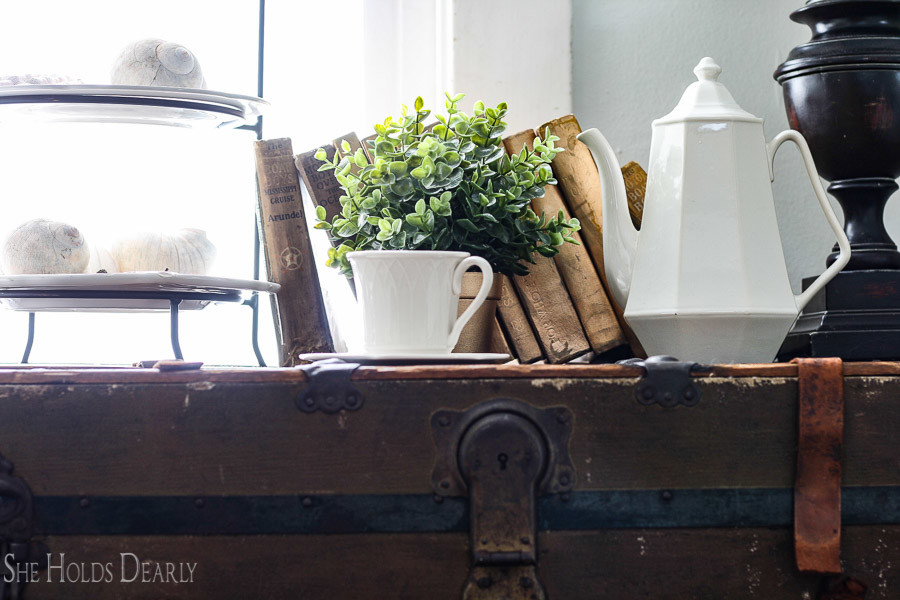
- Faux House Plants
- Linen Pillows
- MMS Hemp Oil
- Antique Hemp Sheet
- Blanket
- Corbels
- Lantern
Everything else is a hand-me down or from a thrift store or yard sale.
Related Posts:
Customizing Butcher Block Counters
How to Install a Rustic Brick Accent Wall
Pin this Fireside Room Reveal Post for Later:
