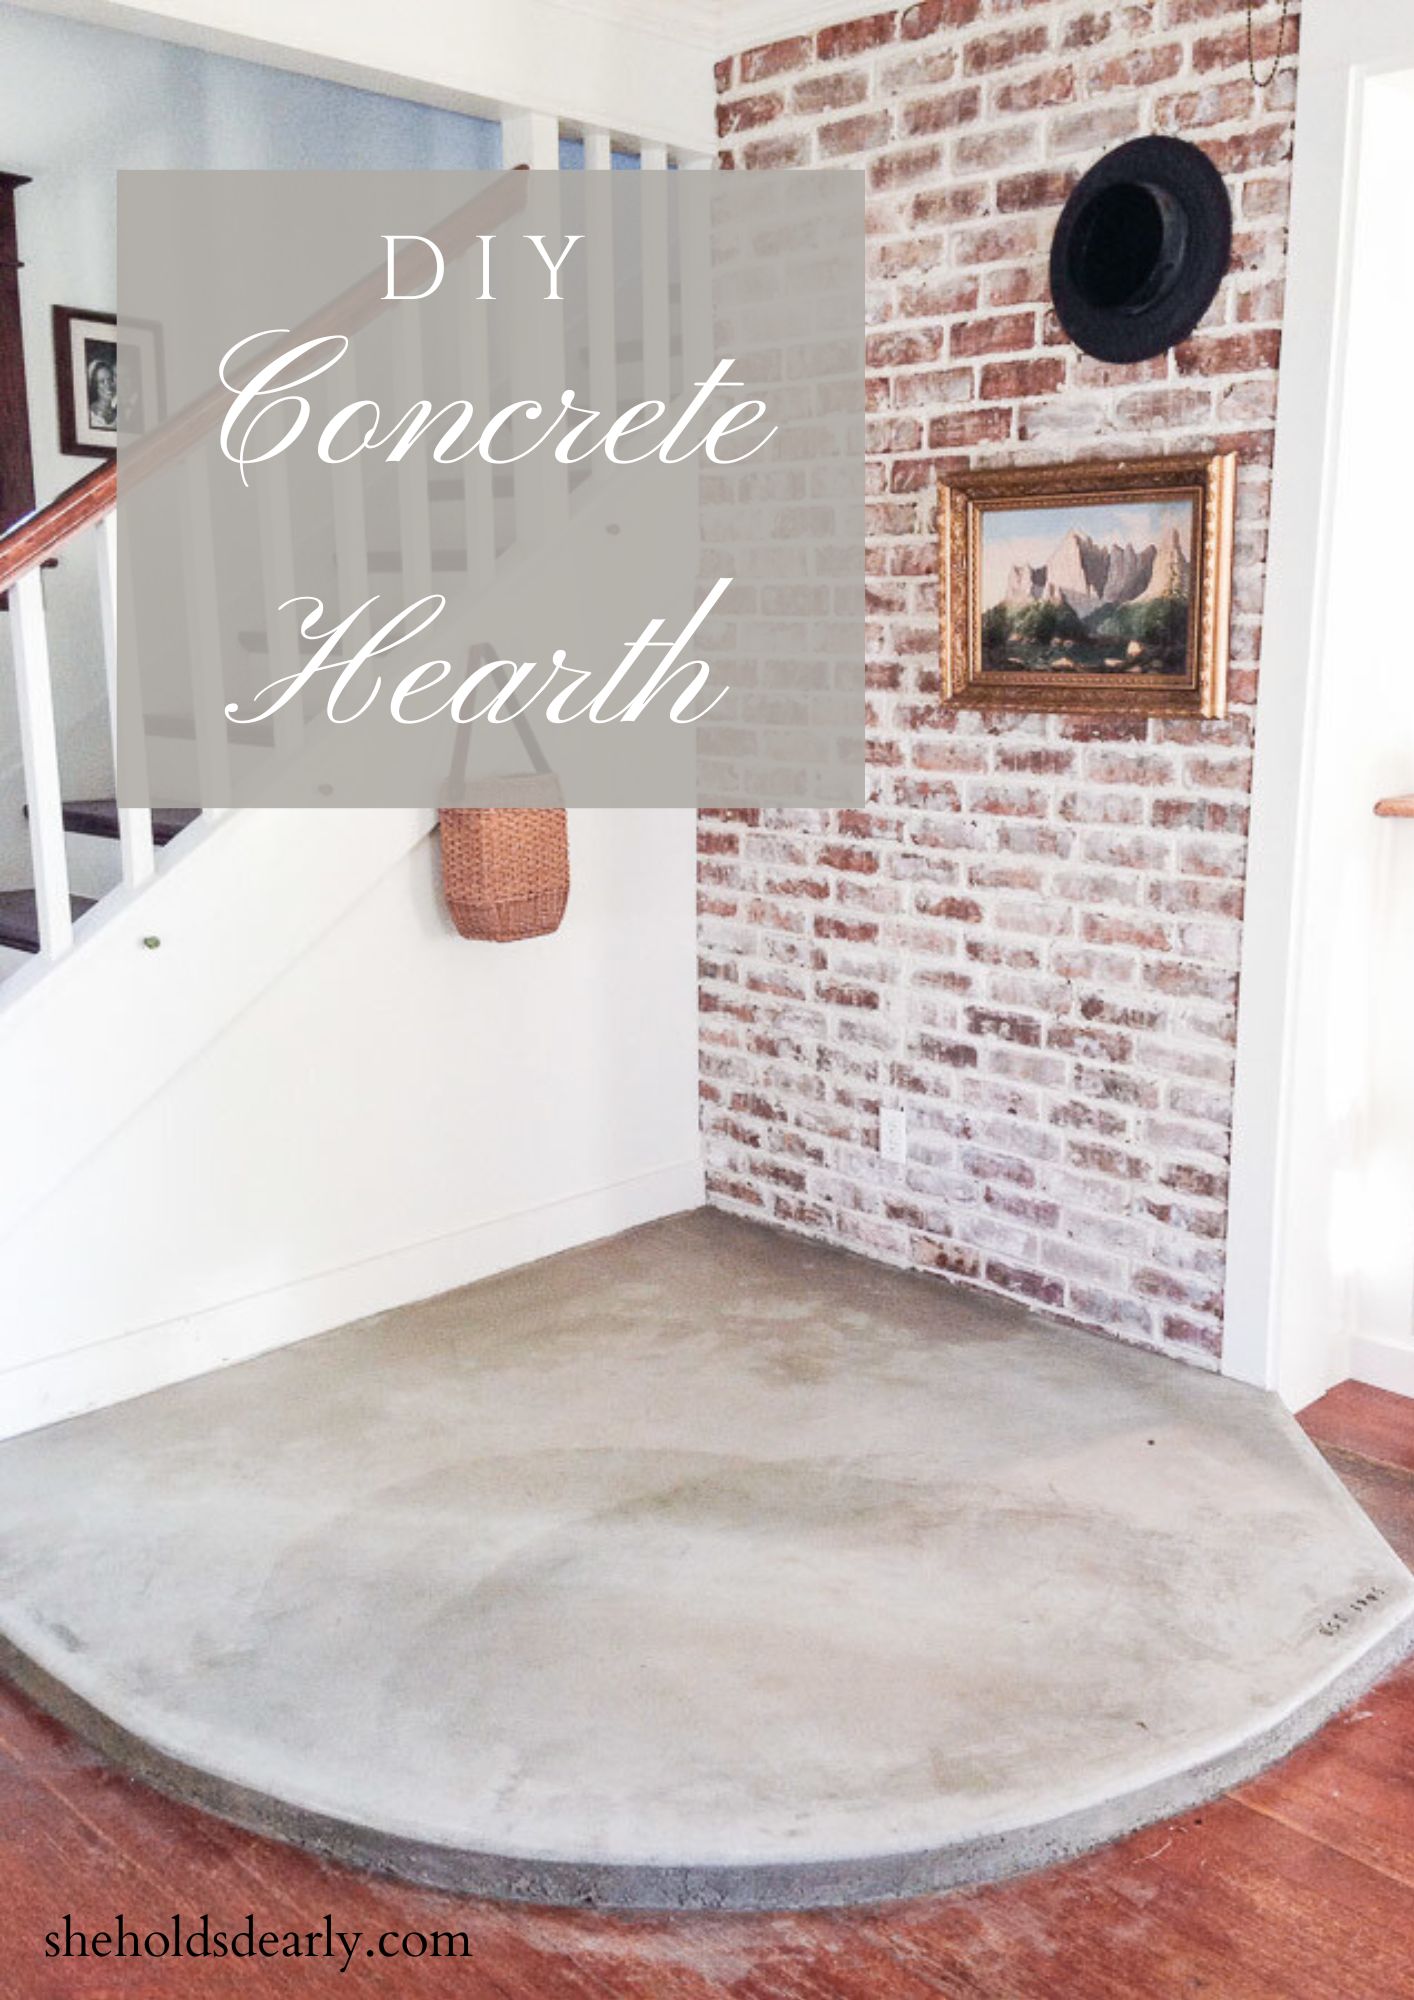
DIY Concrete Hearth
A simple DIY solution for creating a hearth for your fireplace or wood stove is to pour a concrete slab right down onto the floor!
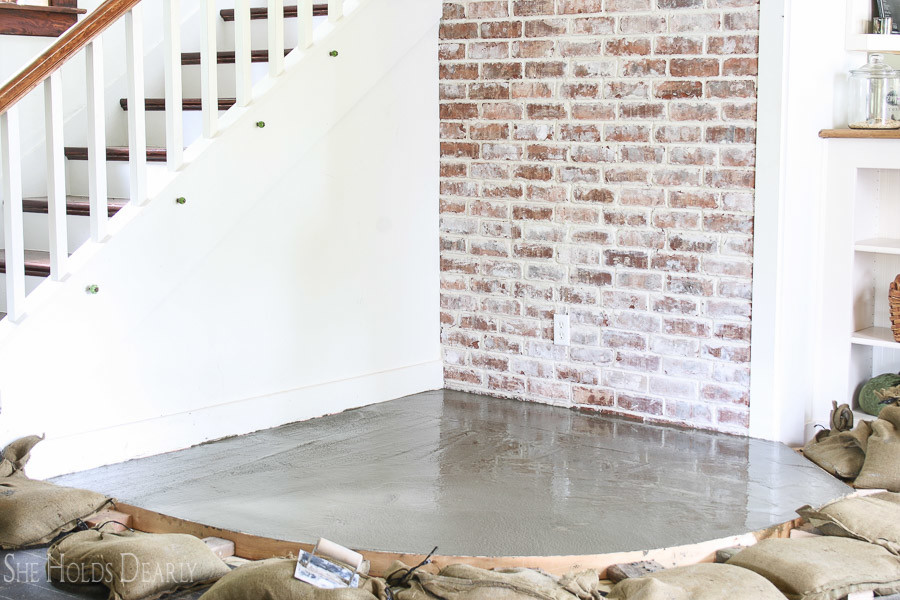
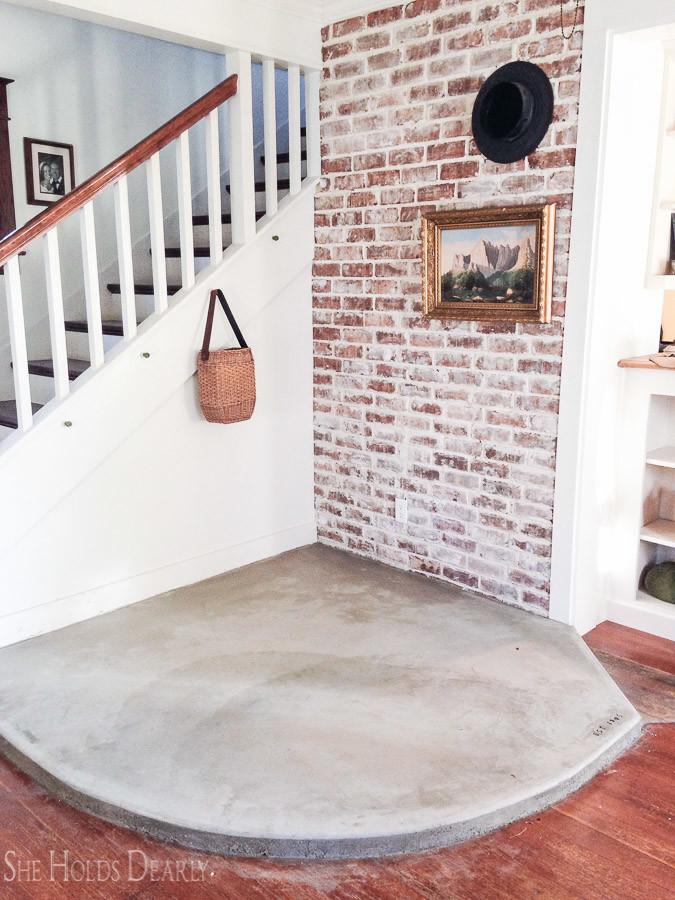
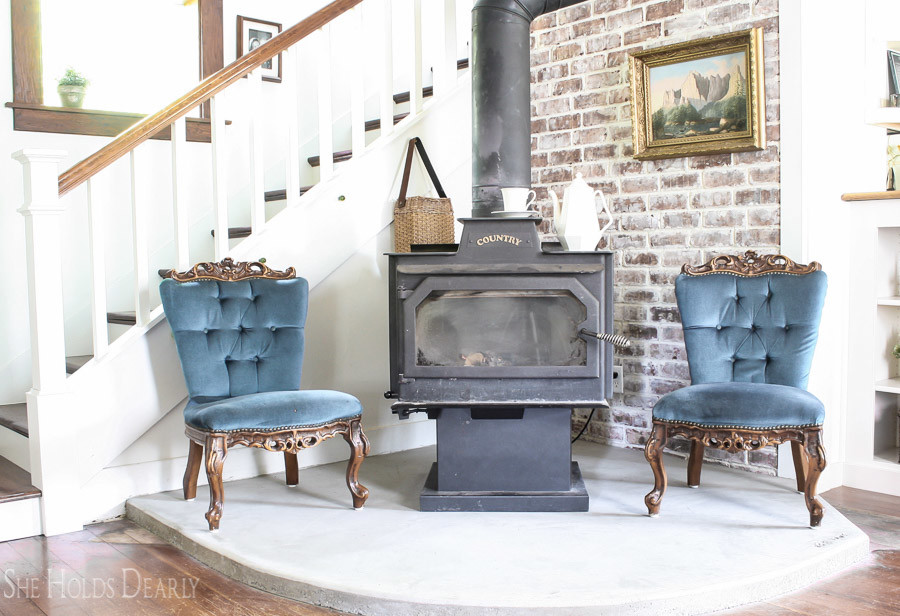
We love how rustic and simple ours turned out with its soft gray coloring, perfect for the farm house look that we love so much.
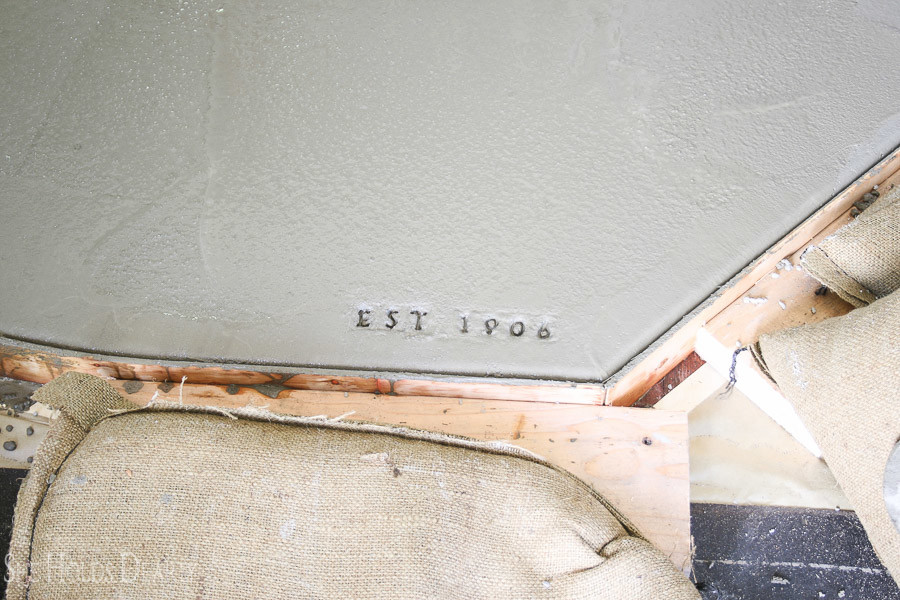
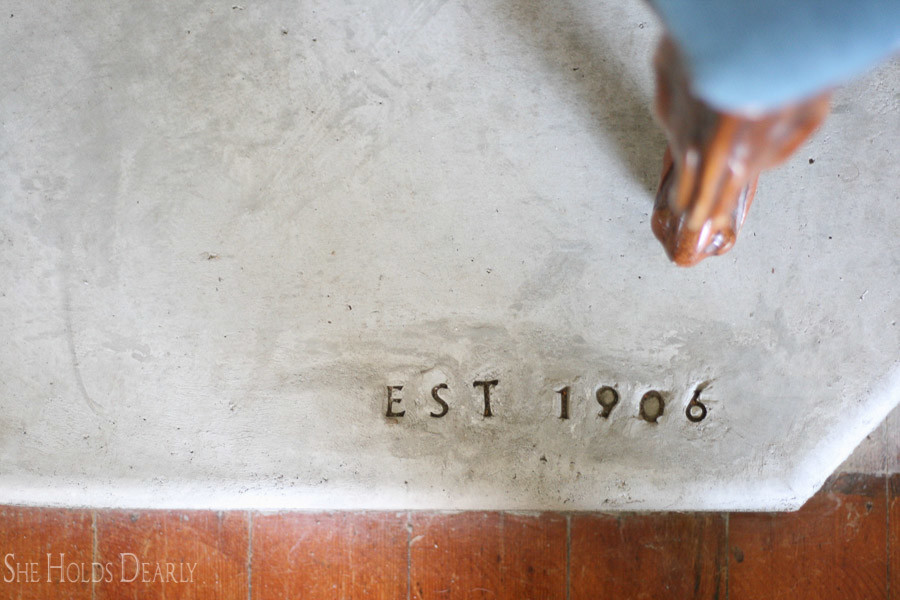
Look closely to see how we added a little finishing touch to give it that “cherry on top”.
Here is the Before.

The shape of the tiles has baffled me for years. What is that? A stealth flyer? I never understood nor liked it, so the day we pulled up the two odd points on the sides and buried the whole thing under concrete, you can bet I had a gleam in my eye. Sweet victory.
Our home was built in 1906 and the tile just didn’t fit, in my mind. I wanted something that looked like maybe some draft horses had hauled it in, some type of a slab. That’s when I got my heart set on a concrete slab.
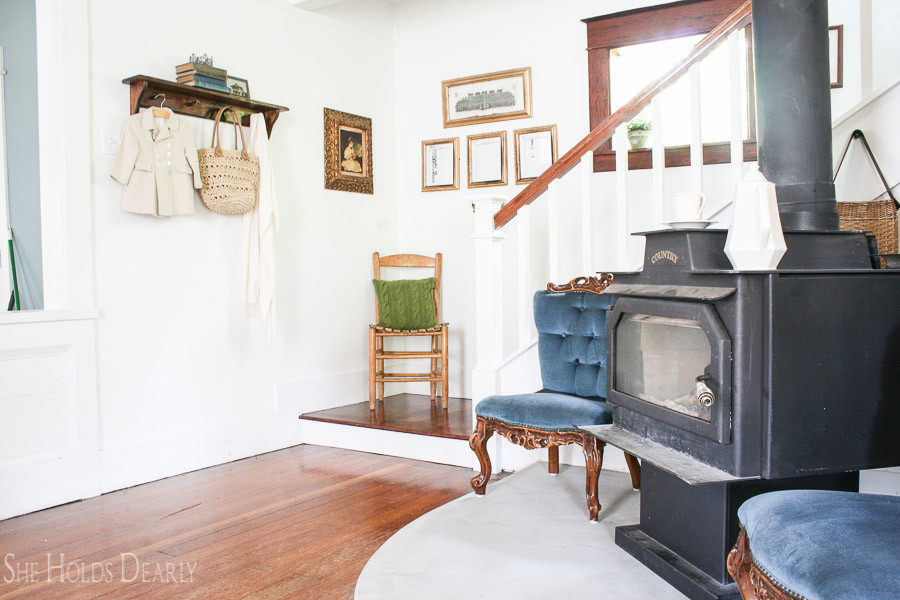
The shape was a little tricky and I ended up not making it symmetrical because the decorator in my knows that the wall below stairs is a hot ticket place for decorating. If I angled the concrete near the stairs to match the opposite side I couldn’t put much there, so I made the floor level all the way to the wall. I plan to stack fire wood along it.
So, here is the nitty gritty on how we made our own concrete hearth, diy style.
This post contains affiliate links to products we know and love. Click here to read a full disclosure.
Materials
- 1/4″ underlayment
- scrap 2×4 pieces
- sandbags
- plastic or paper to protect the floor
- level
- chalk line
- wire mesh for concrete
- wire cutters
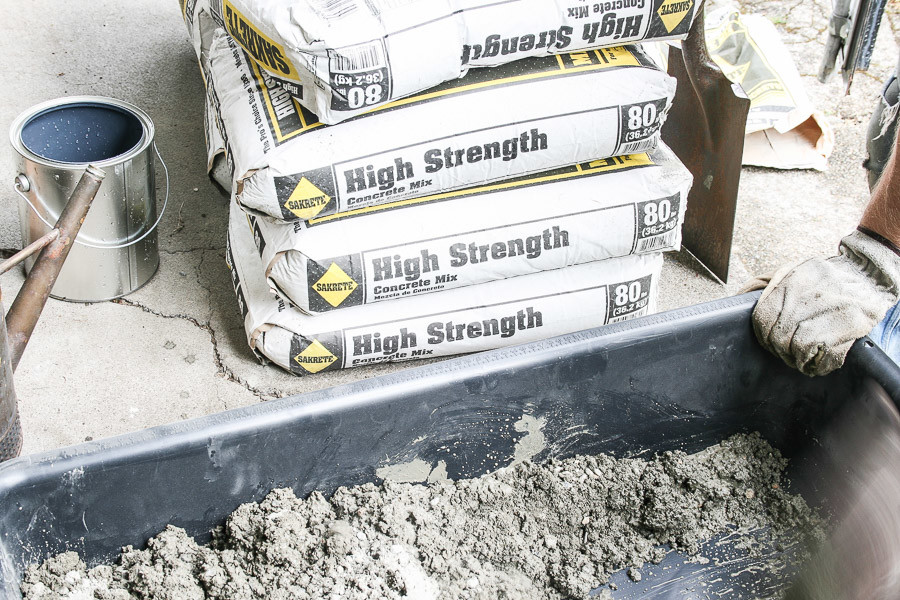
- Sakrete High Strength Concrete Mix
- We used 13 bags
- square shovel
- wheel barrel
- 1/2″ edger
- pool trowel
- hand float
- screed (2×4 for leveling)
- burner Trowel
- concrete stamps
- I used little plastic stamps and they worked OK, but it would be better to use brass stamps or a insert a plaque.
- sealer
DIY Concrete Hearth Tutorial
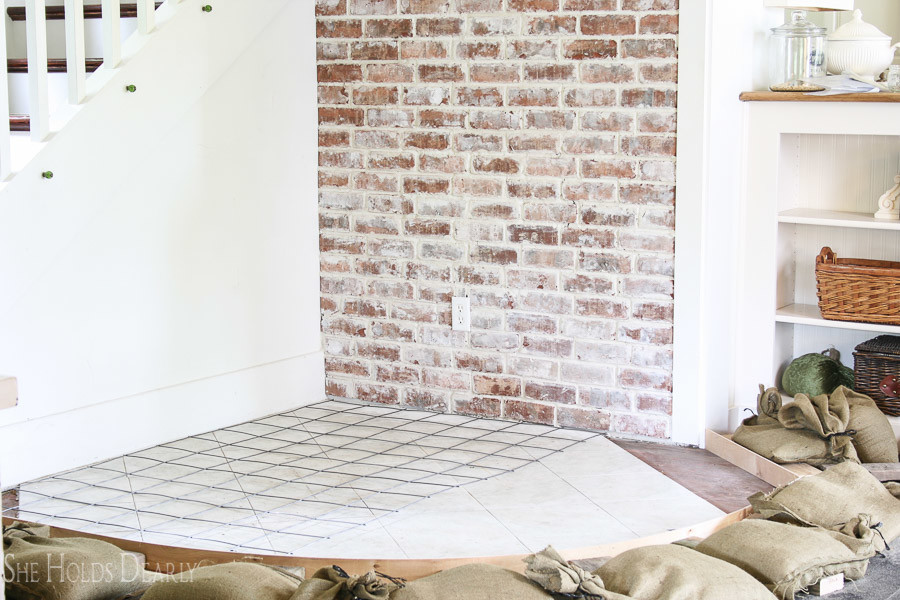
- Decide on the shape that you want and remove existing material that will not work for the shape.
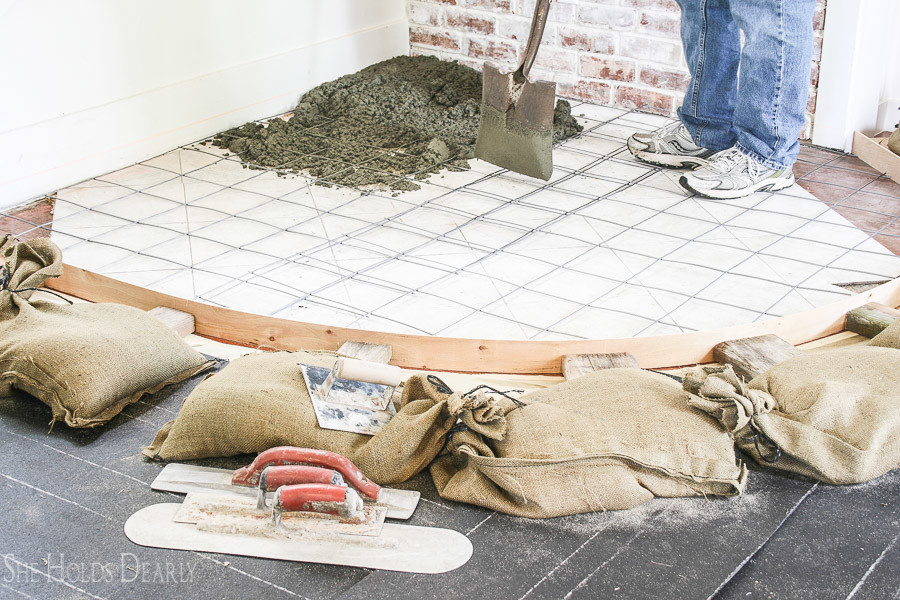
- Cut the 1/4″ underlayment into strips and use to form any curves in the hearth.
- Protect the floor outside the form with paper or plastic.
- Nail the underlayment to the 2×4’s and weigh down with sandbags.
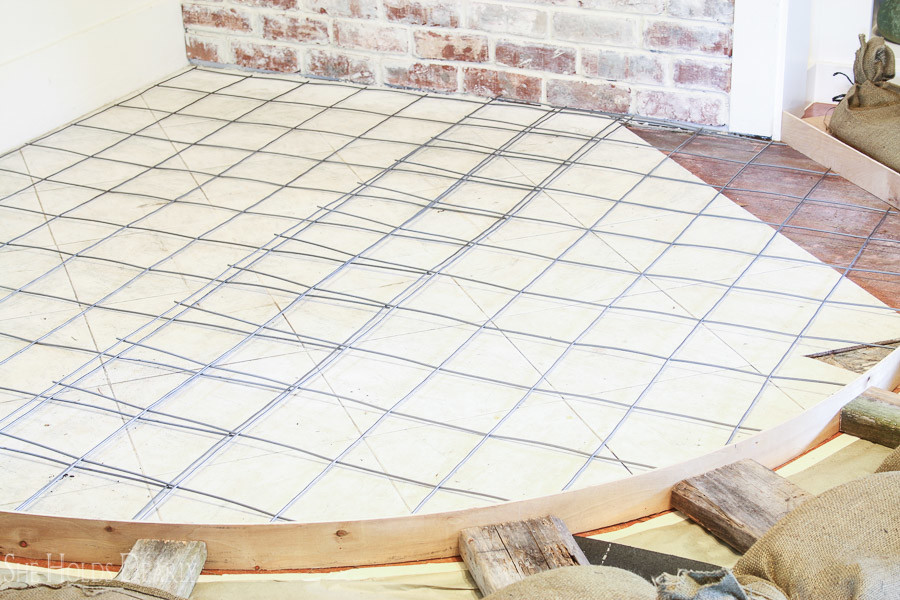
- Use the level and chalk line to mark any walls that will have contact with the concrete so they have a fill line.
- Use the wire cutters to shape the wire mesh and fill the entire form.
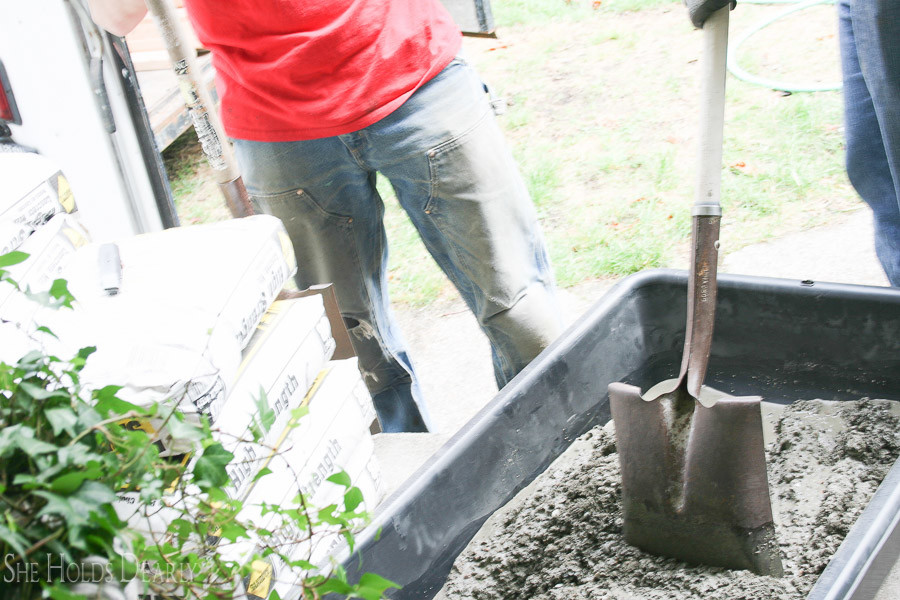
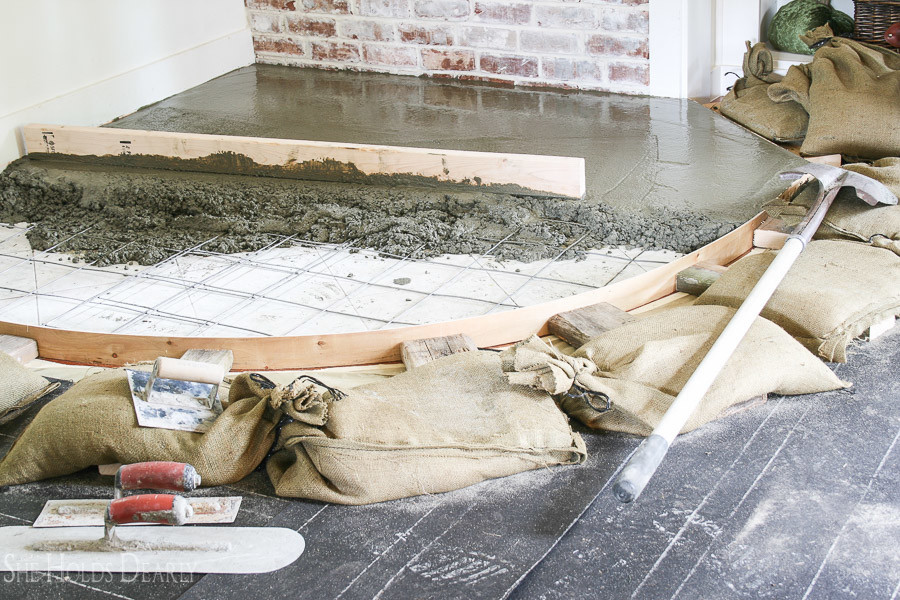
- Follow the directions on the concrete bags to mix, using a tub or wheel barrel and square shovel.
- Use the 1/2″ edger, pool trowel, hand float, screed (2×4 for leveling) and burner to smooth and shape the slab.

- We stamped the wet cement by putting the stamps in place, laying a board over them and tapping gently with a hammer. At first, it came out looking a little crude, but we kept skimming the slab for the top watery portion and putting that into the letters and re-stamping. It would have been easier to have inserted a plaque, though and I would suggest taking this route.
- Let dry for 24 hours before removing the form.
- Let dry for a week and seal with sealer.
Here is the full tutorial for the brick wall.
The little “EST 1906” detail is my favorite part, it reminds me of a monogram.
Here is a little article from Country Living that I got a kick out of “17 Signs You Live in the Country” , it is so true you will be chuckling the way through!
Elite Decorating Academy | Now Accepting New Students!
Head over to elitedecoratingacademy.com to learn more about this comprehensive design course!

Pin This DIY Concrete Hearth Tutorial For Later: