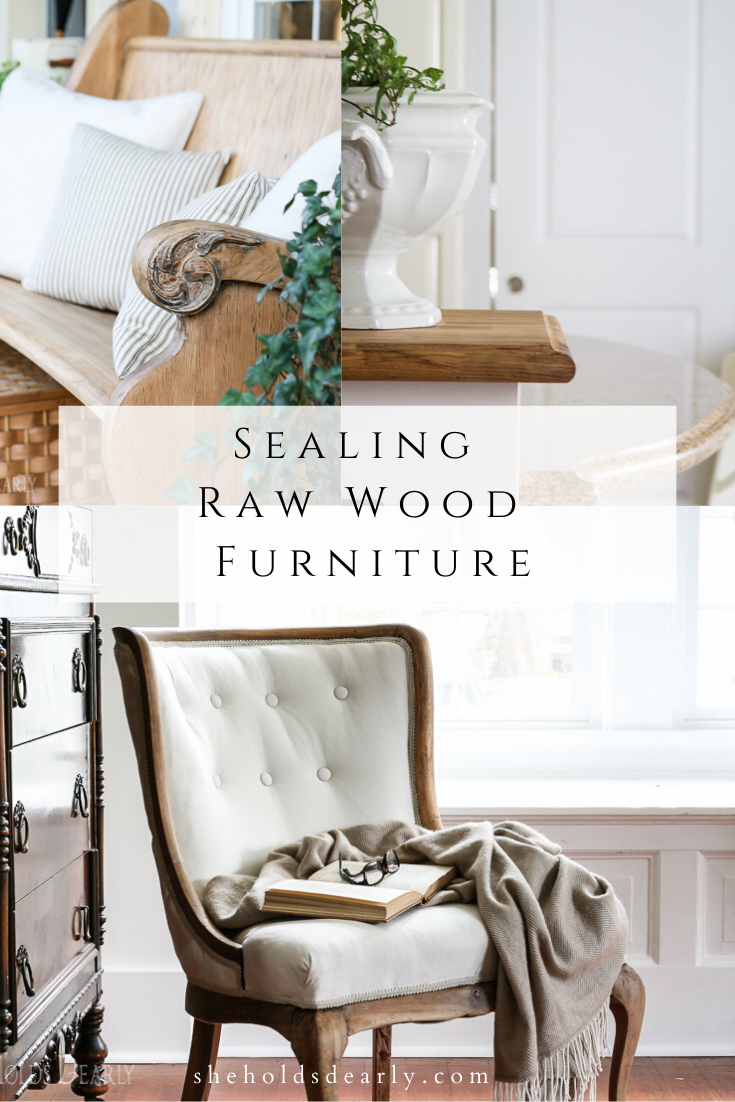
Sealing Raw Wood Furniture
Have you ever wondered the best process for sealing raw wood furniture – especially those pieces in high traffic areas or for outdoor use? This post is for you!
I am learning more and more to just LOVE the look of raw wood.
The way it coordinates with the soft gold metallic I use often in my decorating is just dreamy. And I’ve found it looks lovely with baskets…. and you know I love a good basket (or two!).
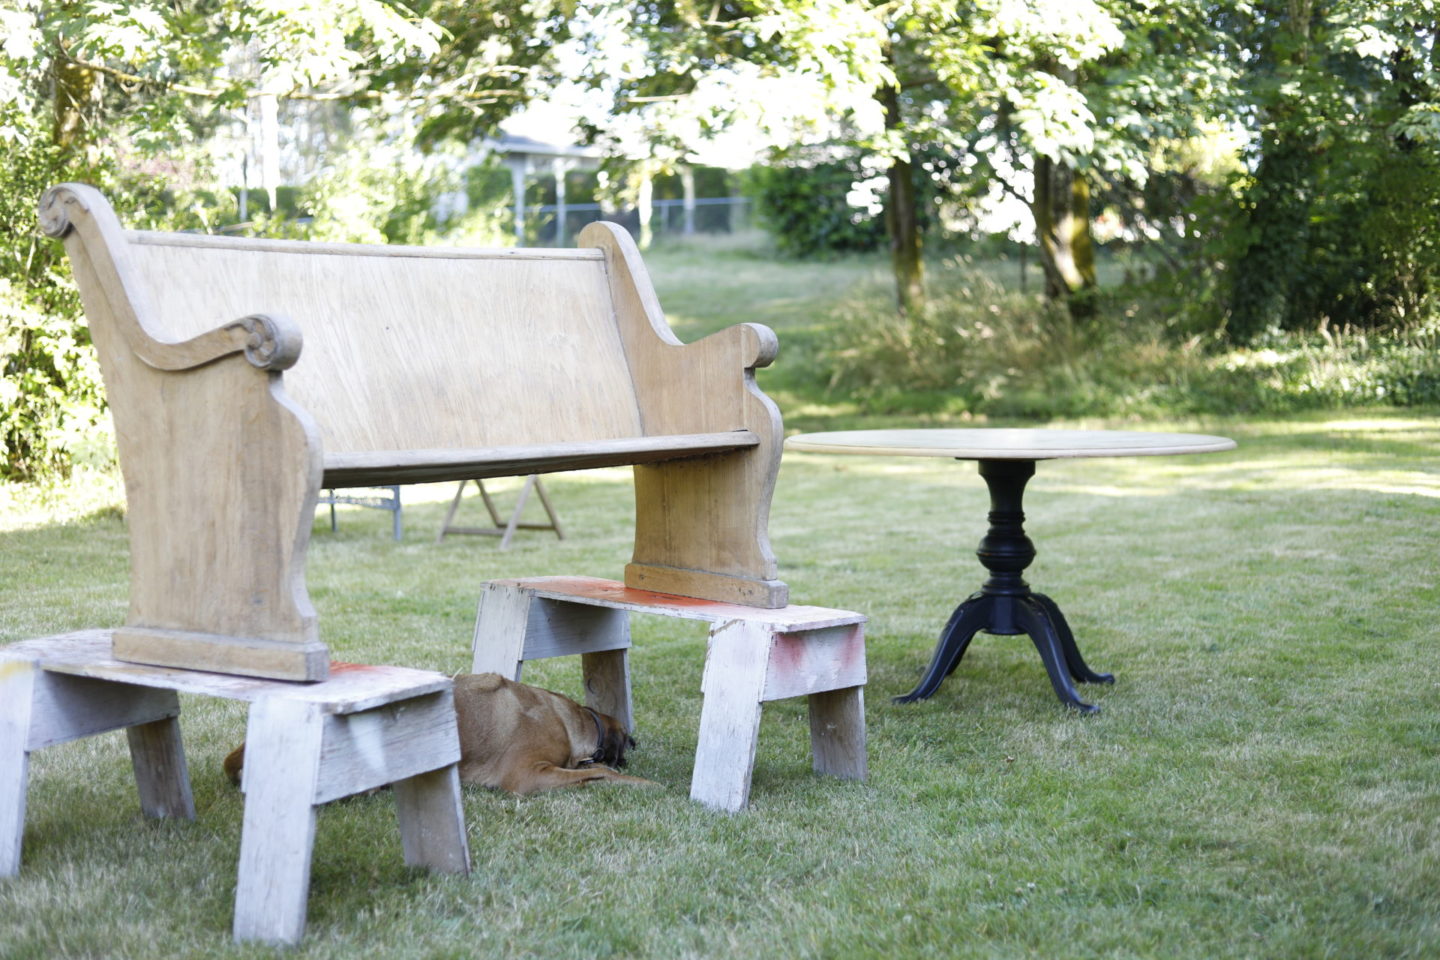
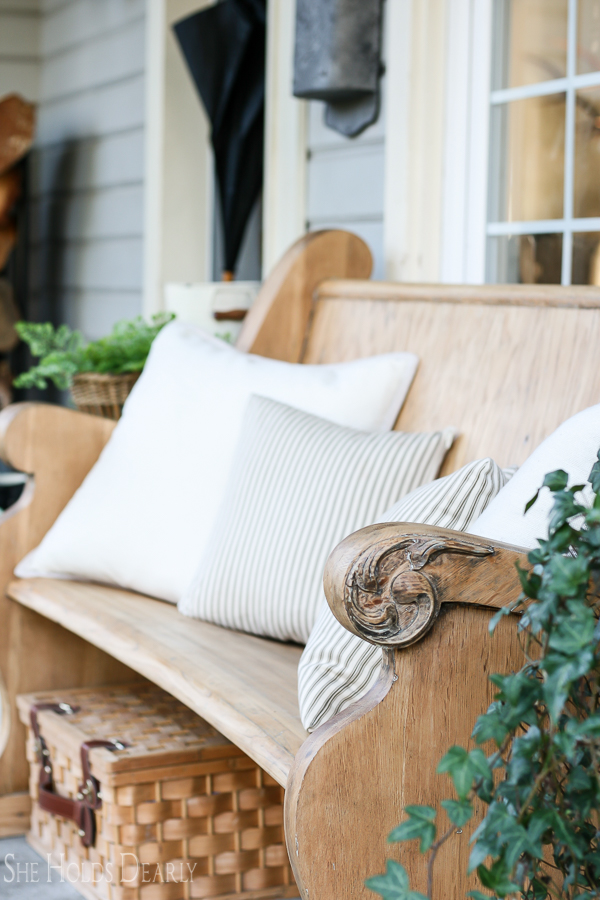
One of my favorite raw wood pieces is the church pew we have on our porch! It gets a lot of attention from our design community too, and the question I get asked the most is how I protect it while it lives outdoors on our porch!
It is a covered porch, so it’s decently protected from the elements themselves, but we’re in the Pacific Northwest, so you know that means in general that we do get a lot of rain and moisture – and that can and does have an affect on anything you leave outside.
While I had previous done a lighter duty protective coat, I thought it was time to add something a little more durable to keep this piece looking great for years to come.
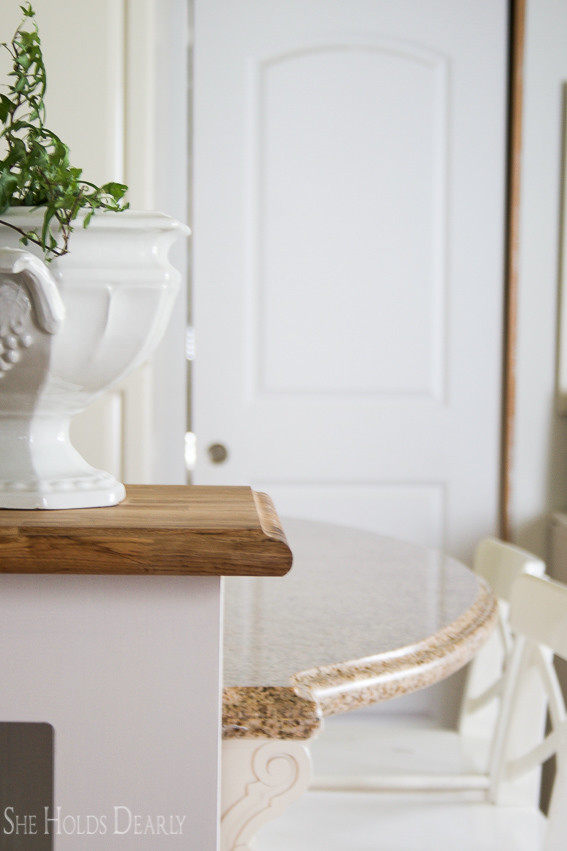
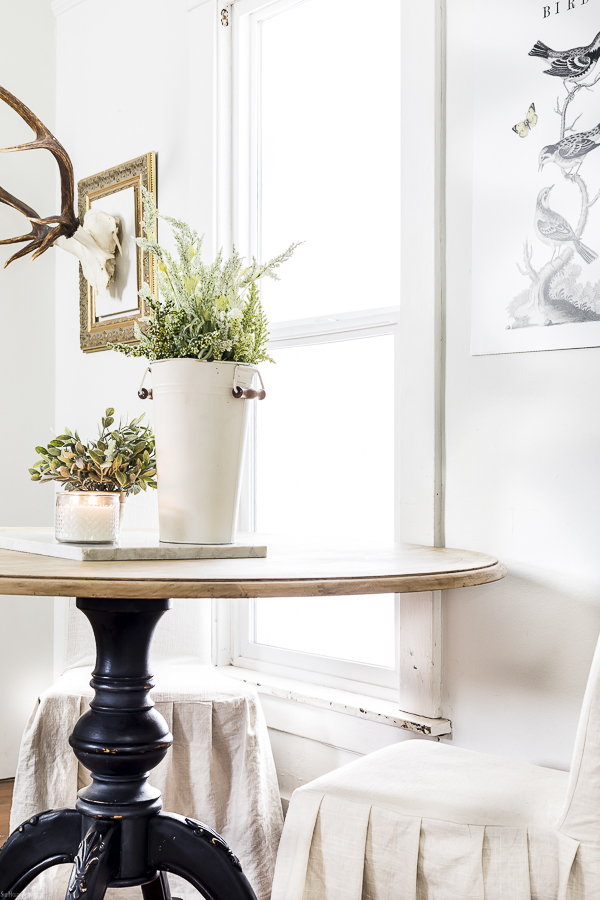
I also have a raw wood table that I wanted to give some more protection to.
Weather isn’t an issue with that one, but it’s a high use space and was seeing the effects of not being as cared for as it could have been.
In order to know how best to protect your items, I’d suggest grouping them into one of the following categories based on how they’ll be used in your home.
*This post contains affiliate links to products I know &/or love.
Light Duty Use
Light duty means that they’re protected from elements, and not used or bumped or moved often.
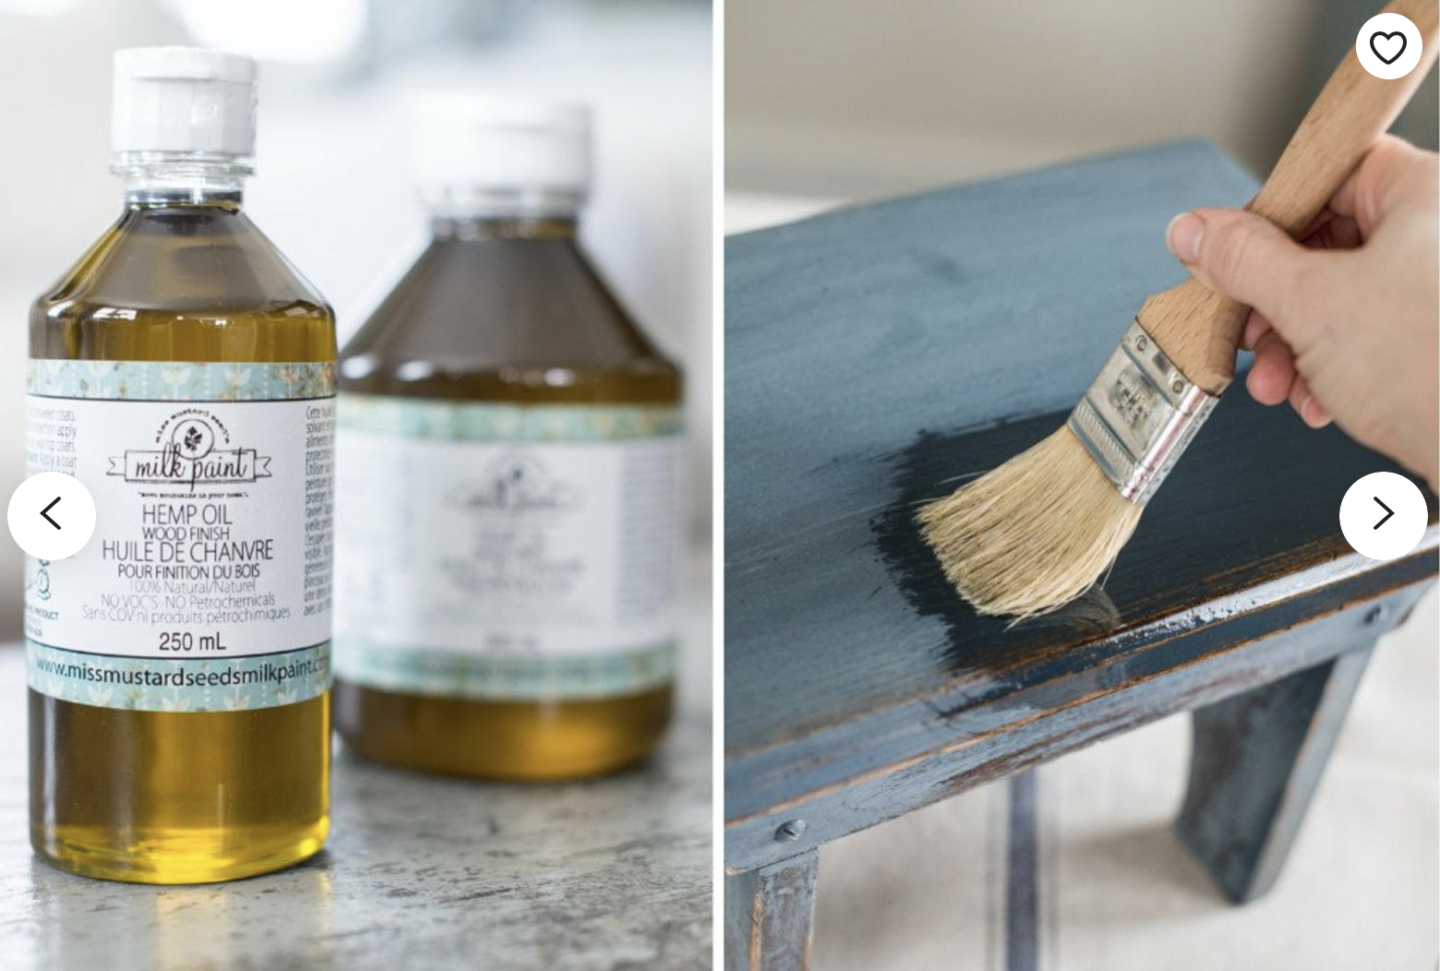
The product I’d recommend for light duty sealing of raw wood pieces is Miss Mustard Seed’s Hemp Oil.
One of the things I really like about it is that it does a good job of preserving the beautiful patina on my more vintage (or vintage look) pieces. Preserving the color is important to me, and this does a good job of that!
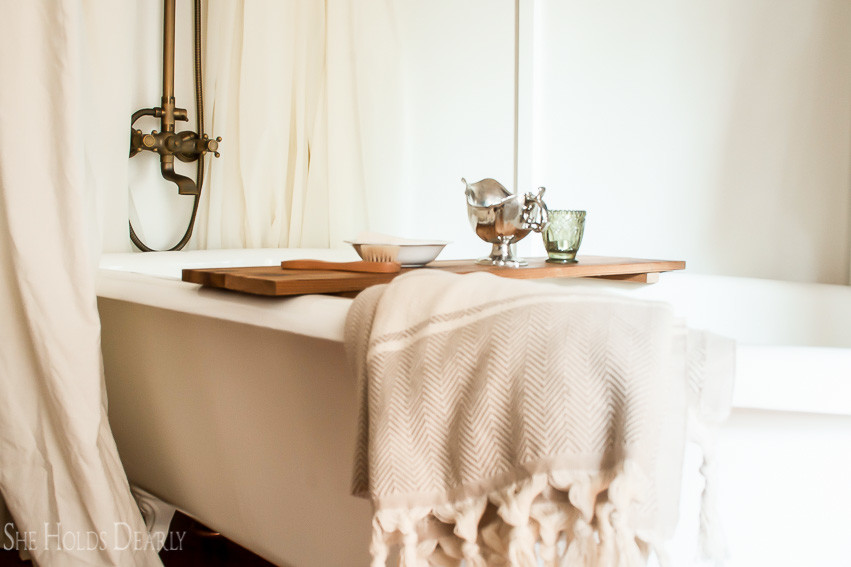
I used this hemp oil for our bathroom tub caddy that we made for our upstairs bathroom. It gets only gentle use and the oil has been doing a good job keeping this piece looking great!
Another place I’ve used it with good results is our butcher block counter in the kitchen.
This area is used more for decoration and not daily eating, and it’s held up well!
I reapply the oil about one time each year to keep these two items looking their best.
Medium Duty Use
I’d classify medium duty as something that gets a little more attention, but is still protected from the elements and harsh use.
For that, I’d suggest Annie Sloan Clear Wax, which you’ve seen me use quite often! I almost always use it as the final step of painted projects, but it works well on raw wood as well.
I’ve used it a few places in our home with good results!
It’s still looking fabulous on the frame of my french chair.
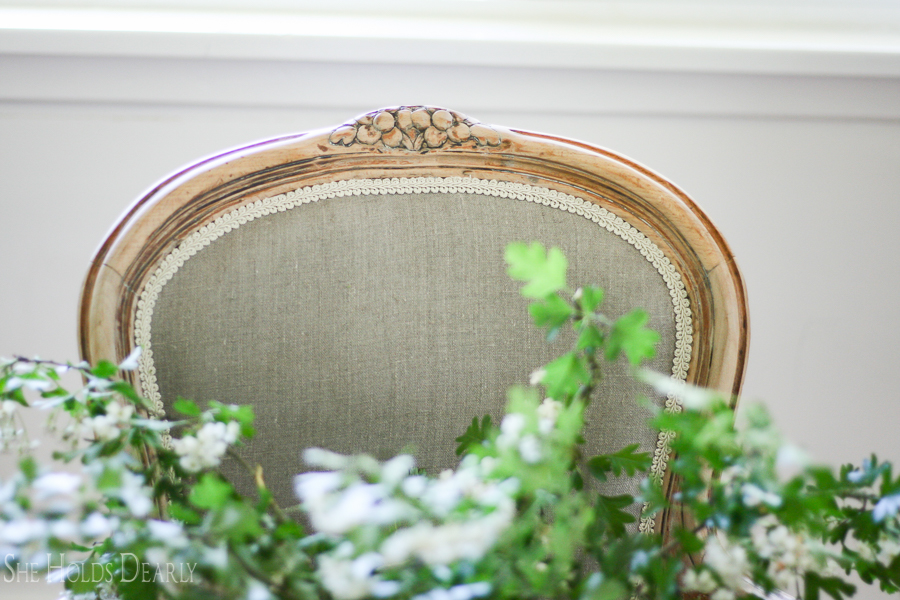

And the frames of my antique chairs…

Heavy Duty Use
This can be either pieces that will be susceptible to the elements outside, or the areas/items known as “high traffic”.
For me, both the pew on my porch and our dining room table fall into this category. I had previously treated them both with the clear wax coat I mentioned above for medium duty use, but it just wasn’t as protective as I needed it to be.
That sent me on the search for a better option for sealing raw wood for outdoor and heavy use.
The product we settled on was Spar Urethane, but before we could use that, we had to get our wood back to a true raw wood state, which meant removing the previous clear wax.
|Quick Note: I always suggest using satin finishes, and this urethane is no exception. Satin gives a much more vintage look than glossy and a much more finished look than matte – it’s the perfect middle ground. |
Prepping your Raw Wood to be Sealed
If the wood on your piece is already truly down to the raw wood, you can skip this next little section!
We, (my husband and I) on the other hand, had some work to do!
We found that TSP was a good first step in removing the wax clear coat.
We mixed 1 tablespoon of the TSP with 1 gallon of warm water and used rags to wipe it onto the table surface. After getting a good portion of the wax off that way, we realized there were a few more stubborn spots where we needed to use a scrubby pad to apply the diluted TSP.
Finally for the last spots, I used my iron trick (this works well for spilled candle wax, too!). Put a piece of paper down over the wax and iron with a HOT iron with NO steam. The wax should melt off the table and transfer onto the paper.
I found that changing the angle of my eyeline was helpful in finding the remaining wax spots, as well as closing my eyes and just feeling for it with my hands.
Lastly, to figure out if we were truly done, we splashed some droplets of water over the table. If they bead up – you know there’s still some removal work to finish. If they don’t bead up – you’ve struck raw wood! Hooray!
For the pew, we used a different product, Super Deck Revive by Sherwin Williams. As you can see from the name, it’s actually intended for decks, but it worked well on our bench!
Finally we were ready to begin the process of actually sealing our raw wood pieces.
This was my first time using the Spar Urethane, and I learned a few things which I should have paid closer attention to on the can!
First, don’t shake the can! It creates air bubbles in the clear coat and that causes imperfections in your finish.
Second, they recommend lightly sanding with a high grit sandpaper (220 Grit is my favorite!) between coats. I didn’t read that until I was almost finished – so I did not sand between my first few coats, but did before my final coat!

We used a large 3″ paint brush and a really convenient Wooster Paint Pail & Pail Liner that made it easier to carry around the clear coat than using the quart size can.
With stain, unlike with painting, you want to do a nice thin even coat for each layer. Before you dip your brush again, I’d challenge you to see if you can make another pass with what’s already on your brush – try it each time!
The last important tip is to follow the grain of your wood!
I hope these tricks help you the next time you’re considering sealing raw wood! I’d love to hear in the comments below what projects you’re working on!
Pin these tips for sealing raw wood for Later: