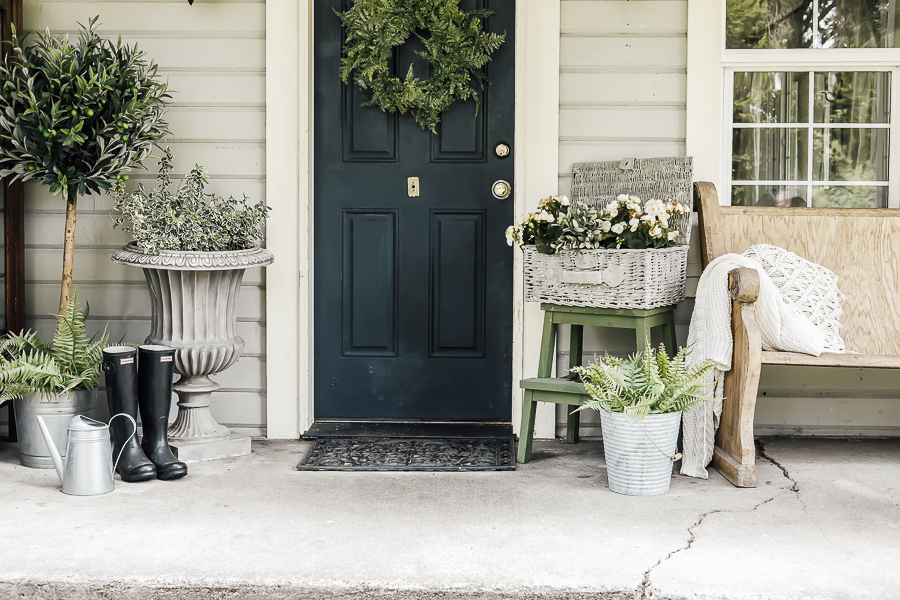
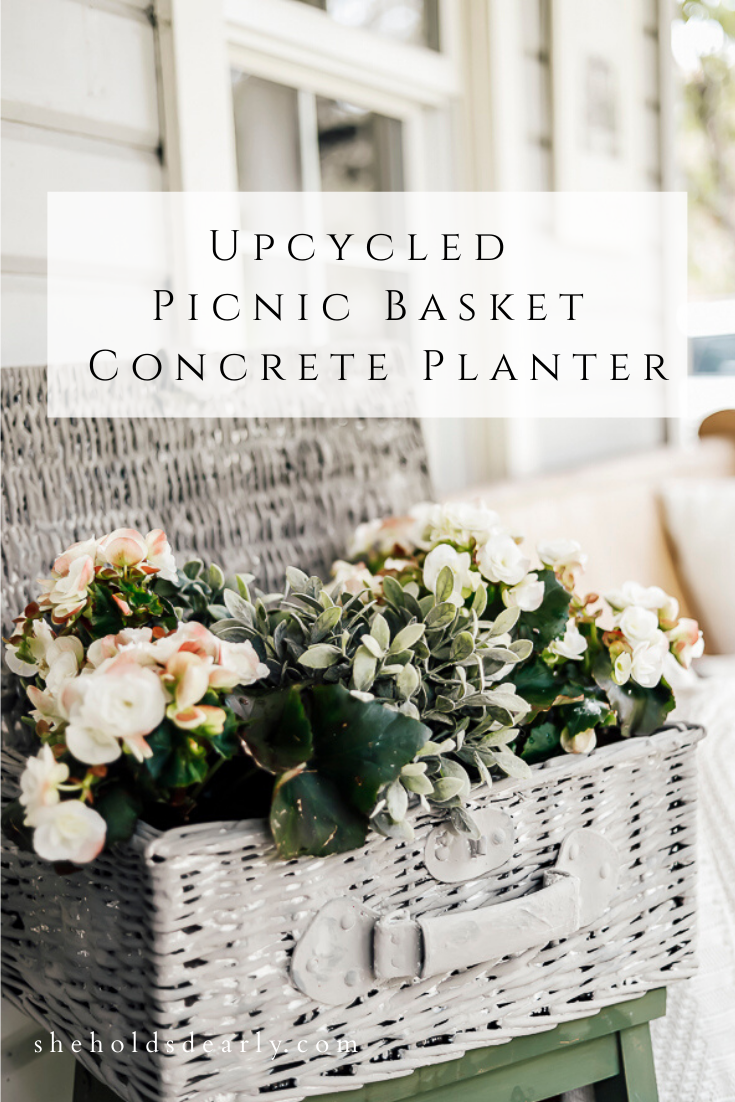
Upcycled Picnic Basket Concrete Planter
My fascination with faux concrete continues with today’s basket concrete planter!
A few months back I shared a fun tutorial “How to Make Faux Concrete Pots & Planters“, but in the back of my mind I still had an inspiration picture of another idea I had seen bouncing around, just waiting to be attempted!
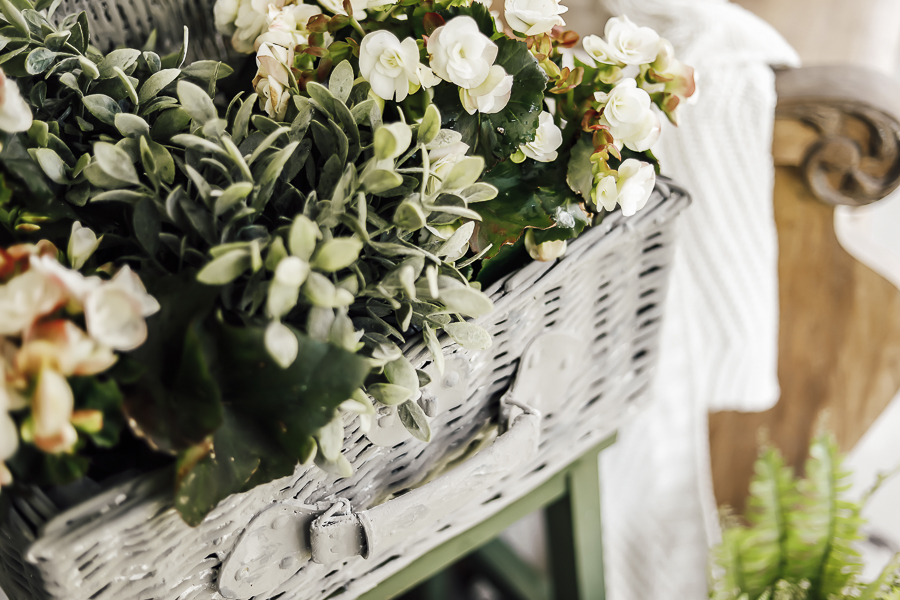
If you haven’t guessed it yet from the title, it’s an upcycled picnic basket concrete planter!
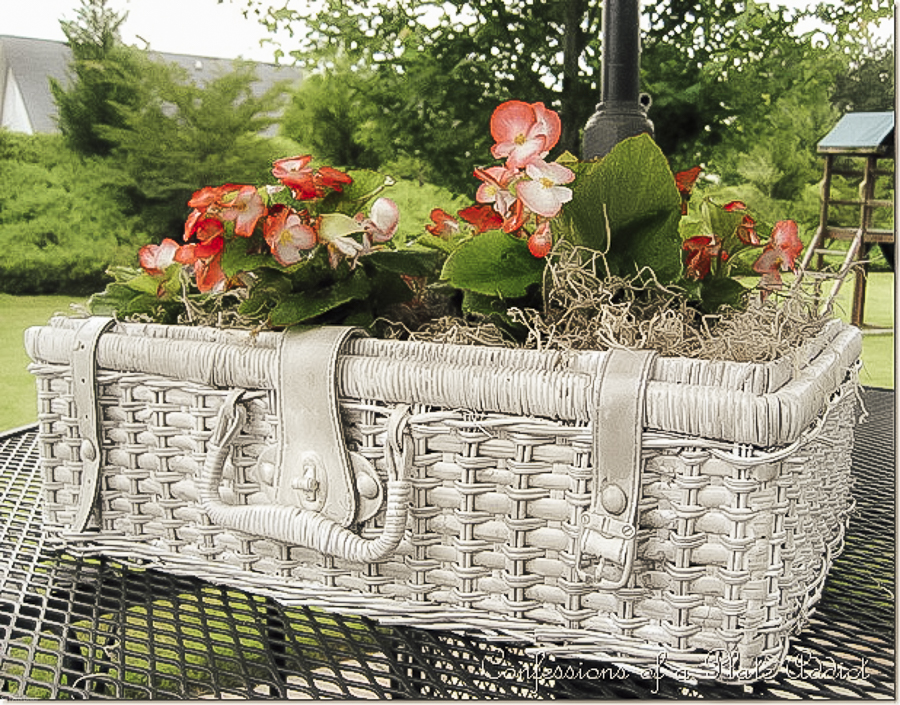
Here’s the inspiration picture I saw, shared by Debbie over at Confessions of a Plate Addict. It’s so darling and feels very french to me!
I absolutely love wicker picnic baskets, and I pick them up regularly when thrifting!
I’ve had one that has been sitting in our garage for about 15 years, and while it is still in pretty decent shape, I never cared much for the color, and figured that it would be a good one to experiment on.
Now I just know that painting over real wood and antiques (…and baskets) is seen as a horror to some in the design world – so please consider this fair warning if you count yourself in that camp!
I suggest you might want to cover your eyes as you finish this blog post!
I know some items have true value and charm that it is good to preserve, but I also believe that for me, if painting or changing an item gives it a new and useful extended life in my home – that’s the right decision!
Since this was a true experiment, I learned some things in the process, and my tips & tricks below will share both my original thoughts and what I ended up doing so that you have the best information available to you before you proceed and try this at home!
*This post contains affiliate links to products I know &/or love.
Supplies for your faux basket concrete planter:
- Wicker Basket | I used a thrifted picnic basket I had on hand, but this process could be done with any shape of wicker basket! Keep in mind that if you want to use it for a planter – it just needs to be a size and shape that will accommodate soil & plants! Here is an option for a more simple style from Amazon. And Here is another that looks similar to mine, but is a bit pricier! If you can find one at a thrift store or yard sale, you’ll save quite a bit!
- Plaster of Paris |optional – see notes below
- Gloves | if you chose to use the plaster of paris
- Paint Brush | I used a basic 1 1/2″ brush I had laying around
- Grey Paints (Light & Dark Shades) | I used : “Dove Tail” by Folk Art, & Annie Sloan “French Linen”
- Clear Coat | If you are planning to leave this on an uncovered porch or put it in the garden, you’ll want something to help protect it from the elements. I knew mine would be protected on our covered porch, so I skipped this last step.
- Plastic to line the basket
- Soil
- Plants
The process for adding a faux concrete finish:
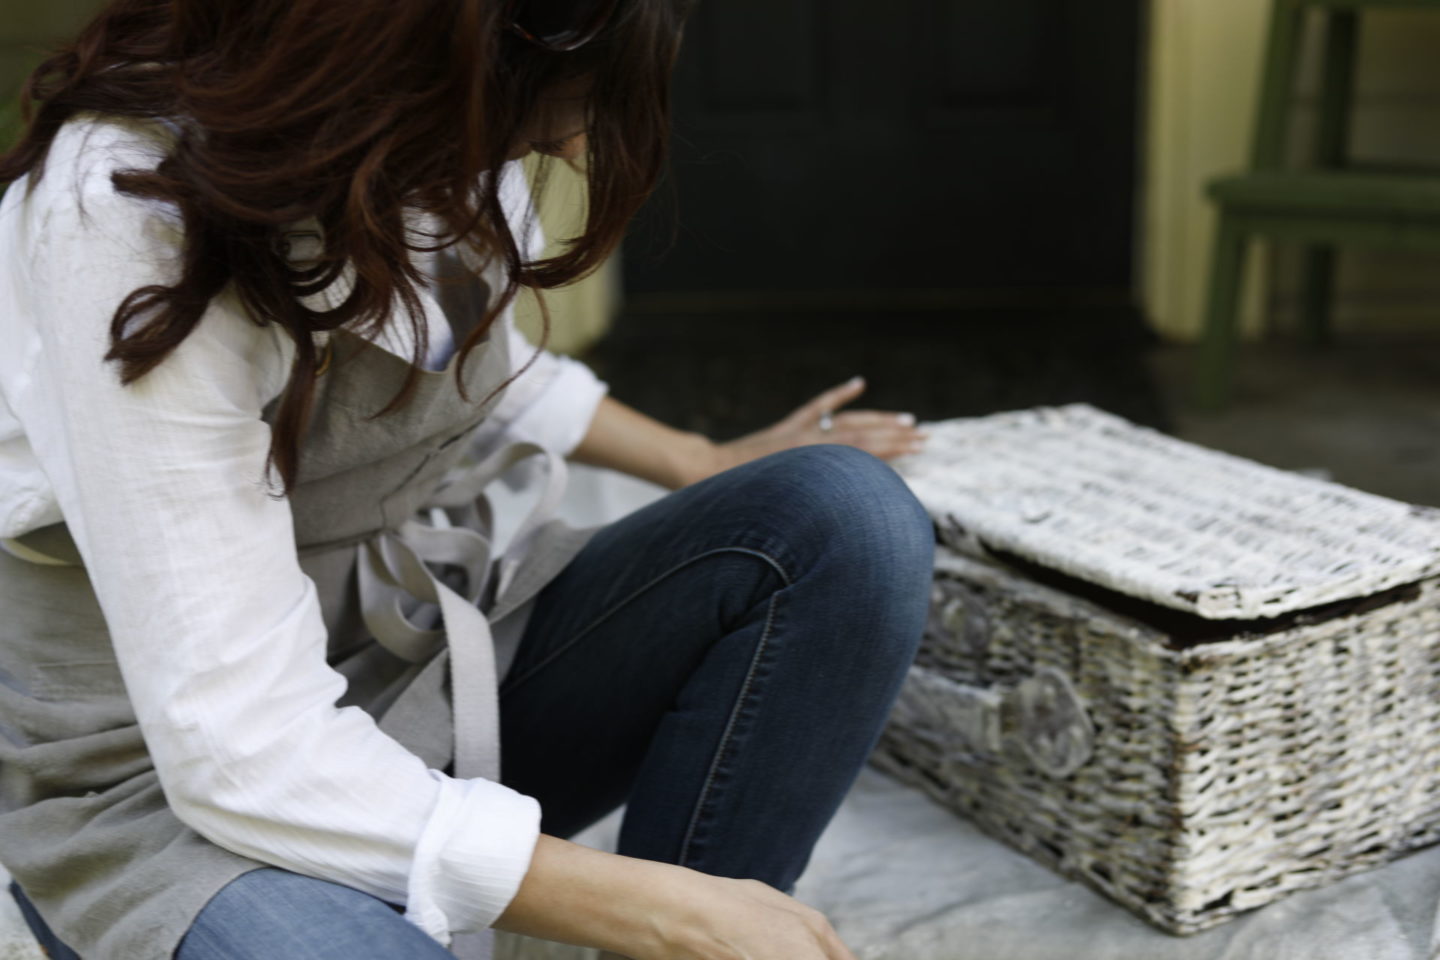
Step Number One | Prep your Basket
For me, this meant removing the inner fabric liner. I pried back the edge and was able to easily cut the fishing line that had sewn it onto the wicker.
Step Number Two | Add Texture if desired
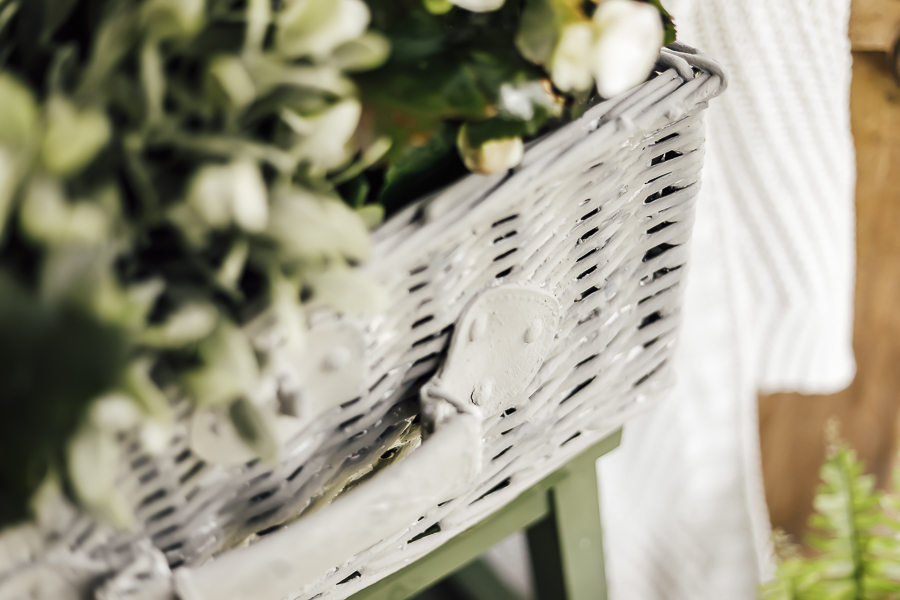
Similar to how I added texture to the pots in the faux concrete tutorial listed above, I brushed on a layer of plaster of paris to the entire basket (including the hardware!)
Plaster of paris is easy to use, but it does have lye in it – so you should always wear gloves when working with it!
Mix the plaster of paris powder with cold water until it forms a pancake batter consistency.
Then you can use either a putty knife or a regular paint brush to apply it to the basket.
This was one of the places where I changed my mind after I finished my basket. I added the plaster of paris layer to the faux concrete pots that I did, because they were pretty smooth and really needed the extra dimension.
Because the basket is already chalk full of texture, I easily could have skipped the plaster of paris step and gone straight to painting!
It’s up to you to decide if you would like extra texture or not when doing yours!
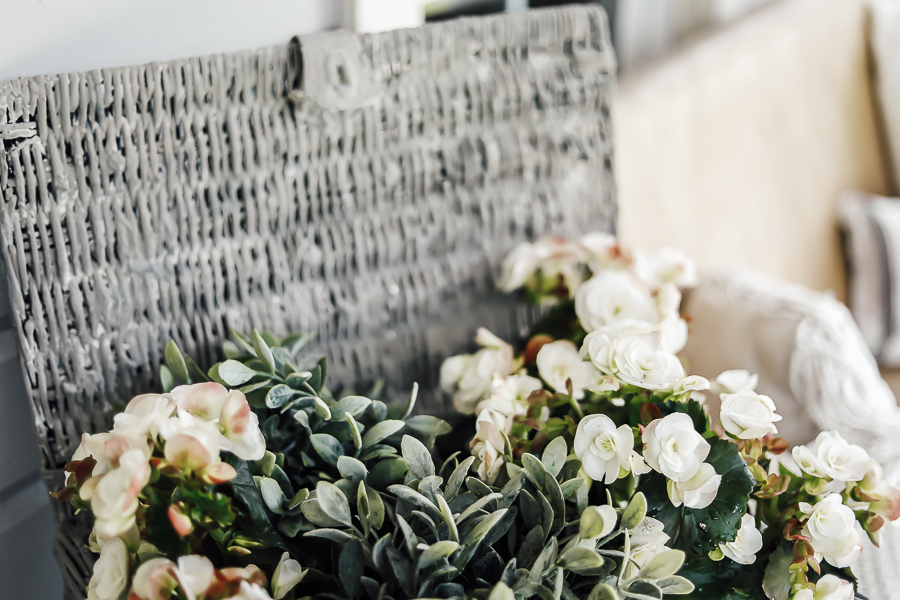
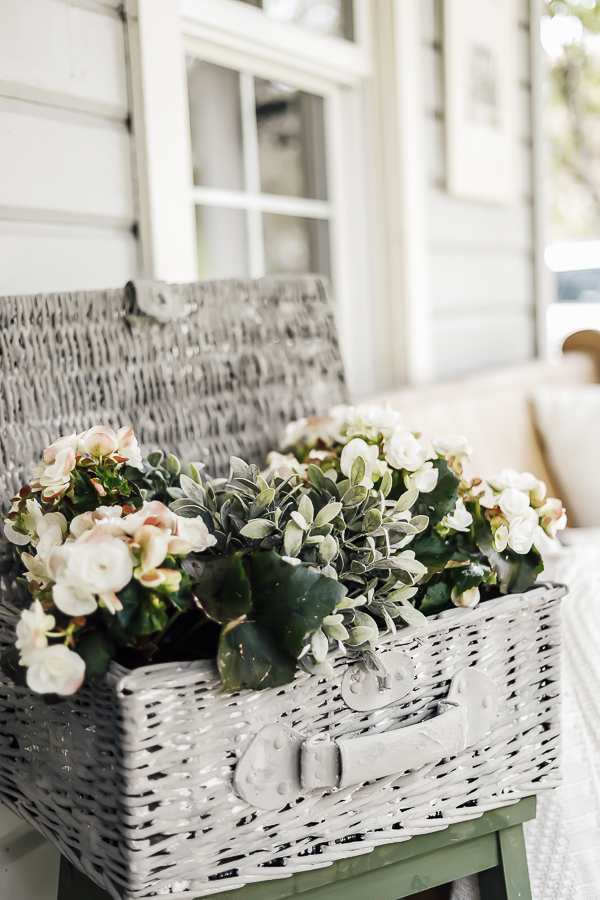
Step Number Three | Paint Your First Coat in the lightest grey shade
Cover the entire basket in your lightest gray paint – using your brush bristles to carefully get within all of the nooks and crannies (and with wicker, there are plenty!).
Step Number Four | Dry Brush your darker grey paint
Use the dry brush technique to add some depth with your darker grey shade.
If you’ve never used a dry brush technique before, here’s how to do it:
- Dip just the very tip of your clean brush into your paint – you don’t want any saturation on/in the brush.
- Use a “X” pattern back and forth across the surface of your basket to spread the darker grey over the lighter color giving some dimension without covering the entire surface.
- If you need an even smoother application, dab the brush onto a clean paper plate or other paint safe surface before starting on the basket so that the first stroke isn’t more paint filled than the others.
- Once the brush doesn’t seem to be making any difference, dip just the tip back into the paint and start again!
Another one of the things I changed from my original plan was that as I was dry brushing on the Annie Sloan “French Linen“, I realized how much I liked the color, and I changed from the dry brush technique to giving the entire basket a full coat in the darker grey!
Shop this look
[show_shopthepost_widget id=”4094977″]
Step Number Five | Add Clear Coat if applicable
If you’re planning to use your piece outside or on an uncovered porch/deck, I’d suggest using a protective clear coat of some kind! I did not do this step, so I do not have a reccommended product!
If you know of one that would work well, please share it in the comments below.
Step Number Six | Line your basket with plastic
I used a garbage bag I had on hand, but a heavy mil plastic would work well, too!
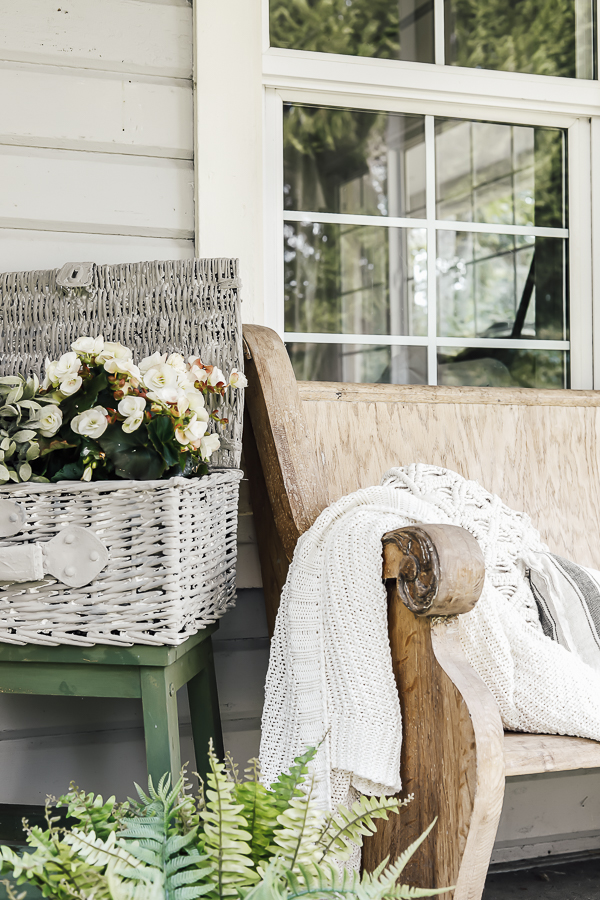
Step Number Seven | Add your soil and flowers!
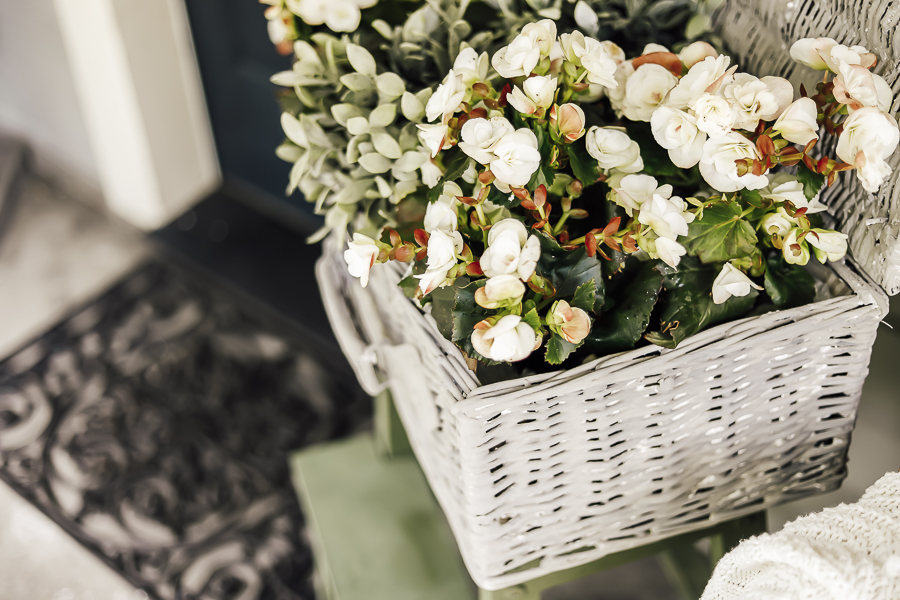
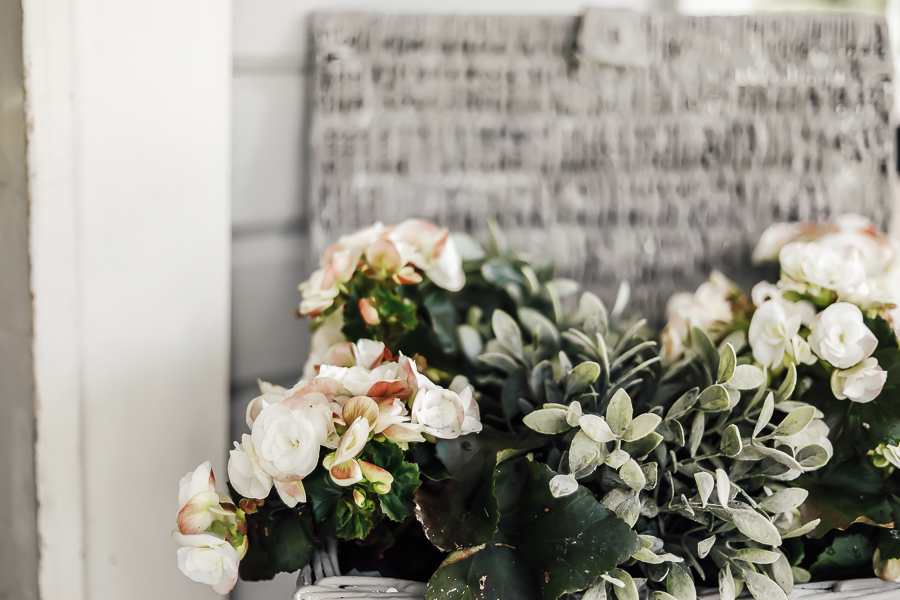
I used “Clara” begonias which are a beautiful white variety! I only had 3 plants, so that is what I used, but I could have easily fit 5. I tipped them a little bit toward the outsides of the basket to help give the appearance of fullness.
And I also added in some of my favorite faux IKEA Plants, “FEJKA” to fill in the gaps until later this summer when the begonias fill in a little more.
I’ve heard that begonias can survive over winter if brought inside, so this planter might make it’s way indoors to become part of my fall decor this year!
Recap:
Overall, I wouldn’t consider this my favorite DIY project, but I’m glad that I did it and learned some things in the process!
I think a bit part of the adventure of DIY is to keep trying new things and to keep learning!
As I said before, my fascination of faux concrete brought me here, but I don’t think this will be the end! I’ve already been thinking about maybe trying to make some faux concrete pinecones this winter for Christmas, and maybe Faux concrete shells next summer…
I’d love to hear your ideas of other things that might be improved with a faux concrete finish!
Thank you for learning and going on this DIY adventure right along with me!
Pin this for Later:
Until next time,


