Tips on How to Organize A Craft Room
I have a feeling that the creative group here will be as excited about I am about I was able to organize my entire craft room.
Have you ever felt like your creative space had gotten a little out of control? When I mention creative spaces, I’m talking about everything from your craft/hobby supplies, to where you wrap your presents.
These spaces often have lots of elements within them, and it’s far too easy for them to take on a mind of their own! This post will be all about corralling those supplies into both functional AND beautiful spaces.
Think of how your crafting supplies would look in a vintage candy store. That’s what we’re going for.
In order to do this, I’m going to let you into a part of our house that I don’t often share publicly! I’ve shared some sneak peeks on Instagram, and I did a full tour recently with my Behind the Scenes gals during classes I taught about editing (decluttering) and designing craft spaces, but otherwise, you probably won’t have heard or seen much about this closet!
*This post contains affiliate links to products I know &/or love.
First Things First, Define Your Space:
An important part of this process is making sure your space is defined.
In our house, we happen to have a spare closet to dedicate to this, for some of you, it might be an entire room, or for others, you might simply have a drawer or shelf, and that’s OK! These ideas I’ll be sharing can be modified for whatever size space you have available.
Collect Your Containers:
You know me and how much I love containers! They’re a big part of my shopping list as I’m out thrifting, and this is no exception! The key to having a pretty space that is also functional is to have a place for every item to be put away.
This simple rule allows you to find things so much easier, and to put them back away when you’re finished! When you have a pretty space for your crafting, it’s such a great motivation to keep it looking nice after each project.
I haven’t done a true “Styling Thrifted Finds” post in a while because I was getting a little tired of my local thrift stores, but now that garage sale season is kicking off, I’ll be back to incorporating my thrifted finds into my YouTube videos and blog posts as often as I have new treasures to share!
These are the types of containers I’d suggest you grab while you’re out thrifting for the vintage inspired organized craft room:
You’ll see more how I use each of these down below when I do the big reveal!
- Office Supply/Desk Organizers
- Wooden Paper Desk Trays
- Wooden Spools
- Any size lidded glass jar
- Wire baskets & lockers
- Glass Bottles
- Tin Pails
- Baskets & Crates (especially with lids and/or handles)
As a tip, if you have a small space you’re working with, keep an eye out for rectangles and squares in your items like baskets and crates. They’ll allow you to stack and fit items together better than circular or oval baskets will when every inch matters!
I have enough space on my shelves that I am able to tolerate a little “wasted” space between containers, so you’ll see buckets and circular glass jars aplenty.
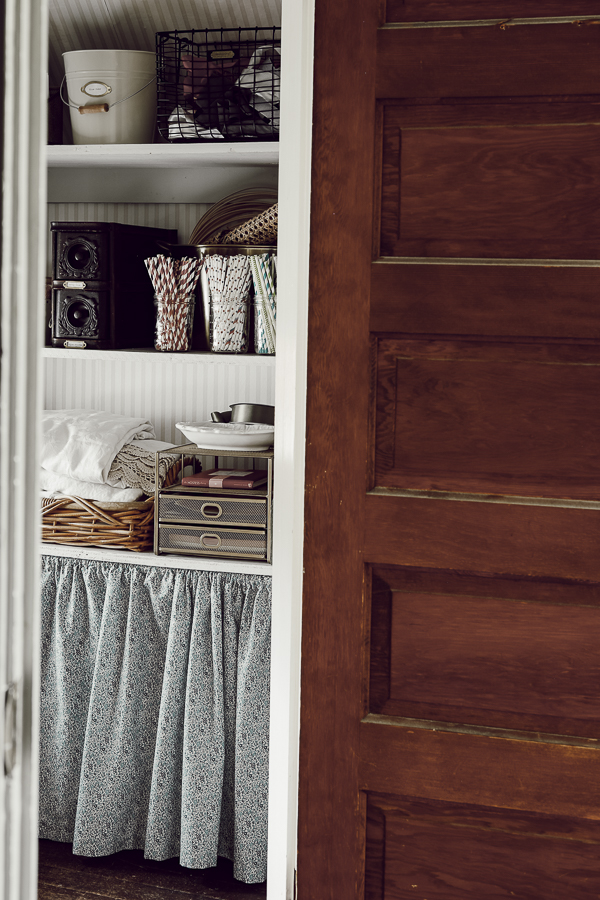
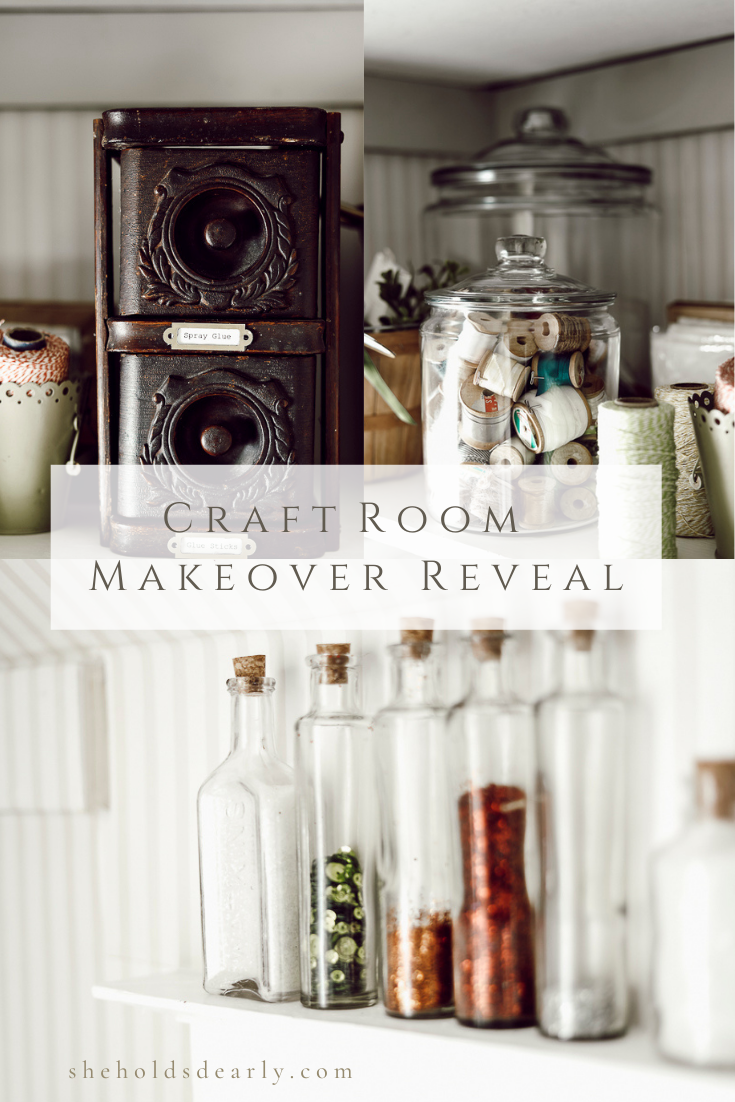
The Organized Craft Room Reveal:
And here’s how I went about organizing my supplies within my craft closet:
I have an office organizer with all of my cutting tools, like my hole punches and x-acto knife.
A wire basket with my larger loose ribbon pieces inside, great for wrapping or accenting presents or around a vase of flowers.
My glue gun & extra hot glue sticks are all together in a metal tin bucket that I can easily grab when I need it for a project.
I have extra greeting cards for birthdays and holidays in an office paper holder ready for specific occasions.
A small glass jar with my alphabet stamps and a wire bread basket for my ink pads. I got the basket in a free box at a garage sale!
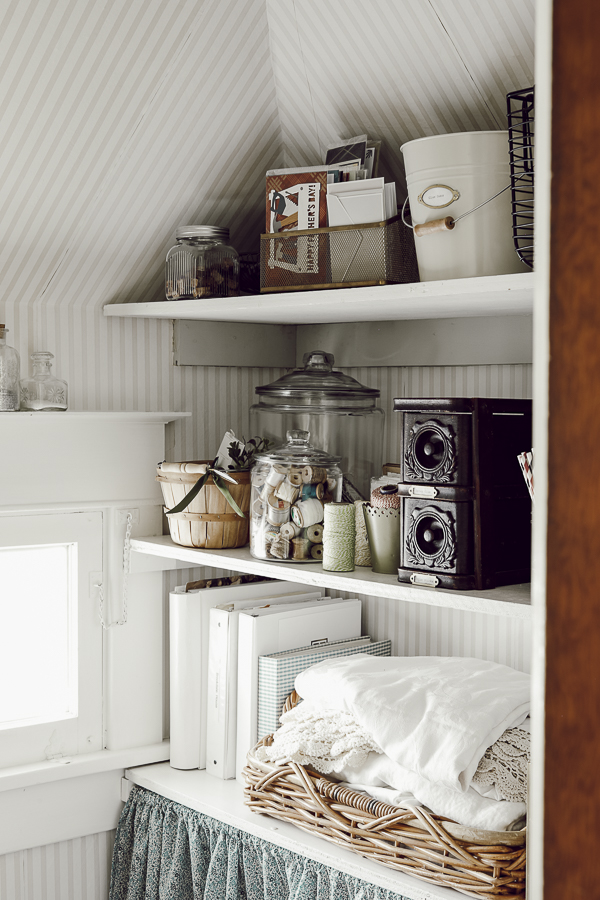
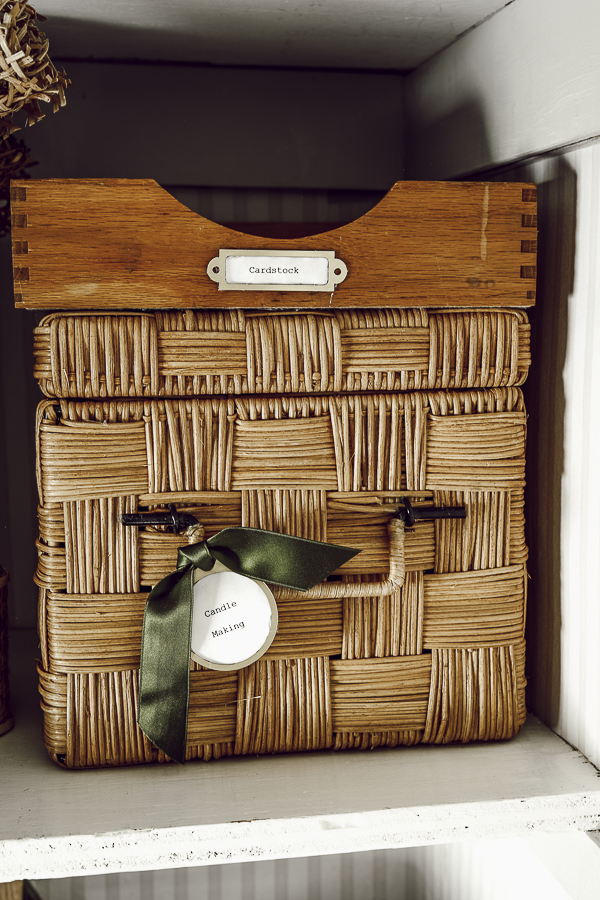
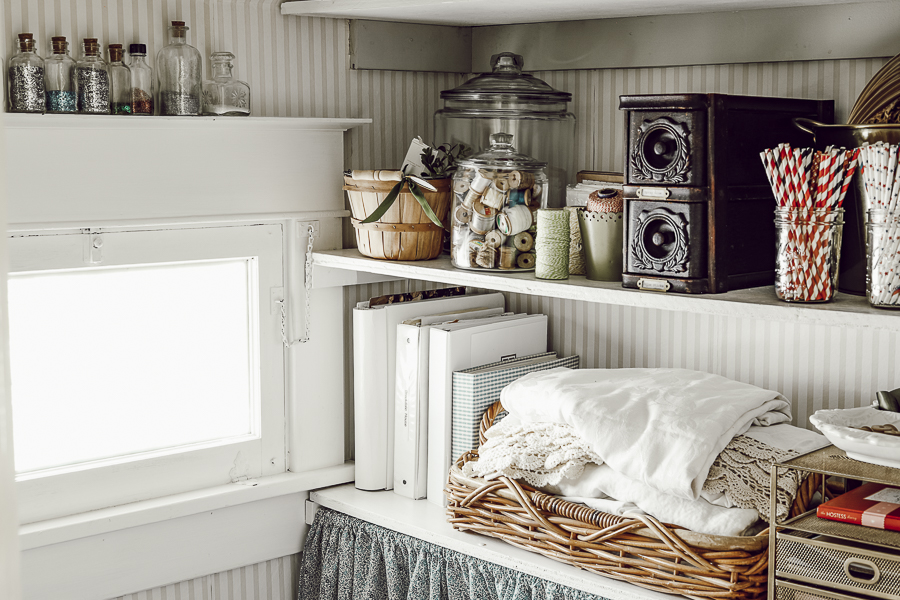
The next shelf has my candle-making supplies in a lidded basket and a wooden paper organizer with some of my spare cardstock.
Next to that I have some of my caning & reed pieces that I’ve used before to upcycle plain glasses into vases for floral gifts & DIY candles.
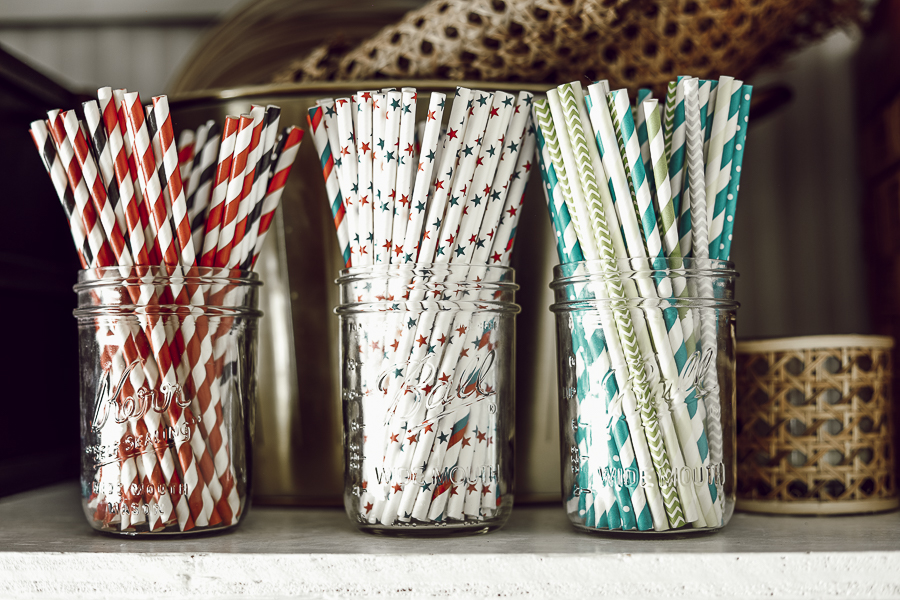
Then my selection of cute straws for parties.
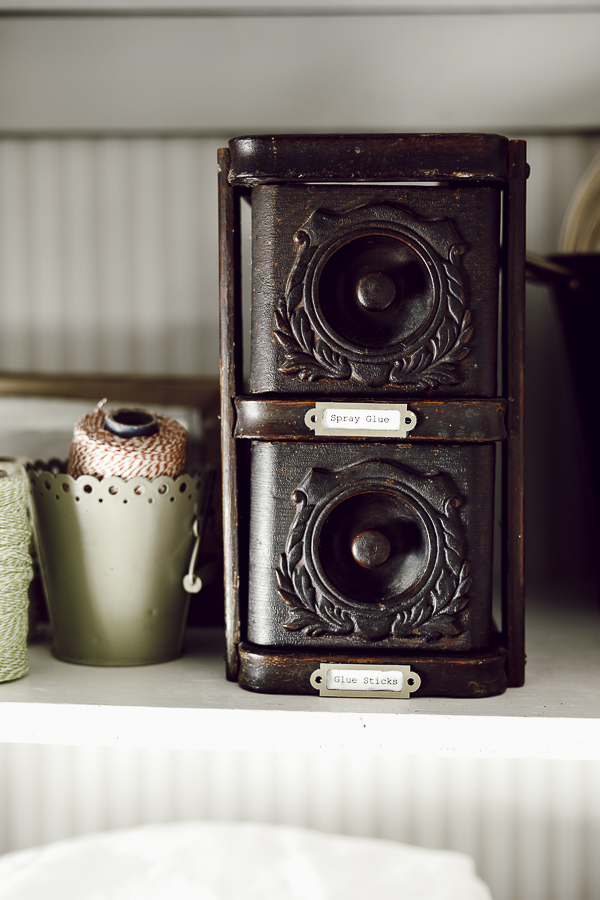
Beside that I have a cute set of drawers from an old sewing machine that hold my spray glue & spare glue sticks.
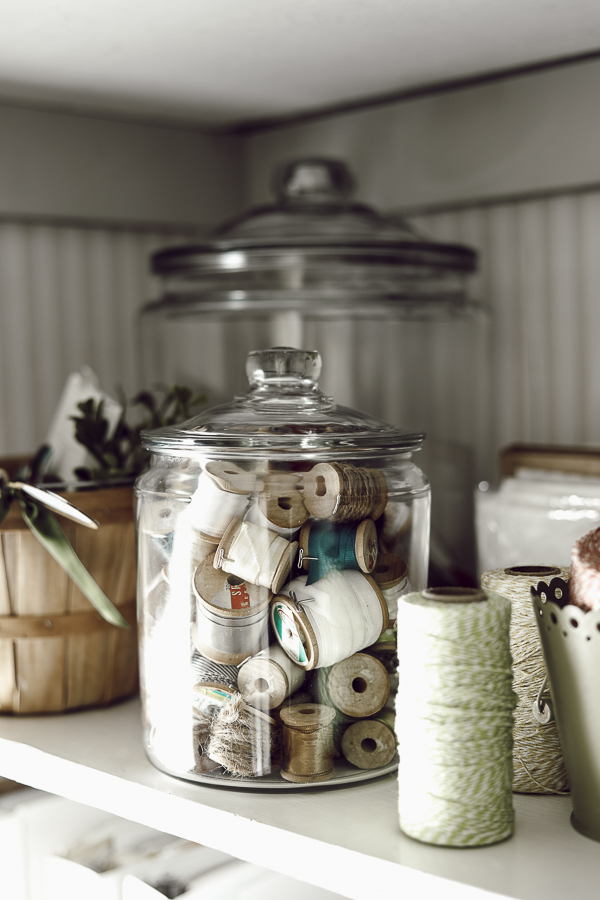
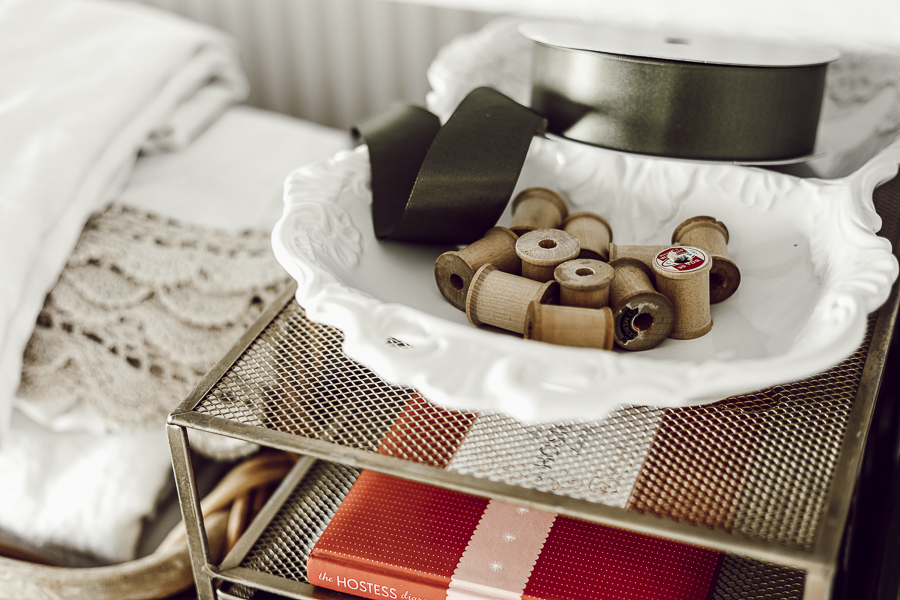
In pretty containers next to that I have my spare bakers twine, labels and tags, and a glass jar with wooden spools that I was able to wrap my smaller ribbons onto.
In the corner I have my larger gift tags and other cute embellishments that I like to add onto gifts for a special touch.

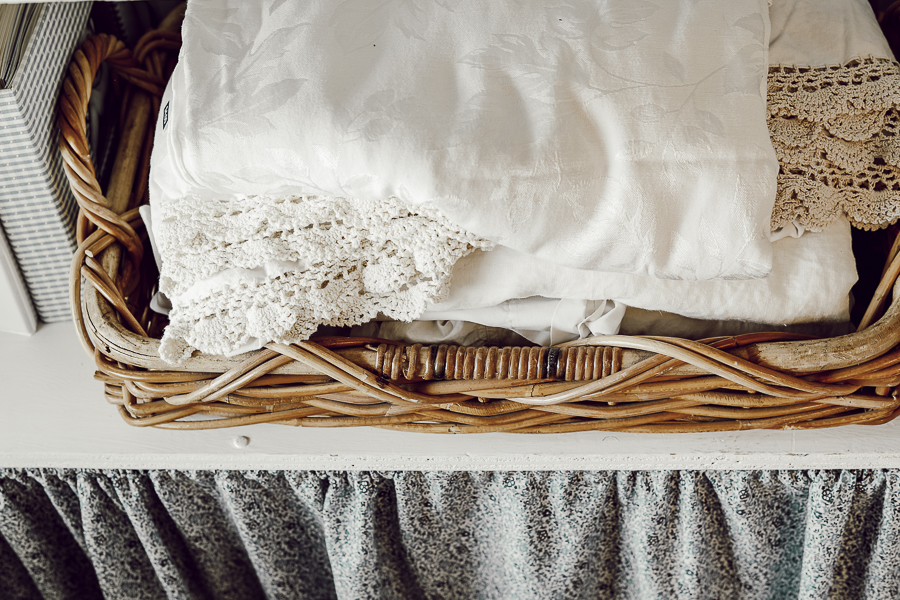
The next shelf holds some photo albums and other binders with house-related information and some of my spare linens that I use for photography & as tablecloths for parties.
On top of the window, you can see my collection of glitter displayed in pretty glass jars. One of them is a Watkins vanilla bottle that I found at an antique store, which is my favorite because my mom always bought real vanilla from them at the fair.
My pretty golden office organizer holds some of my colorful cardstock and some spare ribbons and spools.
In the toolbox my son made for me I have my selection of crepe paper! I think it adds such a fun vintage touch and you’ll see it included in just about every party I throw!
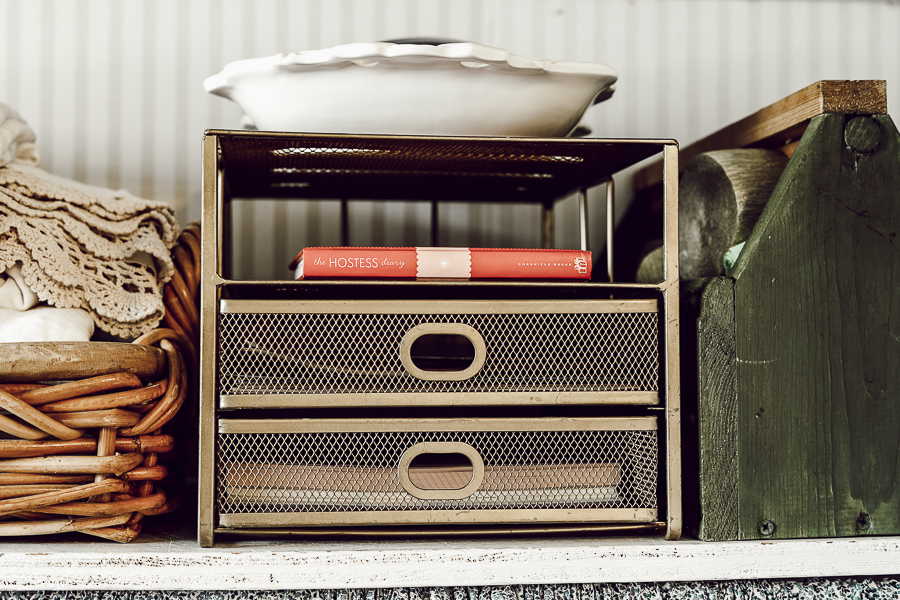
I also keep a hostess journal where I take quick notes after parties we’ve thrown to remember what worked and what did not.
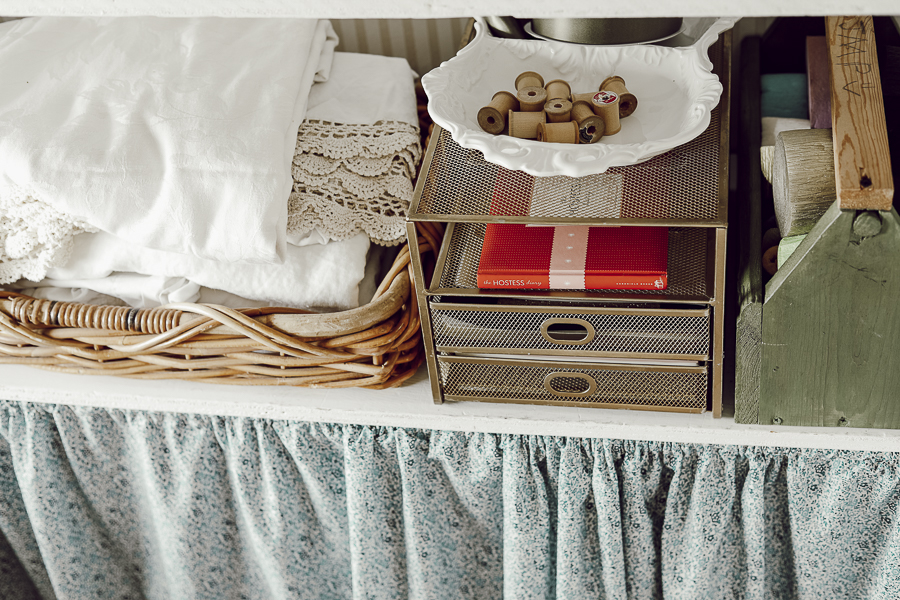
The curtain at the bottom shelf I made from a new fabric line at Joanns of faux silk called Liberty Fabrics Katie and Millie Tana Lawn Fabric. It’s new and therefore a bit pricy, and not yet eligible for most coupons. But keep checking back!
The curtain hides some of the less attractive items that need storing like spare toilet paper for the bathroom across the hall, and unwrapped presents that I’m waiting to gift, and a tote bin with my sewing fabrics.
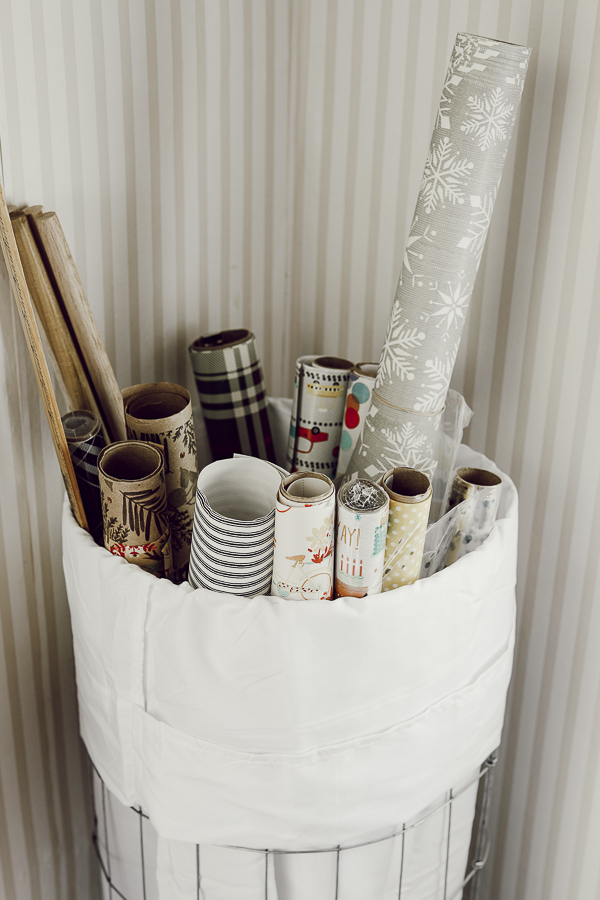
On the opposite wall, I have one of our DIY laundry hampers to hold our wrapping paper and other long items like dowels and my yardstick.
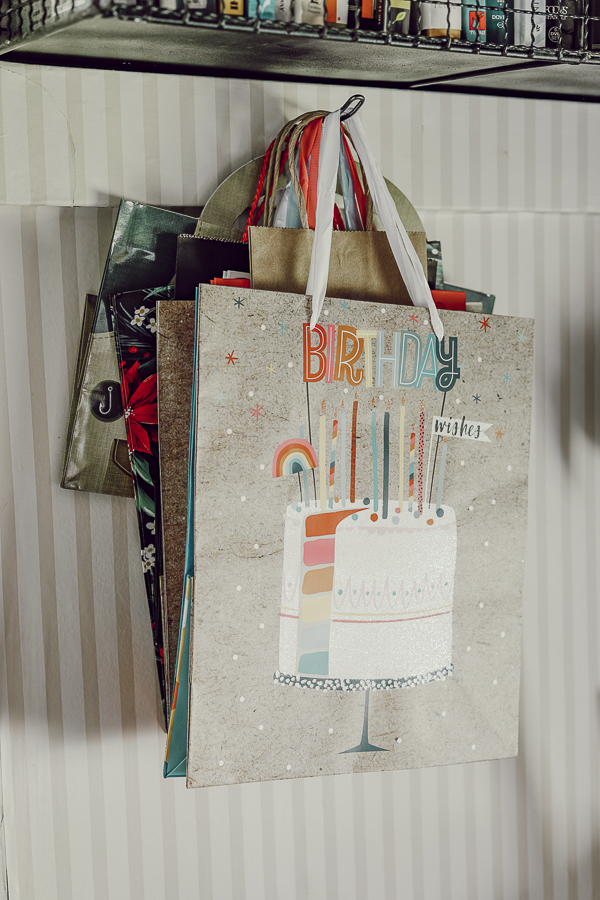
Next to that I have my spare gift bags, and below that, a bag with all of my folded tissue paper, organized in rainbow order to make it easier to find what I need when I need it!
At the top of this wall I have a cute wire book shelf basket that I keep my “lending library” of books about Christianity and faith that I often recommend and loan to friends. If you’re curious about the titles I have there, most are linked in my Amazon Store!
I hope you’ve enjoyed this peak into my “candy store” craft closet, and that it’s given you inspiration and motivation to tackle your own area if that’s something you’ve been wanting to do!
I’ve learned that having my craft room all organized has made it so much easier to keep it clean!
Pin these Tips on How to Organize a Craft Room:
xoxo,


