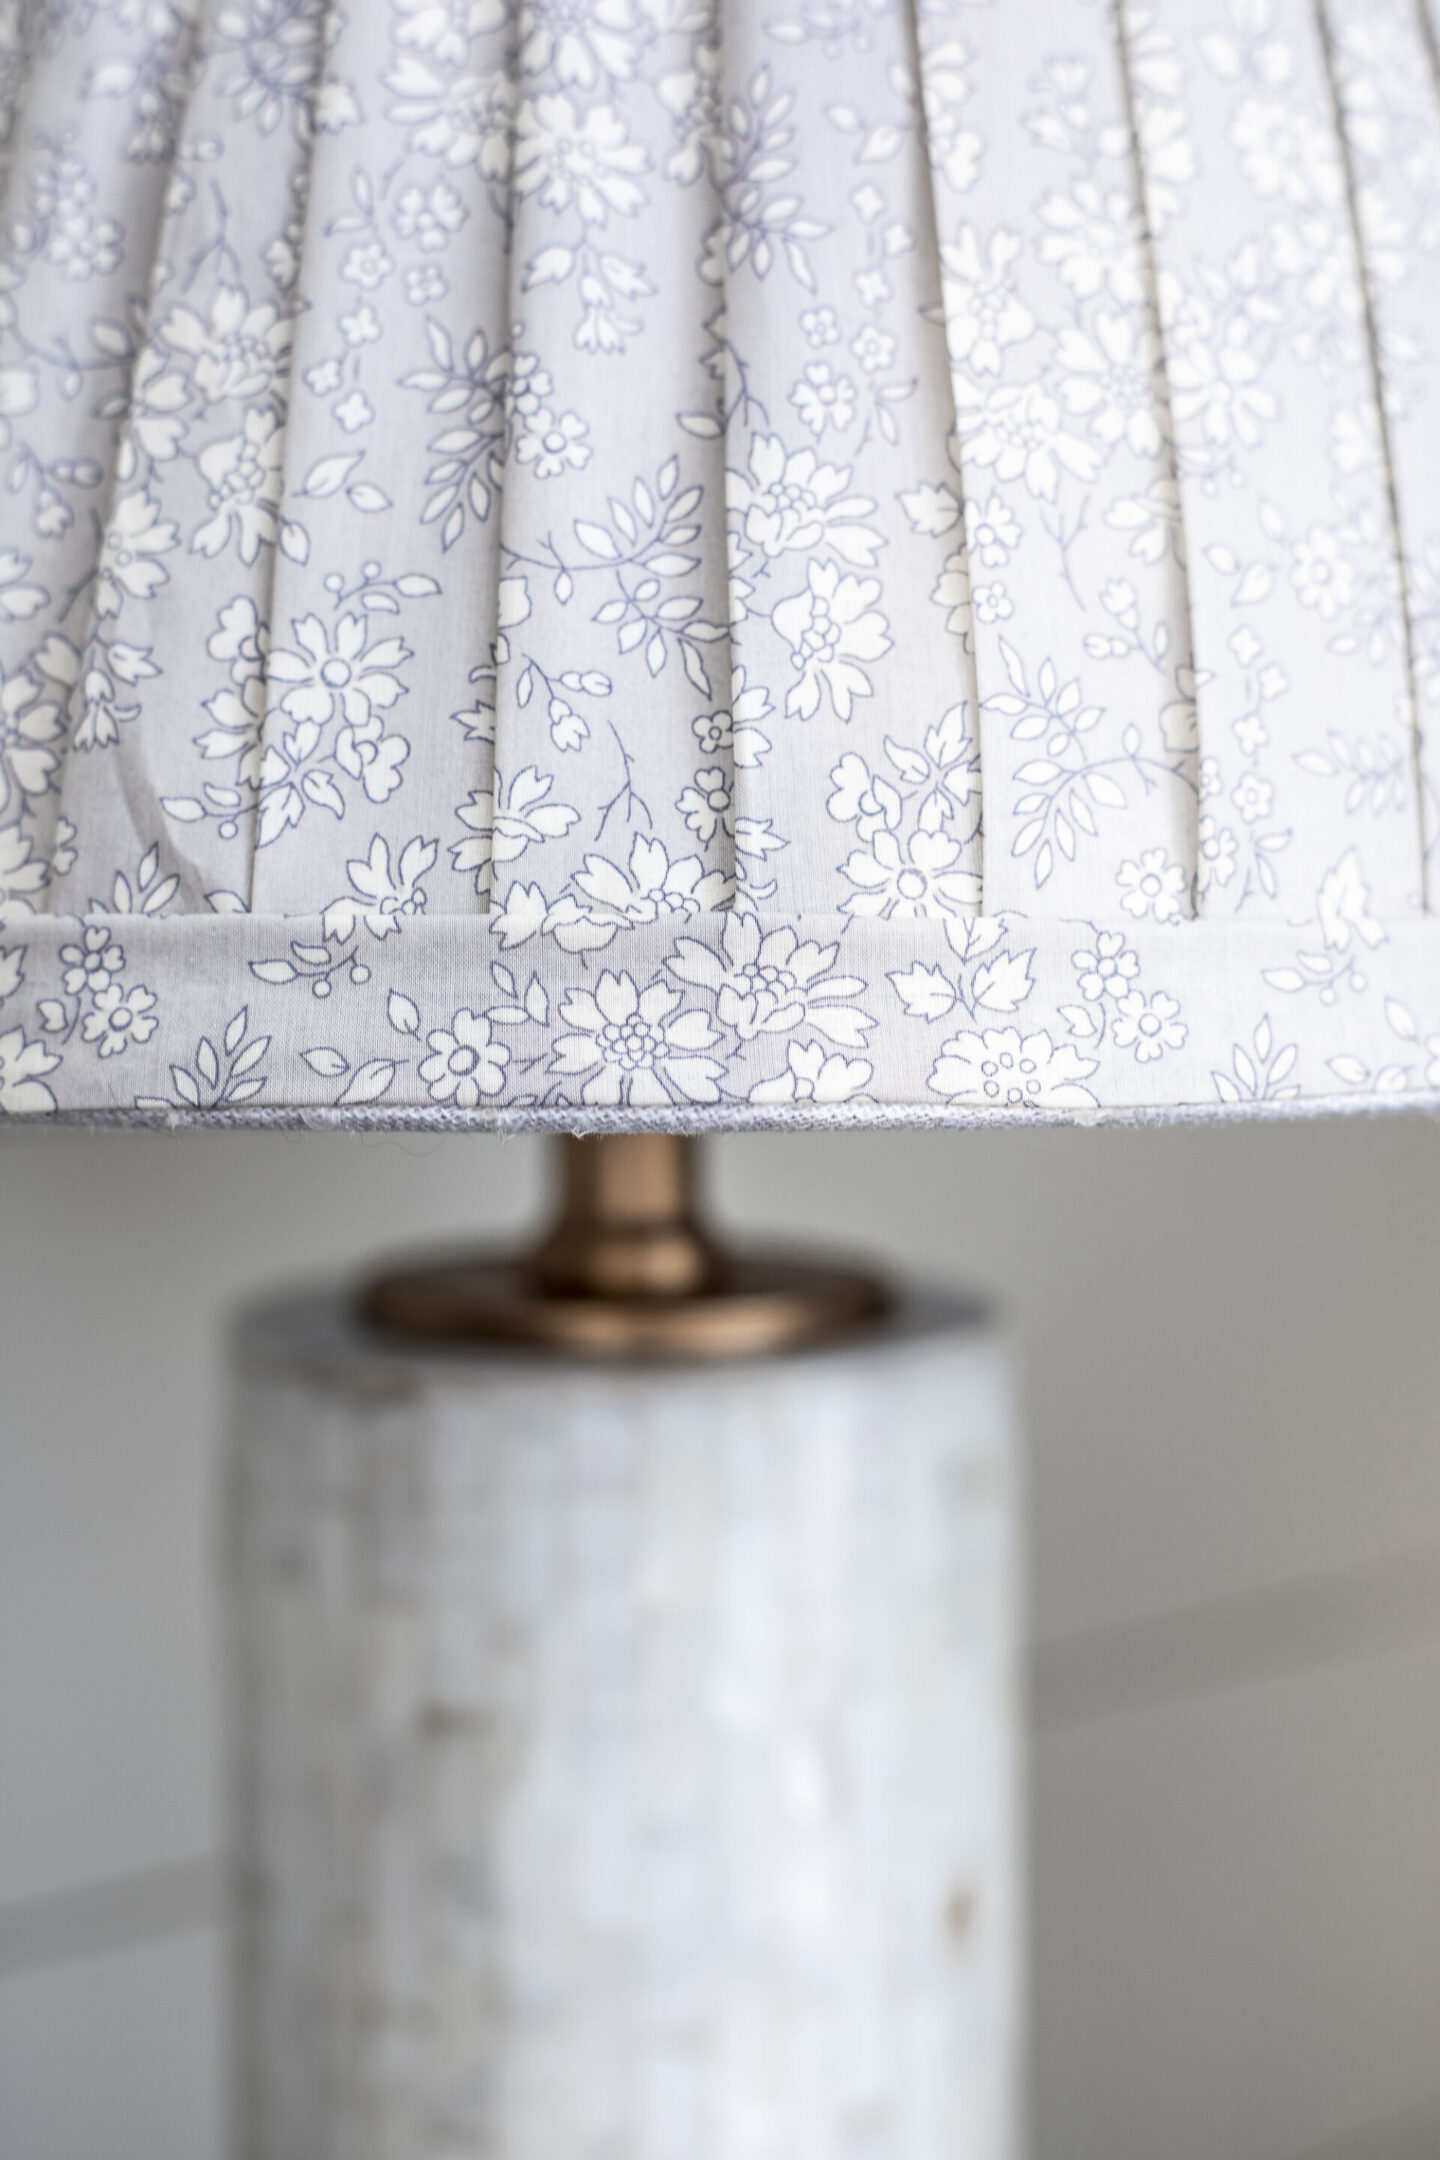
DIY Pleated Lampshade Tutorial (No Sew)
If you’re looking for a DIY Pleated Lampshade Tutorial that is easy and doesn’t involve pulling out the sewing machine, you’re in the right place! Follow along to create a trendy-again pleated lampshade for your own space!
There’s truly nothing new under the sun, and the same is true for interior design! I mentioned the increase in popularity in pleated lampshades in my recent 2023 Interior Design Trends post, and I also hinted that I was going to create a DIY version for my own home…. well the time has come!
I know not everyone enjoys following trends as they make their way back around again, but I think a fun accent like a new lampshade is the perfect way to join in on the fun of trends without breaking the bank or having to start from scratch in an entire room!
If you’re wanting a pleated shade for your space, you’ll find the step to step tutorial below for making it!
*This post contains affiliate links to products I know &/or love.
DIY Pleated Lampshade Tutorial
Supplies:
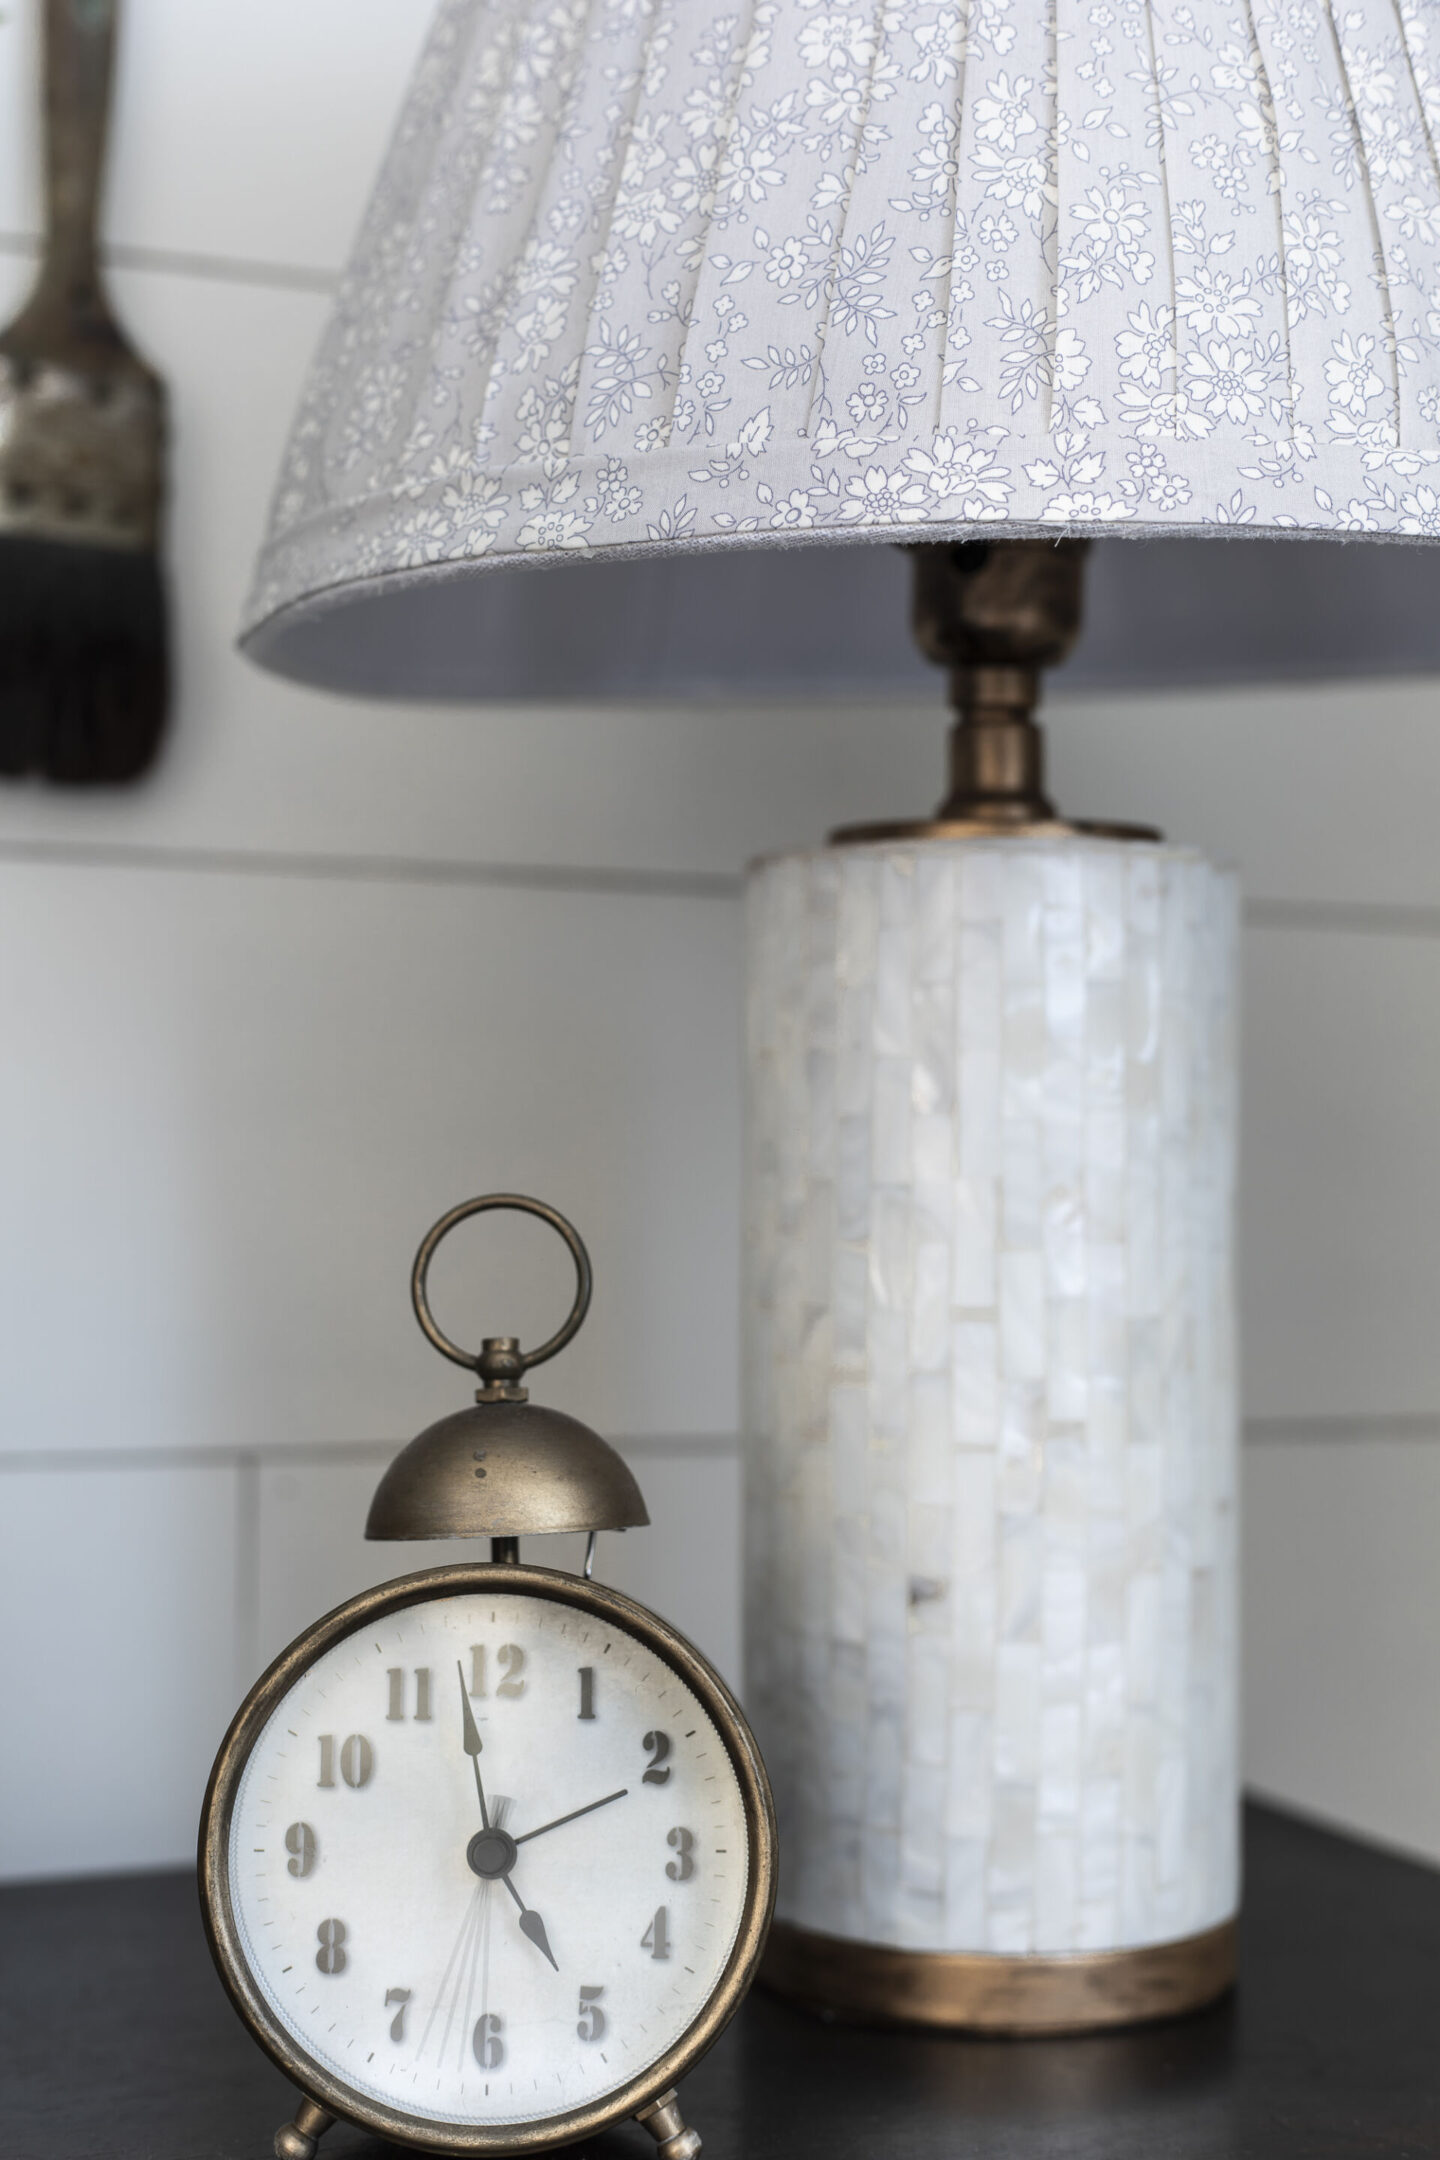
- Fabric – I used 1/2 yard of Liberty Fabrics “Capel” in Grey by Tana Lawn Fabric, purchased at Joanns.
- Lampshade – I purchased a simple one off of Amazon (See note below about sizing before you order!)
- Scissors
- Iron
- Hot Glue Gun & Glue sticks
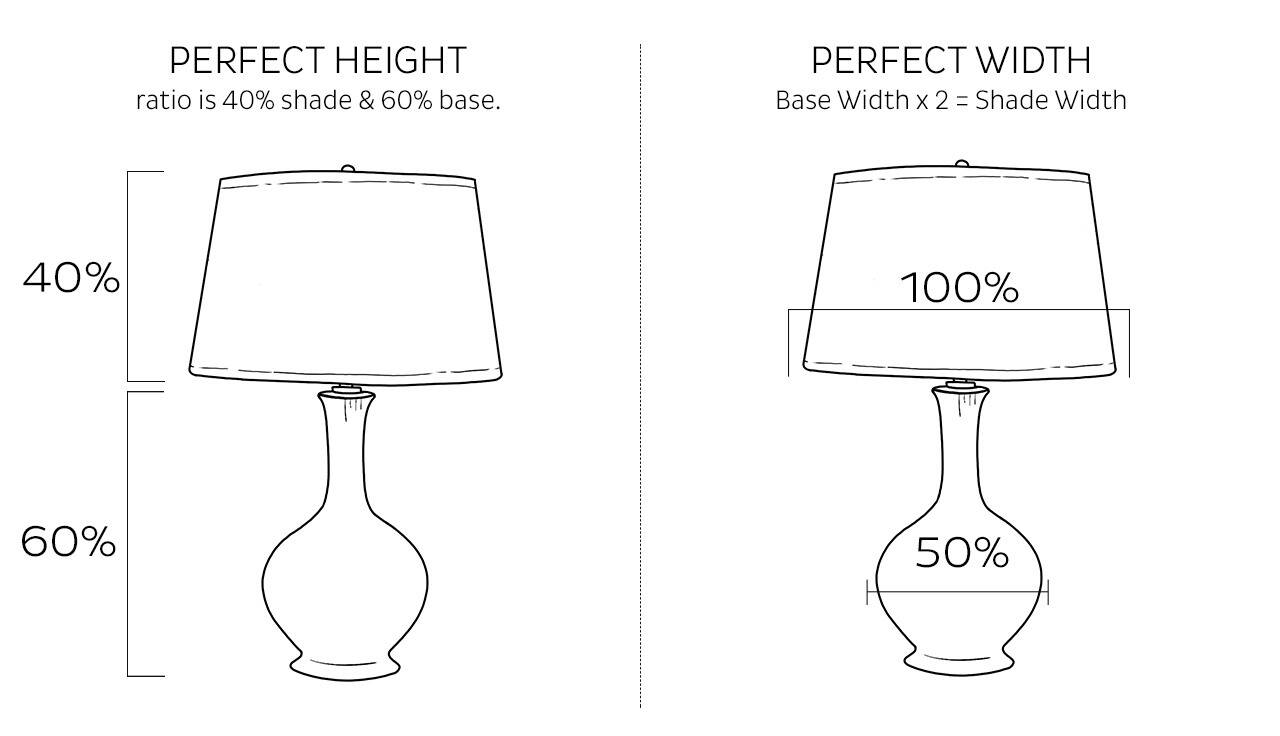
Note: The size of the shade that you will need will depend on your lamp base! Here is a good guide by Ballard Designs for picking the correct shade size:
Step by Step Pleated Lampshade Instructions:
Step Number One | Measure the height of your lamp shade – this is how long each of our strips in step number 2 will need to be cut.
Step Number Two | Decide on the Width you would like your strips to be. This is a matter of preference. You might like smaller pleats close together, or wider chunkier pleats that are a bit more spread out.
For my shade, I chose 2″ wide strips.
You can cut these out with scissors, or use a rotary blade & mat if you have one handy.
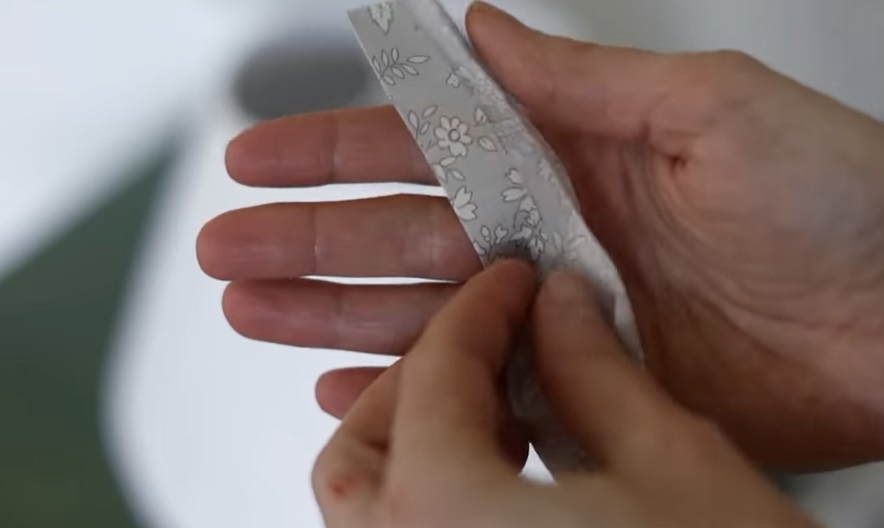
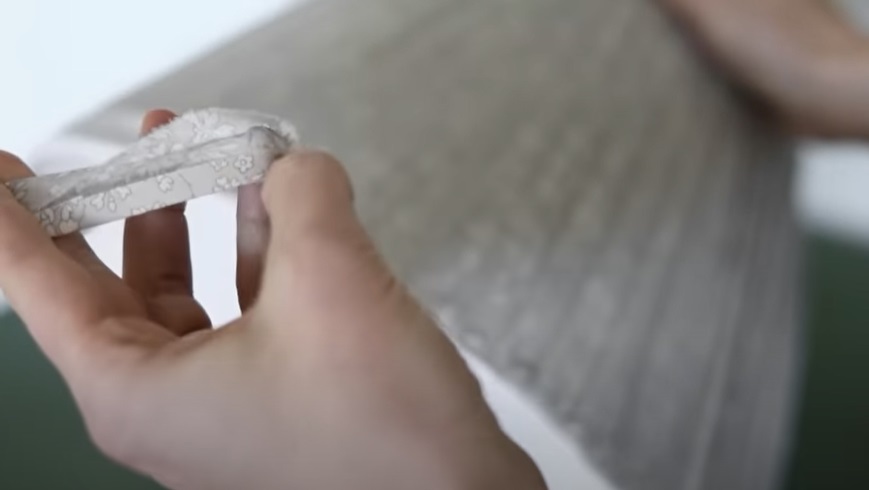
Step Number Three | Fold & Iron your strips into “bias tape” or “single fold binding tape” to be more specific.
Note: Bias tape in sewing terms is cut on a diagonal, which isn’t necessary for this tutorial. But a lot of people use the term “bias tape” to mean “single fold binding tape”.
The simple explanation is that you place your fabric “right side down” onto your ironing board, and fold both sides in about 1/2″ before ironing to create finished edges on both the right and left side of your material.
Depending on the width of your strip, these edges might overlap on the back of your fabric (like mine below), or they might not – either way will work fine for the purpose of this tutorial.
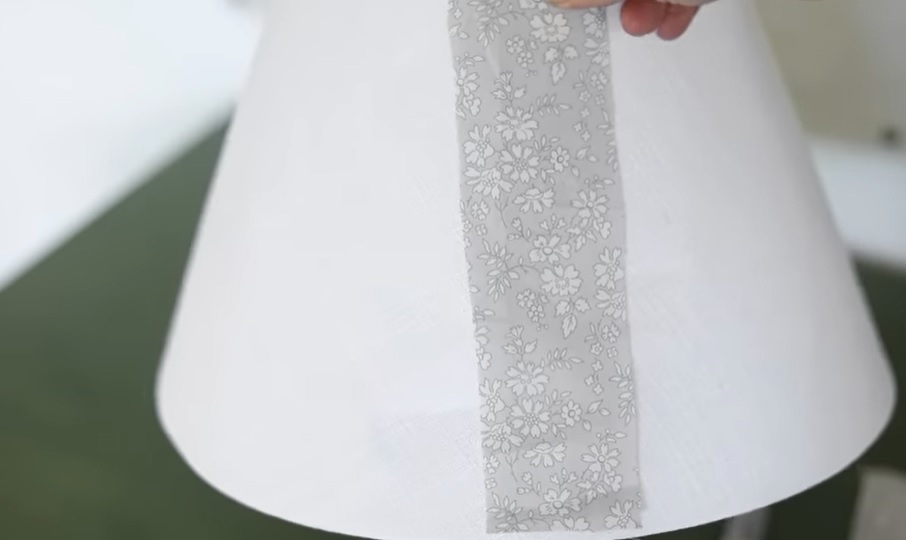
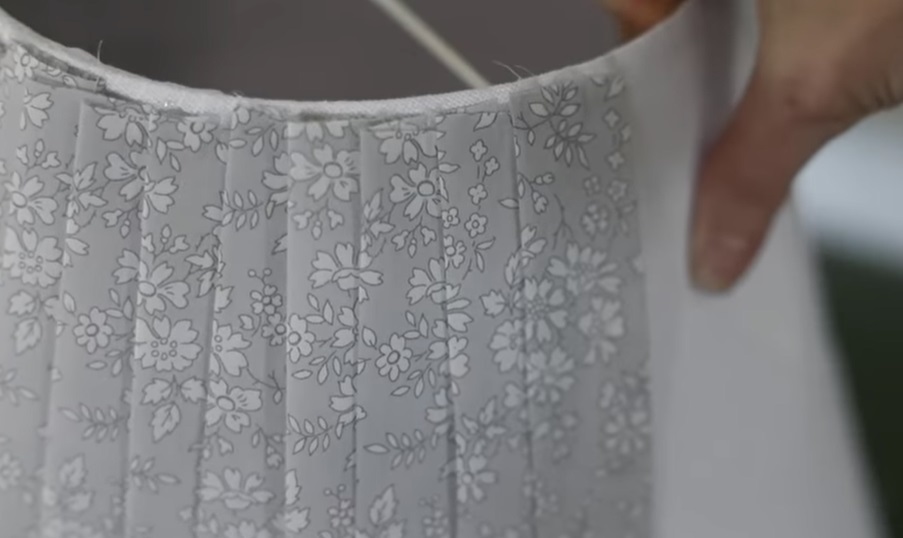
Step Number Four | Use Hot Glue to glue down your strips. I began my lampshade with a single strip that was not folded as the “background” for where I began and ended my folded strips.
Then I simply glued at the top and the bottom of the shade and placed my strips with a slight overlap.
Due to the shape of the shade, I placed my strips closer together at the top and fanned them out gradually before gluing them down on the bottom edge of the shade.
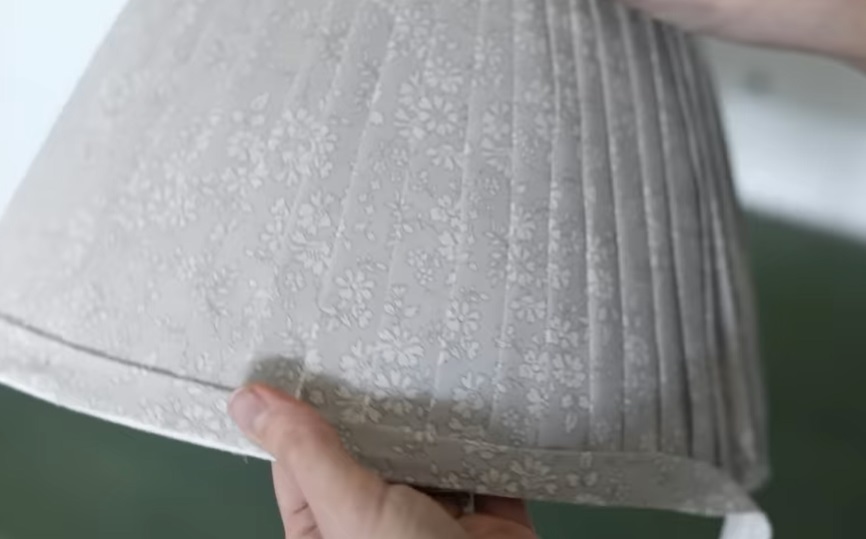
Step Number Five | Add Your Trim
For the trim I used two additional strips that I had ironed into “binding tape”. I cut one that was long enough to wrap around the top, and one that was long enough to cut around the bottom, then I just hot glued them in place.
If you’re worried about imperfections in your pleats, know that the trim helps cover a multitude of errors!
At the end of the trim piece, I simply cut and then folded in the final edge to make it a bit more finished before I glued it down.
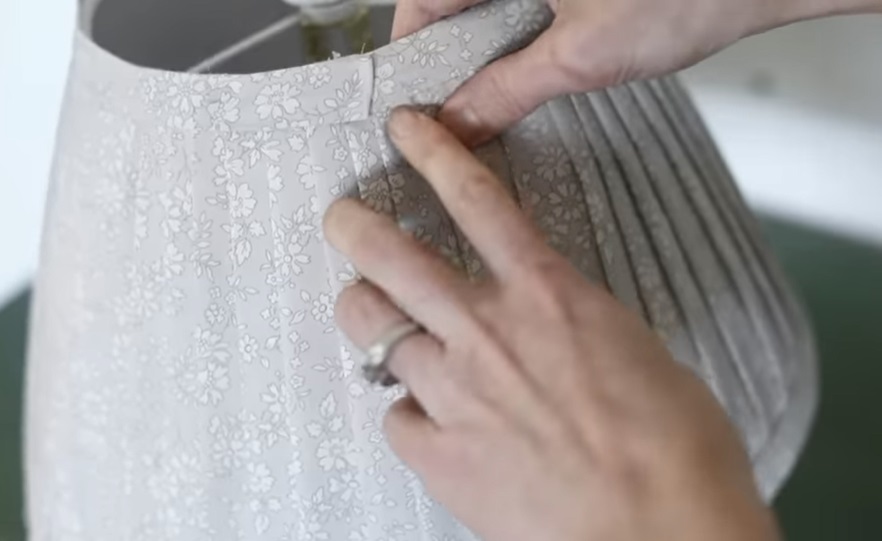
And that’s all it takes to create a beautiful pleated lampshade of your own!
Related Resources:
A few very talented blogger friends also have great tutorials on similar shades, you can find them below if you’d like more inspiration:
I also have a board on Pinterest dedicated to Vintage Lighting; there are lots of fun shades to be inspired by there!
And A few similar Home DIY Tutorials
- DIY Pinch Pleat Curtains (This one can also be converted to no-sew if you use hem tape!)
- No Pattern DIY Slipcover Tutorial
- Crochet & Linen Throw Blanket Tutorial
- DIY French Mattress Cushion Tutorial
- DIY Hamper Tutorial
Pin This Tutorial for Later:


