How To | Pinch Pleat Curtains Tutorial
Let’s tackle DIY Pinch Pleat Curtains together today!
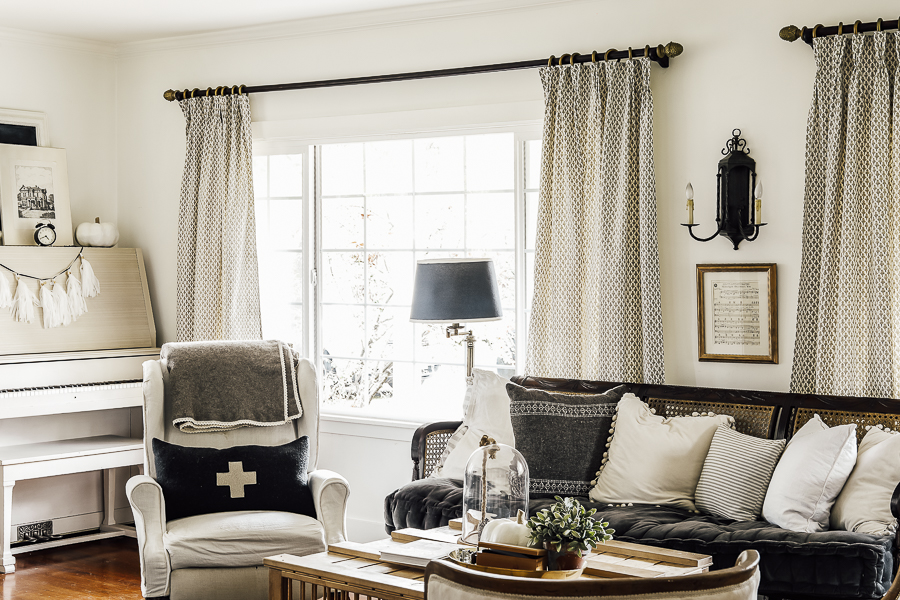
In last week’s post sharing about my living room progress and design questions, I shared that one of my upcoming projects was completing DIY pinch pleat curtains for the living room windows.
This living room has been in progress for a while and had gotten set on the back burner for a while, but I’m currently pushing to get this room finished before the holidays. I’d love to have this space all ready before then!
*This post contains affiliate links to products I know &/or love.
2021: The Year of Pinch Pleat Curtains
I’ve known about pinch pleat curtains for a while, but it wasn’t until this year that I really started to understand their charm!
They’re so beautifully tailored, and they fit so many of the design styles that we talk about on this channel.
I knew I could buy them, but I wanted to learn how to make them myself!
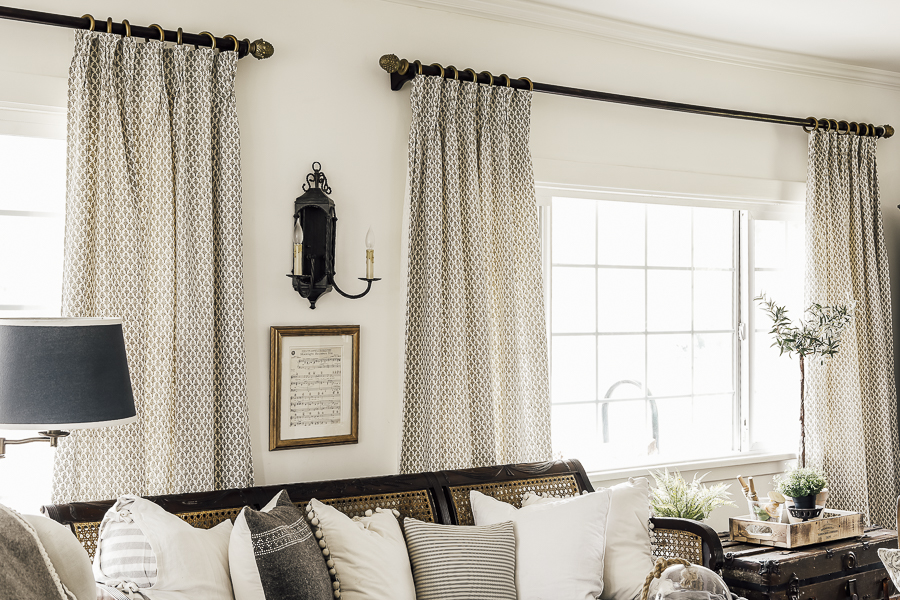
The Fabric I chose:
Depending on how gathered you want your final result, you’ll want to add length to your purchased fabric to accommodate the number of panels you’ll have in your finished look.
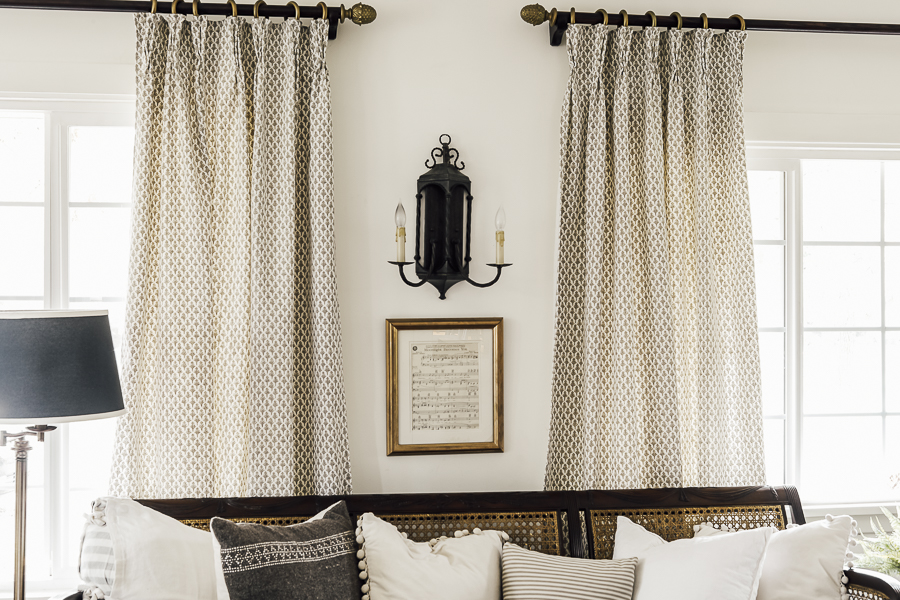
I bought 10 yards of “Ponce Driftwood” from decorativefabricsdirect.com, and it was $24 per yard which is a good mid range price for a decorative weight fabric.
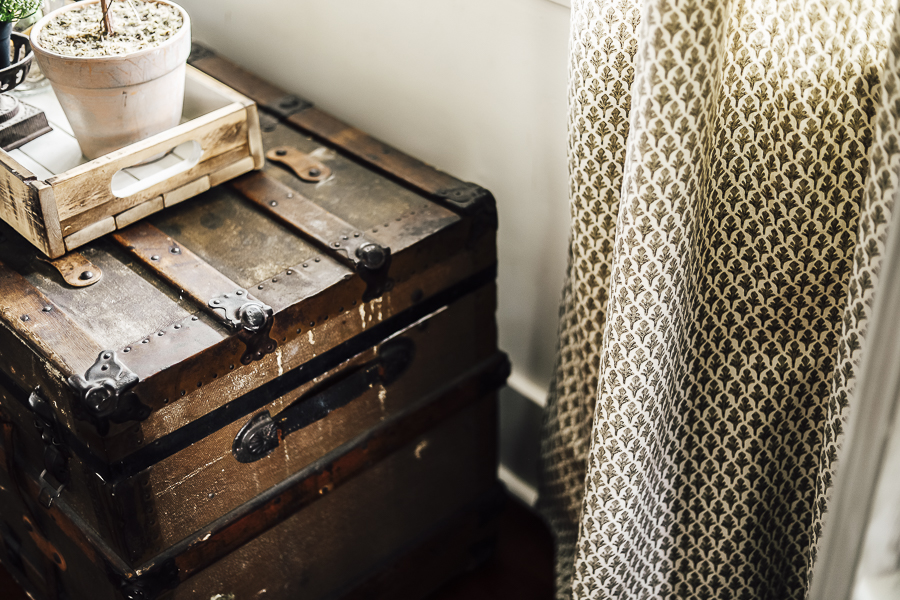
I love the sweet traditional English cottage feel in the brown leafy motif.
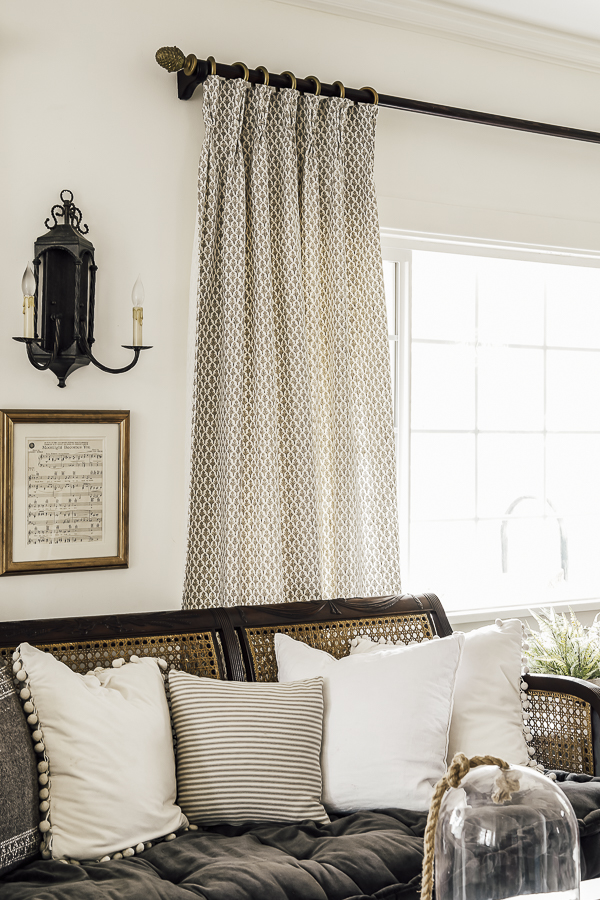
What if I don’t sew?!
This would be a perfect project for someone new to sewing!
It’s all about sewing straight lines, nothing too scary, and I have a guess that you’ll feel really proud of yourself for accomplishing not just basic curtains, but even a set with pinch pleats!
Order your Supplies Early:
The only problem I’ve had with this is waiting on shipping delays. If you’re wanting to do a project like this, I suggest ordering your material as soon as possible! With delays world wide, things require a bit more pre-planning than usual.
This project took 10 weeks due to shipping wait times! (And when you’re used to Amazon prime, it feels like an even longer wait!)
I’m really appreciative that decorative fabrics direct kept emailing me to update me on the status. I let them know I was OK being patient.
The Supplies:
- Fabric of your Choice – Measured to the length of your window multiplied by the number of panels needed for covering the windows to the desired fullness.
- Pleat Tape
- Long Hooks
- Short Hooks
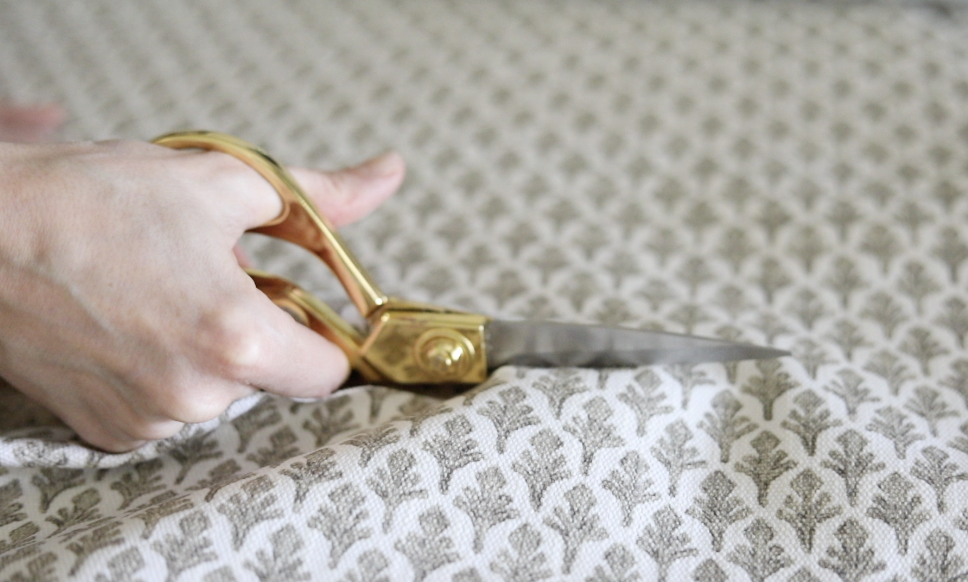
- Sewing Scissors – These are my gold ones, I love them!
- Upholstery Needle – Check your machine for the appropriate one!
- Coordinating Thread
- Iron
The Process:
Step One | Measure your window length, adding 2″ to the total length to account for the top and bottom hems.
(My panels were 2 1/2″ yards long.)
Cut out as many panels as needed for your windows to the appropriate length.
Step Two | Fold all four sides of each panel in by 1/4″ and iron in place. Then double the fold and iron again. (Pin in place if needed).
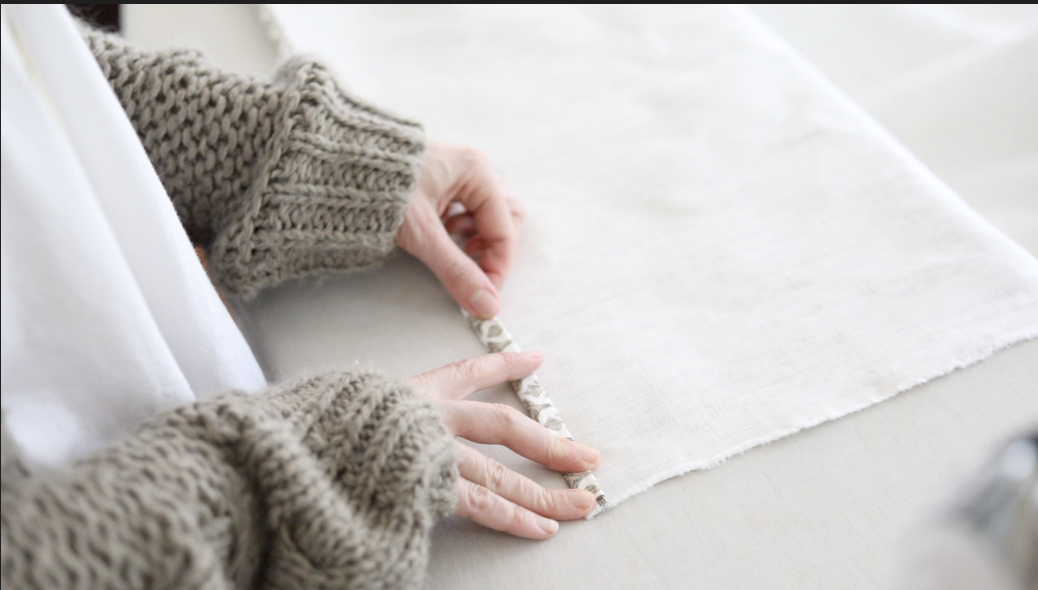
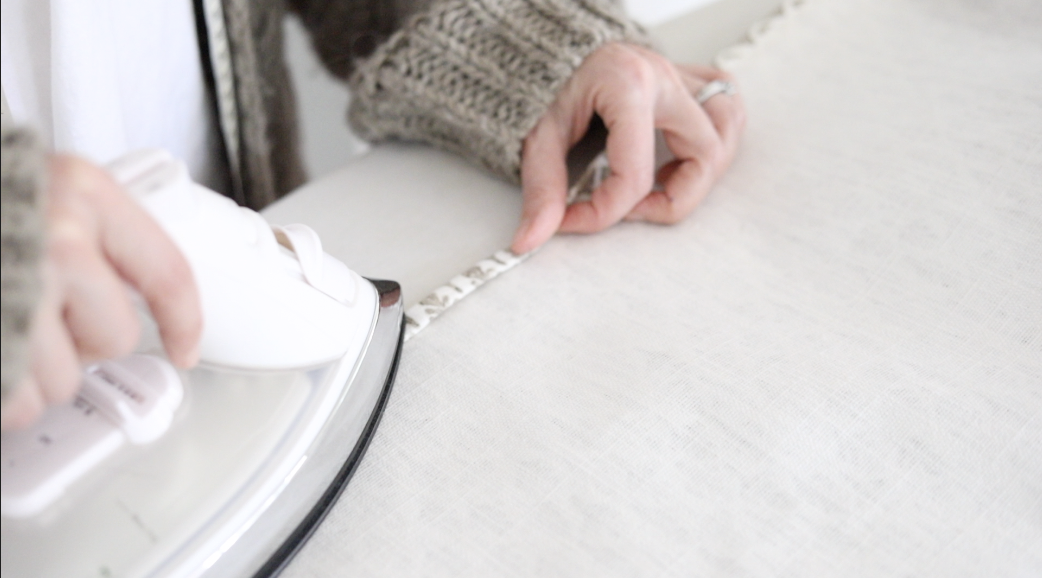
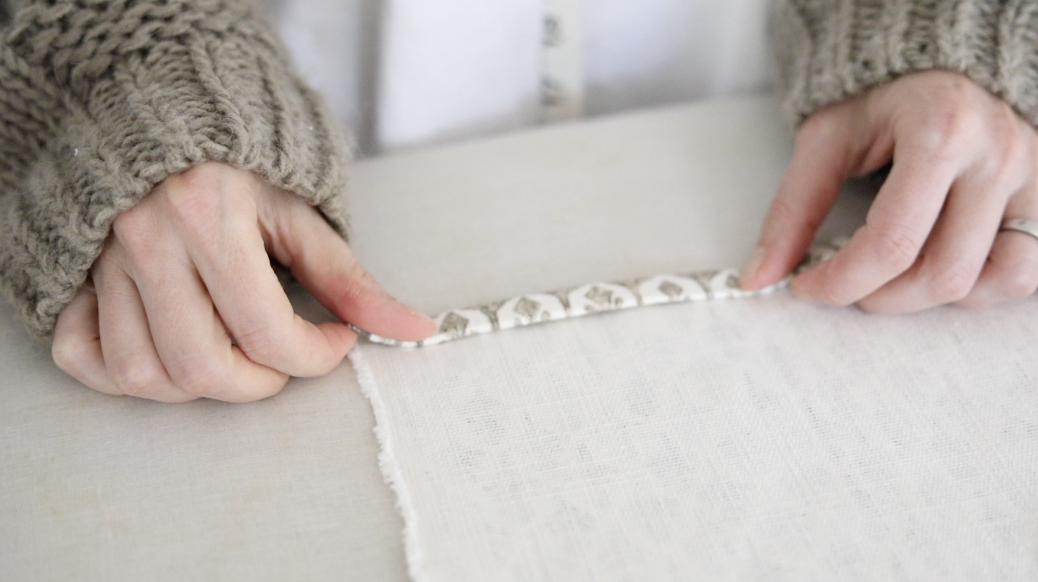
Step Number Three | Use an upholstery needle and coordinating thread to sew along all four sides.
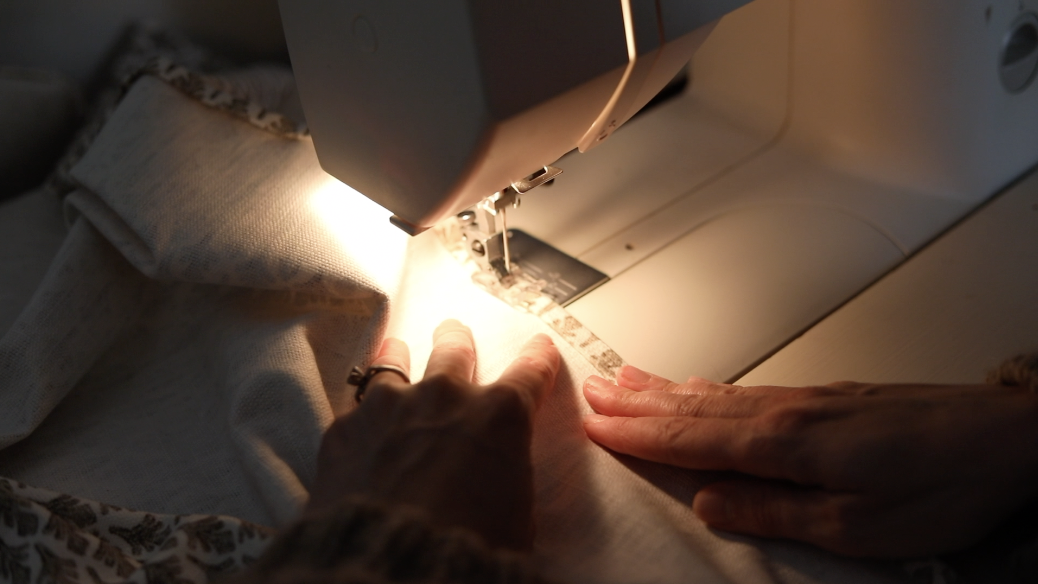
Step Number Four | Cut your pinch pleat tape to size along the width of the top of your curtain.
I personally realized I liked the look better when the tape pleat split sections were carefull cut so that the hooks go all the way through. I used a razor blade.
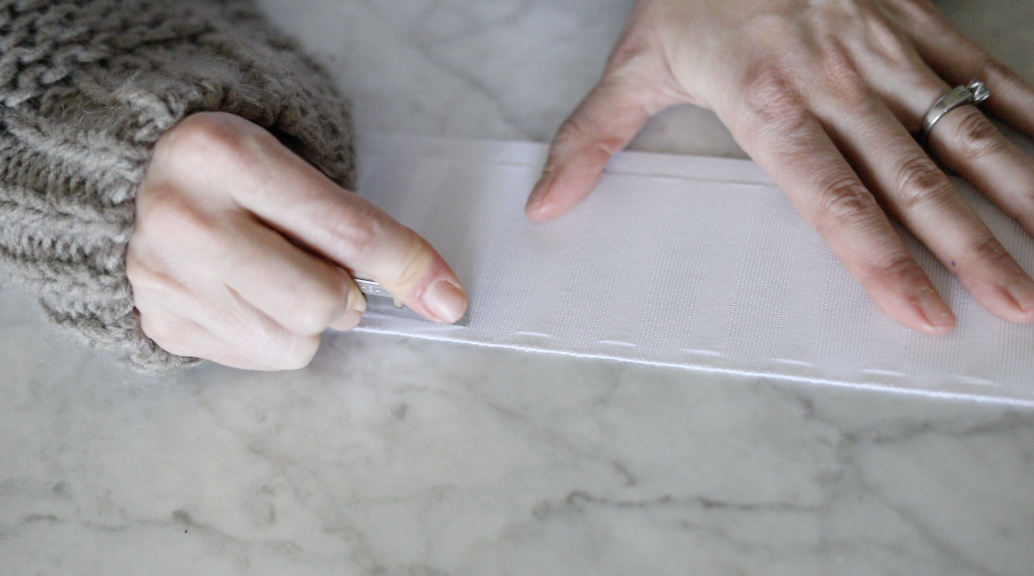
Pin and sew the pleat tape along the “underside” of your fabric (opposite the prettier darker pattern).
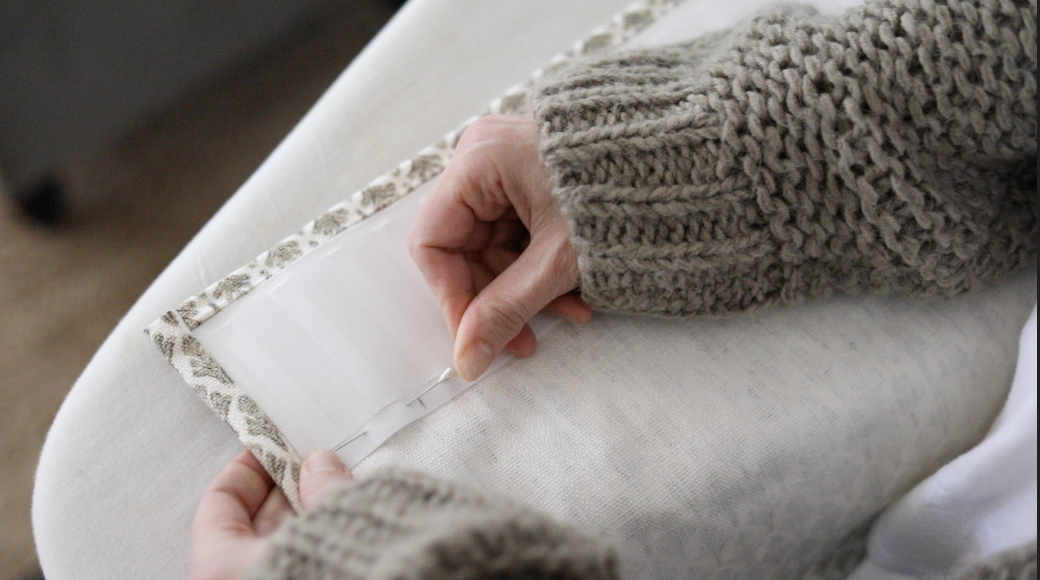
Step Five | The Hooks!
Now we’re onto the fun part!
You’ll need to make sure that you have two “end hooks” for each curtain panel.

These end hooks go….
You guessed it! On the ends!
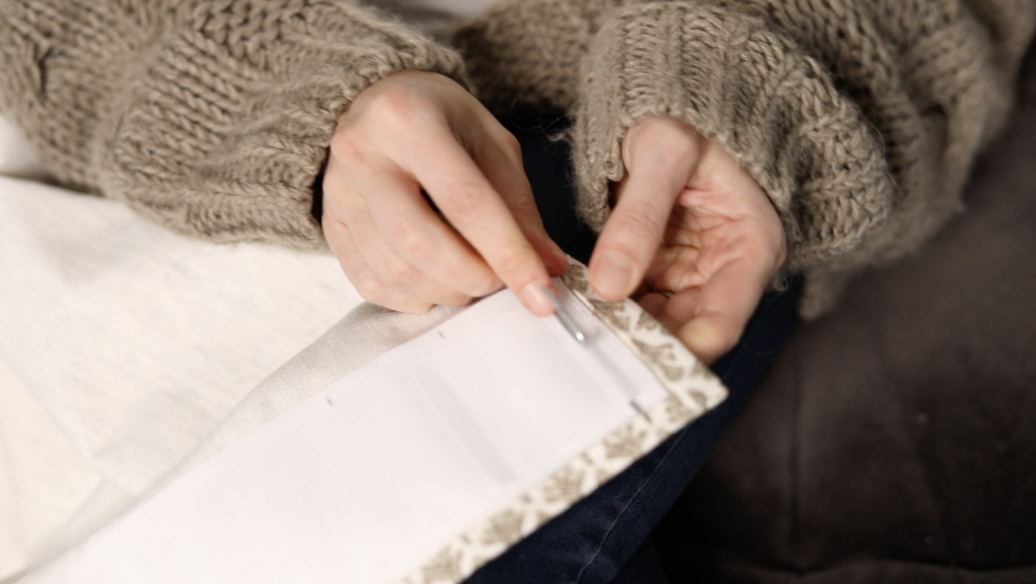
Between the ends, count your specific number of pleat “pockets” and place your pin in place at each interval.
I did 5 pieces between each hook.
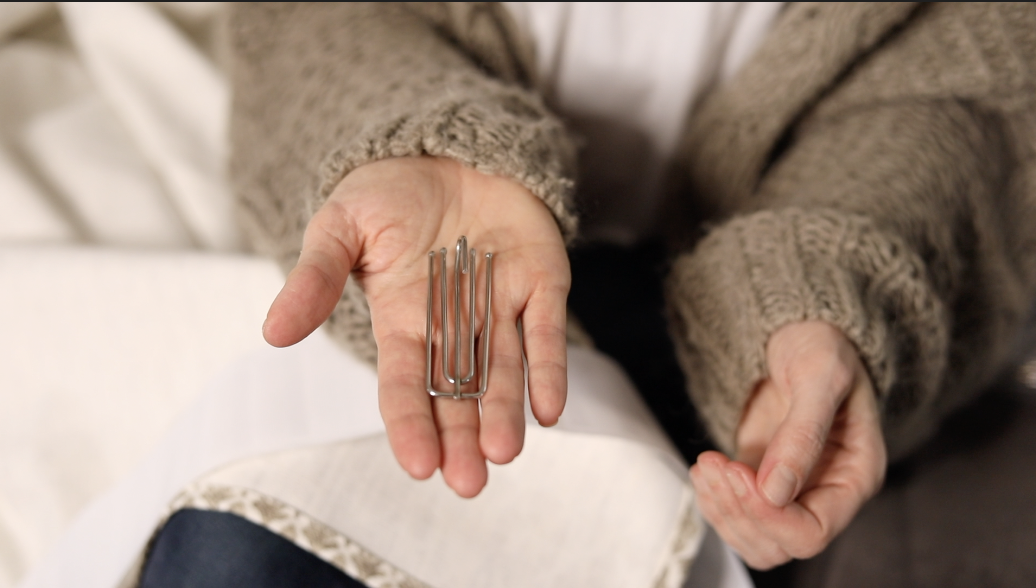
I found it was easiest to put the middle two hooks into their own pleat pockets before moving on to the outside edges.
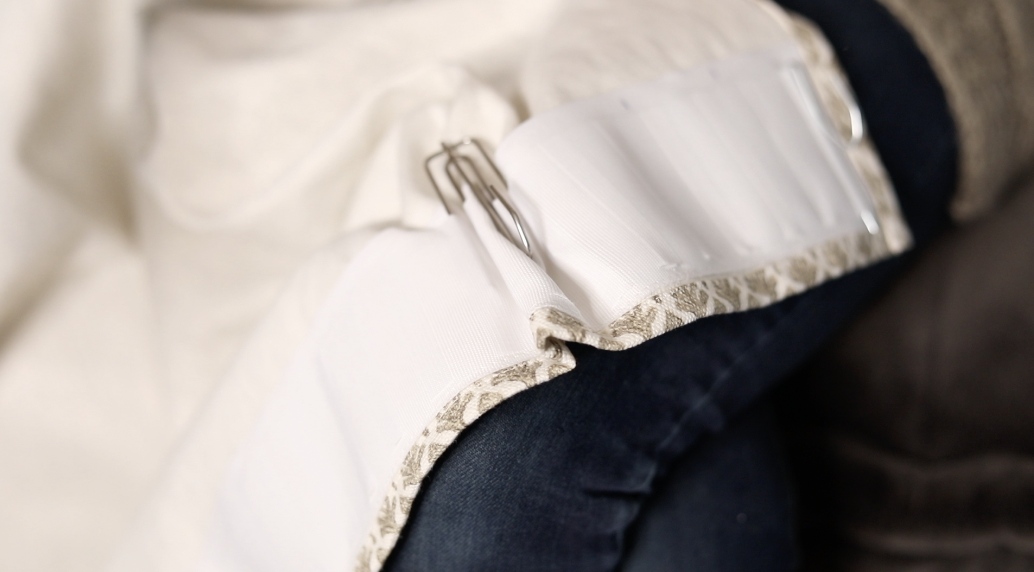
Once you have all four pieces of the hook in their individual slots, give the hook a pull and it will help create a neat pleat at the top of the fabric.
You can leave it just like it is, or some people like to hand stitch their pleats to help them retain their structure.
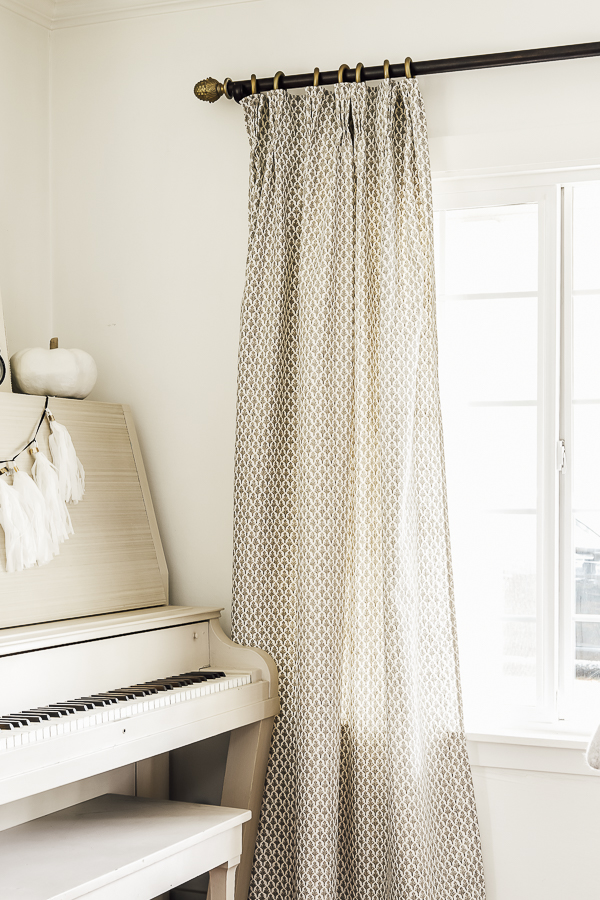
The last step is simply using your curtain hooks to attach the pinch pleat hooks via the hoop!
The last change I made was to line the curtains with cut pieces of drop cloth from our former window coverings! With the extra layer of fabric behind this material, it helps it feel expensive, and looks really nice!
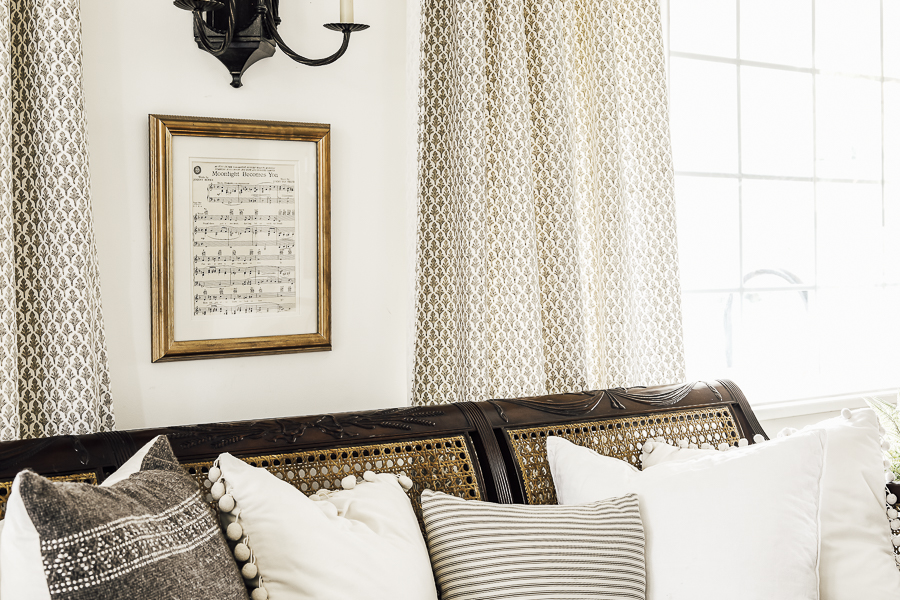
If you decide that making your own curtains isn’t for you – I cannot recommend Two Pages highly enough for their custom drapes! They are wonderful to work with and produce beautiful quality drapes. Use code SHEHOLDSDEARLY for 15% off your order.
Pin This Pinch Pleat Curtain Tutorial for Later:

Until next time!