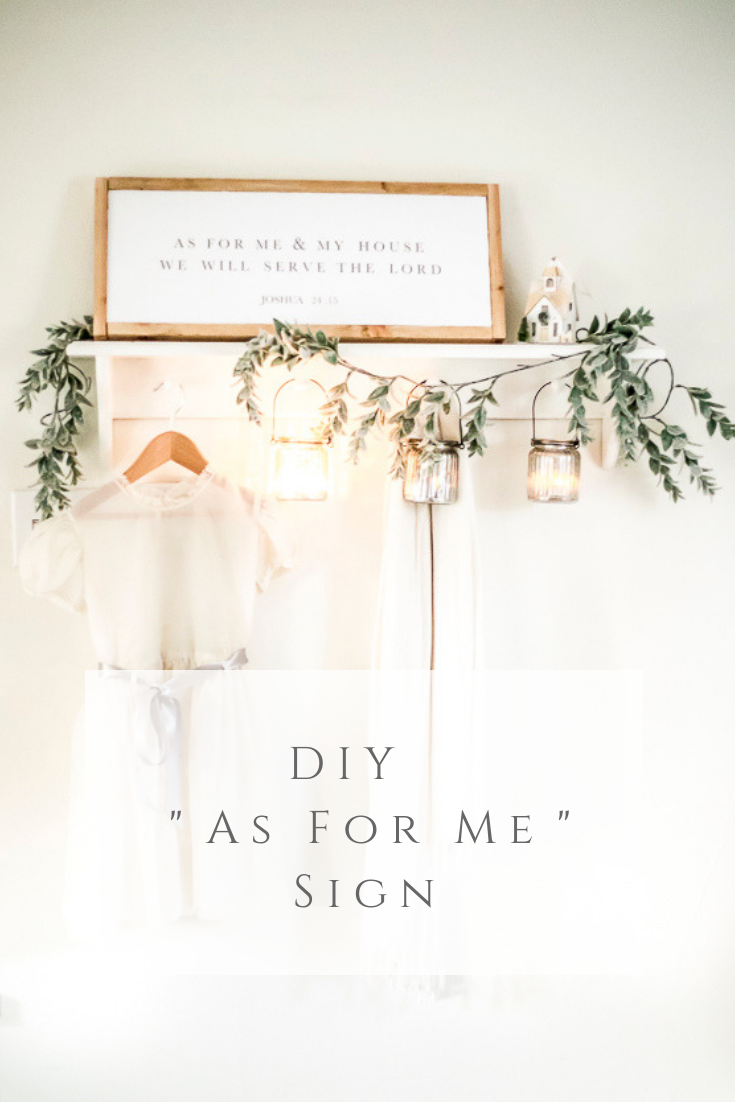
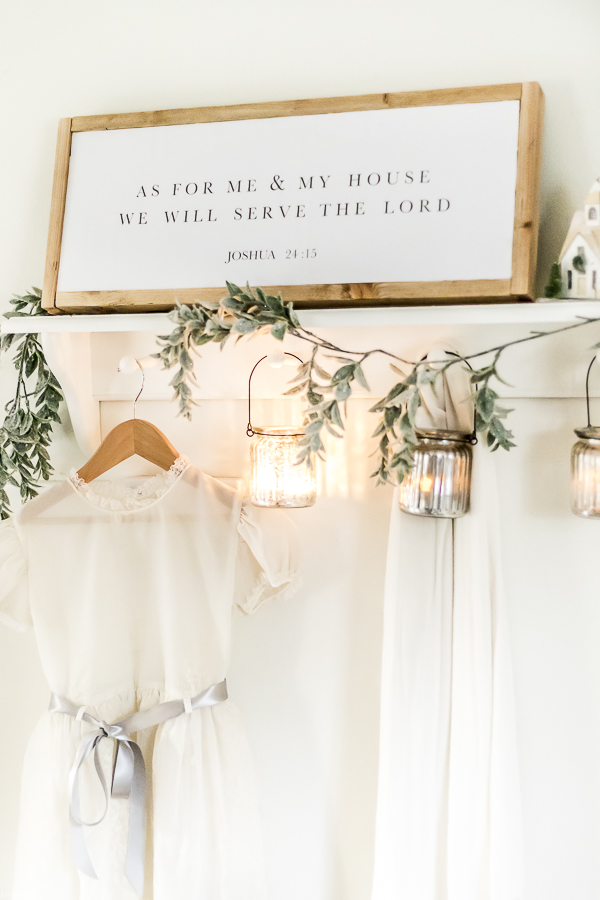
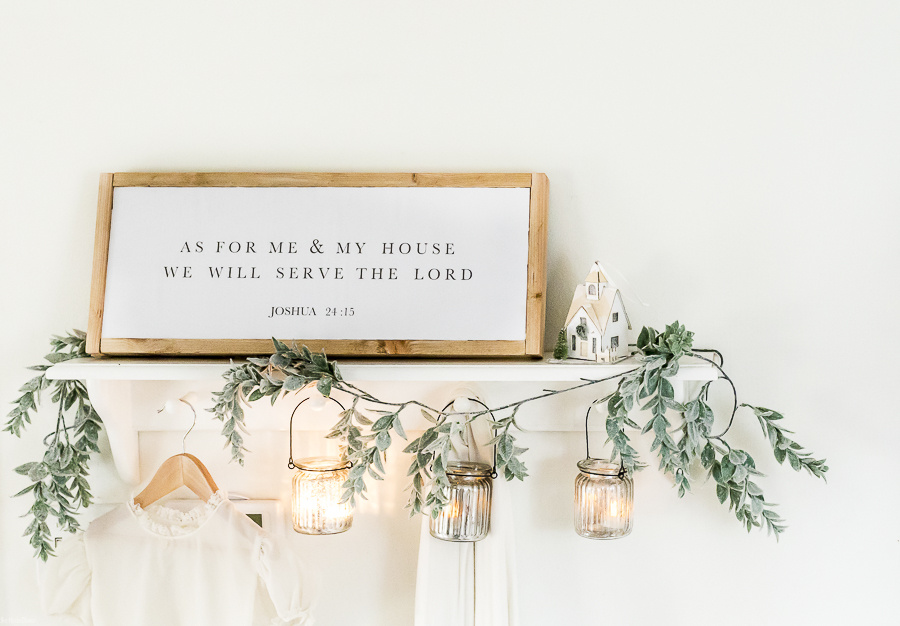
DIY “As For Me & My House” Sign
This sign with the Joshua 24:15 verse displayed is one that I have loved for a several years. Originally, I spotted it on the Magnolia website and thought, “Oh, I could make that. “
A dangerous thought, indeed. But, one that I have almost daily.
I have made other signs using a mod dodge and print technique and was pleased with the results. First there was the O Holy Night sign and then the Velveteen Rabbit.
** Note- This was the first time I have had trouble with the paper bubbling and not tightening up completely when it dried. I think it was because I was using the last bit of Mod Podge in the container and it was extra thick. Next time, if I run into this, I will mix in a touch of water to thin it out.
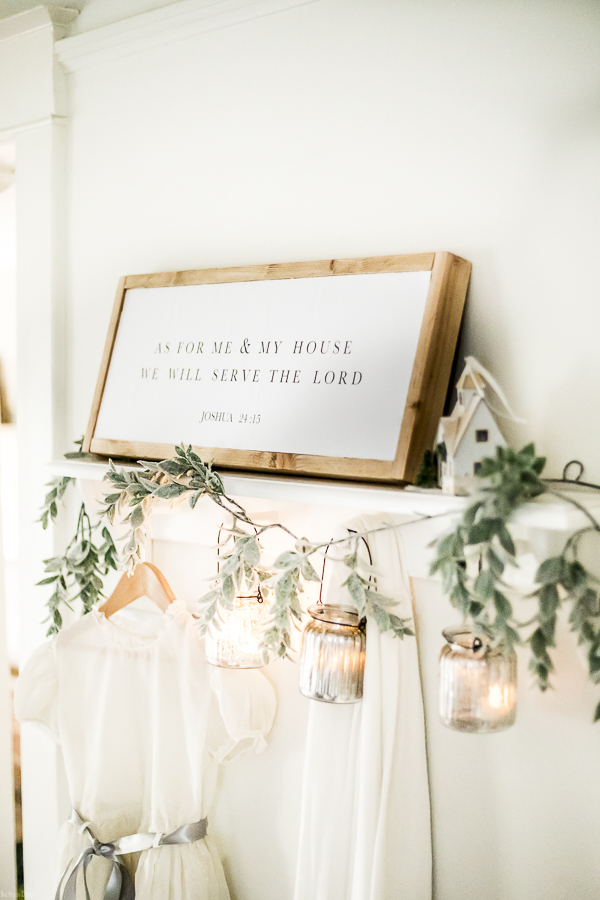
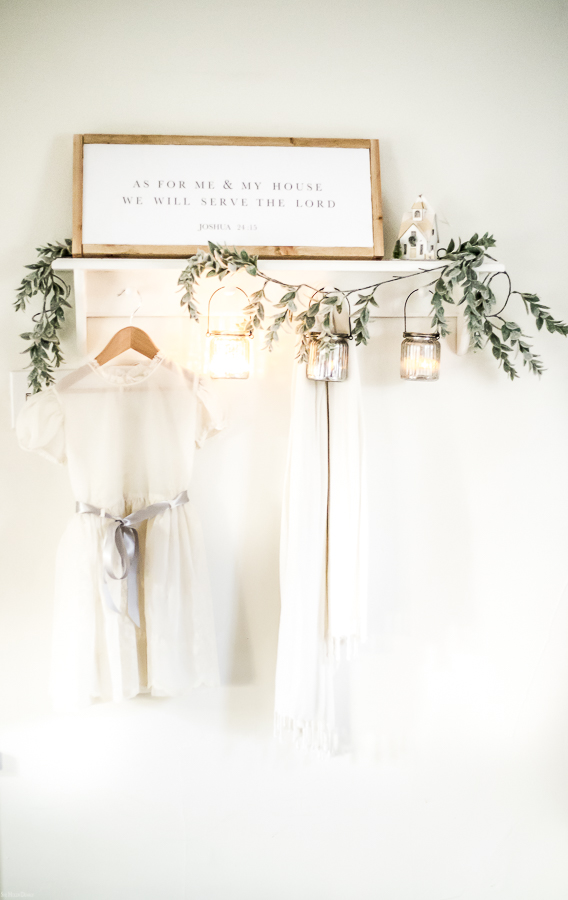
I still have a little bit of winter decor going on over here and love how dreamy this all looks together. The little lanterns are glass jars I bought at the Dollar Tree and turned it into mercury glass.
And that sweet little vintage dress was supposed to be for our little girl that miscarried a while back. We bring it out for Christmas just as sweet reminder that we wish she were here with us. You can read our miscarriage story if you would like.
Ok, and now for the deets on the sign . . . .
DIY Sign | “As For Me and My House”
This post contains affiliate links to products I know &/or love.
Supplies
- Plywood, approximately 10″ x 22″
- 1″x2″ Pine for the frame
- Printed “sign” on paper – Enter your email address below for the free printable!
- Mod Podge
- Foam Brush
- Razor Blade
- 12 inch Compound Miter Saw (optional)
- Brad Nailer (optional) or hammer and small nails
- Table Saw
- Sandpaper
- Antiquing Wax
Tutorial
- First, grab your copy of the pdf (by entering your email above) that I made, unless you want to change the font or something. Then, just make your version in Word or Pages and save it as a landscape pdf file.
- Email this to your nearest office supply store.
- Note- if you are a homeschool mom, you qualify for the teacher discount at Office Depot!
- Have the sign printed with laser ink on 55# weight paper and double the size. It’s best to have them cut it for you to fit your plywood.
- Mod Podge the paper to the board, smooth with hands and let dry!
- Once dry, use your sponge brush and coat the sign with the thinnest layer of modge podge. If the paper wrinkles, let it completely dry overnight. It should tighten up again.
- Apply a second and third coat, letting dry in between.
- Turn the sign over and using the razor blade, trim the overhang of the paper so it fits the board perfectly.
- Cut the 1″x 2″s to size using the compound miter saw or at the home improvement store.
- The two sides will be the same height as the sign, but don’t cut the top and bottom until you have the new width figured out that includes both of the side 1″ x 2″s.
- Sand the 1″x 2″s with 220 grit sandpaper.
- Age by applying antiquing wax and wiping off.
- Nail into place.
- I made the frame and the sign flush across the face of it, so the frame could be used as the hanger, as well.
This would make a beautiful gift for a bride or just a simple reminder for your own home.
Shop this look
[show_shopthepost_widget id=”3453822″]
Pin This DIY Sign for Later: