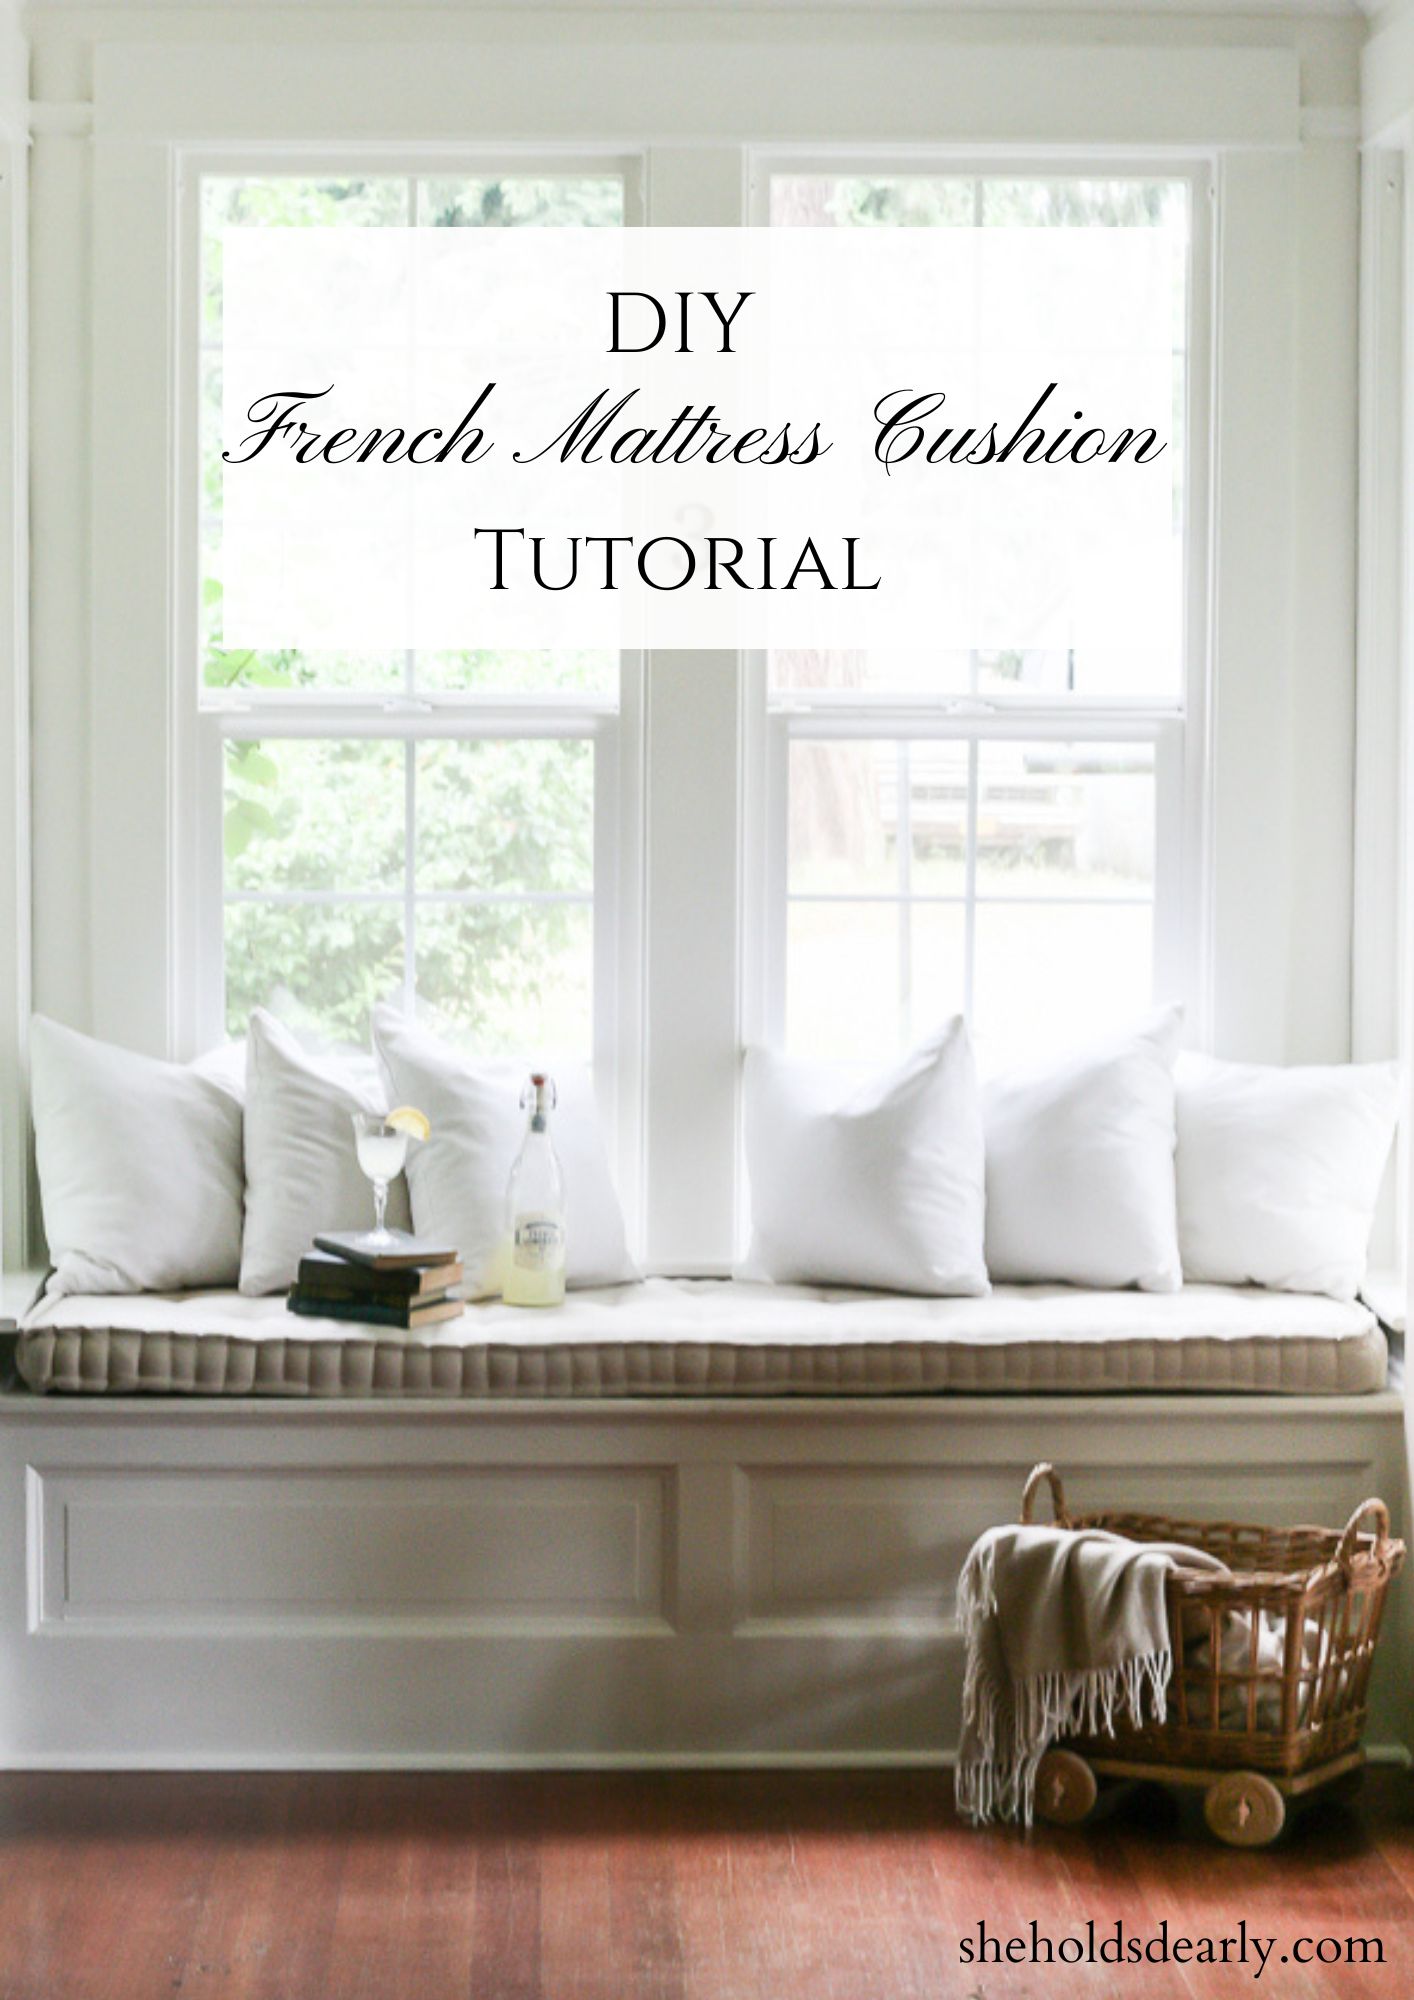
DIY French Mattress Cushion Tutorial
Are you familiar with french mattress cushions? Looking for a DIY Tutorial? Read on!
Originally, the French made their everyday mattresses this way! Leave it to the French to elevate the everyday items with beautiful detailing.
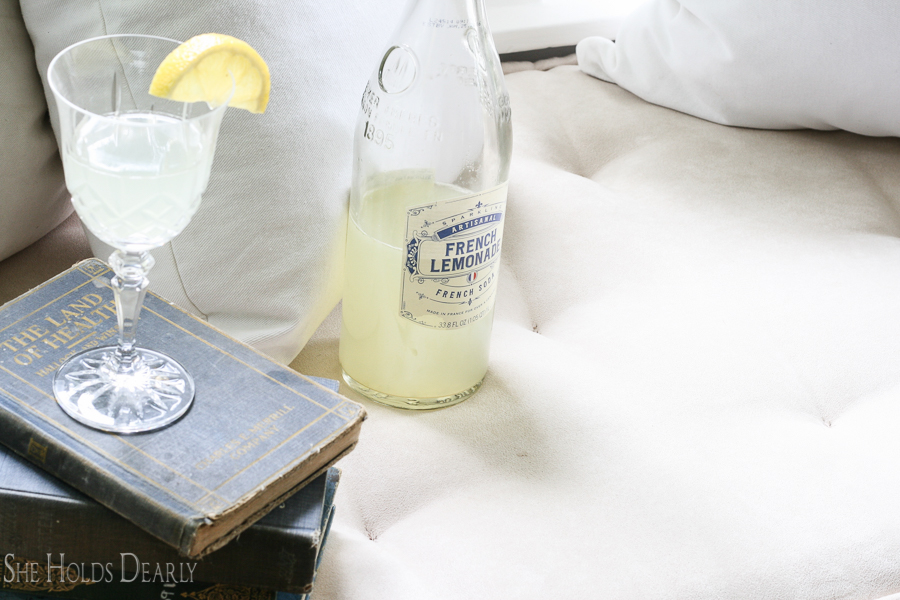
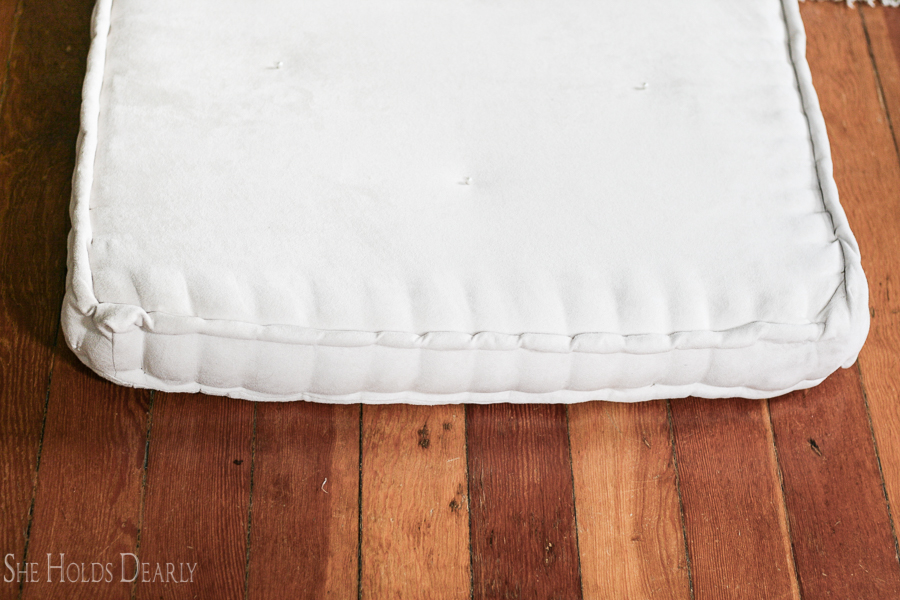
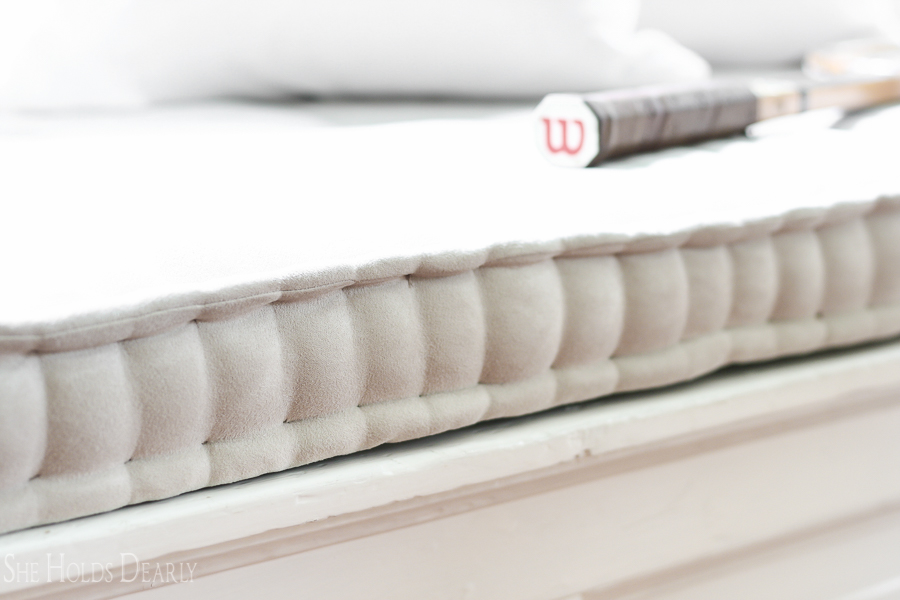
Marked by an extra big, bunchy edge welt and delicate, button-less tufts, these casual cushions add another layer of farmhouse elegance wherever you see them.
*This post contains affiliate links*
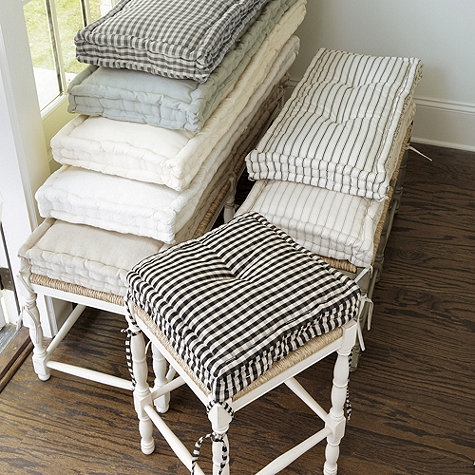
I have seen them online in few places and they always strike me as so timeless and cozy.
But, I wanted to see if I couldn’t make one myself. There really isn’t much online about how to do it, so it was fun to figure it out.
The welting and tufting stitches, in particular, are ones that I figured out through a lot of trial and error.
I am happy to pass them on to you!
The Elite Decorating Academy is Waiting for You!
If you’re looking for a comprehensive interior design course, I’ve got just what you’re looking for! The Elite Decorating Academy has 28 hours of teaching broken down into 160+ easily digestible classes that are an average of 10 minutes a piece.
They’re a perfect fit for any schedule, and they can move you toward your design goals, no matter your starting point! From brand new DIY designer to professional looking to hone their skills.
Visit elitedecoratingacademy.com to learn more and get signed up!

French Mattress Supplies
- Upholstery Foam
- I like to buy mine off Ebay. The foam pictured in this post is 3″ thick, which created more or a 2″ inch side on the cushion. If I were to do it again I would probably use 6″ foam.
- I prefer the lightest weight option, because french mattresses were very floppy and soft.
- Cut with a serrated knife, using a sawing motion. An electric knife works great!
- Batting
- I like polyester, 10 ounce which is 1″ thick. The fluffier the better for this project.
- I found mine at Joanns.
- Do not use piping, it is not malleable enough.
- Spray Adhesive
- Fabric
- Ticking and velvets are very french looking. I used microsuede because I have a dog that thinks I just made her a new bed. Microsuede is easy to clean with just a baby wipe.
- Matching Thread
- 2″ Needle
- Straight Pins with ball heads
- Sewing Machine
- Fabric Scissors
- Upholstery Thread
- Buy thread that matches your fabric. I was lazy and just used what I had on hand. My knots are showing more than necessary now.
- 6″ Upholstery Needle
- Leather gloves IMPORTANT!!!!
- Basically, if you don’t wear leather gloves you aren’t going to get through this project. On a cushion this size, I had to hand stitch for six hours. There is so much pulling and pinching and pushing needles through that my hands were aching and red with the leather gloves.
- Make sure they are skin tight on your hands.
- I use these Mizuno golf gloves in a Youth Small when I do upholstery.
- Scotch Guard
DIY French Mattress Tutorial
Box Cushion
- First, cut the upholstery foam to the desired size.
- Make the box cushion cover.
- When you cut out the fabric pieces be extra generous. Don’t just cut the extra 1″ seam allowance, cut and extra inch of both sides (3″ total) so you have lots to bunch up. I wish I had done this more on mine.
- If you have never made a box cushion, follow this Youtube video, skipping the zipper information.
- Leave one of the long sides open.
- Then, cut large panels of batting that will cover the top and bottom of the cushion. Cut two extra wide strips of batting to adhere to the top and bottom edges of the sides. These will be easy to bunch up when it’s time to do the welting.
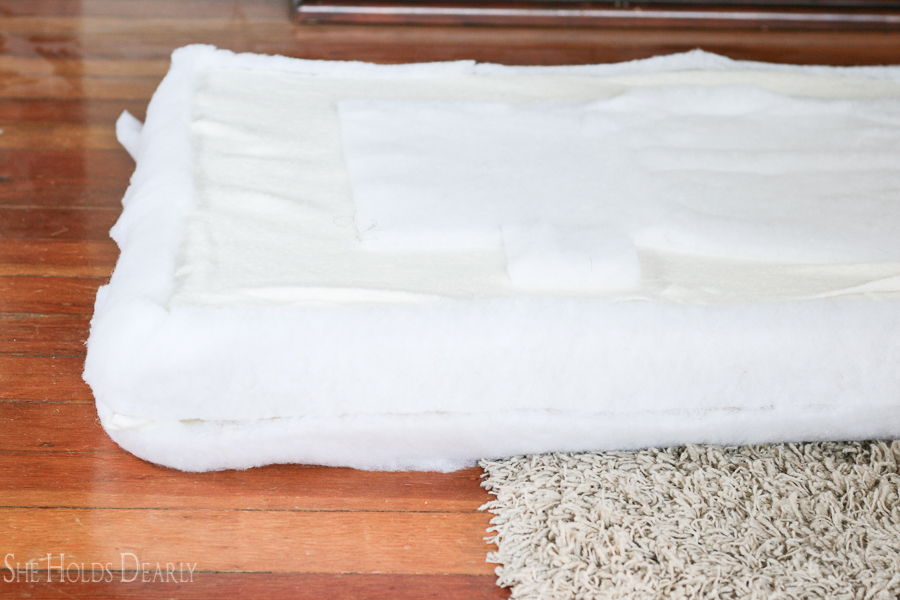
- Use Spray Adhesive to adhere all the pieces to the foam.
- I used a big piece of cardboard and moved it around to protect the floor as I sprayed.
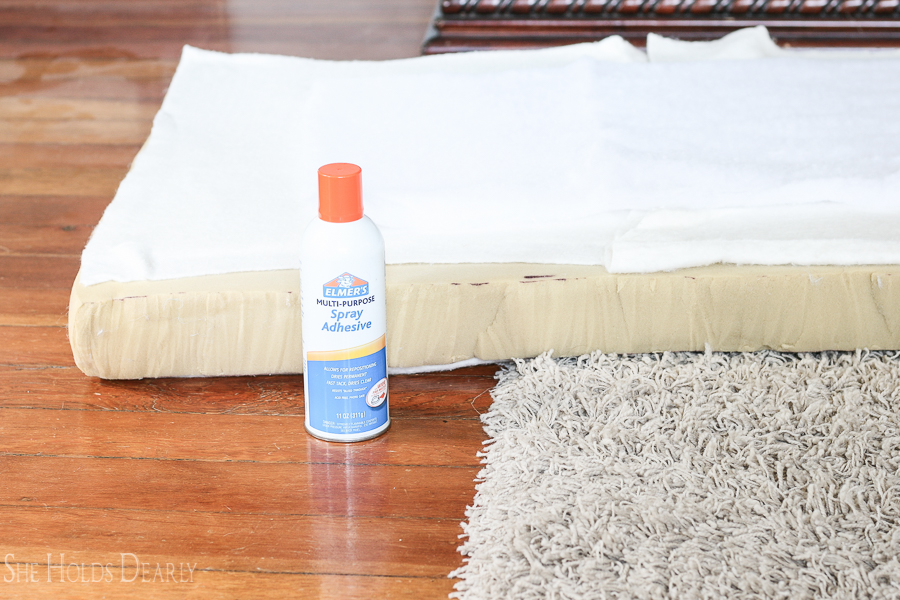
- Carefully slide the foam and batting into the box cushion cover.
- Check all over and make sure the batting stayed in place.
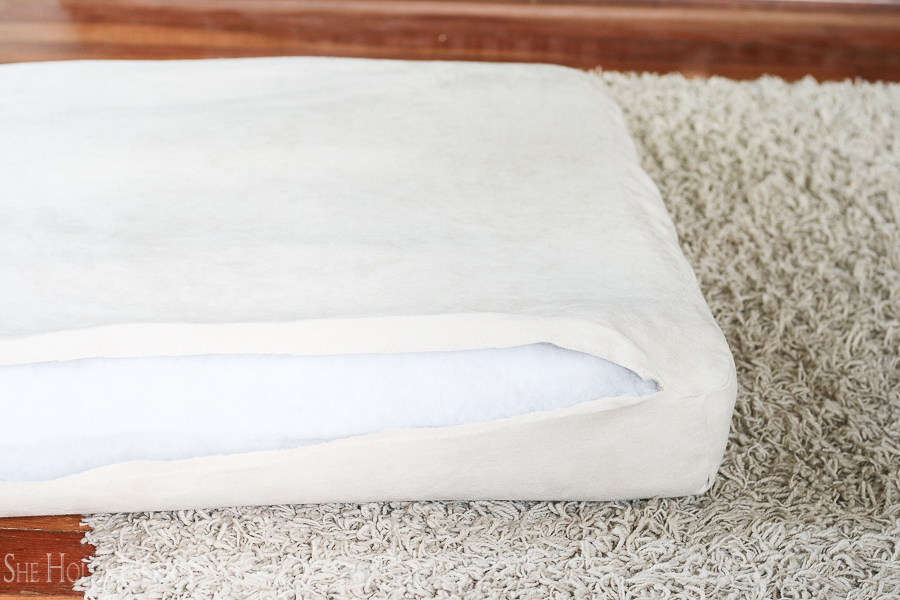
- Pin open side shut, tucking in a little seam allowance on both sides as you go.
- Use the 2″ needle and matching thread to slipstitch the opening closed.
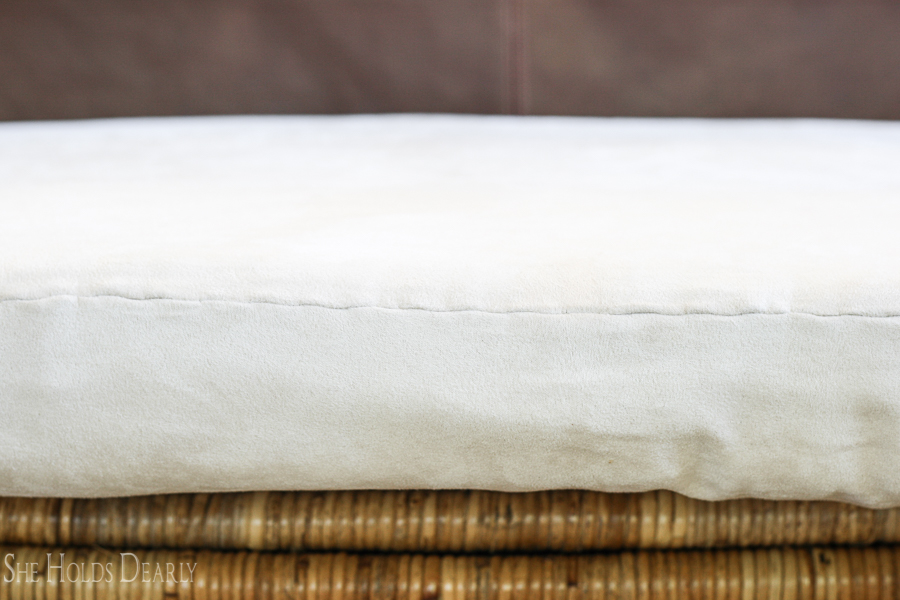
Welting
- Using upholstery thread, gloves and the 2″ needle, start at one corner of the cushion.
- The stitch I came up with that gives the most bunchiness is a four step process.
- Start by pinching a good inch of fabric and batting, even a little foam if you can. Keep nice and high on the top edge.
- Next, make a 1/4″ vertical stitch on the top of the welting and come down below.
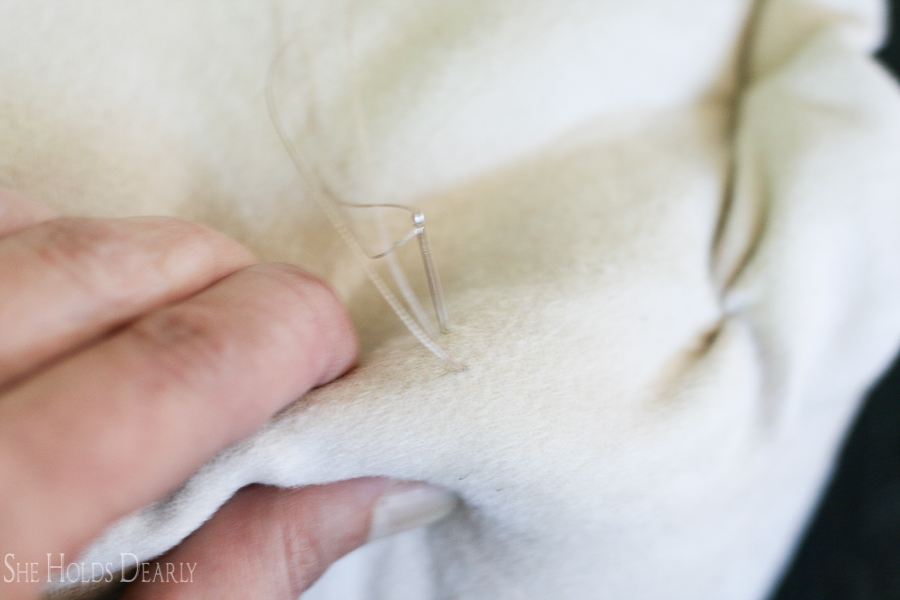
- Then, make a 1/4″ horizontal stitch underneath.
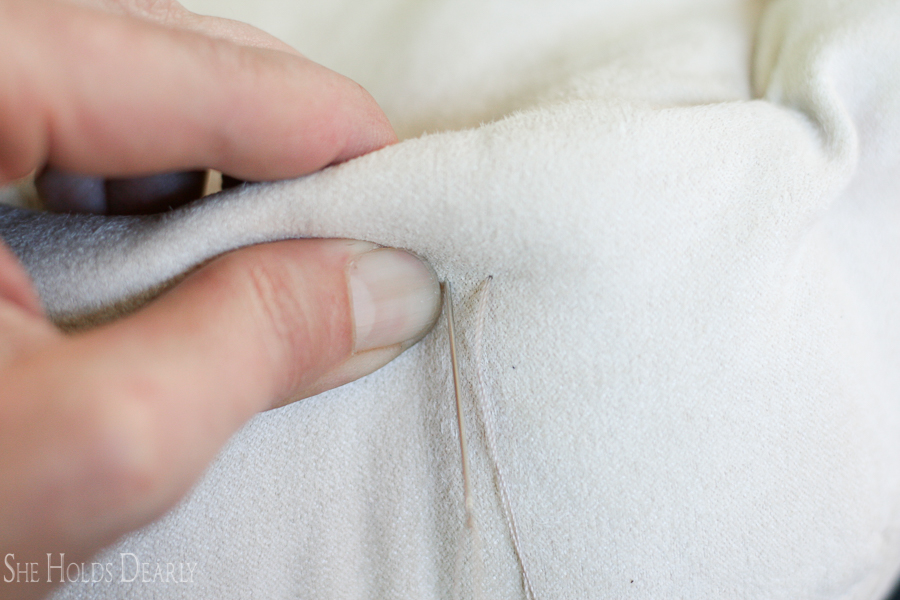
- Come out next to the bottom of the vertical top stitch.
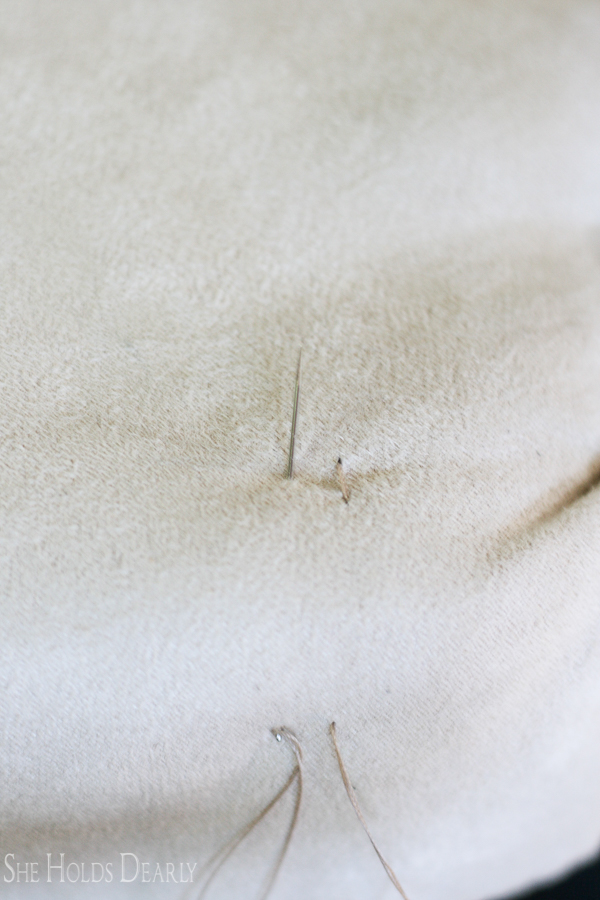
Finally, stitch right under the surface of the top fabric and make one large 1 1/2″ stitch inside the fabric to get to the place to start the next stitch. Pull tight as you go.
Do this all along the top edge and then the bottom edge. 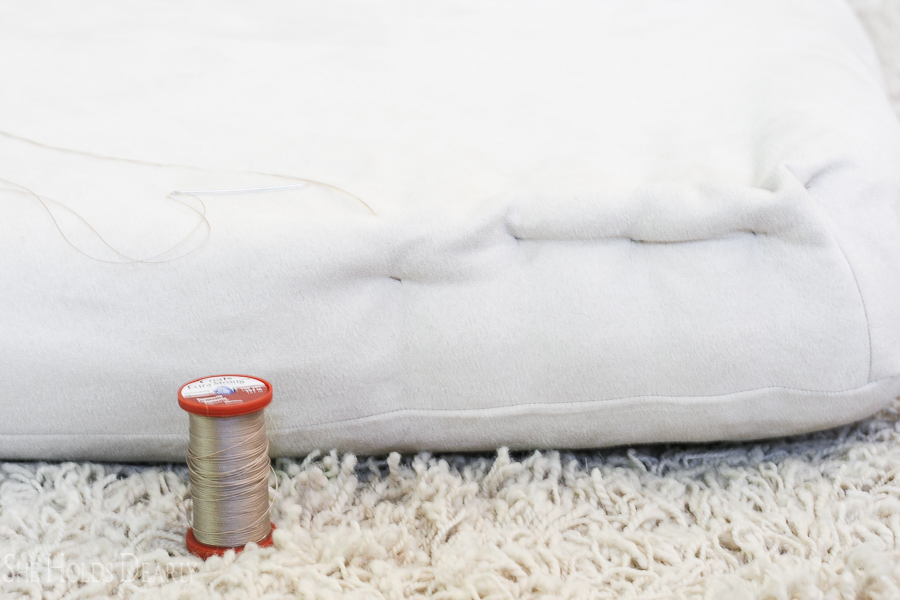
Tufting
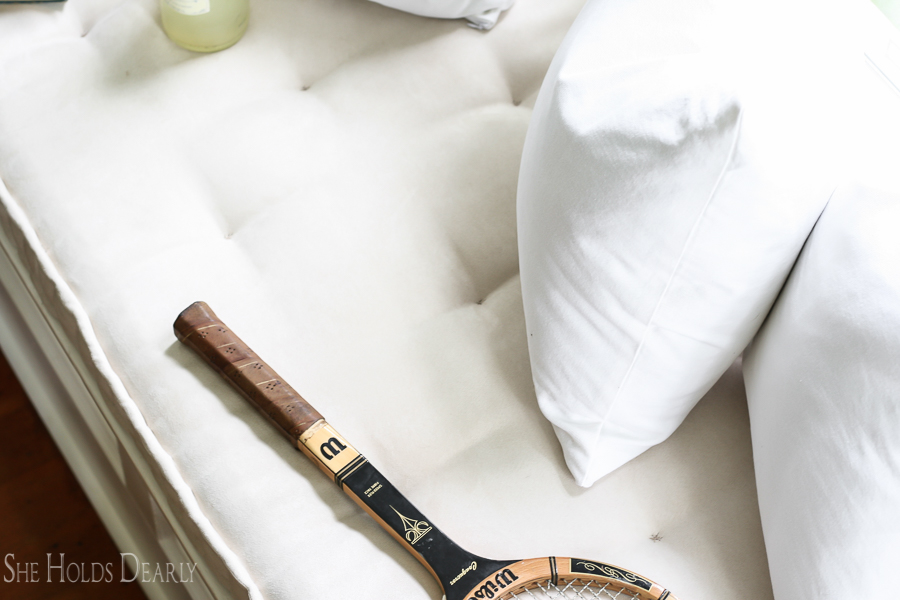
- Once you finish the welting, you can decide on the tufting pattern.
- People seem to either do two parallel lines of tufting or a diamond pattern.
- Because I knew I would be covering the back half of the cushion with pillows, I decided to go with the diamond pattern.
- Measure out a plan and stick straight pins in on both sides to mark the tufts.
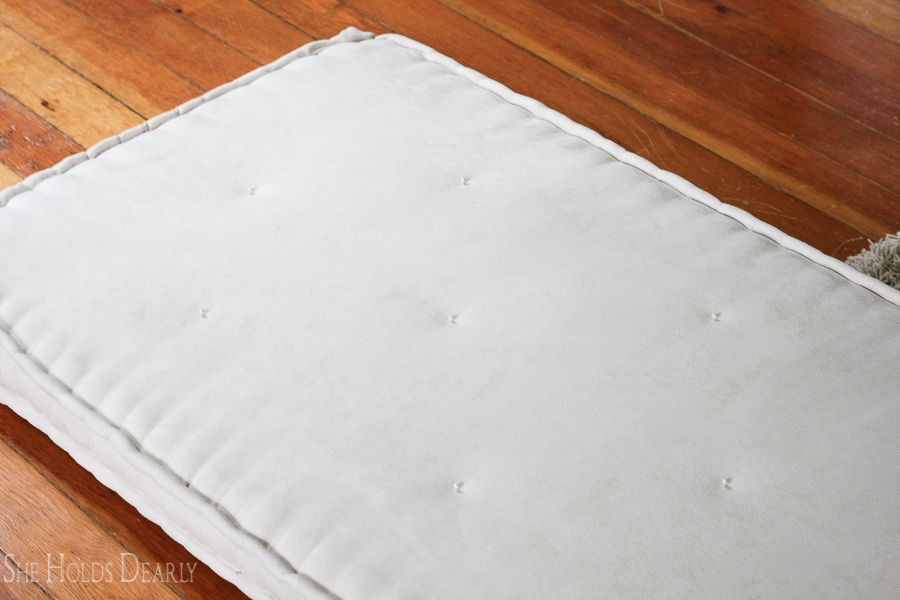
- Cut a 4′ piece of upholstery thread for each tuft. Use double thread and an upholstery needle. Knot the thread.
- You will need to wear your gloves, but keep taking them on and off every time you make a knot.
- Stitch an * (asterisk star) shape about 1/2″ diameter.
- Note- the first knot goes straight through the fabric and gets lodged in the foam.
- Sew three complete stitches before you pull tight to create the tuft. The fabric has a ton of tension were each of the tufts are located. It is possible to tear a hole right through the fabric if the pressure isn’t spread out before pulling.
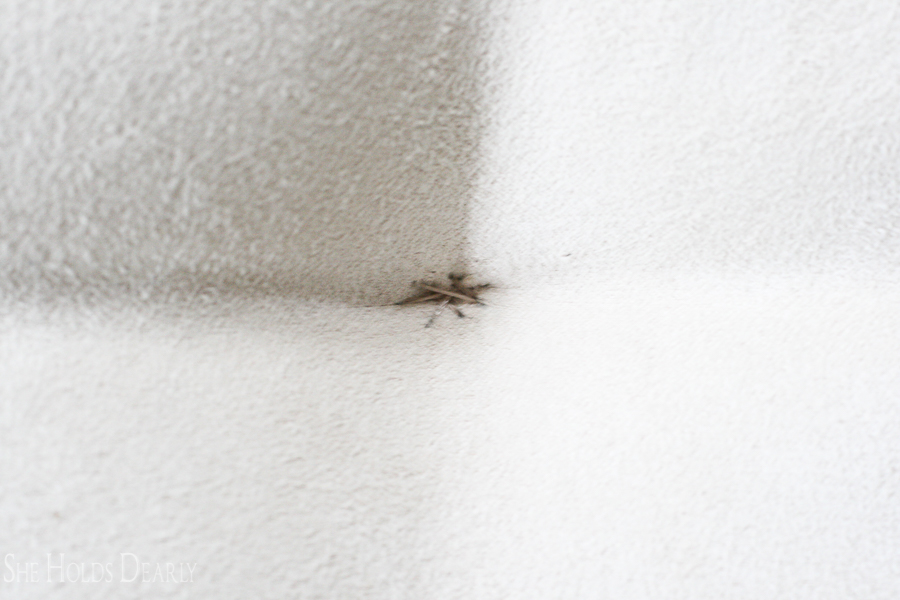
- Turn the mattress on its side while you tuft to make sure you coming out exactly where you want your stitch to be on the other side.
- Once you are ready to tie a knot, pull tight one more time.
- Take your gloves off and cut the thread, leaving the two tails as long as possible.
- Now, tie the two tails like you were going to tie a bow. Folding under and pulling tight, do this six times.
- Re-thread the upholstery needle and stitch the thread straight down through the foam and out the other side. It doesn’t matter where it comes out.
- Finally, pull tight and clip the thread, the tails will be left buried in the foam.
- Continue tufting.
- Keep re-measuring and adjusting the pins a little on both sides before you start a new tuft.
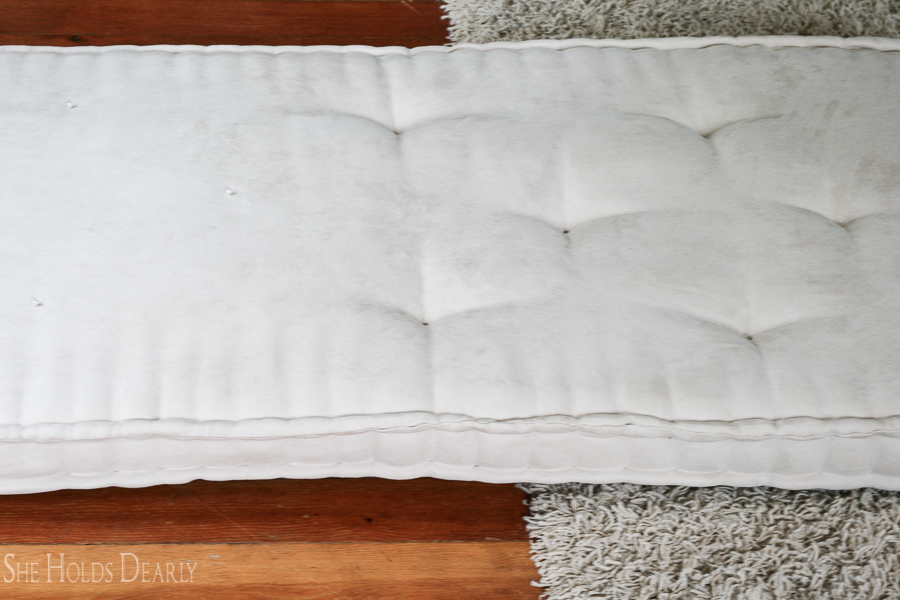
- Once you are finished, as always, Scotch Guard the living daylights out of that baby.
- Spot clean with baby wipes or rubbing alcohol.

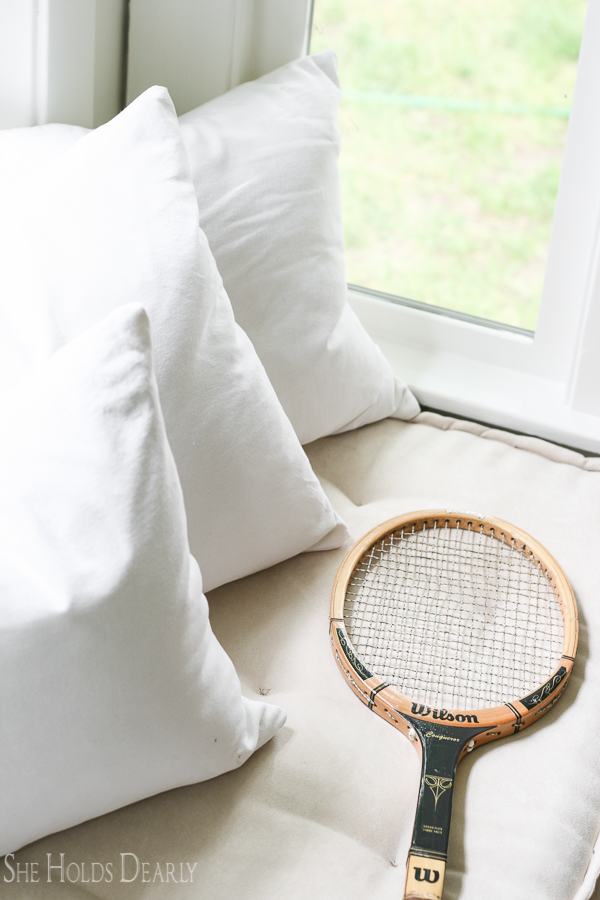
I recently wrote a post on how to Add a Zipper to a Pillow in Ten Minutes where I showed how I quickly made the six pillows on our window seat.


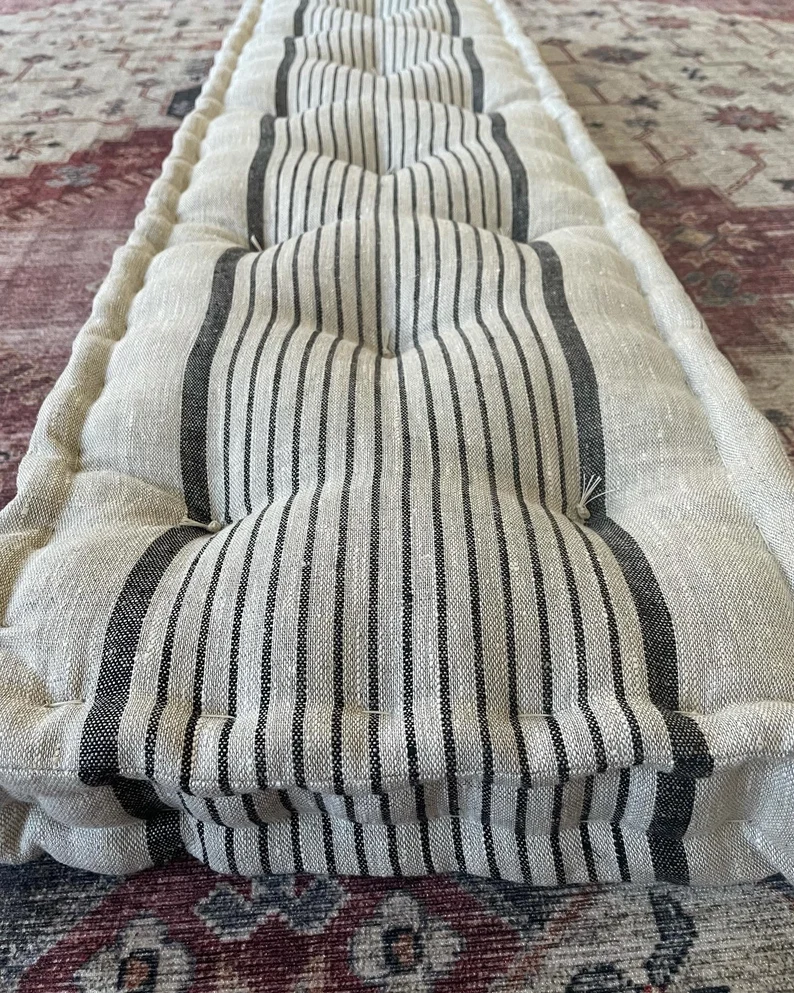
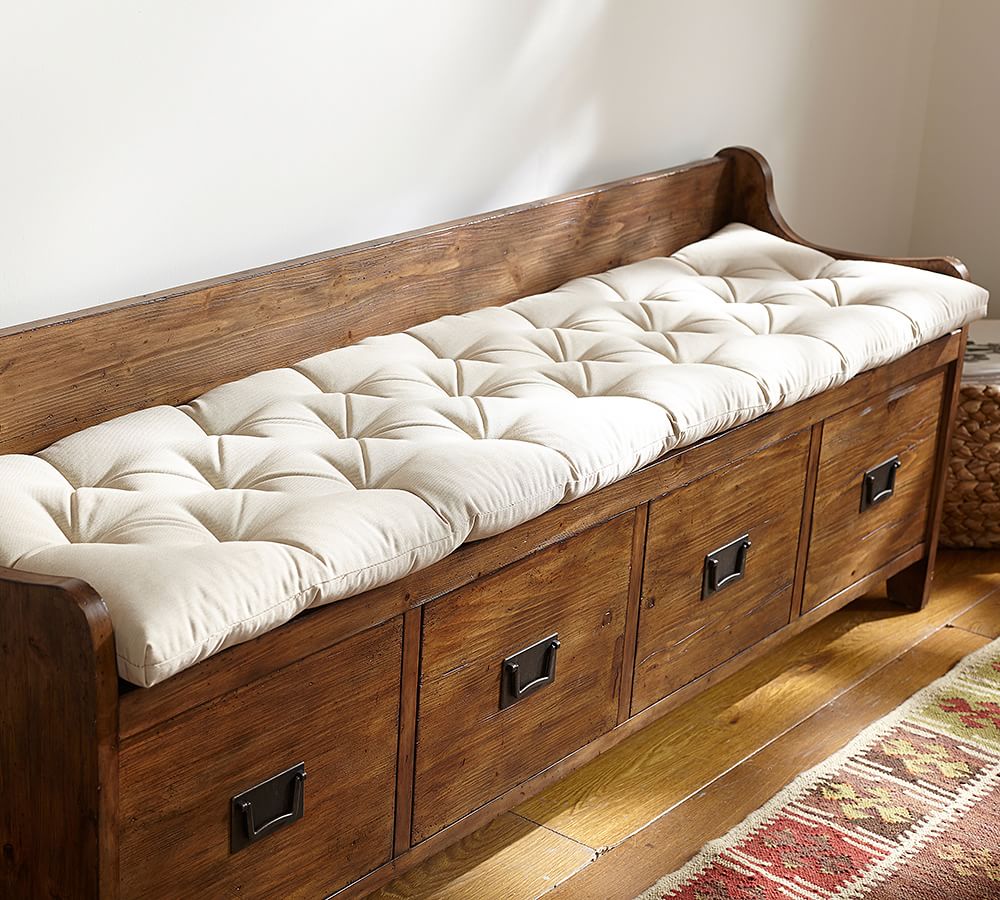
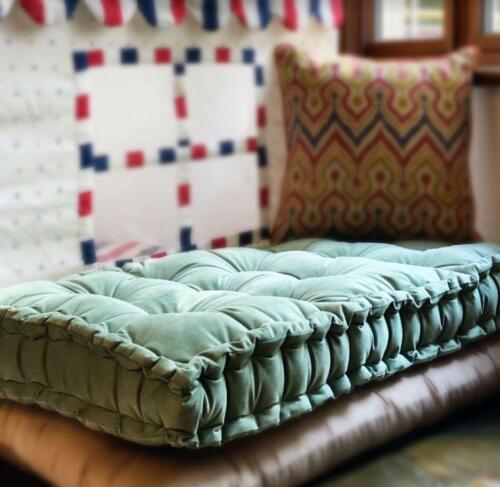
If sewing is not your thing, I have included some of the best French mattresses I can find online:


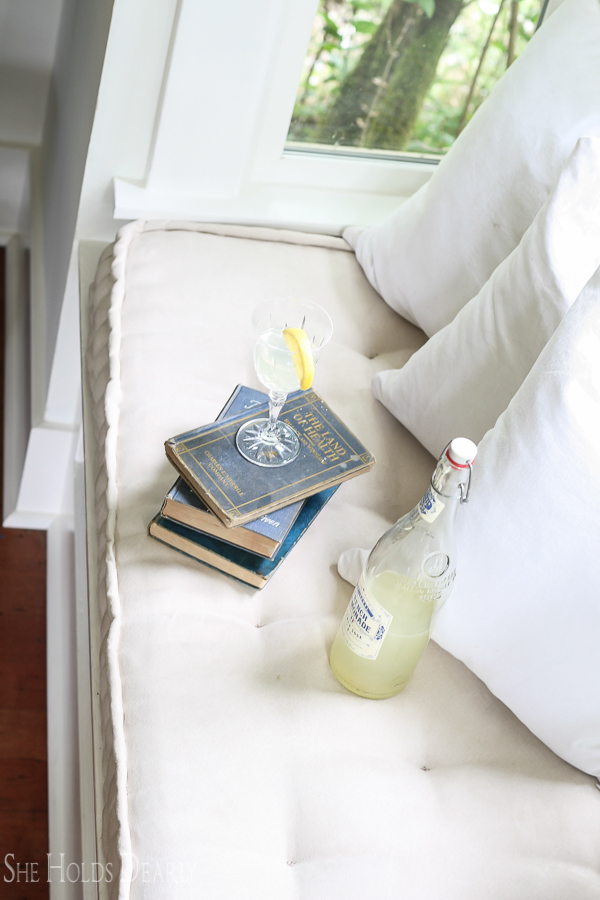
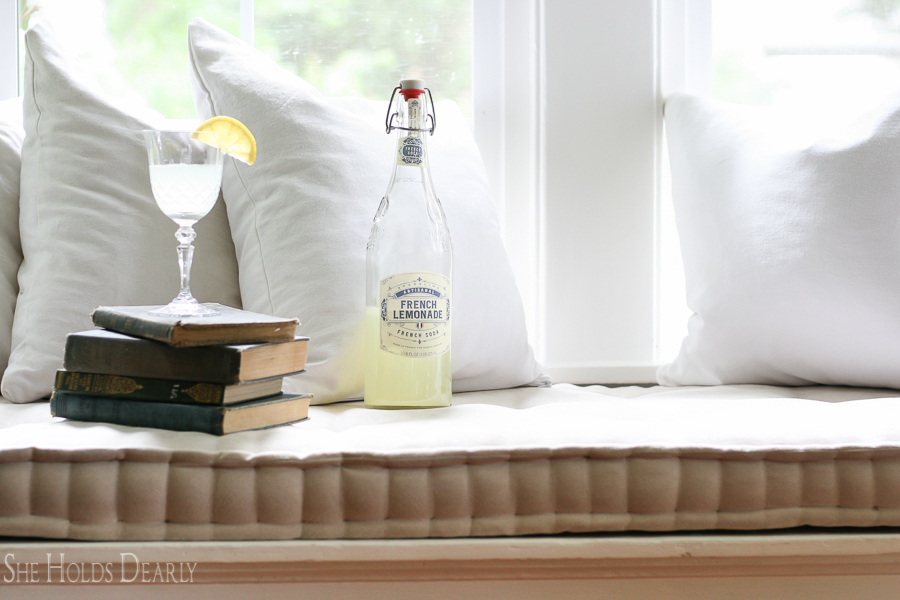
I am in love with the final result!
Now that I know how to make French mattress-style cushions, they will be my cushion of choice in the future.



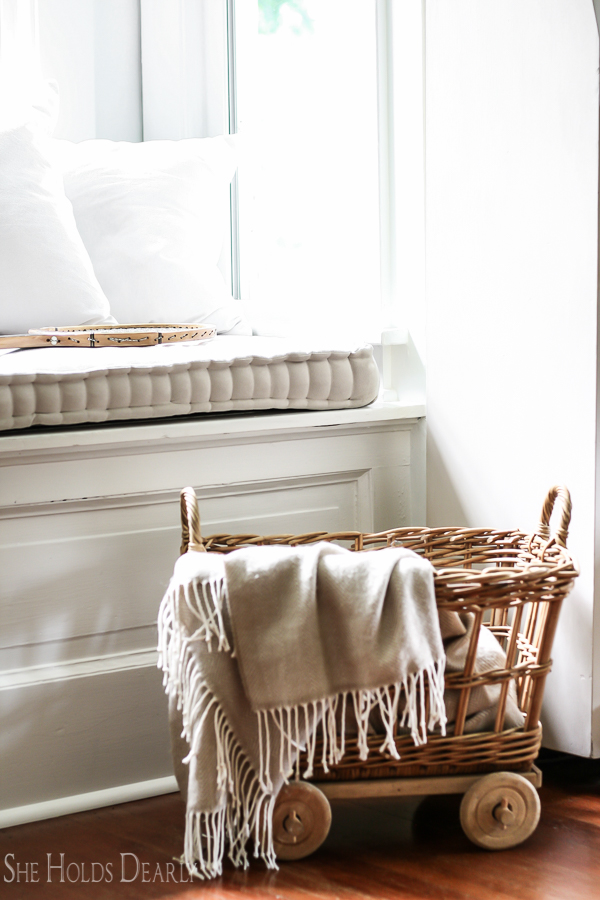
Related Posts
Reupholstering an Antique Chair
Pin This DIY French Mattress Cushion Tutorial for Later:
