DIY Industrial Ceiling Fan
Ceiling fans get a lot of flack from the design industry, but sometimes there is no way around needing them. If that is your story, there are ways to update your old ceiling fan and still keep within a vintage design theme. Let me show you how I made my DIY industrial ceiling fan.
When we first bought our old house it had several huge ceiling fans.
I was not a fan.
Of course, there is no AC in this 100+ year old house. Although, the big, old trees surrounding it are surprisingly cooling.
We heat the house with a woodstove and the heat must be distributed. So, after brutally banning all ceiling fans in the house, I admitted that we did indeed NEED a fan in the fireside room.
This is what came with the house.
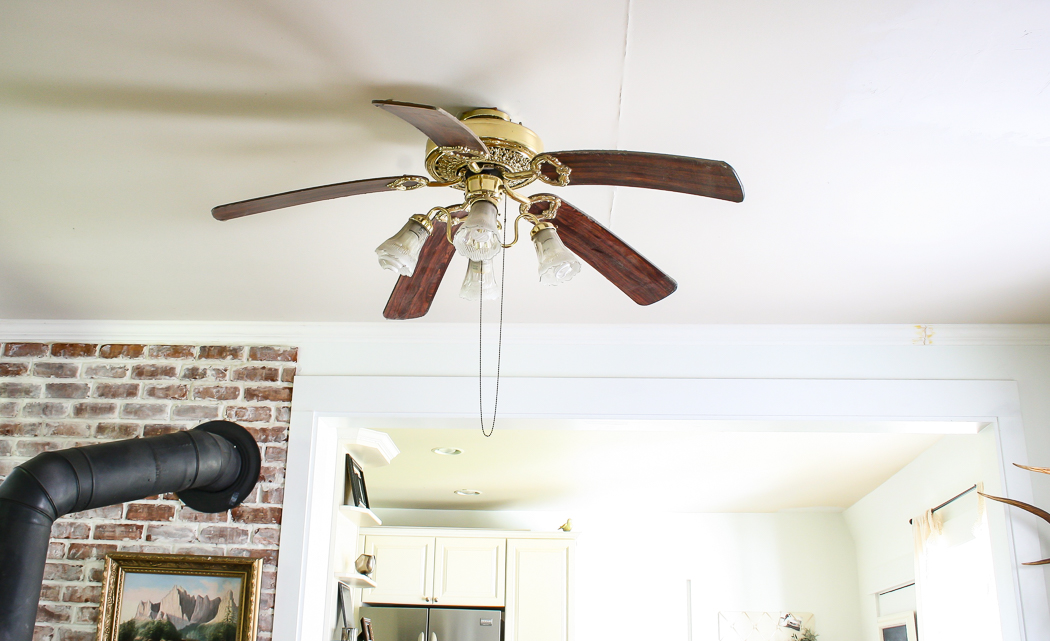
Before
Nice, huh.
And this was after we removed the popcorn ceiling. It accidentally sat out in the rain for too long during the initial renovation, giving it that nice droopy flower petal look.
When we were re-doing this room (see Fireside Room Reveal), I needed a more rustic, masculine piece to keep all the white, feminine style in check.
Here some elements that make up the industrial, rustic look in a ceiling fan.
*This post contains affiliate links.*
- No Lights
- Sometimes, this is not possible. Scroll down for some nice farmhouse style fans with lights.
- Even number of blades
- This can help, but is also not neccessary.
- Metal
- Wood
- Straight Lines
Here are some other gorgeous ceiling fans that caught my eye.
Click on the images below to find out more.
[show_shopthepost_widget id=”2730153″]
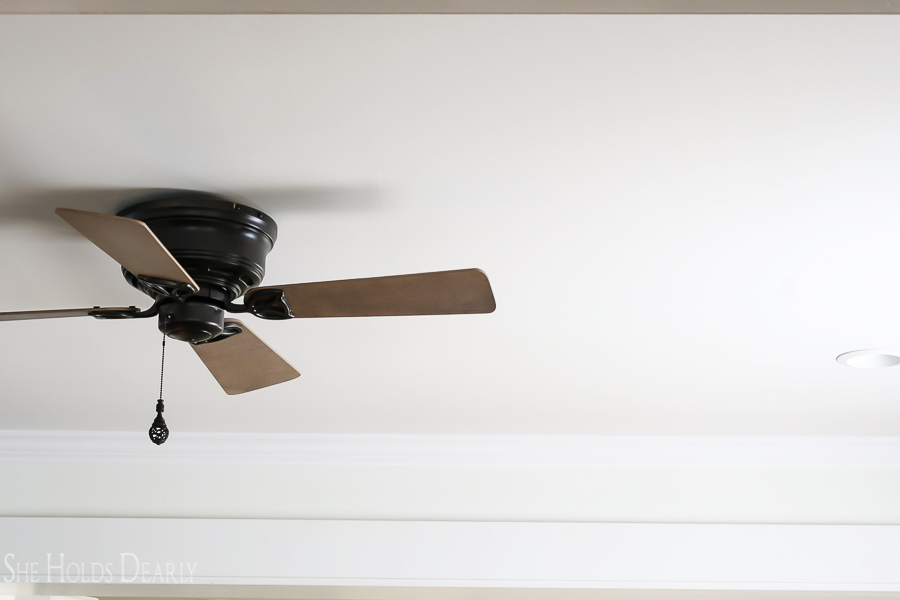
After
In order to recoup our loss of light, we (ok, my husband) installed recessed lighting.
He put one light in each corner of the room, which leant to a museum feel. The wood stove, coat rack, and two wingback chairs were each spotlighted.
I instantly loved it!
Meanwhile, I located a cheap fan on Craigslist that fit my criteria and got to work. Here is the simple makeover process I used to create this rustic style ceiling fan.
DIY Industrial Ceiling Fan
Supplies
- Ceiling fan
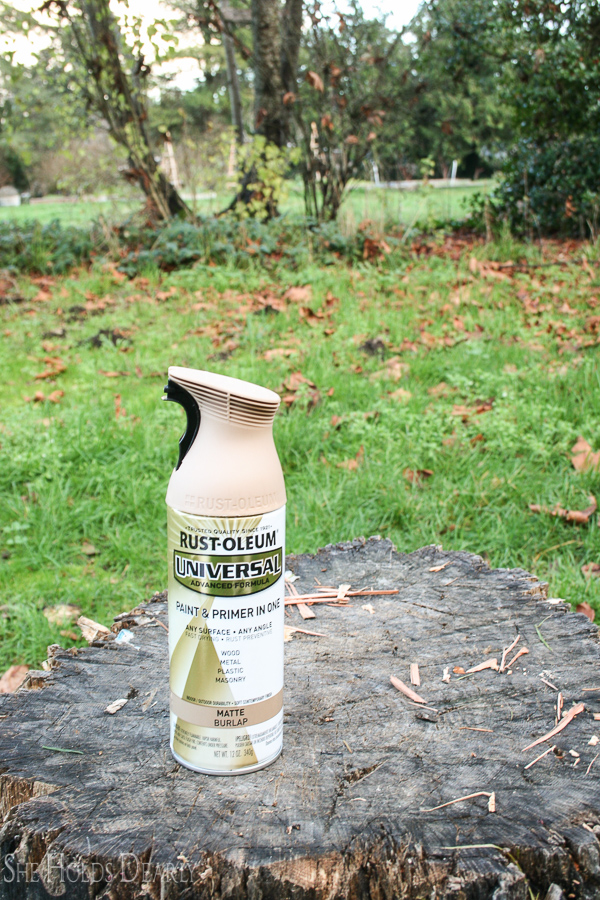
- Tan spray paint
- Disposable paint brush
Tutorial
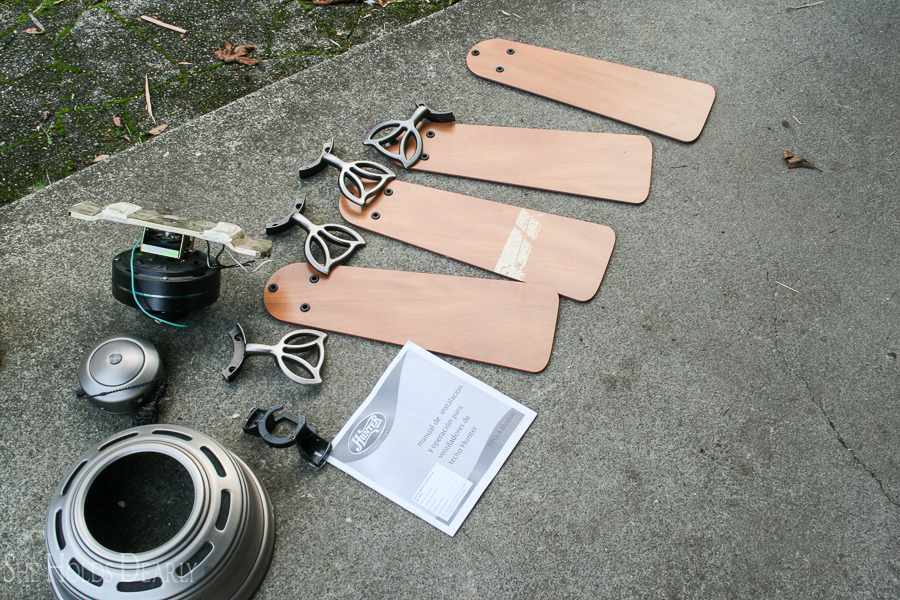
- First, disassemble the fan.
- Spray paint the blades tan.

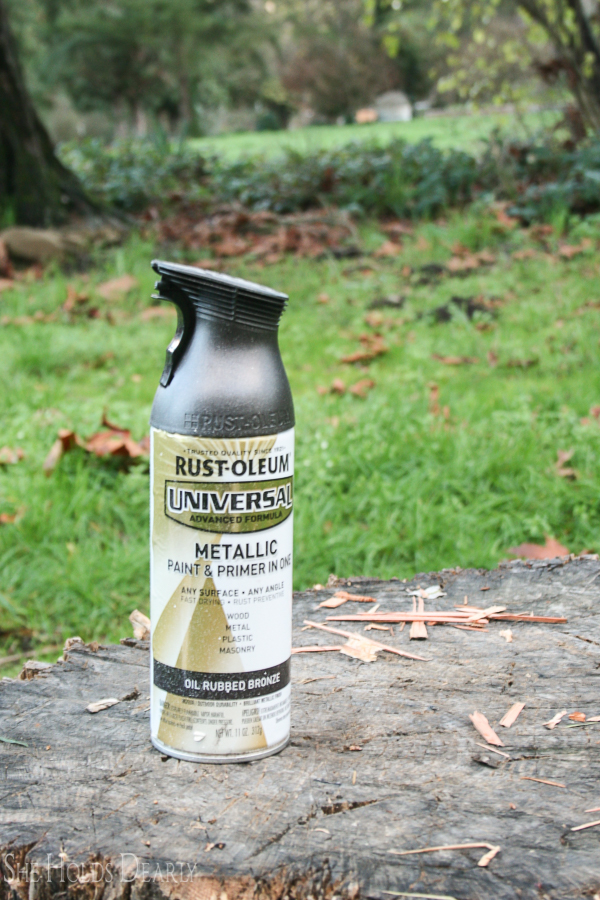
- Then, spray paint the hardware dark brown.
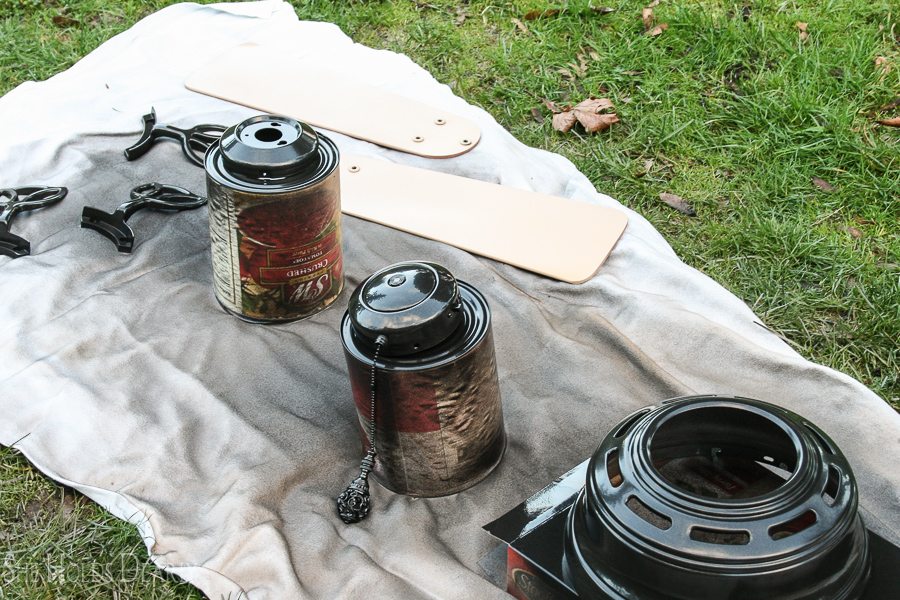
- Next, very quickly and lightly dust (spray) the tan blades with the brown spray paint.
- IMMEDIATELY brush (long ways) the wet brown paint to create a wood grain.
So, with a couple of colors of paint and a little faux painting trick you can create a simple industrial ceiling fan all by yourself.
Related Posts
How to Install a Rustic Accent Brick Wall
Pin This Updated Ceiling Fan for Later:


