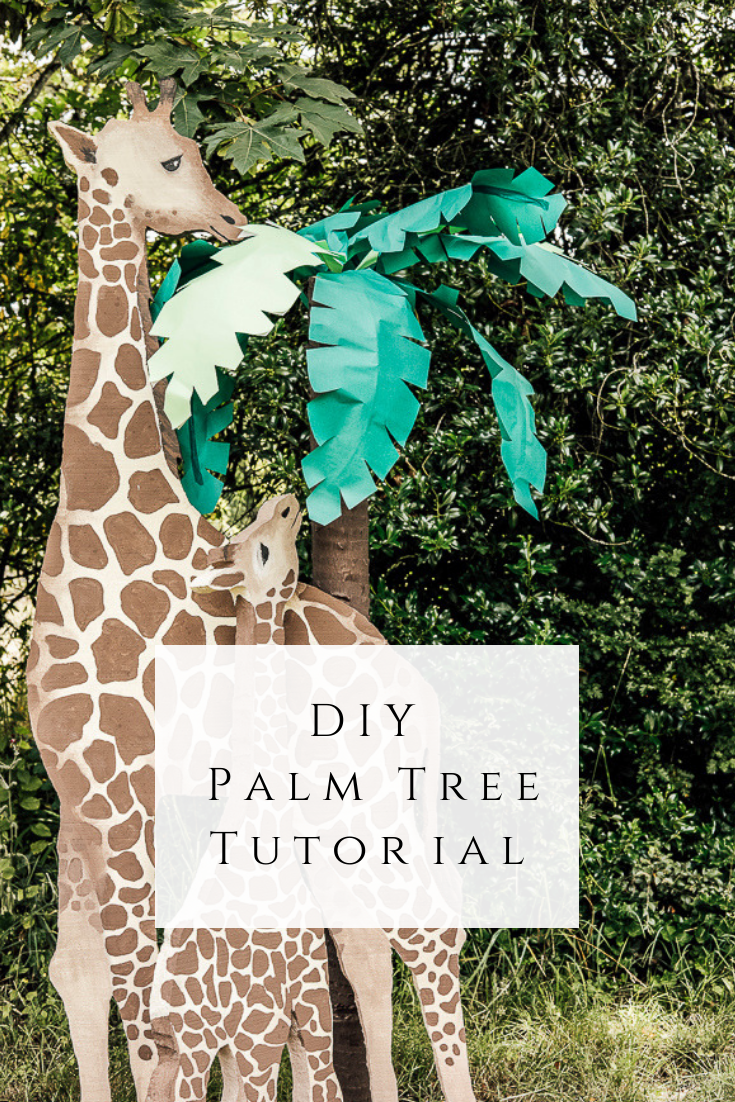
How to make DIY Palm Trees
Now, you might ask, why does anyone need to read a DIY Palm Tree Tutorial??
There are actually quite a lot of reasons to might want your own life size palm tree! And I’m not just talking luaus and beach parties either.
Safaris and dinosaur parties would fit the bill.
Or what if you own a shop and need some summer window decor??
What if you get ship wrecked on an island and need the proverbial palm tree to lean on? See what I mean? Sooo many reasons to know how to make your own fake palm tree!
You can subscribe to the She Holds Dearly YouTube channel here!
My reason for making a palm tree this time was being the head designer for our church’s Vacation Bible School, which we like to call KidsCamp. We needed 16 palm trees of varying heights for our In The Wild theme.
I have made palm trees once before, for my three year old’s safari birthday.
I knew that I would be throwing my ten year old a luau a few years later (I know, that sounds ridiculous planning that far out, but if you are reading this you probably understand.)
I kept the palm trees in our shop for five years! But, at about year four a mama squirrel found them and had her babies in my palm trees!!
Haha, she thought she had found the Bahamas!
I ended up needing to toss some and repair some others after we escorted the squirrel family safely outside.
From those two experiences, I have learned what works and what doesn’t work with palm tree designs and I am most happy to pass that information on to you!
This tutorial produces trees that are:
- Realistic
- Sturdy
- Inexpensive
On that last point, I did some research and found that buying trees can be upwards of $80, renting them can be around $30 – this tutorial costs about $8 per tree! (And they’re yours to do with as you please/use them again and again!)
DIY Palm Tree Tutorial

*This post contains affiliate links to products I know &/or love.
Supplies
- 12 ft Cardboard Tube- carpet companies give these away daily for FREE
- 1″ x 2″ Wooden Boards- I get mine at Home Deport ($2 for 8 ft)
- Tape Measure
- Compound Miter Saw
- Nail Gun & Nails
- Air Compressor
- Brown Crepe Paper– one roll per tree
- Exacto Knife
- Scotch Tape
- Styrofoam Disc- 5 inch
- Compass
- Hot Knife or Serrated Knife
- Green Paper- I used a dark green and a light green (this paper is white on one side, so I cut out two leaves and glued them together using spray adhesive for green on both sides)
- Matching Tapes- dark green and light green
- Wire Cutters
- Galvanized Wire- 16 gauge
- Tan fabric or plastic table cloths
Tutorial
- Decide on the height of trees you want. I took my 12 ft cardboard tubes and cut some of them in half to make two six footers. I cut the rest to seven feet, giving me the rest at five feet.
- Next, using the compound miter saw, cut the 1″x2″ into 1 ft increments – 4 per tree.
- Nail these around the base to form the stand – Set them against the cardboard tube and butt them up against each other perpendicularly to create 4 legs going off from the tree, one in each direction. See the video below for the exact design.
- Now take the Exacto knife and cut slits in the brown crepe paper to create a frayed edge. Pretend like you are cutting a pie and cut only half way down. Cut several triangle shapes and work all the way around.
- Starting at the top of the trunk, tape the first end of the crepe paper to the top- ruffle side up and start spiraling it down, around and around. I find it best to actually hold the crepe paper against the trunk and unroll it one pass at a time. Overlap the paper about half way up as you go around and be sure to cover the cardboard underneath.
- Tape the final edge in place.
- Measure the inside opening at the top of the trunk. Trace this size circle onto the Styrofoam disc and cut off the extra with a hot knife or serrated knife.
- Push the resulting disc into the top of the cardboard tube and start cutting your leaves. NOTE- if your disc ends up being too small, just have someone hold it while you add your leaves to it and then drop the whole thing into the top of the tube, the wires will hold everything in place.
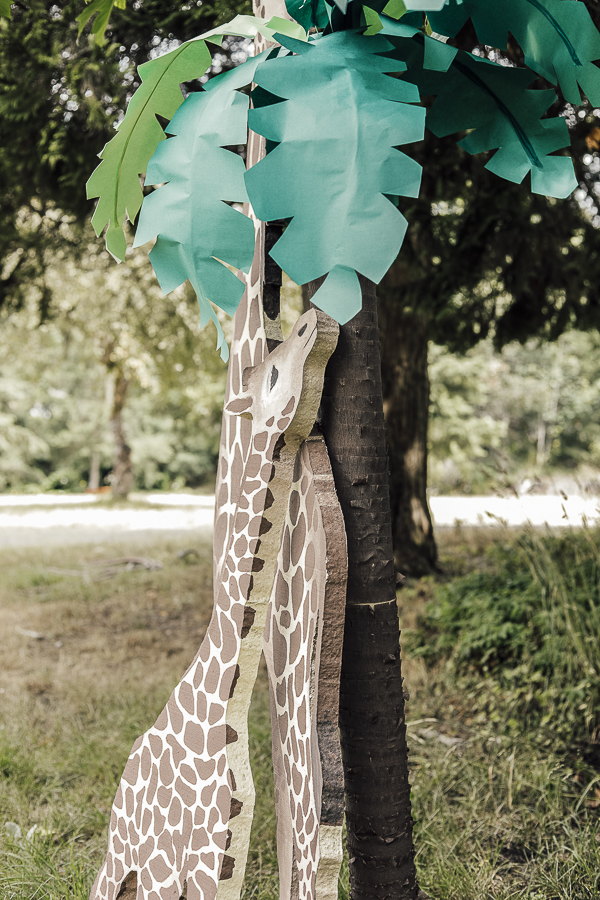
- My leaves are 12 inches by 28 inches. I drew a sort of large oval with points on both ends and cut out triangles all the way around. This became my template.
- Then, I traced and cut out ten dark green leaves and two light green ones per tree.
- Once you are done with cutting out the leaves, cut 12 pieces of wire about 36 inches long.
- Tape a wire to the center of each leaf like a stem with the matching tape. Leave about 6″-8″ of the wire hanging off the tail end of each leaf to attach the leaf to the tree.
- Now add these leaves into the Styrofoam disc. Have some that curl down more on the bottom of the bunch and a couple that stick almost straight up on top. Keep stepping back and walking all the way around the tree as you style.
- Finally, wrap the base with the tan fabric or plastic to cover the stand.

There you have it! Your very own palm tree.
Now go throw a party or something! You are amazing!
Related Posts:
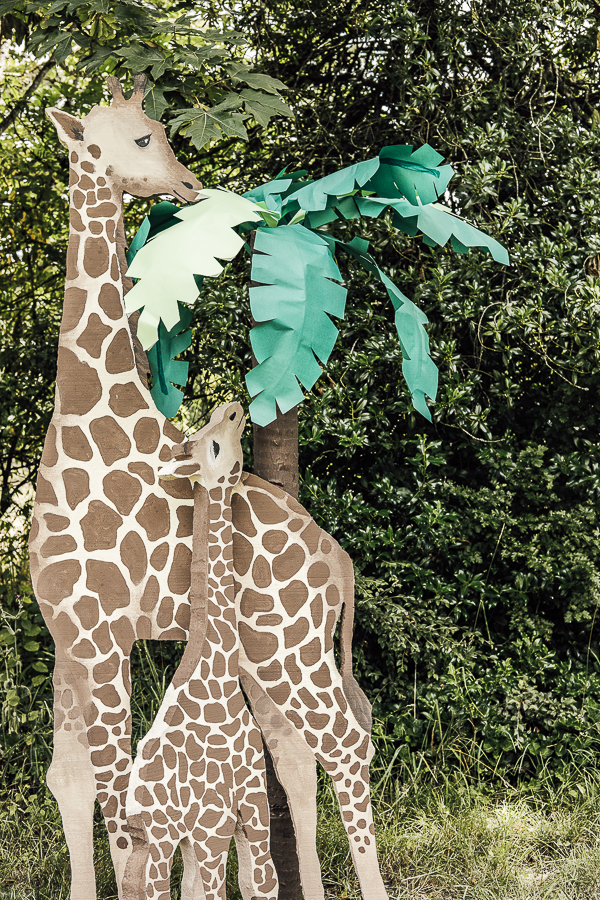
- Life Size Stand Alone Animal Party Decorations – Like these neat pictured giraffes.
- Vacation Bible School Decor Reveal – In The Wild Theme
Pin These Palm Trees For Later: