Organizing Your Seasonal Decorations Like A Professional
I am often asked how to go about organizing seasonal decorations – and I’m happy to share my tips with you! Read on for all of the details!
How I go about Organizing my Seasonal Decorations:
I think this question is asked so often because decorations that aren’t currently in use and that don’t have a place to be put away can make for a big chaotic mess!
It’s lovely to have things on hand for all of the seasons and occasions, but not when those things feel overwhelming due to a lack of organization.
Being that I do this for my job, I probably have even more decor than the average DIY homeowner, and the following is the system I have found works well for me to keep good track of my items.
This can be easily scaled down for someone who has less decor overall, or adjusted for those who have other constraints, like storage as an example. I realize that not everyone has shop space for setting aside multiple tubs of seasonal decor.
My hope would be that this gives you a place to start to make a plan of your own that will work for you and your space!
*This post contains affiliate links to products I know &/or love.
First Things First: Sorting
My seasonal decorations are sorted into the four seasons, and each encompasses smaller holidays and occasions that show up within that season:
- Winter (Christmas, Valentines)
- Spring (Easter)
- Summer (4th of July)
- Fall (Halloween, Thanksgiving)
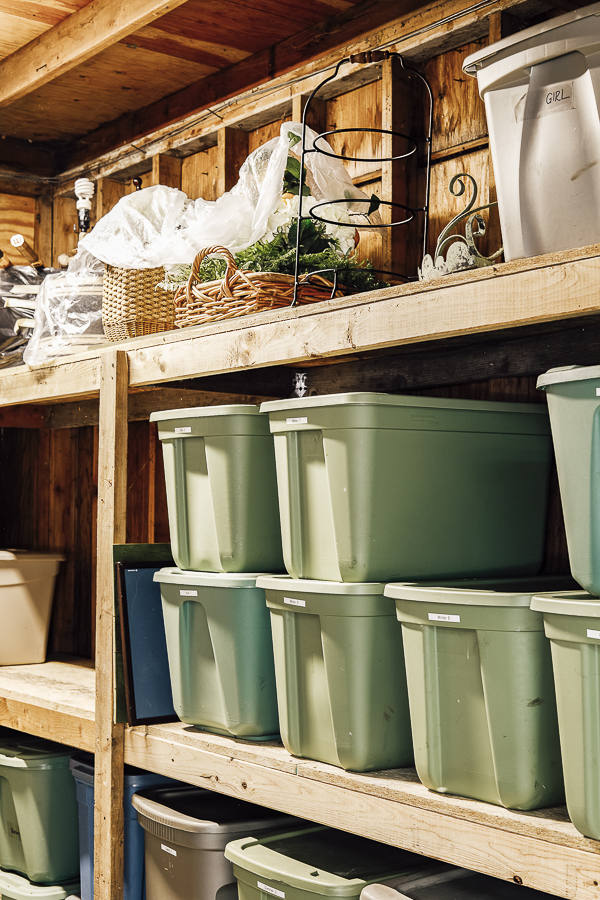
Then within each season, I organize things into large 20 gallon tote bins. I prefer that they be a solid color and NOT see through because I found that it was too much visual clutter to see the things even after they were put away.
These bins can be a bit of an investment, but I think they’re worth it in the long-run!
For Spring, Summer and Fall I have 2 bins each, for Winter, largely because of Christmas decorations, I have 8 bins!
Next: Inventory
Stay with me! There are some of you who are already popping open your excel spreadsheets and others that just felt their eyes roll back into their head reading the word “inventory”.
It’s really not as bad as it sounds!
Once my items are organized into their specific season, I catalog them to be able to easily keep track of which items are in which bins.
My system is basic and anyone can do it! (I commend those of you who will take an idea like this and run with making it even more high-tech, that’s just not me!)
I have a simple document for each season, and within each document I list my bins “Fall 1”, “Fall 2”, and then a short description of the items that are inside.
Easy, right?!
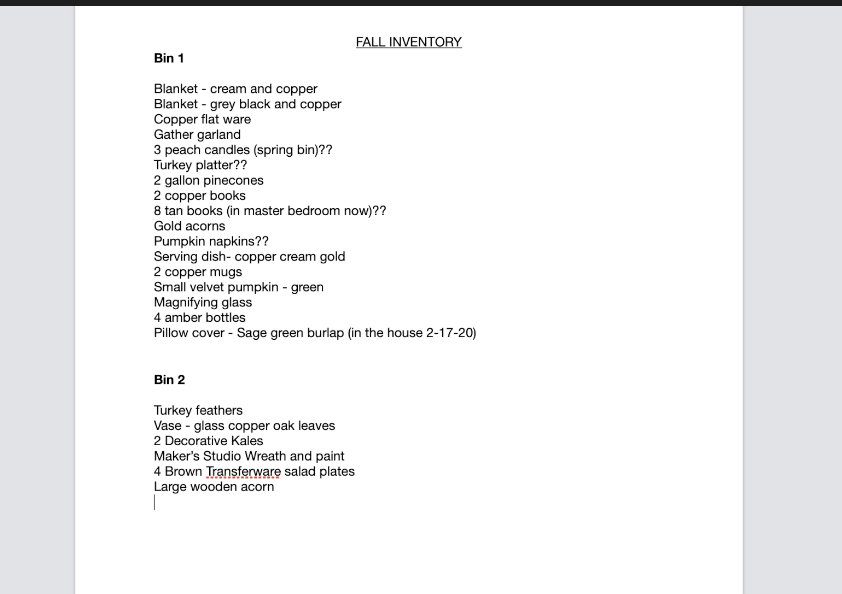
I honestly think the hardest part of this entire system is remembering to put everything away in the bin I got it from.
Oh, and remembering to add items as I find them at thrift-stores throughout the year!
But all it takes is just a little bit of babysitting on these few documents, and I have a system that enables me to keep up on organizing my seasonal decorations!
Filler Items & Large Items:
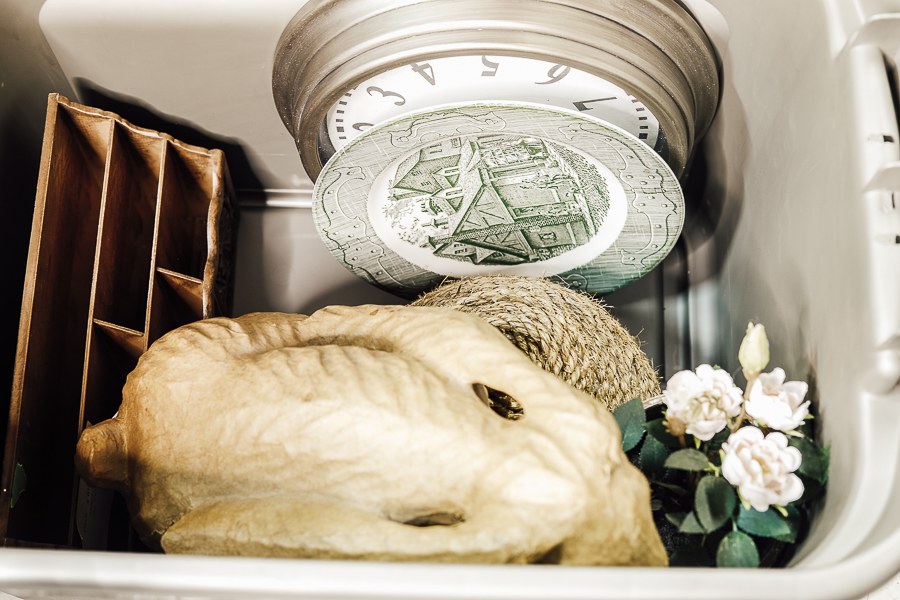
There are a few different things that I keep out of my seasonal bins, either because they don’t really fit any one season well (fillers), or because they’re too large (like pictures and small furniture pieces).
For large items that can tolerate being in our shop without heat or moisture control, I put those items on the very top shelf and cover them with a thin layer of plastic to help control the dust.
I add these items to my same inventory pages, on the page for the applicable season, with a note stating that they’re up on the top shelf.
For large items like my artwork and pictures, which I don’t want to risk being ruined from moisture, I keep them inside in our pantry closet off our living room.
Again the top shelf is reserved for the large items, and I just stack them together like books or cookie sheets to save the most room.
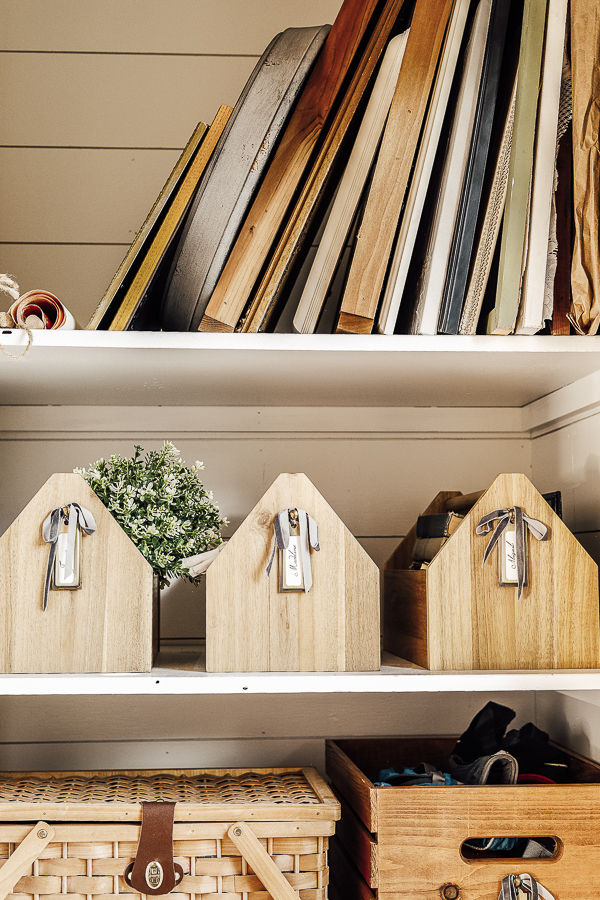
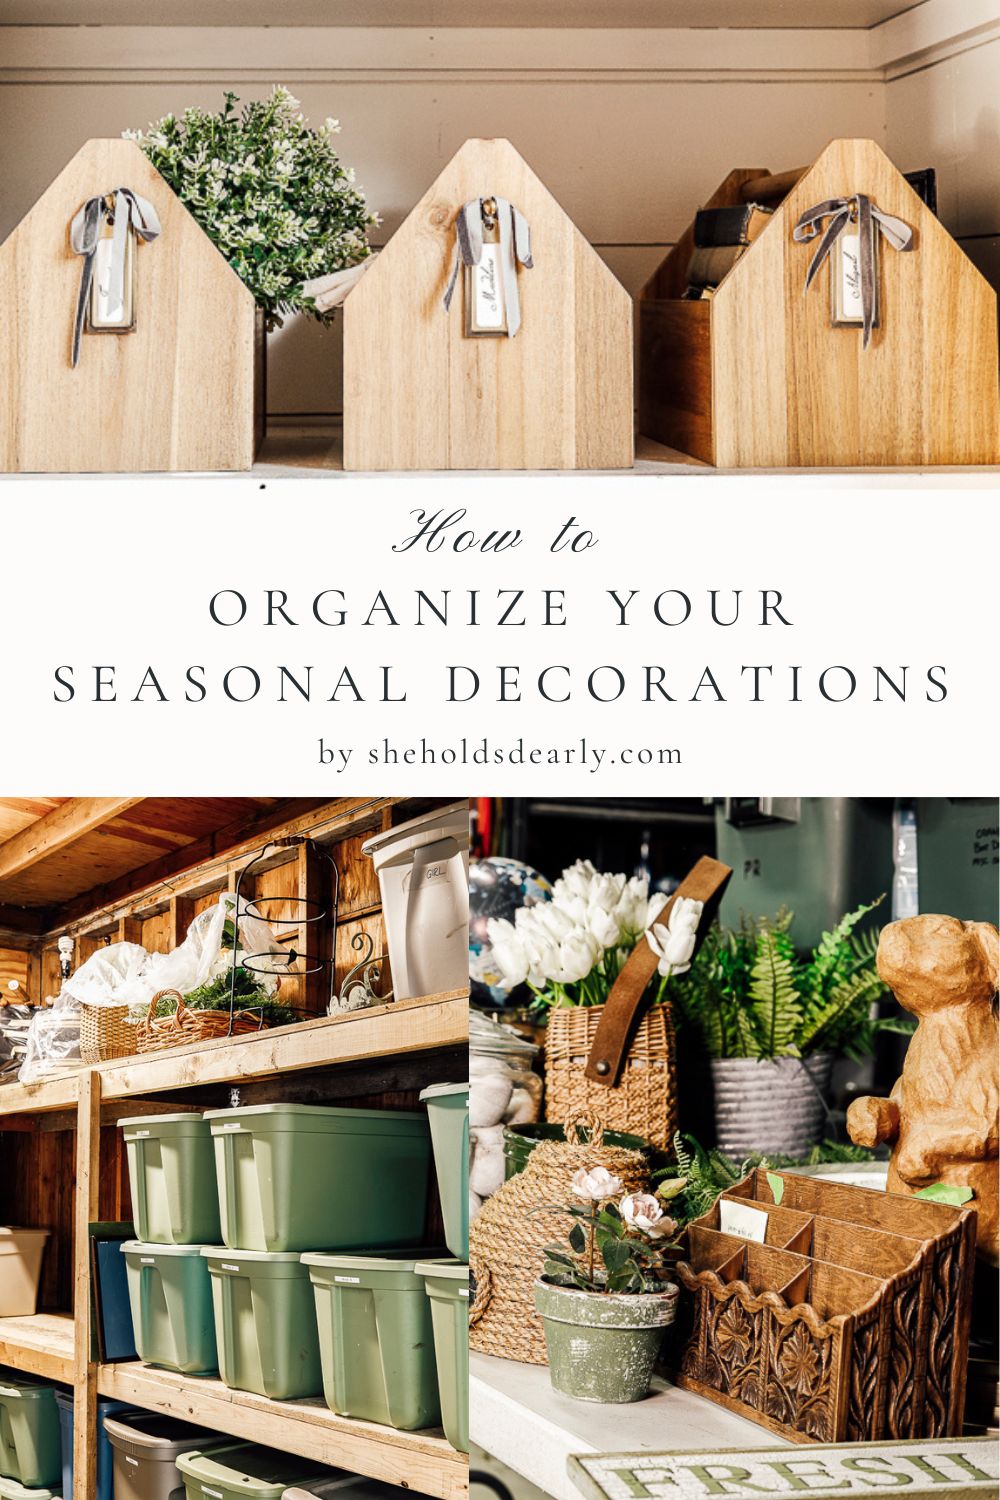
Smaller items and “filler” items are sorted into the wooden “tool chests” you see on the middle shelf.
How do You get Started?:
- Declutter
I truly believe that decluttering should always be the first step when it comes to decorations! To be able to see your items with fresh eyes and only keep what sparks joy will be life-changing if you’re feeling overwhelmed!
I share even more in detail about this process AND we go through our entire house together each year in my Behind the Scenes Decor Group – sign up below if you’d like to be on the Waitlist to be notified when we open again for new members!
I recommend being a little ruthless with decorations as you’re going through them. There’s no sense in keeping things that are “only ok”. Keep only the items that you’d rate a 10 out of 10!
If they’re far out of style, broken, or just aren’t something that you enjoy using, now’s the time to gift or donate it!
- Organize
Once you’ve got your items pared down to the things that bring joy, organize them into manageable sections, whether that is seasons like I’ve done, or individual holidays, whichever is going to work best for the pieces you have.
Then get some sort of bin or container to hold the different sections you’ve split your items into.
- Catalog
Last but not least, catalog them somehow! Whether that’s an intricate spreadsheet, or a piece of note paper taped to the outside of the bin, do what works for you and will help you remember what items you’ve placed in each bin!
Then lastly, remind yourself to plan time for the house-keeping aspect:
- Putting things back in the same bins they came out of.
- Adding new items to the correct bins and to your list as you bring them in to your home.
- When I’m decorating for a temporary season, like Christmas – I’ll remove items from their usual spots and will store them temporarily in the Christmas bins that I have moved other items out of. Then when I’m ready to switch back to Winter after Christmas is done – the items can be swapped right back into their usual spots as the Christmas items are returned to their respective bins.
Viola! You’ll be amazed at how much stress and frustration goes away as you have things organized and easily accessible.
Tame the chaos now and you’ll get to enjoy the benefits for years to come!
Tips for Organizing your Seasonal Decorations:
- Before you get started, have a selection of tissue paper and bubble wrap on hand for fragile items. OR you can plan on packing glass items away with pillow covers, blankets and other linens that you can use to wrap and protect the glass.
- Have a label maker handy! It makes it so neat and quick to label the bins right away as you go!
- Store your faux florals upright in vases and buckets that aren’t currently being used. This helps keep them from being crushed inside the tote bins! (Some of them don’t bounce back after being squished, and you don’t want them ruined!) My tall vases with florals go up on the top shelf with other large items.
And that’s it for this post!
I hope that these organizational tips are helpful for your space! If you have any questions about my tricks for organizing your seasonal decorations, please list them in the comments below and I’ll do my best to answer and clarify!
Resources and Related to Organizing Seasonal Decorations:
- Tips on How to Organize a Craft Room
- How to Design a Space & My 4-Step Process
- Favorite Painting Supplies & How to Store Them
- Farmhouse Organization that Doubles as Decor
Pinterest Boards You May Enjoy:
Vintage Organization Ideas | Vintage Shelf Styling | Vintage Spring Inspiration | Vintage Summer Inspiration | Vintage Fall Inspiration | Vintage Winter Inspiration
Pin these tips for Organizing your Seasonal Decorations:
