How to Decorate Your Bedroom for Christmas
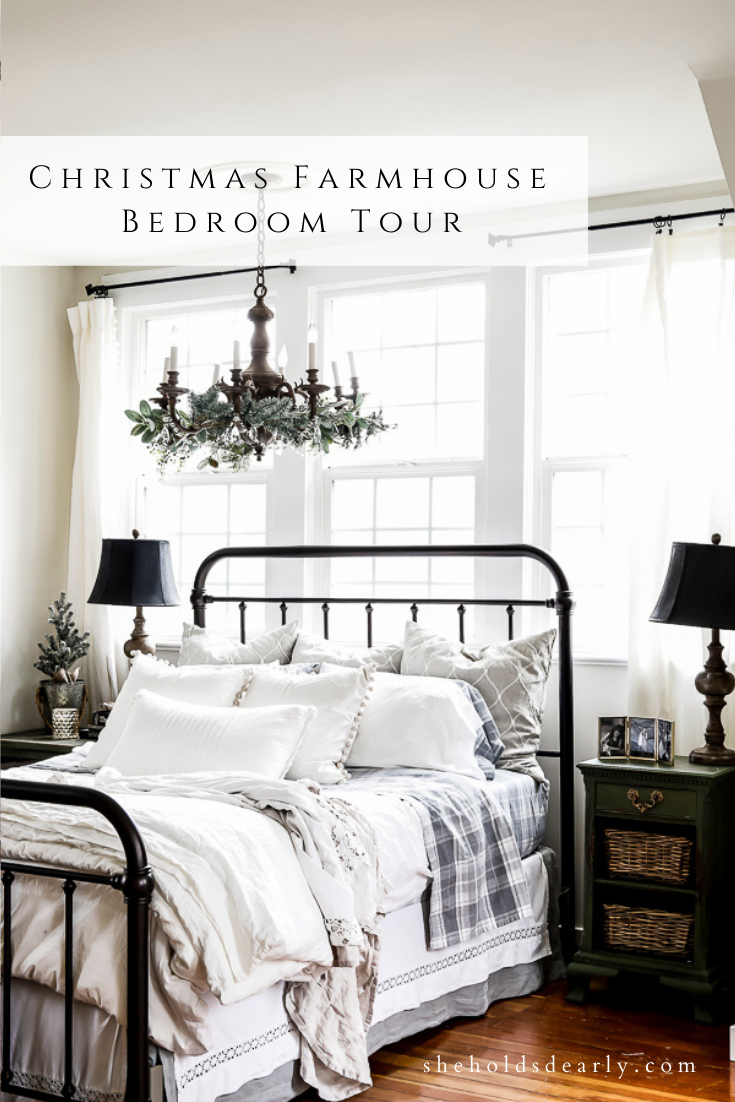
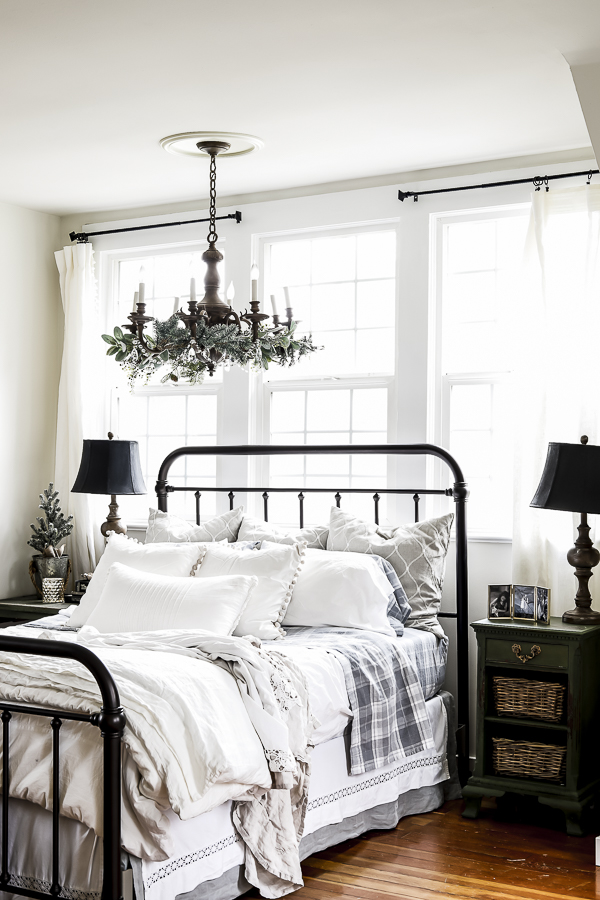
Our Farmhouse Bedroom has gotten a Christmas makeover!
Since this is the first year our master bedroom has been completed and felt “finished”, it’s also the first year I’ve done a large Christmas overhaul – and believe me when I tell you that I am really excited about it!
I’ve been planning, ordering and collecting items for this room for a little while, and it still took four hours to pull it all together! But the results – worth it!
I chose to do a muted and soft French theme. (No red this time! I’m looking at you Christmas Porches #1 and #2!)
We really wanted this space to feel restful, warm and soft. A relaxing retreat for my husband and I!
How I went about Designing for our Christmas Farmhouse Bedroom:
In this room now, I have what I consider to be 5 different areas – designated by where they are in the room, but even more importantly, by their function.
- My Husband’s Office Space
- My Office Space
- The Armoire Area
- Our Mantle
- Our Bed
When I design the room, breaking it down into 5 separate but cohesive parts helps me to know what to focus on!
I’m going to go area by area showing you what I did in each space, and while I’m doing that, I have seven general tips for how you can make small tweaks in your own space to help it feel like you’ve decorated for Christmas.
Let’s get started, shall we?
*This post contains affiliate links to products I know &/or love.
My Husband’s Office Space |
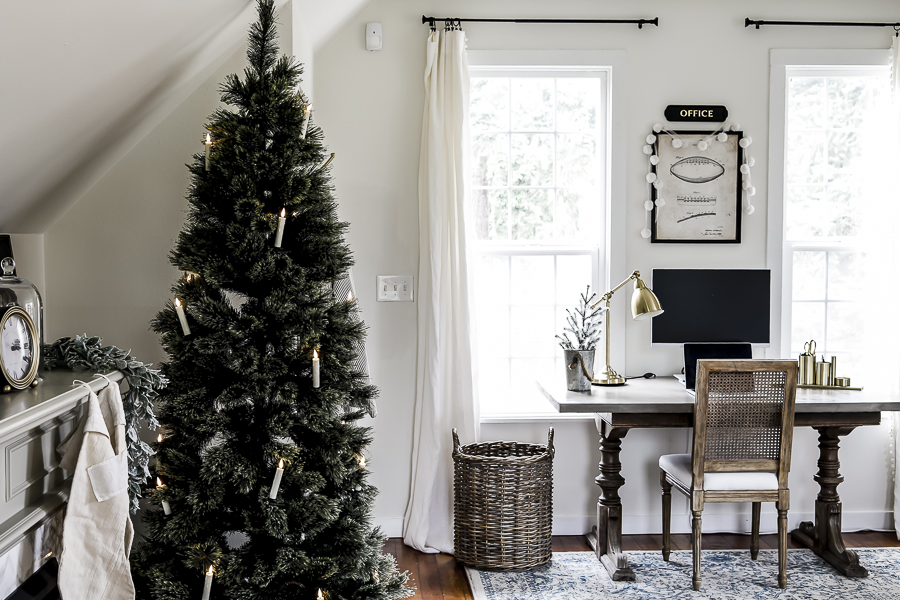
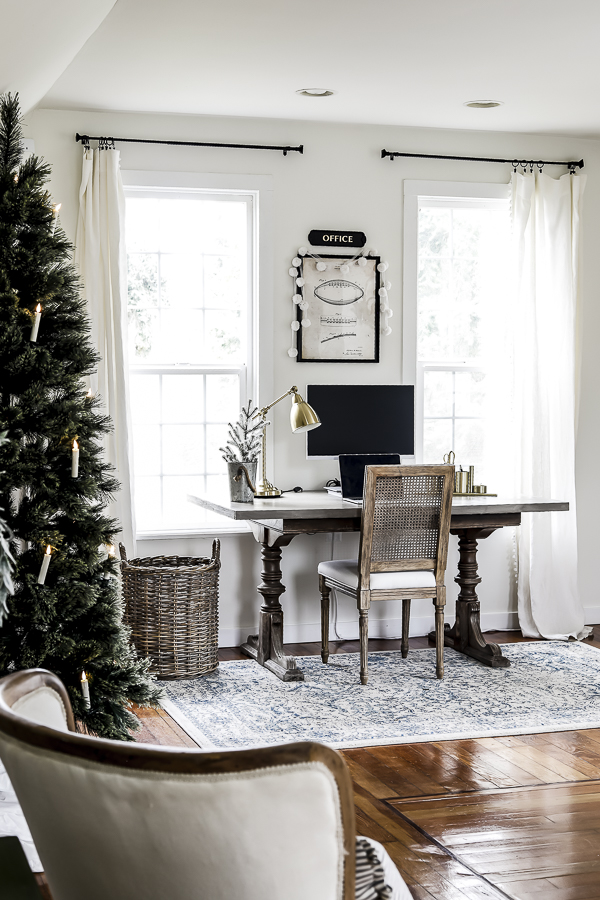
For my husband’s space, I did just two simple changes! (Our first two tips!)
Tip Number One | Swap out Greenery for items with a Christmas feel!
This can be actual Christmas trees, or boughs/picks, you name it – whichever works best in your space.
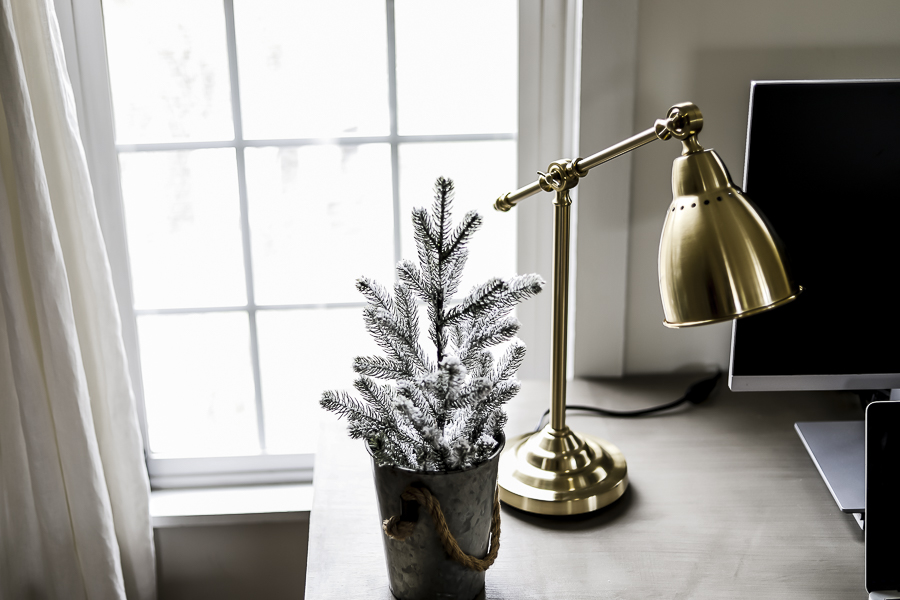
In this case, I swapped out the little potted faux fern on my husband’s desk for a small flocked Christmas tree from Target inside a cute galvanized tin bucket with a rope handle.
Tip Number Two | Swap out Art when possible, or add a garland or other seasonal touches.
I really think adding seasonal touches to artwork can have a big impact!
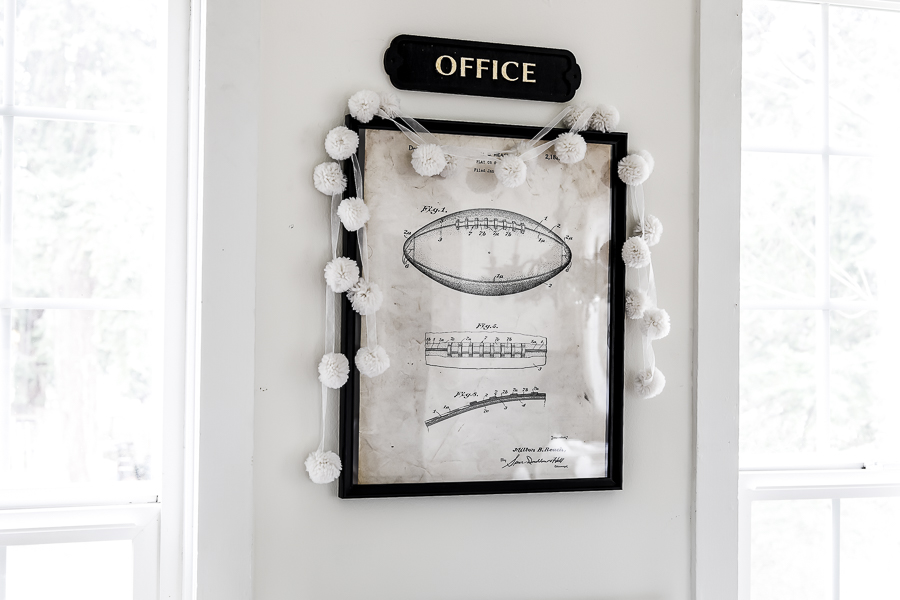
In this case that meant simply adding a little pom pom garland* over the top of the artwork above his computer.
| *I made this garland last year by using hot glue to attach the pom poms to ribbon! Super easy to DIY, or you can buy one similar.|
And that was all his area needed! Those small touches were enough to give it a Christmas feel.
My Office Space |
Simple changes were all I needed in my office space as well!
I followed Tip Number One again and swapped out the fern wreath above my desk for an olive branch and pinecone wreath I created late this past summer during one of my Thrifted Decor Styling posts!
And added a simple candle to my desk for when I’m working.
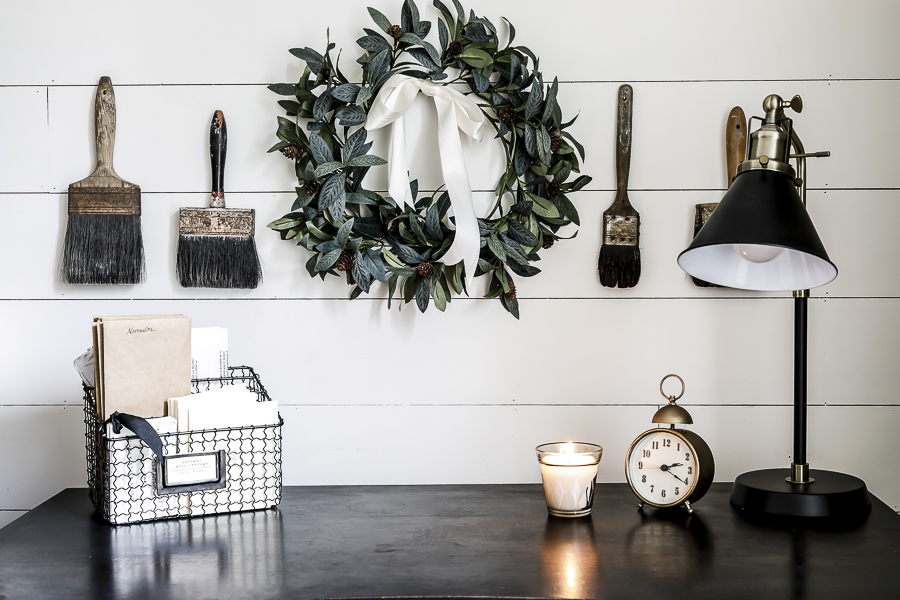
Perfect cozy touches!
The wreath was really easy to DIY, but here’s one that is similar if you’d prefer to purchase!
The Armoire Area |
For our armoire area, I left the two chairs that I recently refinished and added green velvet seats to – they’re the perfect green accent for that area during Christmas!
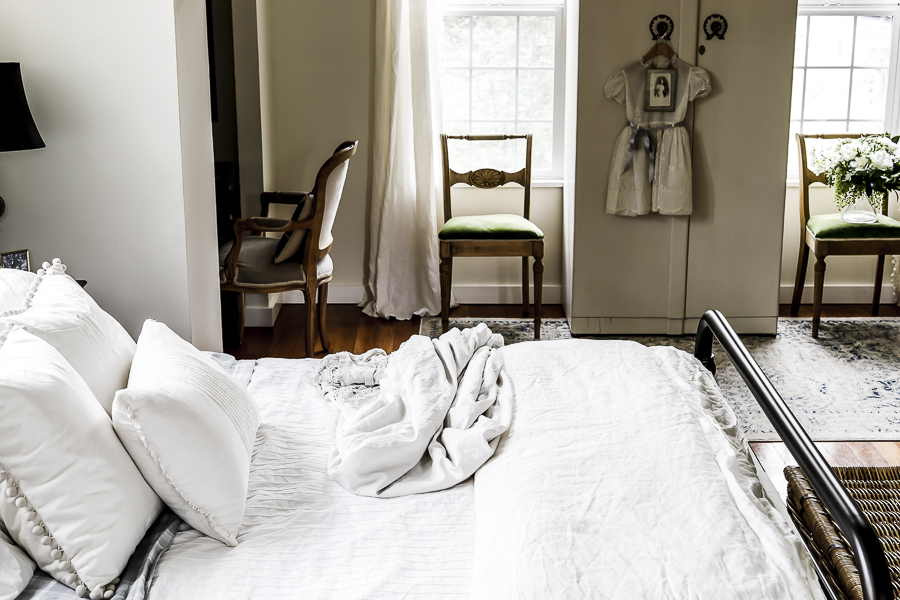
I moved a faux floral bouquet that usually sits on my nightstand over and sat it on one of the chairs for some extra visual interest.
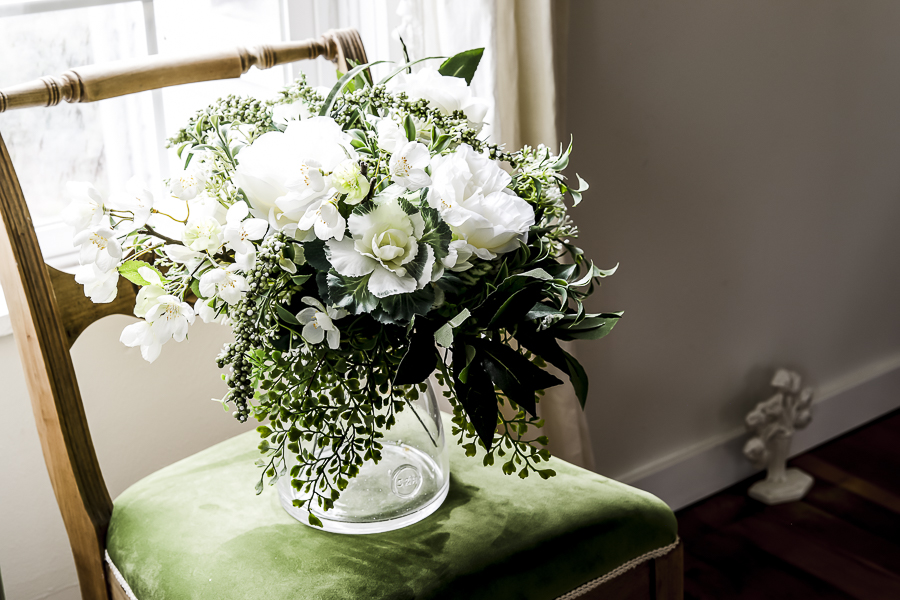
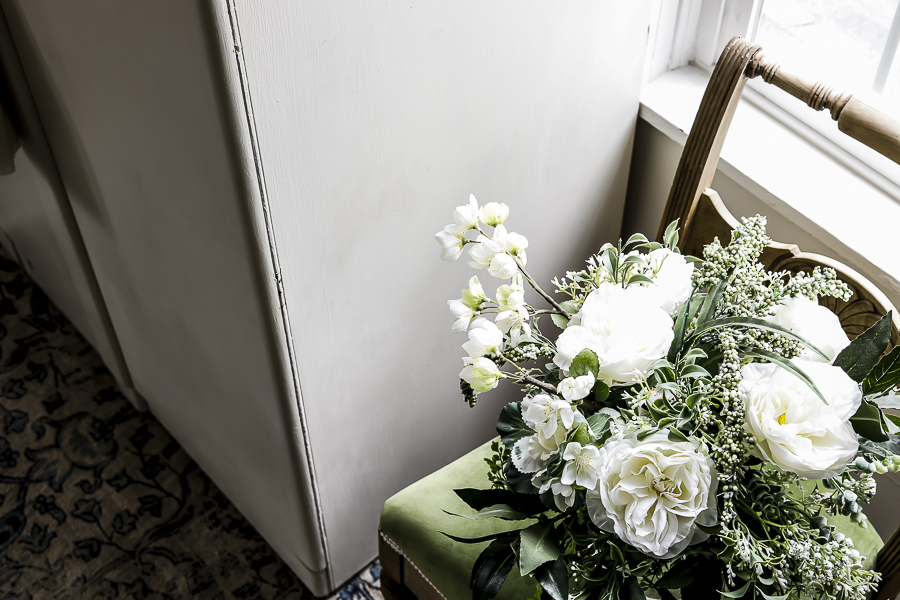
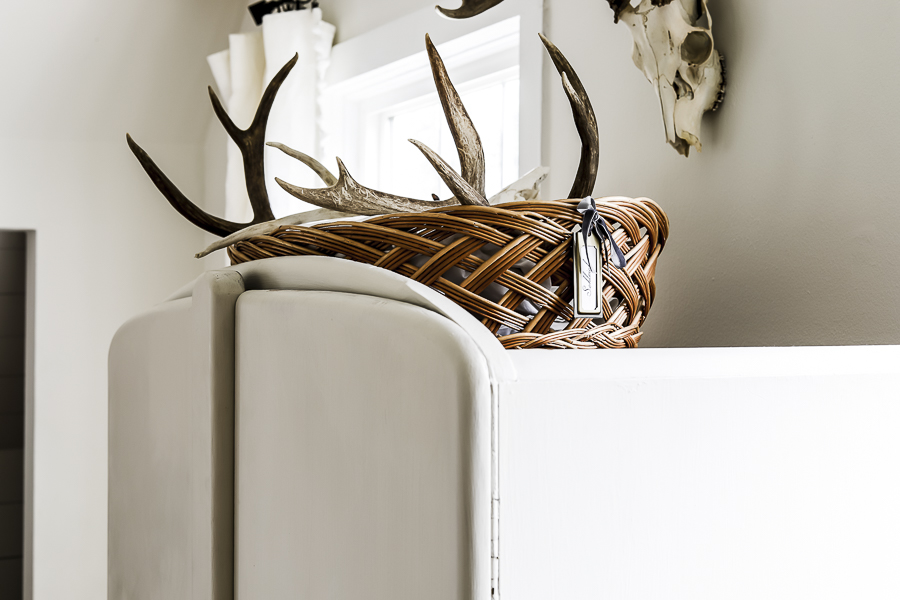
On top of the armoir we have a basket that typically holds our spare linens, but I gave it a Christmas touch by adding some antlers! They remind me of reindeer – and they’re a fun little nod to the season!
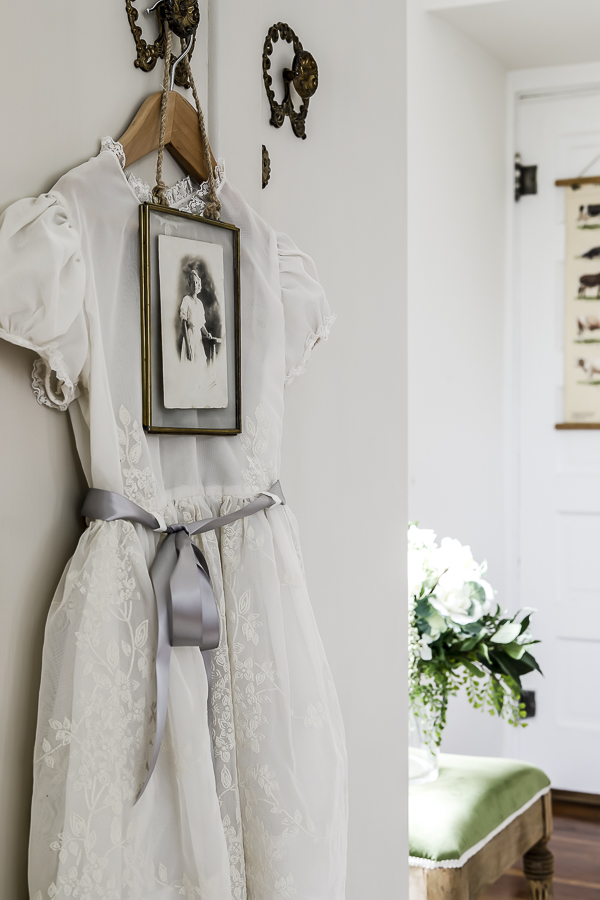
On the door of the armoire, I hung a sweet vintage dress with a grey bow that I had picked up when we were expecting our daughter Wren, who we lost when I was pregnant a few years ago. (You can read more about her here.)
Because the dress was for her, I’ll probably always keep it and incorporate it in my designs here and there. It’s beautiful, and so sentimental.
Our Mantle |
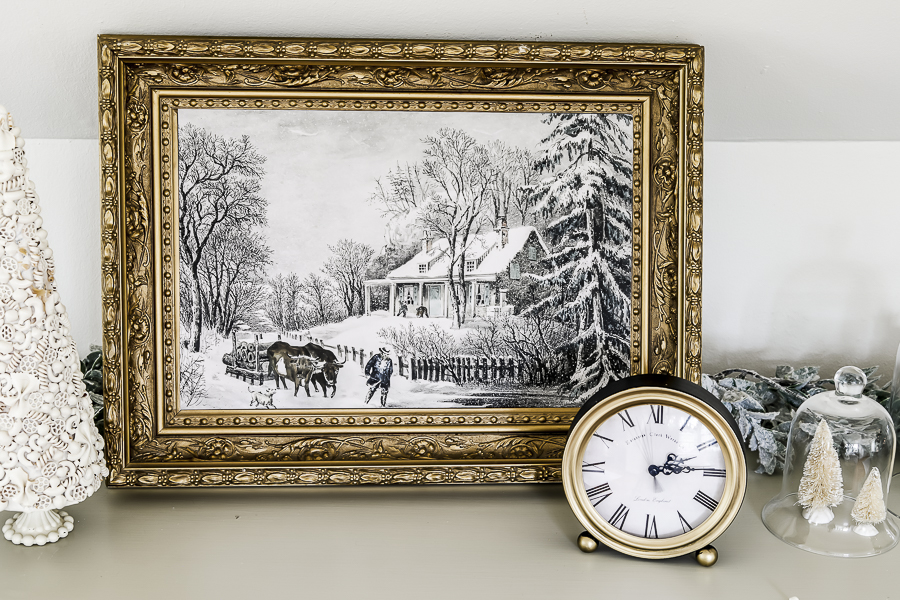
For the artwork on the mantle, I followed Tip Number Two and swapped out the picture in my golden frame.
Although technically, I didn’t “swap” anything! This frame is the kind that isn’t easily accessible from the back, and it doesn’t actually even have glass in the front.
I went to Etsy and found a beautiful art print to use and had it printed to size at office max.
I thought I would need to tape it in place, but it actually has stayed in place perfectly just being laid over the top of the other picture!
What a simple transformation!
Under my glass cloches I added a few cute cream bottle brush trees.
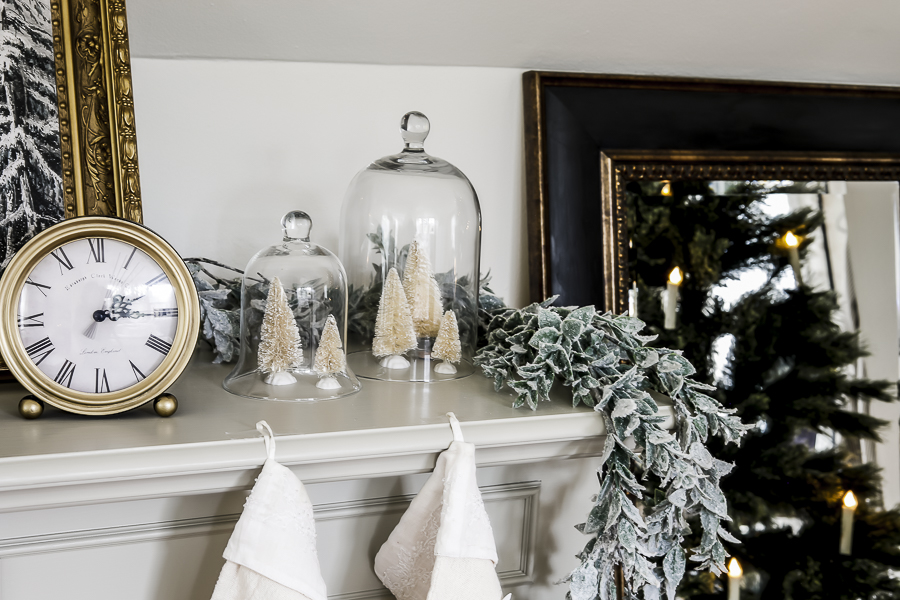
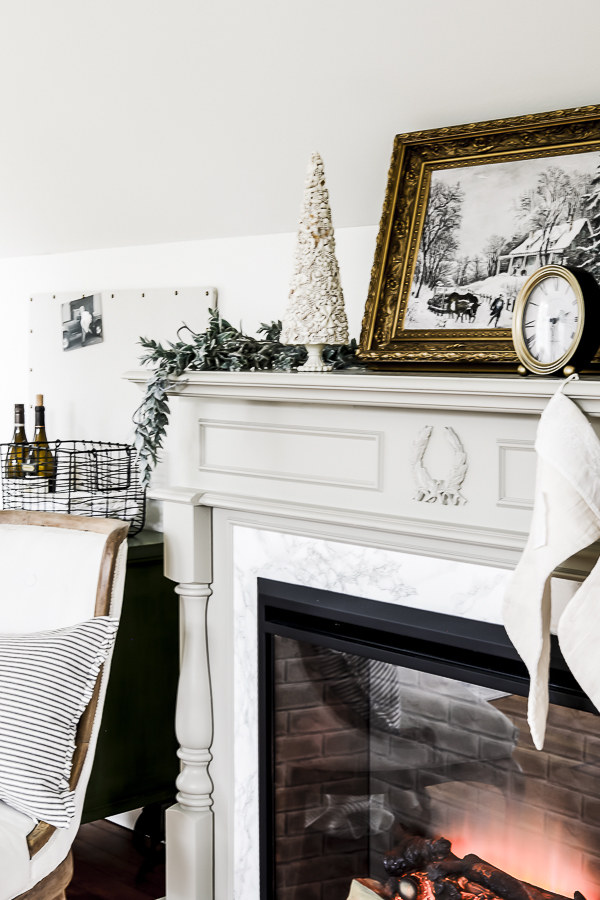
And on the other side of the mantle I added a painted macaroni Christmas tree from my childhood. I think my Mom made it in the 70s! (I guess that was a thing?)
It’s another one of those sentimental items that I’ll probably keep forever! It makes me smile each year when I bring it out of storage.
Speaking of Storage! I have another great storage related tip (not included in my main seven for the post)!
When I’m decorating for Christmas, it’s a season in which I know I’m going to go back to “normal” after I’m finished. So I simply box up the items I’m removing or replacing into my Christmas decor bins as I work!
That way, when it comes time to remove these Christmas decorations, all the pieces I need to put back up are easy to access and have been stored away safely in the mean time. Best of both worlds – if you ask me!
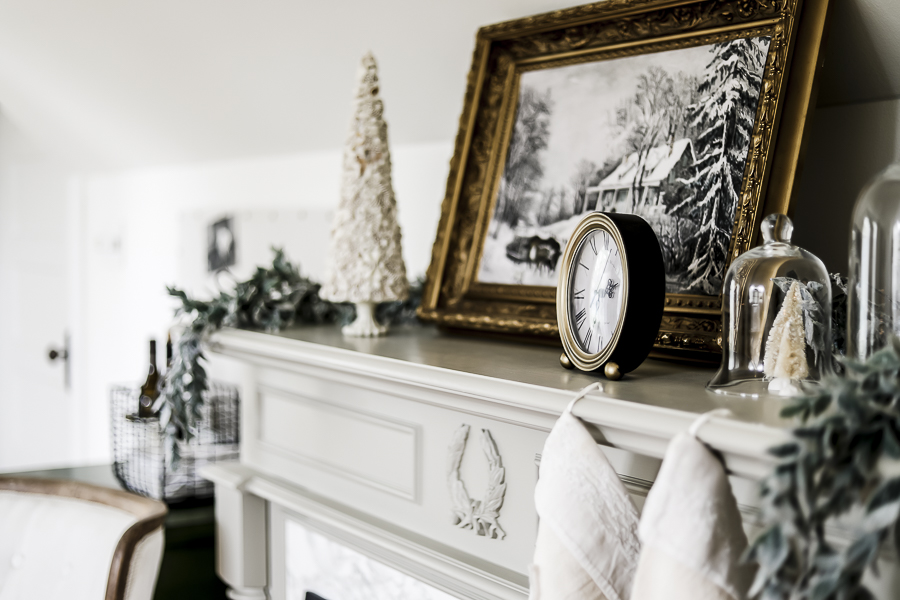
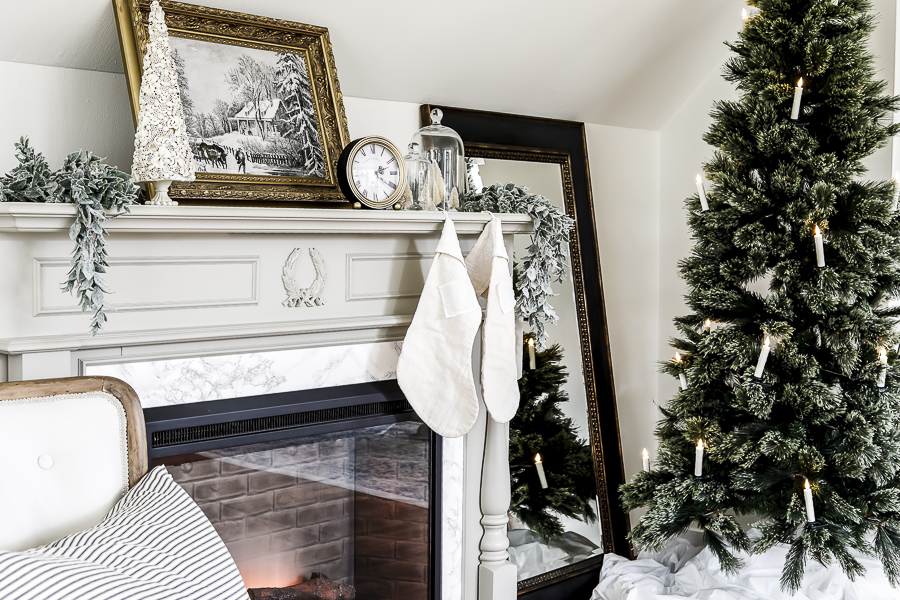
Across the back of the mantle I added a frosty sage green garland.
And hung two cream stockings for my husband and I (using clear command hooks) along the front.
These stockings used to be green and I was able to bleach them to cream for a more versatile look!
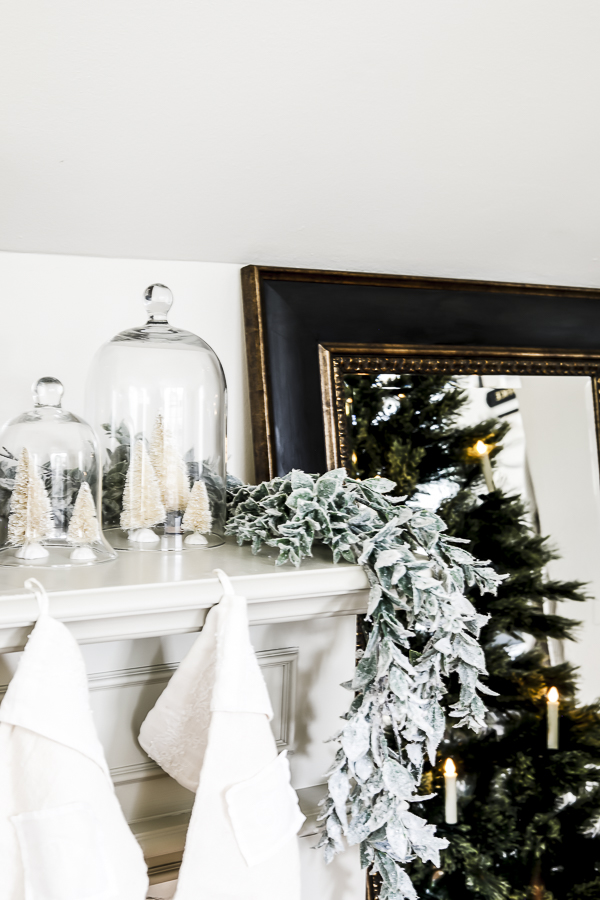
Next to our mantle, we have one more thing that I’m so excited about!
Our first ever bedroom Christmas tree!
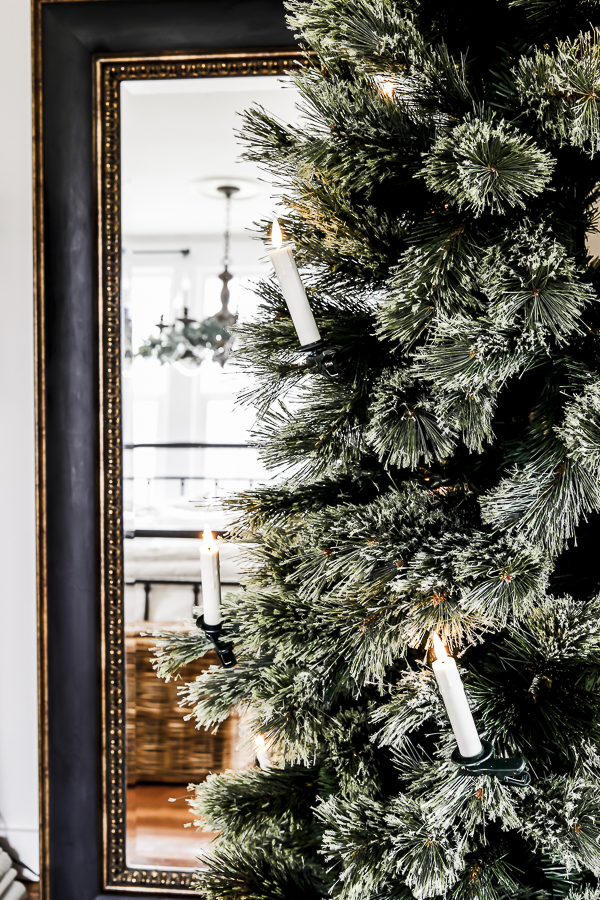
And that’s my Tip Number Three | If you have the space for it, add a Christmas tree in your room!
Seriously. I think it’s so dreamy to get to sleep by tree light!
And if you don’t think regular Christmas lights are quite ethereal enough for you… may I introduce clip on candles?!
I can’t rave about these enough! They have a real waxy texture and are adjustable, both at the candle and at the wick! They each take 1 AA battery, and they seriously just clip on to the tree individually, which means No Wires! And before you worry about needing to turn them all on and off separately – there’s a remote.
I’m so pleased and can’t wait to have these on every night for the rest of the season!

Our Bed |
Last but not least, our bed!
Tip Number Four | Swap out your regular sheets for flannel!
Now, if you’ve been a reader of the blog for a while, you’ll remember I LOVE all-white sheets for our beds.
But Christmas is one of the times I’ll make an exception, because there’s just something so special and cozy about plaid flannel sheets for this time of the year!
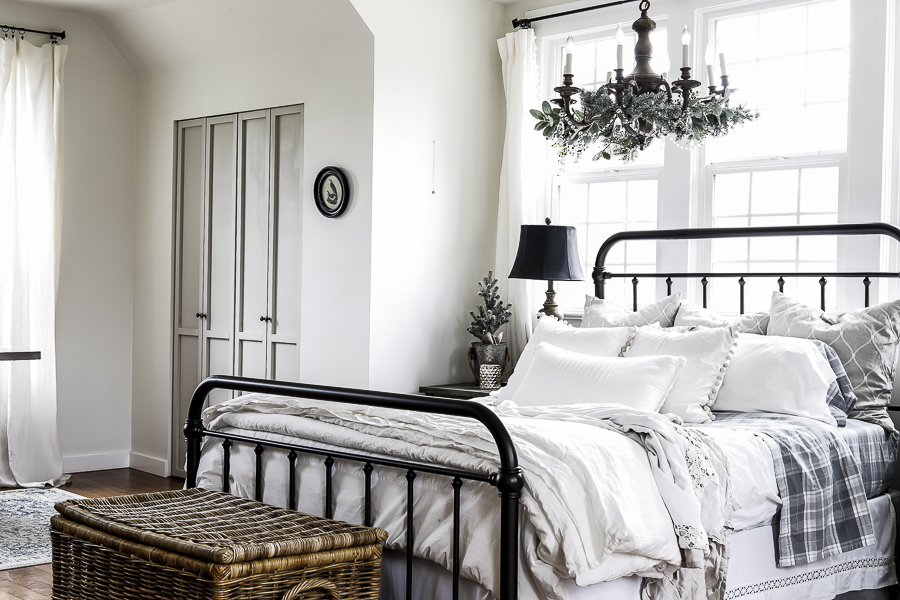
I got a simple pair of grey plaid flannel sheets and swapped them right out!

And I bet you’ll never guess where I put our regular white sheets…
They’re wrapped around the base of our Christmas tree to create a “snowy” skirt for the next little while. Perfect, right?
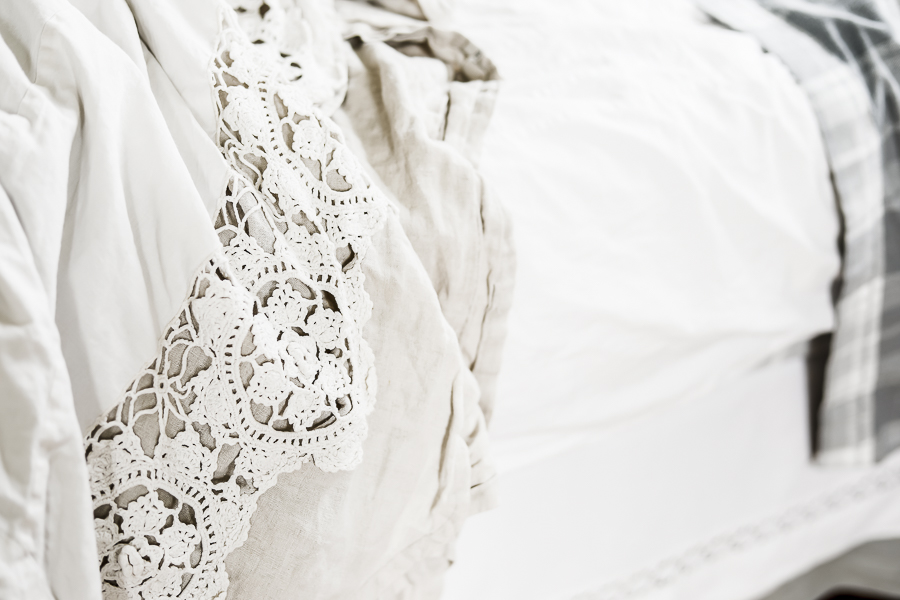
Tip Number Five | Add creamy colored textured knit and crochet blankets to your rooms.
For our Christmas farmhouse bedroom, I’ve added a chunky knit throw blanket on one of our chairs by the fireplace, and added my crochet throw at the end of our bed.
I love crocheted linens all year long, but find them especially whimsical during Christmas and winter because they remind me of snow-flakes! So delicate and intricate – a beautiful touch wherever you can add it!
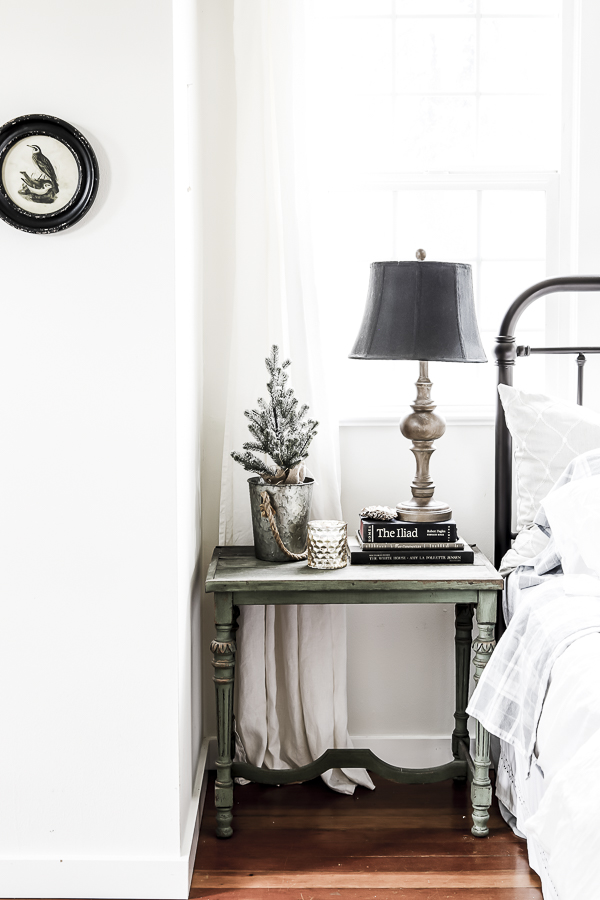
On my nightstand where I mentioned I had moved my faux floral bouquet, I replaced it with a matching flocked tree in a galvanized bucket – it mirrors the one my Husband has on his desk. I love repeating details like that!
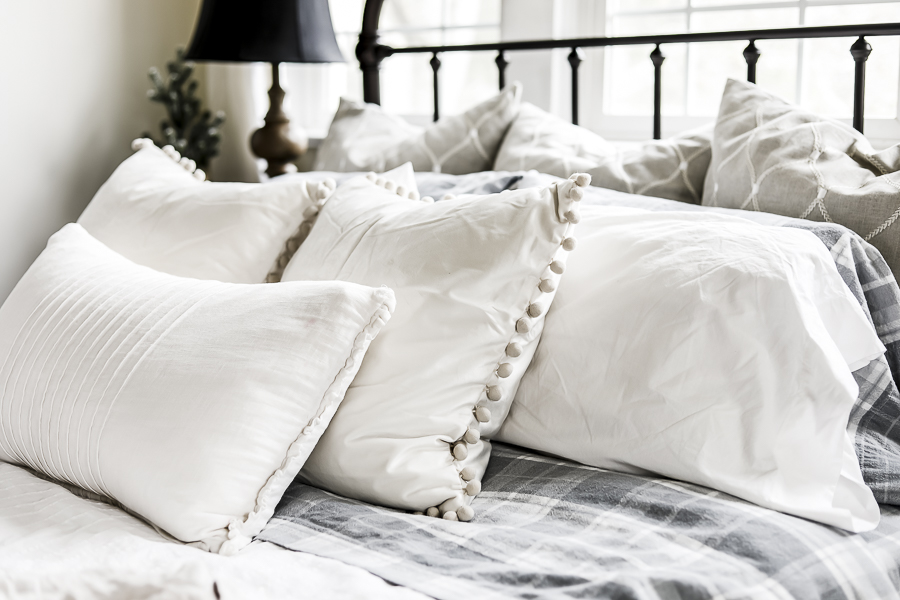
Tip Number Six | Add Pom Pom Throw Pillows to your Decor!
Pom poms are another one of those things that feel extra fun at Christmas – I think because they remind me of snow balls!
I’ve shared about these velvet pom pom pillows before, but Christmas is a great time to grab a few in your color scheme (they have lots of options) and add them in! I love the 20×20 ones for my throw pillows and use them all over the house.
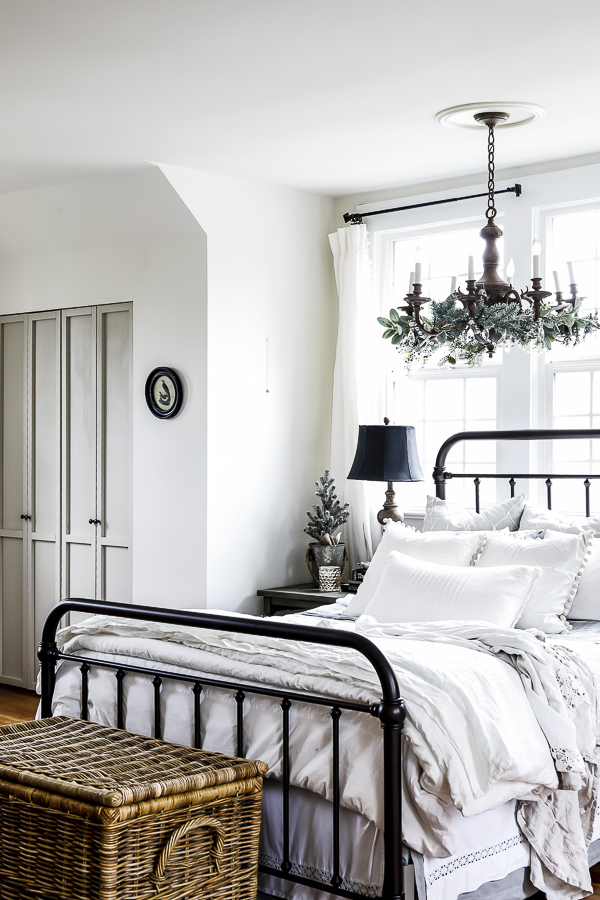
And my final Tip Number Seven| If you have a chandelier (or other hanging light fixture), dress it up!
Our chandelier recently got a makeover – and adding in the Christmas greenery made it even prettier for the season!
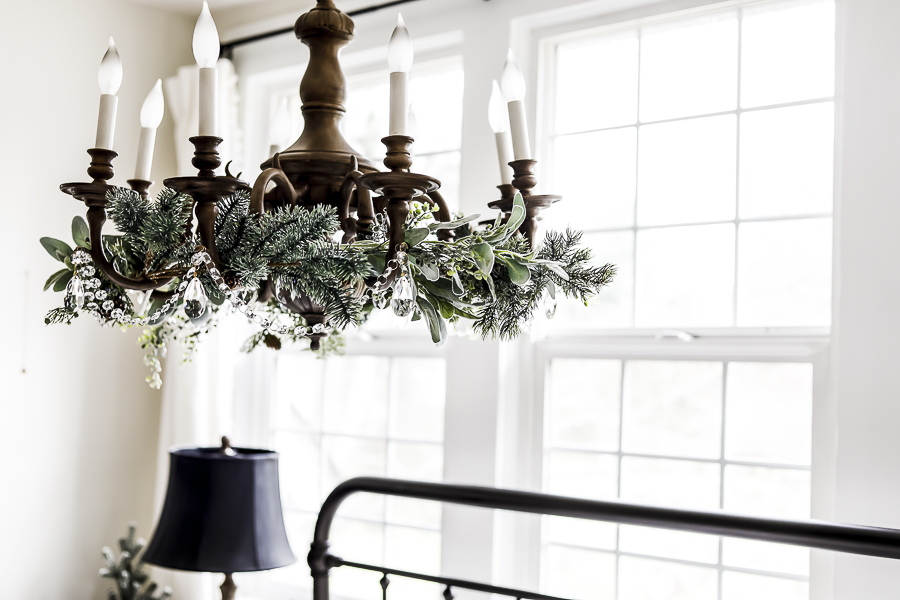
At first I realized I made it a bit too full and too perfect, so I removed about half of the pieces and found what I felt was a much more natural and soft balance.
I like using three different greens when I’m making floral arrangements, so I added evergreen branches with pinecones, a lighter sage color with velvety texture, and one with smaller leaves and a pretty white glitter!
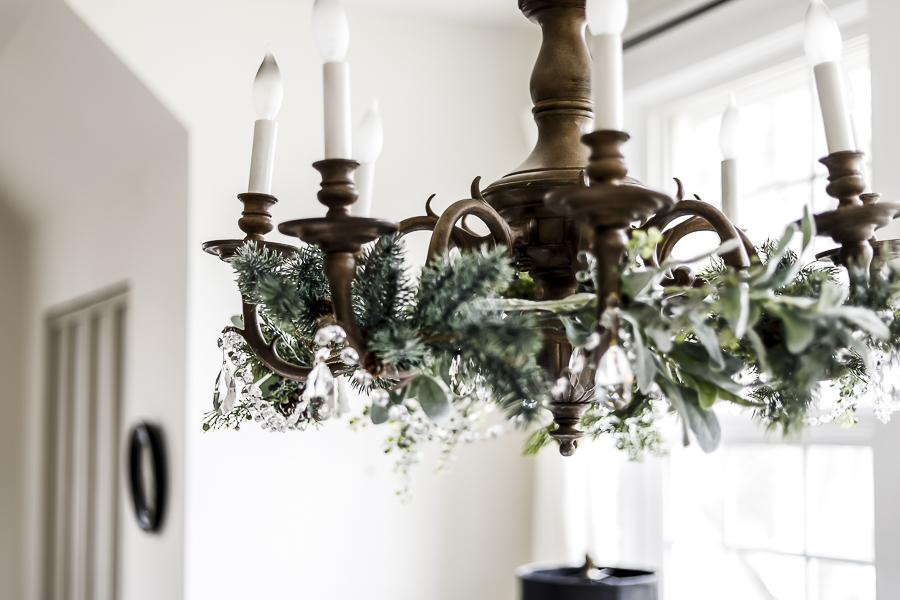
I love that you can still see the crystals and I think it all came together to add just the right amount of christmas farmhouse charm in our bedroom!
And one more last “free” Tip: If you have little pieces fall off your greenery while you’re arranging it, instead of trying to stick them back in to your design, you can set them aside and use them for “garnishing” wrapped presents!
I’ll actually be sharing an entire blog post and video in the coming weeks about how to wrap and style presents! So be on the look out for that!
[show_shopthepost_widget id=”4270612″]

And that’s the Farmhouse Christmas Bedroom Tour for this year!
What do you think is your favorite part? Have you already incorporated any of these ideas into your own home, or are there any that stand out to you that you’re excited to try?
I just love that I’m seeing more and more Christmas designs popping up on Instagram and Pinterest! It’s such a fun time of the year!
10 Steps for a Peaceful Christmas:
If you haven’t already had a chance to read it, my 10 Steps for a Peaceful Christmas e-book is available, and I hope it can be a resource to help you this season if you’re starting to feel overwhelmed, discontent, or too busy.
These ten steps helped us revolutionize our Christmas season to focus on what we desired as our priorities, and we haven’t looked back!
Pin This Christmas Farmhouse Bedroom For Later |
