How to Turn a Chair into a Rocking Chair
Turning a regular chair into a rocking chair is an easy DIY project and a great way to add charm to a sentimental chair!
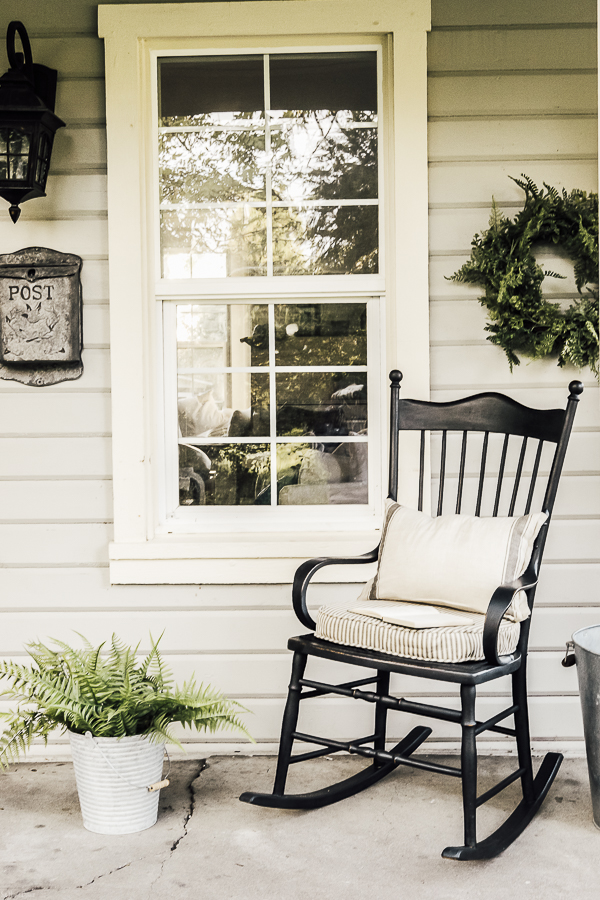
I recently inherited a fabulous, wooden chair. It had great lines and was structurally sound. It was vintage and had the time-worn patina I love so much.
The best part? It was the desk chair of the original owner/ builder of our farmhouse!
That’s right. How cool is that?!
You can subscribe to my YouTube Channel here.
When the family offered it to me, I made it clear that I am a DIY decorator who may alter the original design of an antique at any moment.
They agreed that I could do anything I wanted to the chair.
Next thing I knew it was destined to be up-cycled into a rocking chair.
The vision was born.
Come to find out, converting a chair into a rocking chair is pretty straight forward. There a just a few things to know about the process. Let me break it down for you.
Turn a Chair into a Rocking Chair
This post contains affiliate links to products I know &/or love.
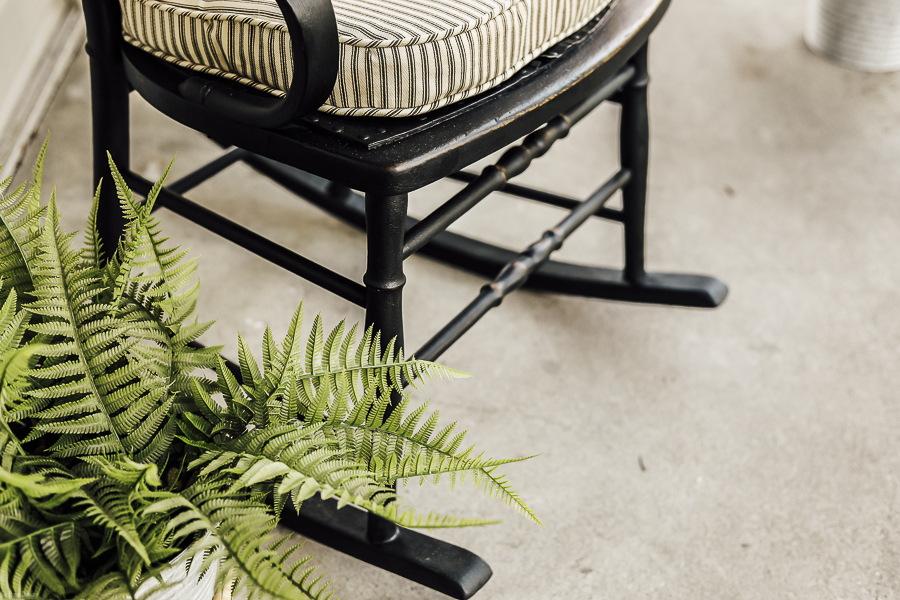
- First, you will need to locate some runners. I found mine on Ebay for around $80. They are sized 31″ x 1″ x 1 1/2″. Here are some similar ones.
- By positioning the chair on the runners, determine how high the front and back legs are going to be lifted off the ground. Remember, to leave the runners longer in the back.
- Next, cut off the legs of the chair using the measurements you have from step two.
- Reposition the chair how you want the legs to connect to the runners and draw circles (or squares, depending the shape of the legs) where they meet.
- Next, drill out the shapes you drew so the chair legs have something to sit in and you may need to use some type of sander or Dremel tool to shape the chair legs into more of a point.
- Finally, using wood glue and a screw from underneath, attach each leg to the runners.
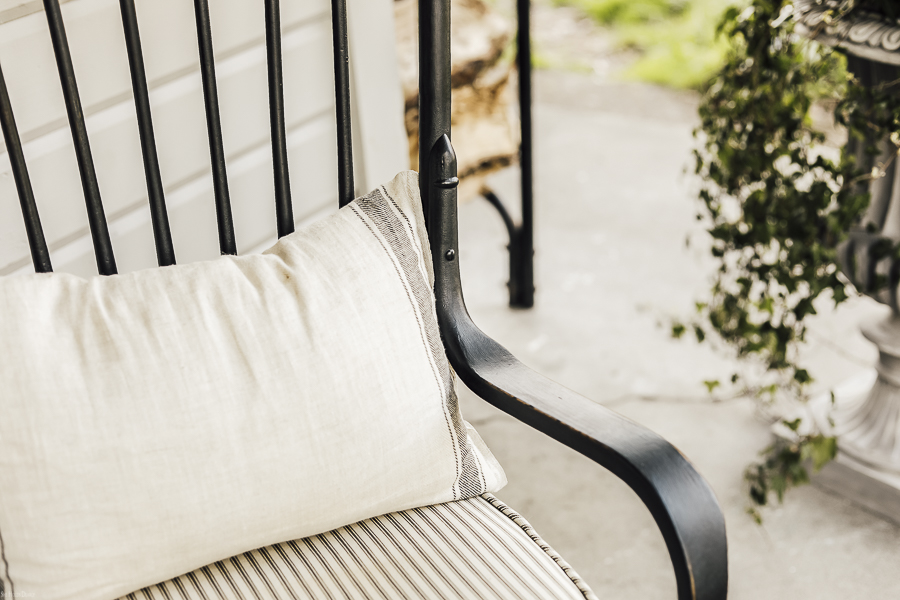
- For the chair cushion, I made custom piping. Then, I created a simple cover. You can watch the video to learn more. I added a zipper and finished it all by treating it with a sun and rain protectant.
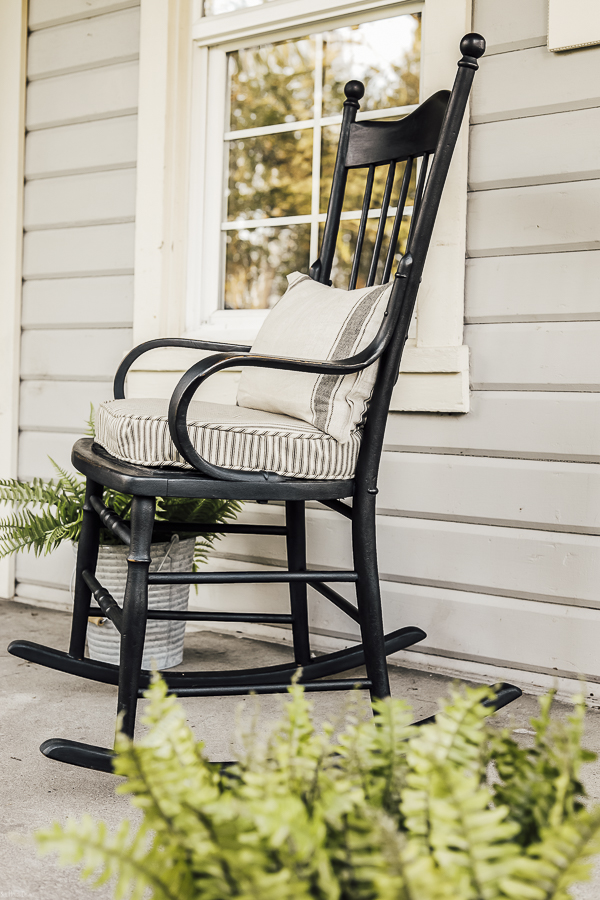
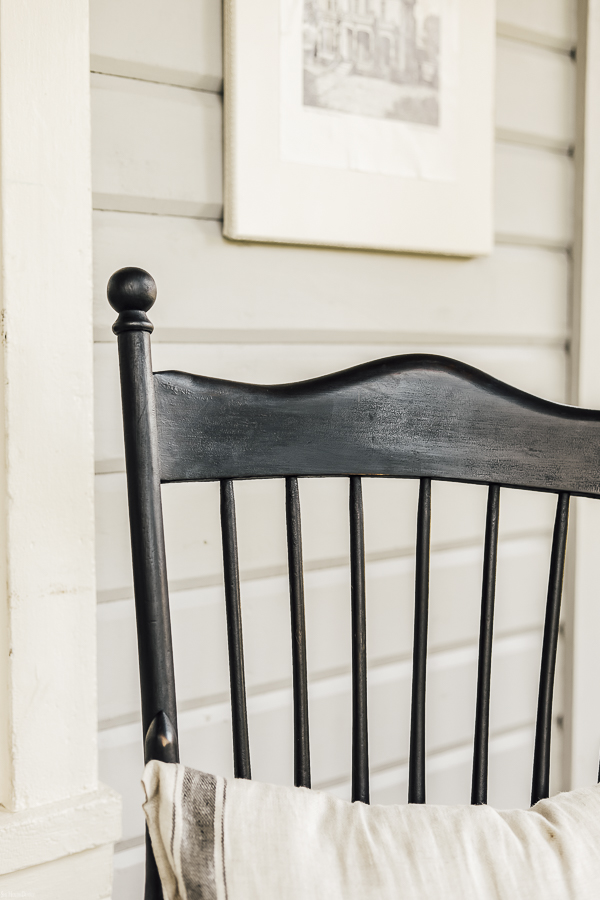
- And last, but not least, I painted the whole rocking chair with Magnolia Chalk Paint in Chalkboard and sealed it with a coat of Dark Wax from Annie Sloan.
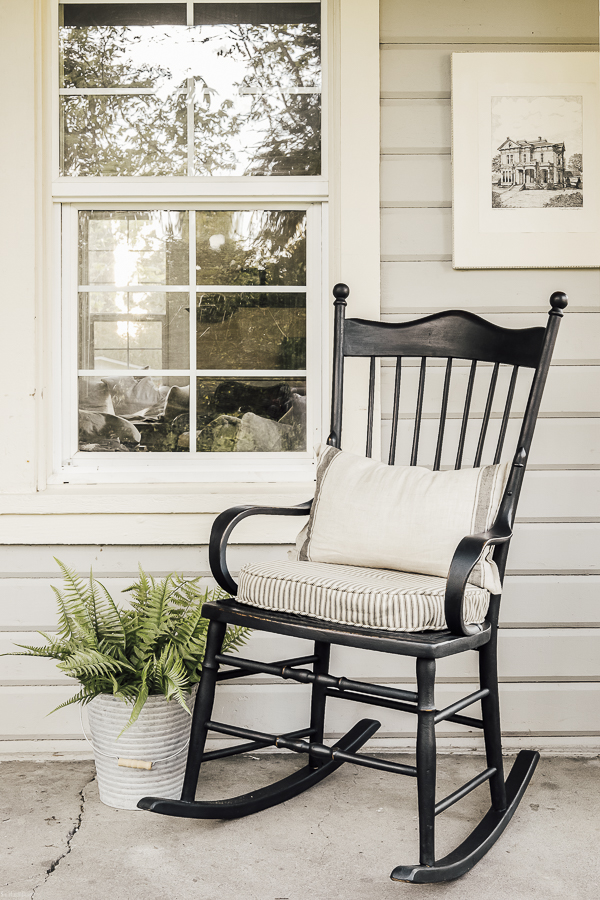
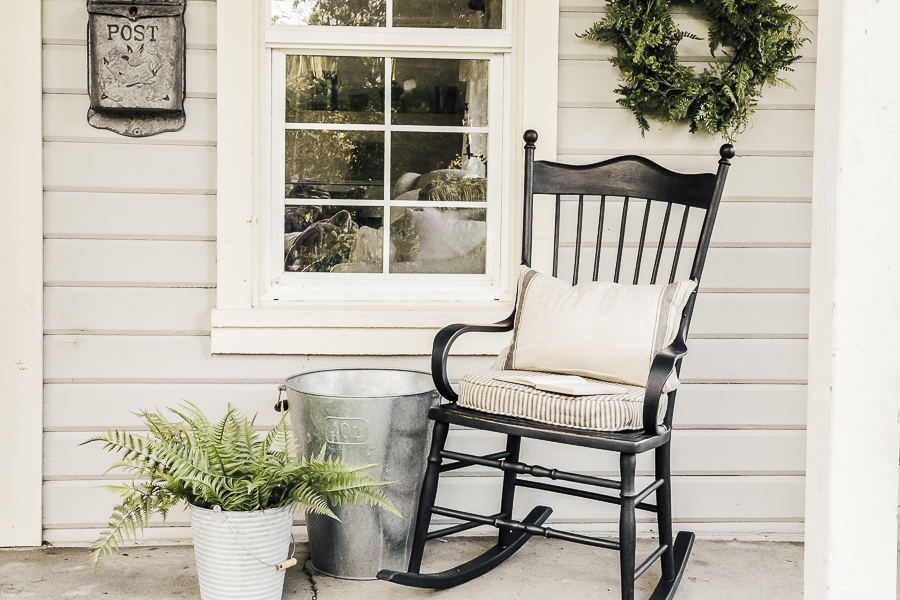
I am so pleased with the final look and it already has become a cozy fixture in our home. During the sunny days, I plan to leave it on the porch like the good ol’ days.
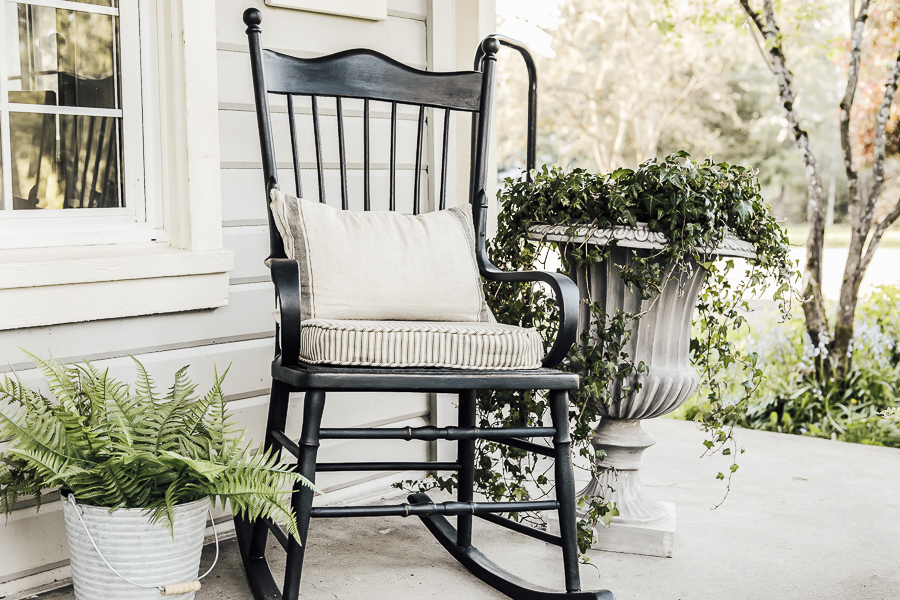
Have you ever thought about repurposing a chair in this way? I tend to over- collect vintage chairs and having this new DIY idea in my back pocket is going to come in handy, I just know it!!
If you Love Decorating With Sentimental Decor…
You’re probably the kind of woman who would also love being part of my Behind the Scenes Decor Group! Come see what we’re all about and join the waitlist to be notified when we open again for new members!
Pin for Later


