How to Refinish Old Wood Stairs
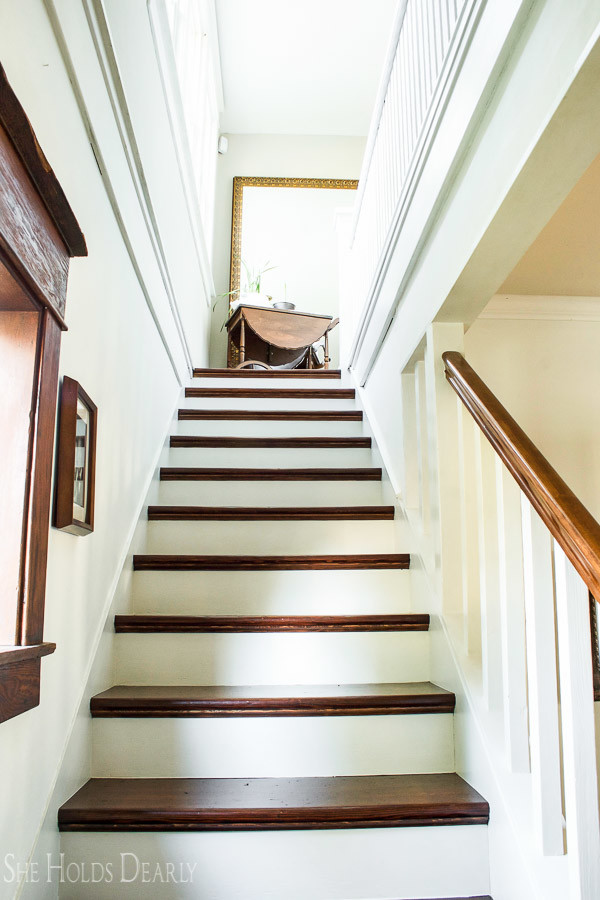
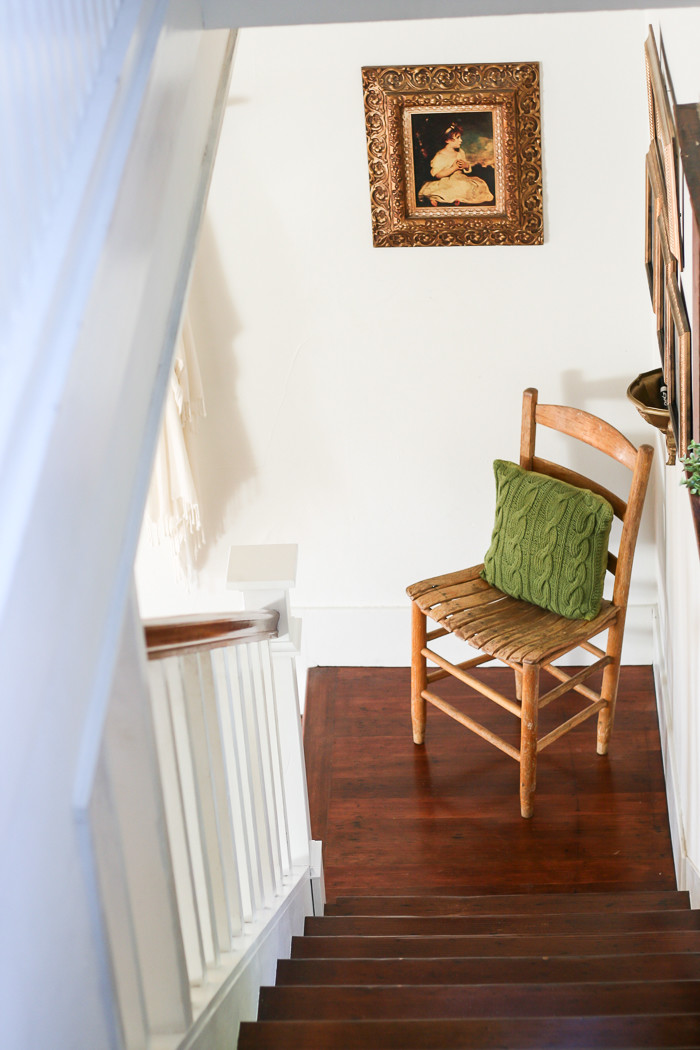
From nasty, old carpet to gleaming hardwood, I want to show you how we refinished our old original wood stairs in our 1906 farmhouse. You, too, can create your own little stairway to heaven.
When we first found the house, it had been a dilapidated, old rental for quite some time. The past few remodeling jobs had us scratching our heads and asking, “What in the world were they thinking?!!”
For instance, this lovely work of art along the stairs.
(Not the clothes drying rack, but it isn’t helping things.)

I think it was from the 60’s and it reminds me of jail bars. The thick, blue carpet was covered in pet urine in the living room. My kids were so excited about the prospect of a new house that I found them rolling along the length of the living room (!), they about gave me a heart attack. You gotta hand it to kids, though, they really live in the moment and celebrate life like no one else.
We soon discovered that underneath the disgusting carpet were the original fir floors and let me tell you, I perked right up at the thought of those floors.
Needless to say, the moment we got the keys, we attacked the carpet with a vengeance. We tore it out as fast as we could and threw it out in the yard. Then we went after the 3 billion staples and nails left in those floors. Our hands blistered, we sent the kids to Grandma’s so we could keep working. We spent our three day weekend over the Fourth of July just pulling staples, with the fireworks booming over the top of the house. It was exhausting, but we were happy.
There was so much work to do that you almost don’t even know were to start on a house like this. And so, as our story played out there was still a whole laundry list of things to finish on the house when we moved in.
We didn’t get the stairs done, they sat like this for years.

Just smirking at me. . .
One year for Christmas, we replaced the bars with a handrail and upcycled them into the current hand rail. But, the stairs still looked so bad.
So, last summer when the kids left for a week of “Camp Grandma and Grandpa” we suddenly looked at each other and had a light bulb moment.
Forecasted minimal foot traffic meant only one thing. . .time to refinish the old wood stairs!! Note: we worked for three weeks straight, every day. Plan accordingly.
Supplies You’ll Need to Refinish Old Wood Stairs:
This post contains affiliate links to products we love. Click here to read our full disclosure.
- Orbital sander
- Sand paper
- Block sander
- Stainable filler
- Paint thinner
- Conditioner
- Stain
- We used Red Oak by Minwax
- Clearcoat
- Paintable Caulk
- Primer
- Spackle
- White oil based paint
This was my husband’s solution for not being able to get up to our room.

“Yeah, no thank you. I’ll just sleep on the couch.”
But then, I forgot my phone charger and so my knight-in-shining-armor climbed the ladder for me. Right when he got back, I remember my glasses were up there. . . .THREE times in a row, he had to go up the ladder to fetch something for the princess.
Conclusion: He’s a keeper.
How to Refinish Old Wood Stairs
- Pull any nails sticking out. Remove any trim work where the risers and treads meet.
- Rebuild any broken stairs or landings.
- Sand the treads with 60 grit sand paper with the orbital sander, this will take the wood down to the raw finish. Keep sanding with 120 grit, then 150 grit, and 220 grit. We didn’t sand the risers really because we planned to paint them.
- Vacuum in between sandings.
- Take a block sander to the hard-to-reach corners.
- Fill the holes on the treads with stainable filler, let it dry and sand with 220 grit.
- Do a final vacuum.
- Install trim work just under where the treads stick out over the risers. We used new “cove molding”.
- Wipe everything down with paint thinner on a rag.
- Condition and stain the treads.
- Apply two coats of clear coat to the treads, following the instructions on the can.
- Caulk the trim work.
- Prime the risers.
- Spackle any holes on the risers.
- Paint the risers two times with white oil based paint.
Before

After

Before

After

Related Posts:
Follow along on my “Farmhouse Stairways” Pinterest board for more inspiration.
Pin these Tips for Refinishing Old Wood Stairs for Later:
