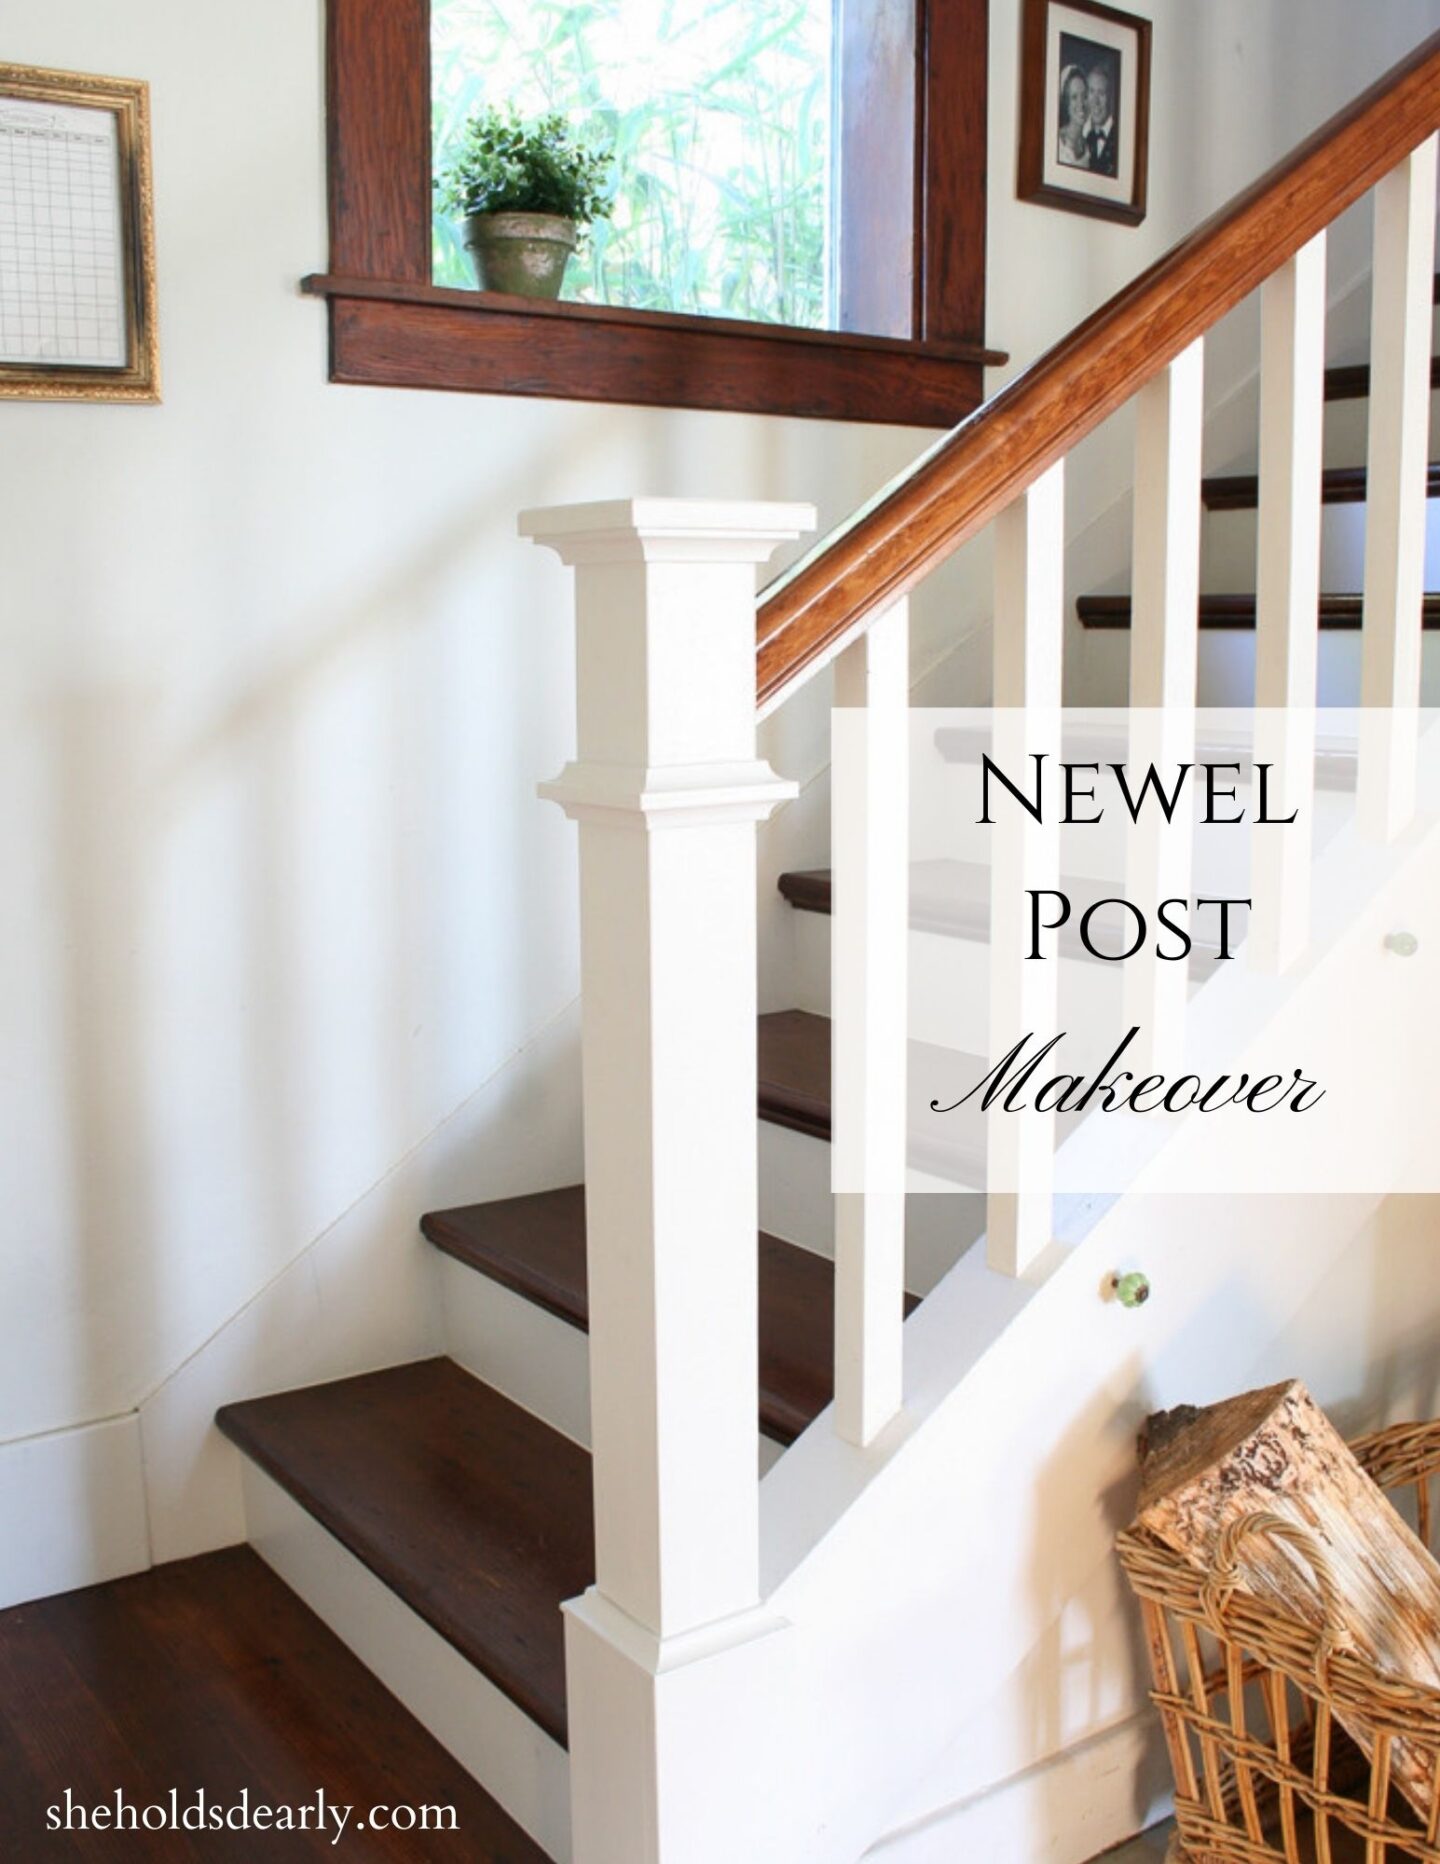
Giving a newel post a farmhouse makeover is really quite a simple process.
With a few tools, some MDF and cove base, we were able to give our boring newel a whole new look.
So here is my “new post” about a “newel post”
. . . . . I couldn’t resist.
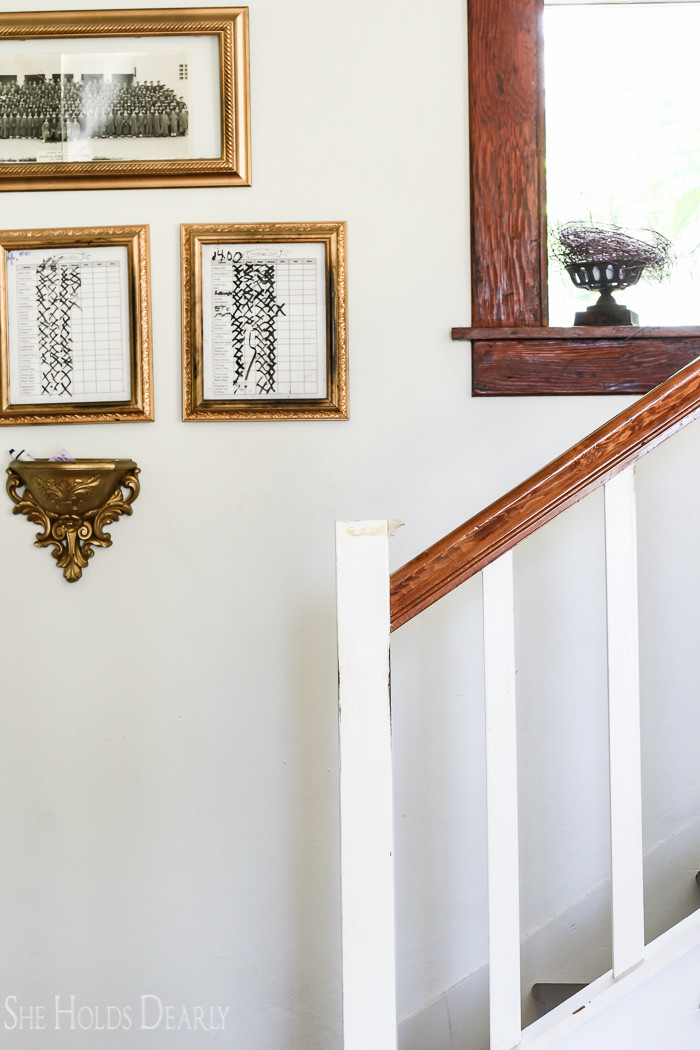
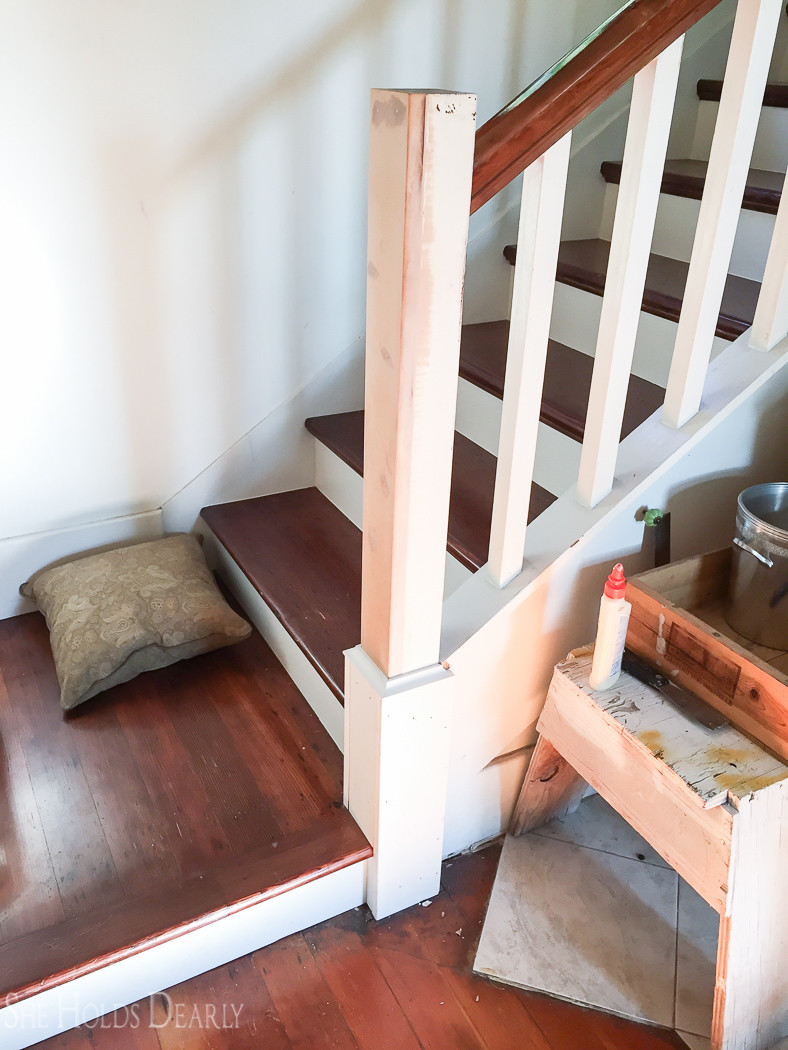
When we first moved in, we tore out the lovely 60’s railing get up that went from the floor to the ceiling (!) and left the previous newel post in place to save time.
It was an awkward looking 3×4 for awhile.
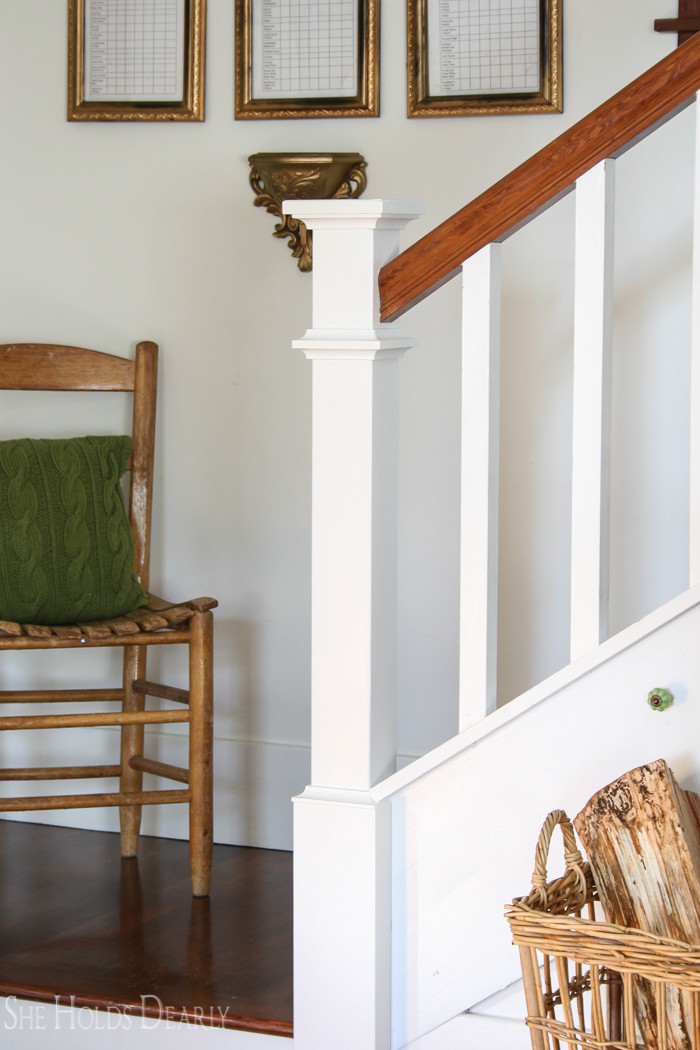
Finally, we got around to making it more decorative and symmetrical;
I am so much happier with it now.
This post contains some affiliate links to our favorite products. Click here to see our full disclosure.
Tools and Materials
- clamps
- mdf
- wood glue
- finish nailer and air compressor
- 2 inch finish nails
- 1 inch cove base
- table saw
- compound miter saw
- saw stand (optional)
- spackle
- red glazing putty
- flexible putty knife
- caulk gun
- paintable caulk
- 120 grit sand paper
- primer/stain blocker
- white oil based paint
- do not use acrylic paint for this, it will break down over time and get gummy
- paint brush
Tutorial
First, we glued and nailed a piece of MDF to the newel post to make it square.
(If you have a more curvy newel post, you can build a case right around it to get to this point.)
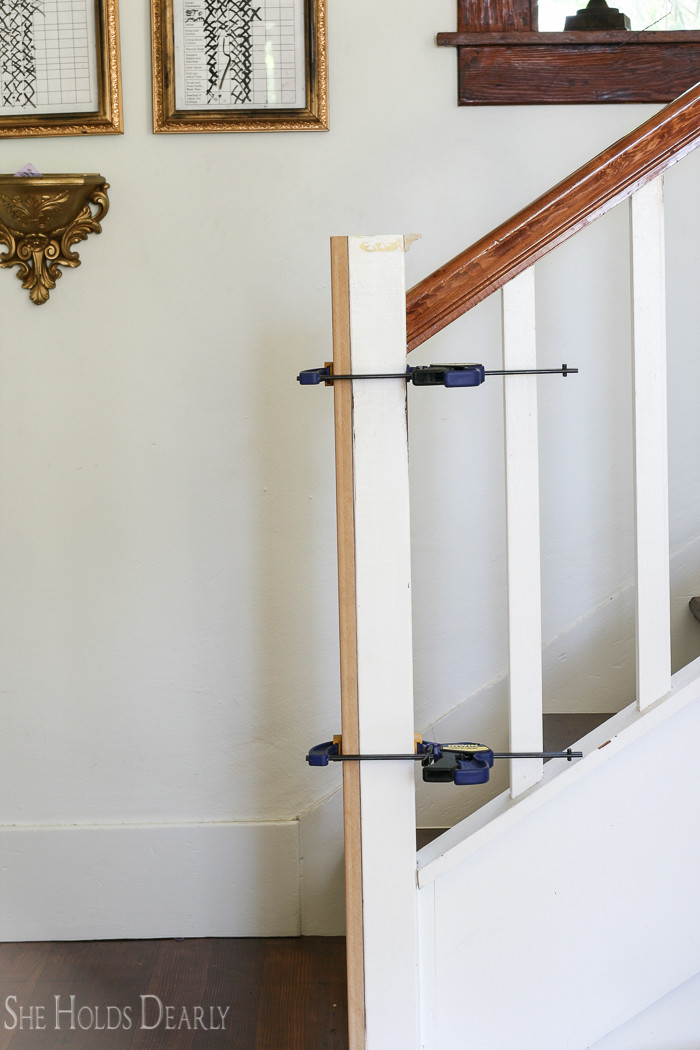
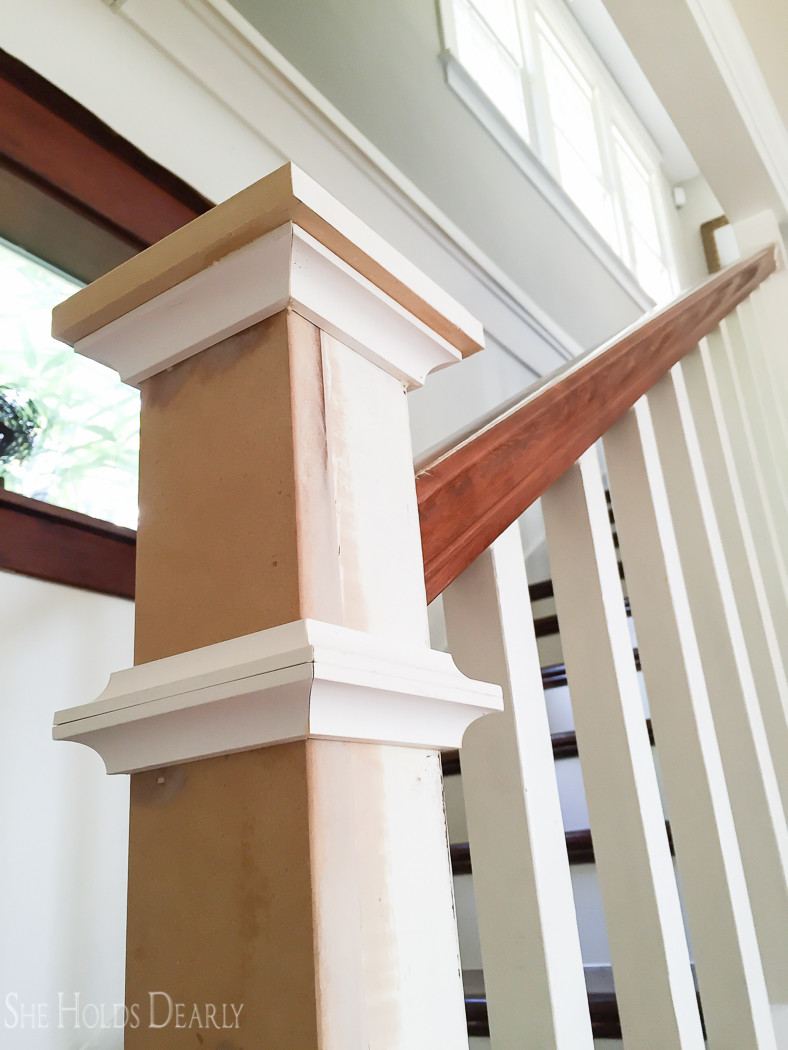
We wrapped the base with 3/4″ MDF to build it out.
To trim the base, we glued 1 inch cove base to the top of the MDF and added some more for decoration.
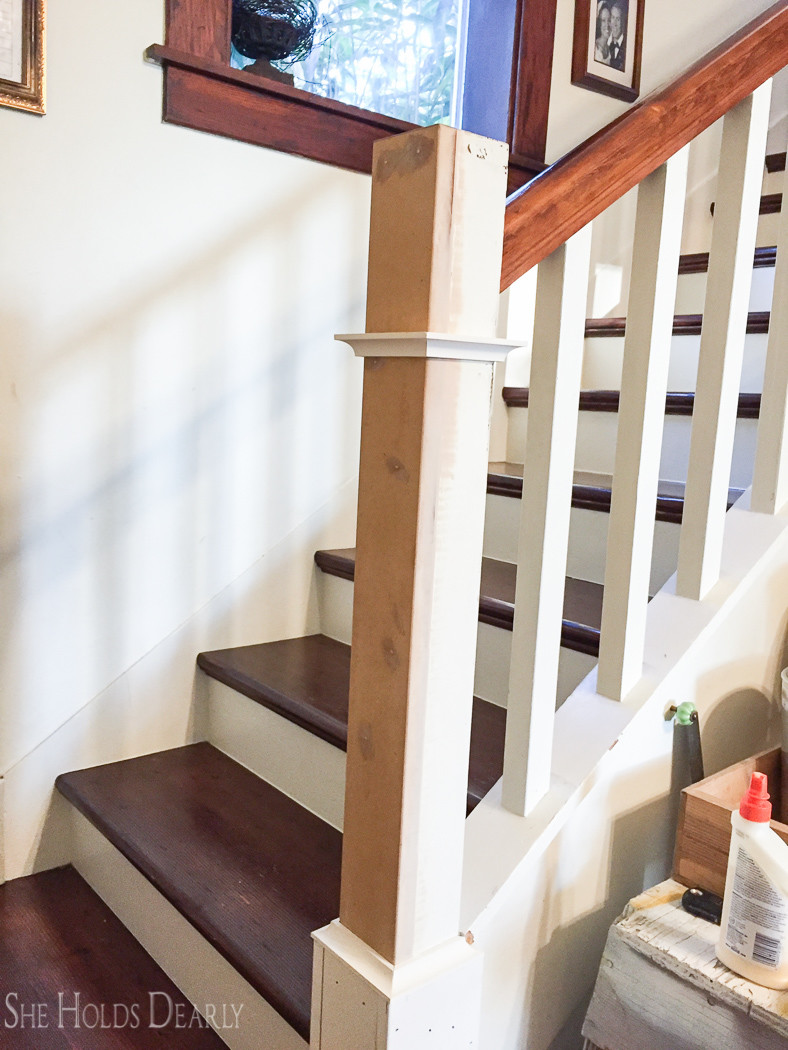
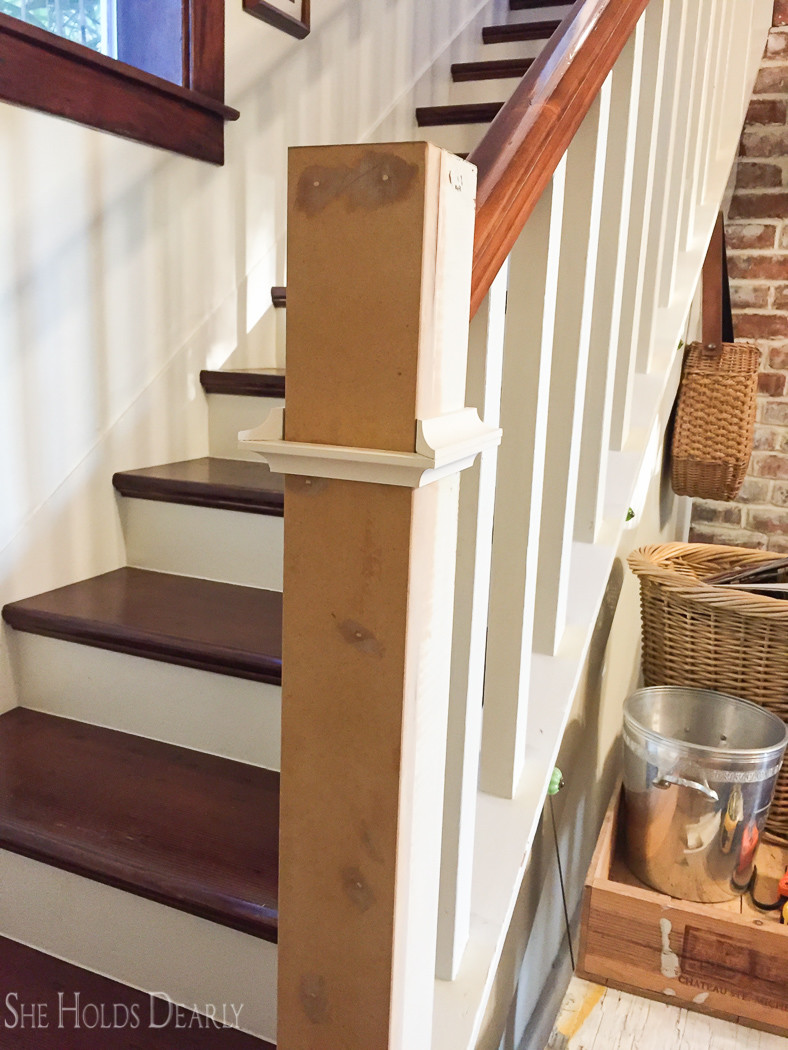
For the cap, we just used 3/4″ MDF.
Note- make sure when you do this that the cap is large enough to cover the cove pieces.
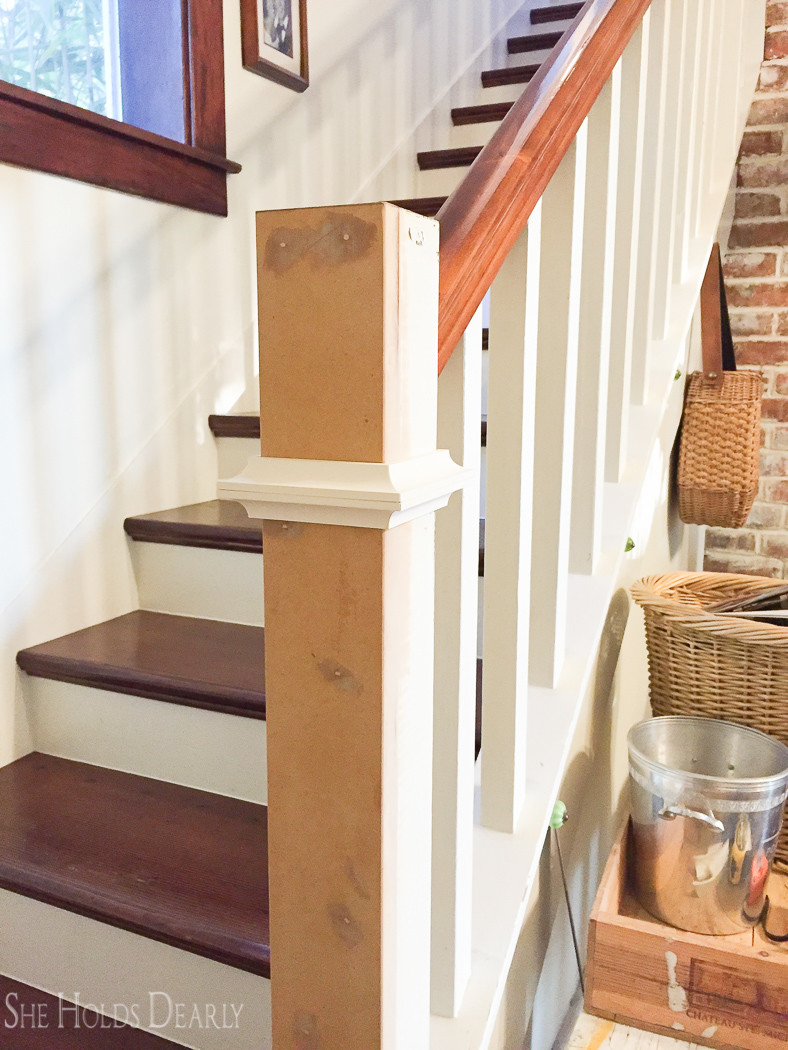
Next, we primed the entire newel post and let it dry.
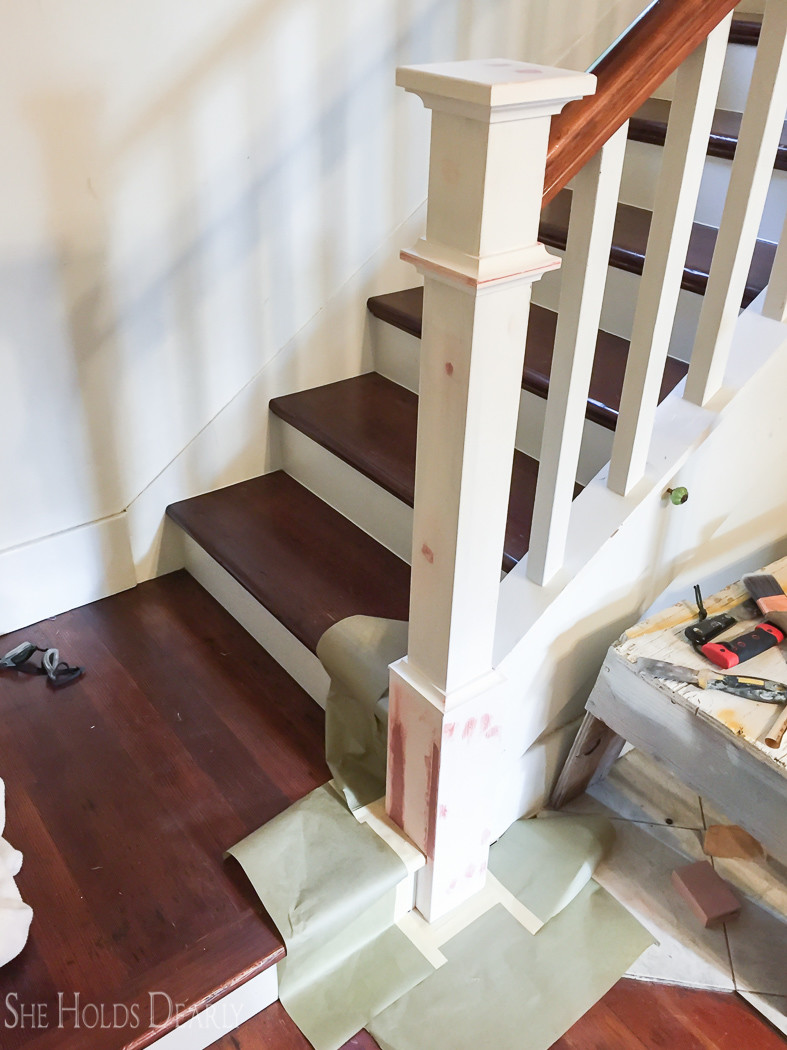
Then we filled nail holes and seams with sparkle, let it dry and sanded.
After that, we filled everything again with red glazing putty and sanded to a smooth finish.
We wiped off the dust and caulked the 90 degree joints.
We primed one last time and finally, painted with oil base paint.
Whew, I was getting tired just typing that!
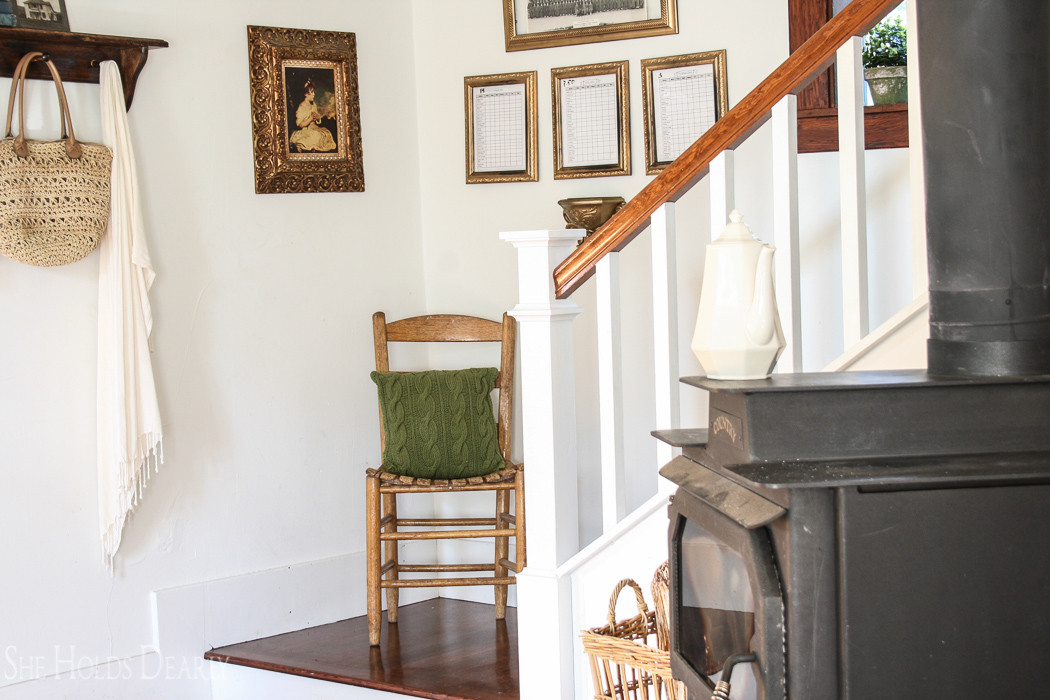
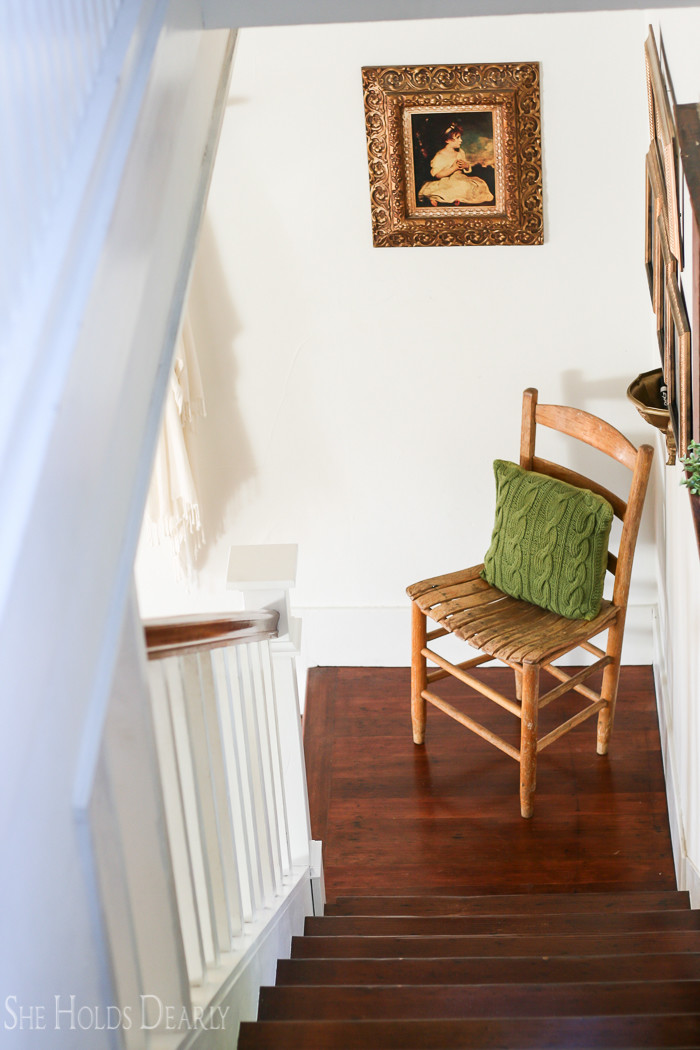
And here is the finished product!
For more stairway inspiration, you are welcome to visit my Farmhouse Stairways Pinterest Board.
No sliding on the banister!
Sharing at these parties!
Great post and tutorial. Loved this. What little I saw I love your home. I’ll have to take your tour!
I’d love you to come over and link your Fall posts at the party at my house!
Come over here : http://mychristmasjourney.blogspot.com/2016/09/fall-party-link-up-4.html
Happy Fall!
Author
Oh, thank you, Sherry! And yes, I will check out the link up.
The new post looks great. The how too seems easy enough. Have a great day!
Author
Pamela, it was much easier than anticipated!
Brilliant idea, Sarah! I’m going to try this out on our staircase. Thank you for the inspiration!
Author
Oooh, send pics!
xoxo
Just lovely. Thanks for sharing.
Author
Thank you, Brenda, you are the sweetest!
I love it, such a perfect way to add character to that stairway.
Author
Thank you, Deb! That means a lot coming from someone as talented as you!
Um, I can’t remember your old one needing to be fixed up but this looks incredible! You two, once again, make a great team! Nice work! I really wish my stairway railings were wood stained. White shows everything!
Author
Haha! You are so sweet and your railing is lovely.
I love your house tour! The school room is great and the whole house just has a great relaxed and peaceful quality.
Author
Oh wow! Those are huge compliments, I really want people to feel that way when they are in my house.
This turned out really beautiful. That whole space is so welcoming! I hope you’ll share your project with us at #thecraftycorner link party this week. Have a great day 🙂
Author
Thank you for the invite and the kind words!!
Great job!
You said in your tutorial to first make a square box around newl post. How did you accomplish this on the backside where the banister is attached to the newl post.
Author
Just take small pieces and fit them around the backside.
Hi Sarah! Beautiful job! I am attempting this as well and wondering if you can share more detail as to how you handled the back side where the existing banister attaches. How did you cut the smaller pieces exact? TIA!!
Author
Hi Jen! Yes, exactly. We just cut smaller pieces and closed in the spaces.
Thank you. Thia is a great project. We are looking to get ours started. Did you use a jig saw to cut a template to fit around the attached handrail? And wood filler or caulking to fill in any gaps?
Author
Hey John, we did not fit the handrail into the newel post. It is countersunk 2 1/2″ screws from the underside of the handrail into the newel post. First, we drilled a hole to hide the screw and angled it up at a 90 degree angle. We caulked any joints or gaps to make it all look seamless.
On the Build out of the NEWEL Post did you remove handrail to make the box around the colonial Newel? If you did or did not please explain.
It looks beautiful! How easy or difficult was it to paint the MDF boards?
Author
Very simple!
Your post doesn’t show pictures of how you worked around the stair when building the box at
Round the existing newell. Did you somehow make a template to use when cutting wood for the box? Also, did you have to remove the hand rail and trim it to reattach? Thanks for your help.