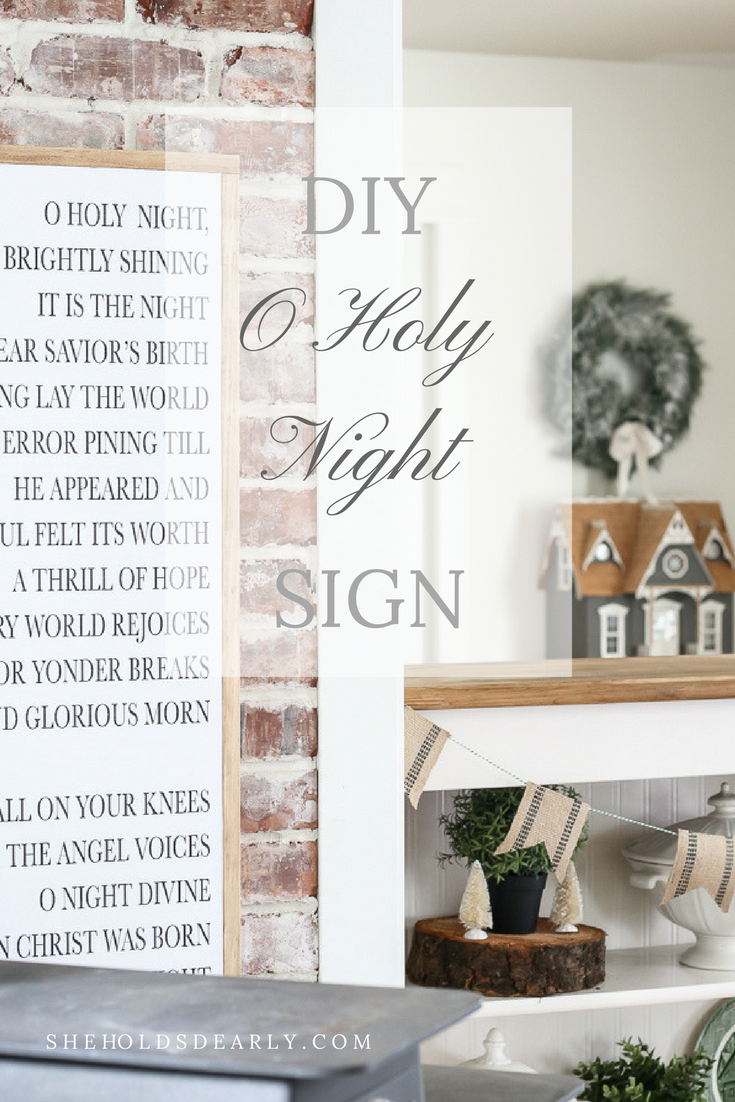
How to DIY a “O Holy Night” Sign for Christmas
Before we get started on this tutorial and tour of my fireside room, I want to invite you to visit the blogs listed at the end of this post!
If you don’t know Deb from Seeking Lavender Lane, Amanda from Sincerely, Marie Designs and Lisa from Farmhouse on Boone, who had a baby LAST NIGHT, you are missing out!
These women are hands-down some of the best in the home design and blogging industry. I have the deepest respect for them!
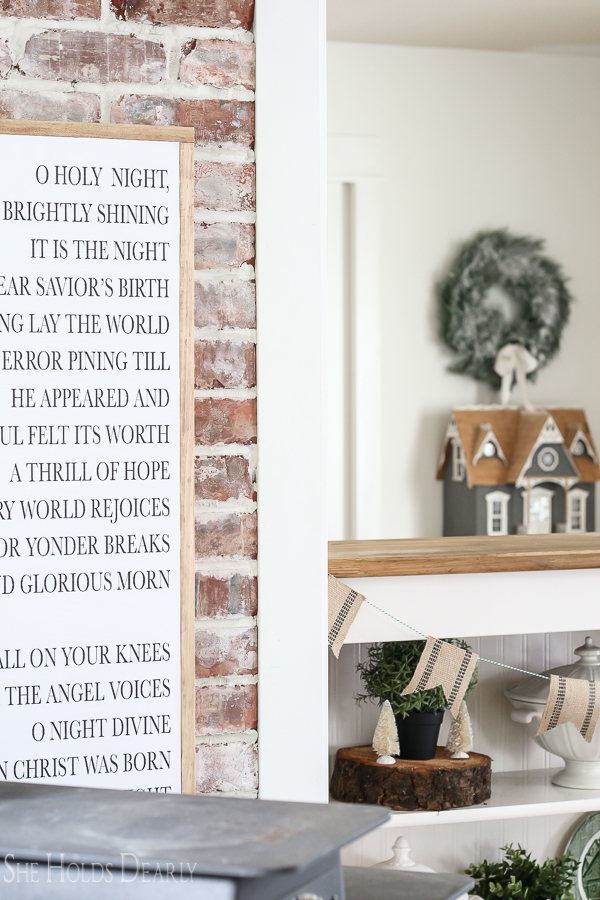
Have you seen this O Holy Night sign floating around social media? It’s one of my favorites! I have been eyeing it for two years now.
When I went to purchase it this year, however, I discovered that it was too large for the space I wanted it in.

*This post contains some affiliate links to products I know &/or love.*
These dilemmas usually lead me down the DIY path and so here we go again. . .
DIY O Holy Night Sign
Supplies
- Plywood, approximately 18″ x 36″
- 1″x2″ Pine, need 2 six foot pieces
- Printed “sign” on paper – Here’s the FREE printable I created.
- Mod Podge
- Foam Brush
- Razor Blade
- 12 inch Compound Miter Saw (optional)
- Brad Nailer (optional) or hammer and small nails
- Table Saw
- Sandpaper
- Antiquing Wax
Tutorial
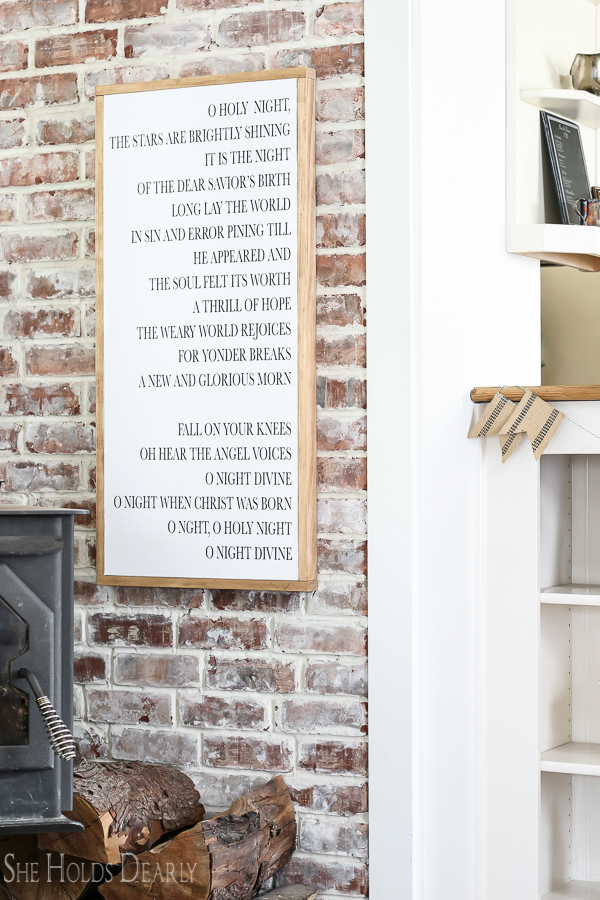
- First, you will need to decide what your font and wording will be.
- O Holy Night is my all time favorite Christmas song and it made me tear up just to type the words.
- Type up your words and save them as a pdf.
- You can use my O Holy Night pdf if you want.
- Email this to your nearest office supply store.
- Note- if you are a homeschool mom, you qualify for the teacher discount at Office Depot!
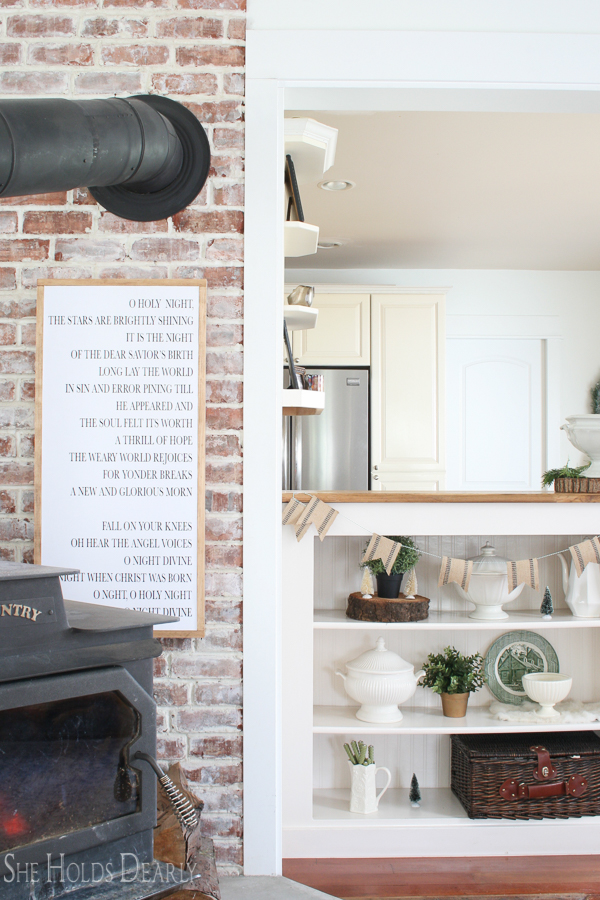
- Next, have the office supply store turn the pdf into a picture and stretch it to fit just a little larger than the size of your board. This caused some pixeling, but I don’t notice it when I look at the finished product.
- If the issue of copyright comes up, the rules are anything published before 1922 has become public domain. Also, check that the composer died at least 75 years ago. O Holy Night qualifies on both accounts.
- Have the sign printed with laser ink on 55# weight paper.
- I actually liked the scroll-like look of just the paper, but opted to make it more durable by adhereing it to a board.
- Modge Podge the paper to the board, smooth with hands and let dry!
- Once dry, use your sponge brush and coat the sign with the thinnest layer of modge podge. If the paper wrinkles, let it completely dry overnight. It should tighten up again.
- Apply a second and third coat, letting dry in between.
- Turn the sign over and using the razor blade, trim the overhang of the paper so it fits the board perfectly.
- Cut the 1″x 2″s to size using the compound miter saw or at the home improvement store.
- The two sides will be the same height as the sign, but don’t cut the top and bottom until you have the new width figured out that includes both of the side 1″ x 2″s.
- Sand the 1″x 2″s with 220 grit sandpaper.
- Age by applying antiquing wax and wiping off.
- Nail into place.
- I made the frame and the sign flush across the face of it, so the frame could be used as the hanger, as well.
Not too difficult and I love the final look!
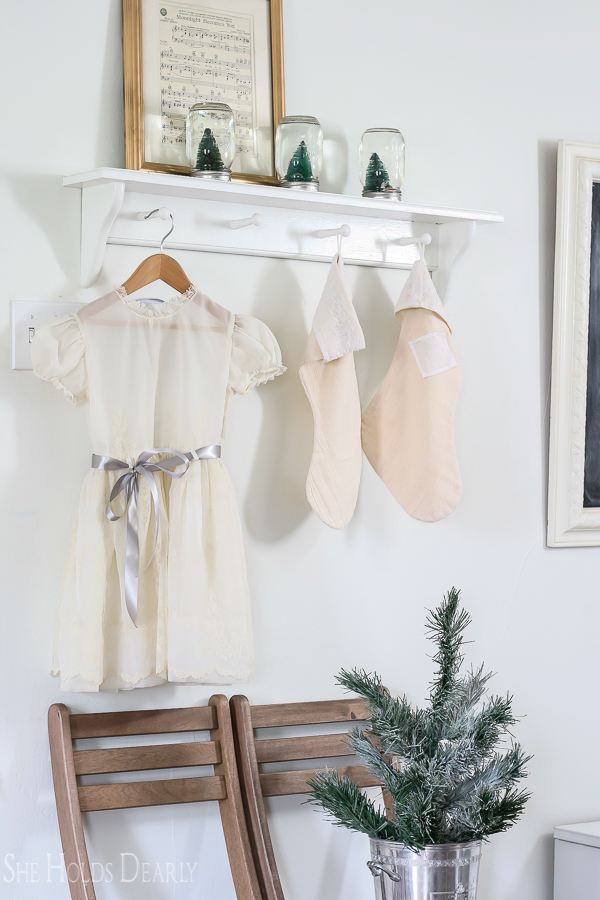
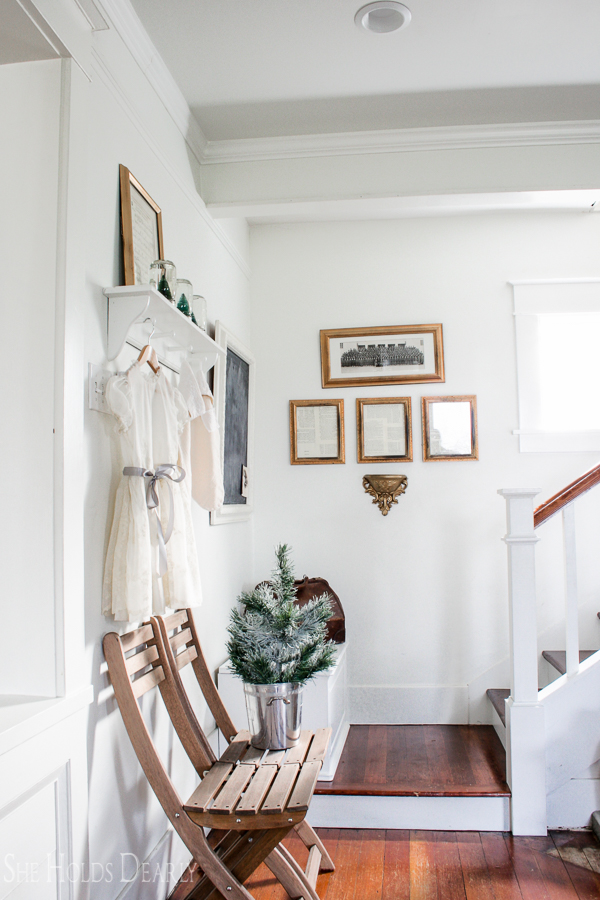
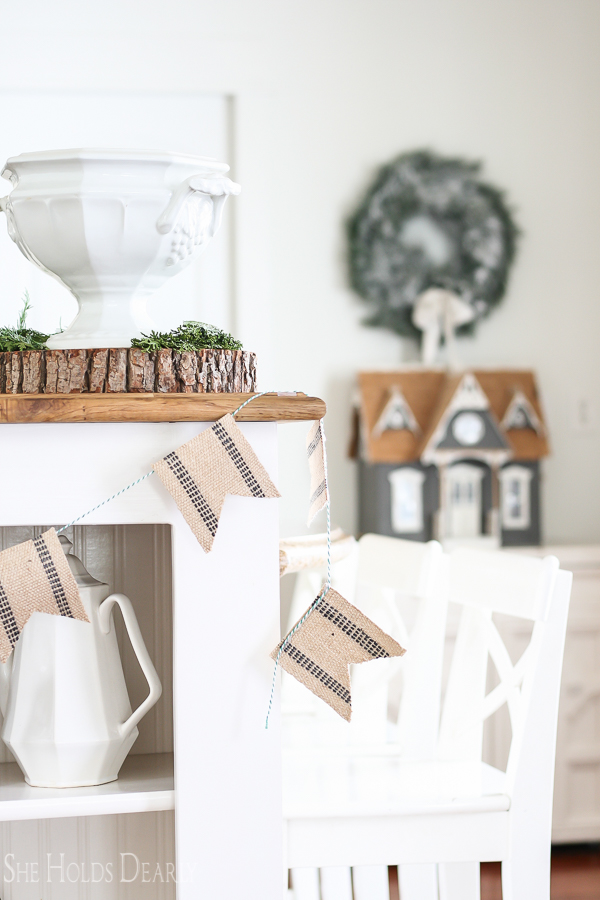
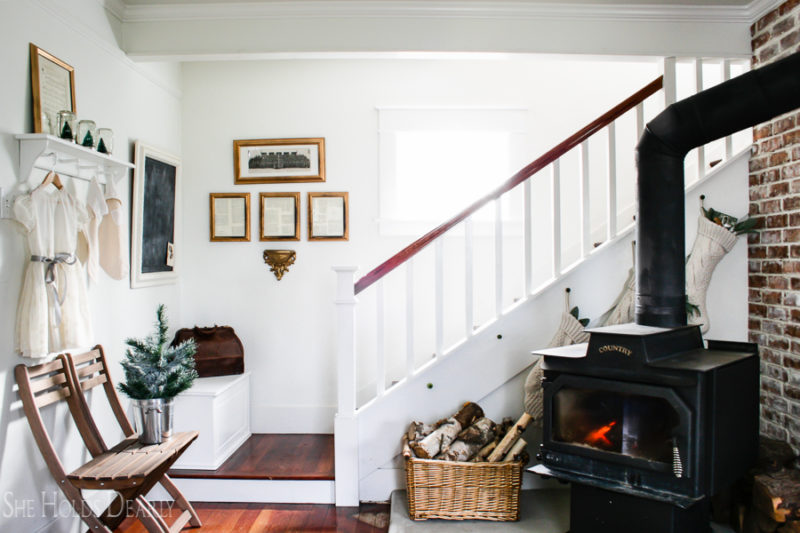
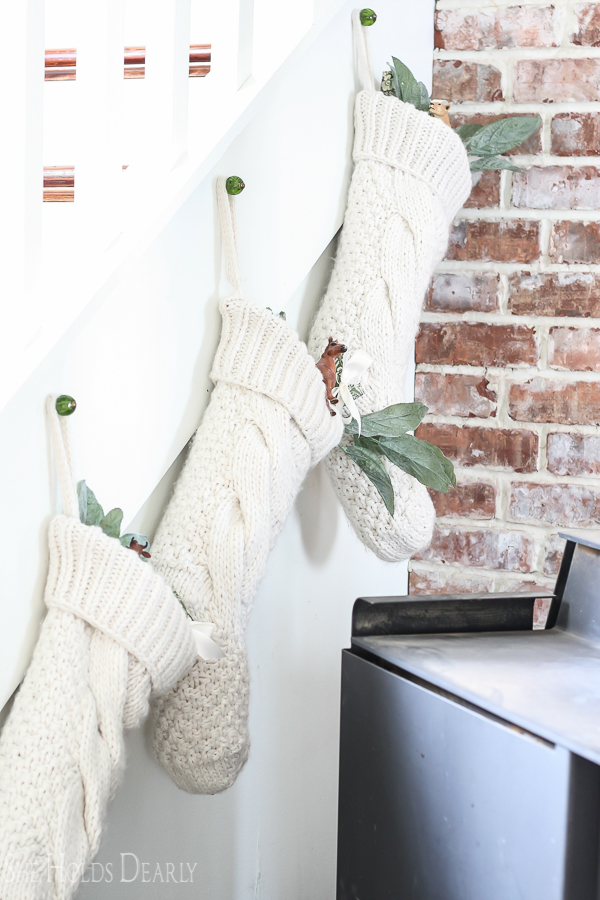
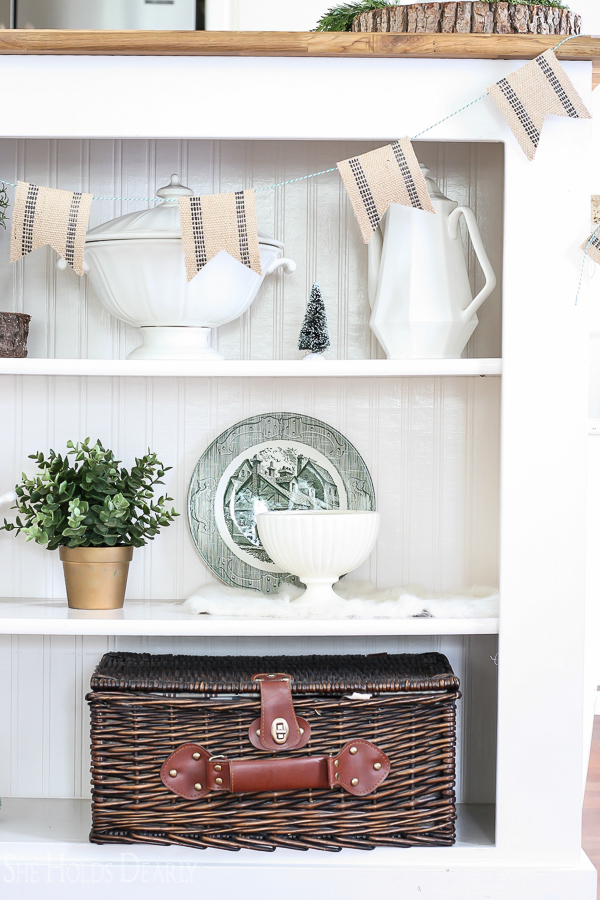
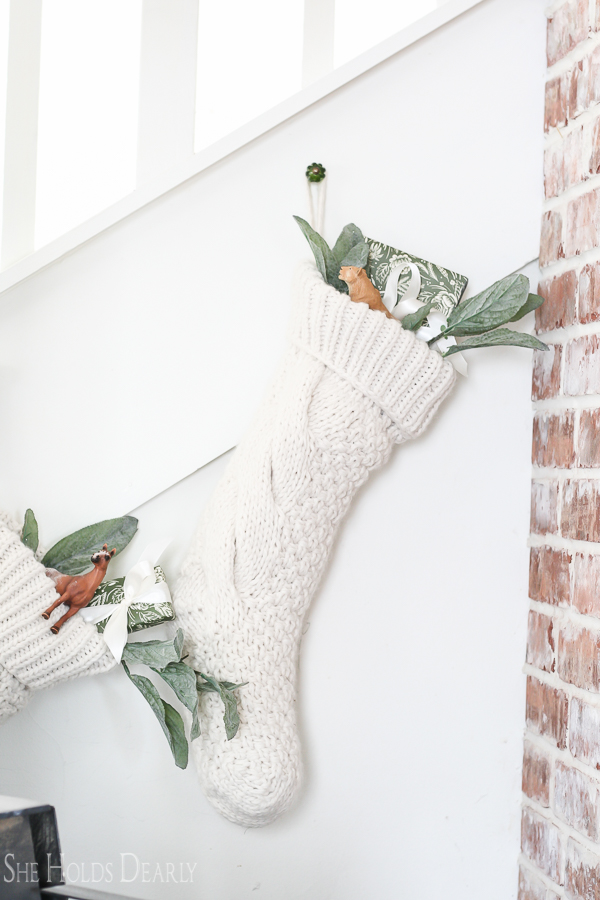
And since you stopped by, would you like a quick tour around our fireside room?

Shop This Look:
[show_shopthepost_widget id=”2942128″]
Don’t forget to hop on over and visit these beautiful homes, as well! I think you will love them as much as I do!!
Seeking Lavender Lane | Christmas Tour Recap
Sincerely, Marie Designs | A Final Look at Our Classic Christmas Home
Farmhouse on Boone | Farmhouse Christmas Living Room
Grab your copy of 10 Steps to a Peaceful Christmas!
Pin This O Holy Night Sign For Later: