Book Page Wall Tutorial
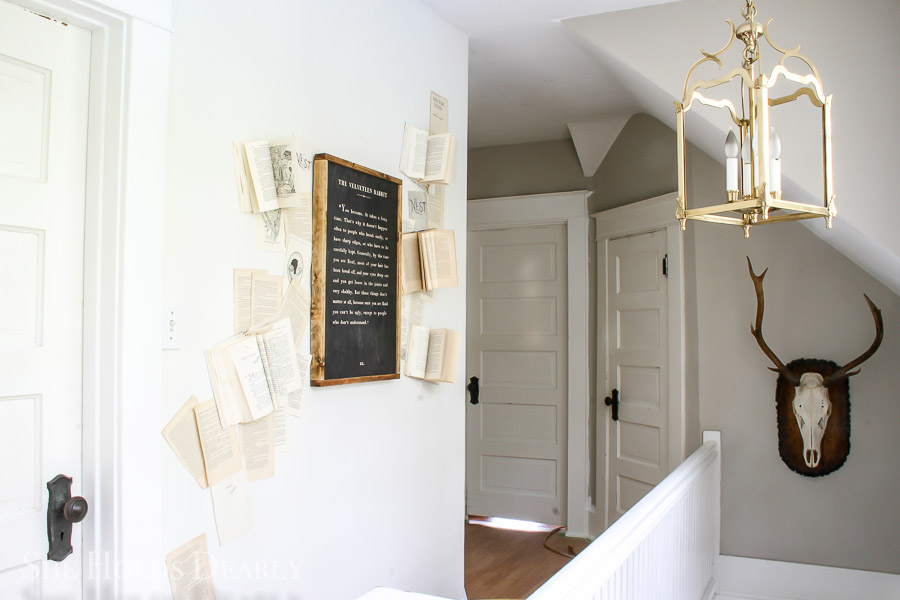
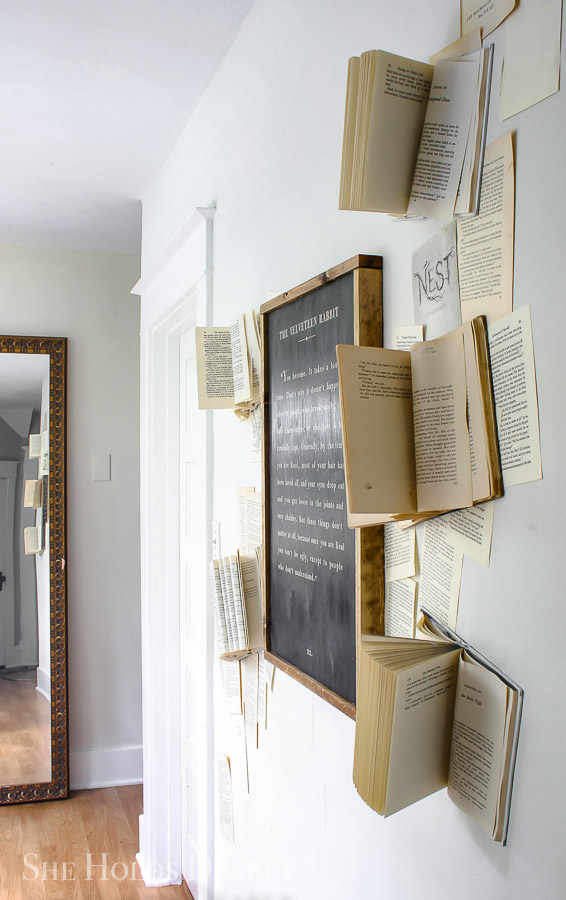
If you have a large wall space and no idea what to do with it. You may like this Book Page Wall idea! It makes quite the conversation starter and can be quite inexpensive if you DIY the whole shibang!
I first got this idea from Cotton Stem blog and have had my eye on these book quote printables from The Painted Hive since, gosh, forever.
I thought a book page wall would be super cozy for fall decorating. So, I finally made it happen.
You can purchase a the Velveteen Rabbit one or make one. If you are you specifically looking to purchase the Velveteen Rabbit one, Etsy has those, too.

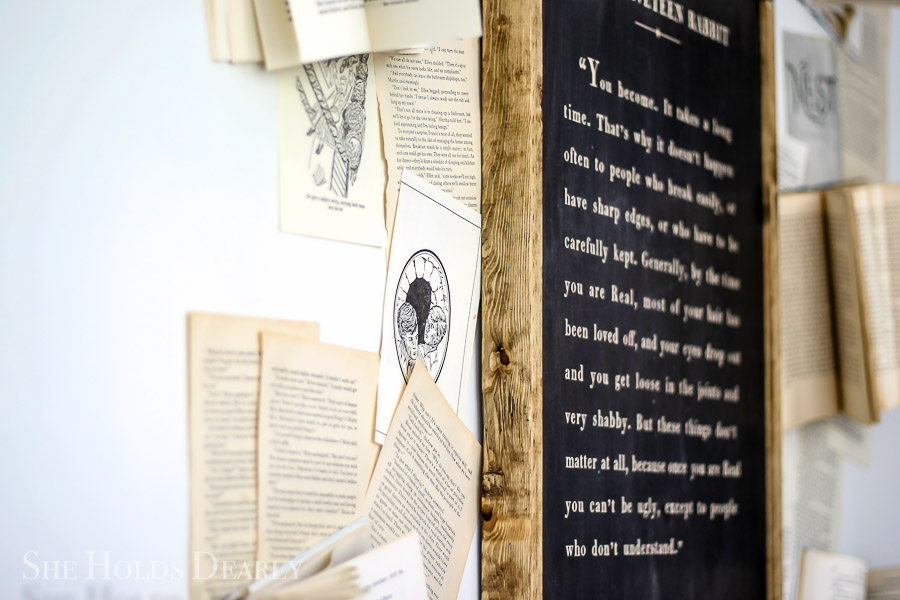
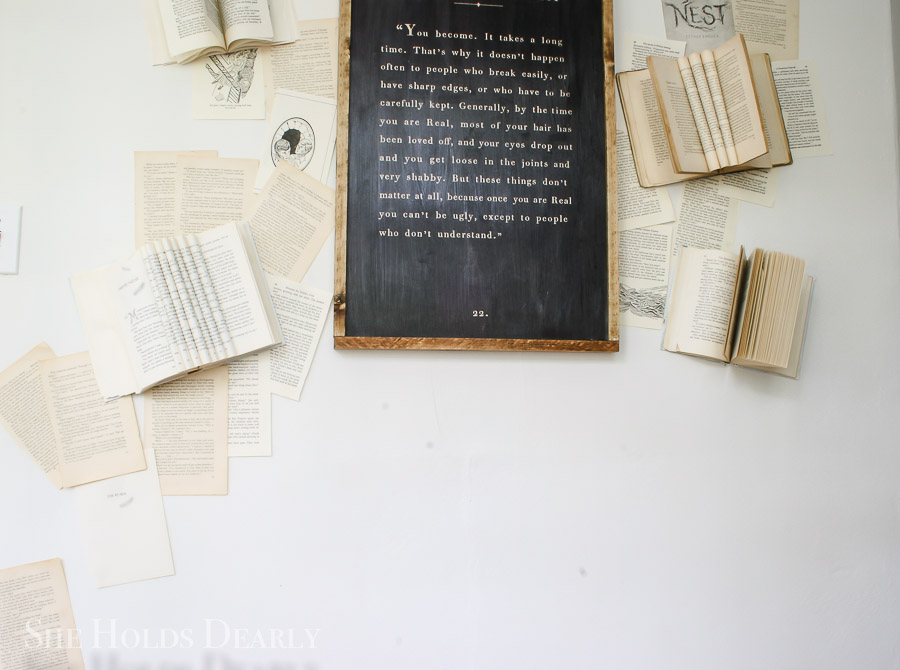
I chose the Velveteen Rabbit because it was a favorite of mine as a child and we just so happen to raise rabbits these days, so it was perfectly sentimental for our family.
Book Page Wall Tutorial
*This post contains affiliate links to products I know &/or love.
To make the sign. . .
Supplies
- Plywood, approximately 18″ x 36″
- 1″x2″ Pine, need 2 six foot pieces
- Printed “sign” on paper
- Mod Podge
- Sponge Brush
- Razor Blade
- 12 inch Compound Miter Saw (optional)
- Brad Nailer (optional) or hammer and small nails
- Table Saw
- Sandpaper
- Antiquing Wax
- Furniture Polish
Tutorial
- Email your sign of choice to your nearest office supply store.
- Note- if you are a homeschool mom, you qualify for the teacher discount at Office Depot!
- Have the sign printed with laser ink on 55# weight paper.
- Mod Podge the paper to the board, smooth with hands and let dry!
- Once dry, use your sponge brush and coat the sign with the thinnest layer of modge podge. If the paper wrinkles, let it completely dry overnight. It should tighten up again.
- If using a chalkboard look, I suggest getting a matte finish for your mod podge.
- Turn the sign over and using the razor blade, trim the overhang of the paper so it fits the board perfectly.
- Cut the 1″x 2″s to size using the compound miter saw or at the home improvement store.
- The two sides will be the same height as the sign, but don’t cut the top and bottom until you have the new width figured out that includes both of the side 1″ x 2″s.
- Sand the 1″x 2″s with 220 grit sandpaper.
- Age by applying furniture wax and antiquing wax according to instructions.
- Glue and nail into place, position them so they overhang about 1/4″ in the front and some in the back for hanging.

You can subscribe to my YouTube Channel here.
Pin This Book page Wall Tutorial for Later:

Related Posts


