How to Clean White Upholstered Furniture
Keeping clean white upholstered furniture in your home isn’t as hard as you might think!
There, I went ahead and I said it!
I know some people stay away from white furniture all together due to the fear of not being able to keep it clean, but I don’t want that for you!
It’s no fun finding a beautiful piece of furniture and then being intimidated to bring it into your home.
Now, I live on a farm in the PNW (the Pacific North West – have you heard we get a little bit of rain sometimes?) with four teenagers, a big dog, and yet I still do have some white furniture!
Some of it, like my FARLOV sofa from Ikea and my dining room table chairs have washable slipcovers. Hallelujah!
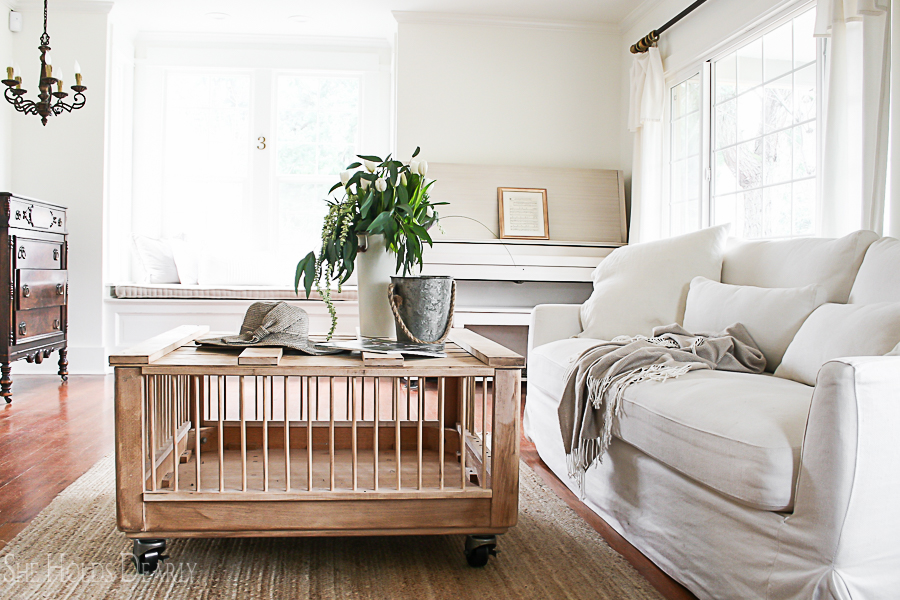
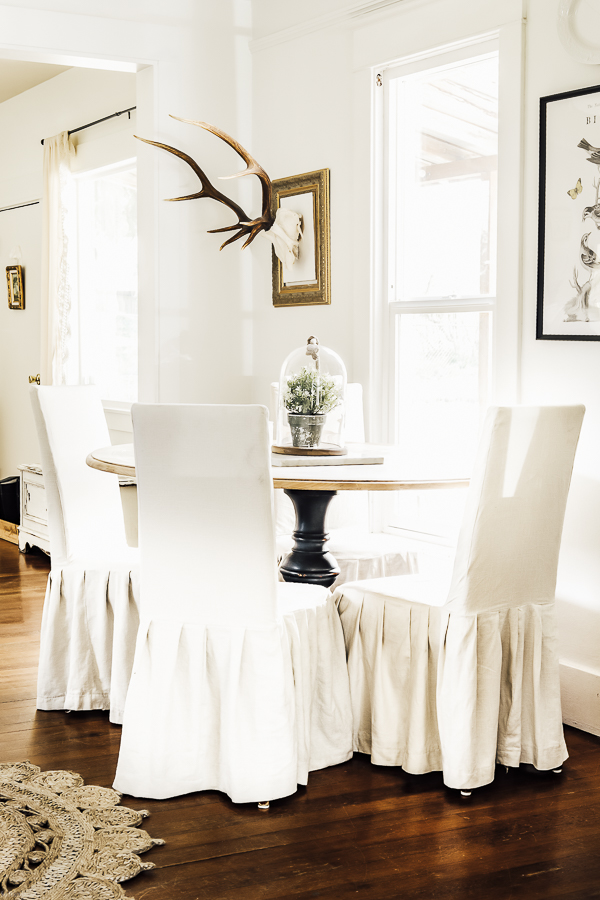
When you can incorporate slipcovers, it’s a great idea to make the process of cleaning as easy as possible.
But don’t worry, I’m not forgetting about those items with fixed upholstery that can’t just be removed and thrown in the wash!
And yes, I’m looking at YOU, the one googling “Help! My white couch is turning yellow!” – I’m confident you’ll feel much better as you keep reading on.
One of my first-ever garage sale furniture finds was these two vintage chairs that I found and held on to for 10 years before tackling the process of reupholstering them!
Anyone else guilty of buying something and then sitting on it for a while until just the right time?
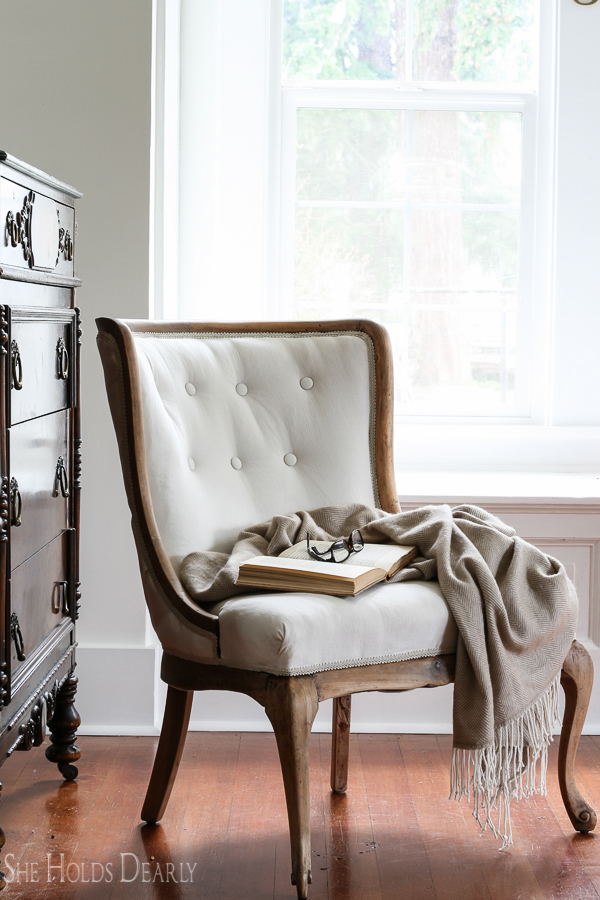
They were in pretty rough shape when I got them, but after a beautiful facelift (see how I reupholstered them here), I was so happy to incorporate them into our home for everyday use!
Now flash back to where I said I have four teenagers and a big dog, and live on a farm!
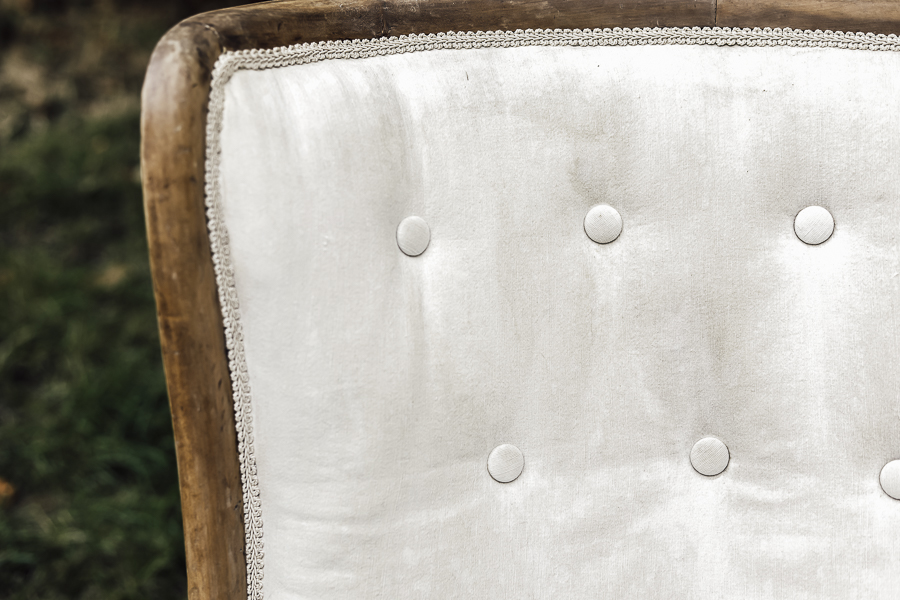
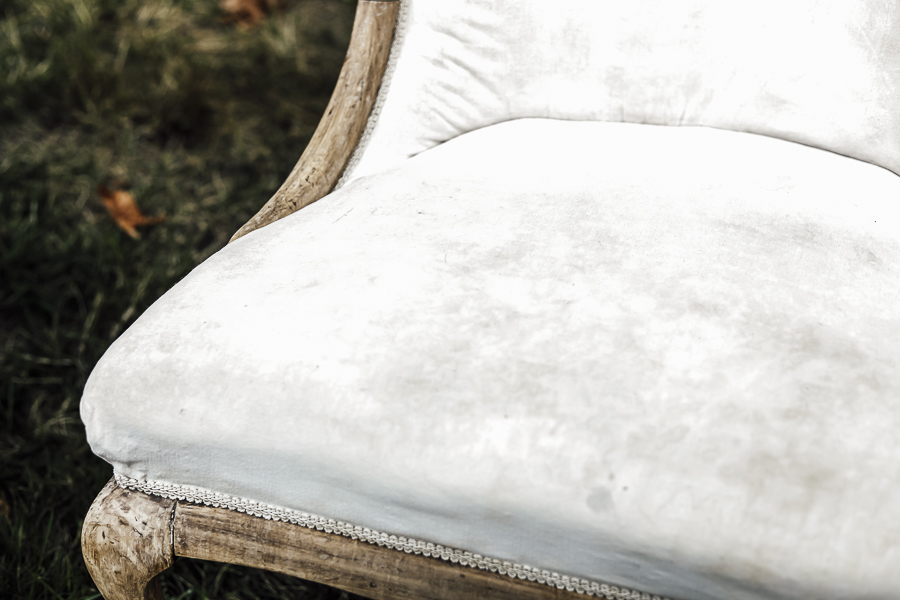
Then flash forward about three years to modern day and you can see they had become really dingy from being used and loved.
The Before:
*This post contains affiliate links to products I know &/or love.
These are some of those pictures that you don’t ever really think you’ll be sharing online with just your closest thousands of friends! But it will all be worth it when you see the after pictures!
Trial and error:
I knew I wanted to attempt to clean them before deciding to remove and replace the upholstery again, so I tried a few different things before settling on the product that worked wonders!
Some of the things I attempted first:
- Bleach
- Hydrogen Peroxide
- Lemon Juice
- Regular Oxiclean
- Sun
None of them had the desired effect of getting these chairs crisp white again.
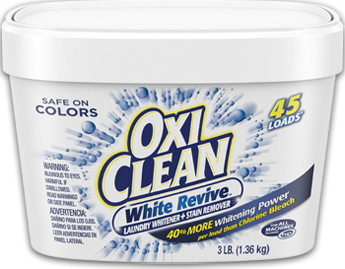
Then I remembered the product I had used to whiten my living room curtains, and it was worth a shot!
Ladies, this OxiClean White Revive was a game changer!
The process to clean white upholstered furniture:
Step One | If you can, take your item outside!
Not only is fresh air fantastic for most upholstered items every once in a while, but the sun can also actually help lighten and bleach away stains!
Step Two: | Mix 1/2 scoop of the oxiclean white revive with 4 cups of hot water. Use a brush (I found a tooth brush worked well) and carefully brush the entire surface of your piece of furniture.
I found that for my chair, working in sections and using a circular motion with the brush seemed to work best!
Tip: Be sure not to over-wet the fabric when you’re scrubbing, and keep the surface evenly saturated.
Old chairs often were stuffed with various materials, (unlike our single pieces of foam nowadays) and sometimes if a chair gets too wet, it will draw more dirt and stains up to the surface from the stuffing inside!
And if one spot gets significantly more wet than another, often you’ll end up with water spots.
Not cute! We want to avoid both of those things when possible!
Step Three | Dry Your Furniture.
As I’m scrubbing along, I’ll often press areas that feel too wet with an old towel to pull up excess water.
Then once I’m happy with how the cleaning has gone for that first round I leave it out in the sun to dry fully.
For these chairs, which were pretty dingy, I ended up repeating this cleaning process three times. With each go, I could tell it was getting cleaner and cleaner.
Step Four | As an optional last step, if you feel like your furniture is getting any kind of build up from the cleaner, you can totally do a clear water “rinse” (using the same careful brush method with clean water) . I didn’t find it necessary for my chairs, but some might!
The After:
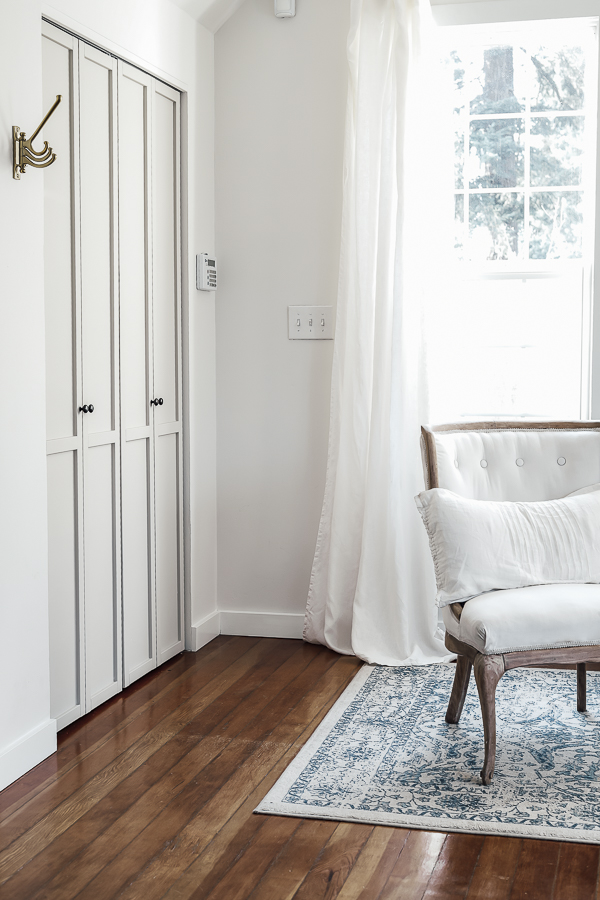
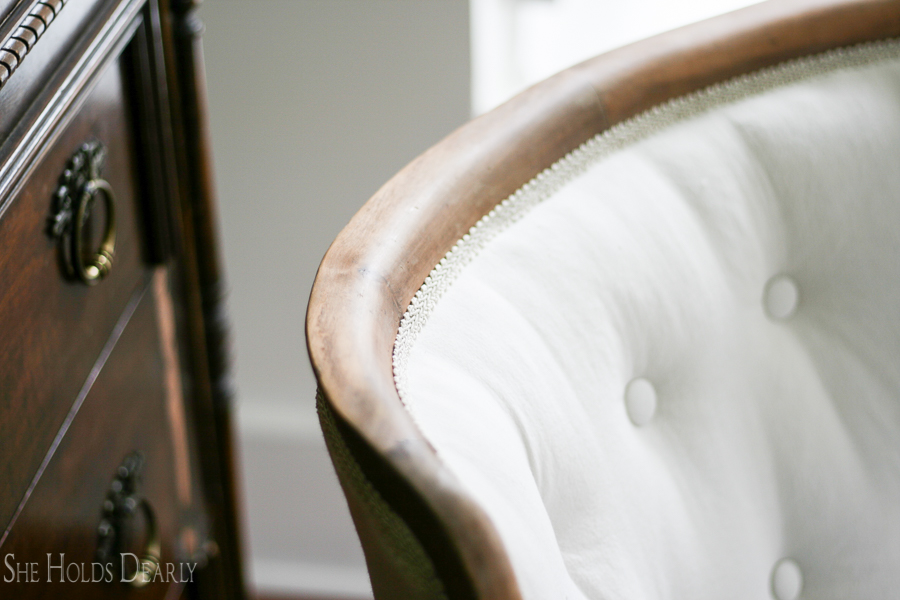
Once you’re done and your chair is completely dry, I highly reccomend using Scotch Guard to help protect your newly clean surface.
Also, if it’s plausible with your type of furniture, you can try to stage it in places where it will see less wear and tear!
[show_shopthepost_widget id=”3989083″]
If you’re in a Spring cleaning mood and are looking for more inspiration and tips, here are a few related posts:
- Best Way to Clean an Area Rug
- 12 Ways to Clean Vintage Finds – a great resource for after you visit garage sales!
I Love Teaching Interior Design Tips!
And that’s why I created a comprehensive Interior Design course just for YOU!
With over 28 hours of teaching broken down into 160+ courses that average 10 minutes each, I have covered a wide range of practical design knowledge that I know you’ll benefit from, no matter your experience or season of life.
Learn more at elitedecoratingacademy.com!

Pin this for Later:

I’d love to hear from you! Do you have any favorite cleaning tips? Or are you stuck, not sure how to clean a specific item? Please share in the comments below!
Until next time,