French Chair Makeover
Giving a french style chair a makeover is one of the best ways to begin honing your upholstery skills. Let me walk you through, step by step, how to re-construct the webbing and seat, if needed and reupholster one of these beautiful french accent chairs.
Don’t be afraid of them if they happen to cross your path. You can recover them and create any look you want.
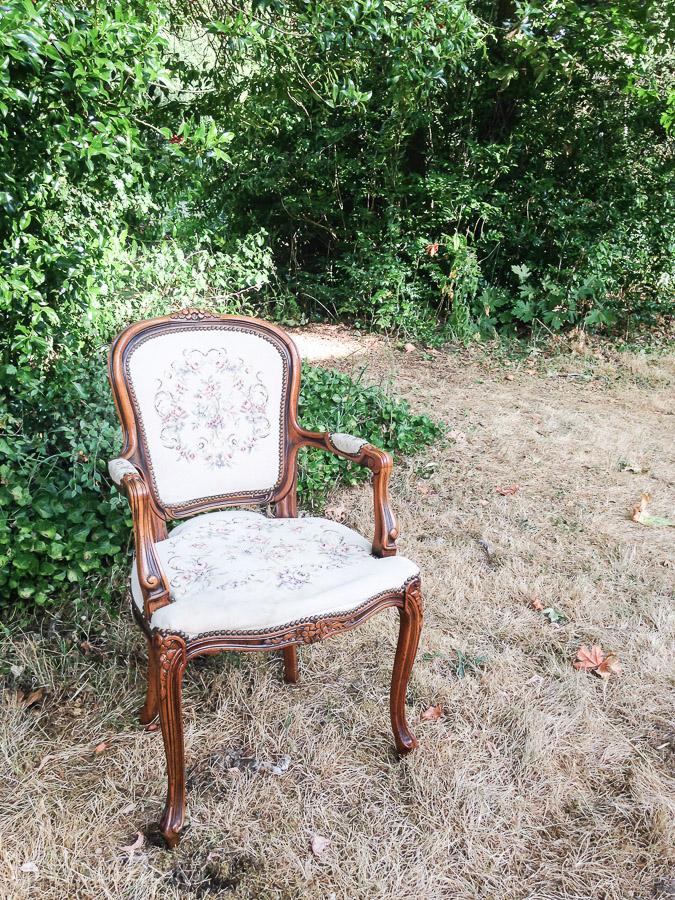
For many months, I scoured Craigslist for a King Louis chair, better known as a French accent chair. But, everyone wanted more than the $100 I was willing to pay.
Then, one day I was out garage saling with a friend. We took a turn off the main road, following a yard sale sign and wound around until we came to a trailer park. At the back of the park was a tiny garage sale and this chair- for $15.
My friend actually saw it first and bought it!
DANG IT!
But, the webbing was coming apart underneath and the foam had disintegrated so much that when you sat in it orange, powdery crumbs got all over the floor underneath and the back of your legs would hurt from pressing against the wooden frame.
Two weeks later, my friend called to say the chair was too far gone and she didn’t really want it anymore. Did I want it for $15?
Uh, let me think.
Yes, please.
So, that brings me to the point of this post.
How do you give a french chair a makeover??
I’m so glad you asked!
*This post contains affiliate links to products I know and love.*
Supply List
- French Style Chair
- check Craigslist, thrift stores and yard sales, if don’t already have your chair
- Staple Remover
- Leather Gloves
- Wire Cutter or Needle Nose Pliers
- for pulling the staples and tacks
- Strypeze with steel wool and sander or paint for frame (optional)
- I stripped and sanded the frame, then finished by sanding with 220 grit sand paper and applying white furniture wax
- Webbing
- If you need to replace this underneath the seat
- Stretcher tool
- Again, only if you need to replace the webbing
- Pneumatic Stapler
- Staples
- Air Compressor
- Fabric Scissors
- Upholstery Foam
- If you need to replace this
- I bought a scrap of 3″ foam from Joanns
- Batting
- Your choice of fabric
- I used this gray linen
- Your choice of trim
- It looks like they are out of the one I used, but here is a similar one
- Hot Glue Gun and sticks
- Scotch Guard
French Chair Makeover Tutorial
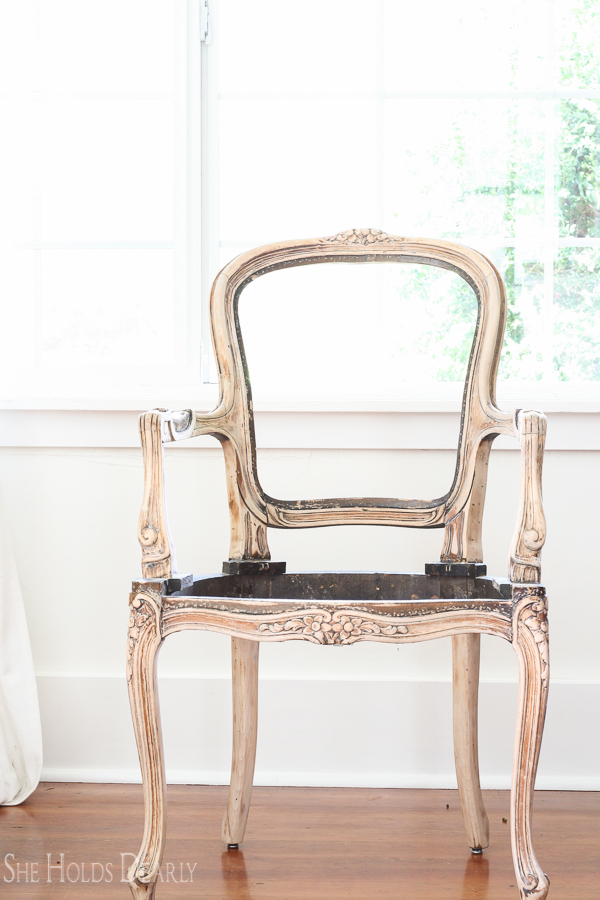
- Start by removing all the tacks, staples, fabric, foam and webbing (if needed).
- Take pictures as you go, if you think you will forget what the steps look like for replacing everything.
- Save your fabric pieces and the cardboard from the back of the chair for patterns.
- Decide what you want to do with the frame- leave it, paint it or strip it.
- If you are going to strip it, start by sanding with a sander as much as you can. Then, use Strypeze or something similar on the details. I like scrubbing these areas with steel wool and water. Finish by sanding with 220 grit sand paper once everything is dry and applying furniture wax.
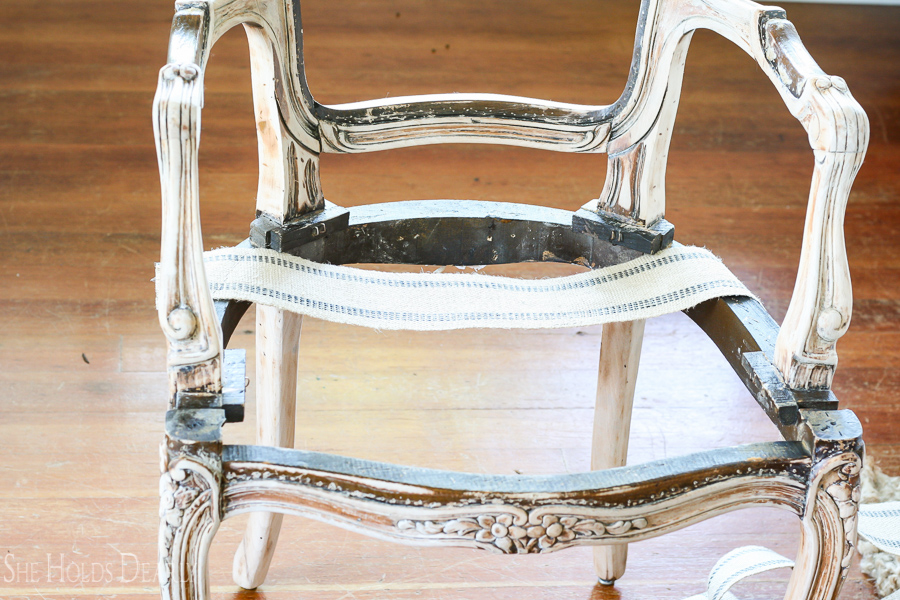
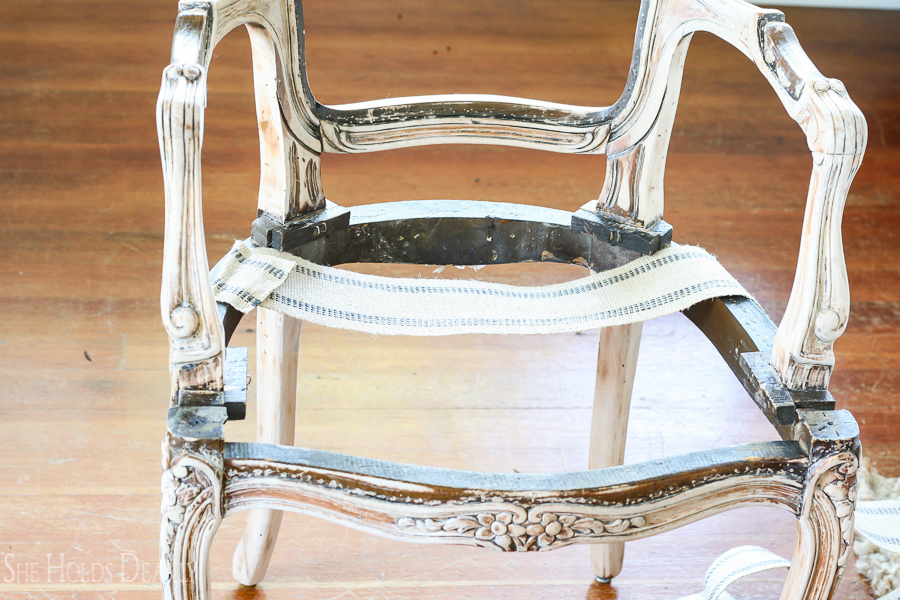
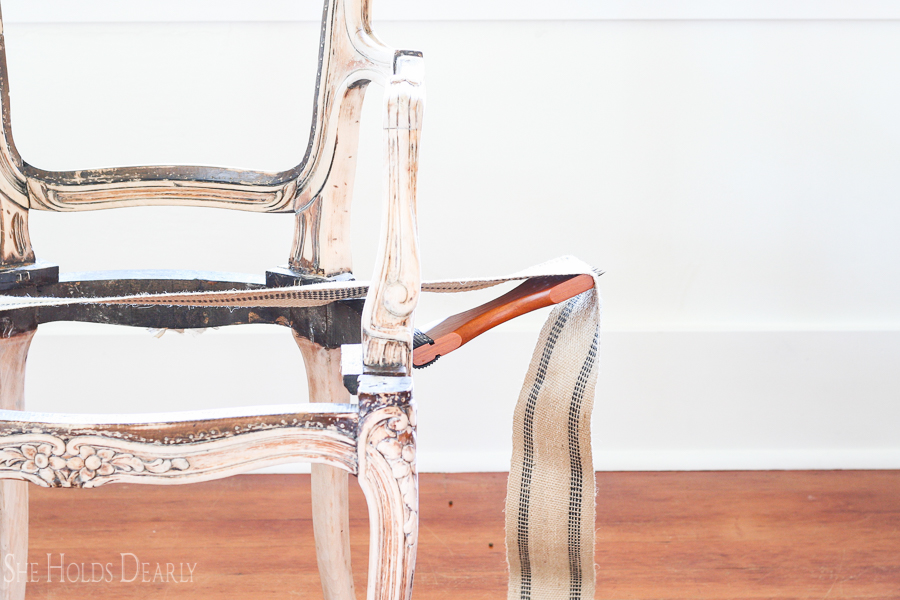
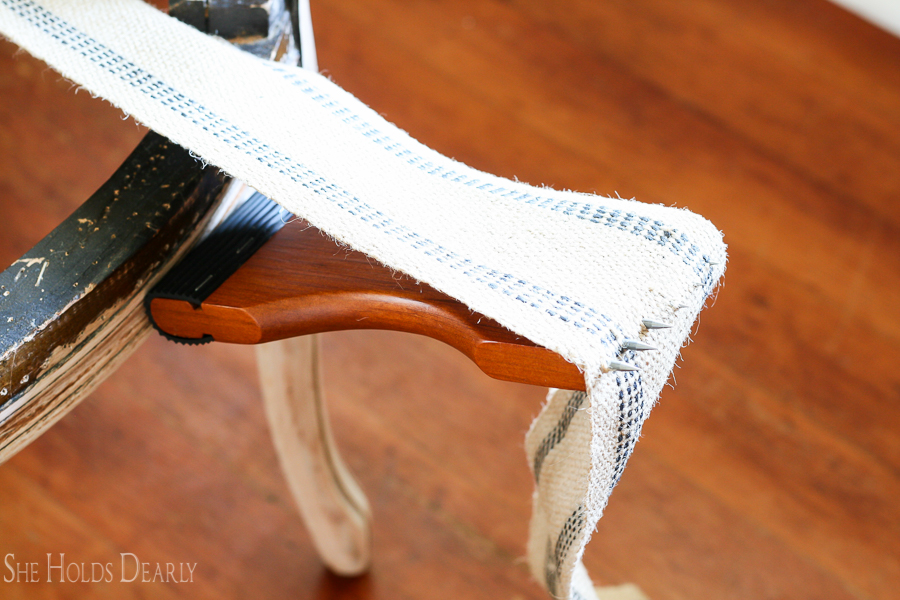
- Now its time to replace the webbing. I used this youtube video to get an understanding of what to do. Start by stapling a strip of webbing across the top of the seat frame. Use six staples and leave a few inches hanging off the side.
- Now fold the tab over and staple down again- six times.
- Pierce the other side of the webbing with the stretcher tool and stretch across, like in the above video. This took three people! My two daughters helped me get everything in place, so I could staple the webbing down.
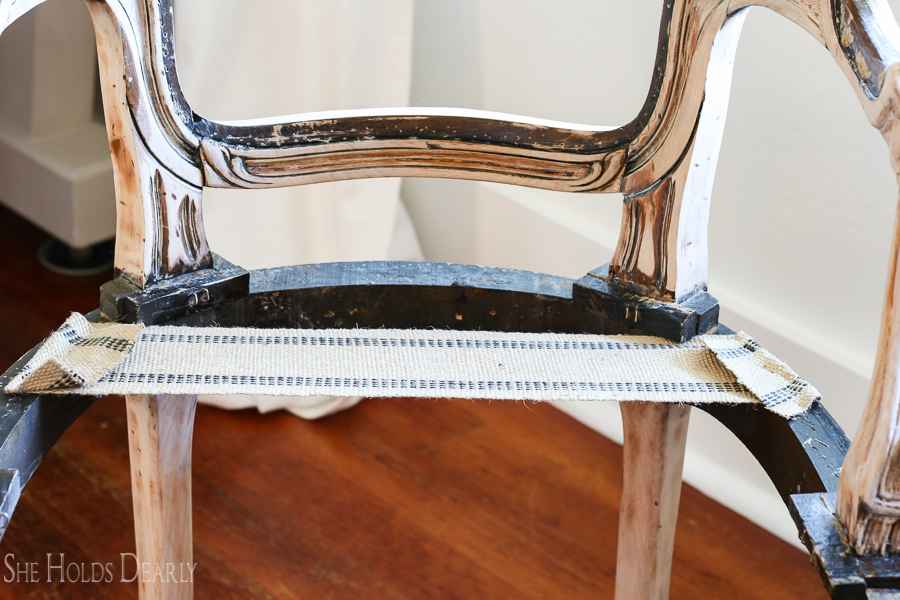
- Next, trim the webbing, fold over and staple in place.
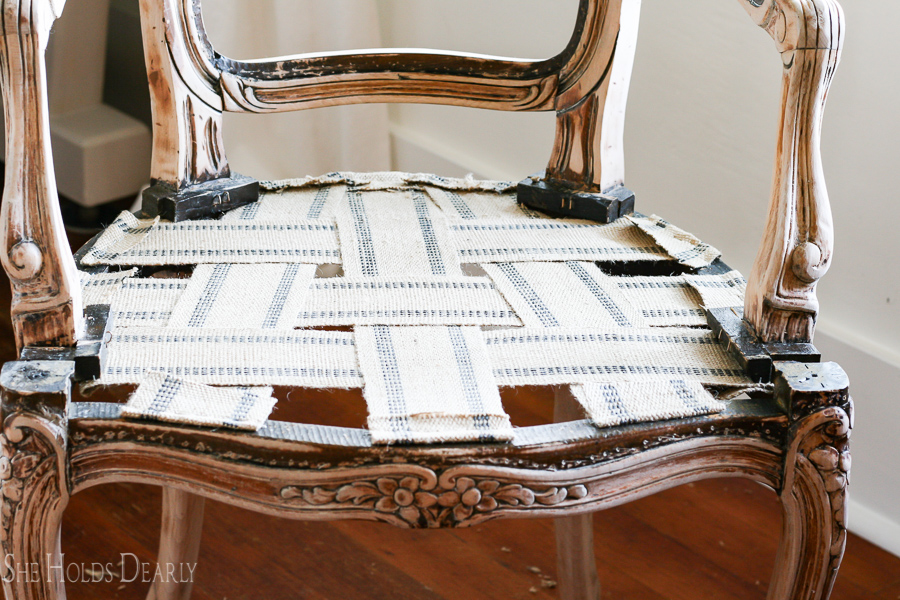
- Repeat this horizontally across the seat frame. Notice- we had to tuck the front strip underneath the frame because of the arms. The, repeat the process vertically, weaving in and out between the horizontal strips.
- Now cut the upholstery foam to fit the seat and tiny arm pads, using a sawing motion with a serrated or electric knife.
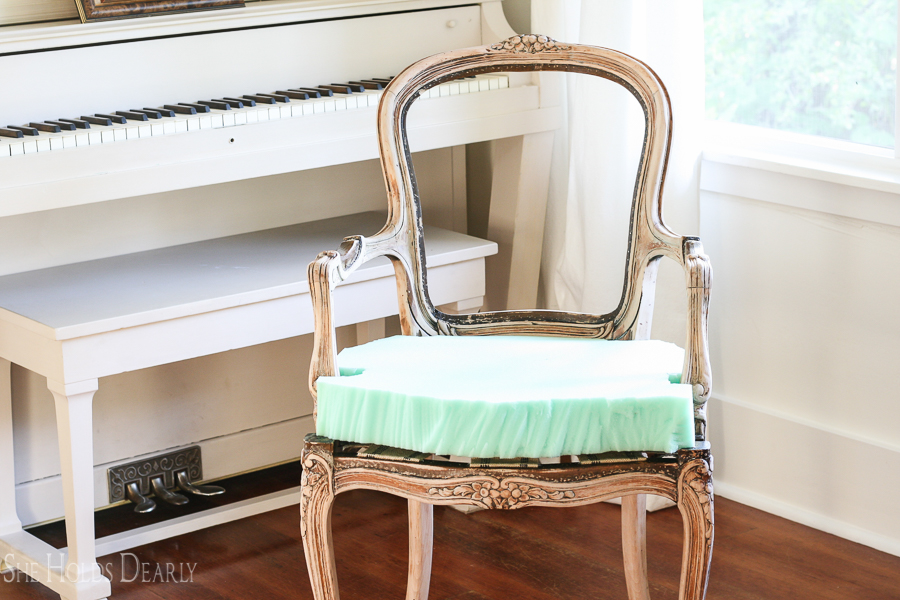
- Staple it into place with the pneumatic stapler, rounding down the edges.
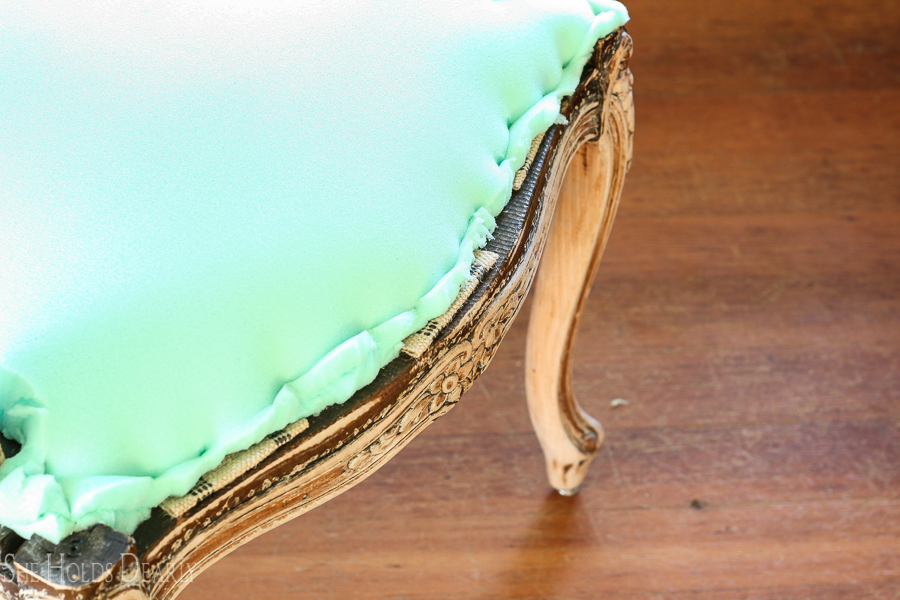
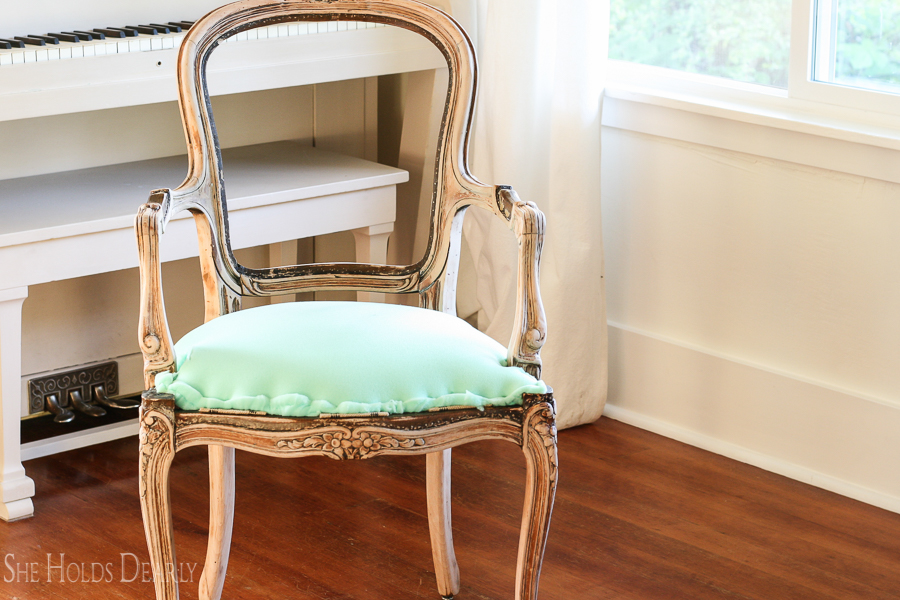
- Next, add a layer of batting and use it to soften or fill in any areas you think need it.
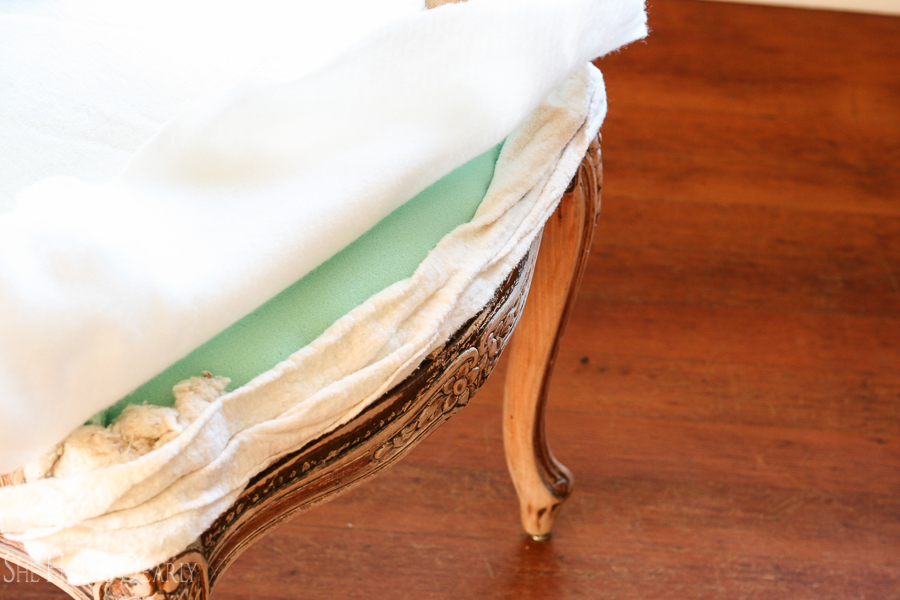
- You are almost done! Lay out your fabric pieces on the new fabric and cut out- give yourself an extra inch all the way around each piece for some wiggle room.
- I wanted the back of the chair to contrast with the rest of the chair, so I embroidered a monogram on a hemp sheet, using the She Holds Dearly wreath from my blog header. You can learn how in my DIY Vintage Monogram post.
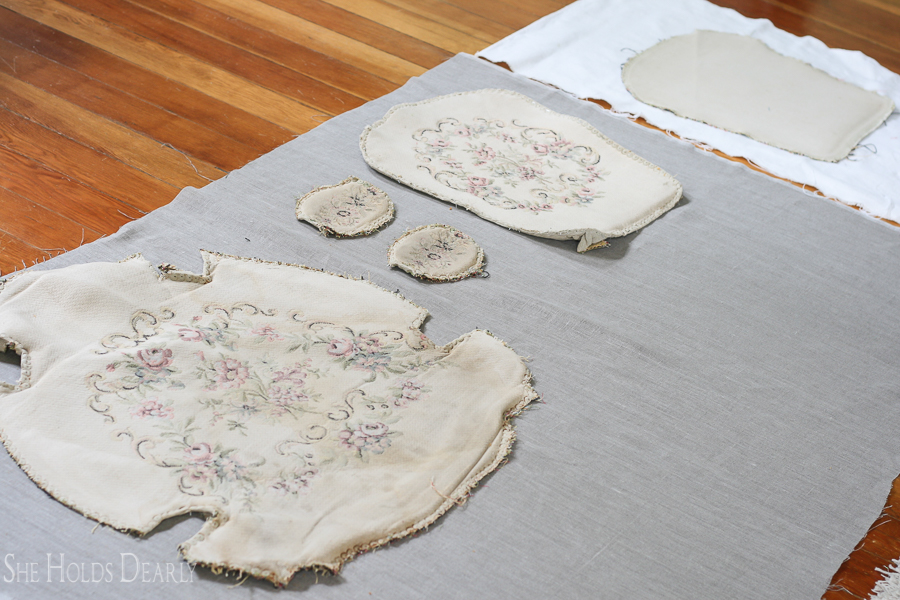
- Replace the fabric pieces to the different parts of the chair and staple into place.
- I love this Youtube video from Miss Mustard Seed and I think you will, too, if this step is making you nervous.
- Trim the extra fabric.
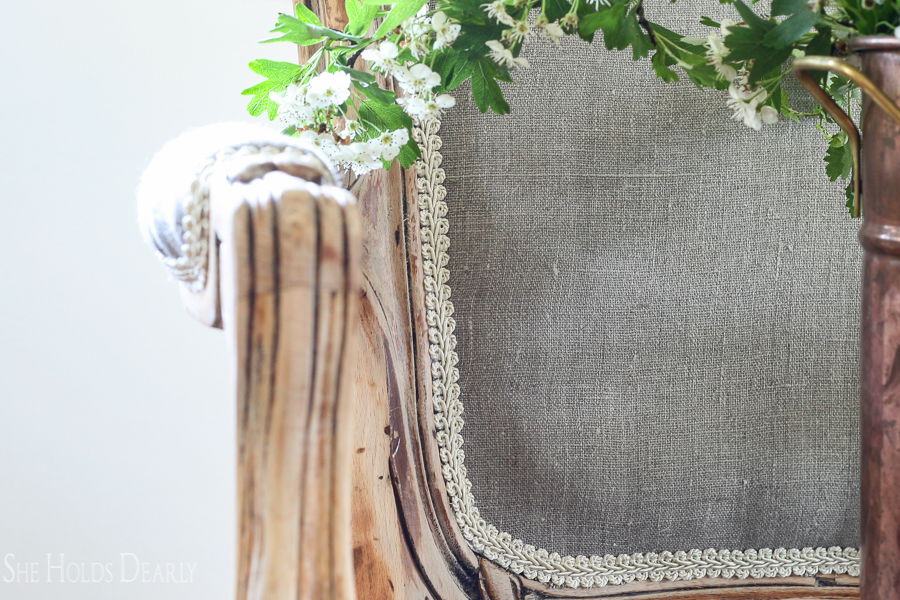
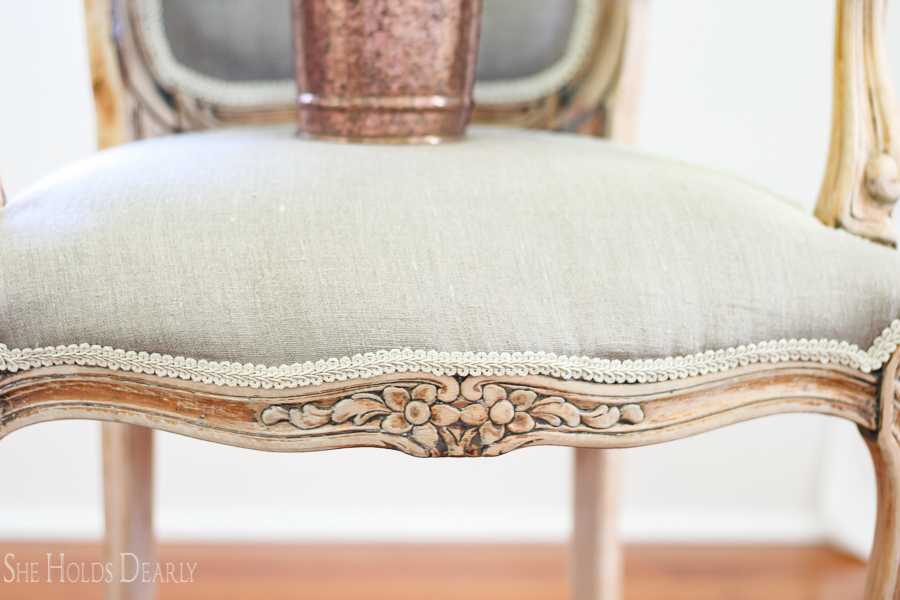
- Finally, glue the gimp or trim of your choice over the staples and raw edges and Scotch Guard all the fabric.
Shop This Look
[show_shopthepost_widget id=”2770436″]
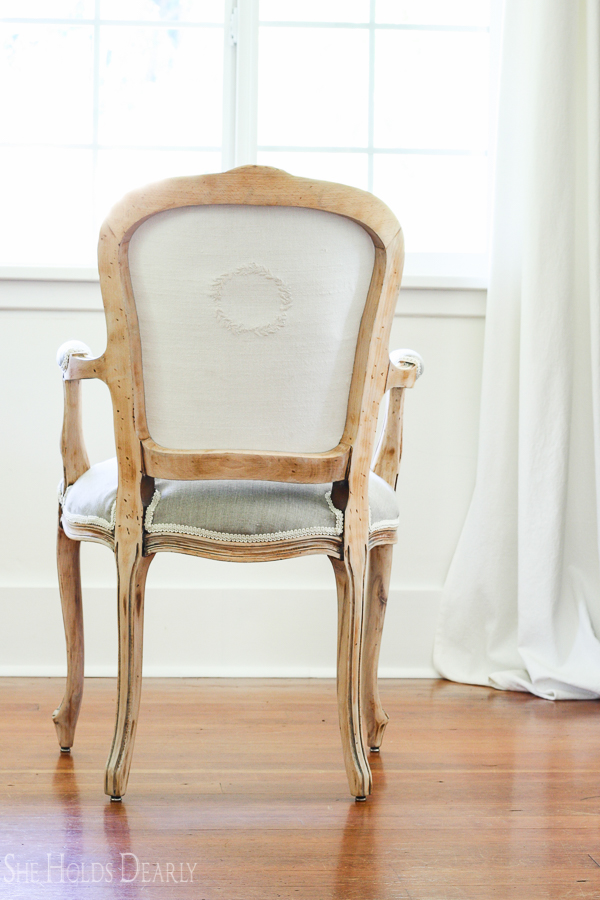
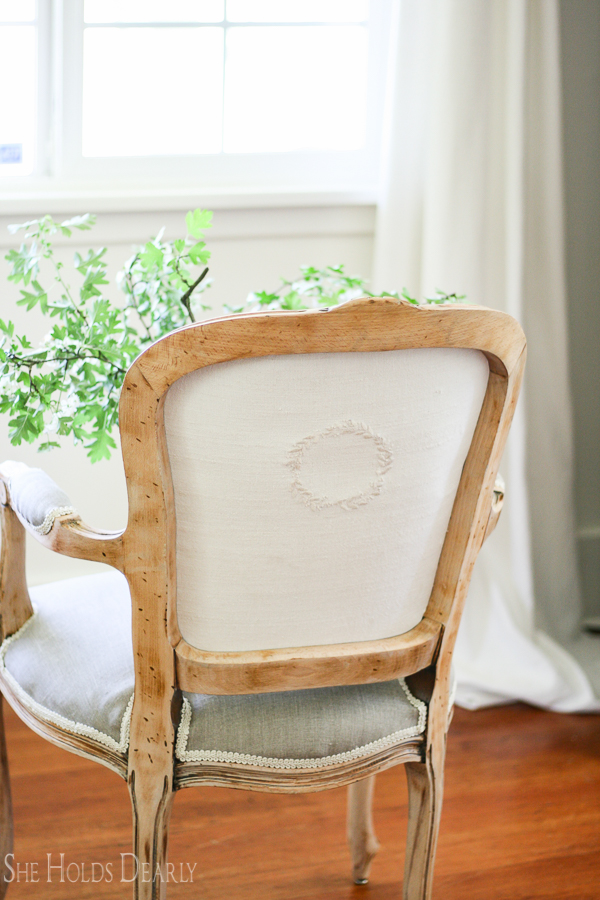
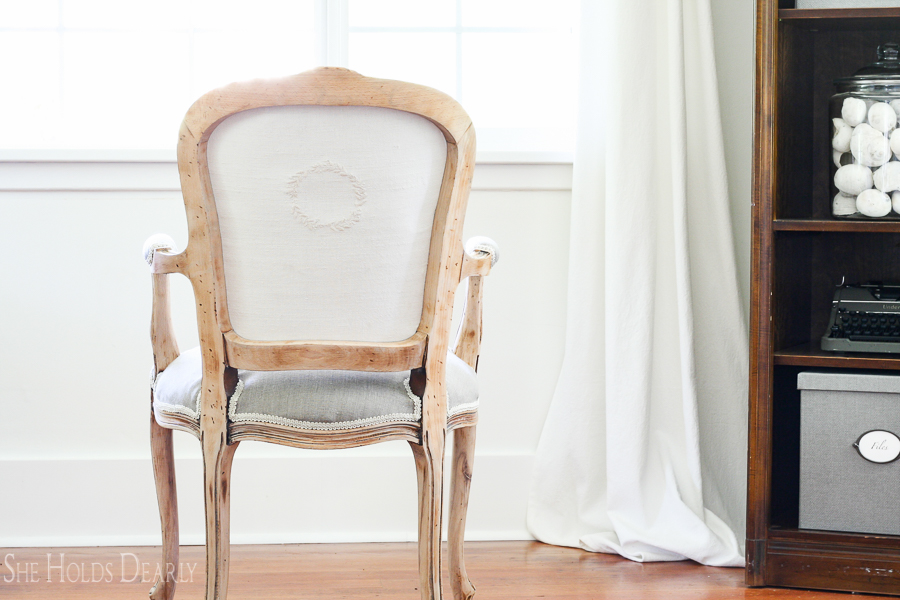
And they you go! A French Chair Makeover!
I am tempted to do a whole bunch of these chairs for our someday dining room. They are fairly easy and most rewarding.

Related Posts
French Mattress Cushion Tutorial
