DIY Vintage Monogram
There’s nothing quite like a monogram to add vintage character – here’s an easy DIY to get you started!
I just spent several hours over several weeks scouring Etsy and Ebay for the perfectly monogrammed vintage linen.
I wanted to use it on the back of a chair I was reupholstering.
Tea towels were not wide enough. Tablecloths had the monogram in the wrong spot. Problem after problem, led me to the conclusion that I would just need to get to work creating my own.
Oh, and have you noticed the new blog header? I decided to use that wreath as my pattern.
While embroidery is admittedly somewhat tedious, it is one of my favorite types of sewing.
It is like drawing with thread.
The possibilities are endless.
I will show you how simple a DIY vintage monogram really is.
This post contains affiliate links to products I know and love. Click here to read a full disclosure.
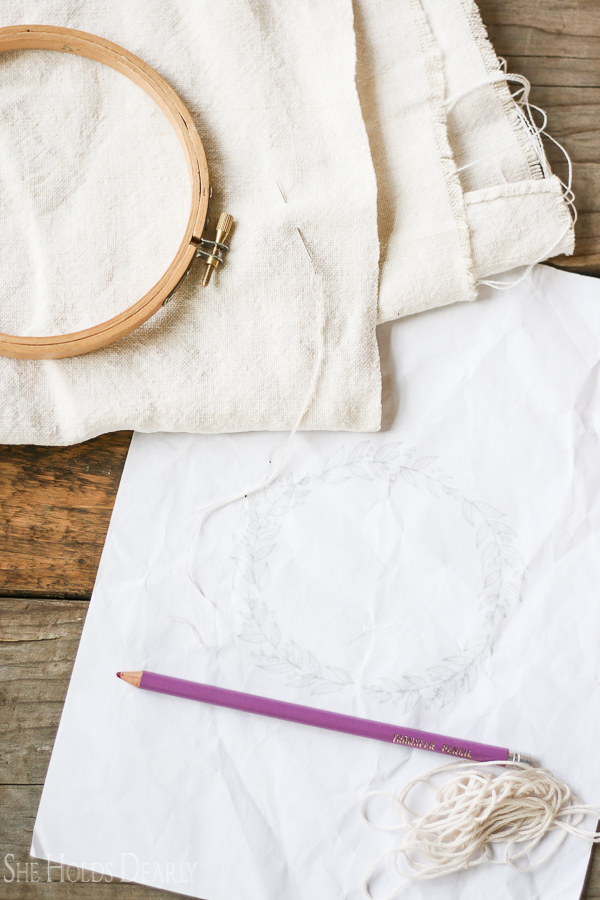
Supplies
- Embroidery Floss
- I suggest actually going to a fabric store to match your colors exactly.
- Fabric
- Embroidery Hoop
- Pattern
- You will want to find the exact fonts or sketch that you want to turn into your monogram. Just print it out on your printer.
- If you scroll down, you will find a free printable of the She Holds Dearly wreath to use for your next monogram project. Adding in initials would make a beautiful addition, as well.
- Transfer Pencil
- This is a special pencil that allows you to create an iron on pattern from your printed pattern and then washes off once you are done stitching.
- Tissue Paper
- Iron
- Scotch Tape
- Needle
- Sewing Scissors
Tutorial
- Decide what you want to monogram and print it out.
- Remember, my wreath printable is below.
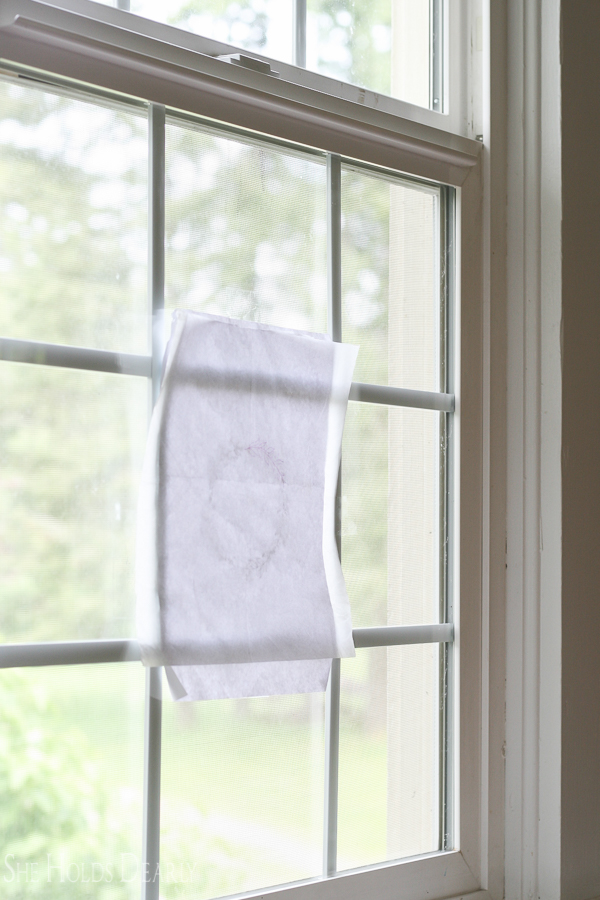
- Create an iron-on pattern.
- Tape your printed design to a window- be sure to reverse the design, meaning have the printer ink touching the window.
- Tape a piece of tissue paper over this paper and trace the design with your transfer pencil.
- Iron the pattern onto your fabric.
- Position the monogram exactly where you want it to be on the finished product.
- Thread your needle.
- Once you cut a section (about 18 inches) of embroidery floss, you can decide how thick you want your stiches to be. Embroidery floss comes in “six ply”, meaning the floss is made up of six tiny threads. I always work with three ply at a time. So, I divide the six threads in half and thread three strands through my needle.
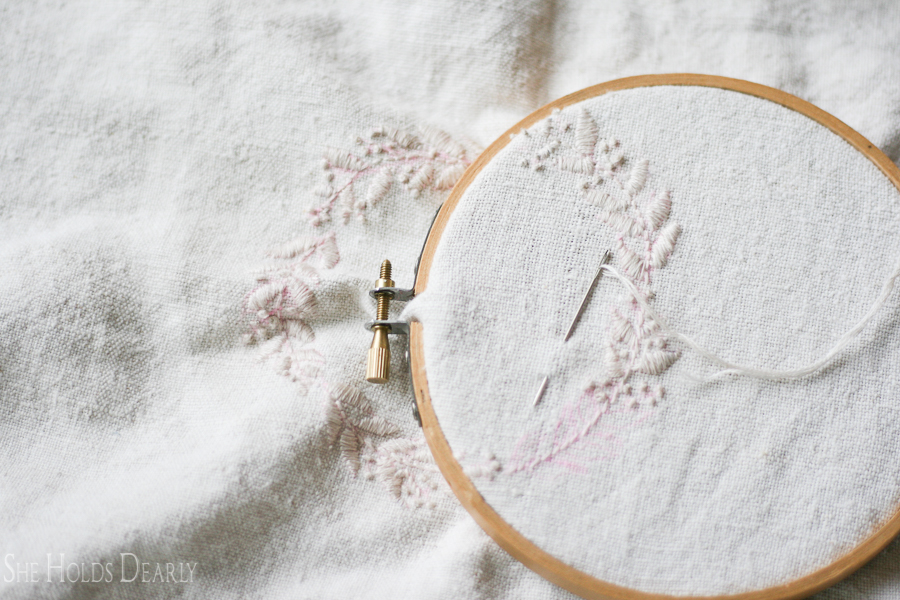
- Stitch over your ironed on pattern.
- Here is a great post on how to do some basic stitches.
- I used the “french knot” to create the dots, the “stem stitch” to create the stem and the “satin stitch” to create the leaves.
- Make slightly loose, even stitches and keep checking the thread to make sure it isn’t twisting. You want each stitch to lie flat when you pull it tight.
- Remove the hoop and wash your fabric.
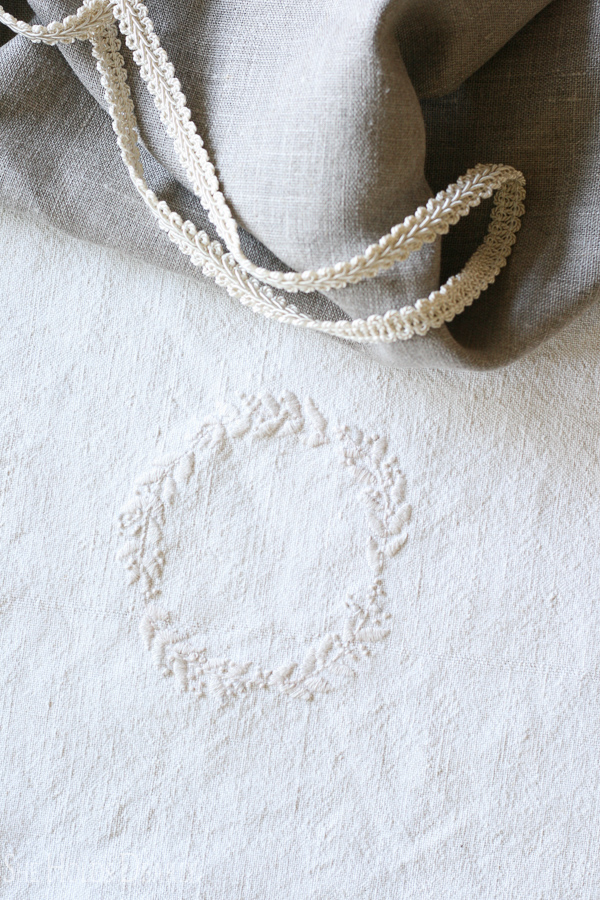
Now you just took at piece of fabric and created a potential family heirloom!
So, with a couple of steps and some time, you can create any customized monogram.

Click here to get your copy of the above wreath.
For More Inspiration See These Beautiful Books
Linens for Every Room and Occasion
Related Posts
10 Ways to Repurpose Vintage Linens


