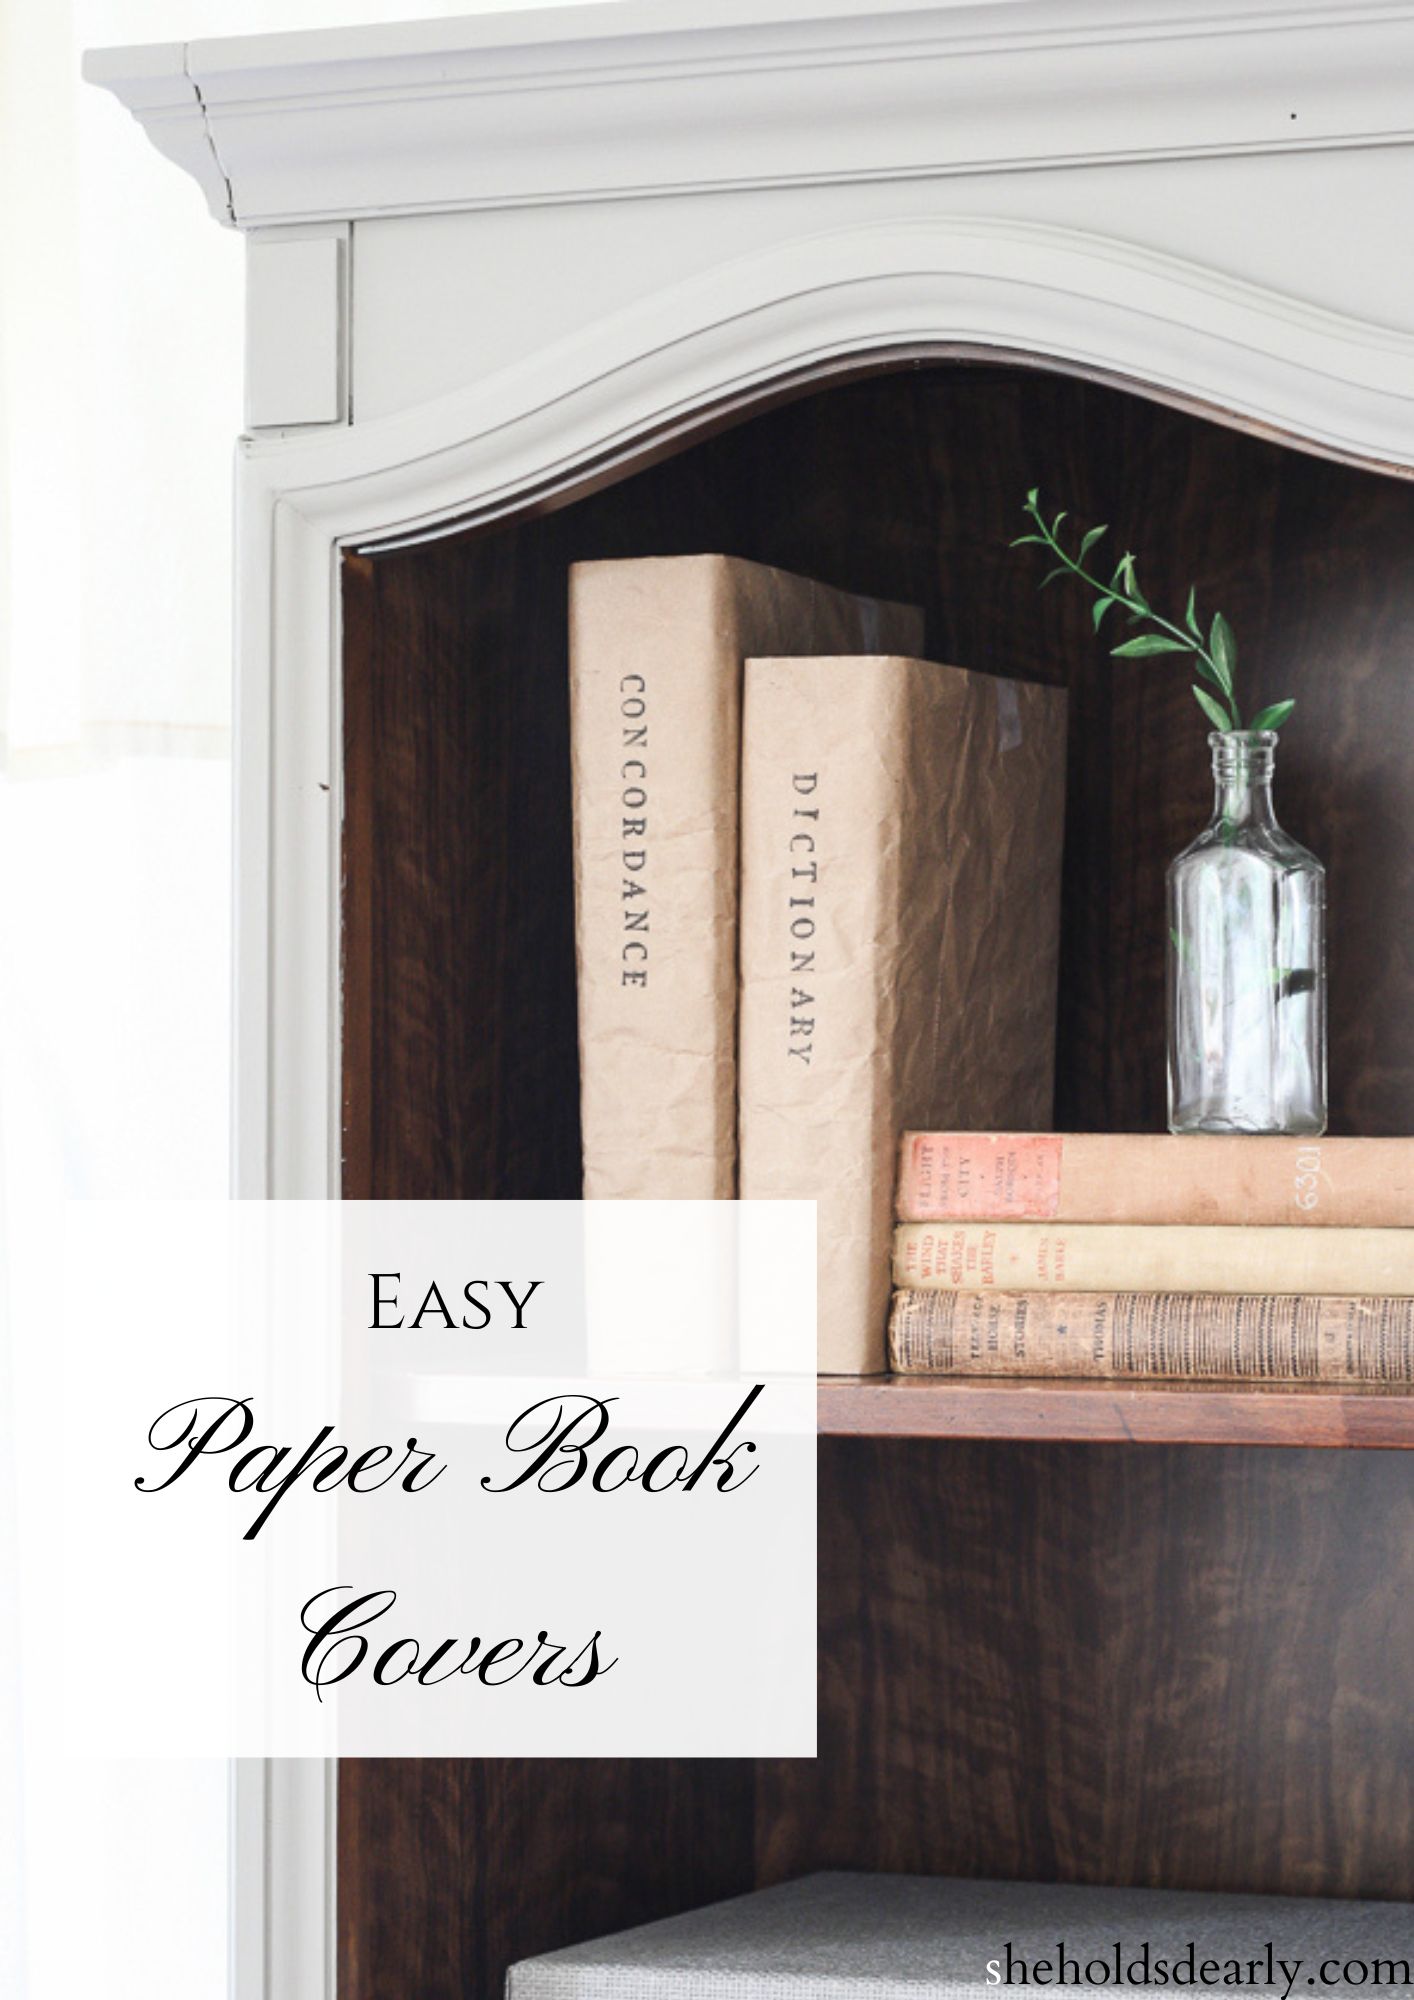
How to Make Easy DIY Paper Book Covers
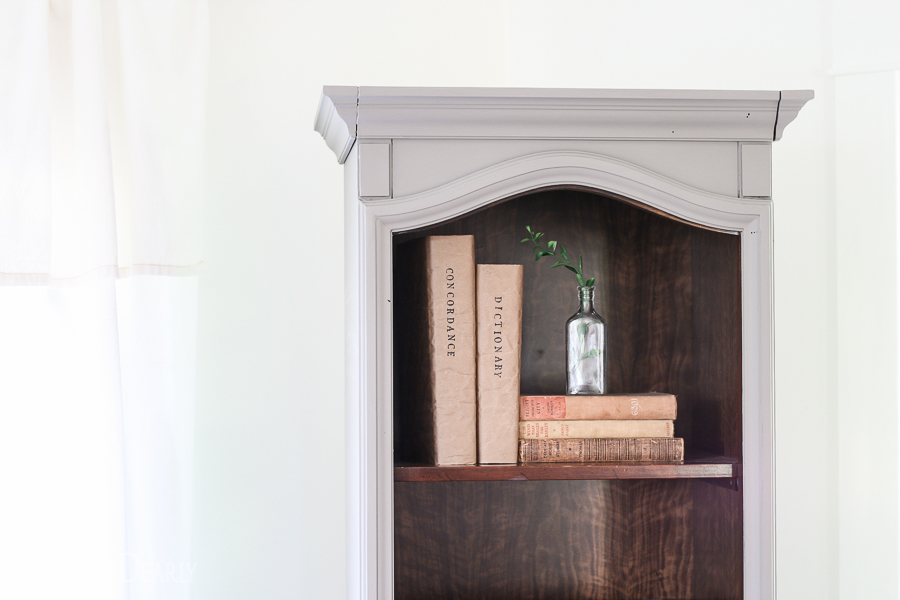
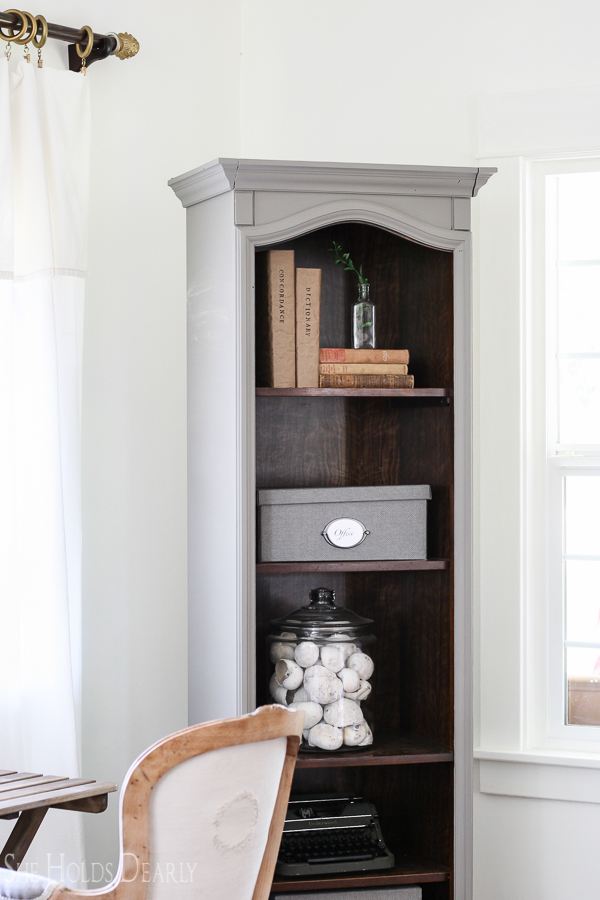
Usually, I keep my vintage/ decorative books on my shelves and put the non-matching books aside. But, sometimes when I want to leave my everyday books out, I will transform them using paper book covers.
You probably made these when you were in school, back in the day. If so, you will know how quick and easy these are. And you didn’t even know you were into DIY in those days!
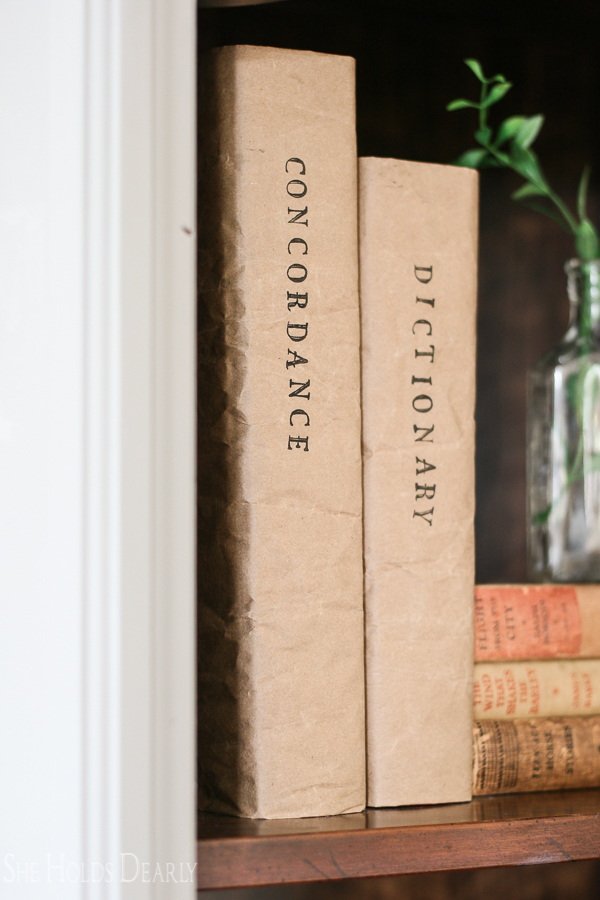
The possibilities are endless and it really only takes a few minutes to make a paper book cover. They look especially beautiful with a whole row of books.
Pinterest is loaded with great inspiration for paper book covers!
So, don’t let essential books derail you from achieving the specific look you are going for in your decorating. Just make them work by giving them a quick makeover!
Easy Paper Book Covers
*This post contains an affiliate link*

Supplies
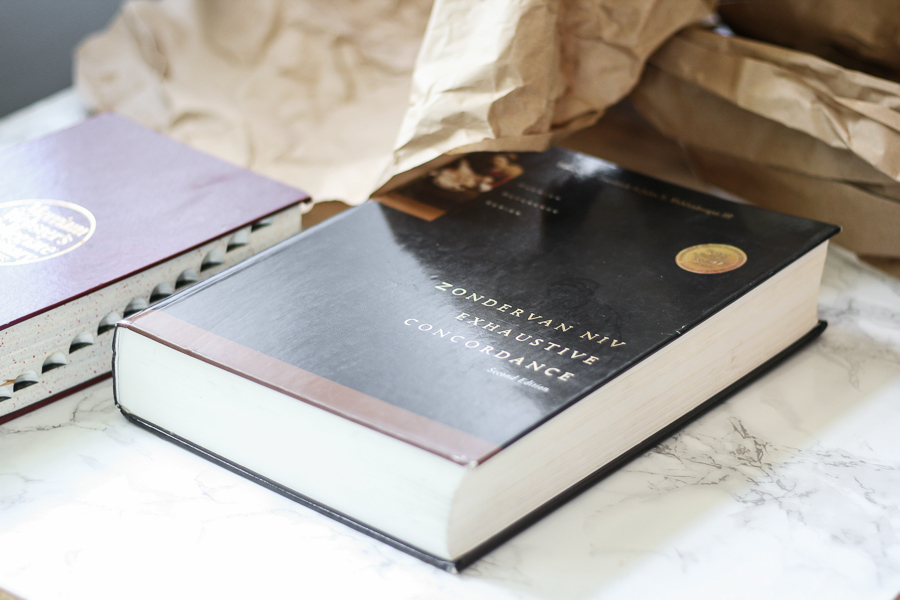
- Books
- Paper
- I saved my packing paper from a recent order, but brown paper grocery bags work great, too.
- Scotch Tape
- Scissors
- Ruler
- Pencil
- Alphabet Rubber Stamps
- These ones are currently 50%!!!
- Ink Pad
Tutorial
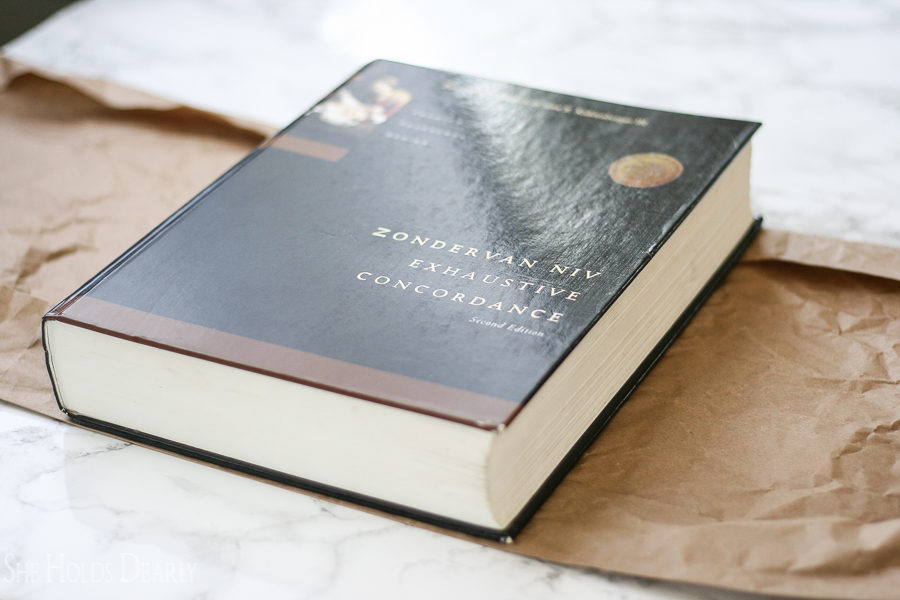
- First, cut the paper to a size a few inches larger than the open book, if it isn’t already.
- Then, fold the top and bottom edges up to be the same length as the book.
- Next, fold the sides in to be the same width as the book and tuck the front and back covers into the paper cover.
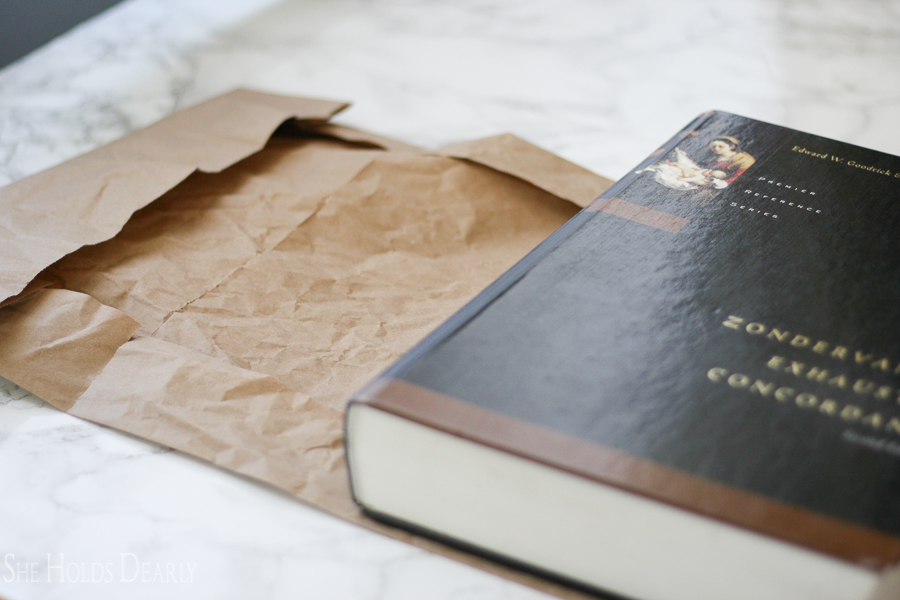
- Tape on top and bottom to hold the side flaps in place.
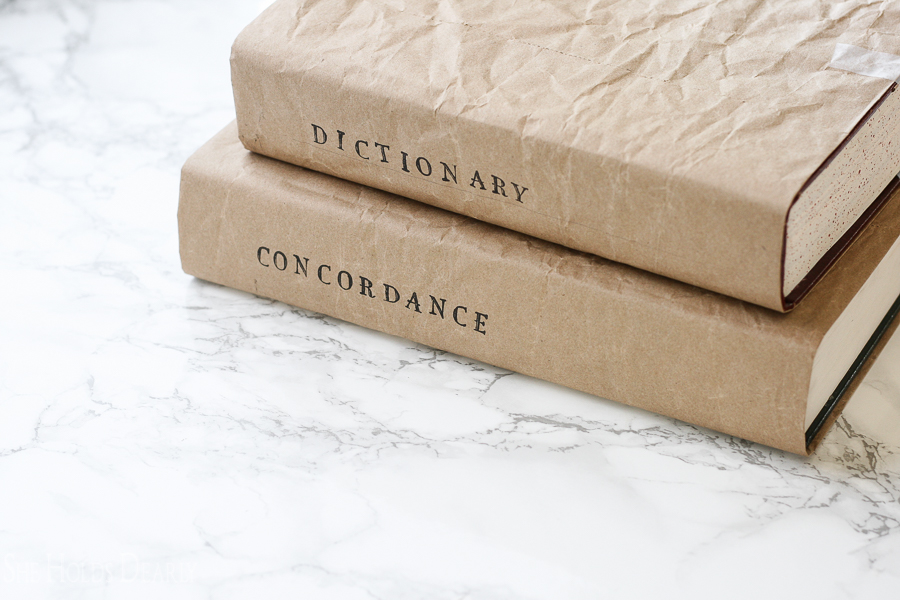
- Lightly draw a line with the pencil and ruler on the spine of the book where you want the new title to be stamped.
- Finally, stamp in the new title, using the alphabet rubber stamps and erase the pencil line.
Maybe you can say I go a little overboard with details in my decorating. It’s been said before.
But, the magic really happens when you can get all the little details to line up.
Details like paper book covers!
Related Posts
Don’t forget to grab your FREE Decluttering Printable before you go by clicking here!
Pin this Easy Paper Book Covers Tutorial for Later: