14 Thrifted & Homemade Valentine’s Day Decor & Gift Ideas
Looking for thrifted & homemade Valentine’s Day decor & gift ideas? I’ve got you covered with 14 tips and in a classic, vintage style!
This month I’m celebrating my 8th year with the She Holds Dearly blog, and I’ve had my YouTube channel for about 6-7 years, and to date – I’ve never done a Valentine decorations post!
I think the main two reasons I’ve avoided them in the past are that:
- Often Valentine’s day decor isn’t done very well
- It’s a small enough holiday that it can easily get lost in the shuffle.
As a blogger and YouTuber, once Christmas passes we sometimes look straight ahead into Spring and forget to notice Valentine’s Day hiding along the way.
The Love/Hate Relationship with Valentine’s Day…
I also know that not everyone loves Valentine’s day as a holiday! My children have taken to calling it “single awareness day”, and some people complain of the commercialization. I can understand both those two points, but this year I’d like to encourage anyone who might not usually like the day to use this year as a way to celebrate the people in your life that you do love – with festive Valentine’s day decor and thoughtful homemade gifts!
I hope these 14 Valentine’s Day decorations help you with that!
In addition to this being a time to celebrate those we love, I also really want to focus this post on how to make and put together really nice Valentine decorations. There’s something about this point in history that makes me want to create extra beauty and joy to counteract everything that’s going on around. Are you with me?
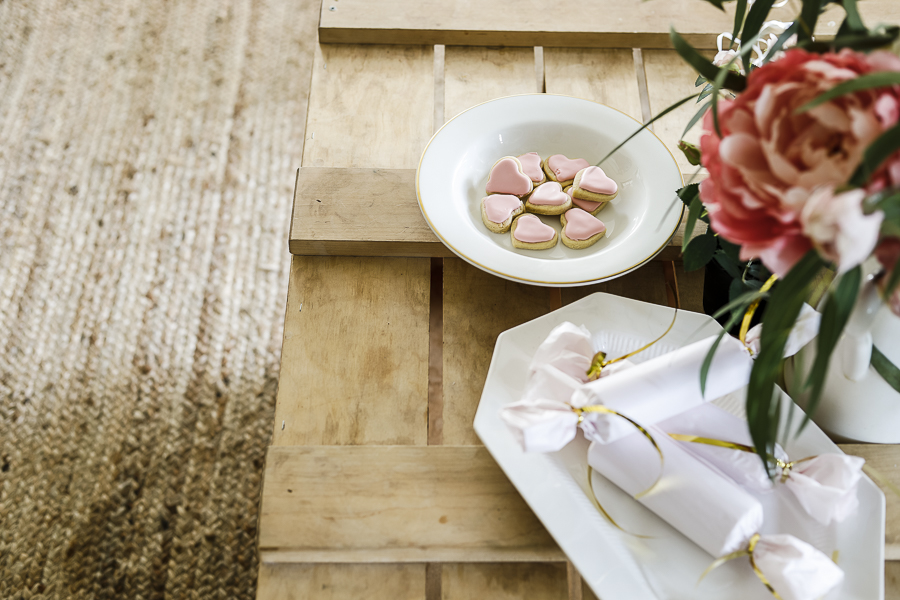
*This post contains affiliate links to products I know &/or love.
My Decorating Parameters:
I set a few challenges for myself heading into this Valentines post, which I think you’ll appreciate:
- Items must come from either my home, the dollar tree, a grocery store, or the thrift store.
- I’ll come up with 14 ideas, since Valentine’s Day is February 14.
What I don’t Want to Do with my Valentine’s Day Decor:
I knew ahead of time that there were some ideas I did not want to emulate:
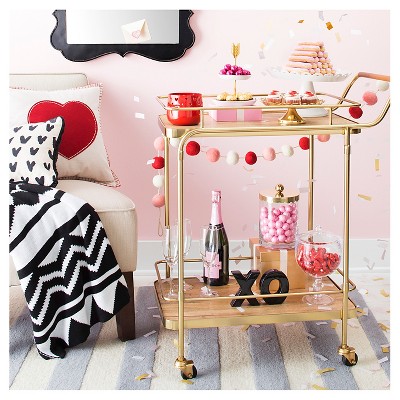
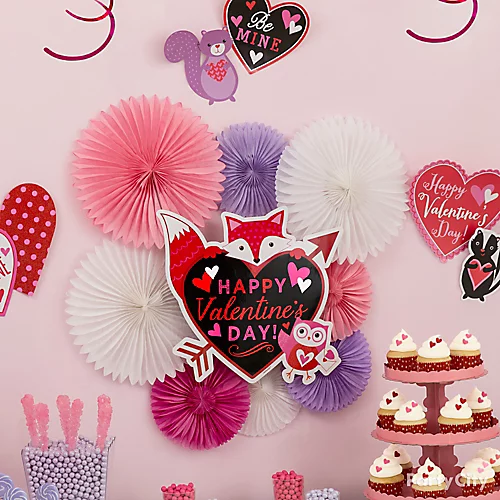
There’s a time and place for this kind of fun, bright decor with saturated neons, but for me, this isn’t the look I was going for. I wanted to stay away from commercially created, plastic options and stick with things that spoke to my vintage style.
Vintage look decor truly is my specialty and I would venture a guess that it’s a big part of the reason you’re here, too!
Because we both love timeless, elegant, vintage decorating. The kind that comes along with a story and doesn’t jar you or make you feel cluttered.
Current Valentine’s Day decor isn’t very good at that, so this post will include some design lessons on how to calm down the status quo Valentine decorations and give them a healthy dose of vintage charm.
Before I jump into my 14 ideas, I wanted to share some inspiration of how our Valentines can look more vintage, and the first thing to pay attention to.
Chose your colors wisely. Instead of using bubble gum pinks and cherry reds, dip into burgundy, blush pinks, and peach or salmon.
Think rich, muted colors in contrast to the heavily saturated ones you’ve seen often before.
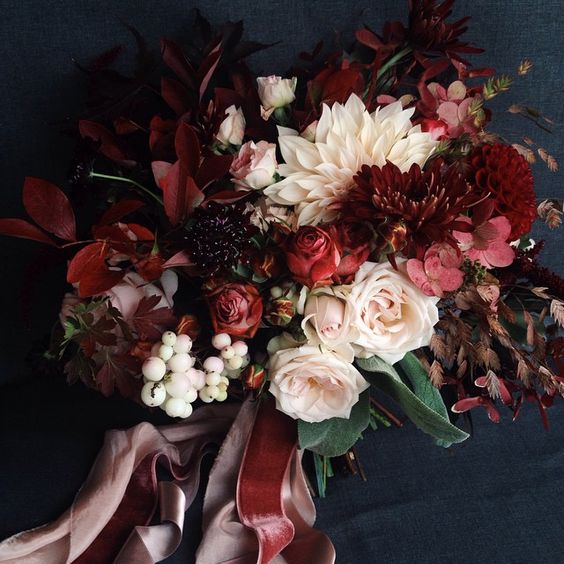
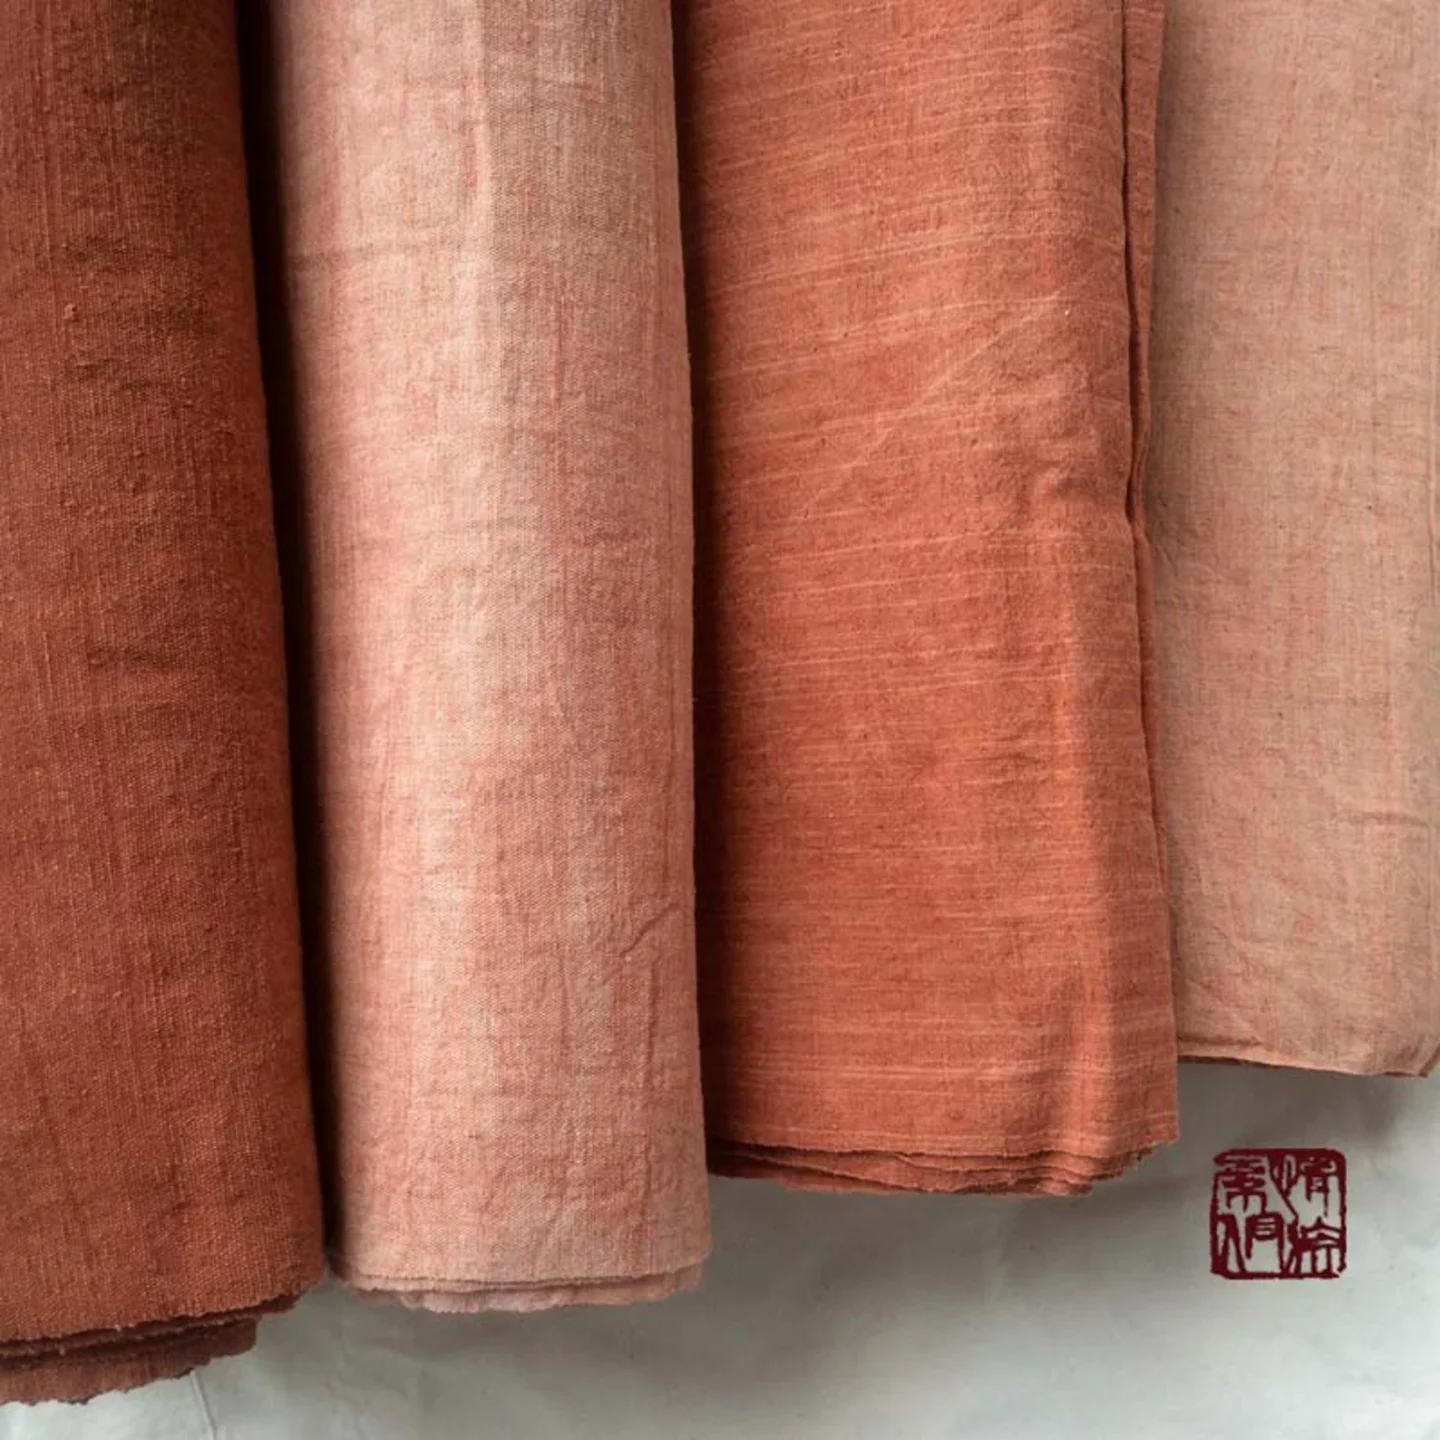
You also don’t HAVE to mix your reds and your pinks. You can create looks with a variety of shades of blush pink and another with your shades of red. This will create a much more sophisticated and vintage look!
Shopping Your Home for Valentine’s Day Decor Elements:
First things first, go through your existing seasonal decorations (I have a blog post all about organizing seasonal decor HERE if the thought of being able to find specific pieces you’re looking for in your own collection seems far fetched!) and pull out the pieces that you think might work!
Think about how they could be pulled together in a collection or vignette with other pieces you already own or could find easily at the dollar store or a thrift store.
From my faux flower collection I pulled out:
- White and pink Peonies from IKEA
- White Ranunculus from IKEA
- Tiny Mini Roses from (you guessed it) IKEA
- My white pitcher (SOCKERART- IKEA)
- A thrifted French flower bucket that I had previously painted cream.
I’ll tell you what I ended up using those for a bit later!
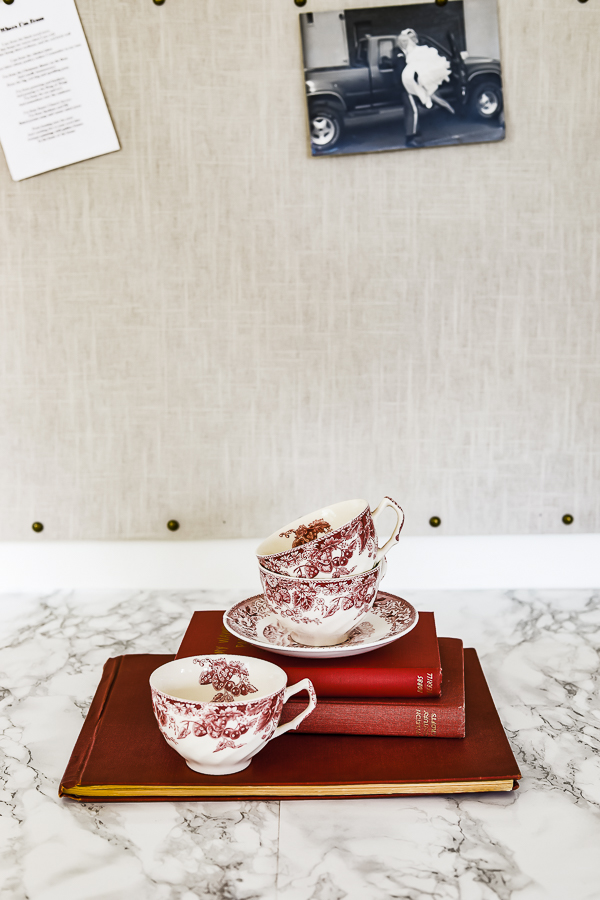
Number One and Number Two | Dishes and Books
I was able to find both of these in my own home as well.
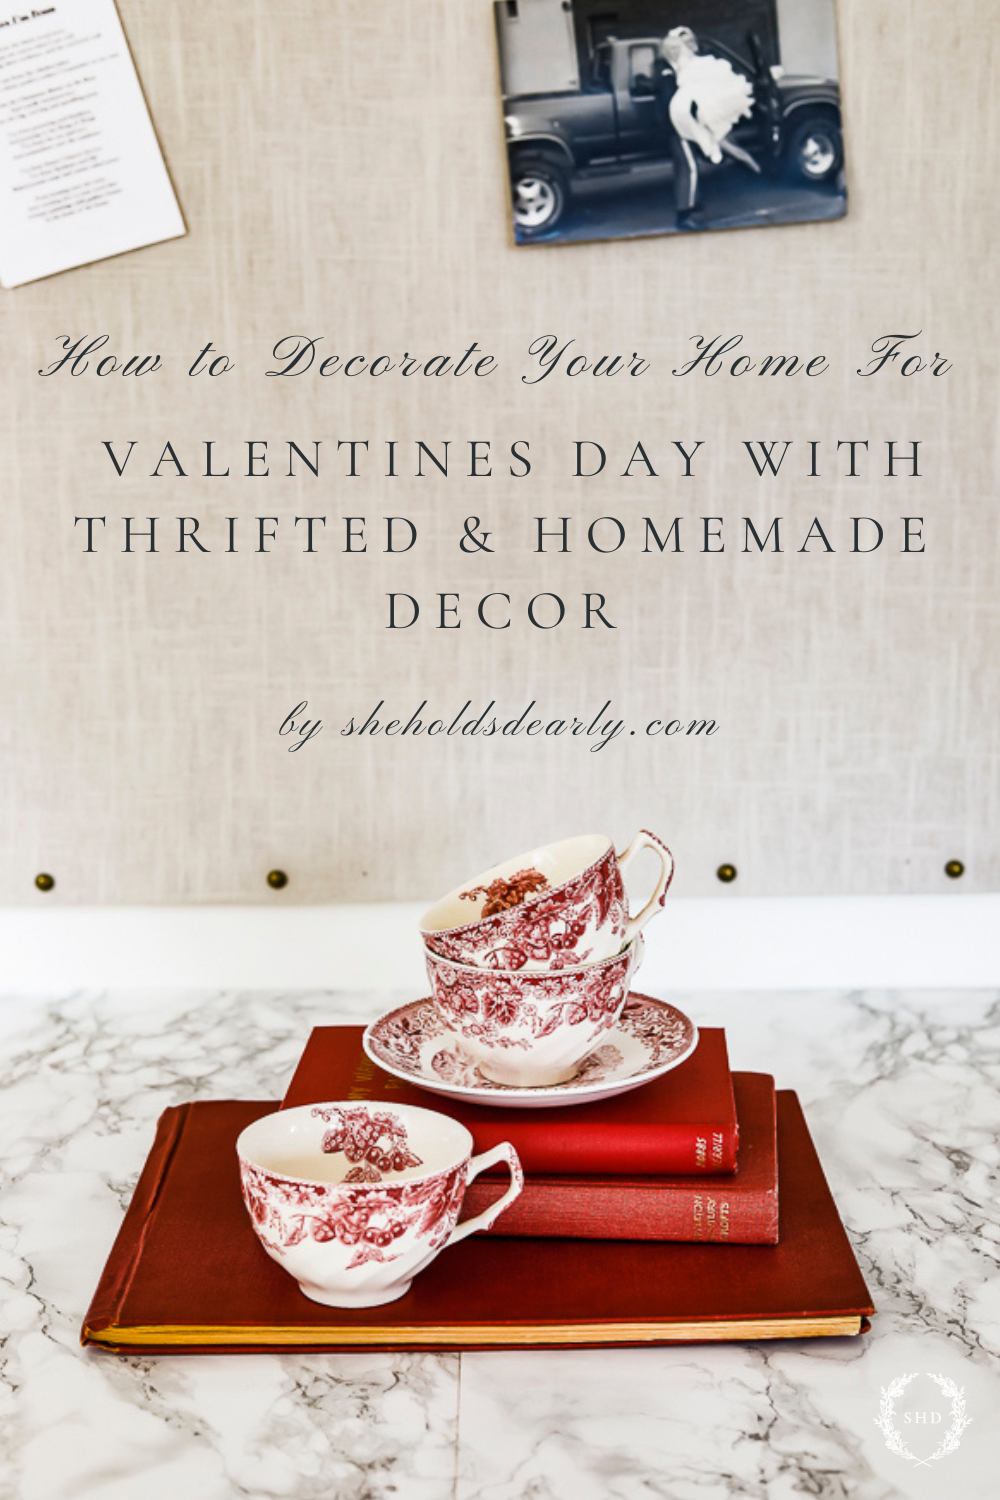
For dishes I had a set of 3 teacups and 1 saucer (that already had an unfortunate break and has since been superglued) in red transferware that I’ve only ever used once before since finding them – for my Christmas decor last year.
And I pulled three beautiful red books that have previously been used for Christmas and the Fourth of July.
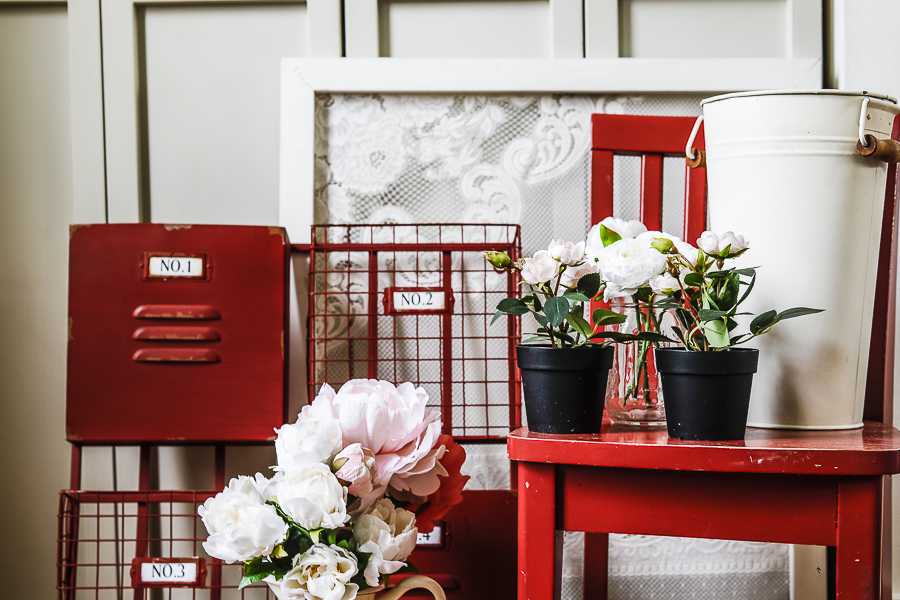
Number Three | All Things Red, Pink & Lace
This is when you search through your art and craft supplies, small furniture pieces and other items that you might not normally think to find decor.
I pulled out this red children’s chair that I’ve had for years and decided I’d give it some attention to make it look a bit more vintage. (More about that in a bit).
I also decided to use my window screen as a backdrop to take advantage of the lace! I made these as a DIY project a few years back when we had a window that desperately needed a screen, and it’s been one of my favorite most useful projects ever since.
I’m glad to find a use for it in the “off-season” when it’s too rainy and cold to have the window open!
The fun red metal letter holder that I’ve used for Christmas a few times got selected, too. I knew just the spot for it.
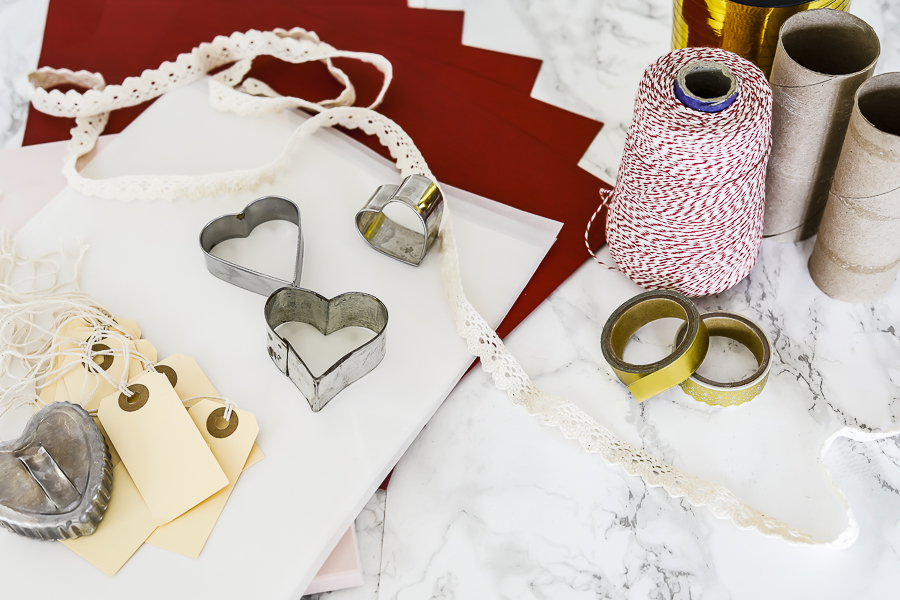
And in my craft closet I found a treasure trove of useful items:
- Toilet Paper Rolls (don’t worry, I’ll explain!)
- Gift Tags
- Baker’s Twine
- Lace Ribbon
- Washi Tape
- Tissue Paper
- Craft Paper (vellum & card stock in red)
- Cookie Cutters (plus I borrowed a few from my neighbor friend!)
At the dollar tree I found:
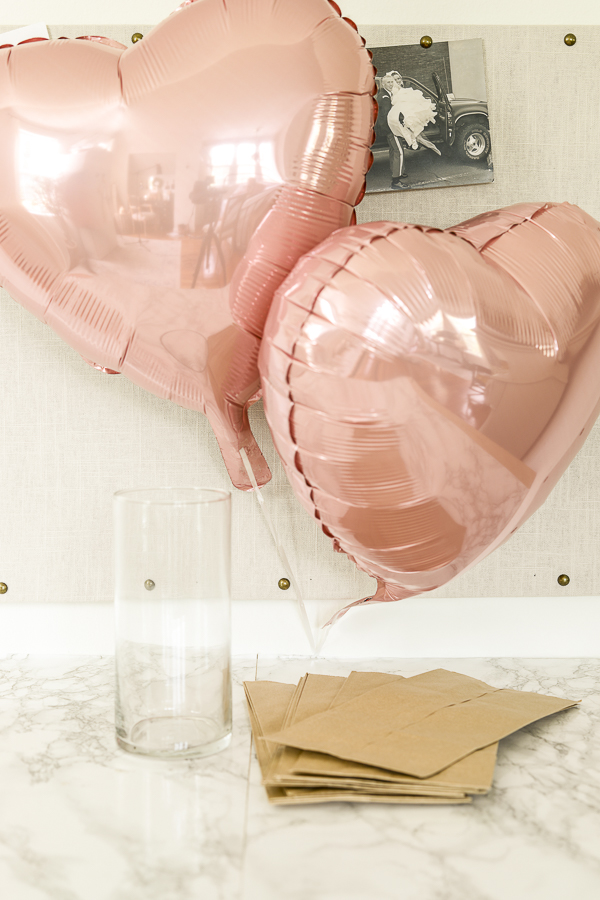
- Pink heart balloons – which still cost only $1, even to be filled with helium! Prices elsewhere have gone up pretty drastically due to helium shortages world wide!
- 1 bag of (40) brown paper lunch sacks
- A hurricane vase for $1.
Tip: If you’re planning a wedding or large party and looking for vases for centerpieces, check out your local dollar store before going elsewhere! They’re easily about $3 cheaper there than other places I’ve seen them before.
At the Grocery Store I purchased:
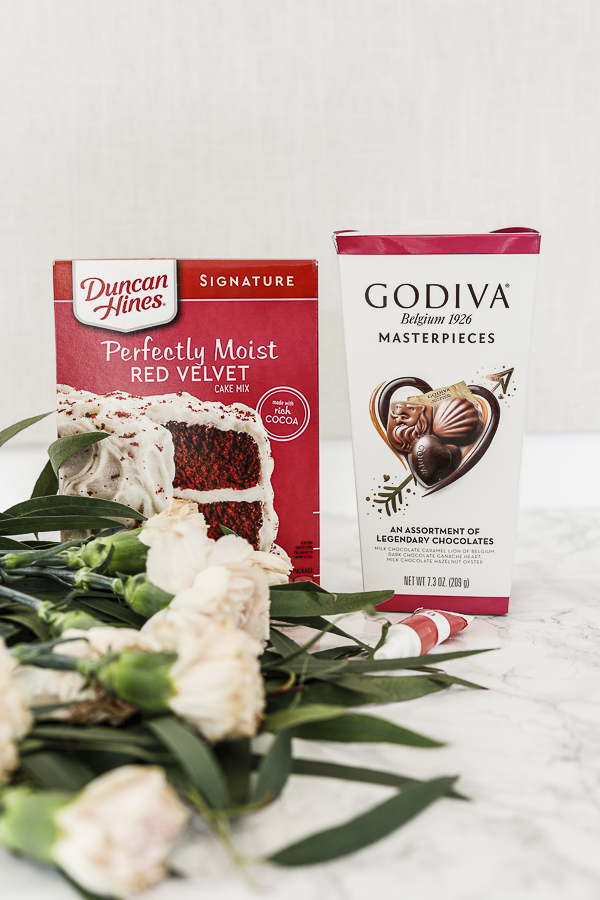
- Red velvet cake mix
- Gourmet Chocolate
- Food Coloring
- Fresh Florals – Some nearly dead blush pink carnations (they were looking VERY sad, but they had the most beautiful color….on the parts that weren’t brown.), and some Eucalyptus filler greenery.
And finally, at Goodwill I found:
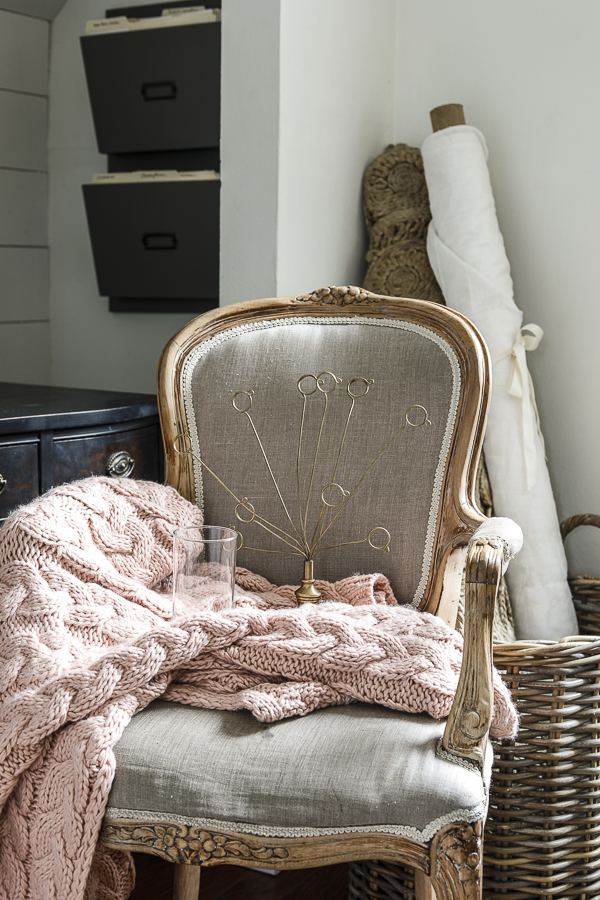
- A tall drinking glass for $1.29 that I’m going to use along side the hurricane vase from the dollar tree.
- A gold letter or picture holder that I found on a recent trip. (Can be really cute for Christmas & Valentine’s Day).
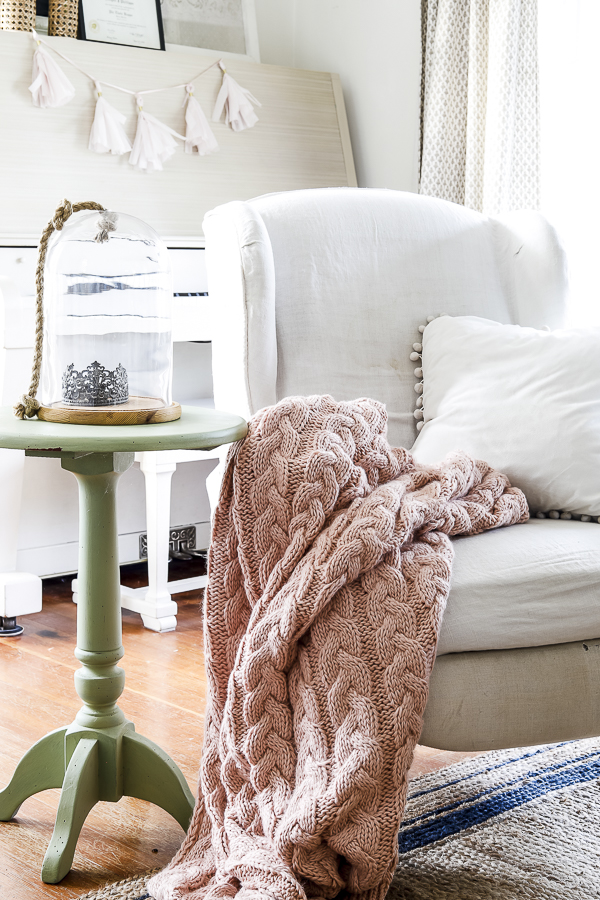
- A brand new packaged Target Threshold brand throw blanket in a beautiful color with yummy texture. It was $20 which is more than I would usually pay for a thrifted blanket, but knowing the brand and that it was brand new, it was worth it.
Number Four | Vintage Envelopes
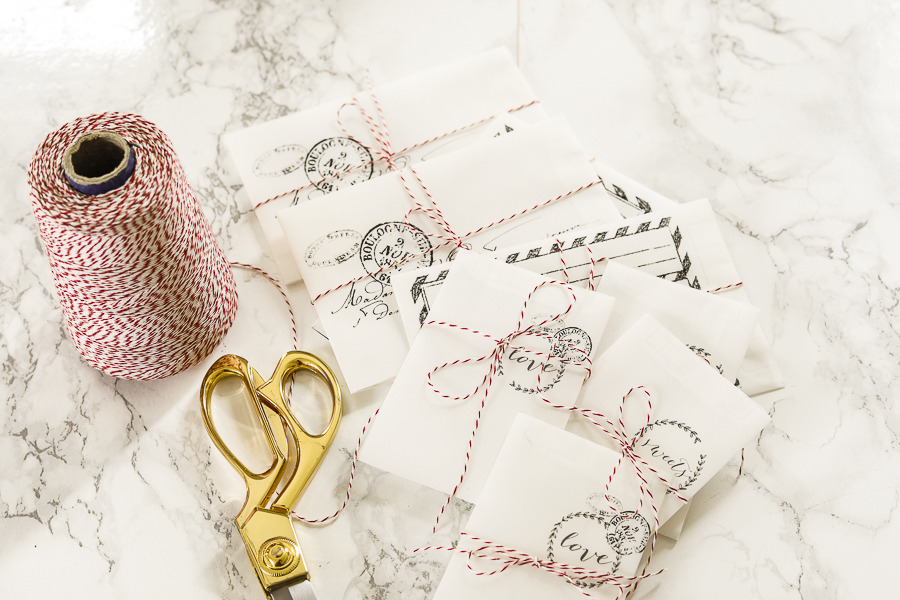
With my vellum paper, I decided to make some pretty vintage envelopes to use in my gold letter holder.
I used printables from Ella Claire, and while they did work on the vellum, I think if I would have had cream paper I could have made them look even more truly vintage.
The template was a little tricky, but I was able to use glue sticks to close all of the sides (since I wasn’t needing them to be functional), and I think they turned out really cute!
I tied each one with red and white baker’s twine.
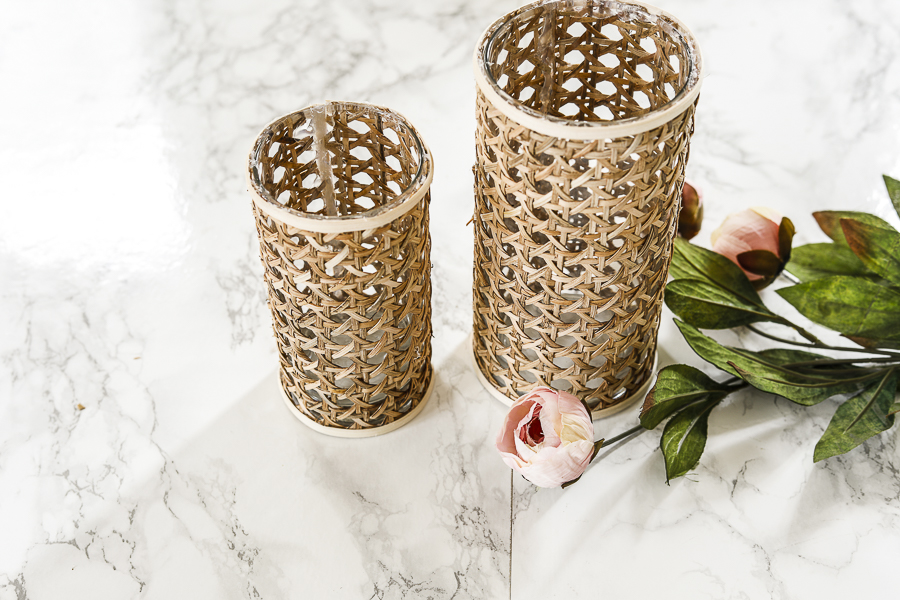
Number Five | Caned Vases
I made caned vases like these last year with the ladies from my church when I was teaching a candle making class, but I thought these would be pretty as vases for my Valentine’s florals.
You can purchase the caning from Etsy and then simply cut it to size to wrap around your vases. I use basket reed to cover the seams of the caning, and secure everything with hot glue.
As a tip, when you’re wrapping the top and bottom basket reed, I recommend not overlapping your vertical seam coverage piece, but instead, butting it up against the seam to reduce bulk.
Number Six | Paper Treat Cones
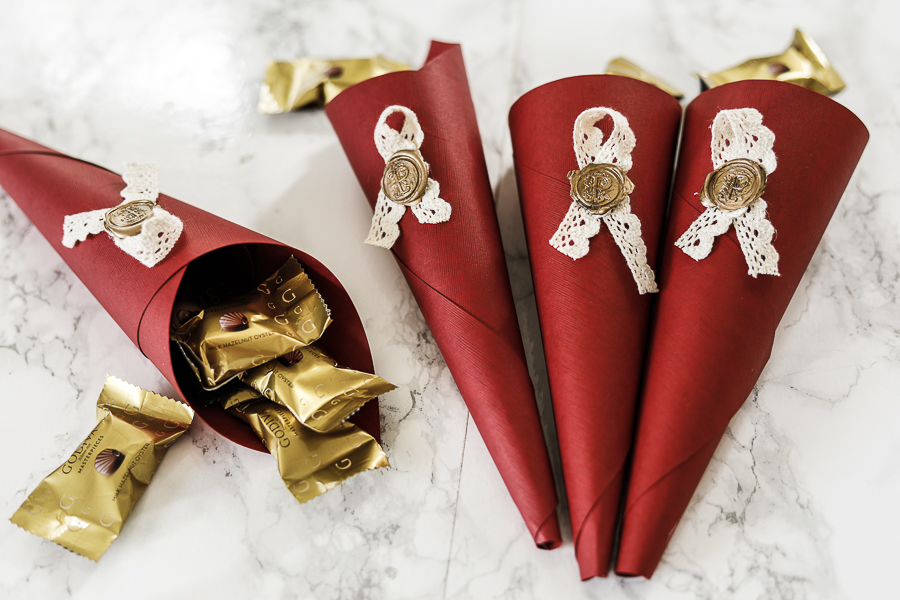
In my craft supplies I found this beautiful red linen-textured card stock, and I decided to make cones to hold some of the gourmet chocolate I had found at the grocery store for my children.
I simply rolled the paper into cones and secured the final edge with a dab of hot glue.
I took a piece of my lace ribbon trim (you might recognize it from when I added it to the edge of my thrifted wool blanket in my Styling Thrifted Linens blog post), made a small embellishment loop, and then sealed it off with homemade golden seals.
I had what I THOUGHT was seal wax, and was actually gold hot glue gun glue, but it did not fit in the hot glue gun I own, so I was able to melt it with a match onto some wax paper, and then peeled it carefully off of that after I had pressed my seal down.
They didn’t come up as nicely off the wax paper as I would have liked, so I trimmed the edges down with scissors to make them a little more clean.
Number Seven | Floral Bouquets
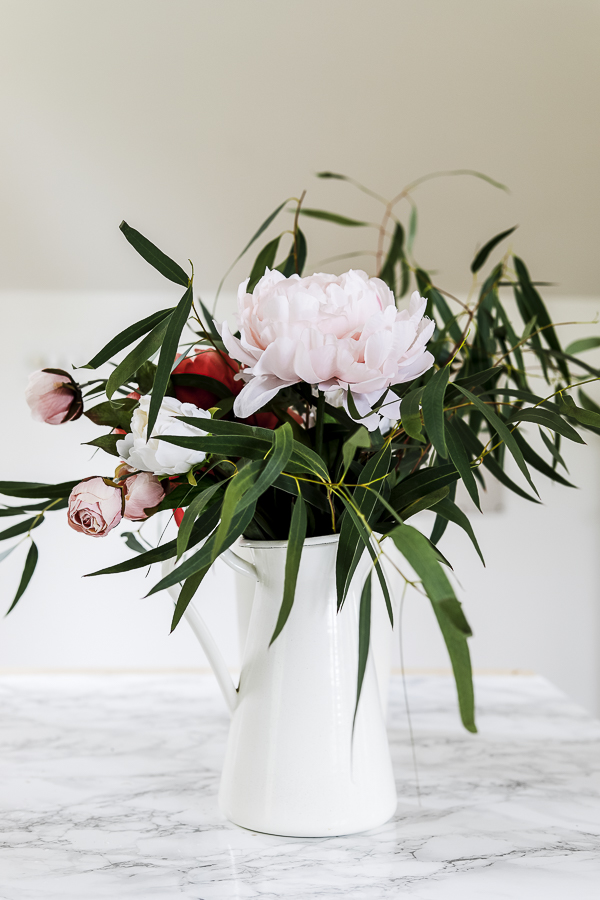
My poor grocery store carnations were looking worse by the minute, so I carefully peeled off some of the outer petals to help them look a little fresher, and then I added them right in among my faux flowers to create three lovely bouquets.
I put the largest one in my IKEA pitcher for the coffee table, and the two smaller ones in my caned vases which I styled on the piano.
Number Eight | “Firecrackers”
These were modeled after the “Christmas Crackers” often used in the UK.
I bought cute lace socks for my daughters (and if they don’t like them… you know who will!) and wrapped them up in the toilet paper rolls I mentioned earlier, and then wrapped those in blush pink tissue paper and tied both ends with golden curling ribbon.
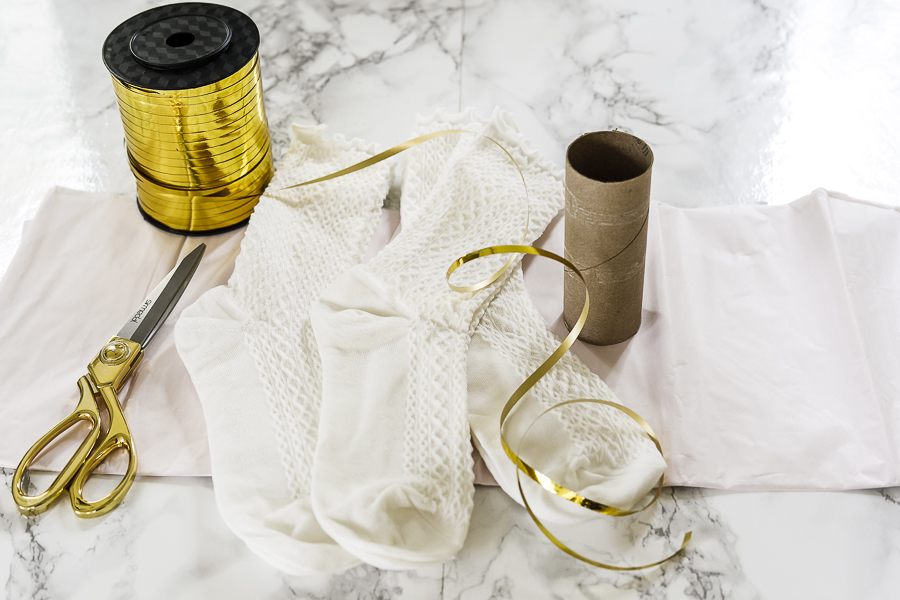
I doubled the tissue paper in the center where it was covering the cardboard tube to make sure none of the brown was peaking through.
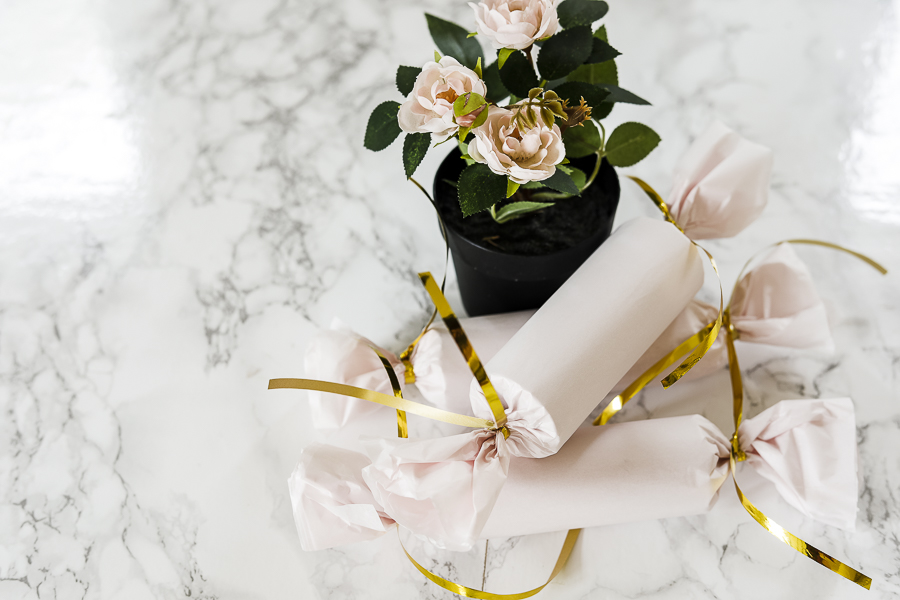
Then once those were assembled, I wrapped them up in the brown paper sacks I had purchased.
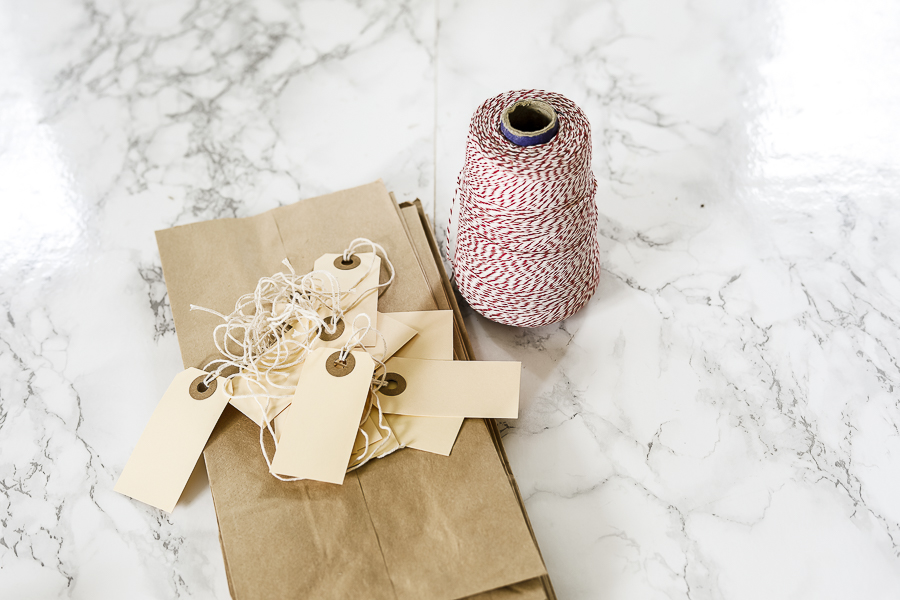
But before I did that, I added some charm to the bags by cutting along the opening with my scalloped scissors, and then using my tiny hole punch to make one hole in each scallop.
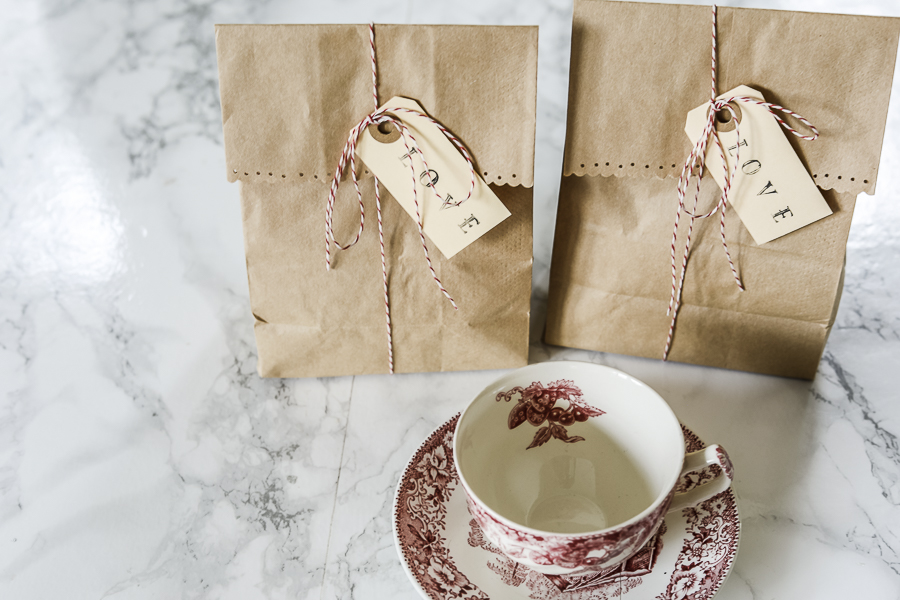
Then once I filled each bag and turned down the side, I was left with the most beautiful dainty edge.
I tied the bags closed with my red and white baker’s twine finished with hand stamped “love” tags.
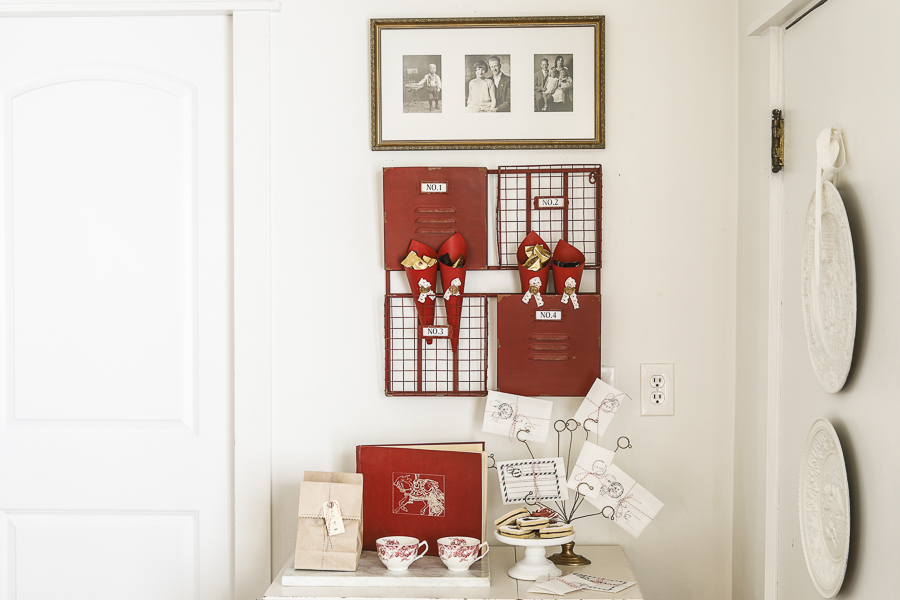
Number Nine | Tissue Tassels
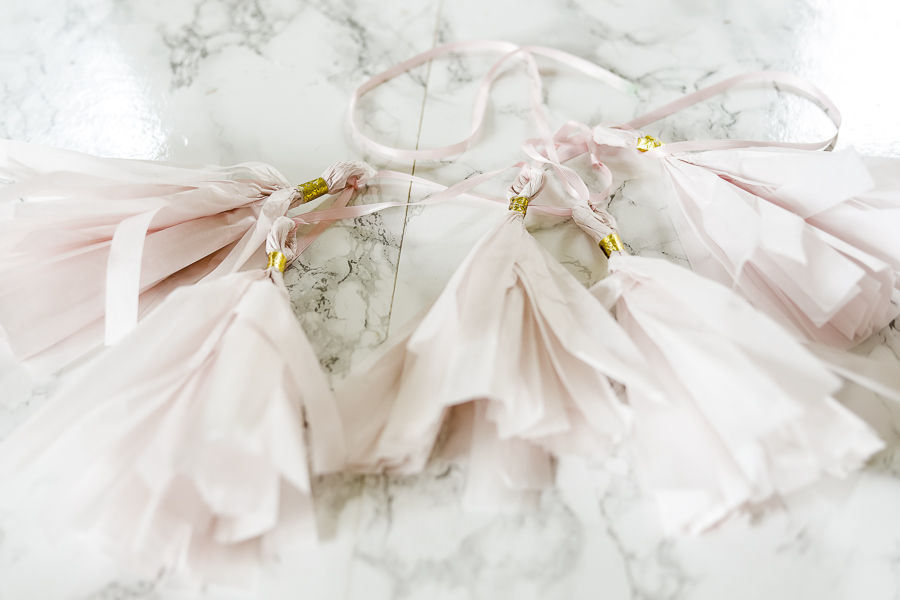
These tassels are quick and easy to make and bring such a pretty feminine detail to your space!
I stacked 5 pieces of my blush pink tissue on top of each other and cut 1″ thick fringe along two opposite sides, leaving about a 4″ wide section in the middle of each piece of tissue.
Then rolled it up like a sleeping bag with the fringe on either side, folded it in half, leaving a loop for hanging, and secured each tassel with washi tape and a dab of hot glue (the washi tape wasn’t quite strong enough on its own).
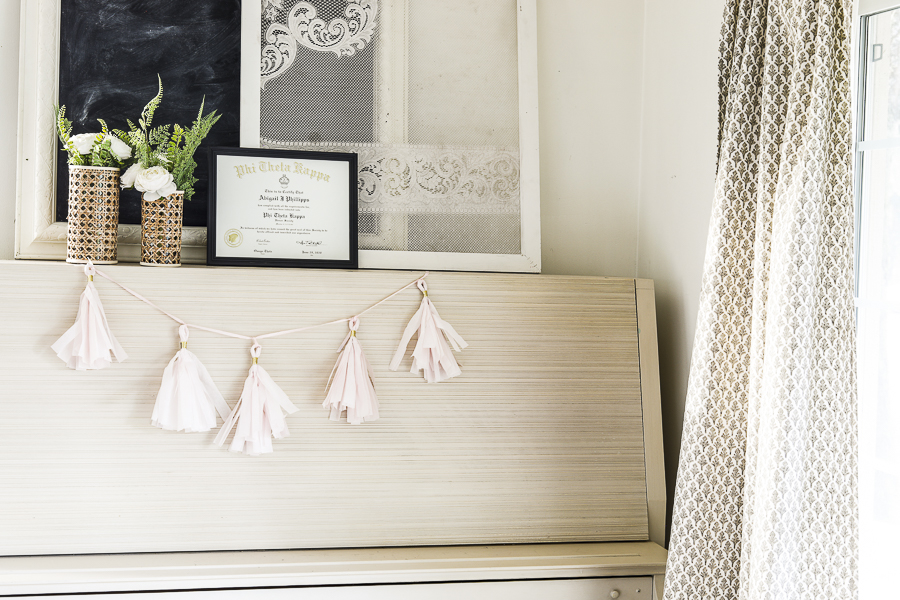
I tied it up on a piece of pink ribbon and displayed it on our piano with our caned vase arrangements and the lace window screen.
Number Ten | Paint Something
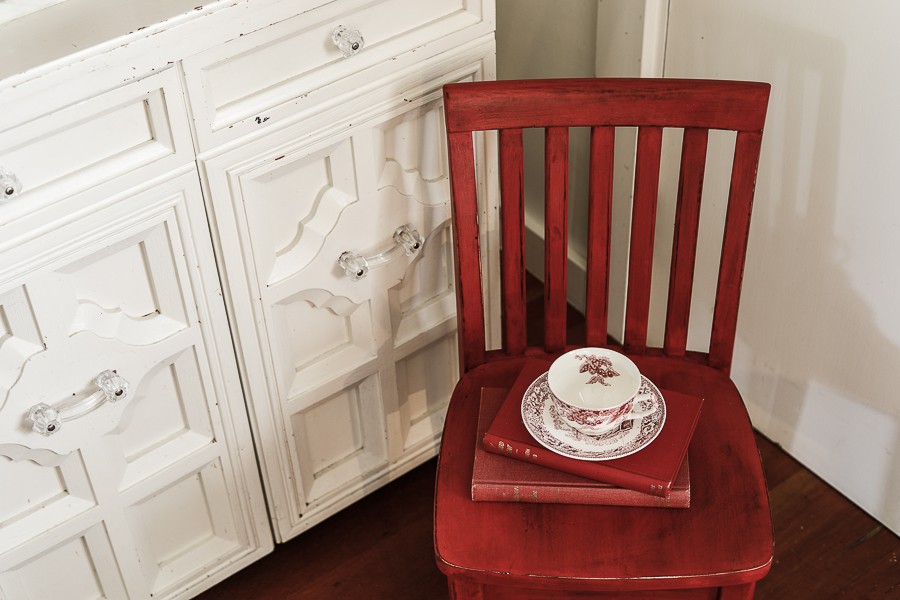
Remember the red children’s chair I mentioned earlier?
Well since I wanted to give it a more vintage look, I spray painted it brown, and then used “Tricycle” Milk Paint from the Miss Mustard Seed Line for the perfect vintage red. Milk paint allows for great worn character, and I finished it with dark wax for even more depth.
Number Eleven | Heart Sugar Cookies
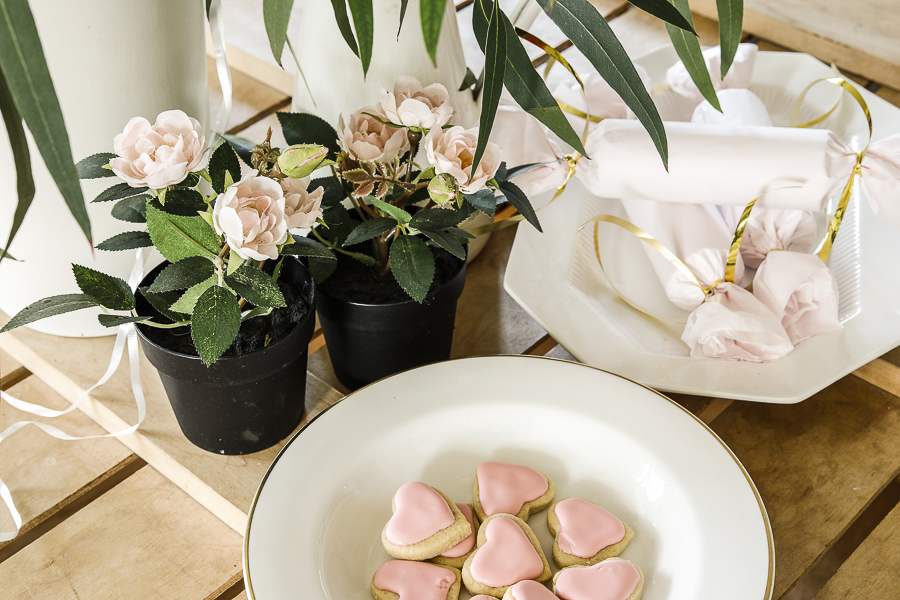
I used this sugar cookie recipe from Owl B Baking and my heart shaped cookie cutters for these sweet treats.
I finished them off with pink royal icing, following a recipe by Sugar Spun Run.
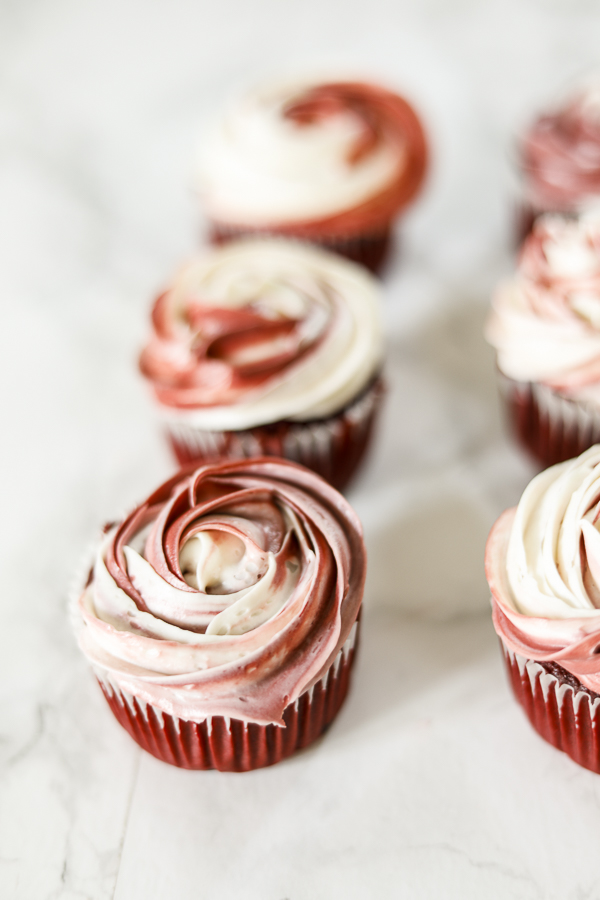
Number Twelve | Rose Cupcakes
I used my red velvet cake mix to make cupcakes, and a #1M Icing tip to create a rose detail in the frosting.
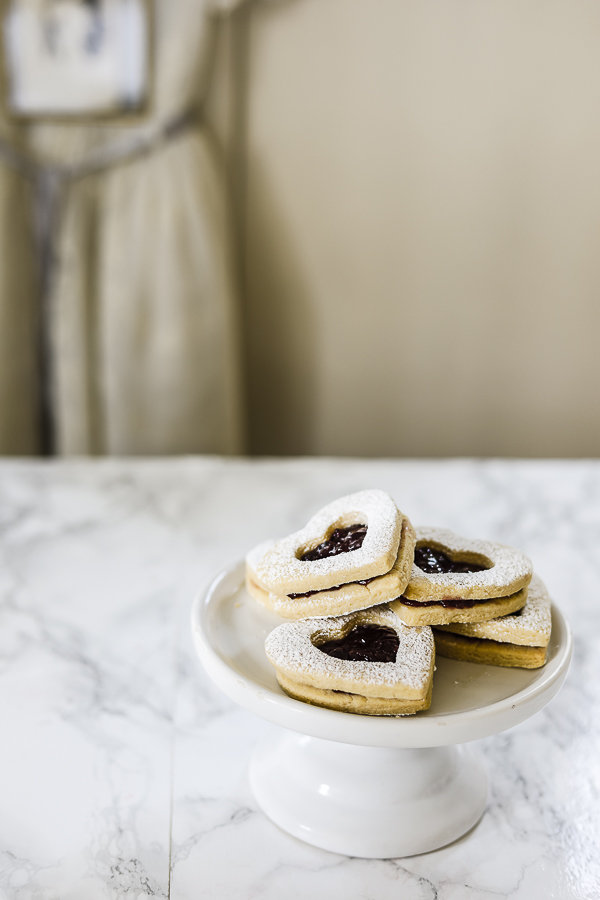
Number Thirteen | Linzer Cookies
I added a layer of jam to my same sugar cookies and pressed a second heart outlined cookie on as the top layer before dusting them with powdered sugar.
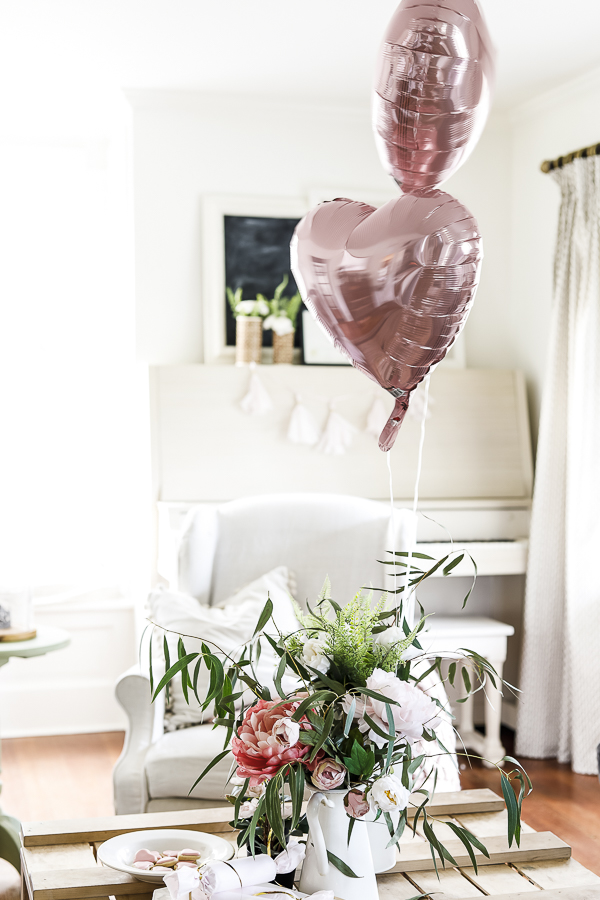
Number Fourteen | Dollar Store Heart Balloons
I added the balloons to my centerpiece for an extra bit of happiness and joy as we celebrate over the coming weeks.
And those are my 14 Valentine’s Day decor ideas! I sure hope you enjoy these! They were fun to put together!
I’m already thinking ahead to Easter and maybe doing a similar collection for Easter baskets and table settings!
Posts & Resources Related to Valentine’s Day Decor:
- Easy & Delicious White Hot Chocolate with Lavender Recipe
- A Beginners Guide to Flower Arranging
- Winter on the Farm
- Organizing Your Seasonal Decorations
- Tips on how to Organize a Craft Room
Pin with me on Pinterest | Thrifting Tips & Inspiration | Vintage Winter Inspiration | Vintage Spring Inspiration | Vintage Craft Rooms | Vintage Plant Decorations
Pin these 14 Valentine’s Day Decor & Gift Ideas for Later:
Until next time,