Christmas Kitchen Tour
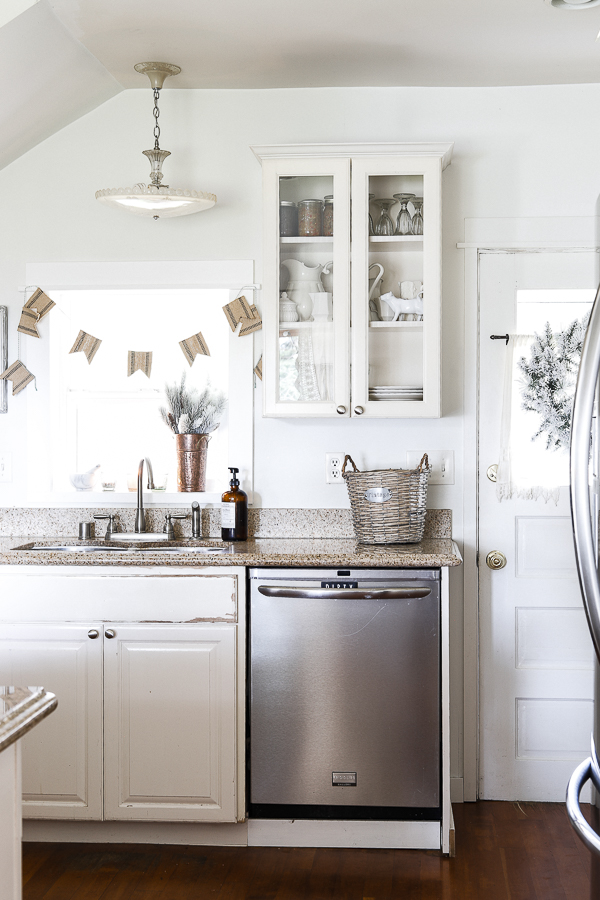
Last, but certainly not least, it’s time for the Christmas Kitchen Tour!
In a similar vein to how I was feeling about our dining room Christmas decoration, I decided to finish this last room of the house with more of the same: simple touches.
You can see this room from the dining room and visa-versa, so it makes sense that they would be decorated in a similar aesthetic, too!
*This post contains affiliate links to products I know &/or love.
Starting Out Ahead of the Game:
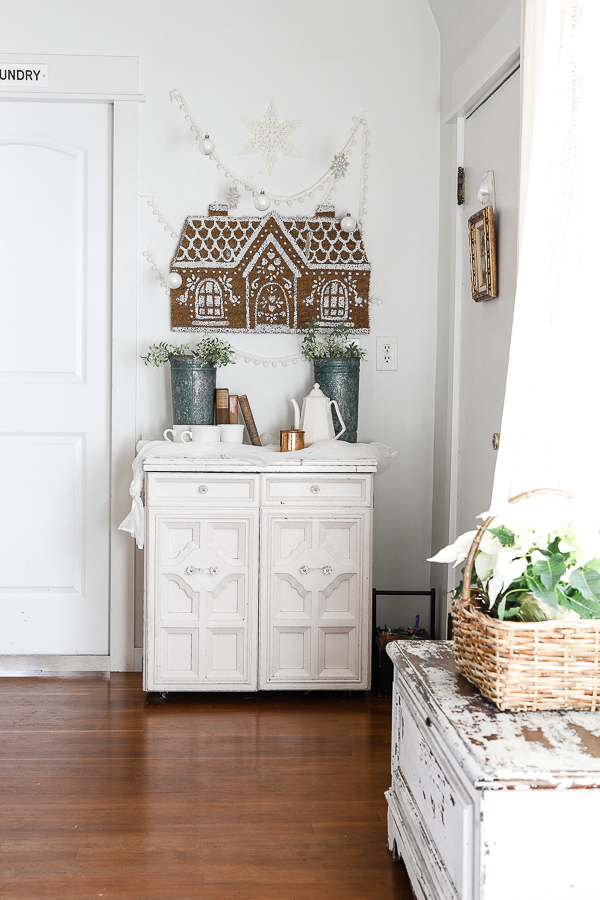
I had already decorated one corner as part of two different projects, the first, my Styling Thrifted Christmas Decor post where I painted the stars and hung them along with the vintage ornaments over my sewing cabinet.
And the second, where I made my Gingerbread House Doormat Wall Hanging and hung it on that same wall.
If you like the look of the gingerbread doormat but aren’t quite up for the DIY, you can purchase a ready made one here.
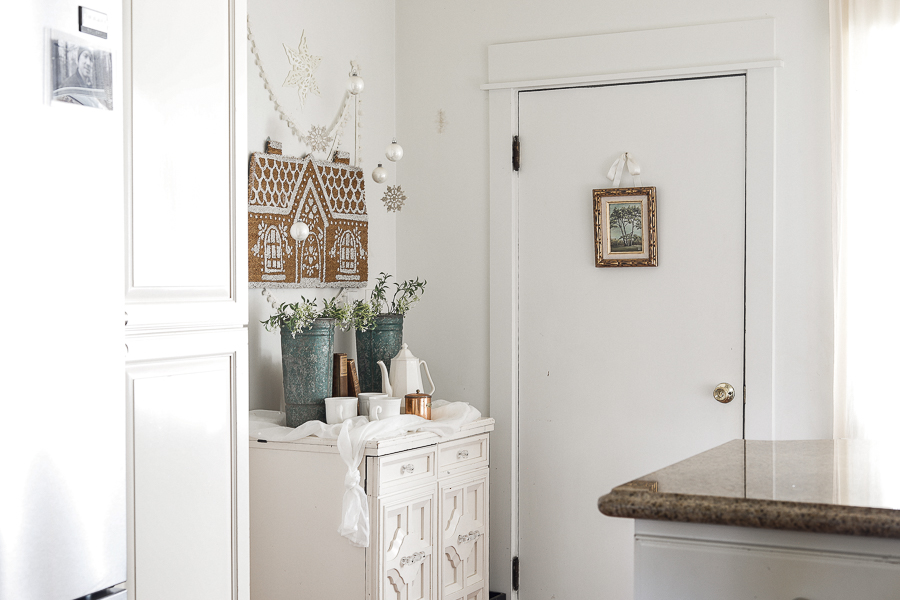
I loved the way it turned out so much! It actually reminds me of a Christmas window display like you’d see in a big department store.
Because of how much I loved it, I figured I’d let it stand out as the focal point in this year’s Christmas tour.
If you had a similar spot, this would be a great place to set up something cute like a hot cocoa bar, too! We’ve done that in previous years and it was well-received!
Plans for the Room:
Taking inspiration from the gingerbread house, I used champagne and copper colors throughout the rest of the room to tie it all together.
I was actually pleasantly surprised with how much I liked the champagne color in this space! It looks very unique, Victorian, and even a little surprising. And I love that it mixes so well with the copper as well.
I am certain I’ll use more of this color in the coming year!
And we’re off. The Official Christmas Kitchen Tour Starts Now:
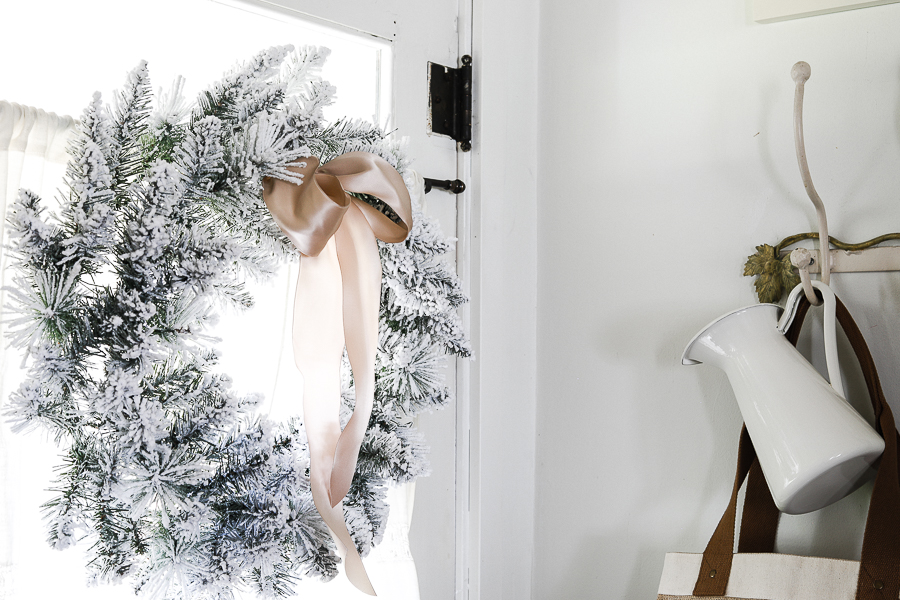
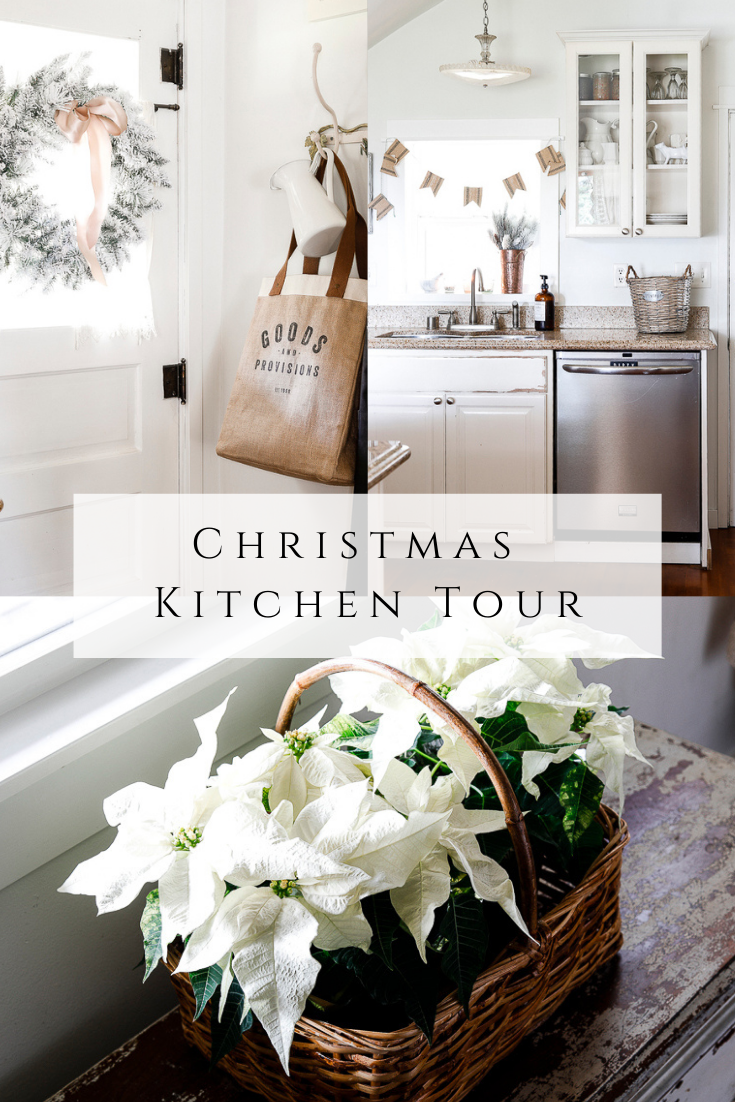
I added in two flocked wreaths – both with champagne ribbons tied into bows. One is hanging on our door that leads out to our kitchen porch, and the other above our picture window that overlooks our chicken yard.
Some Notes about Wreaths:
I got these flocked wreaths from Walmart for $10 each! They’re 24″ and part of the “Holiday Time” collection. They’re great quality for the price, and I highly recommend them!
I also love their flocked garlands in the same collection. They’re really pretty and they don’t shed too badly – which is a big plus!
Whenever you’re working with faux greenery, you should always plan on fluffing it up a bit from how it looks after you’ve stored it or bought it new from a store.
Fluffing and reshaping faux greenery can bring life into something that might otherwise look a little flat and unrealistic.
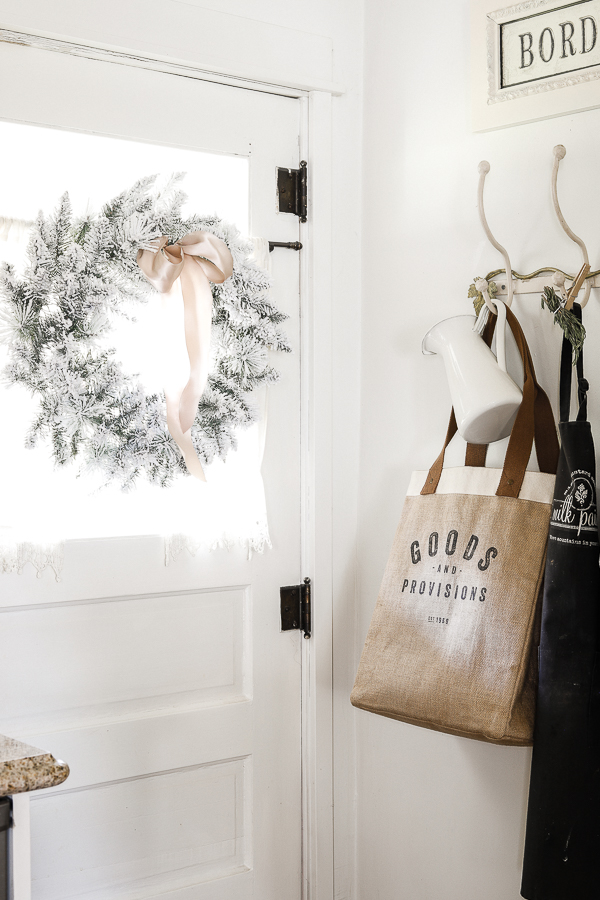
And one last note about adding bows – Go big or go home! If you’re going to add a ribbon bow get a nice thick ribbon and make the bow generously sized!
I use a non-wired edge ribbon, created a big bow, and then use a small length of wire through the back of the ribbon and then twist it around the wreath.
It’s best to get your bow exactly how you like it before you add the wire in to attach it, because it gets tricky to adjust once the wire is stuck in there.
Then you get to chose where to place your bow on the wreath. I know often people put them at the bottom and let the tails hang down below, but this time I preferred the look of the bow at the top with the tails hanging down over the wreath.
The more condensed look was just what this space needed.
Poinsettias – The official Christmas Flower:
Okay, I don’t know if poinsettias are actually the offical Christmas flower, but you do see them all over the place at Christmas time, don’t you?
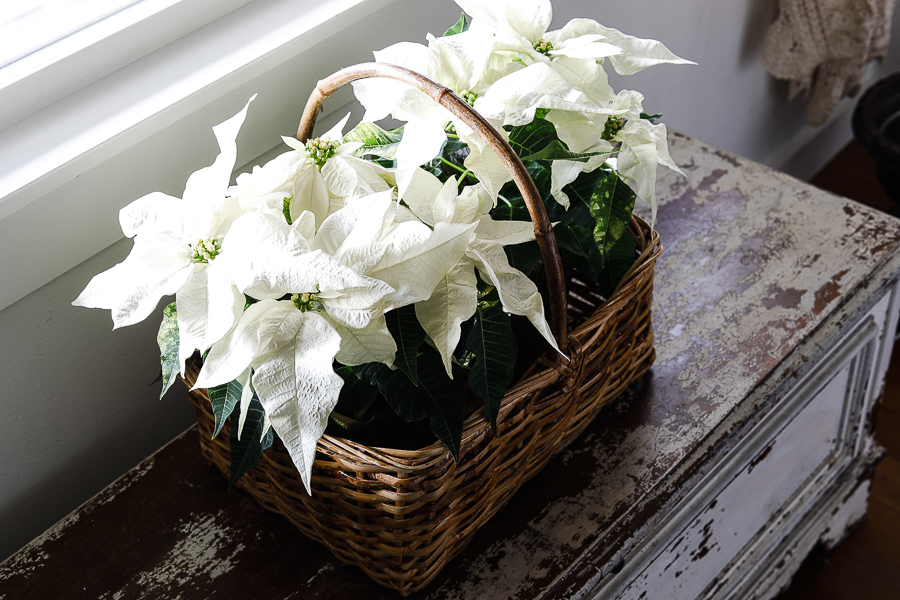
I’ve kind of spent the last few years being a bit anti-poinsettia, thinking they might be a little out of style, but now I’ve actually been won over by the white poinsettias!
They definitely feel more trendy, and their color fits right in with so much more of what I love to do around Christmas.
I found these two for $5 each, also at Walmart – and love how they look together in this basket on my chippy trunk! I think having them grouped and in a special container really makes the difference, too.
This basket usually holds our produce, but for a few weeks it’s temporary job is holding these pretties.
The Kitchen Sink Window:
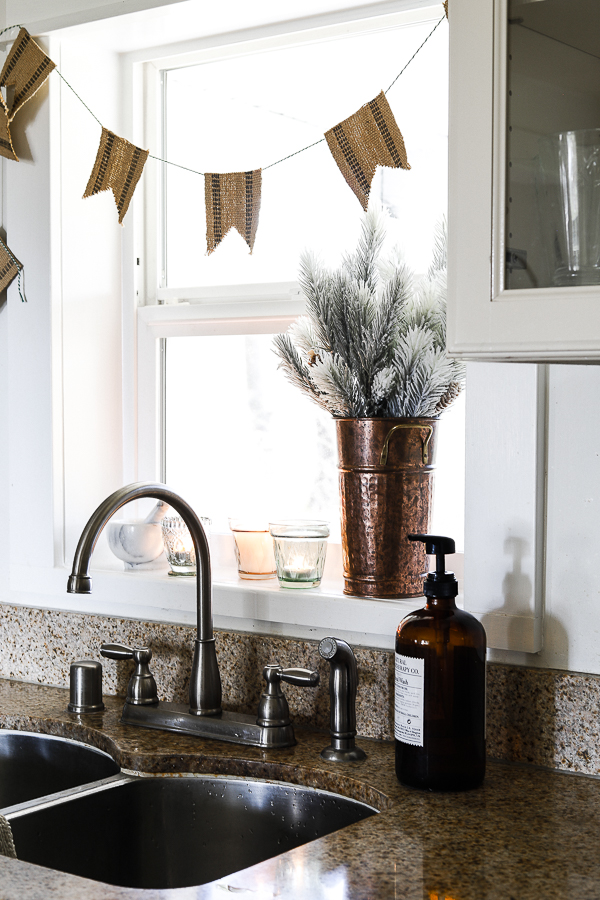
Another area I wanted to add a little touch of Christmas to was the window above our kitchen sink.
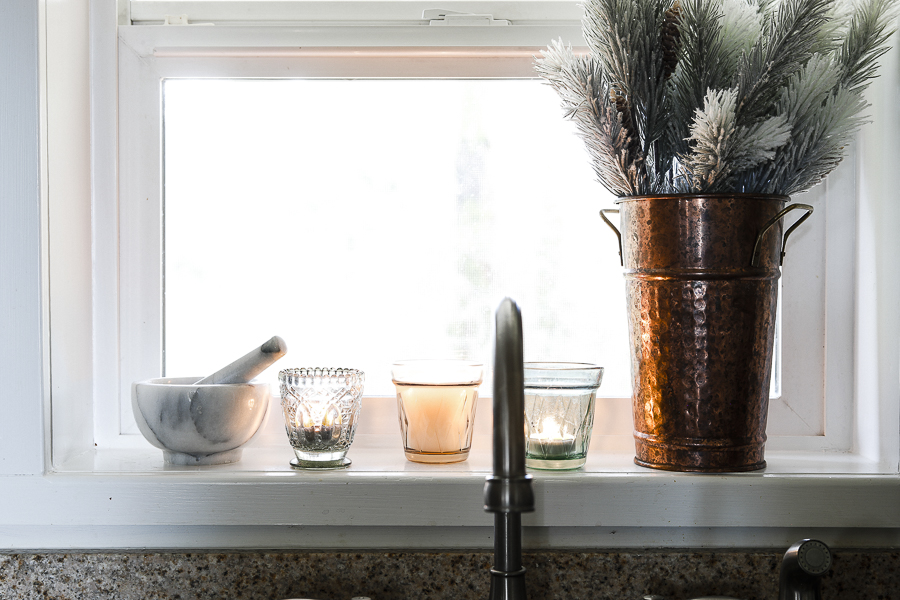
I stuck with my simple theme and placed a few of my last flocked floral picks in a cute copper container.
That alone didn’t feel like enough, so I found some champagne and green glass candle holders with tea lights and added those. Just the perfect touch!
Giving Garland a New Life:
The last thing I did was a little pick me up for a “Fa la la” garland I’ve had since early on in our marriage. It was silver and maroon, and I hadn’t used it for years because it never coordinated well with what I had planned.
This year I decided I might as well try to see if I could figure out something that would make it functional and beautiful again to add to our space.
The solution : Spray paint. I should have known!
It took quite a few coats (3 on one side, 5 on the other!) of my favorite Rustoleum Heirloom White spray paint, but after they were done – I totally loved it again and knew it would find the perfect spot.
I ended up draping them over the antlers that are technically in the dining room, but can be seen from the kitchen.
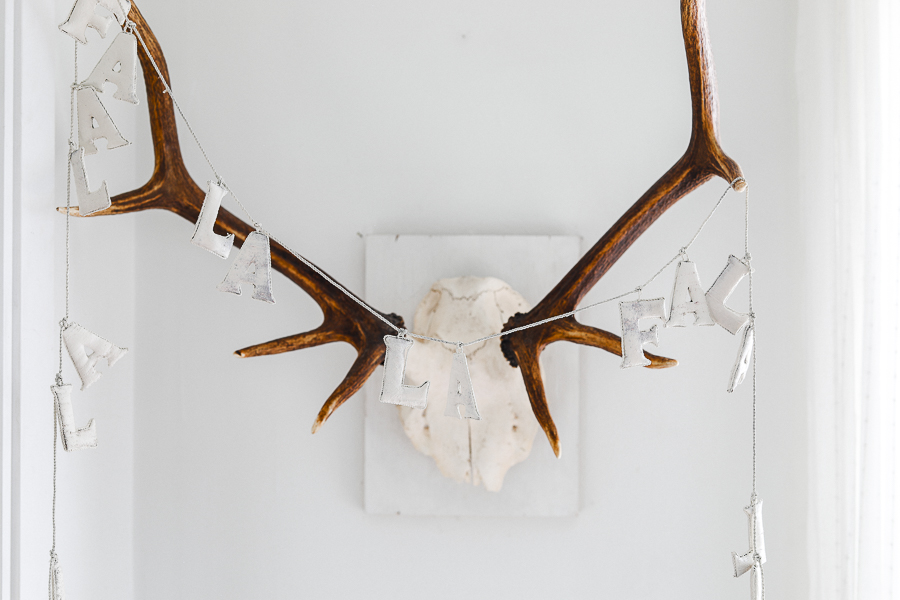
Isn’t that fun?
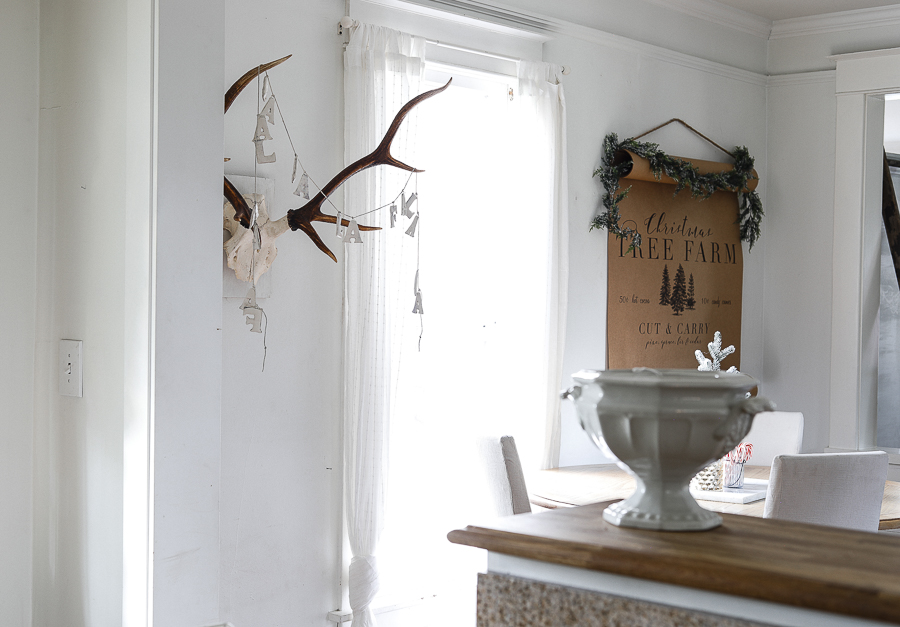
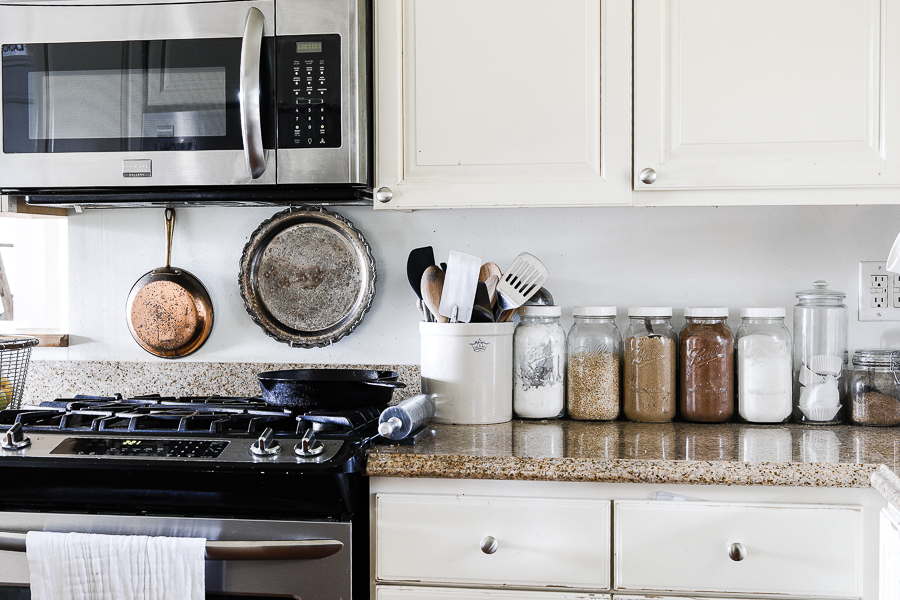
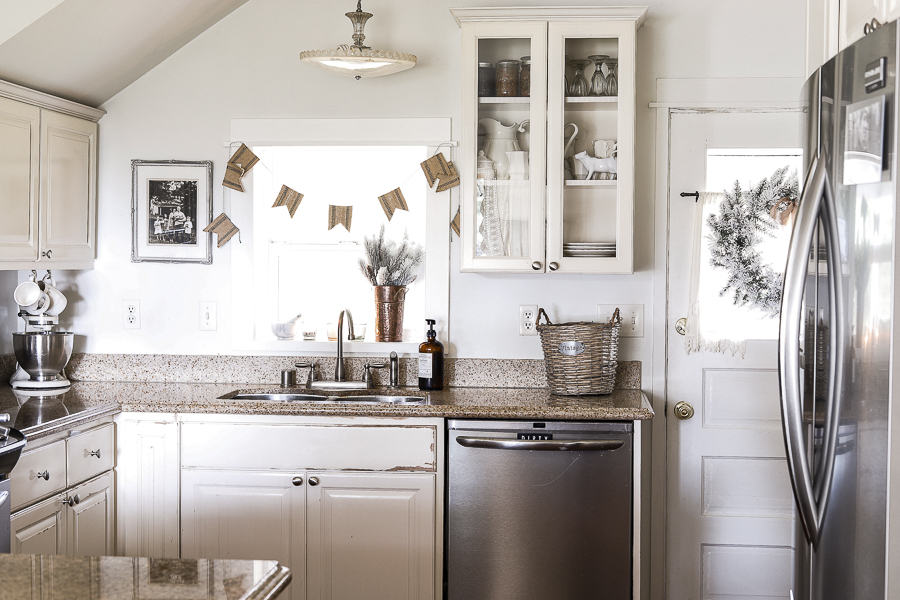
And that’s the end of the Christmas Kitchen Tour for this year! Simple touches that bring in the element of celebration – just what I had hoped for!
And now our house is officially decorated for Christmas all that’s left to do is keep it clean and enjoy it for the next few weeks!
[show_shopthepost_widget id=”4312010″]
I have one more Christmas post coming out soon all about gift-wrapping, so stay tuned for that!
Pin this Christmas Kitchen Tour for Later:
Until next time,