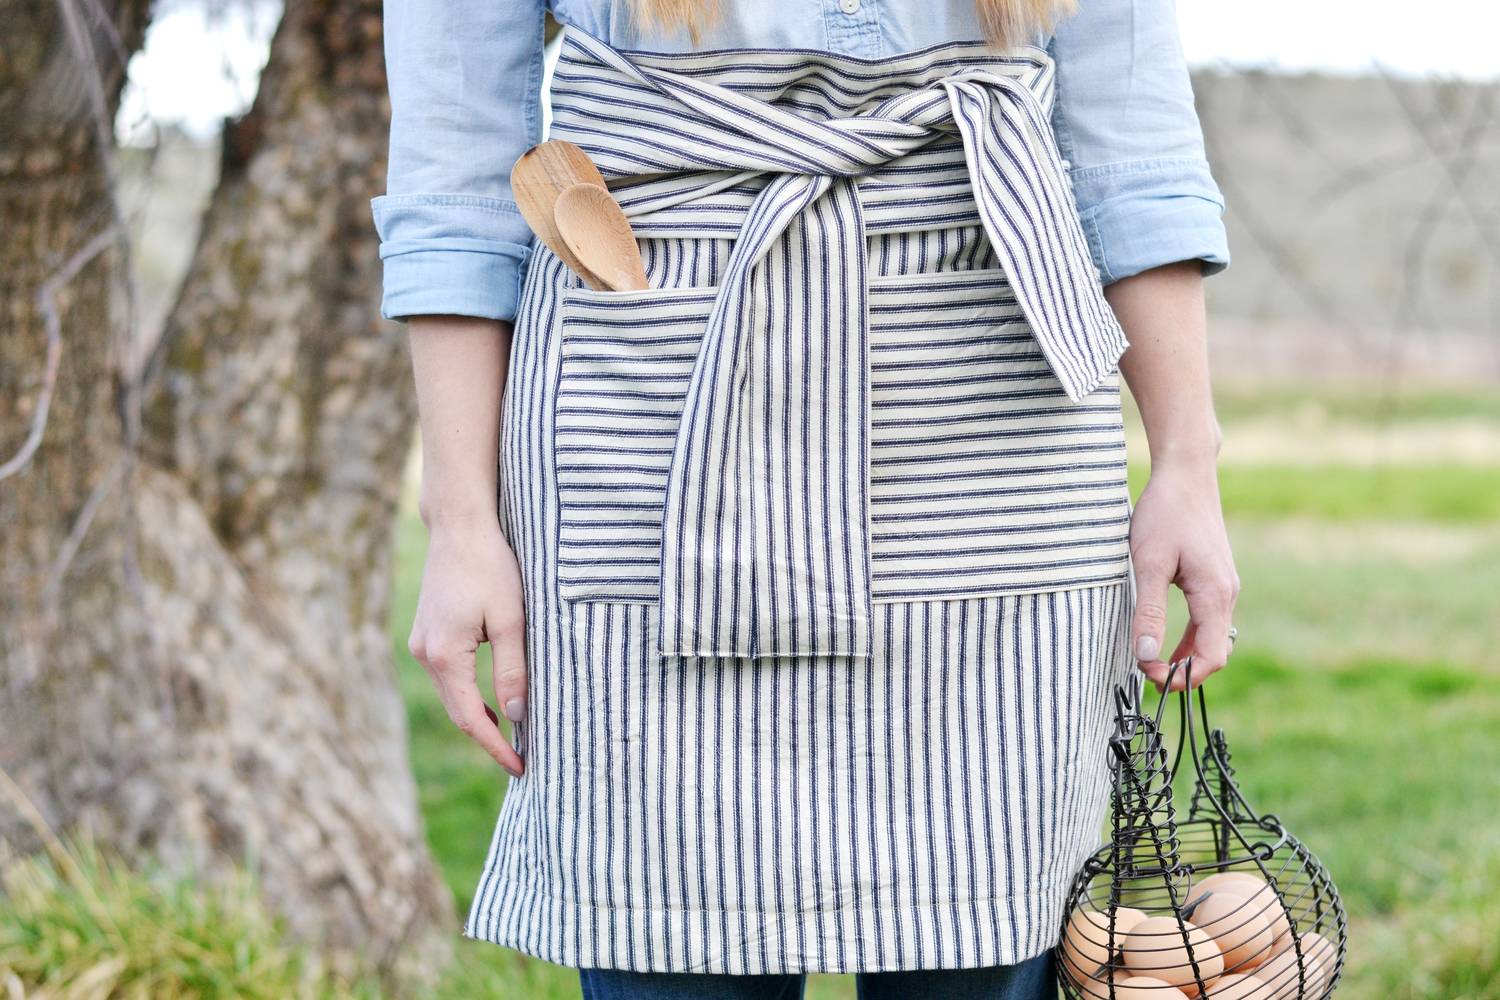
How to Upcycle a Men’s Dress Shirt into an Apron
Wait! Before you donate that extra men’s dress shirt, you might consider upcycling it into a farmhouse style apron.
Just a thought!
The back section works great for the actual apron, the front panels can be pockets and the sleeves repurposed into ties. Piece of cake, right?!
This project is especially sweet if your dress shirt holds a special meaning. Years ago a friend of mine lost her husband when he was fighting over in Afghanistan. She was pregnant with a little girl when he deployed.

One of the ways she honored his memory with their baby girl was to turn his dress shirts into little nightgowns. Oh my heart! I love this idea so much!!
My story isn’t nearly as sentimental or heroic. I just found a shirt in the free box at a garage sale last summer and got the idea that it would be the perfect apron.

But, no matter your story, you can still turn your dress shirt into an apron in a few simple steps.
Shall we get started??
Upcycled Men’s Dress Shirt Apron

Tutorial
- Cut the sleeves off and set aside, then separate the front panels from the back.
- Decide the length and hemline you like best. Also, be thinking about pockets and the style of ties you want.
Here are a couple of inspiration pics. . .


- Trim the bottom if you are having a straight hemline and stitch a wide hem. Hem the sides and top edge. Fold down the top edge and stitch in place, leaving the sides open for the ties.
- Cut rectangle(s) for pocket(s) from the front sections of the shirt, adding a inch to the height and width for seam allowance. Hem all the way around and sew straight onto apron front. Finish with a top stitch, see the video below if you need any clarification.
- For the skinny ties, cut four 2″ wide strips from the sleeves, using the full length of the sleeves. Stitch two pieces together end to end and do this twice so you have two long strips.
- Iron the top edges down 1/4″ and the bottom edges 1/4″. Then, fold both strips exactly in half and stitch closed. Finish with a top stitch. Again, reference the video below if this doesn’t make sense.
- Finally, tuck the ties into the openings at the waist band. Stitch into place. Trim and hem the two raw ends of the ties.
And one more thing, if you keep buttons like I do, be sure to cut off the buttons from your left over pieces. They can be used for another day!

Click here for a printable copy of the directions!
*This post contains affiliate links to products I know &/or love.
Pin This Upcycled Shirt Apron Tutorial for Later:
