Pillowcase Nightie Tutorial
As promised, here is the simple pillowcase nightie tutorial I use to make my daughters’ nightgowns each year. Keep an eye out for sweet pillowcases when you are out thrifting, but don’t use the ones that are starting to tear from age. I always check the corner seams for signs of deterioration.
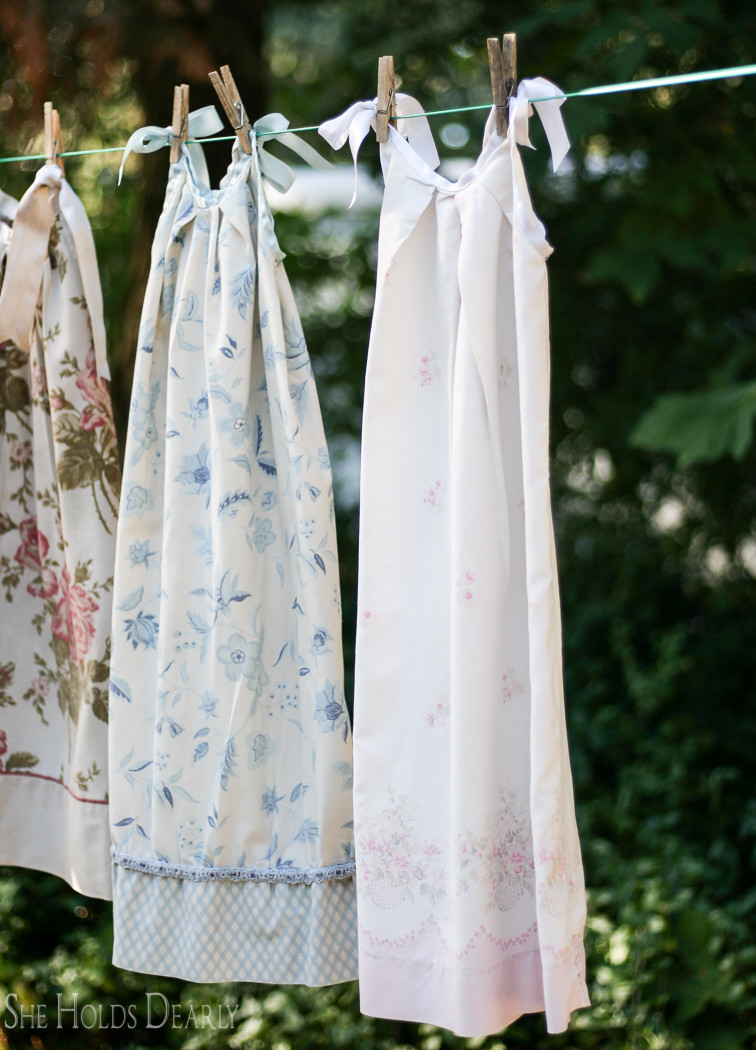
The ones with pretty edges are my favorites.

This post contains some affiliate links to products I love. Click here to read my full disclosure.
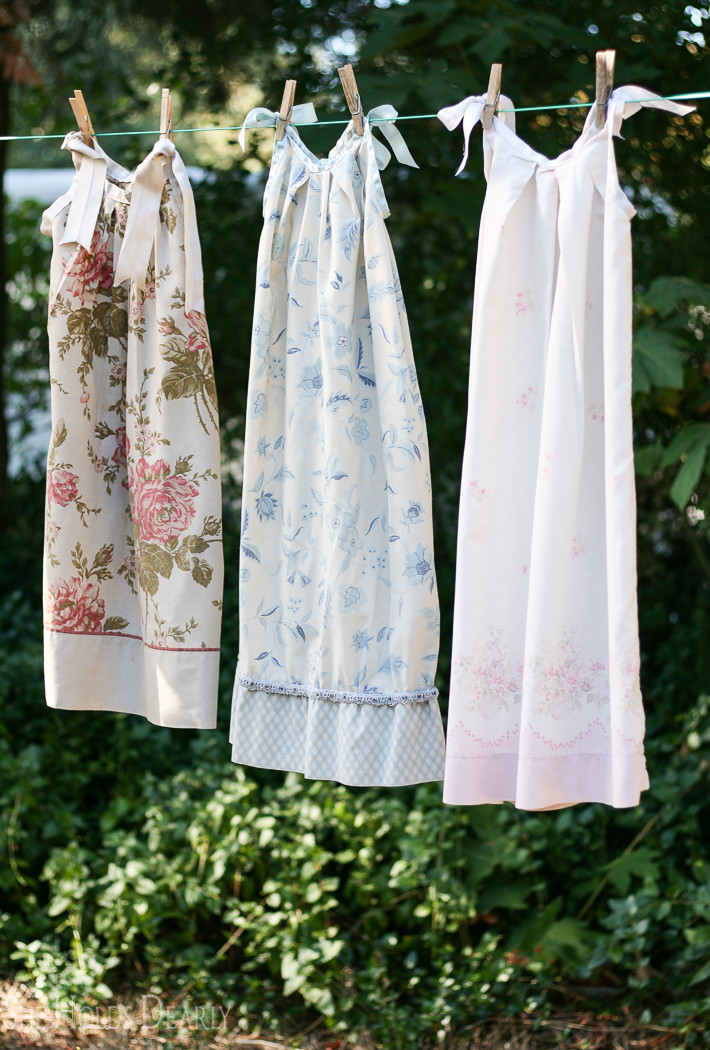
One of our sweetest Christmas traditions is a pillowcase nightie in each of the girls’ stockings.
Hopefully, you will find them easy to make and you will have as much fun with this tradition as we have.
They only cost a few dollars and take 20-30 mins to sew, making them a fabulous gift idea for any little sweet hearts in your life.
Enjoy!
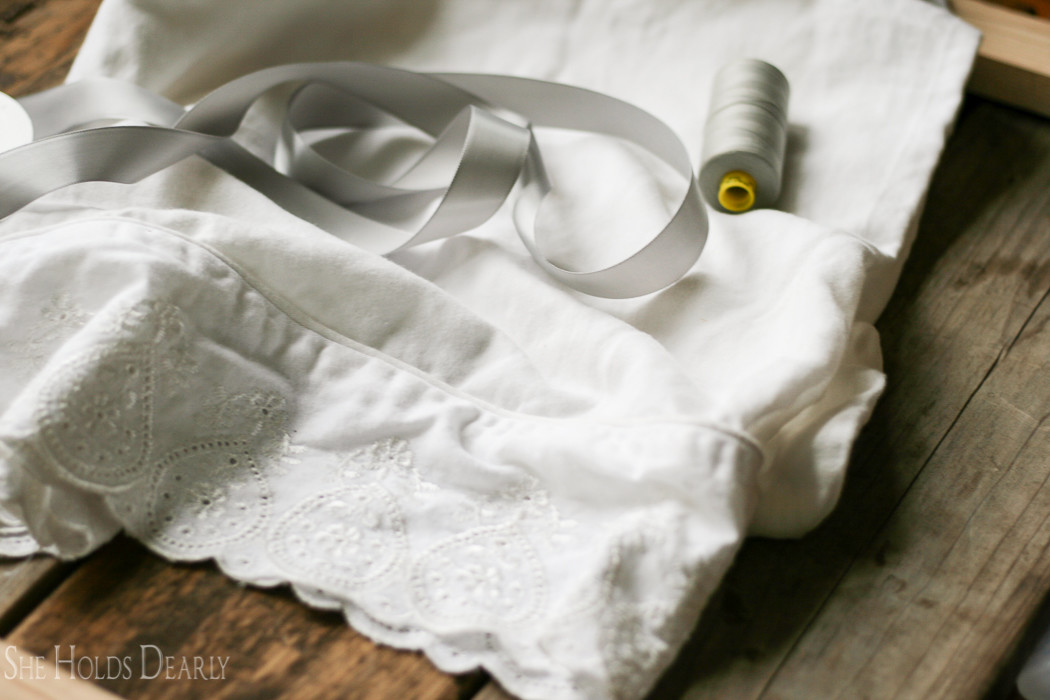
Supplies
- one standard pillowcase
- don’t use ones that are starting to deteriorate from age
- pretty edges make great hemlines
- 3 yards 7/8″ satin ribbon
- don’t use wired ribbon
- matching thread
- sewing scissors
- sewing machine
- fray check
Pillow Case Nightie Tutorial
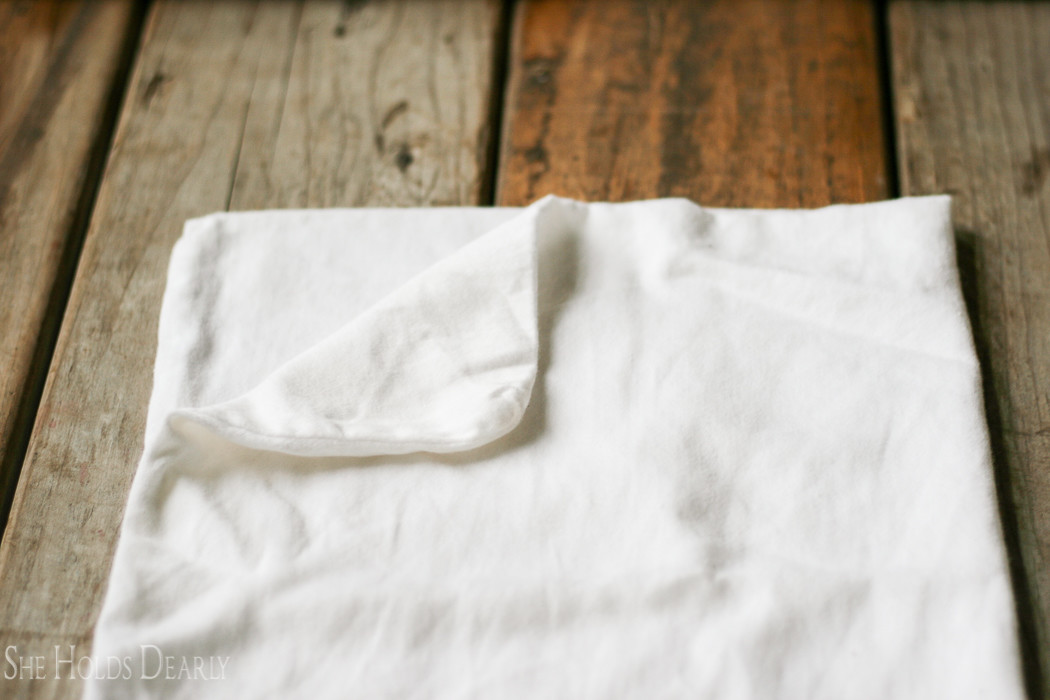
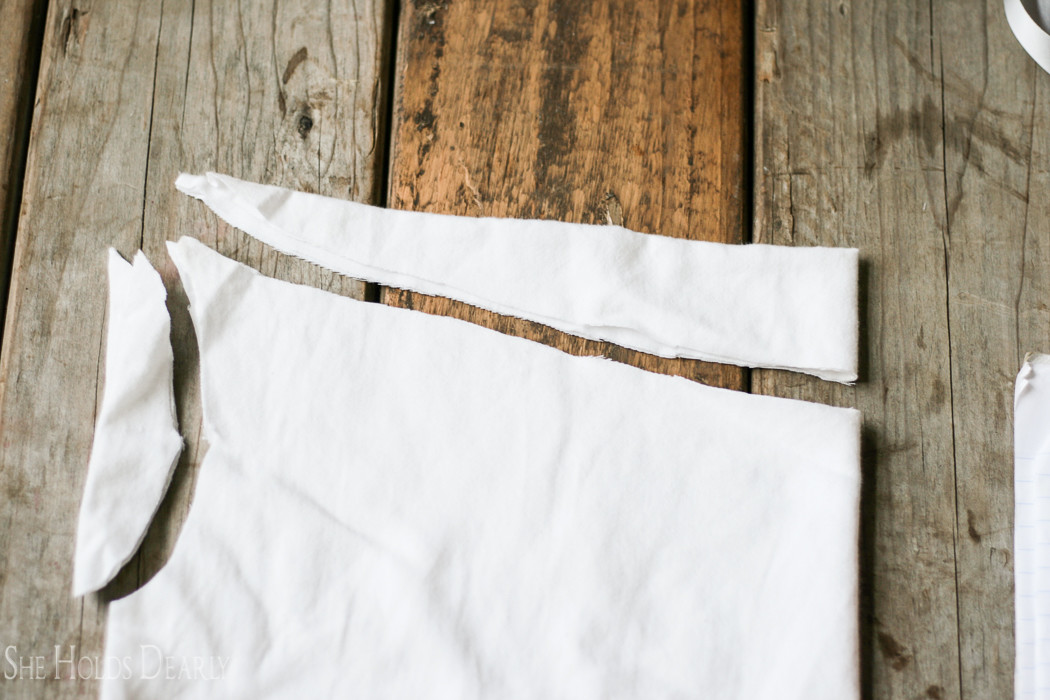
1) Fold the pillowcase in half lengthwise.
2) Start cutting 2 inches down from the top edge on the fold and cut an arch up to the corners of the pillowcase. Then measure down 5 inches from the corners and cut arm holes. You don’t need a pattern, just cut two arches out.
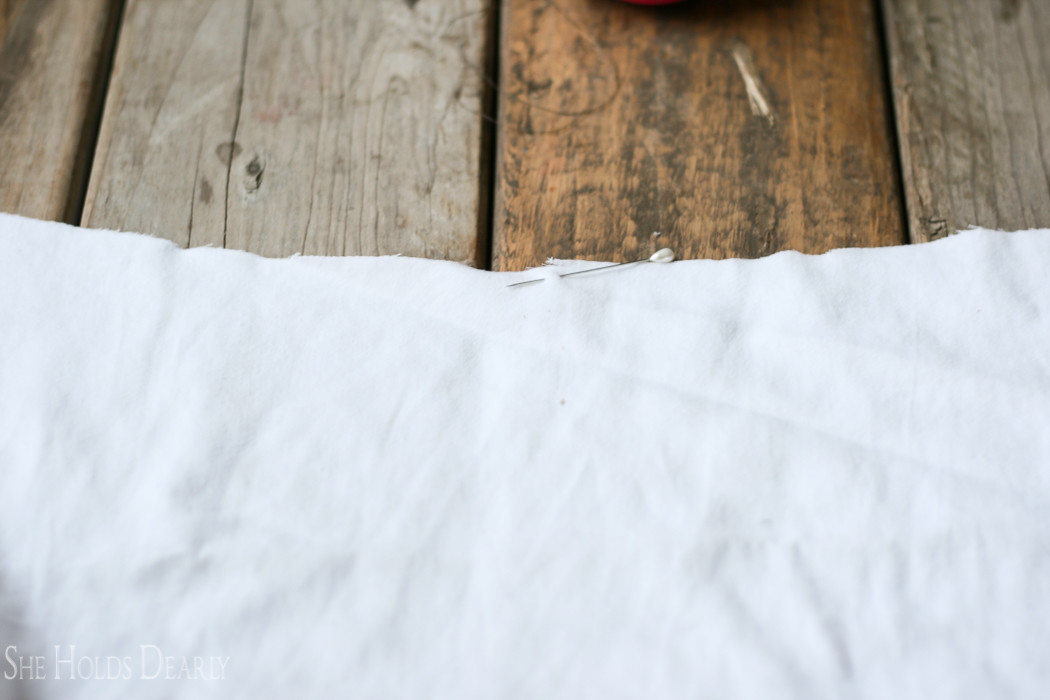
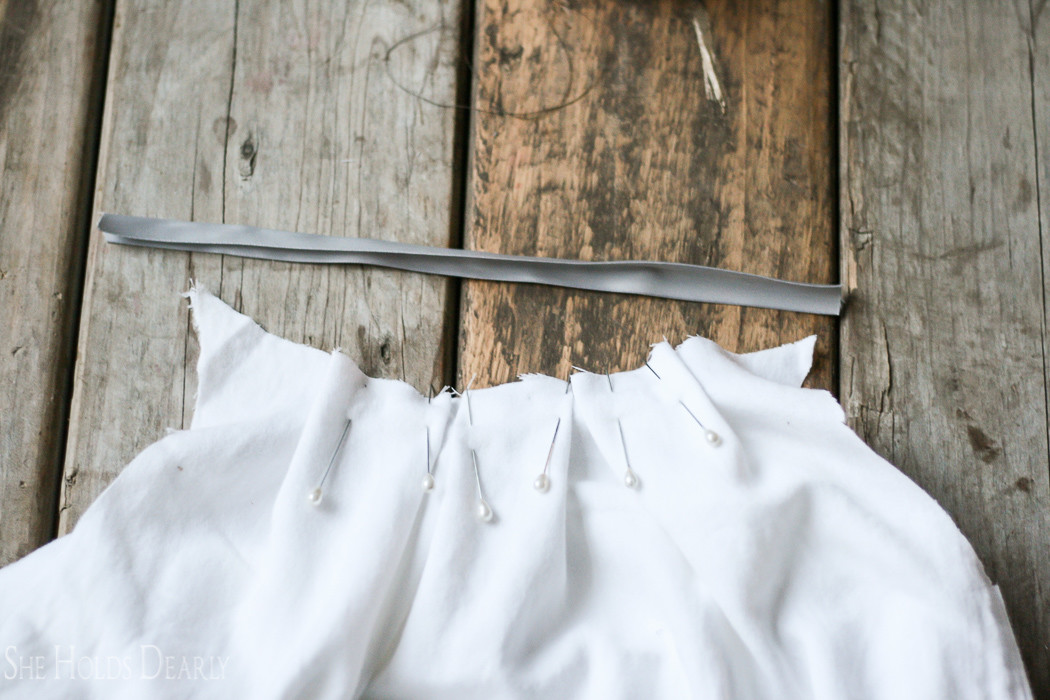
3) Open up the pillowcase and mark the center of the top layer with a pin.
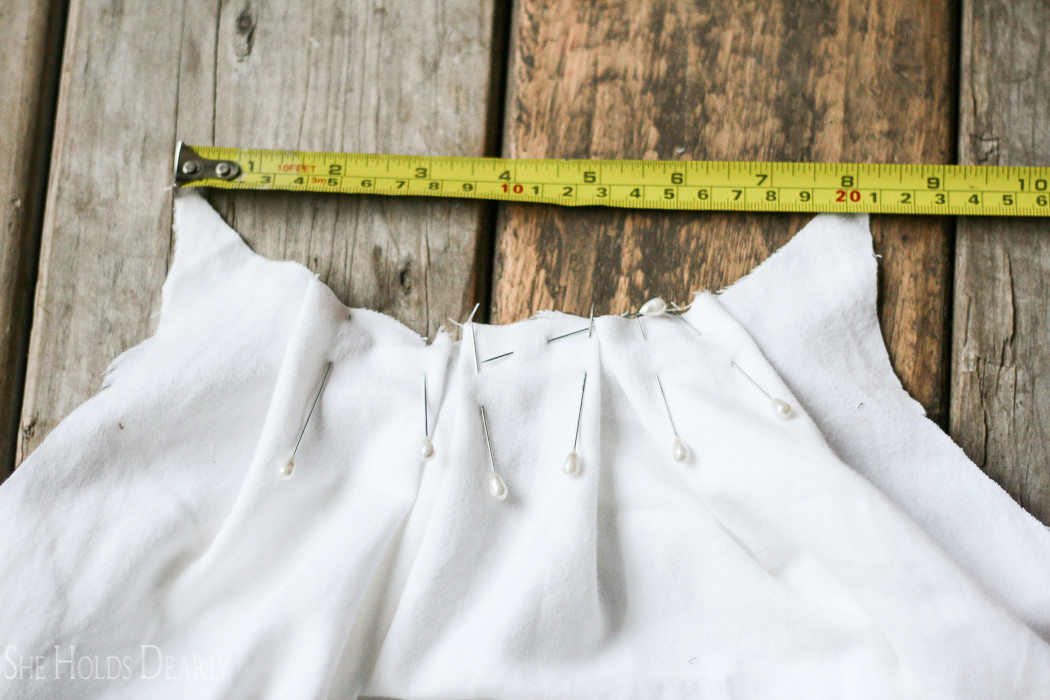
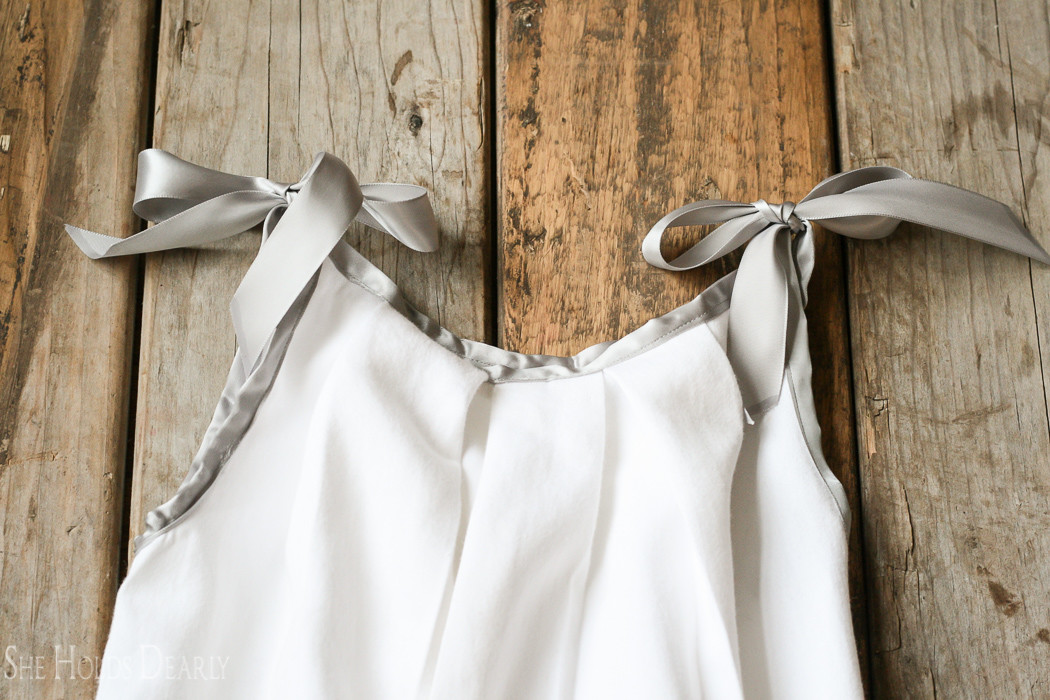
4) Fold back and forth to create pleats, no pattern, just make three and get the whole set centered. You are making the neckline, be sure to keep the raw edges in a straight line. You are going to wrap ribbon around them and you don’t want any edges hanging out.
I like to make my necklines about 8 inches across.
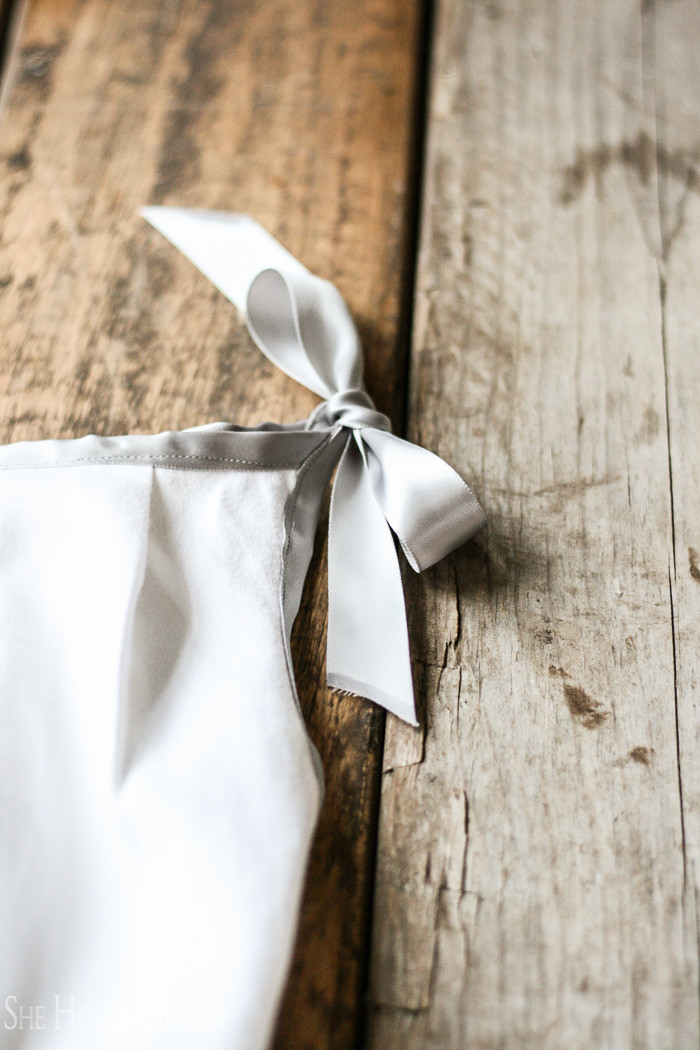
5) Cut a piece of ribbon the same length as the neckline.
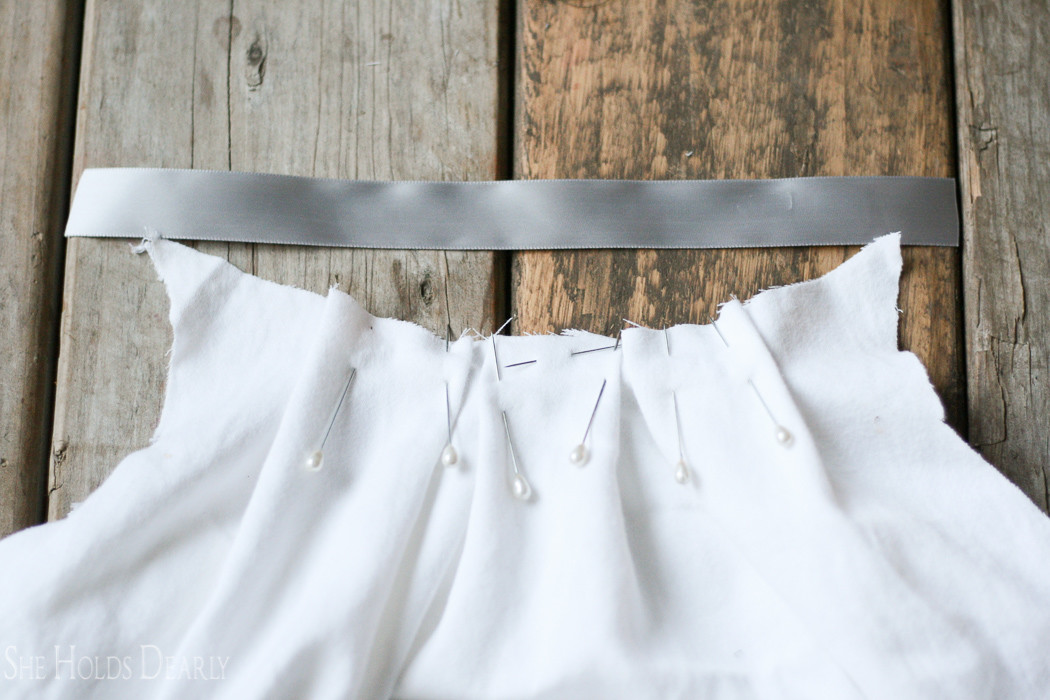
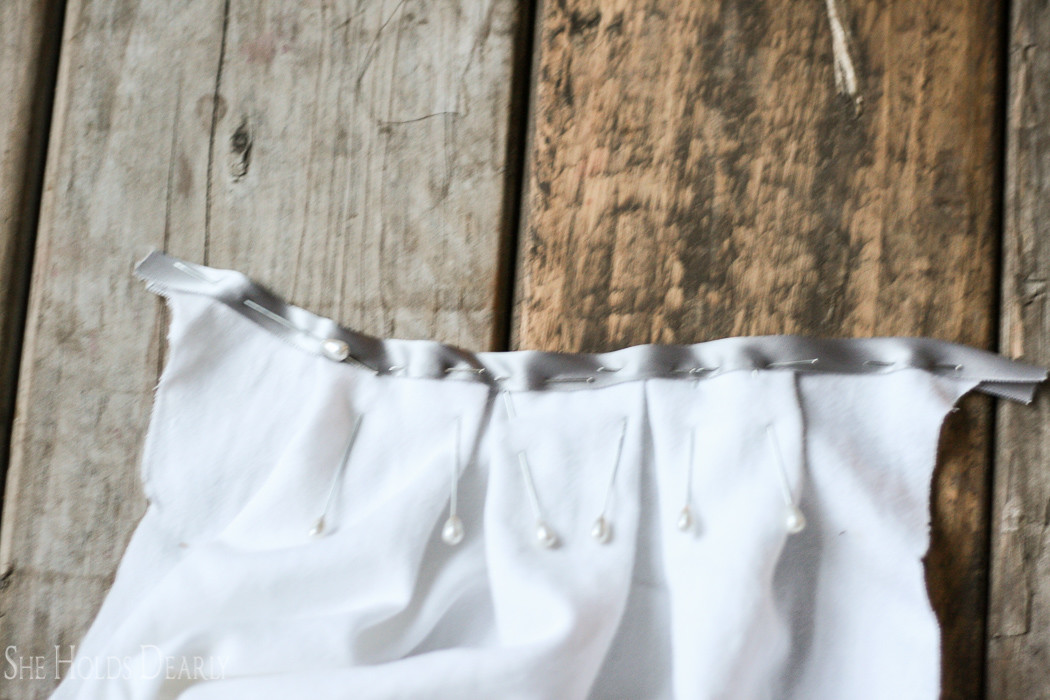
6) Iron it in half, satin side out.
7)Pin the ribbon along the neckline, catching the raw edges inside the fold. Use your smallest pins so you don’t snag the satin. (I apologize for such a blurry photo.)
8) Stitch in place, remove all the pins and trim any extra ribbon at the shoulders. Double check to make sure you got all the raw edges tucked inside the ribbon.
Repeat on the back neckline.
9) Cut 1 yard of ribbon for each armhole, iron the middle section in half like you did for the neckline. Leave about 1 foot on either end that is not ironed.
10) Find the center of the ribbon and pin it to the seam in the arm hole.
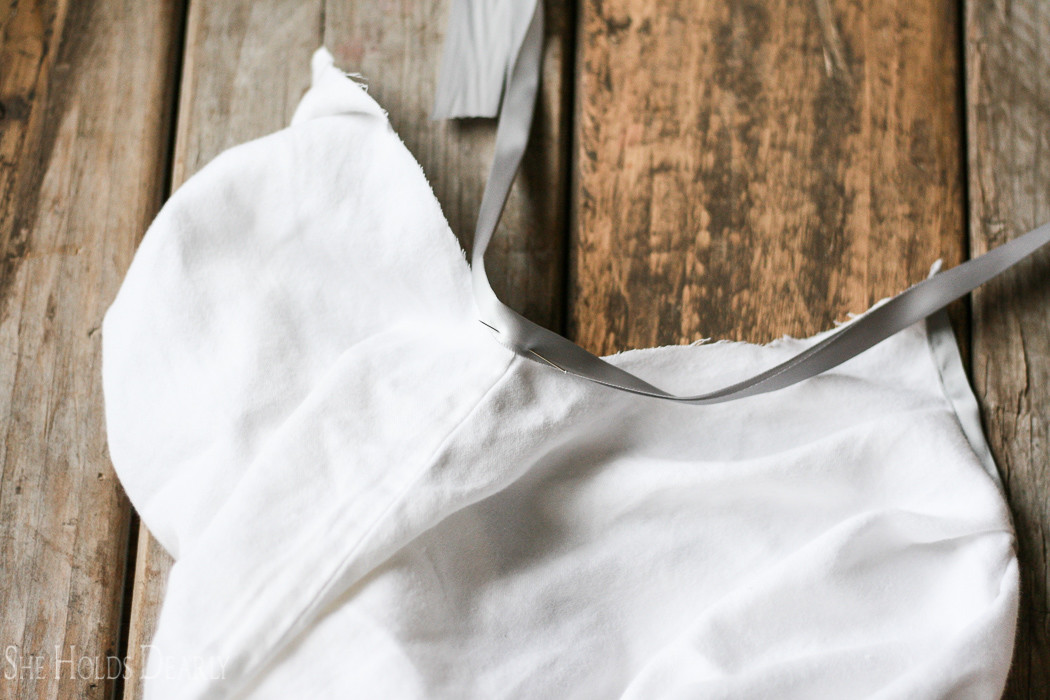
11) Finish pinning the ribbon up around both sides.
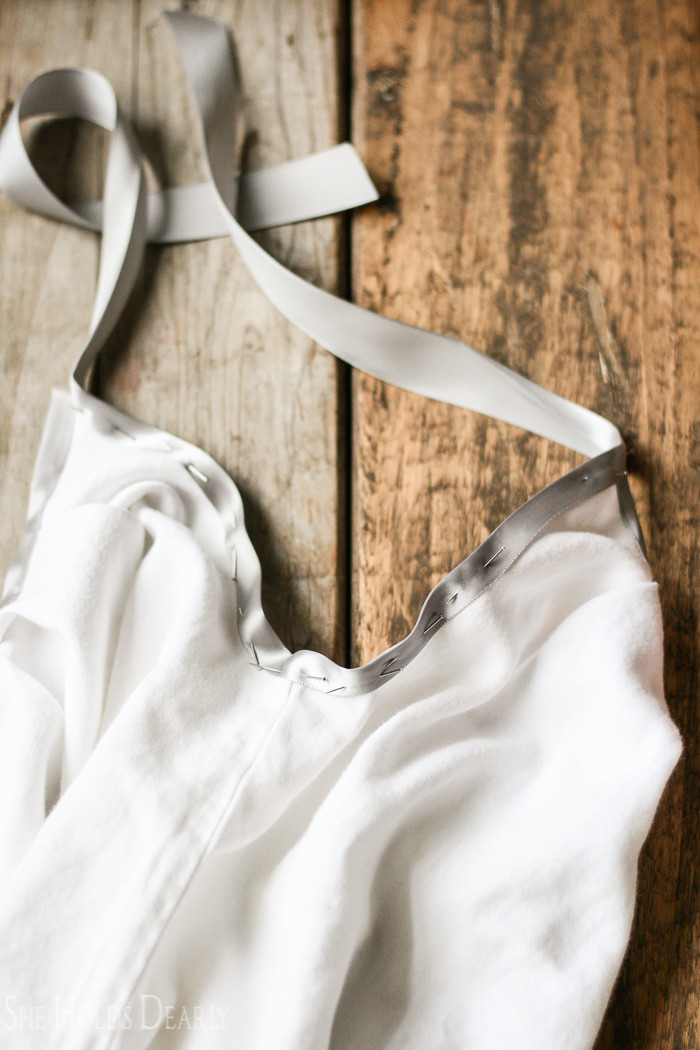
12) Stitch ribbon in place around armhole. And repeat for other armhole.
13) Iron all the ribbons and pillowcase.
14) Trim the ribbon ends on an angle, and apply Fray Check.
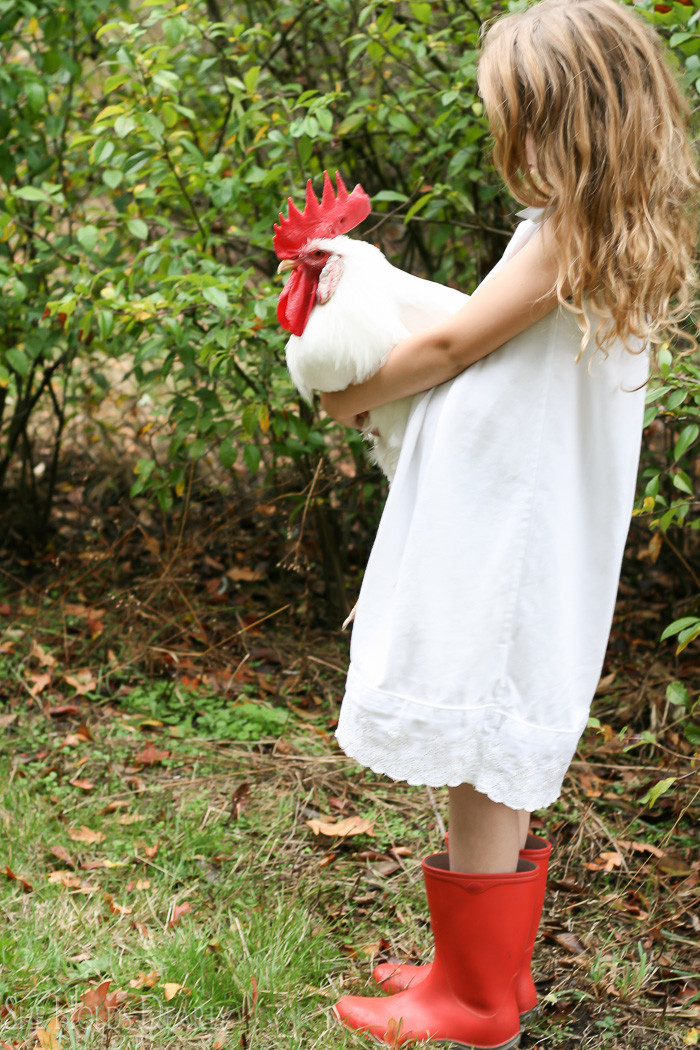

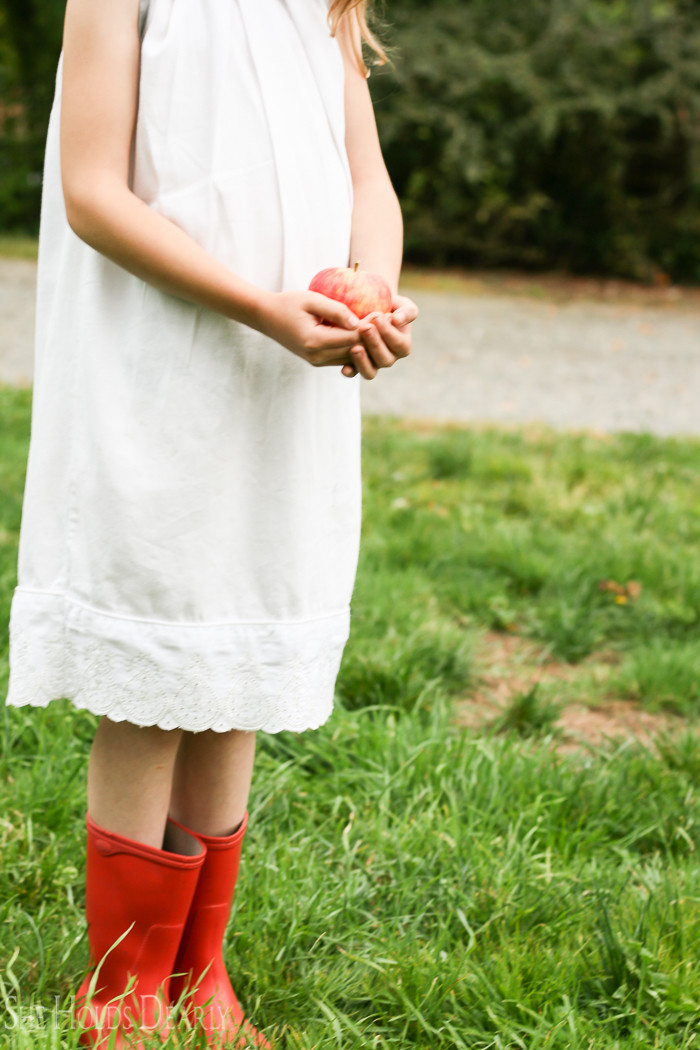
I was secretly planning to put this in her stocking,

but while we were taking pictures, she asked if she could have it.

I figured it could be her payment for modeling and
she skipped off into the sunset in her “non-Christmas present” pillowcase nightie.
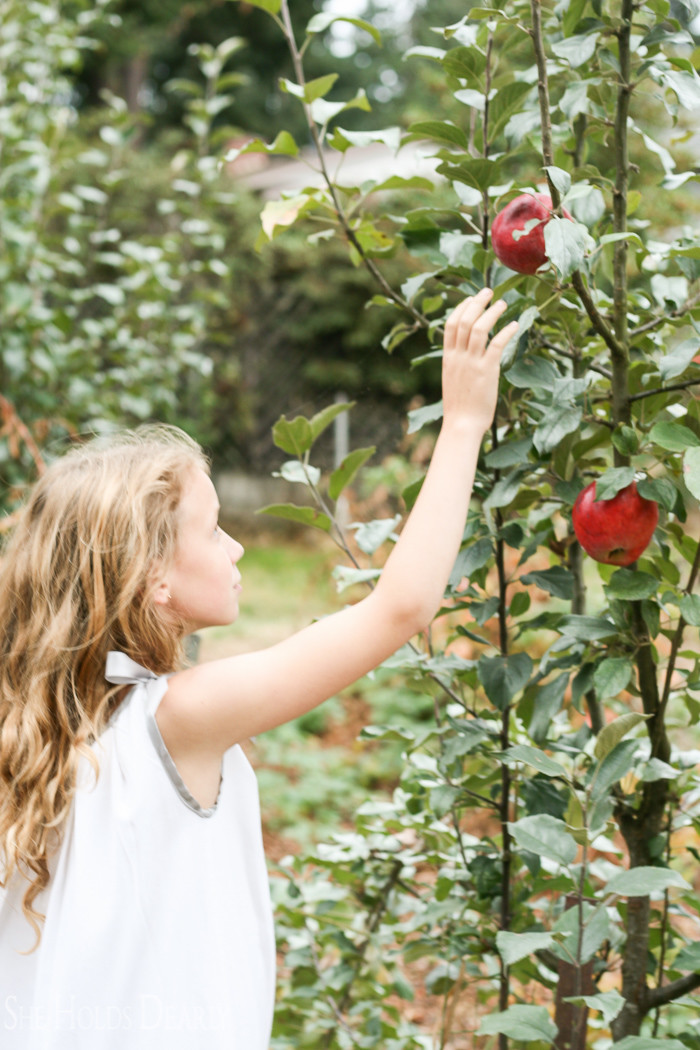
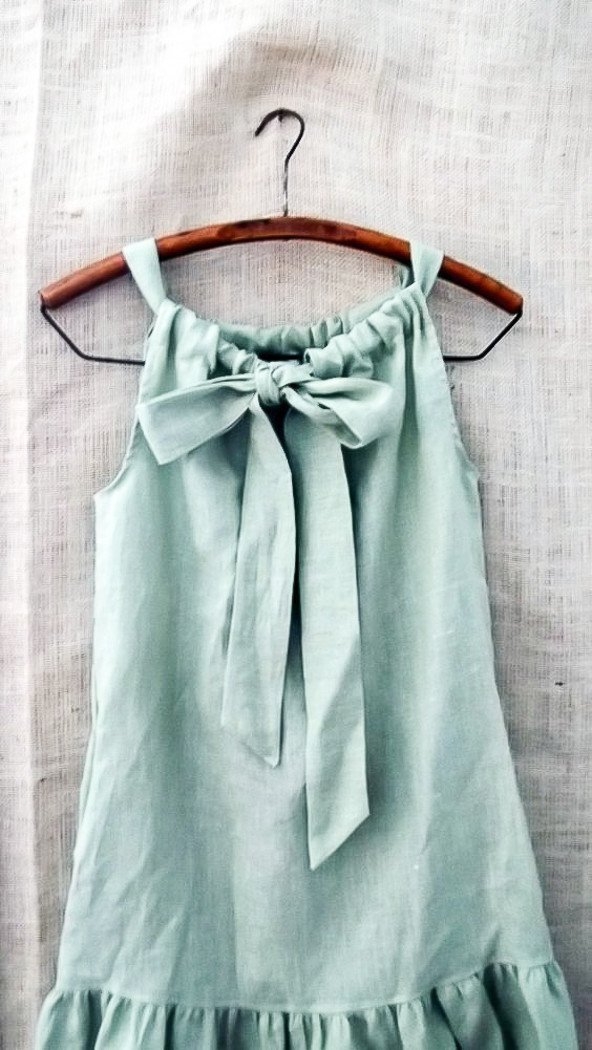
Here is another neckline I have been wanting to try.
And if you find a set of pillowcases this would be sweet,
night gown on top and pajama pants on bottom,
using the second pillowcase.

For more ideas on how to up-cycle your thrifted finds see
10 Ways to Repurpose Vintage Linens


