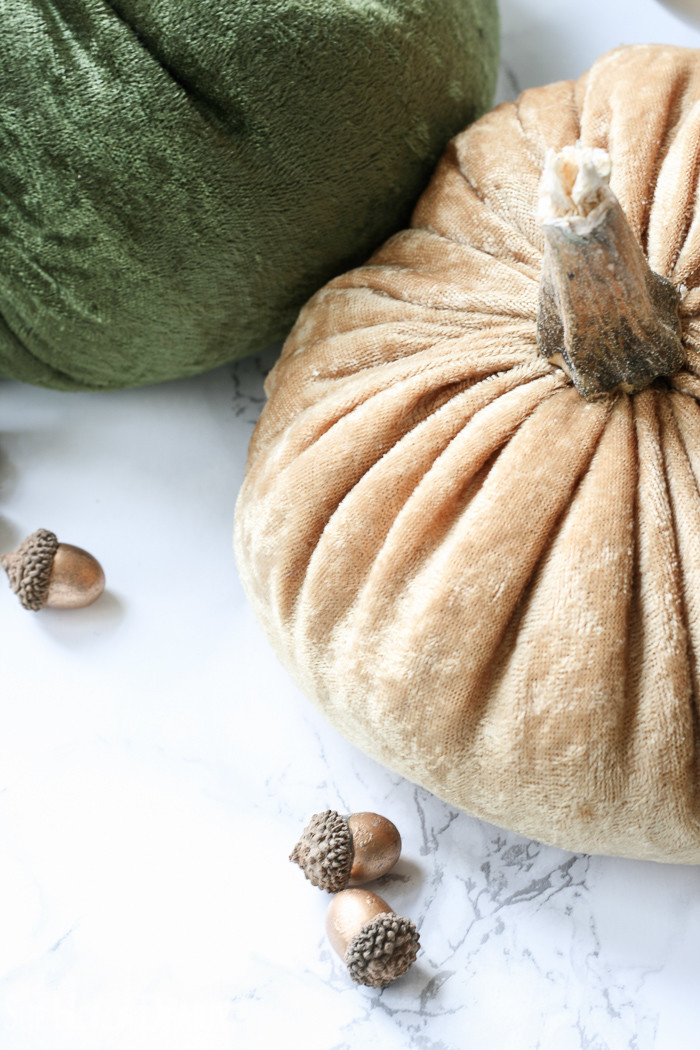
How to Make Velvet Pumpkins
It turns out that making velvet pumpkins is a piece of cake, or should I say pumpkin pie in this case?
This post contains some affiliate links for products I love. Please click here to read my full disclosure.
I’m kicking myself for not making them years ago when I first laid eyes on them. This would be such a fun craft idea for a party and if you happen to be my friend and your birthday is in the fall, well, you just might be getting velvet pumpkins for your present this year!
I don’t know why I have been so intimidated by them until now. In less than an hour and for a few dollars you can have a little set of the sweetest fall decorations ever.
And, surprise! You probably have a lot of the supplies sitting right under your nose.
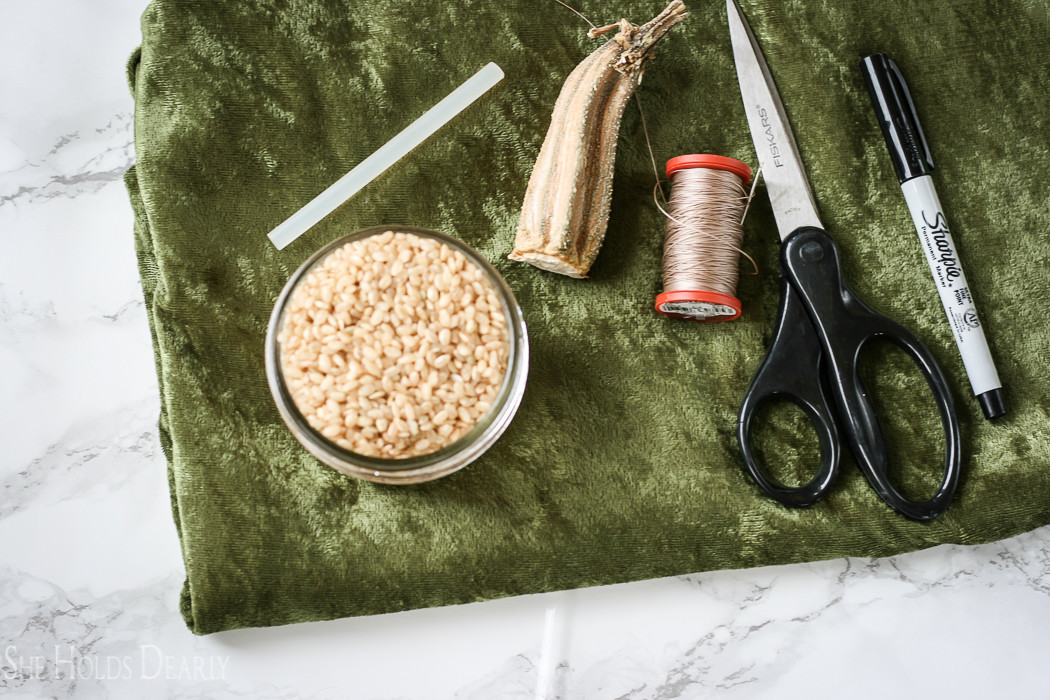
Materials Needed
- Velvet fabric
- For a set of three (small, medium, large) pumpkins, you will need a yard of fabric.
- Use the stretch velvet, not the regular velvet.
- Sharpee
- Fabric Scissors
- Upholstery Thread or Unwaxed Dental Floss
- Sewing Needle
- Upholstery Needle (optional)
- Beans or Rice
- Canning Funnel (optional)
- Stem
- Use any stem you like from any squash, pumpkin or zucchini in the produce section, farmers market or your garden. The funkier the better.
- Here is a link on how to dry them. To speed up the process, you can put them in the oven at 200 F for about an hour. You will never look at another pumpkin stem the same again!
- Hot Glue Gun and Glue Sticks
My dear friend, Tanya, came over for lunch and a play date on a rainy September day.
We whipped up a whole, little pumpkin patch by the fire and only had one dramatic moment when a naughty pig got out of his pen.
The two of us, with all the kids were running around like crazy chasing that pig,
finally, we offered him a nectarine and that did the trick!
Hopefully, you won’t need to catch any pigs during your pumpkin production time.
Tutorial
- Draw a circle on the back side of your fabric with your sharpee. It doesn’t need to be a perfect circle, just do your best. If you want to trace something, a salad plate makes a small pumpkin. A 16″ (diameter) circle makes a medium pumpkin, 24″ (diameter) makes a large pumpkin.
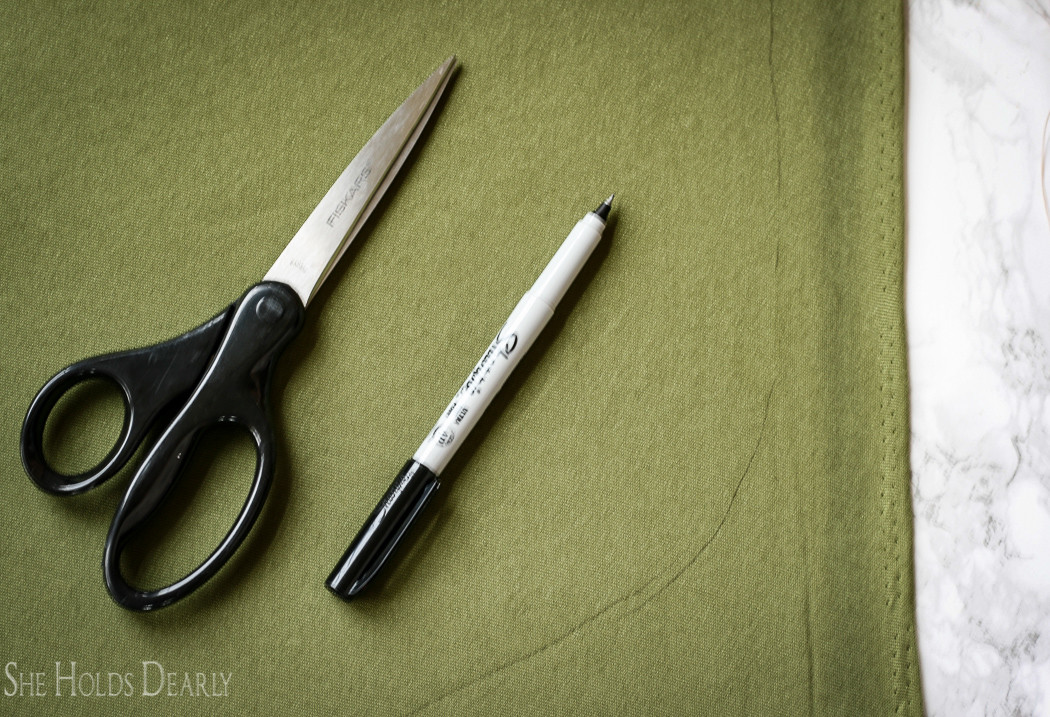
- Cut out your circle with your fabric scissors.
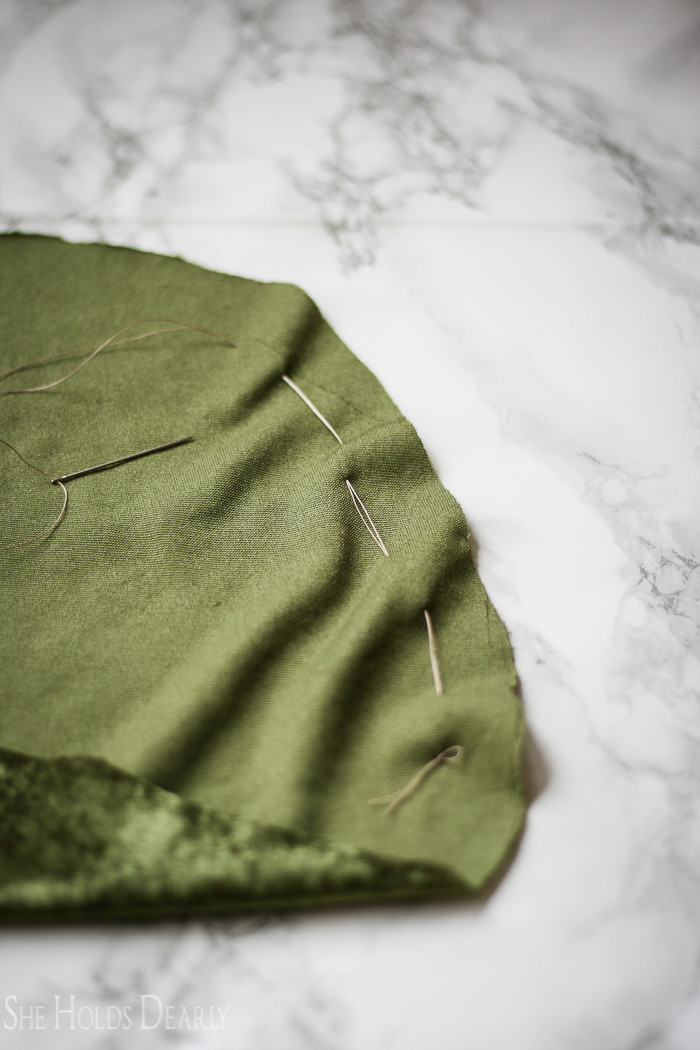
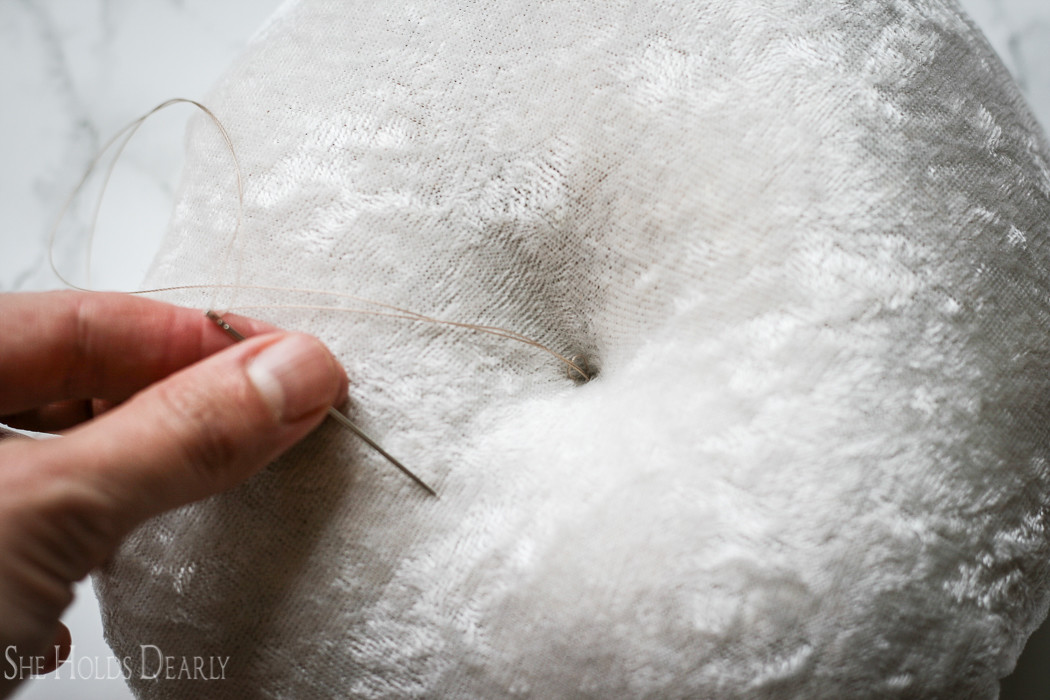
- Thread your needle with your upholstery thread or unwaxed dental floss, we liked doubling the thread and making a big, messy knot at the end.
- Hand stitch using a large running stitch. Start about one inch from the edge of the circle and make your stitches about one inch wide. Continue until you have stitched around the entire circle.
- Cinch up your circle and fill with rice or beans until you like the size and weight. Use the canning funnel for the medium and large pumpkins.
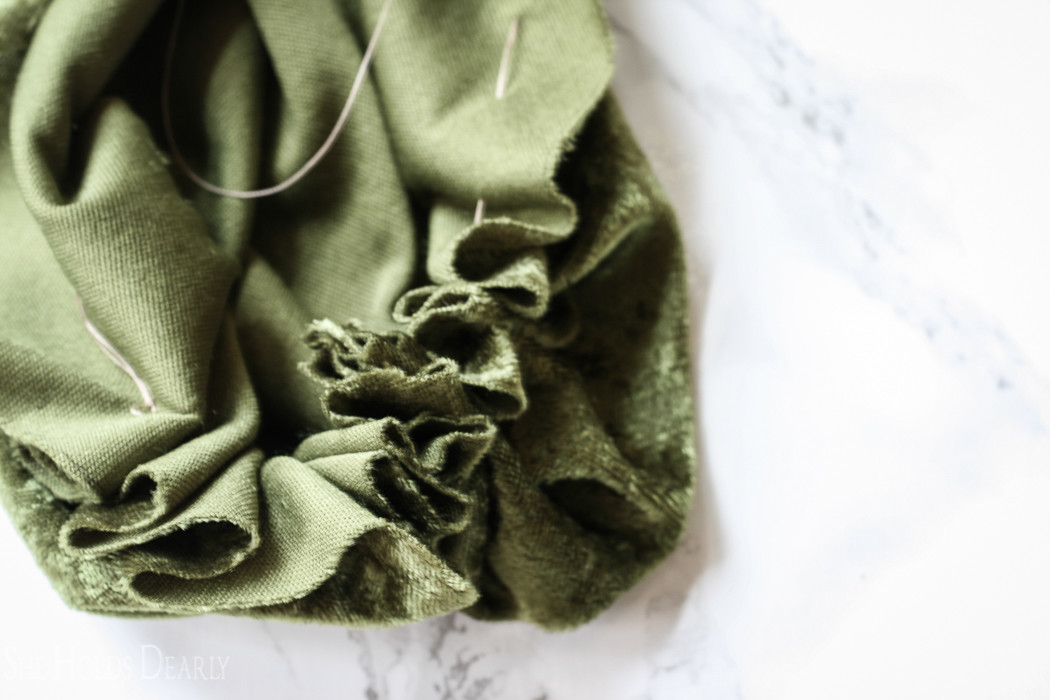
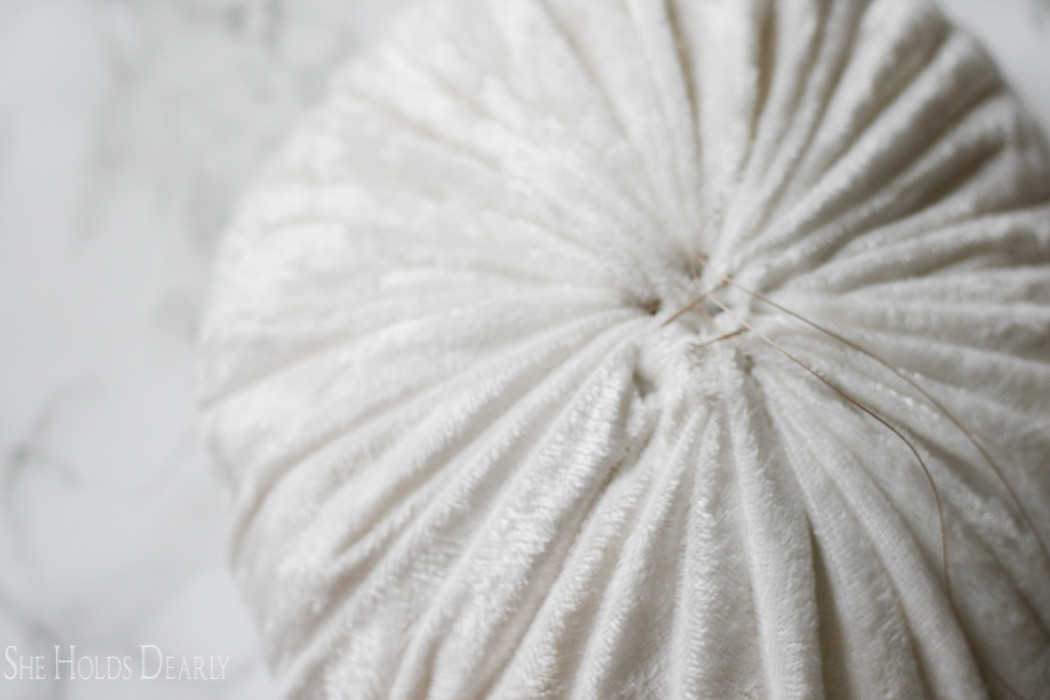
- Pull on the thread as hard as you can and tuck the edges inside. Now stitch across the top a few times to hold it in place. I also liked stitching straight through the bottom a couple of times so they had an indent for the stems. Use an upholstery needle for the large pumpkins.
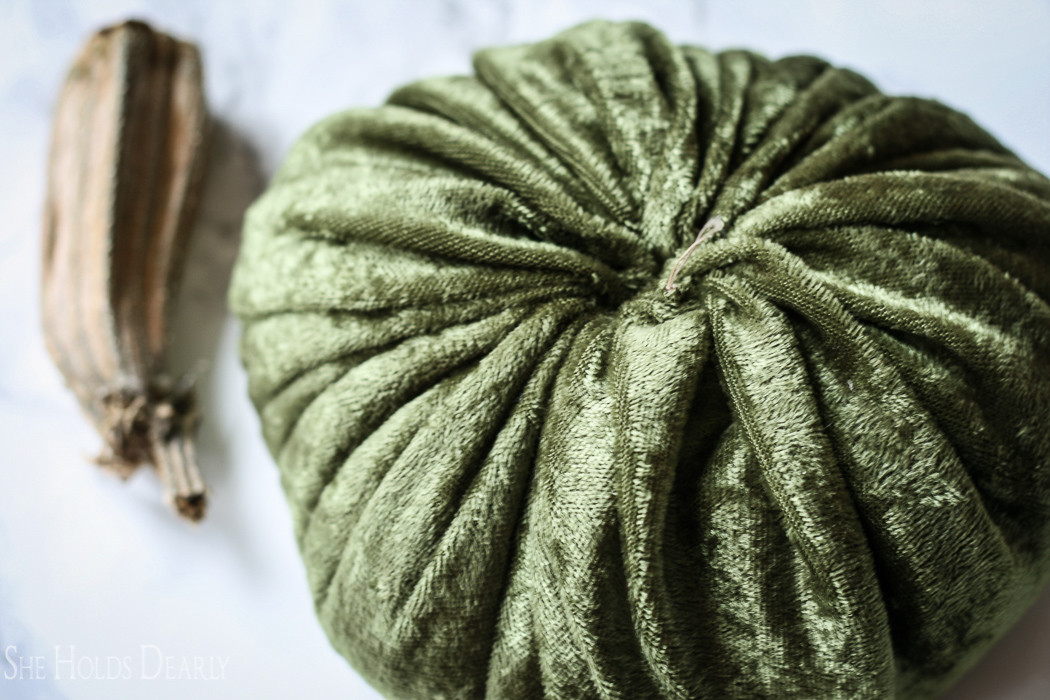
- Knot the thread, cut and hide the the extra thread inside the pumpkin.

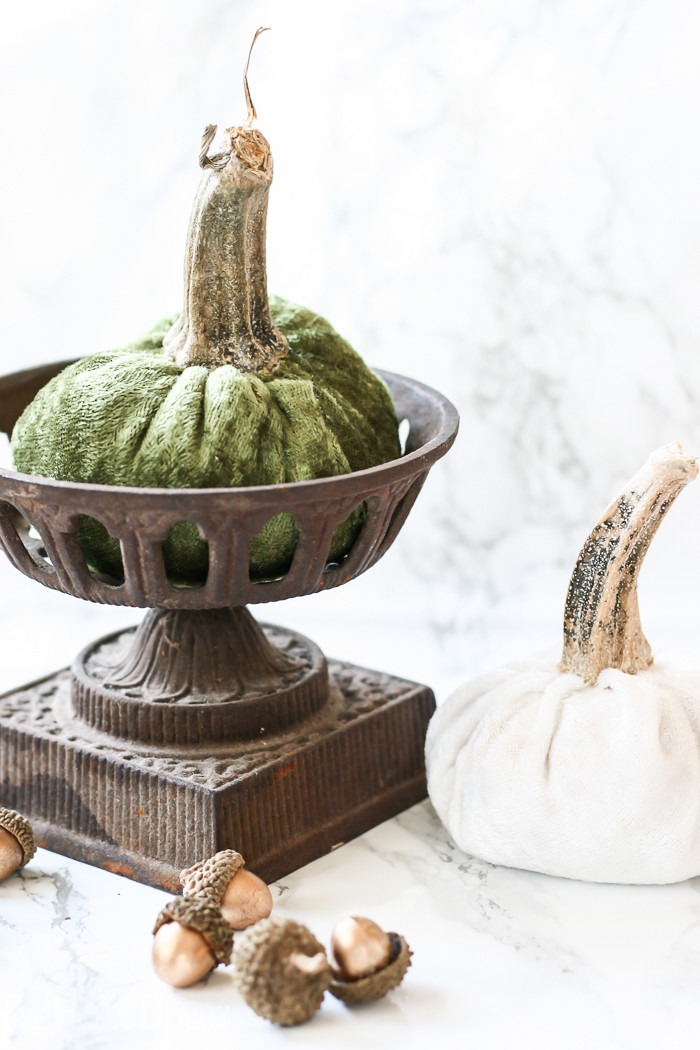
- Hot glue the stem in place, but be careful to not use too much glue or it will show on the velvet.
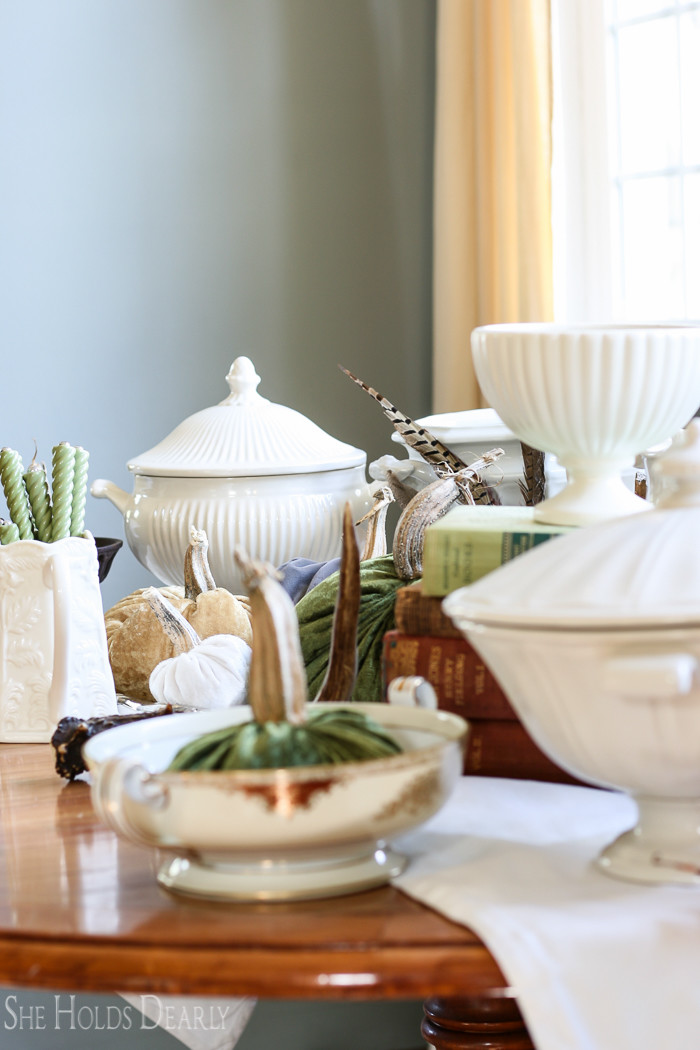
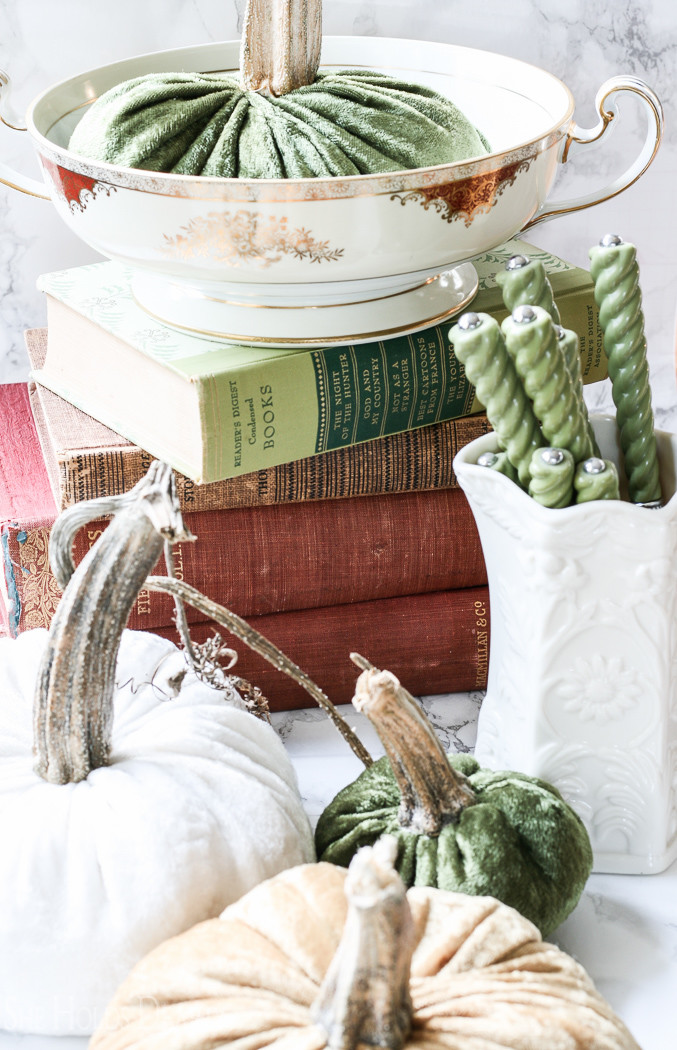
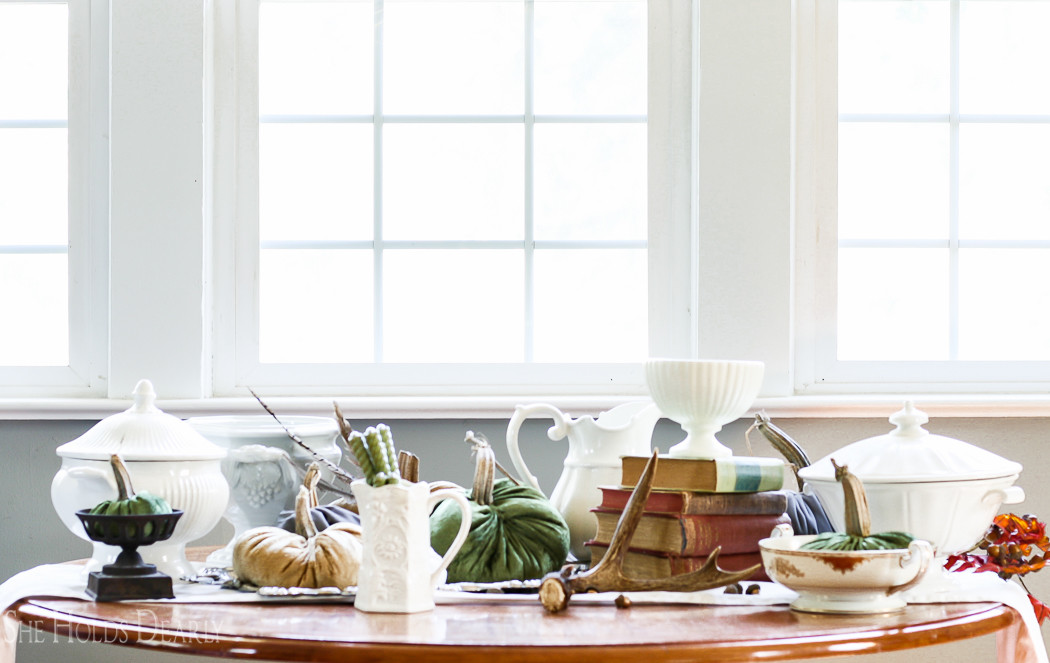
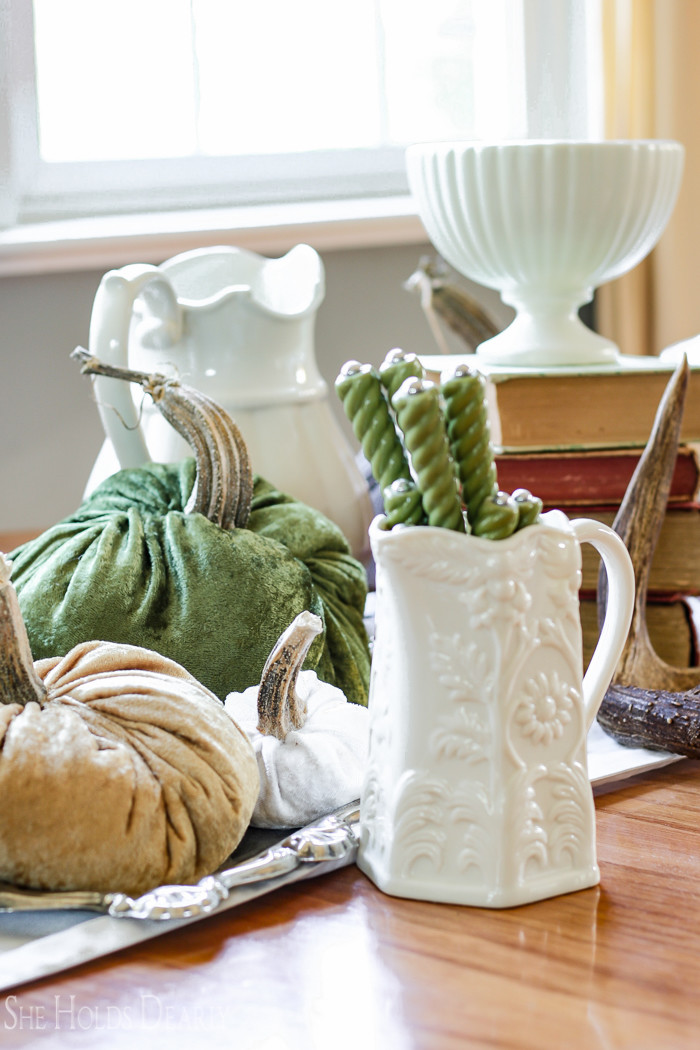
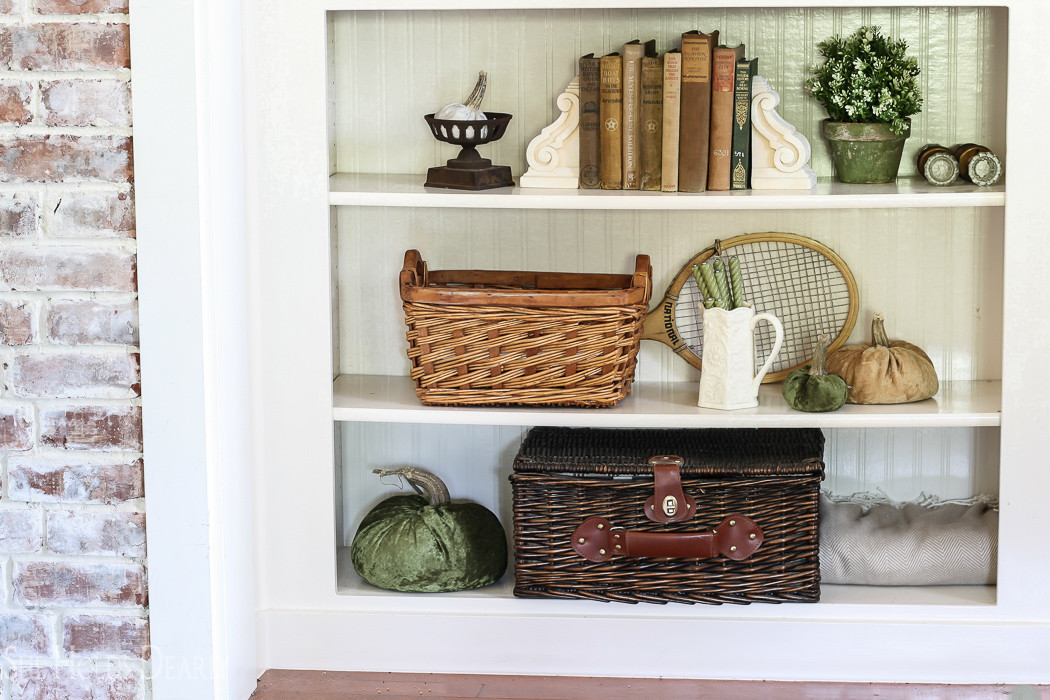
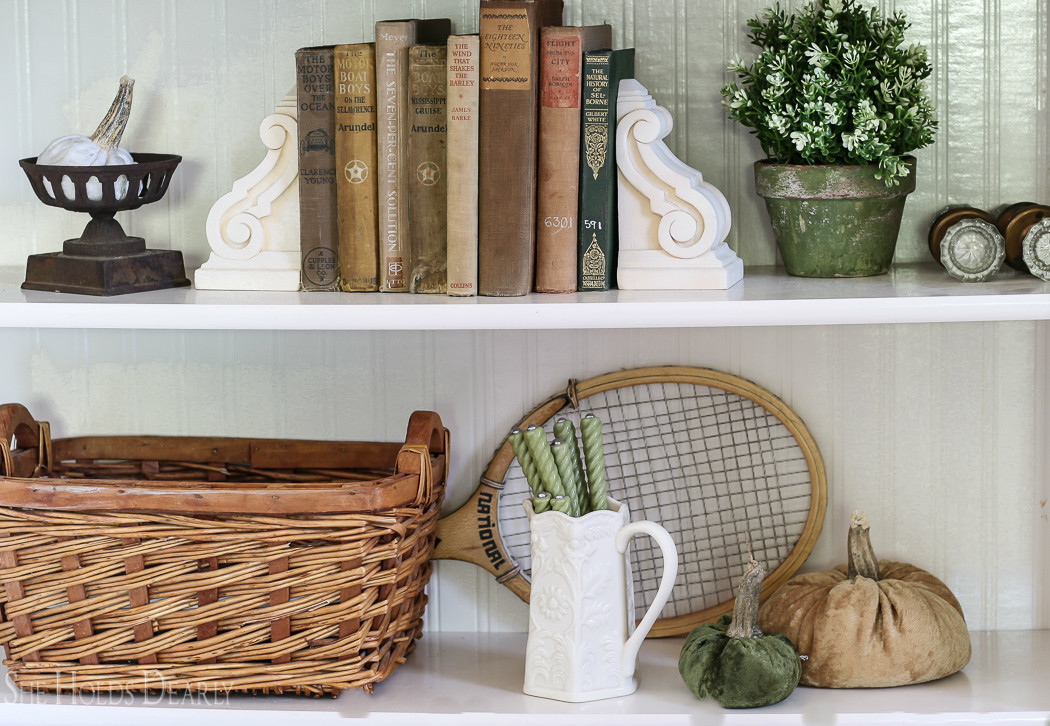
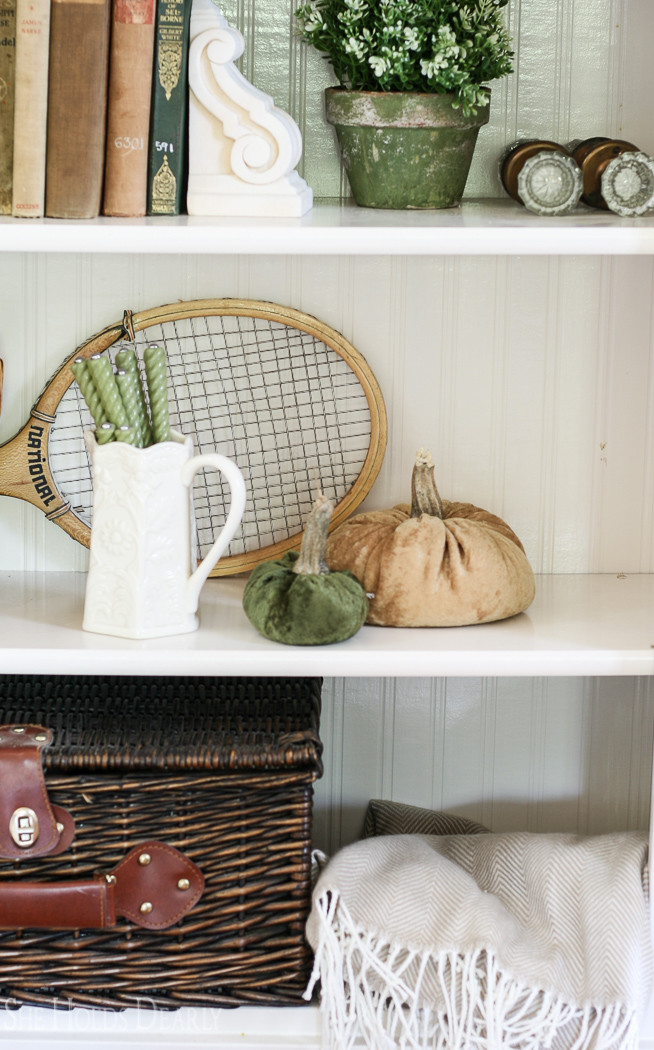
These little pumpkins look so good anywhere I put them in the house and
I would love to have them marching down my Thanksgiving table this year, all mixed in with vintage books and ironstone soup tureens.
Scroll down for a fun surprise and links on where to purchase these pumpkins!
Shop This Look
[show_shopthepost_widget id=”2766390″]
I am so excited to be part of a Farmhouse Fall Accents Blog Hop today.
There are several other beautiful, autumnal ideas awaiting you from these talented women.
Enjoy!
![]()
Decorating on a Budget for Autumn @ Knick of Time
Books and Pages Fall Farmhouse @ Hunt & Host
Fall in My Farmhouse Dining Room @ Worthing Court
Fall Open Shelves @ Stone Gable
Fall Wreath Update Using Floral Picks @ The Everyday Home
How to Make Velvet Pumpkins @ She Holds Dearly
Farmhouse Fall Decorating @ Seeking Lavender Lane
Autumn on the Porch @ Hymns & Verses


