Shiplap Walls in a Closet Makeover
Closets can be the WORST sometimes – and this one was overdue for full closet makeover.
Have you ever noticed that once a space is decluttered and decorated well people just seem to respect it more? That is what happened when we finished renovating our master bathroom and powder room!
One time I had a friend give me the advice of picking off the five most frustrating spaces in the house and just getting those organized. It’s the whole 20/80 rule, focus on the the 20% that gives you 80% results.
For me, this walk-in closet is the most anxiety producing space in my house.
I love it because it is the only closet space in the whole downstairs area, you can walk inside it, it has a gorgeous window and a french door.
All of which give it plenty of potential for a fantastic closet makeover.
You can follow this project along in more detail by following along on Instagram.
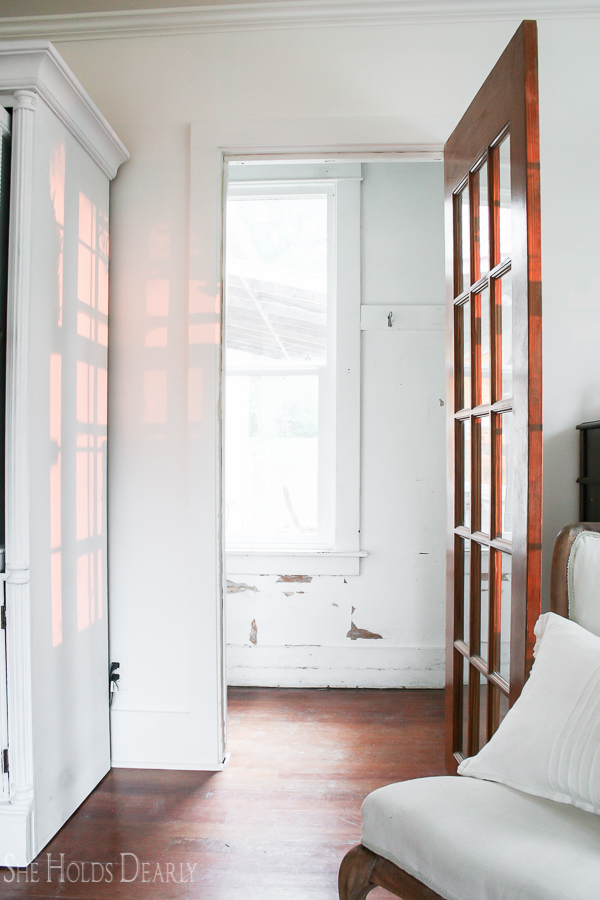
However, I dislike it very much because whoever came before us used flat paint, the lath and plaster is chipping and crumbling, there is no light and it is a terrible catch-all space for all the junk!
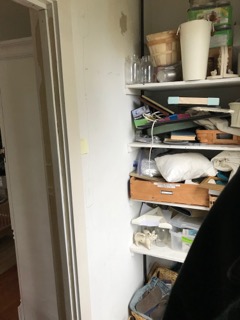
I have to declutter it several times a year and it still looks so bad.
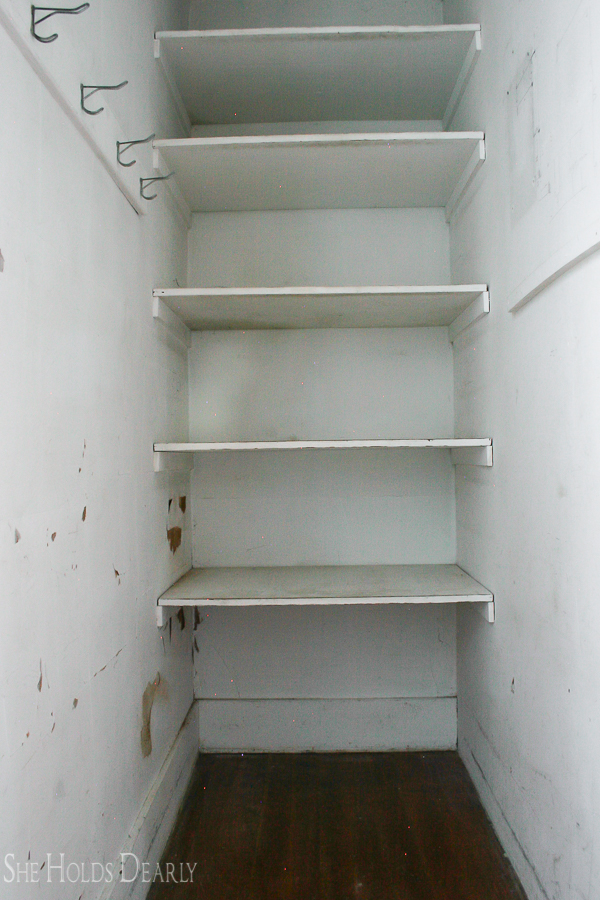
If you walk thru the door and turn right you see these shelves, this is where all the toys are kept.
The week before Christmas I had my kids go through and declutter using the KonMarie method.
I believe in teaching kids this valuable life skill. Here is a decluttering flowchart if you want to do this with your kiddos.
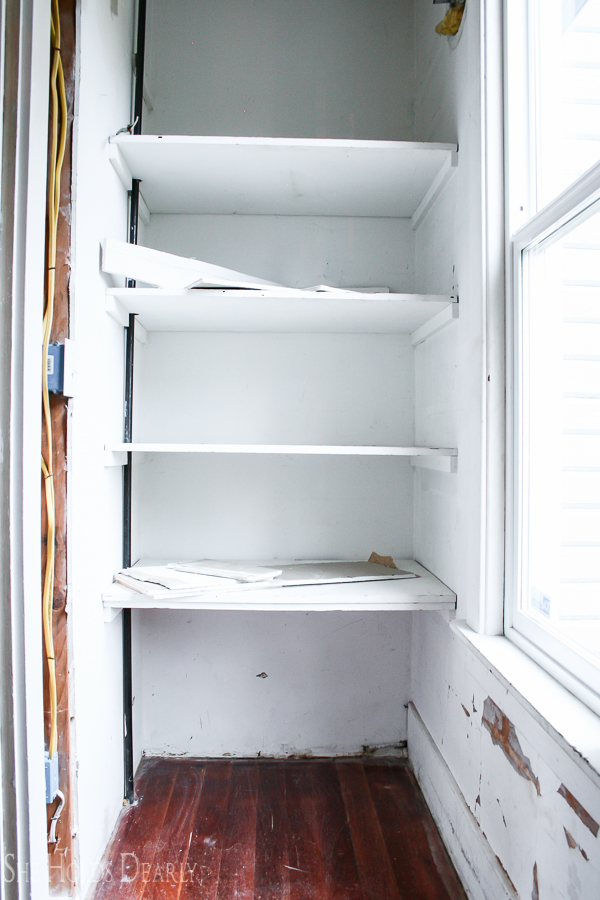
Then, if you turn to the left, you see this. I use this space more like a pantry for household items.
First, we cut into the wall so we could add some lighting.
I chose these jelly jar lights by Hampton Bay. And only $5 each at Home Depot!
(Updated 2024 – These lights are $8 each now.)

Next, we removed all the shelving and purchased 4′ x 8′ sheets of underlayment (thin plywood) from Home Depot.
These were cut into six inch strips using a table saw (you can have Home Depot do this for a small fee if you want). Cut them the long ways.
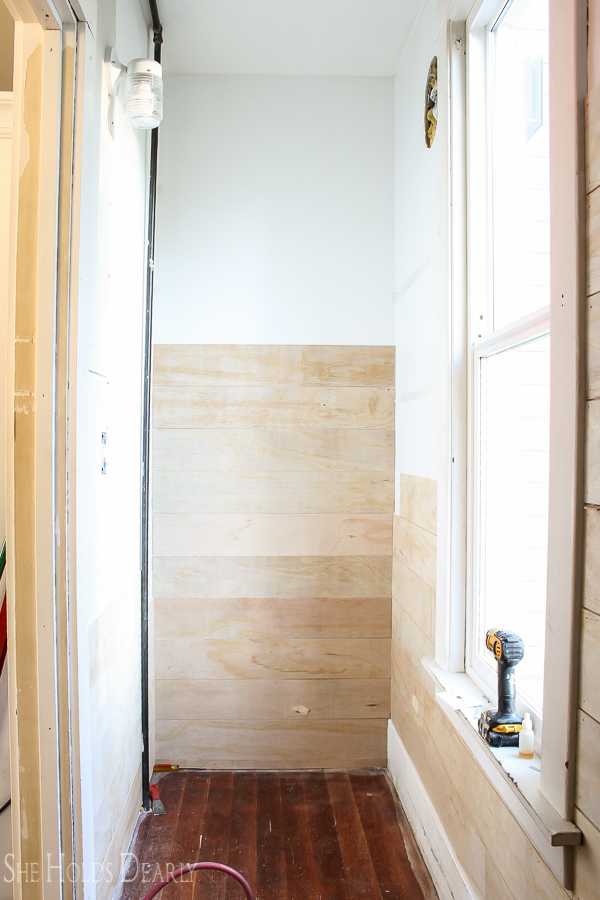
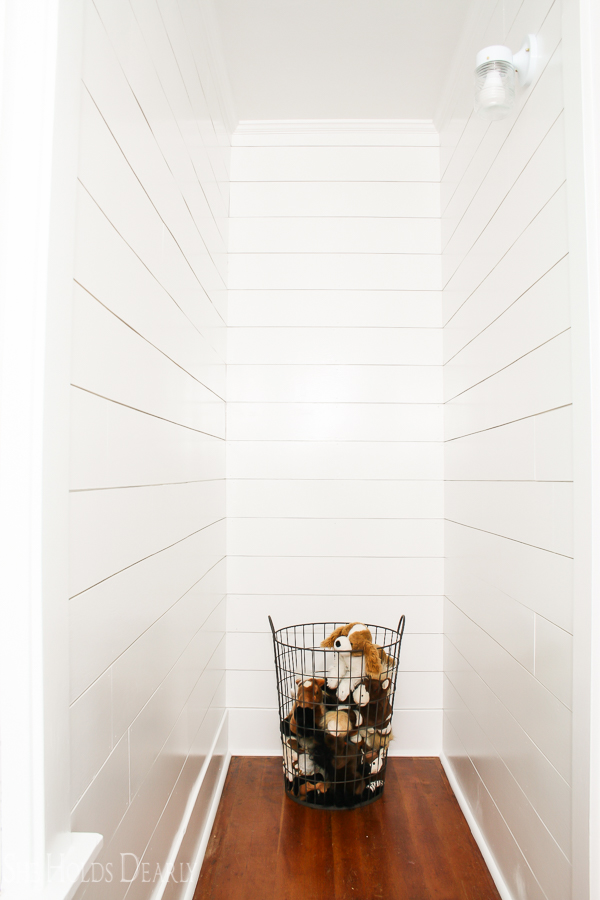
Starting at the bottom, we installed the “shiplap” using a nail gun, finishing nails and a level.
We had read that a lot of people use a couple of nickels placed between the boards to get the spacing just right, but our kept falling out.
My husband ended up just cutting a thin strip of wood to use as a spacer- see below.
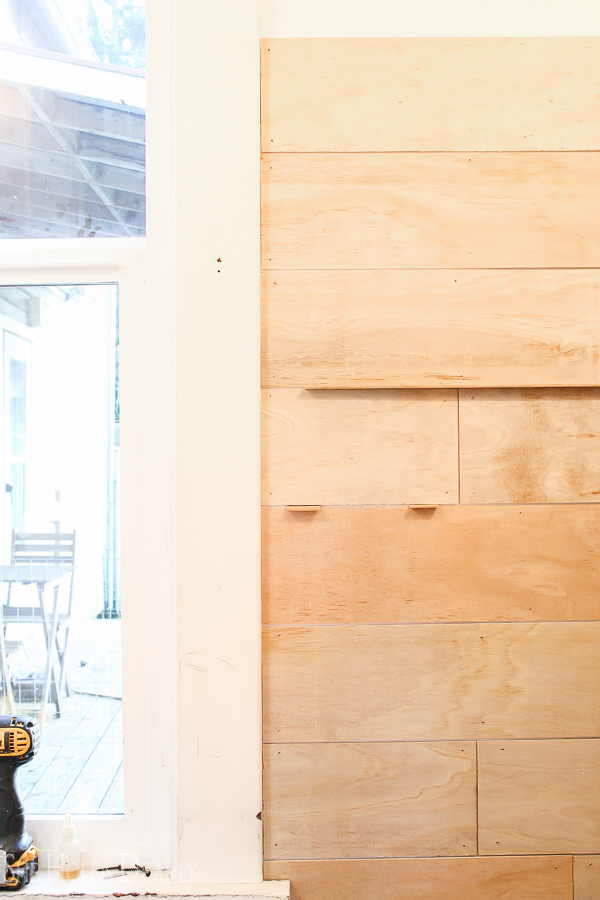
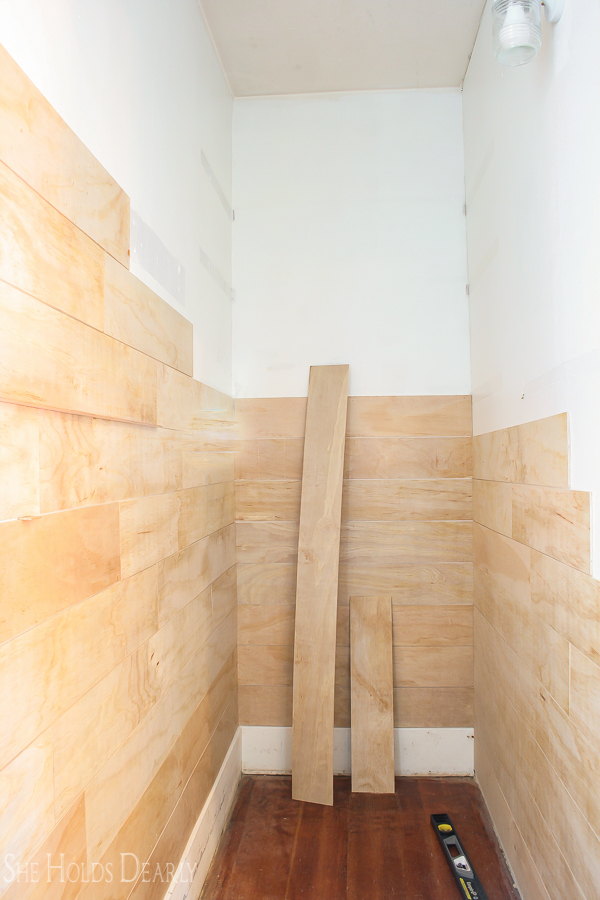
Continuing adding planks up the ceiling, we finished with a simple crown molding and quarter round along the floor.
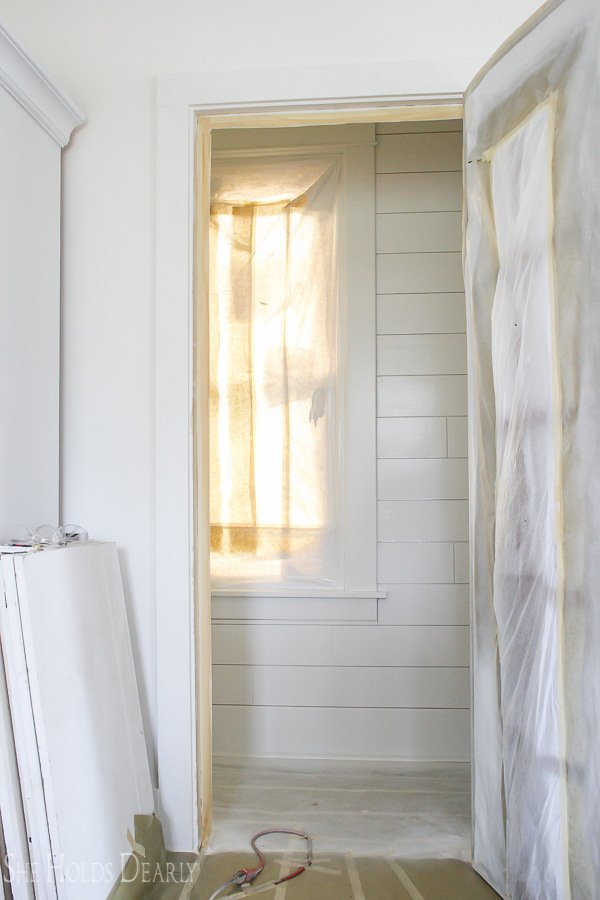
Once that was done, it was time to paint. Normally, a painter would fill all the nail holes, but we decided to skip them and let them lend to a more rustic feel.
Because it was enclosed, it was easier to just mask off the floor, window, door and electrical components and spray the whole space.
One coat of primer and one coat of oil-based paint did the trick!
Note- once we painted, there were a couple of spots where the plywood bubbled. We decided to just leave the imperfections, again, for a more rustic feel.
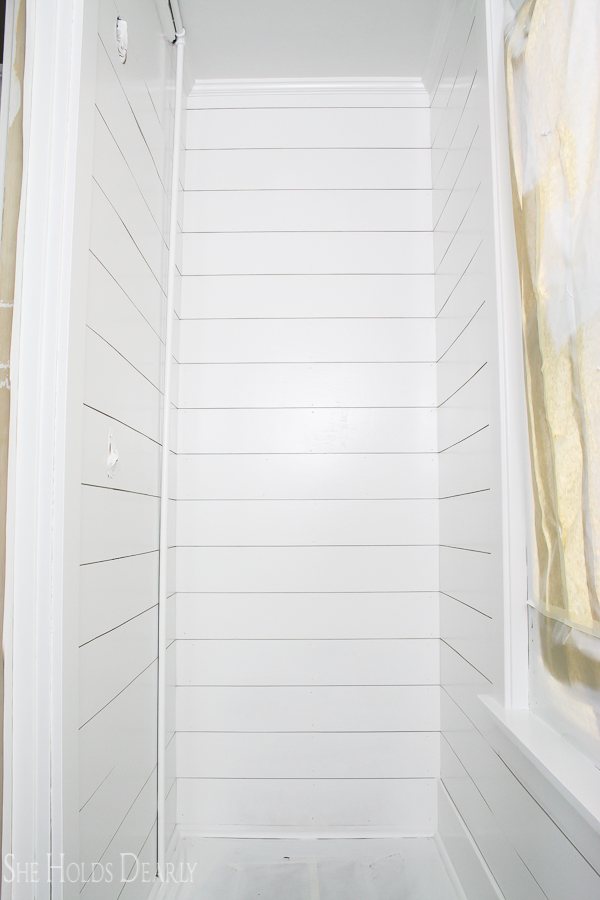
I keep going to admire the new clean, bright closet. Let’s take a peak!
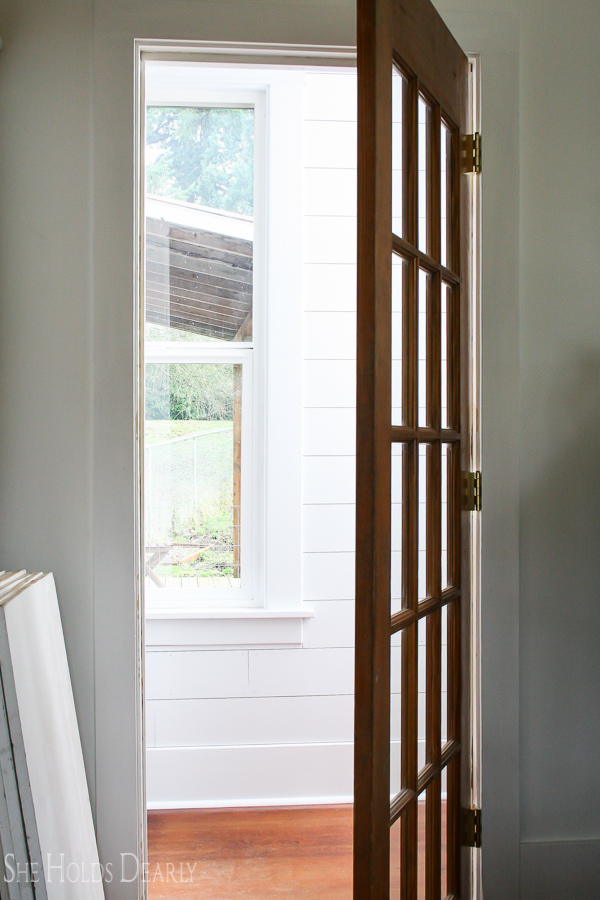
I thought I would put a curtain in here, but I decided against it because the original millwork is so lovely.
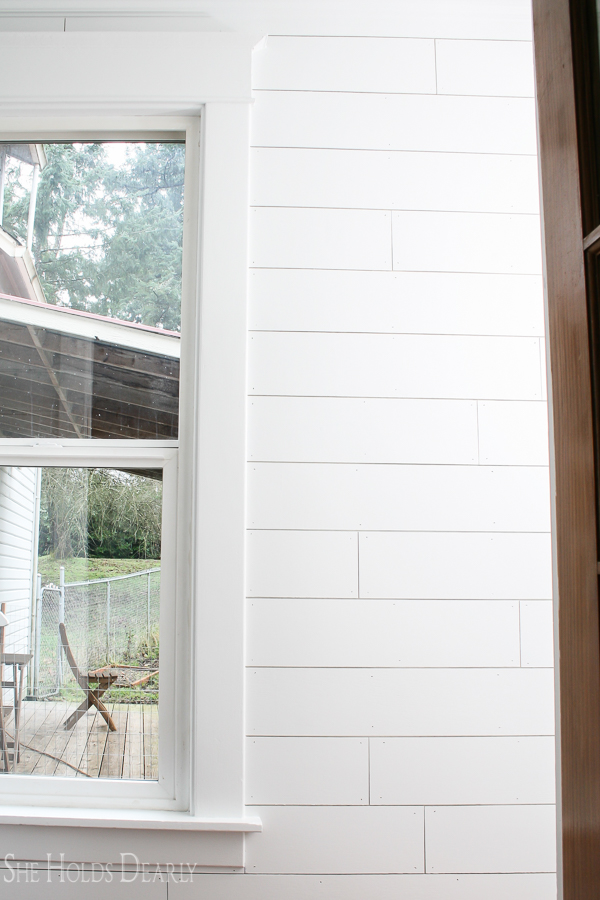
The pantry side. . .
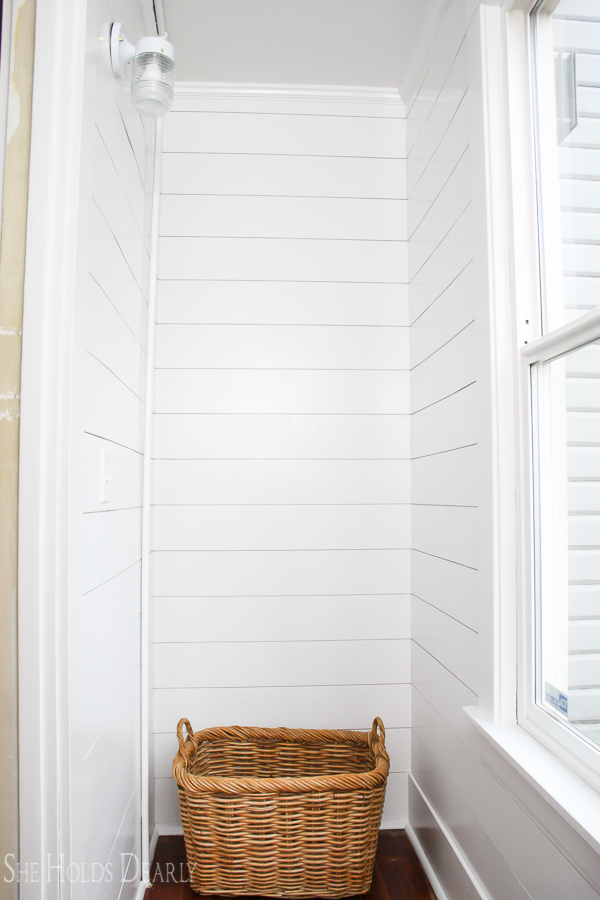
The toy closet side. . .
Next up we will re-install the shelving and bring in all the gorgeous vintage style containers- my favorite part!!
Pin This Closet Makeover for Later:
