How to Write Anything on a Chalkboard
There are so many amazing chalkboard designs out there. But, how does the average girl get that design onto her chalkboard? I will show you a few simple steps that will enable you to write ANYTHING on a chalkboard.
New Years always gets me thinking about hopes and dreams, fresh starts and resolutions. Clean slates, if you will, for so many things in our lives. In honor of the clean slates theme, I thought we could talk about our chalkboards. I think its safe to say that the chalkboard craze is not over and yet how many of us are truly happy with the versatility of our chalkboards?
Here is my largest and current favorite chalkboard. I found a large painting at a rummage sale, the frame had great detail, but it was painted gold with the black speckle from the 70’s and the artwork itself was pretty tacky. You know the type?
Well, my husband surprised me by turning it into a chalkboard for me when I wasn’t looking. He knows me so well.
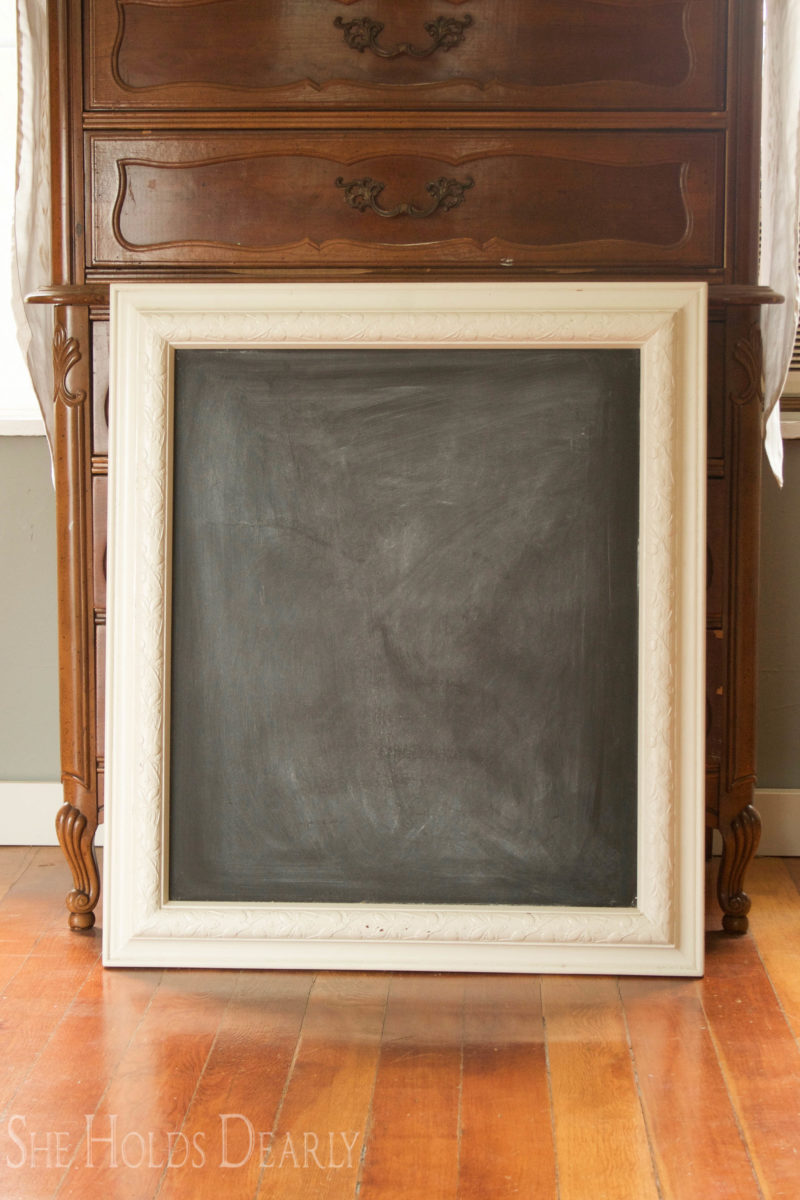
I was so excited to get going with it! I had these grand visions of changing the design out every month and representing all the seasons.
The first time I used it was for our church’s Christmas party, it took me hours and I hand lettered the menu for the night. It sat on an easle by the front door.
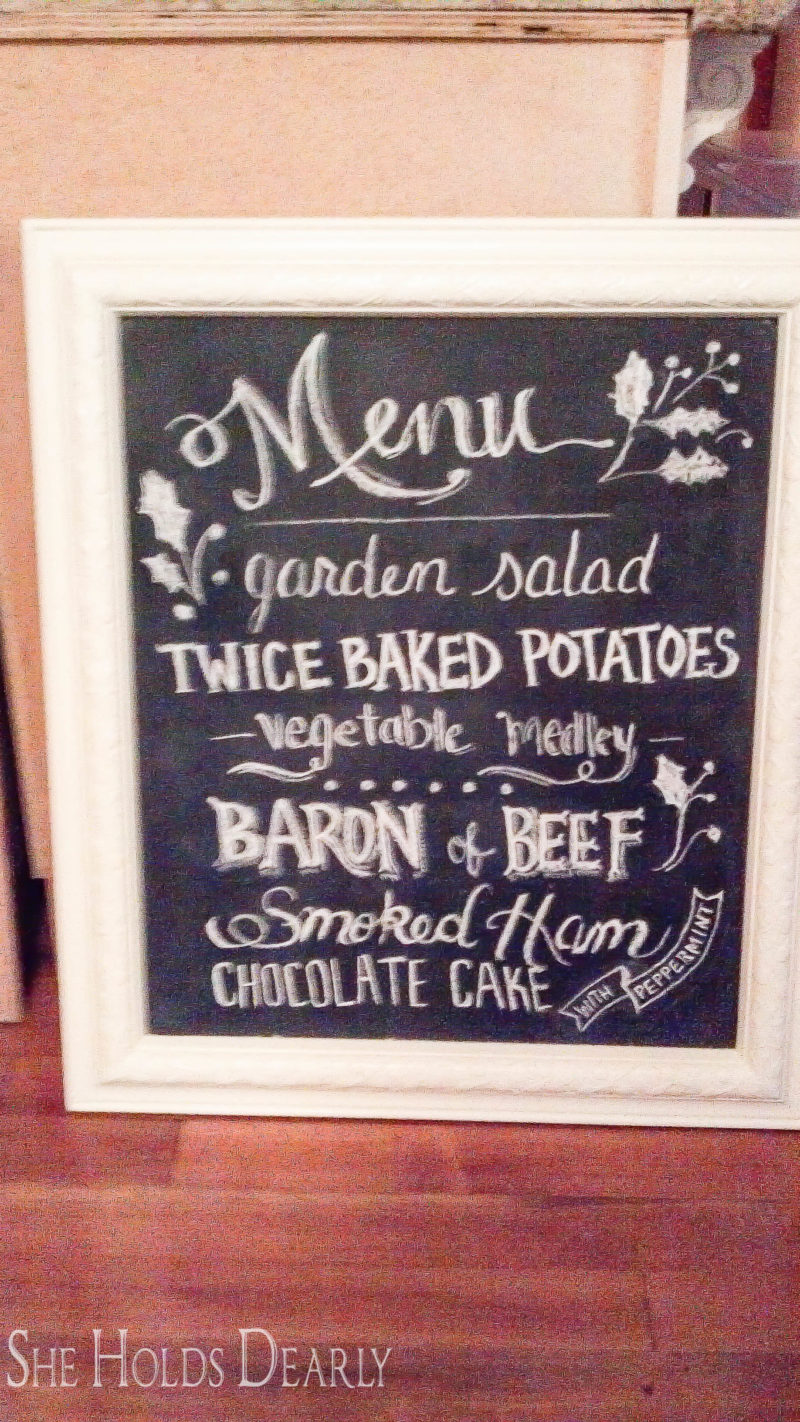
The problem was that I was a little traumatized by how long it took to actually get a design on that chalkboard and so the dinner menu stayed on there for a couple of years. I mean, who has five hours a month to mess with a chalkboard? Not exactly what I had in mind.
Enter the transfer method.
I have tried several different techniques, but my drawing skills aren’t especially amazing, so I need something pretty reliable.
The first thing you will need to do is find a design you like. If you just want words in different fonts, you can print them out and cut them into pieces to place on the chalkboard as desired.
If you want a more complicated design, Pinterest is a great place to start. You can find some of my favorites for winter here and Valentine’s Day here.
Print the design from online on regular sized printer paper and take it to an office supply store. I use Office Max. You will need to know the size of your chalkboard, too, but don’t include the frame in your dimensions. Mine is about 20″ x 25″. Have the store make you an enlarged copy of your design, one that will fit your chalkboard. I think mine cost $1.80. Not bad!
The chalkboard design that I will be using today is from Mountain Modern Life.
Gather some tape, a pencil, several pieces of regular chalk and some water.
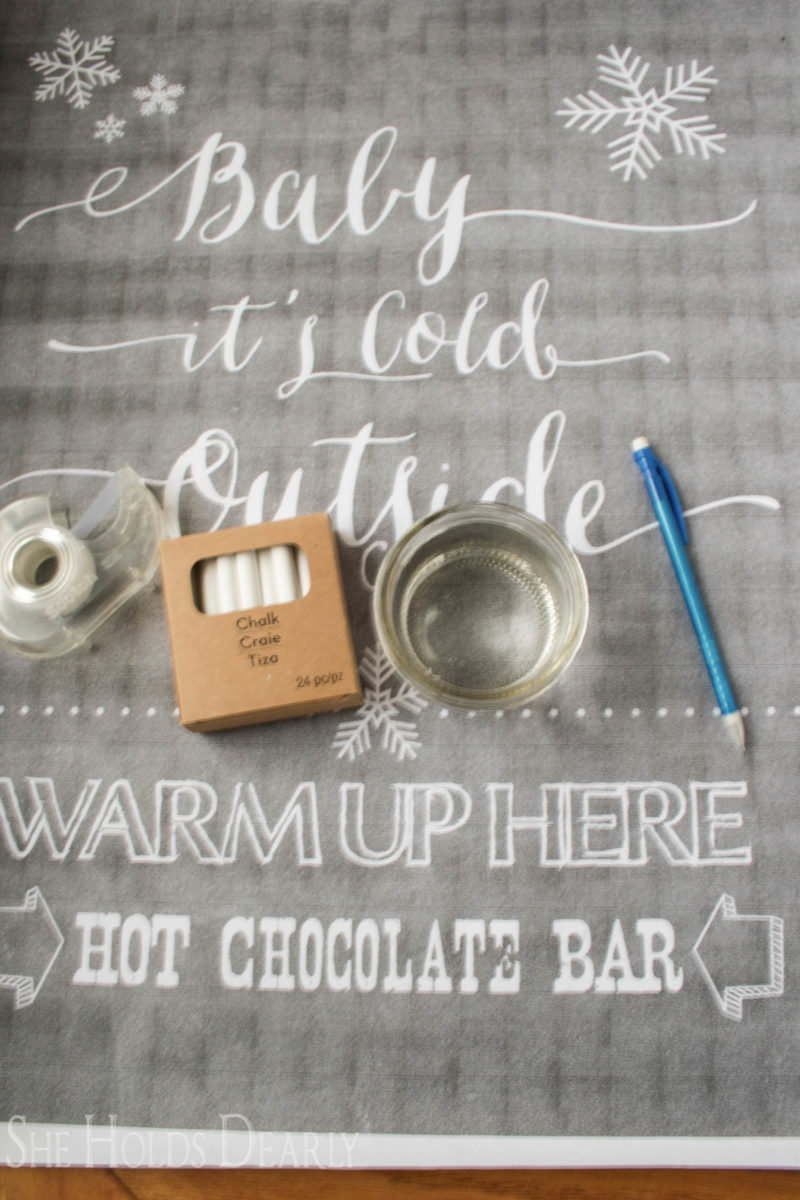
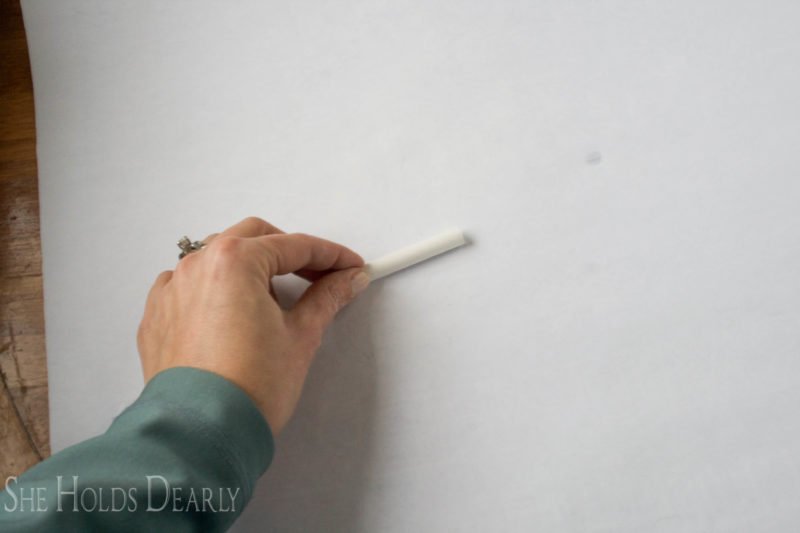
Now, rub the entire back of your enlargement with the side of a piece of chalk, like how you did a leaf rubbing with a color crayon when you were little.
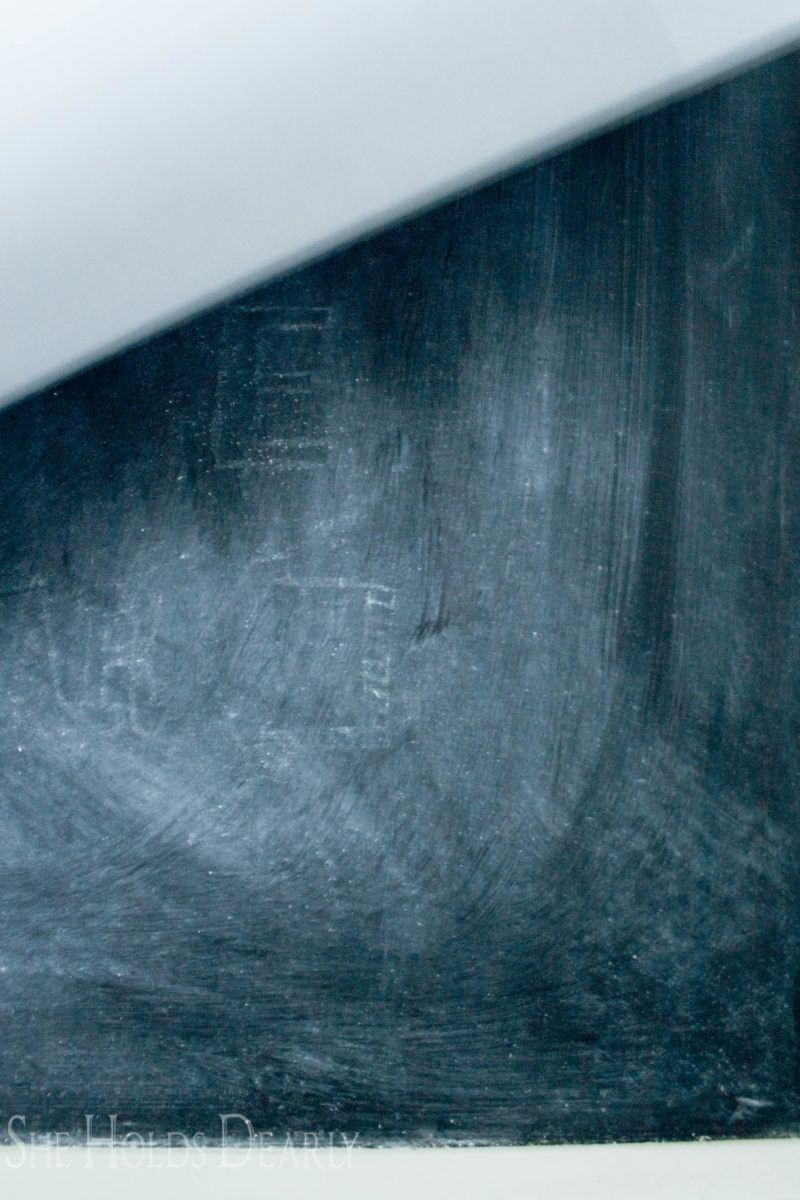
Flip the paper back over and tape into place on the chalkboard. Now trace over your design with your pencil, one section at a time. When you lift the paper you will see very light chalk lines to fill in. 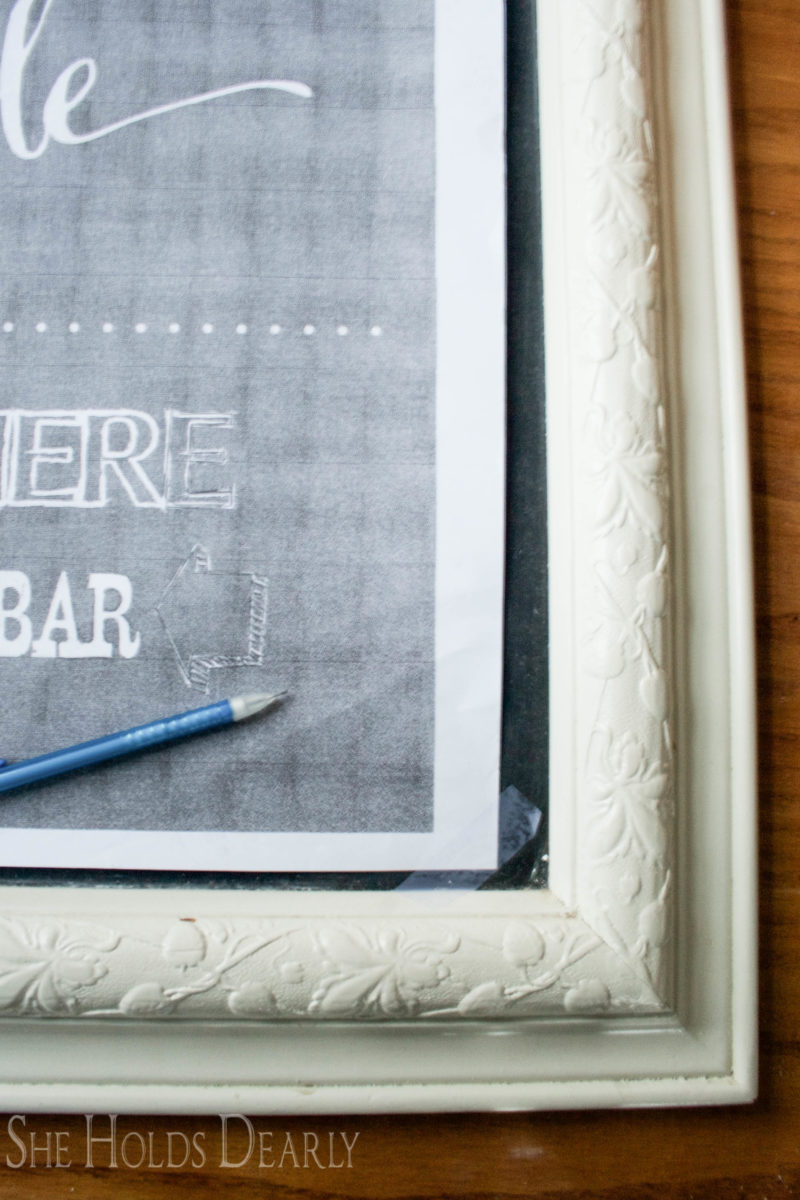
Sometimes, my design doesn’t transfer hardly at all and I have to go back over the back of the paper really hard with the chalk rubbing again, just do the section you are working on to make it easier.
Now, comes the fun part. Dip the chalk in your cup of water and start filling in your design on the chalkboard. The water makes the chalk softer and as it dries it brightens and sets. I continually flip my paper back to check the design as I am filling in with chalk.
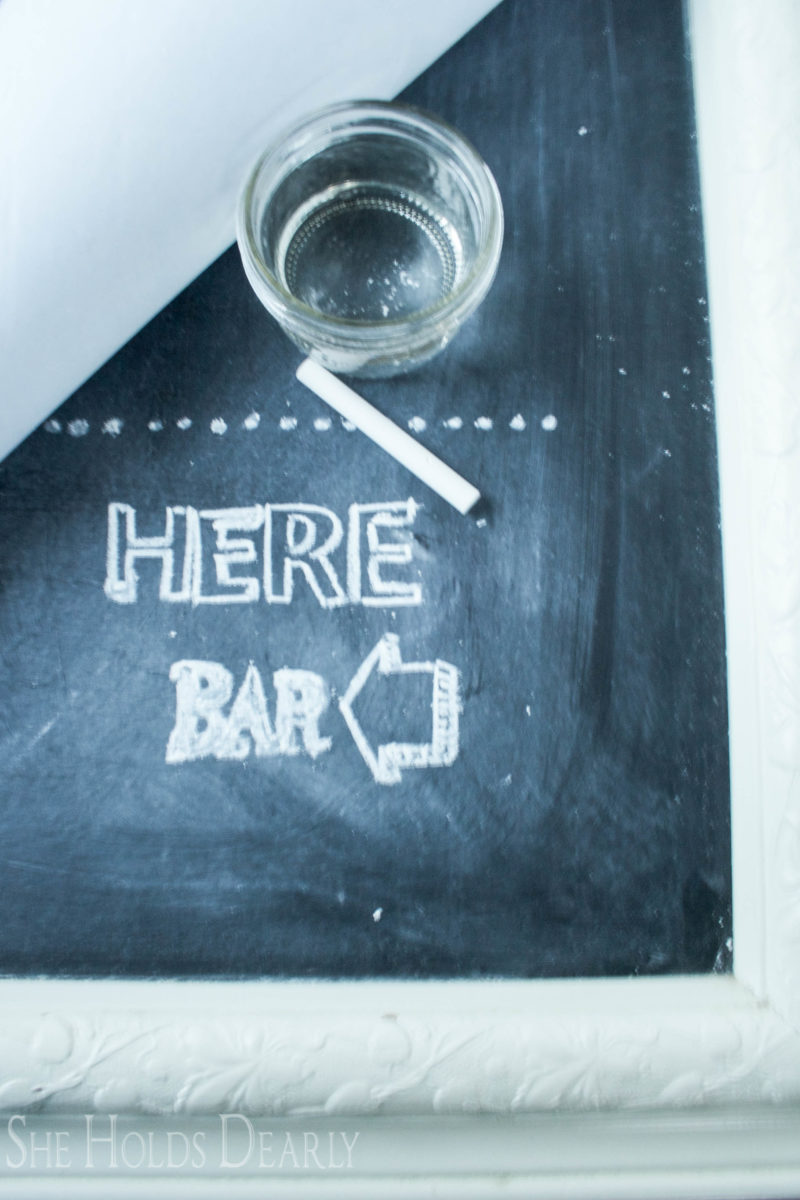
Continue tracing, peeling the paper back and filling in with chalk.
I like to work with a pretty sharp edge on my chalk, too, so I periodically break it in half to get a good edge.
And here we are. . .
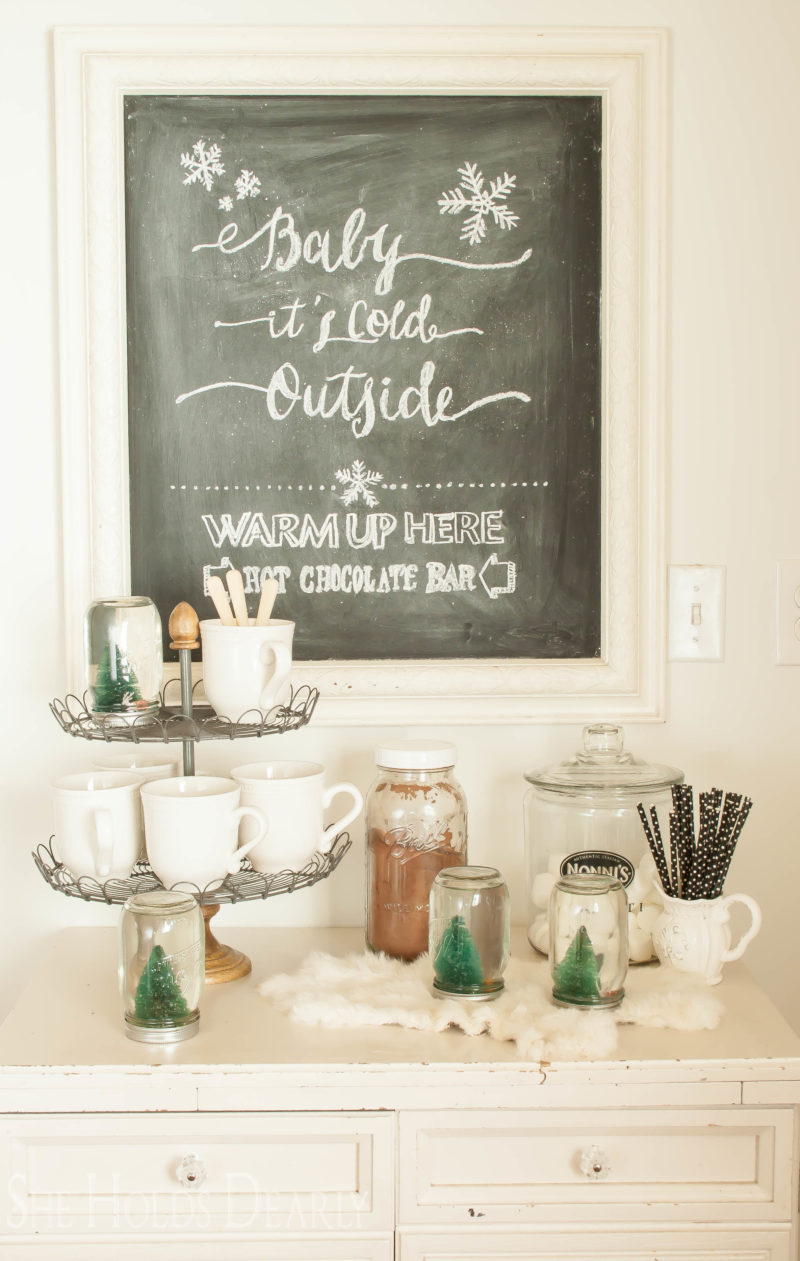
I now have no fear of the changing seasons and the inevitable chalkboard design demands.
And now you can write ANYTHING on a chalkboard!
Have fun!
More Tips and Tricks
5 Steps to Elegant Table Decor
