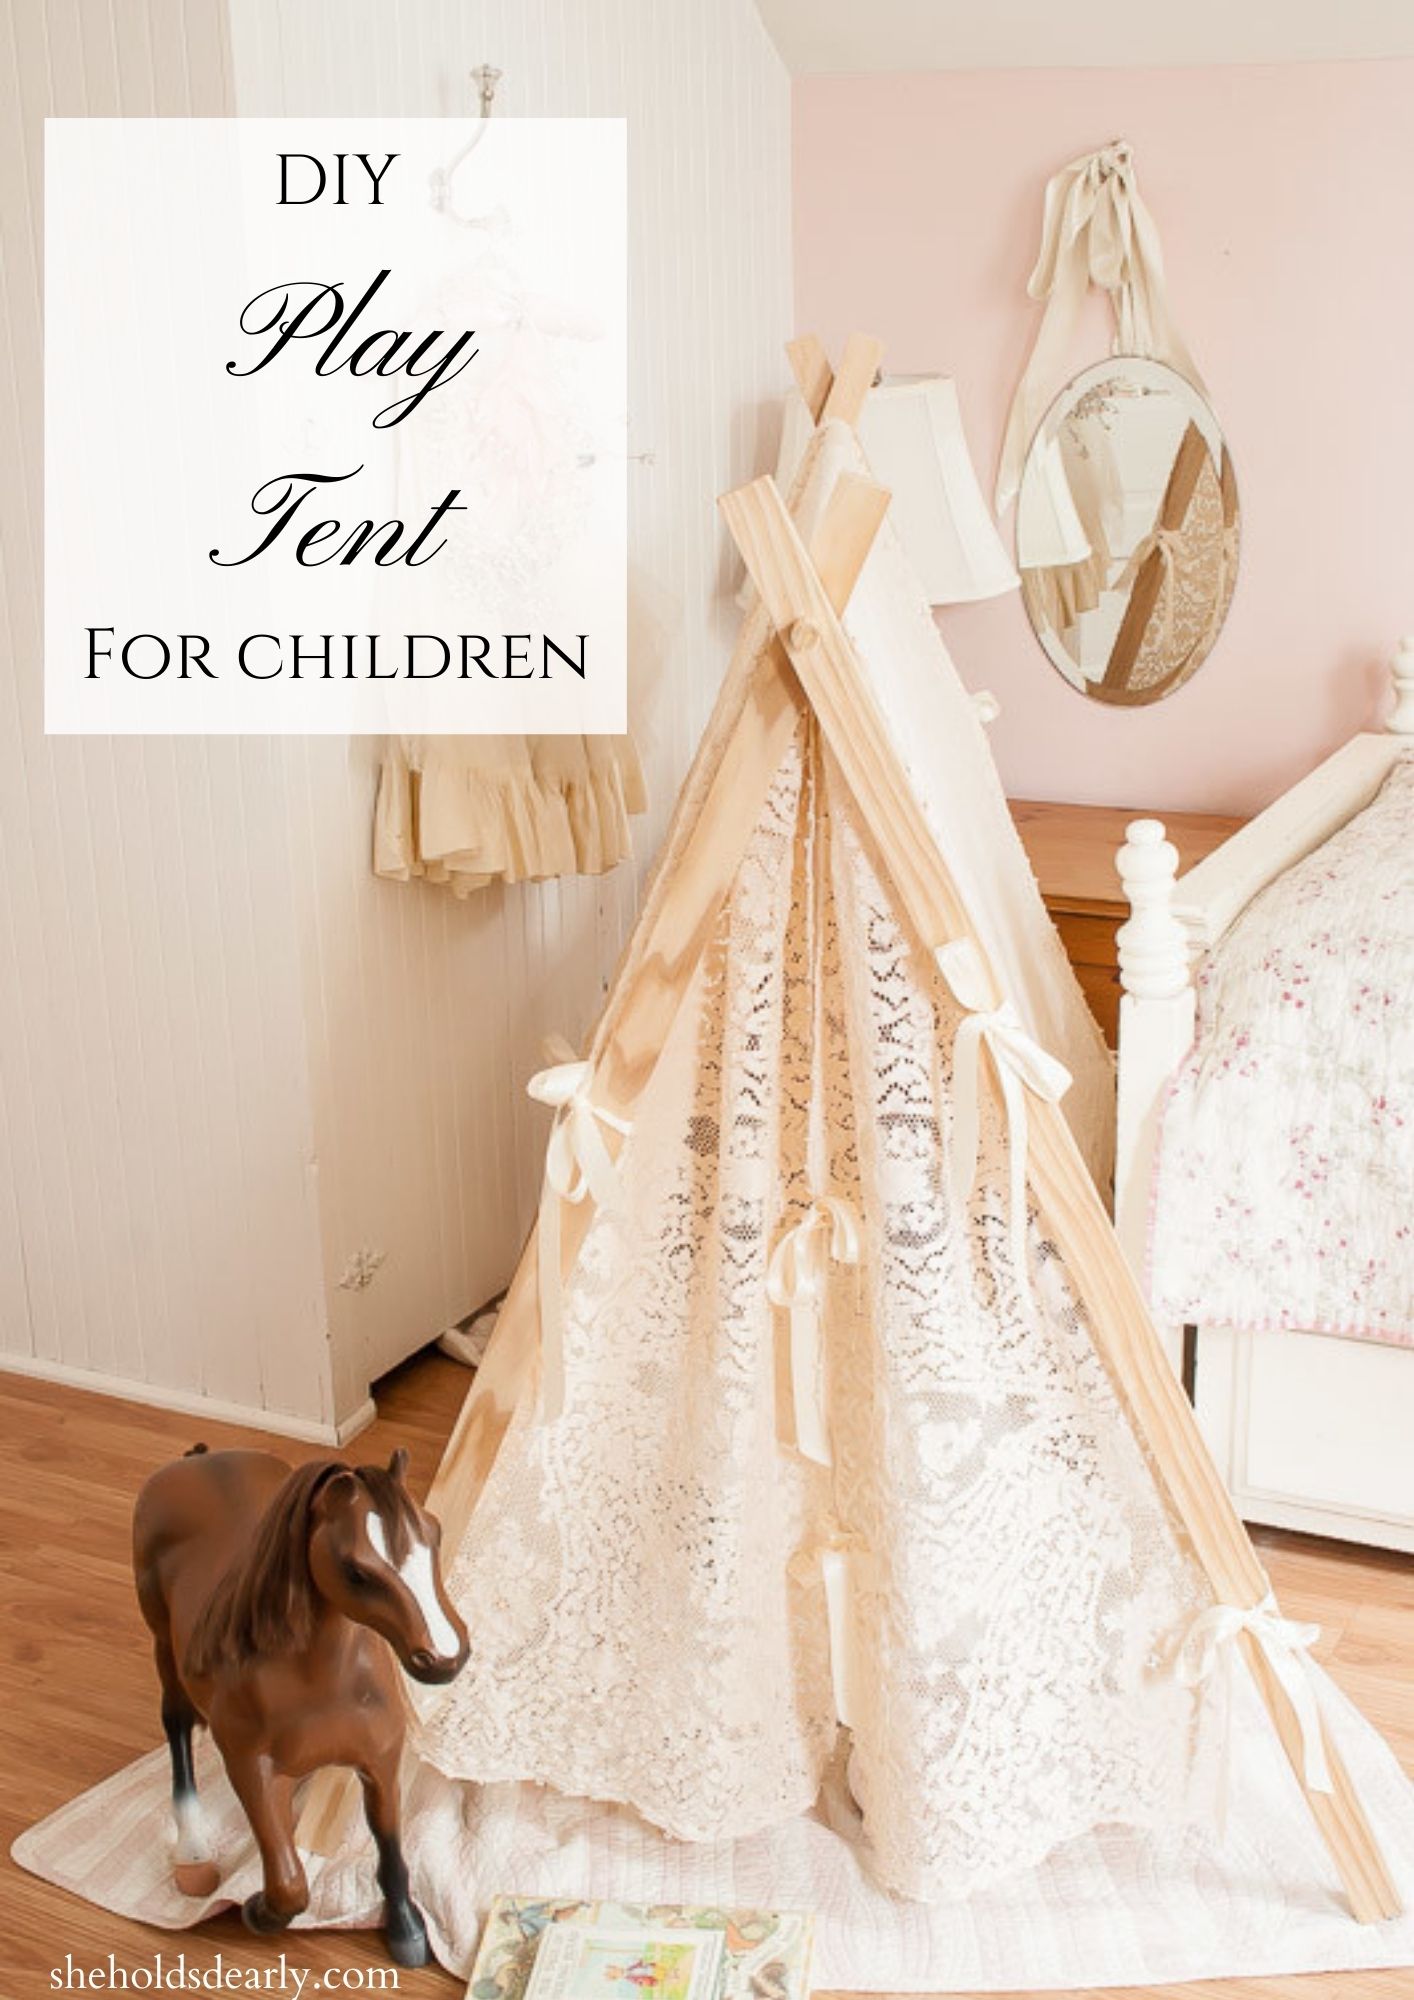
DIY Play Tent for Children
Looking for the perfect gift for a child in your life? Look no further than this DIY Play Tent!
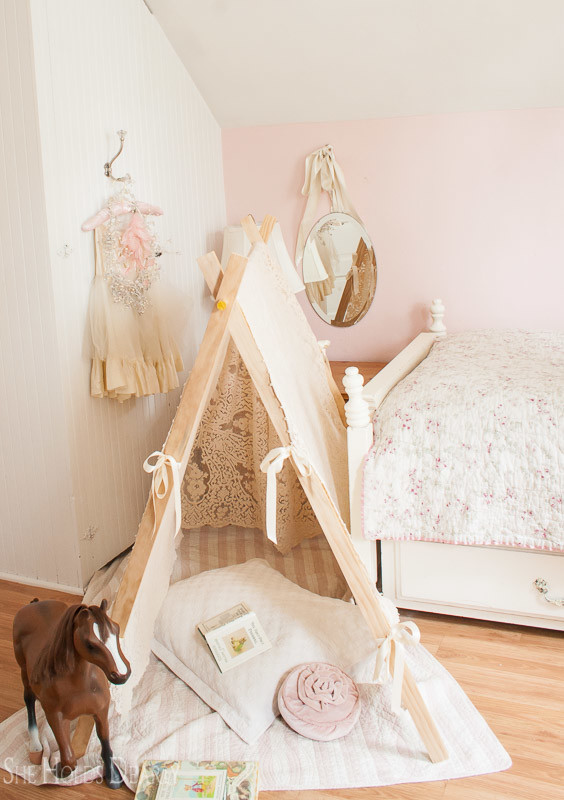
This DIY play tent can be made with any fabric or color options you can dream up, so don’t let the lace tablecloth shown in this tutorial get in the way of your plans!
I made these DIY lace tents for my nieces’ Christmas gifts and they turned out so sweet.
When I first got the idea, however, I was at my friend’s house for her little boy’s birthday party. It was a camping theme and she had made these tents in a more masculine style than I have done here.
You can also easily adapt them into a more gender neutral style for a shared play space!
This particular A-frame design is a child-size play tent, but these plans can be modified for a larger child or an adult size version!
How To Pick Your Play Tent Fabric:
First, you will need to decide on your fabric type.
I would stick with canvas or another “outdoor” fabric that you can buy by the yard at your local fabric store for the most durability if you’ll ever want this to be played with outside. For an indoor tent, other materials like linen, cotton or upcycled items like an old bed sheet, or a lace table-cloth can be used like I did in this tutorial!
The perfect size fabric for this tent is 88″ x 44″.
I had some hand-me down table cloths that were 60″x80″ that I made work.
You can also often find these at thrift stores, or there are similar ones available to buy on Etsy.
This post contains some affiliate links. Click here to read my full disclosure policy.
Supplies:
- Material of your choosing, 88″ x 44″
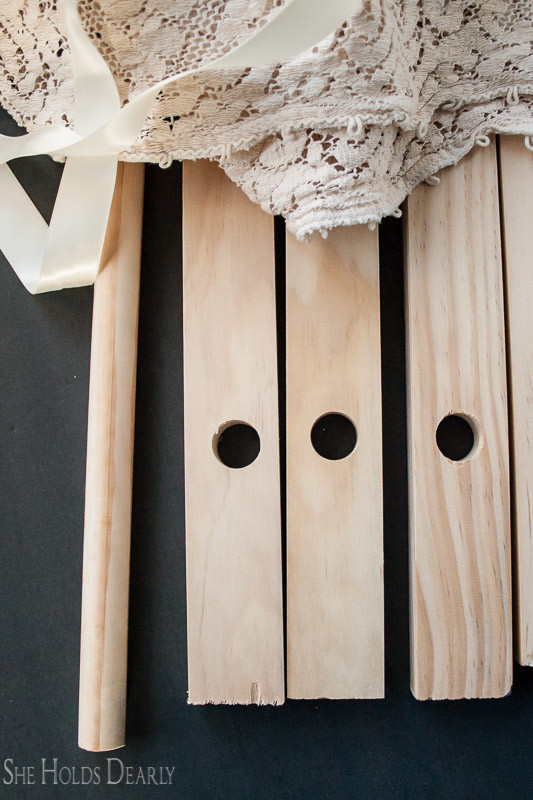
- (4) Wood 1×2’s, each 48″ long
- (1) Wood 3/4″ Dowel, 48″ long
- 3 1/2 yards of 1″ ribbon (string, rope or cording could all work well for the other style tents) for the ties
- Sandpaper
- Paint (optional)
- Measuring Tape
- Pencil
- Drill with 3/4″ spade bit
- Sewing Scissors
- Fray Check
- Matching Thread
- Straight Pins
- Needle, Sewing Machine or Safety Pins

Instructions:
I bought my wood at Home Depot and had them cut it for me to save myself that step at home.
Start by sanding any rough edges on the wood. The corners on my 1×2’s were surprisingly very sharp, too sharp for children.
Paint the dowel and 1×2’s, if desired. I left mine raw.
Now, measure down 4 inches from one end on each of the 1×2’s and mark this spot with your pencil, make sure your dots are centered. Drill a 3/4″ hole in each of the 1×2’s for the dowel to fit through.
Assemble the frame as pictured below.
Note: Without additional modifications, the frame legs can be slippery and might slide. If you are using this on rug or carpet that should not be a problem. If you want to use it on hardwood floors you can set it on a small blanket or quilt like we did in this room.
Another option that I think would work well (I did not try this out myself because it was not needed on these) is to use a product from Home Depot called “Plasti-Dip“. It is used specifically for the legs of stools and chairs to keep them from sliding.
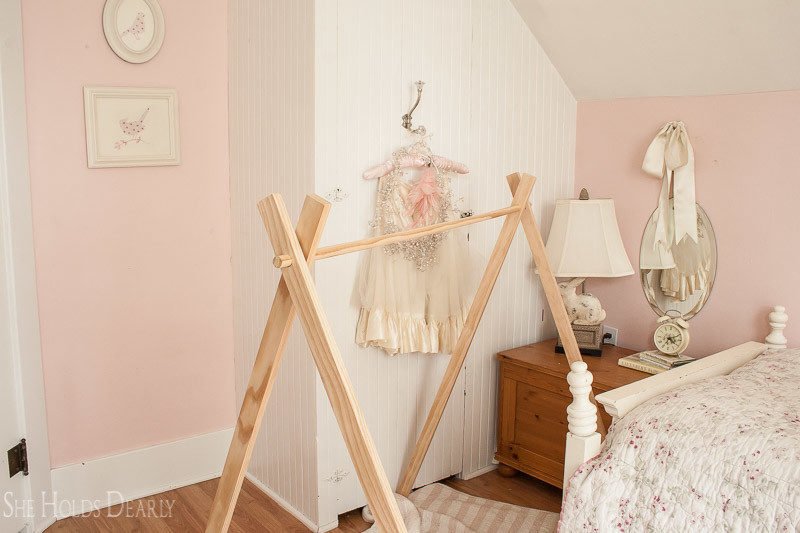
The frame comes together so quickly! I love getting to move right into the tent covering.
Now, cut your ribbon, string, rope or cording into 1 yard increments and either burn the ends (works well with string, cording or rope) or put some Fray Check on each of the ends if you use ribbon to keep them from fraying over time.

If you need to alter or hem your material, now would be the time.
Since my tablecloth was larger than the actual dimensions I needed, I decided to leave it and let it be a doorway that could be tied shut. One end of the tent is open and the other can be closed.
Now, add the ties to the tent, I didn’t measure I just tried to make them even. If I do this again, I will make the bottom ties lower, it would help make the bottom edges of the tent straighter.
I quickly stitched them in place with my machine.
You could do it by hand, as well.
No Sew Option
One of my friend’s just used safety pins and called it good, but I didn’t want my sisters mad at me for injuries involving safety pins and toddlers. I might have to forfeit my “World’s Best Aunt” award if I cut this corner!
Tie the ribbons around the frame . . .
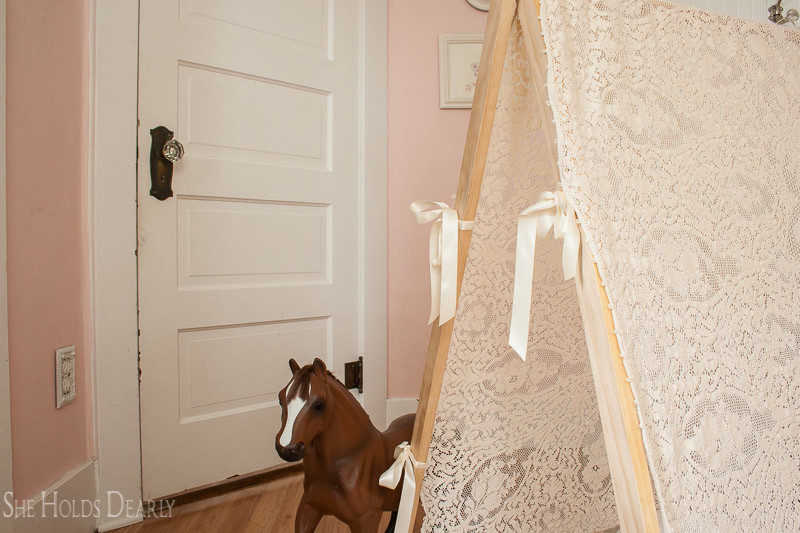
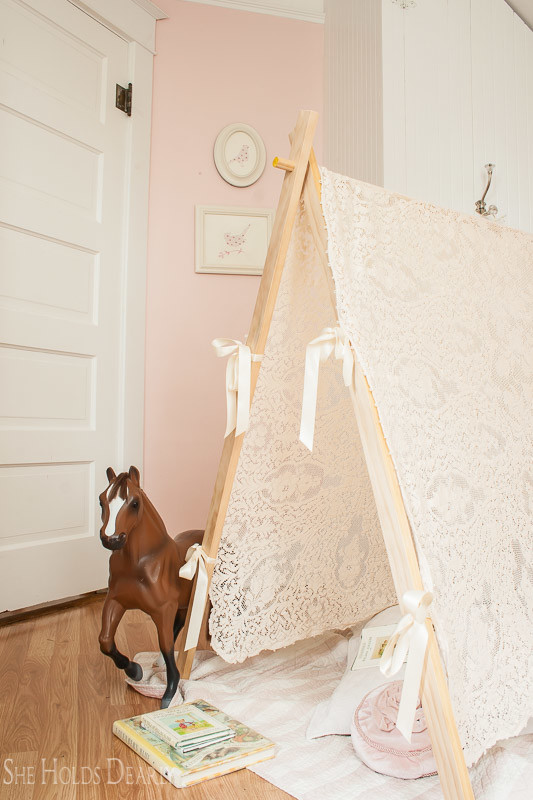
And, there you are! Now, just add some pillows, books, garland, a lantern or whatever else your little heart desires and get cozy.
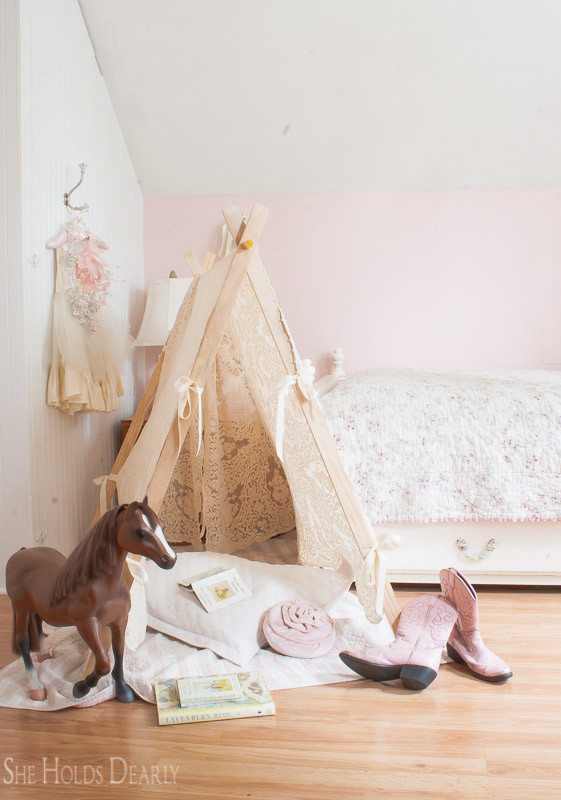
So there you have it! These play tents can be such a memorable and unique gift for the children in your life. With just some simple wood pieces, ties and a bit of material you can make a lovely hide out to encourage books, snacks and cozy movie nights.
Let me know if you have any questions!
Related Posts & Inspiration:
- Vintage Children’s Rooms | Board on Pinterest
- Vintage Inspired Kids Rooms Decorating Ideas
- How to Design a Nursery
- 5 Tips for Decorating with Children
Pin this DIY Play Tent for Later:
