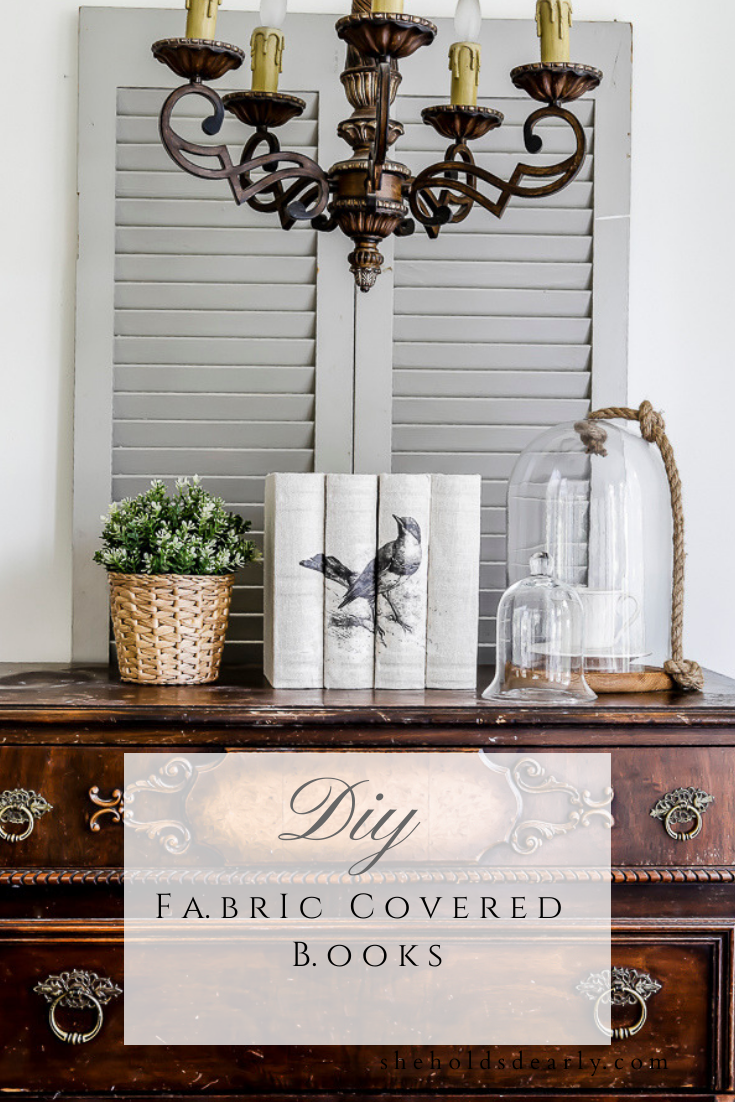
DIY Fabric Covered Books
Has your attention ever been captured by fabric covered books nestled among someone’s decor?
I have been loving this idea for a while, and have been wanting to try out a DIY version!
I was inspired to do it this week by my friend Jamie over at Bored or Bananas on YouTube. She put together a fun collaboration called “Looks for Less” where we’re making DIY versions of items we’ve seen and loved!
*This post contains affiliate links to products I know &/or love.
My Inspiration
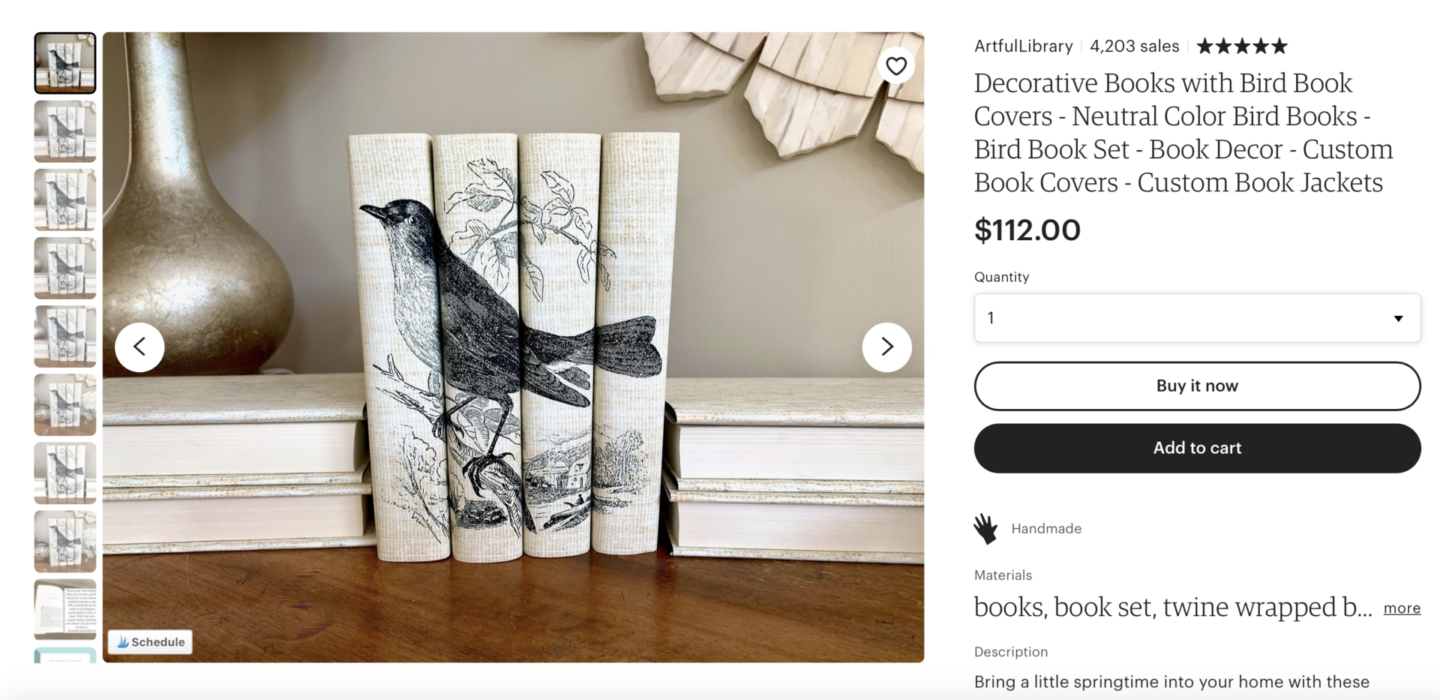
I was inspired originally to make fabric covered books after seeing this beautiful set on Etsy by a little shop called Artful Library.
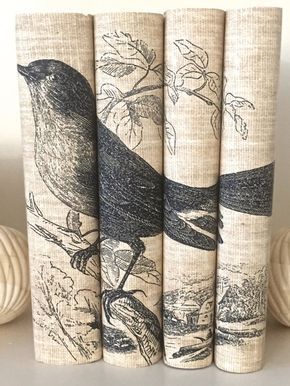
I love the vintage bird, I love the aged feel, and I love how the picture is spread out over the four books but still connected. It’s just so pretty!
The only thing I don’t love about the set is the price! $112 makes sense when you’re buying from someone else who has put in the time and effort to make something so beautiful.
But when you have the desire and skills to make things yourself, you can usually save quite a bit of money!
Gathering Your Supplies:
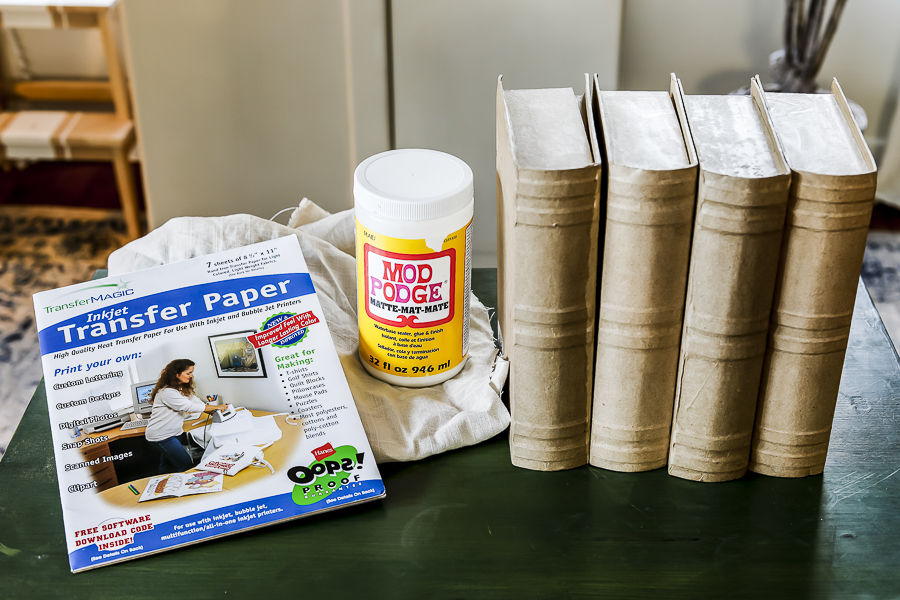
A Set of books | You can upcycle an old set of books, or thrift 4 equally sized books for this project. OR you can do what I did and use cardboard books for the same look without covering a real book’s cover.
Fabric of your Choice | I used some linen fabric I had left over from a no pattern slipcover project I had done a while back, and was able to use that!
Transfer Magic Paper | This product came highly recommended to me as the best product for transferring onto fabric! Just be sure to follow the instructions carefully for good results!
Mod Podge | Or any similar decopauge product.
Sponge Brush | Makes for an easy and smooth application of Mod Podge!
Scissors | For cutting paper and your material.
Picture of your choice | I found and purchased a set of beautiful bird pictures from French Kiss Collections for $7.
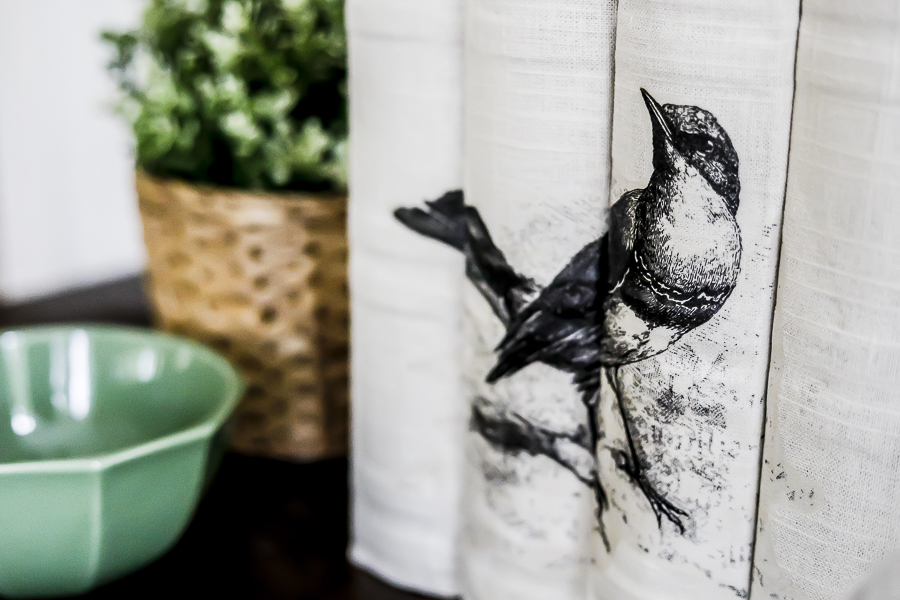
There are different free sources, such as Pinterest, as well! The Graphics Fairy is another great one I’ve used previously for beautiful vintage pictures and texts.
Estimated Cost:
One of the great things about this project is that you could theoretically do this for FREE if you happen to have these supplies already on hand!
I ended up needing to buy some of the items because I didn’t have books on hand to up-cycle and needed more Mod Podge and the transfer paper. My cost came out to $49 after purchasing those items.
But I would certainly consider this a higher-end cost for the DIY version of this project – it would be simple to do even cheaper, or free!
The Process for Creating Fabric Covered Books
Step Number One | Print 2 copies of your selected image.
- Print one on your magic transfer paper
- Print one copy on regular printer paper
The copy you printed on regular copy paper is going to be your guide for laying out the smaller pieces onto each of your four books to help keep them lined up! You don’t need to do anything with this one, just keep it handy for reference!
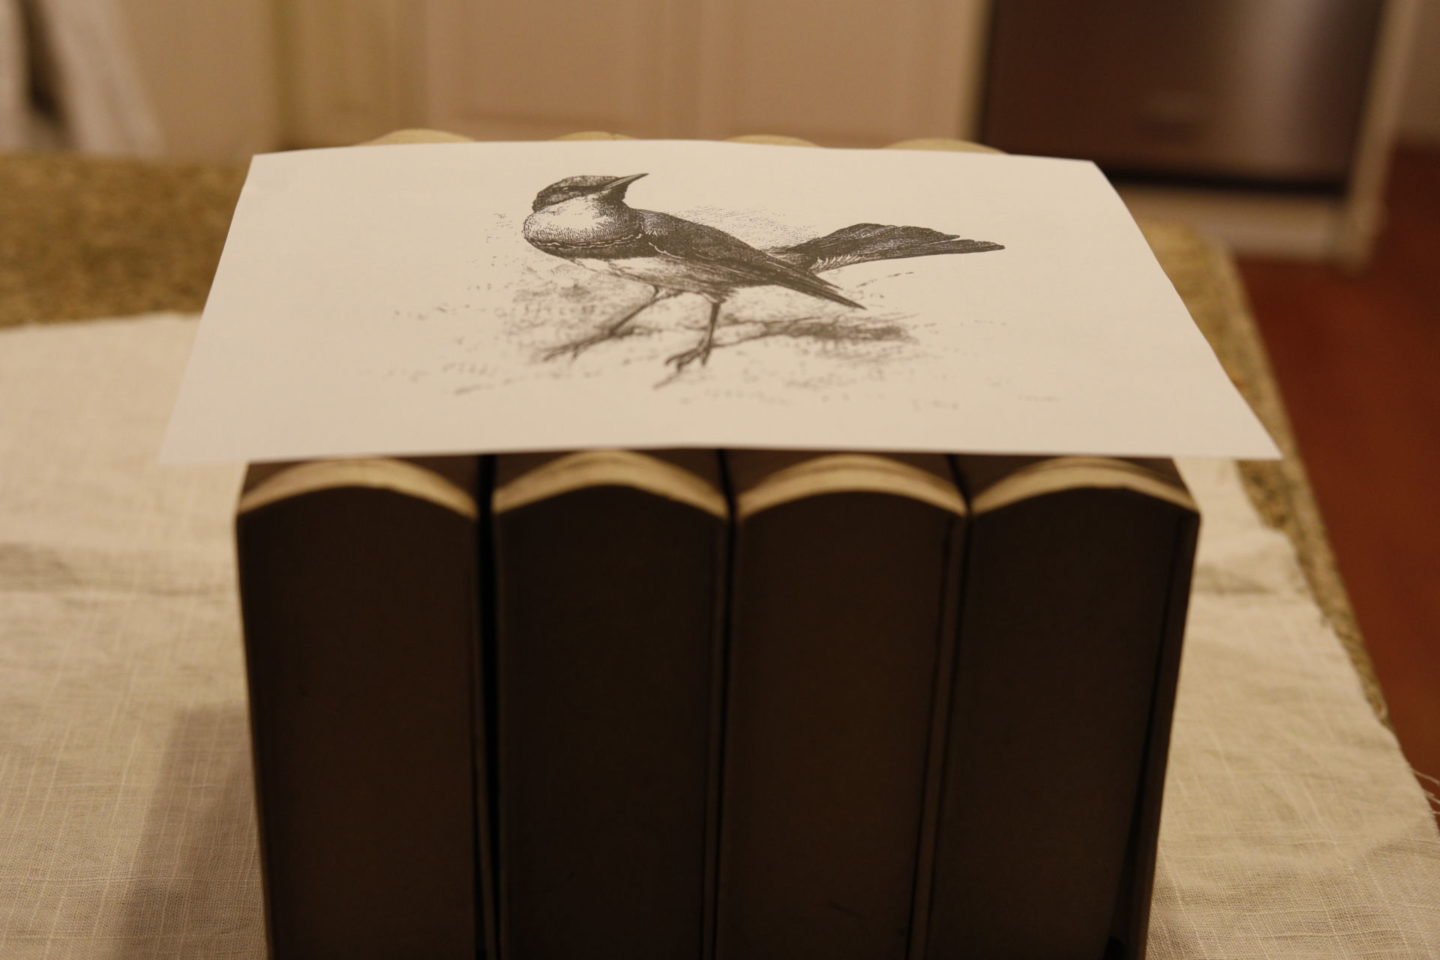
Step Number Two | Trim the excess pieces of your magic transfer paper down to about 1/4″ away from the outside edge of the image.
Step Number Three | Cut your magic transfer paper version of the image into 4 equal strips vertically from top to bottom.
Imagine how each of these sections will end up on the back of one book within the set.
Step Number Four | Cut out four pieces of material big enough to cover the entire cover of each book.
Think about how we used to cover textbooks with brown paper bags to protect them – that’s similar to how you’ll lay the book on the material to measure how much you’ll need.
If you have plenty of material – give yourself some extra allowance on each side of the book to help make sure you have space to line the image up when you’re attaching the material to the book!
Step Number Five | Iron each of the 4 pieces of your picture (printed on your magic transfer paper) onto the center of your 4 pieces of material.
Place them face down (printed picture away from you, and laying against the material) and iron for 2-3 minutes with a hot iron, with no steam.
Make sure to use a flat, hard surface – like stone, if you have it available!
Learn from my mistake and do not iron over a painted or stained surface. It will ruin it.
I found that standing up on my chair and being able to really push my body weight down onto the iron as I moved it around carefully helped with the transfer process.
Step Number Six | Let your material and transfer cool completely, then remove the transfer paper.
I carefully folded my fabric away from the transfer and peeled away slowly – the big reveal!
Step Number Seven | Use your sponge brush to apply a thin, smooth layer of Mod Podge to the spine of your first book.
Center and carefully align the first of your four transferred images onto the prepared spine of your first book and smooth the material down onto the Mod Podge when you’re happy with the layout.
Use your full-size picture as a reference for this step with each of the 4 books to ensure your final picture is aligned neatly!
Step Number Eight | Use your sponge brush to apply Mod Podge to the front and back covers (one at a time) and smooth down the material to wrap the cover.
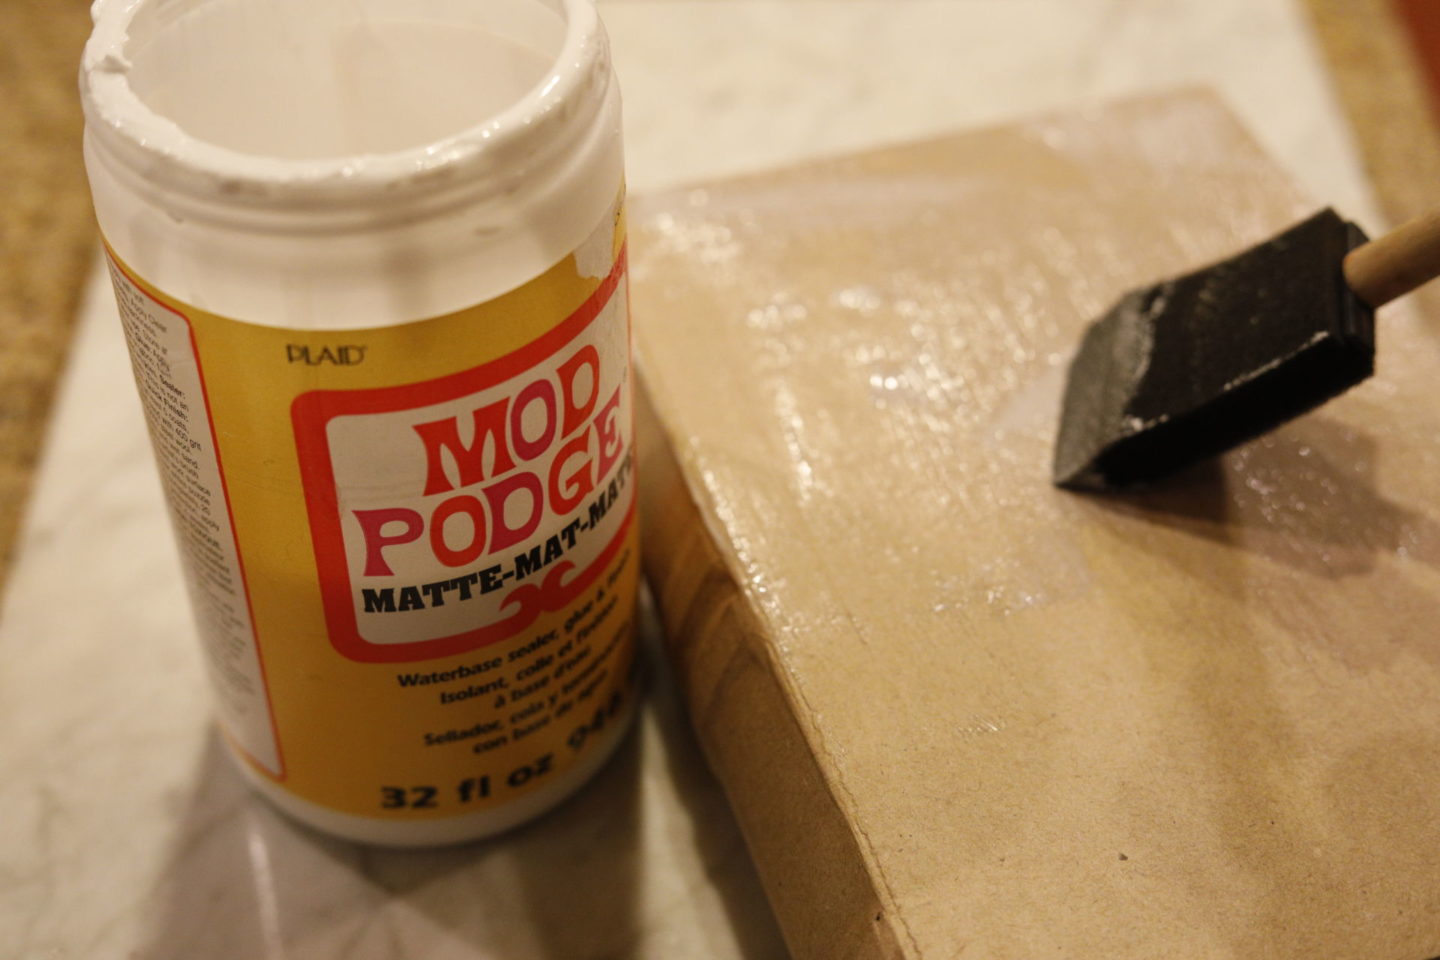
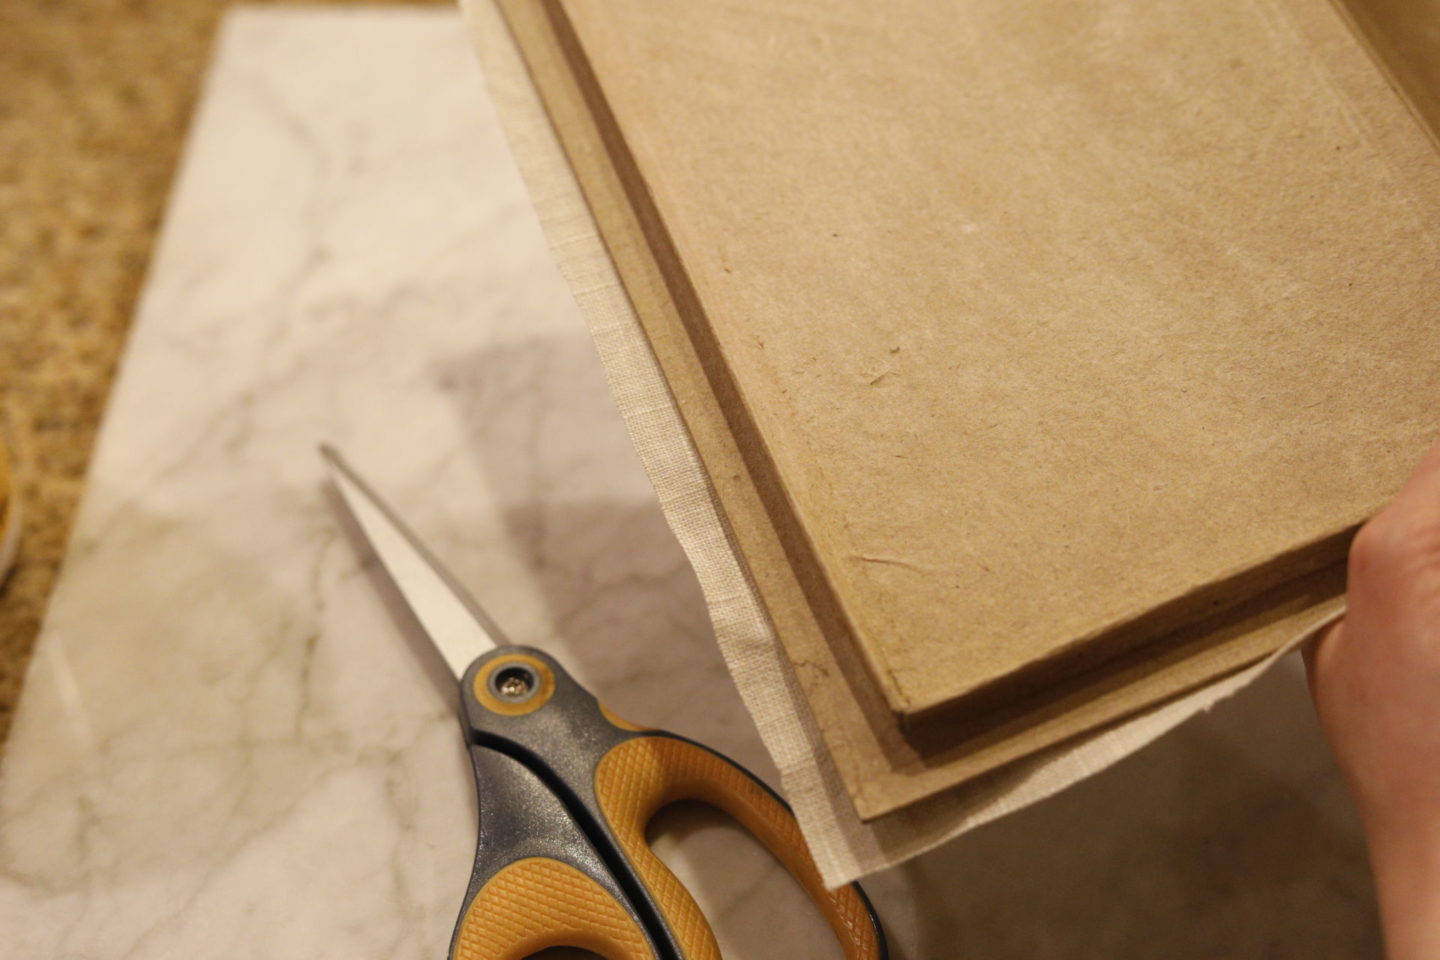
Step Number Nine | Use scissors to trim the excess material to about 1/2″ from the edge of your cover. Apply Mod Podge to the inside edge of the book cover and fold the trimmed material over and secure.
If you’re using a real book, I have heard that leaving a larger trimmed edge, like 1″ is best, and you secure it inside the cover with hot-glue!
And that’s it!
[show_shopthepost_widget id=”3985175″]
Now you’re the proud owner of a beautiful DIY fabric covered book set!
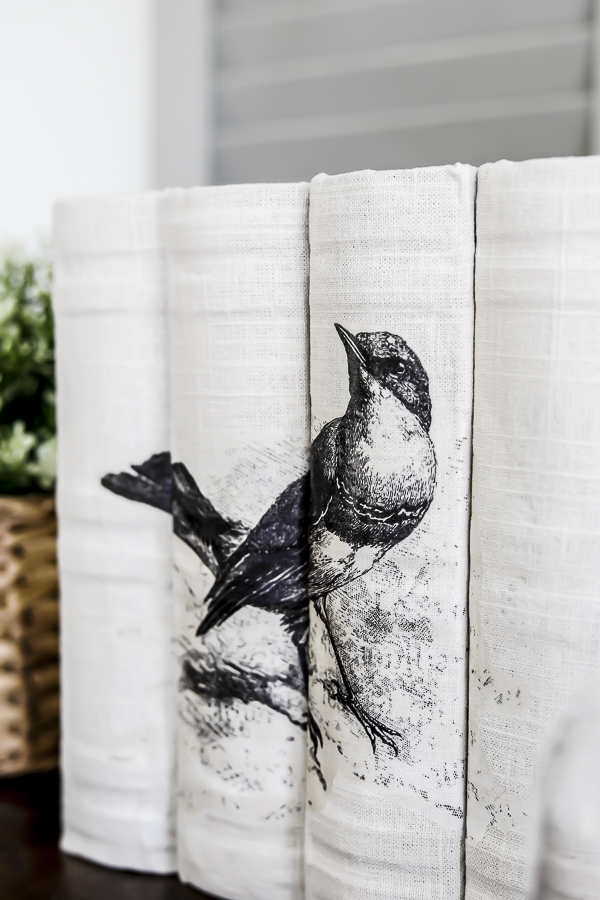
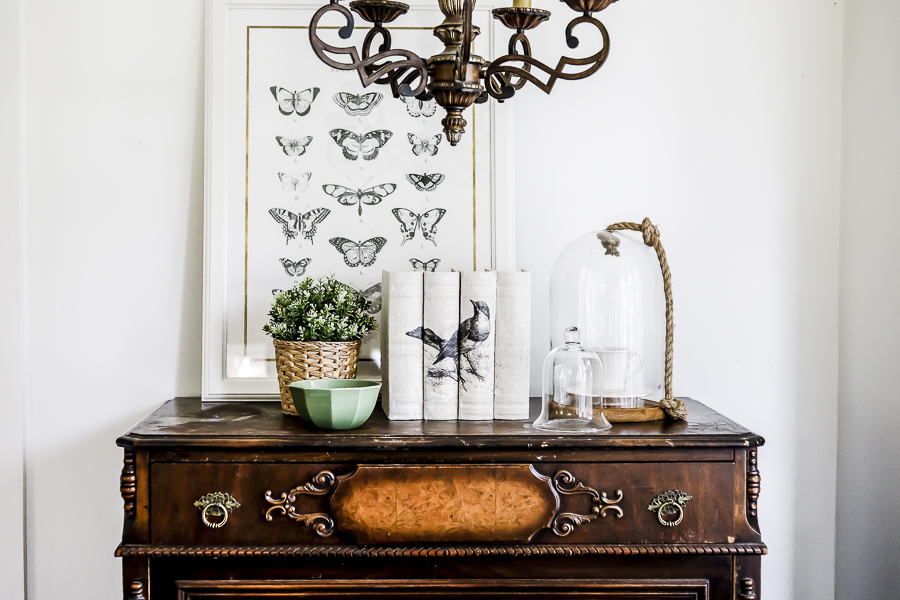
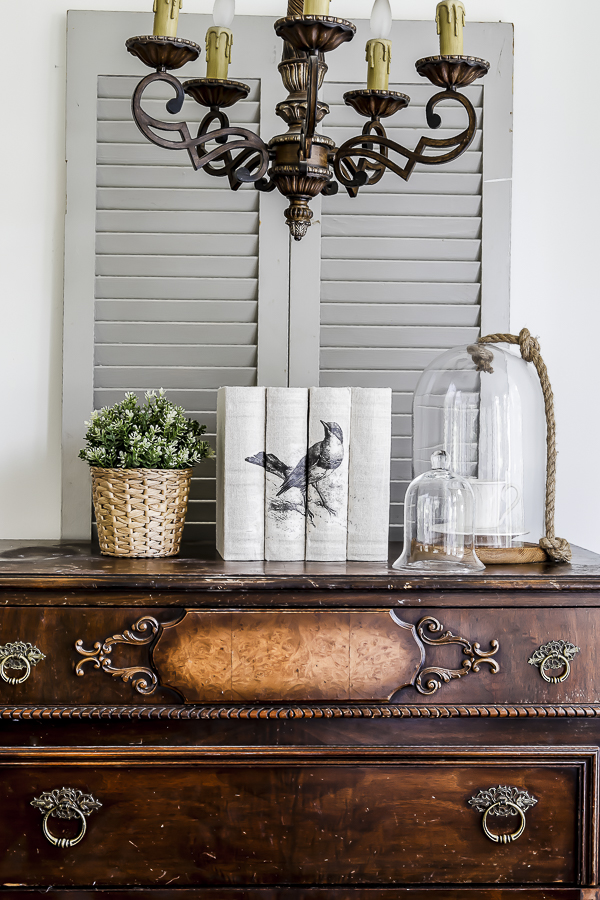
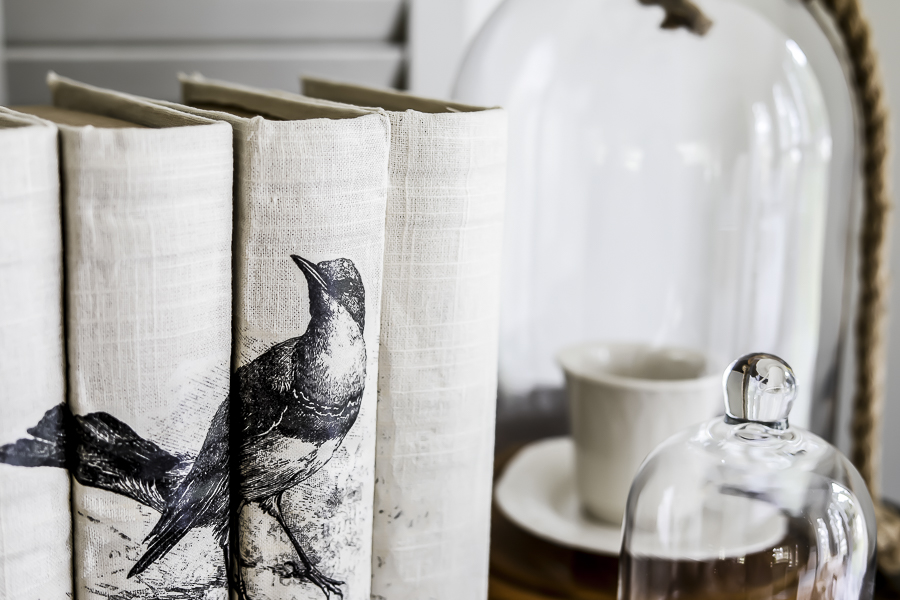
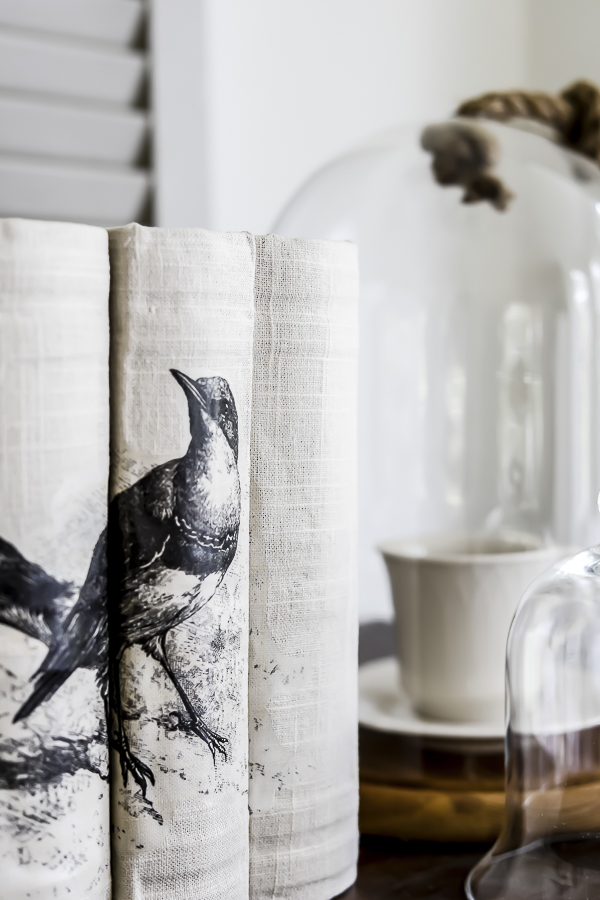
I hope you are inspired by these DIY fabric covered books, and I’d love to hear what you make yours for, and what images you use!
Pin this for Later:
Until next time,