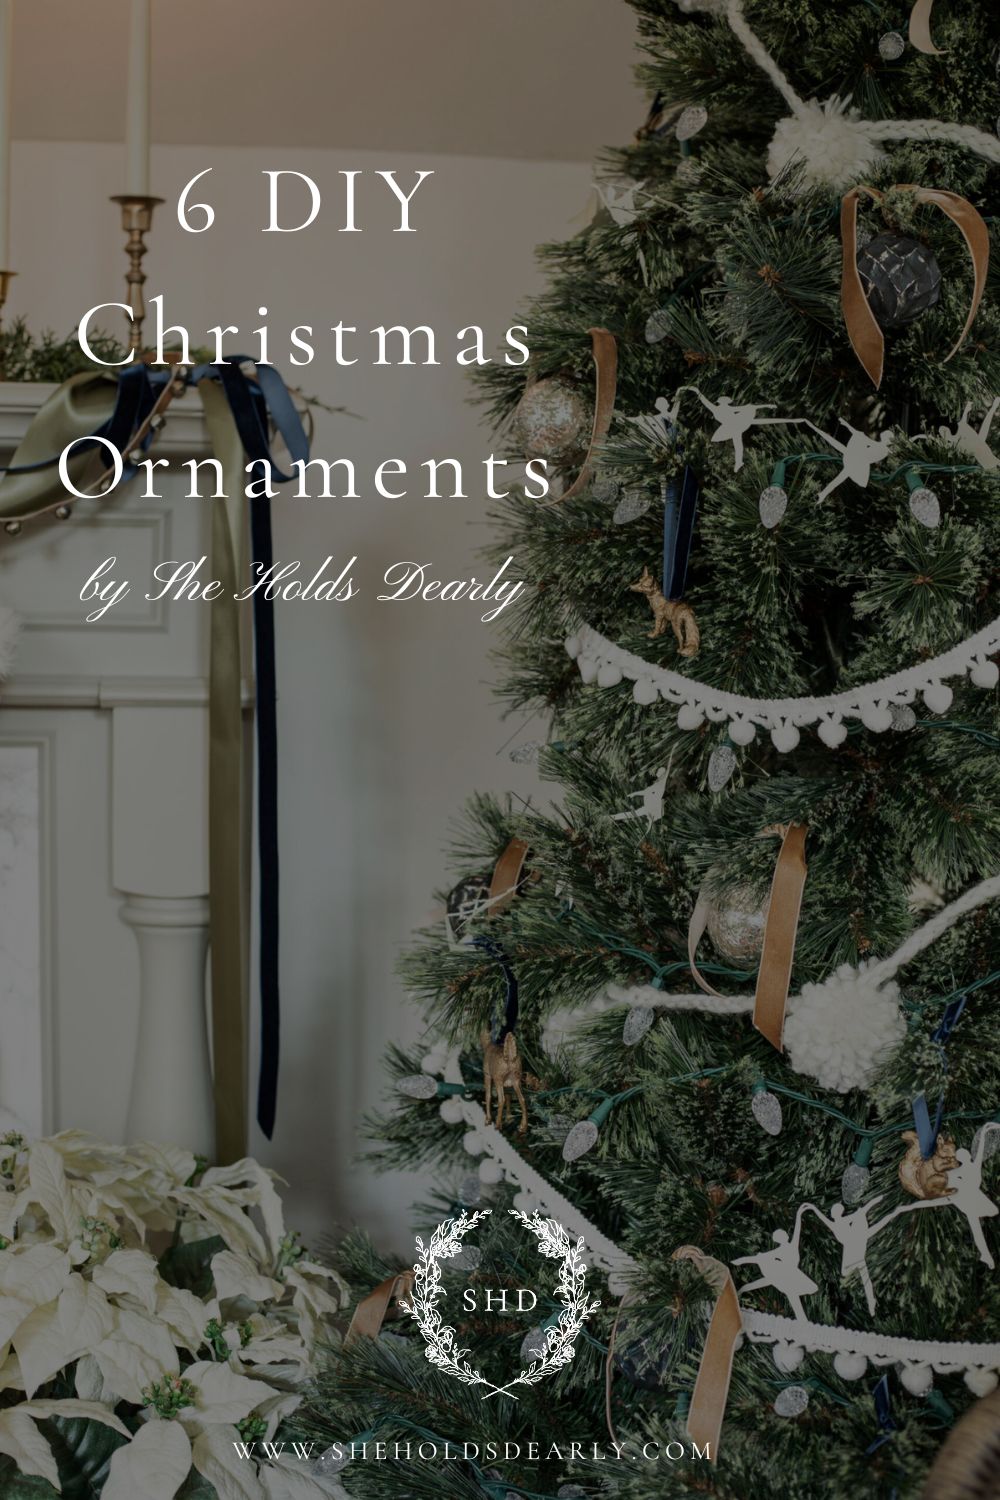
6 Easy & On Trend DIY Ornaments for 2023
Are you looking for a couple of easy, on-trend DIY ornaments to add to your Christmas tree for this year? I’ve got six options that I think you’re going to love!
I’m a big believer in finding a good balance between investing in classic decorations and finding small ways to incorporate trends that you love. During the Christmas season, ornaments are a great way to “splurge” on some trendy new pieces without having to change everything about your decor.
And as a bonus, there are also ways to both DIY and upcycle to get the same trendy look without having to buy brand new! We’re going to look at 6 of those today that I made for my decorations this year as part of my Handmade Holidays series!
The Fun Isn’t Over in the Handmade Holidays Group:
If this is the first you’re hearing about my Handmade Holidays group – have no fear! We are done with the weekly emails, BUT I’ve bundled them together as a free email for whoever else would like to join for the remainder of this Christmas season, and I’ve included some special December surprises!
If you haven’t already signed up, add your email address below to receive both the recaps and the gifts that are only being offered to members of the Handmade Holidays group!
*2024 Handmade Holidays Series is Happening November 1 – December 6, 2024! Sign up Below*
As I go through this post, I’ll let you know which “HH” weekly email you’ll want to check for additional details about each of the ornaments I’ll be sharing. There are inspiration posts, supply lists, and an a video tutorial for all of the items that will be referenced included in the Handmade Holidays recap.
*This post containsaffiliate links to products I know &/or love.
6 Easy, Trendy DIY Christmas Ornaments:
Number One | Golden Pears
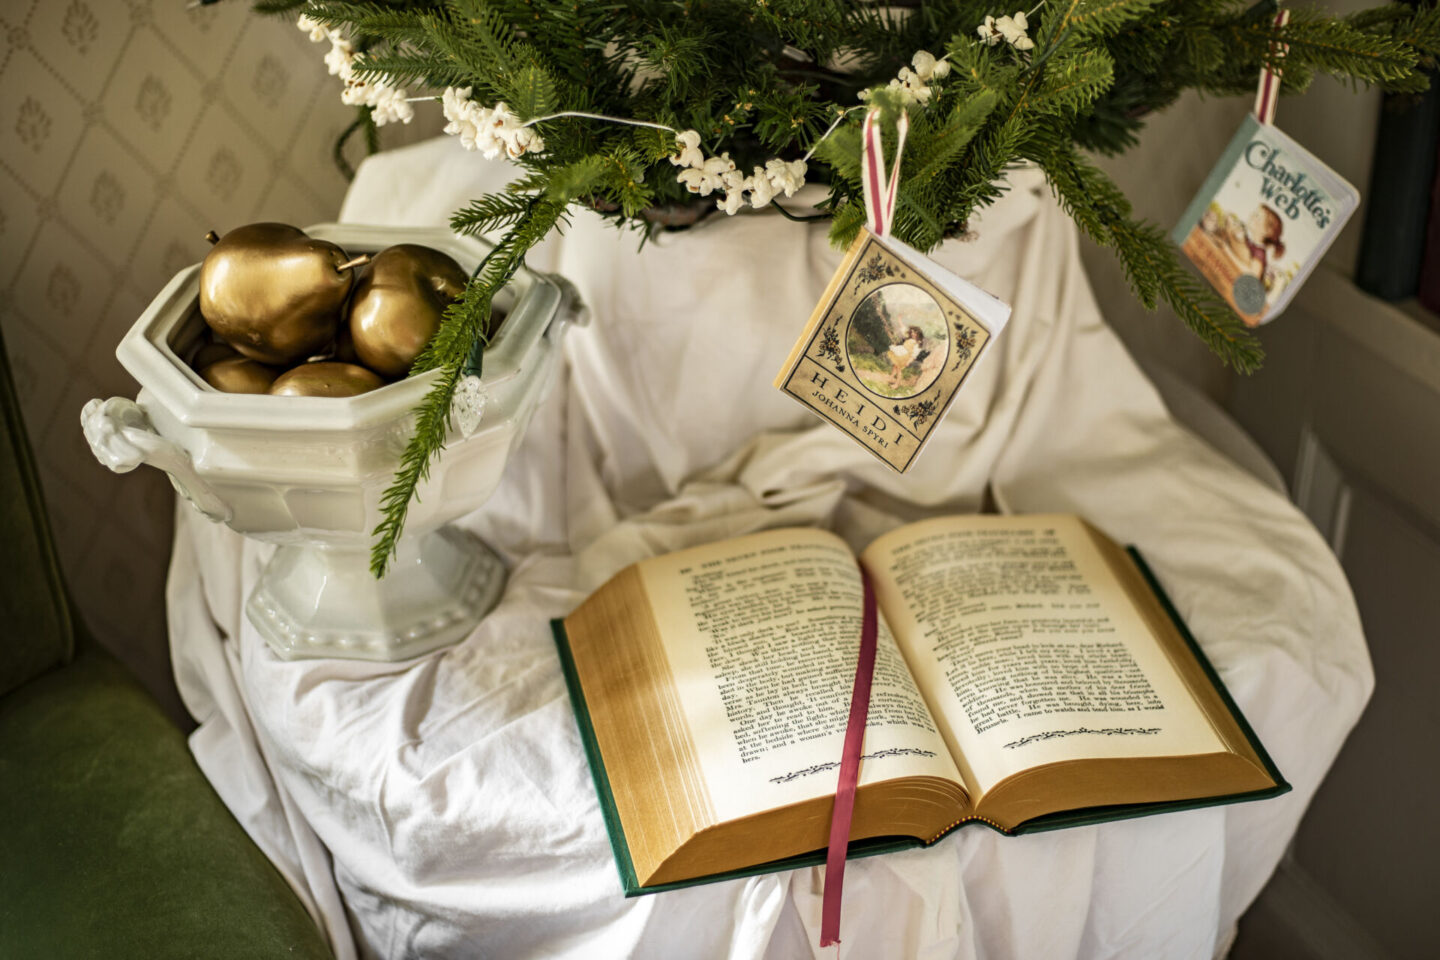
I was inspired to make a tree with a few elements from the “On the 12 days of Christmas” song, and I decided to incorporate pears (for the “pear-tree”).
I purchased a set of nice high quality foam pears from Amazon, and spray painted them with my favorite gold spray paint – Champagne Bronze by Rustoleum.
Then you can simply use small eye hooks and gold cording to hang them up.
You can of course hange these directly on your tree, or you can style them in several different ways.
I ended up using mine as stationary decor in a bowl beneath my tree.
These ornaments can be found in week 1 of the HH series.
Number Two | Gold Forest Animals
Another of my trees (Did I mention I have multiple…) was styled after a William Morris theme. I share more about why I’m inspired by him in my Christmas Bedroom Reveal post.
For this tree, I created was a set of golden animal ornaments!
I was inspired by this image by City Farmhouse:
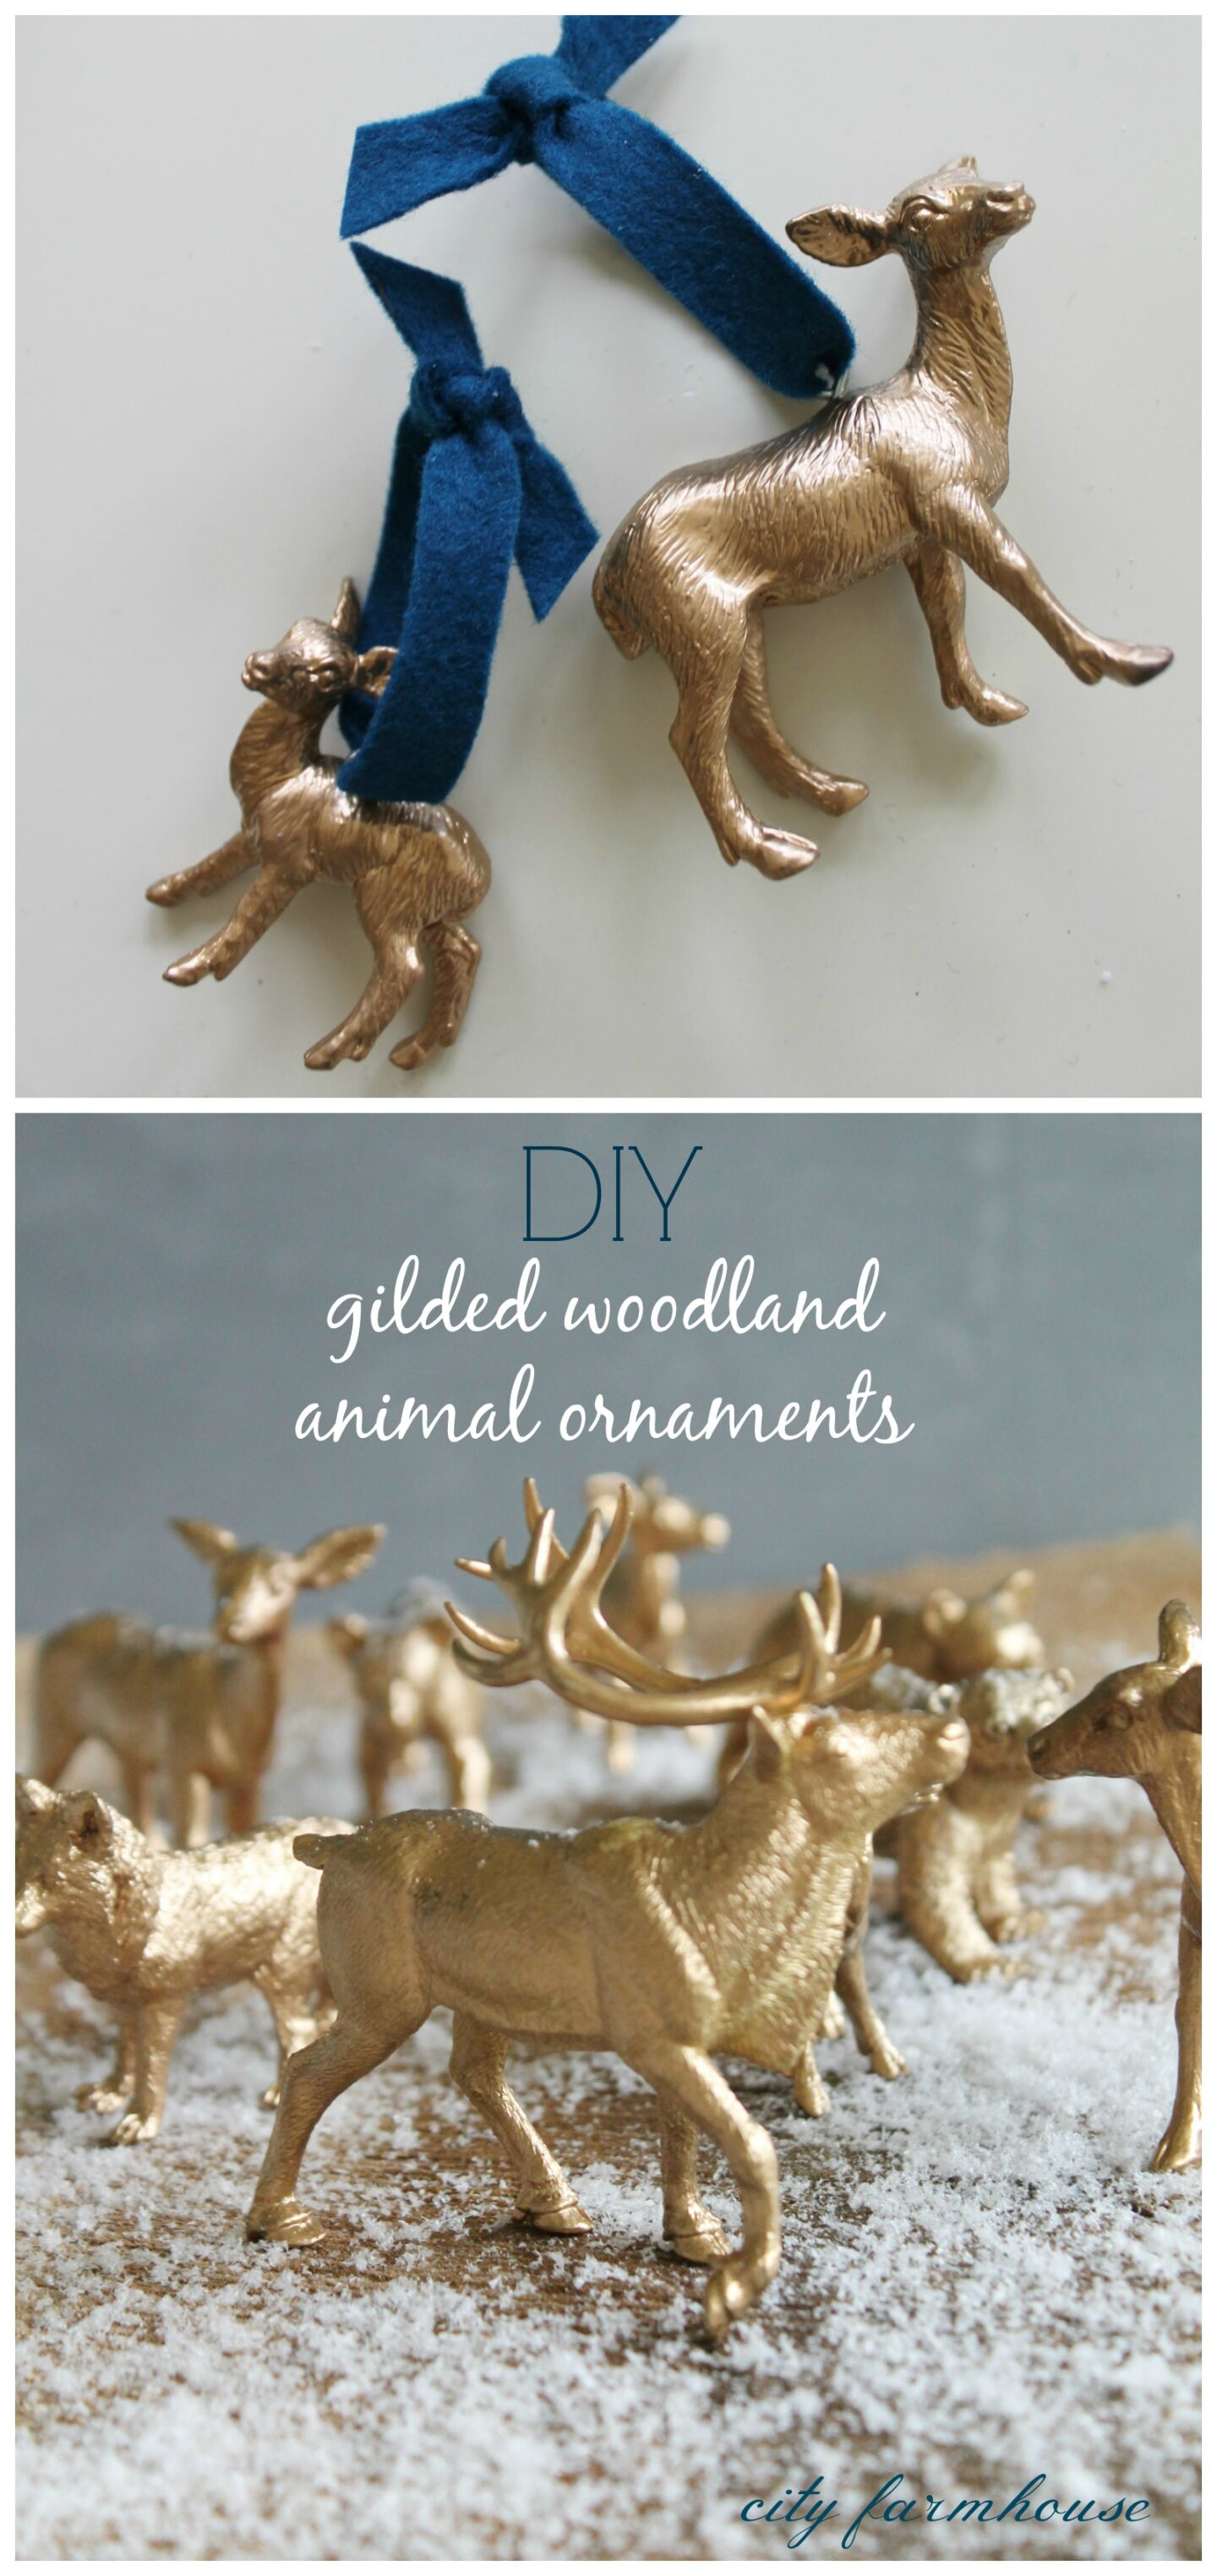
I ordered this set of forest animals off Amazon and sprayed them with, you guessed it – champagne bronze!
If you wanted to, you could also add eye-hooks on the back/neck/head of these animals, but I went a different route to use what I already had.
I cut lengths of navy blue ribbon from May Arts and attached it to their backs with hot glue.
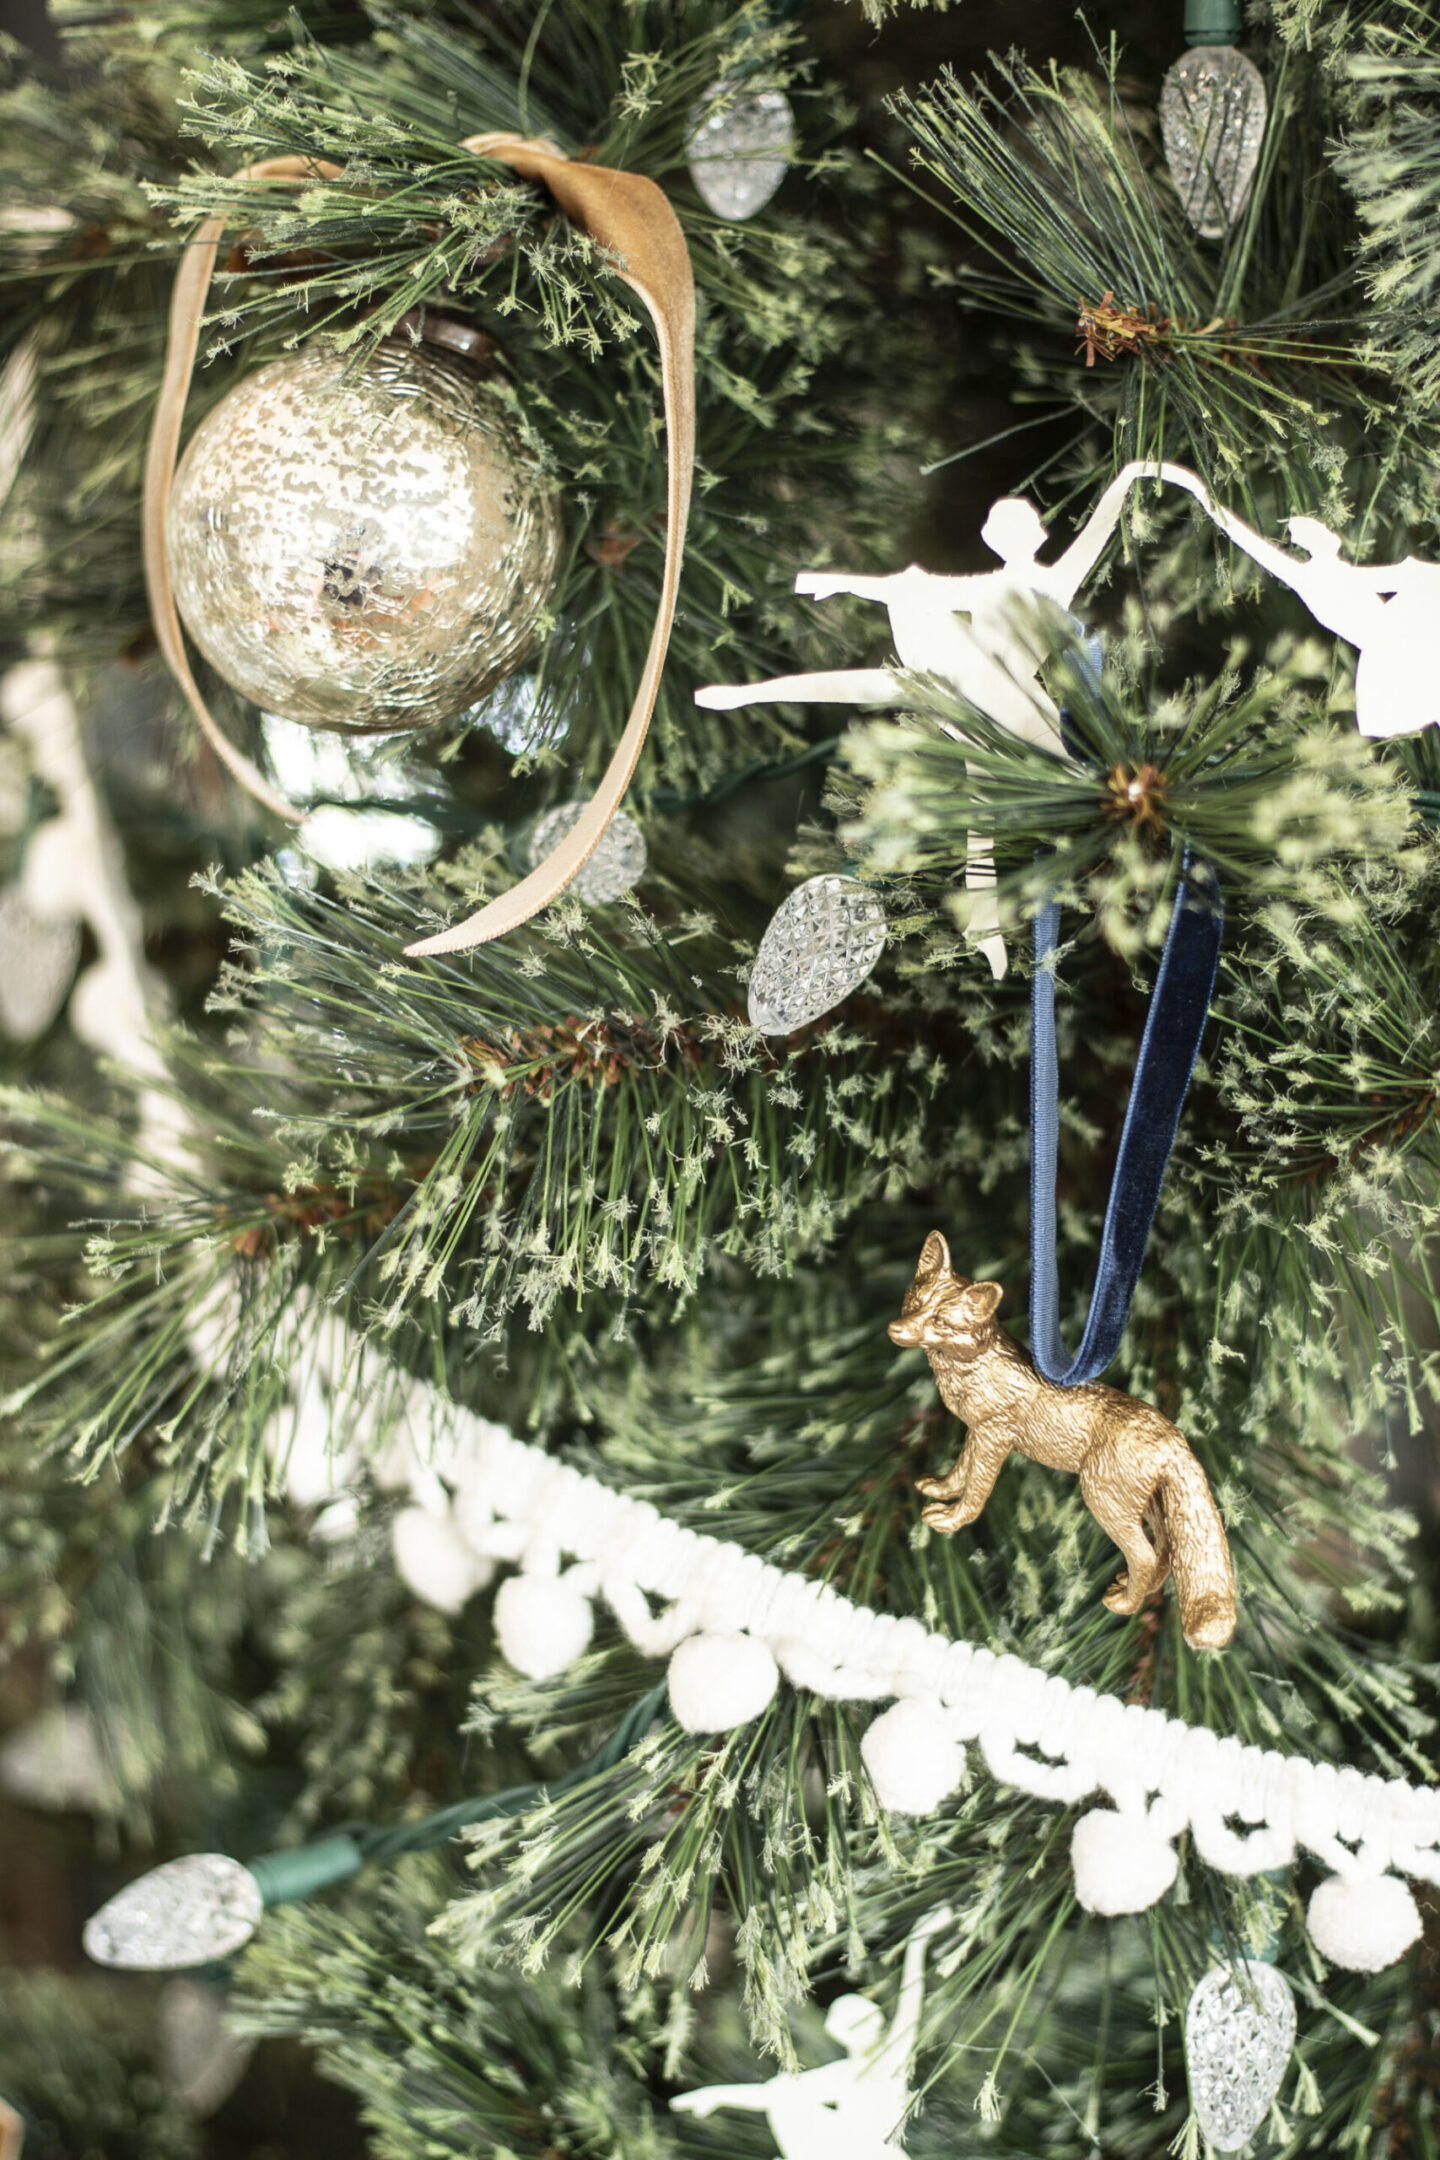
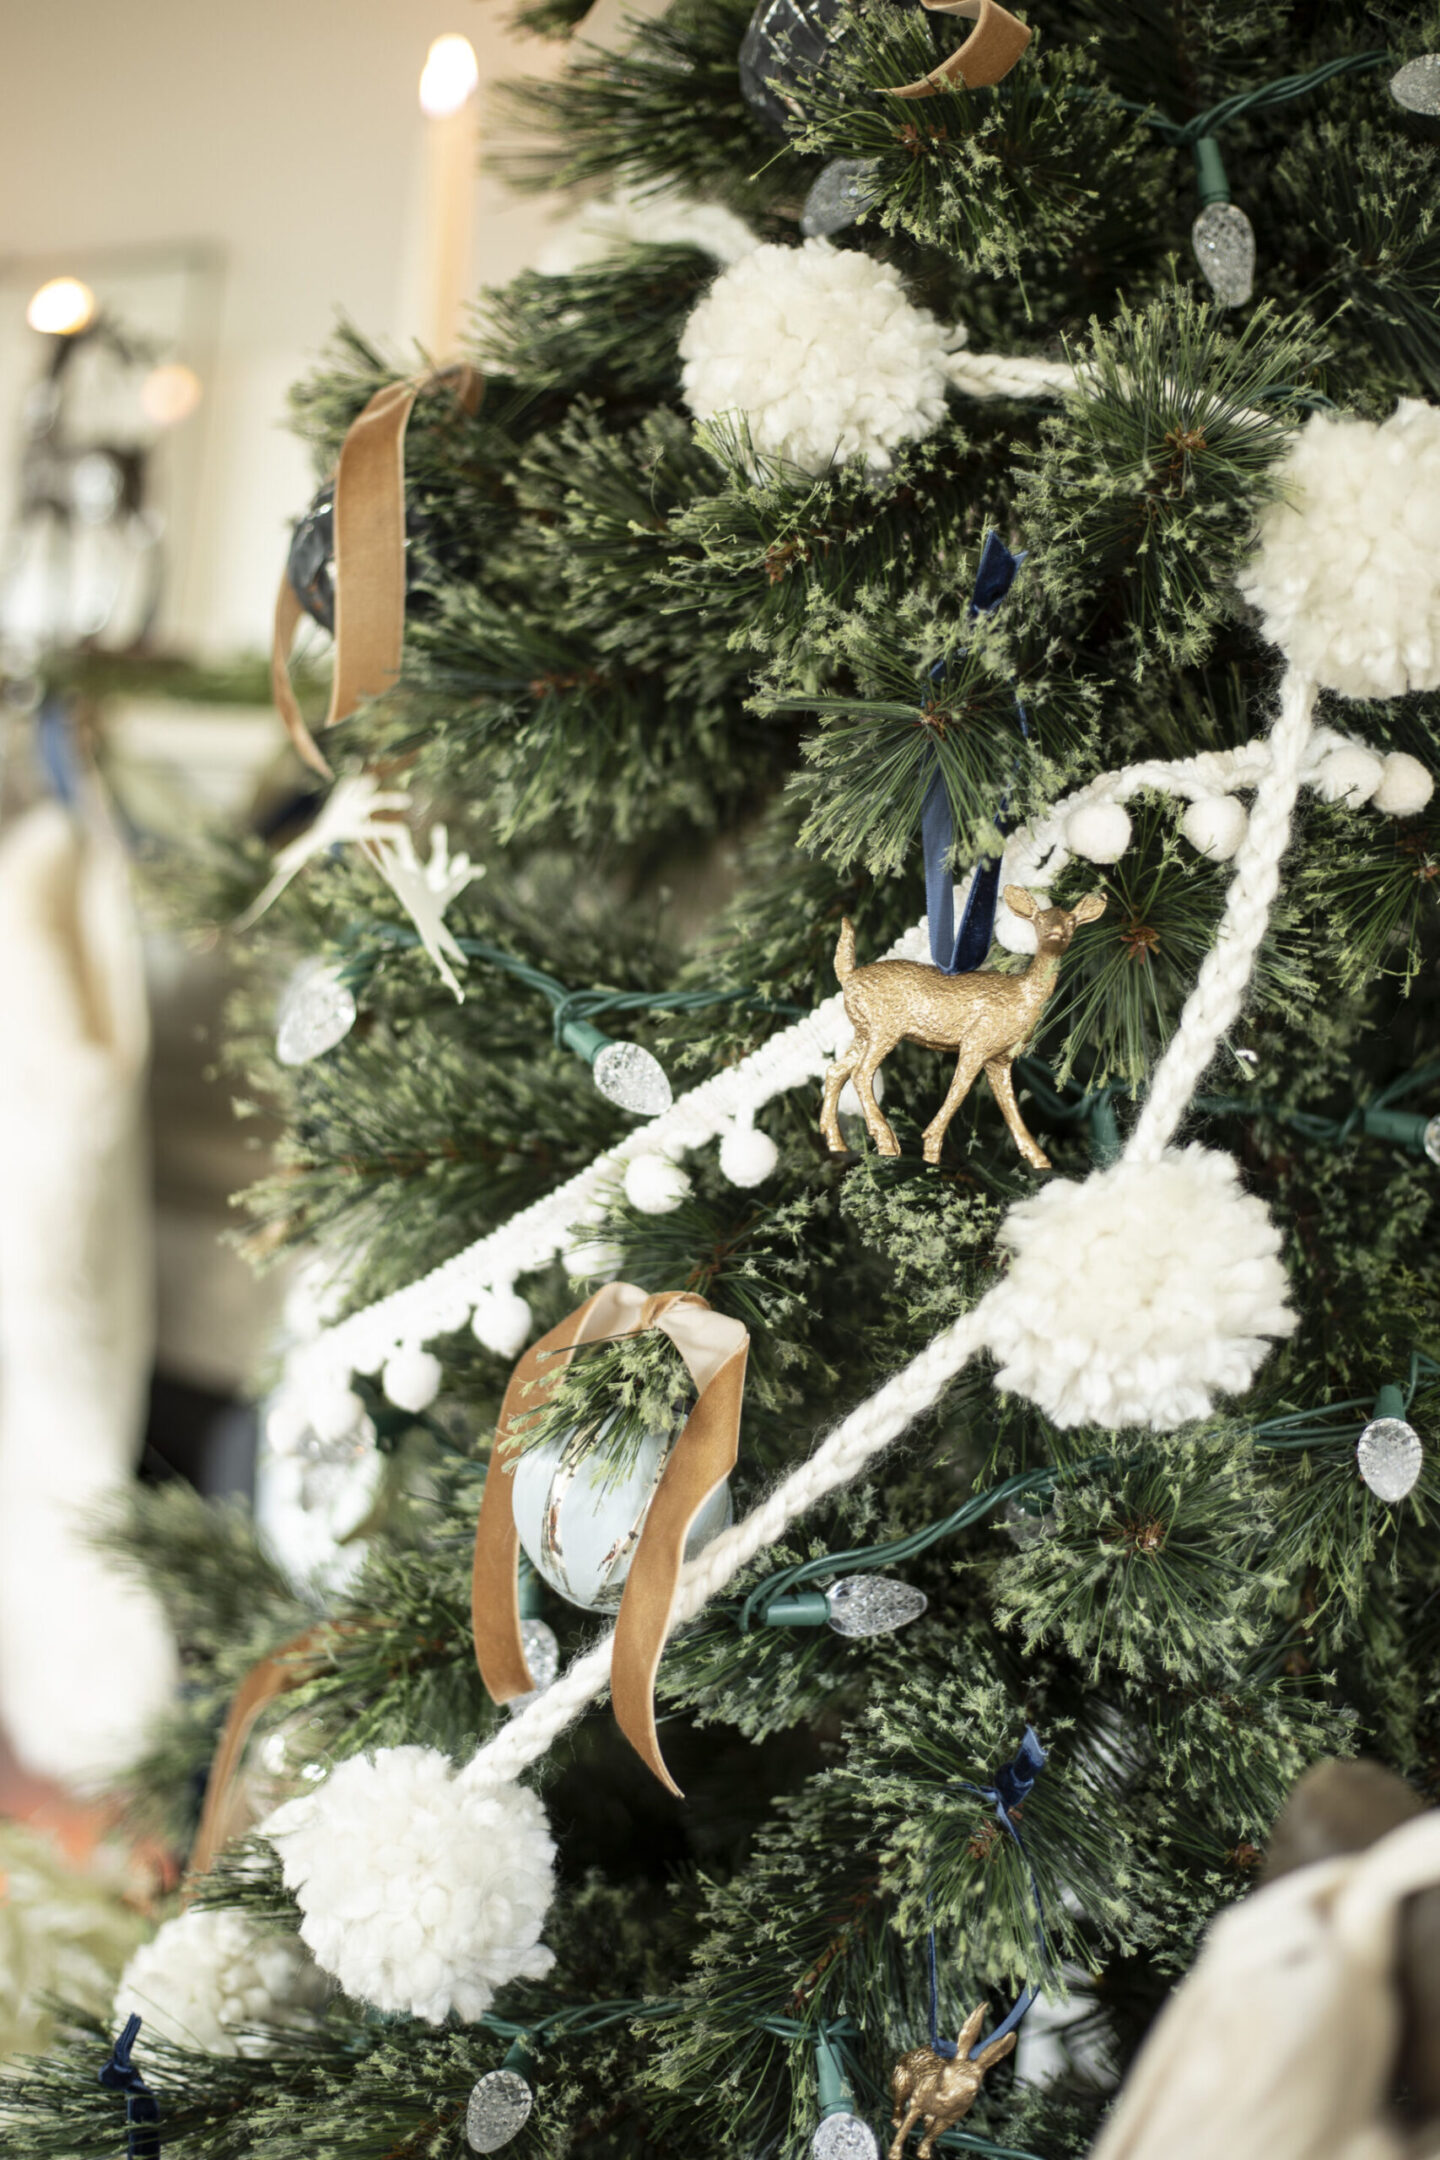
These were part of our Week 2 projects.
Number Three | Velvet “Flocked” Ornaments
These velvet “flocked” ornaments have such a lovely textured look to them, and I love that you can upcycle just about any other plain glass ball ornament for this look!
Add a base coat of paint in whatever color you prefer , and then attach the flocking powder for the textured snowy look.
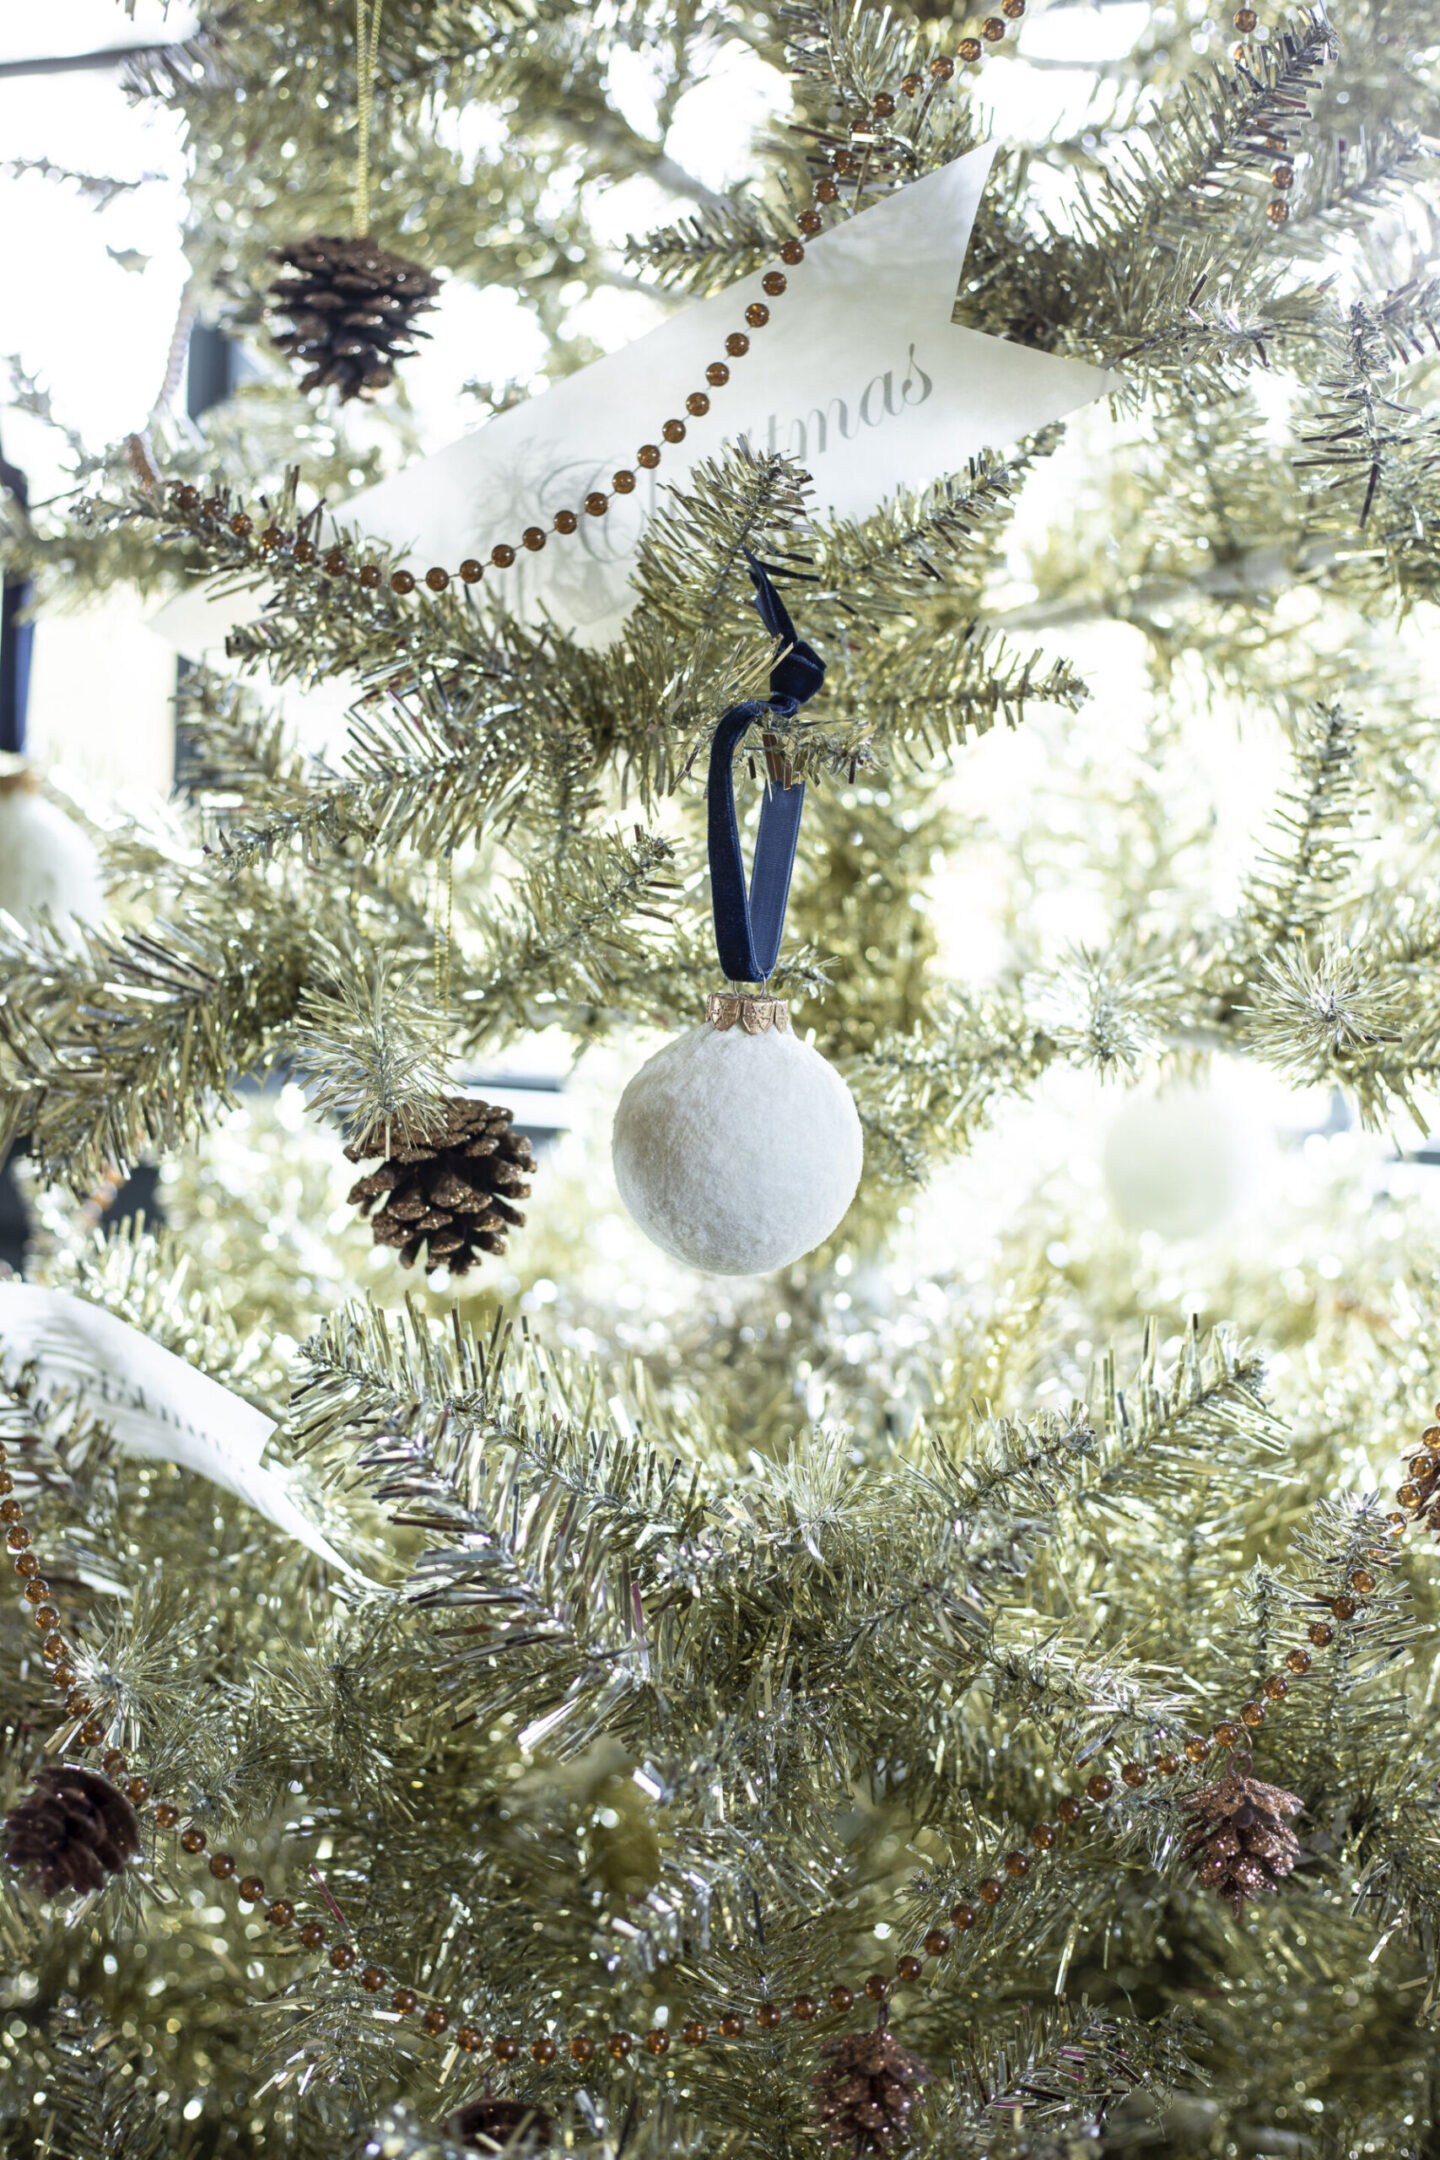
For these I was inspired by this image from Liz Marie Galvan:
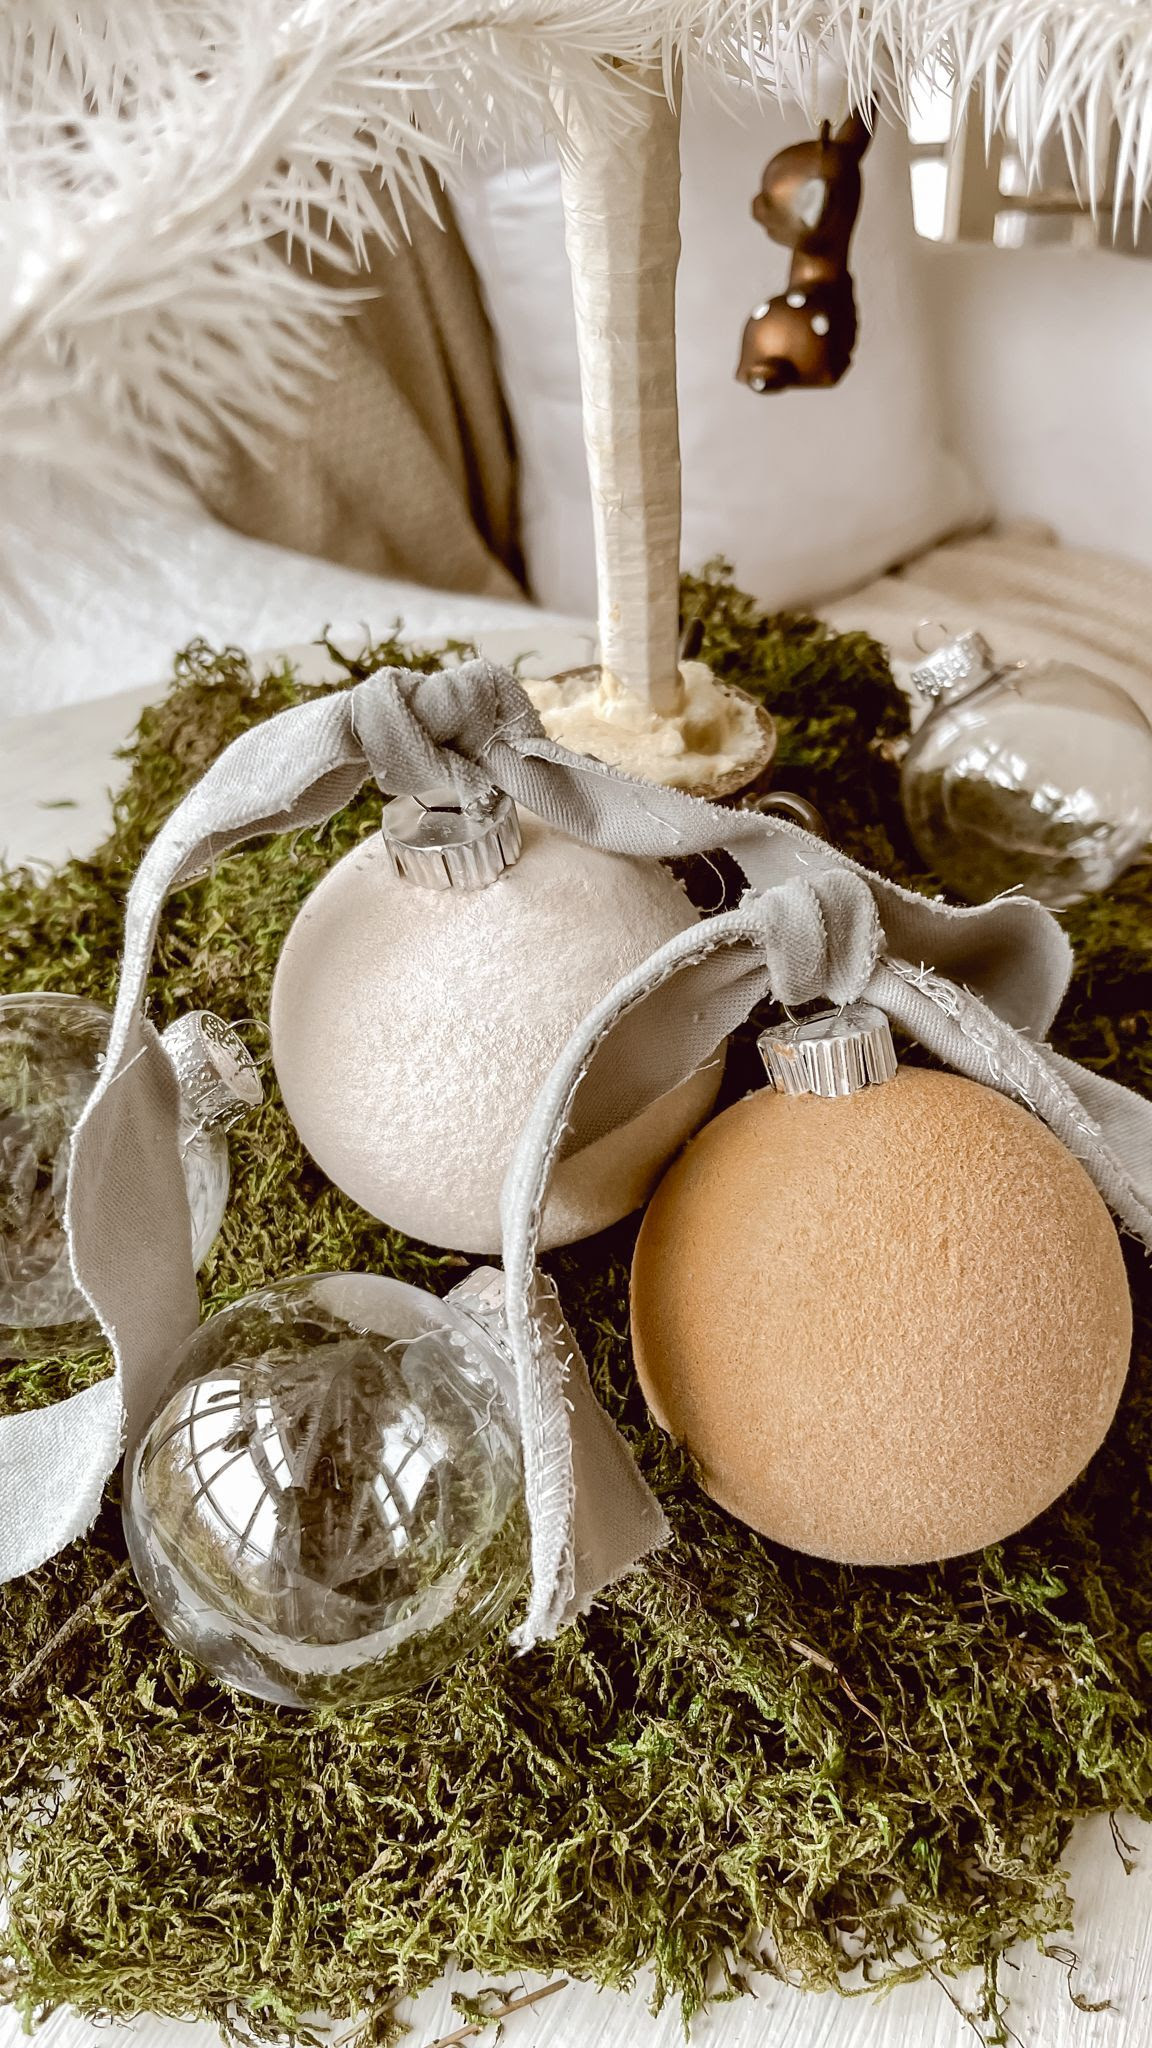
More information available in HH Week 3.
Number Four | Amber Glass Ornaments
These amber glass ornaments are another great up-cycle for plain (unpainted/finished) glass ornaments you might already have!
For these you’re going to want to purchase some alcohol ink, I got mine from Hobby Lobby (also available on Amazon) and used the color “Ginger” for a nice mid-tone amber color.
You’ll use about 25 drops into the glass ornament, and then you twist and roll it around until the ink covers the entire inside of the ball. After it’s sufficiently spread around and covered, you’ll want to get it to dry quickly.
I suggest using a hair dryer on the highest heat setting your hands can tolerate!
Repeat this process twice for each ball and you’ll end up with beautiful amber glass.
The first time I tired this, it became quite a mess, but luckily cleans right up with nail polish remover!
It turned out that they provided a little bit more contrast on the tree than I was hoping for, so I again enlisted my trick to display them stacked in a beautiful bowl.
Just because an ornament work on the tree for a given year, doesn’t mean it needs to be relegated to storage for another 12 months!
My inspiration for these was by Cranberry Bush:
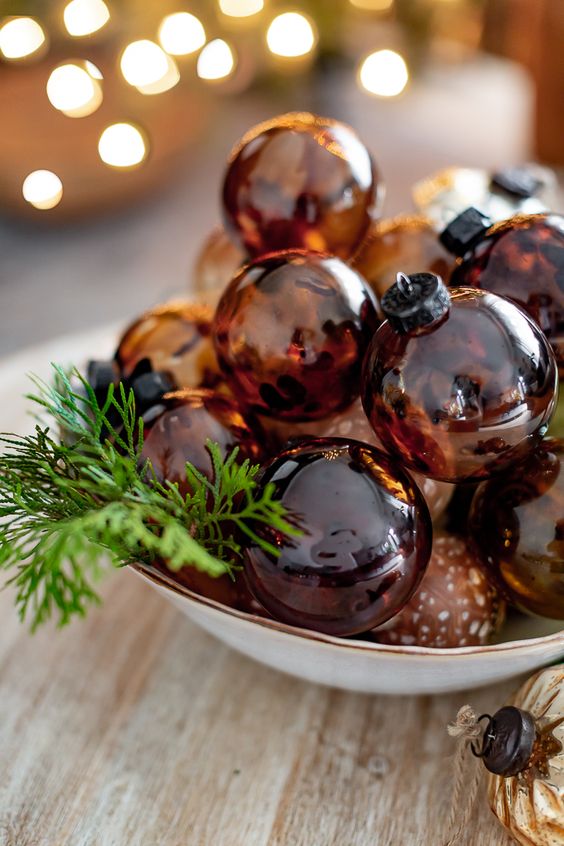
More Details can be found in HH Week 4.
Number Five | Painted Mercury Glass Ornaments
For these, you can upcycle any mercury glass ornaments you have!
I used basic acrylic paint from Hobby Lobby and painted over a set of mercury glass ornaments that I got off of Amazon.
I brushed the paint on and then “distressed” them by immediately taking a damp cloth and wiping off the raised portions of the designs. Hang them to dry. I love the layering and texture that comes through!
I tied the top of each one with a short length of velvet ribbon from May Arts.

Tutorial found in HH Week 4.
Number Six | Honeycomb Ornaments
Last but not least, these honeycomb ornaments!
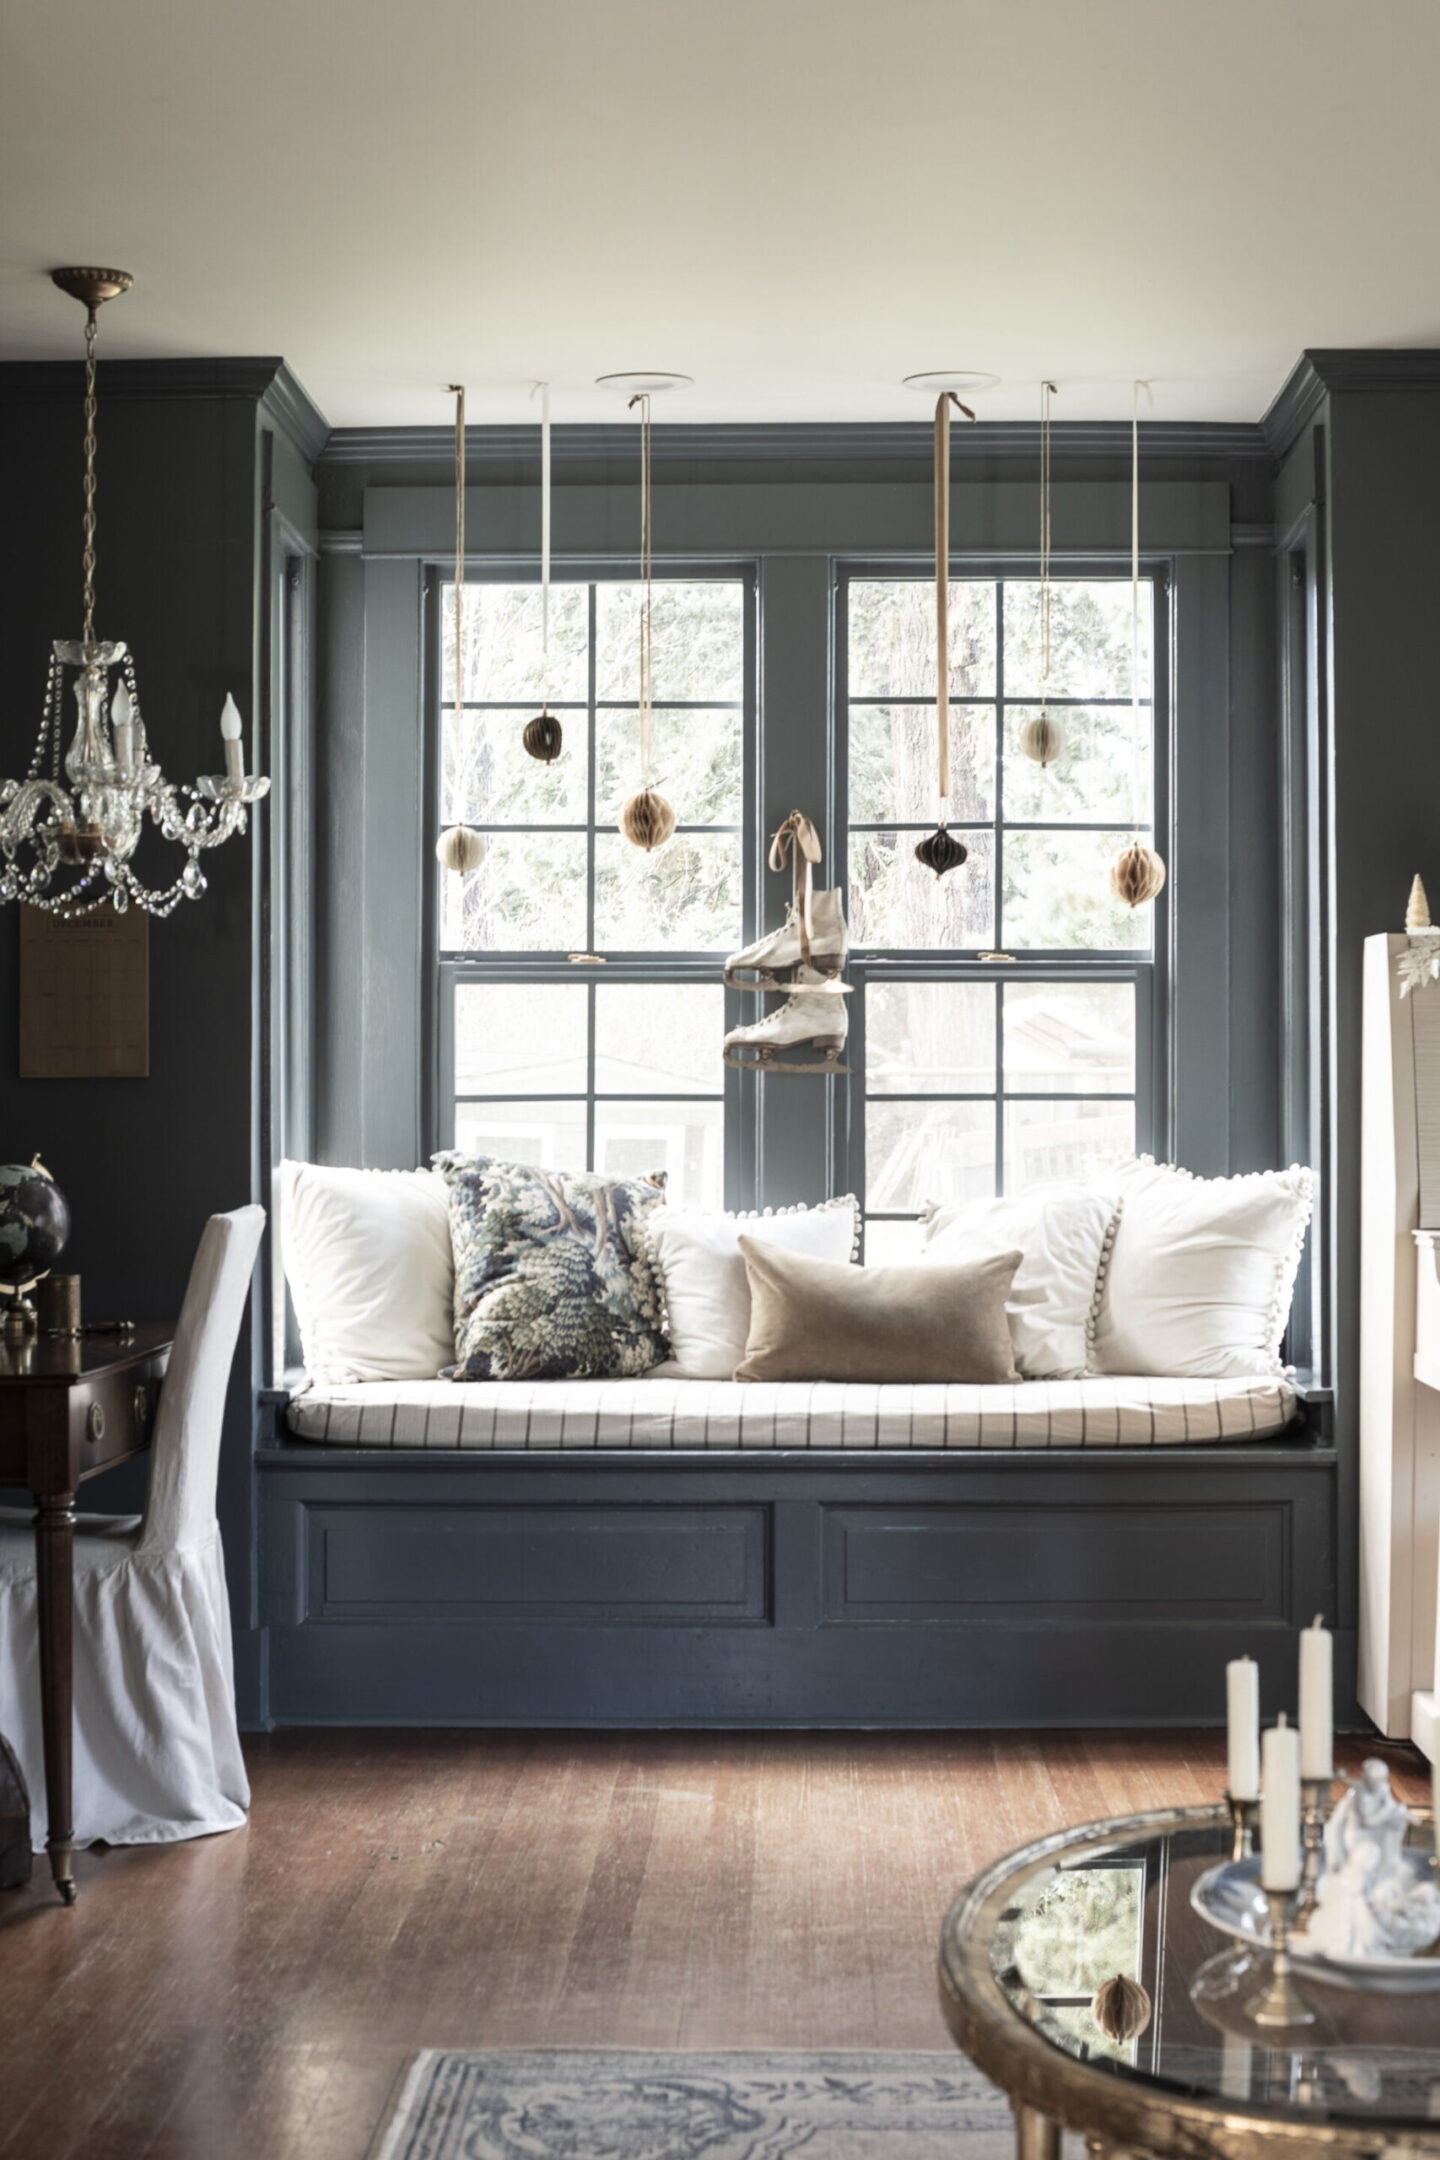
You’ll be comforted to know that not every DIY I try is a success right off the bat. If you watch the video tutorial for week 6 of the HH series, you’ll see my first attempt at these honeycomb ornaments…
Let’s just say there’s a reason THOSE aren’t hanging on display in my window.
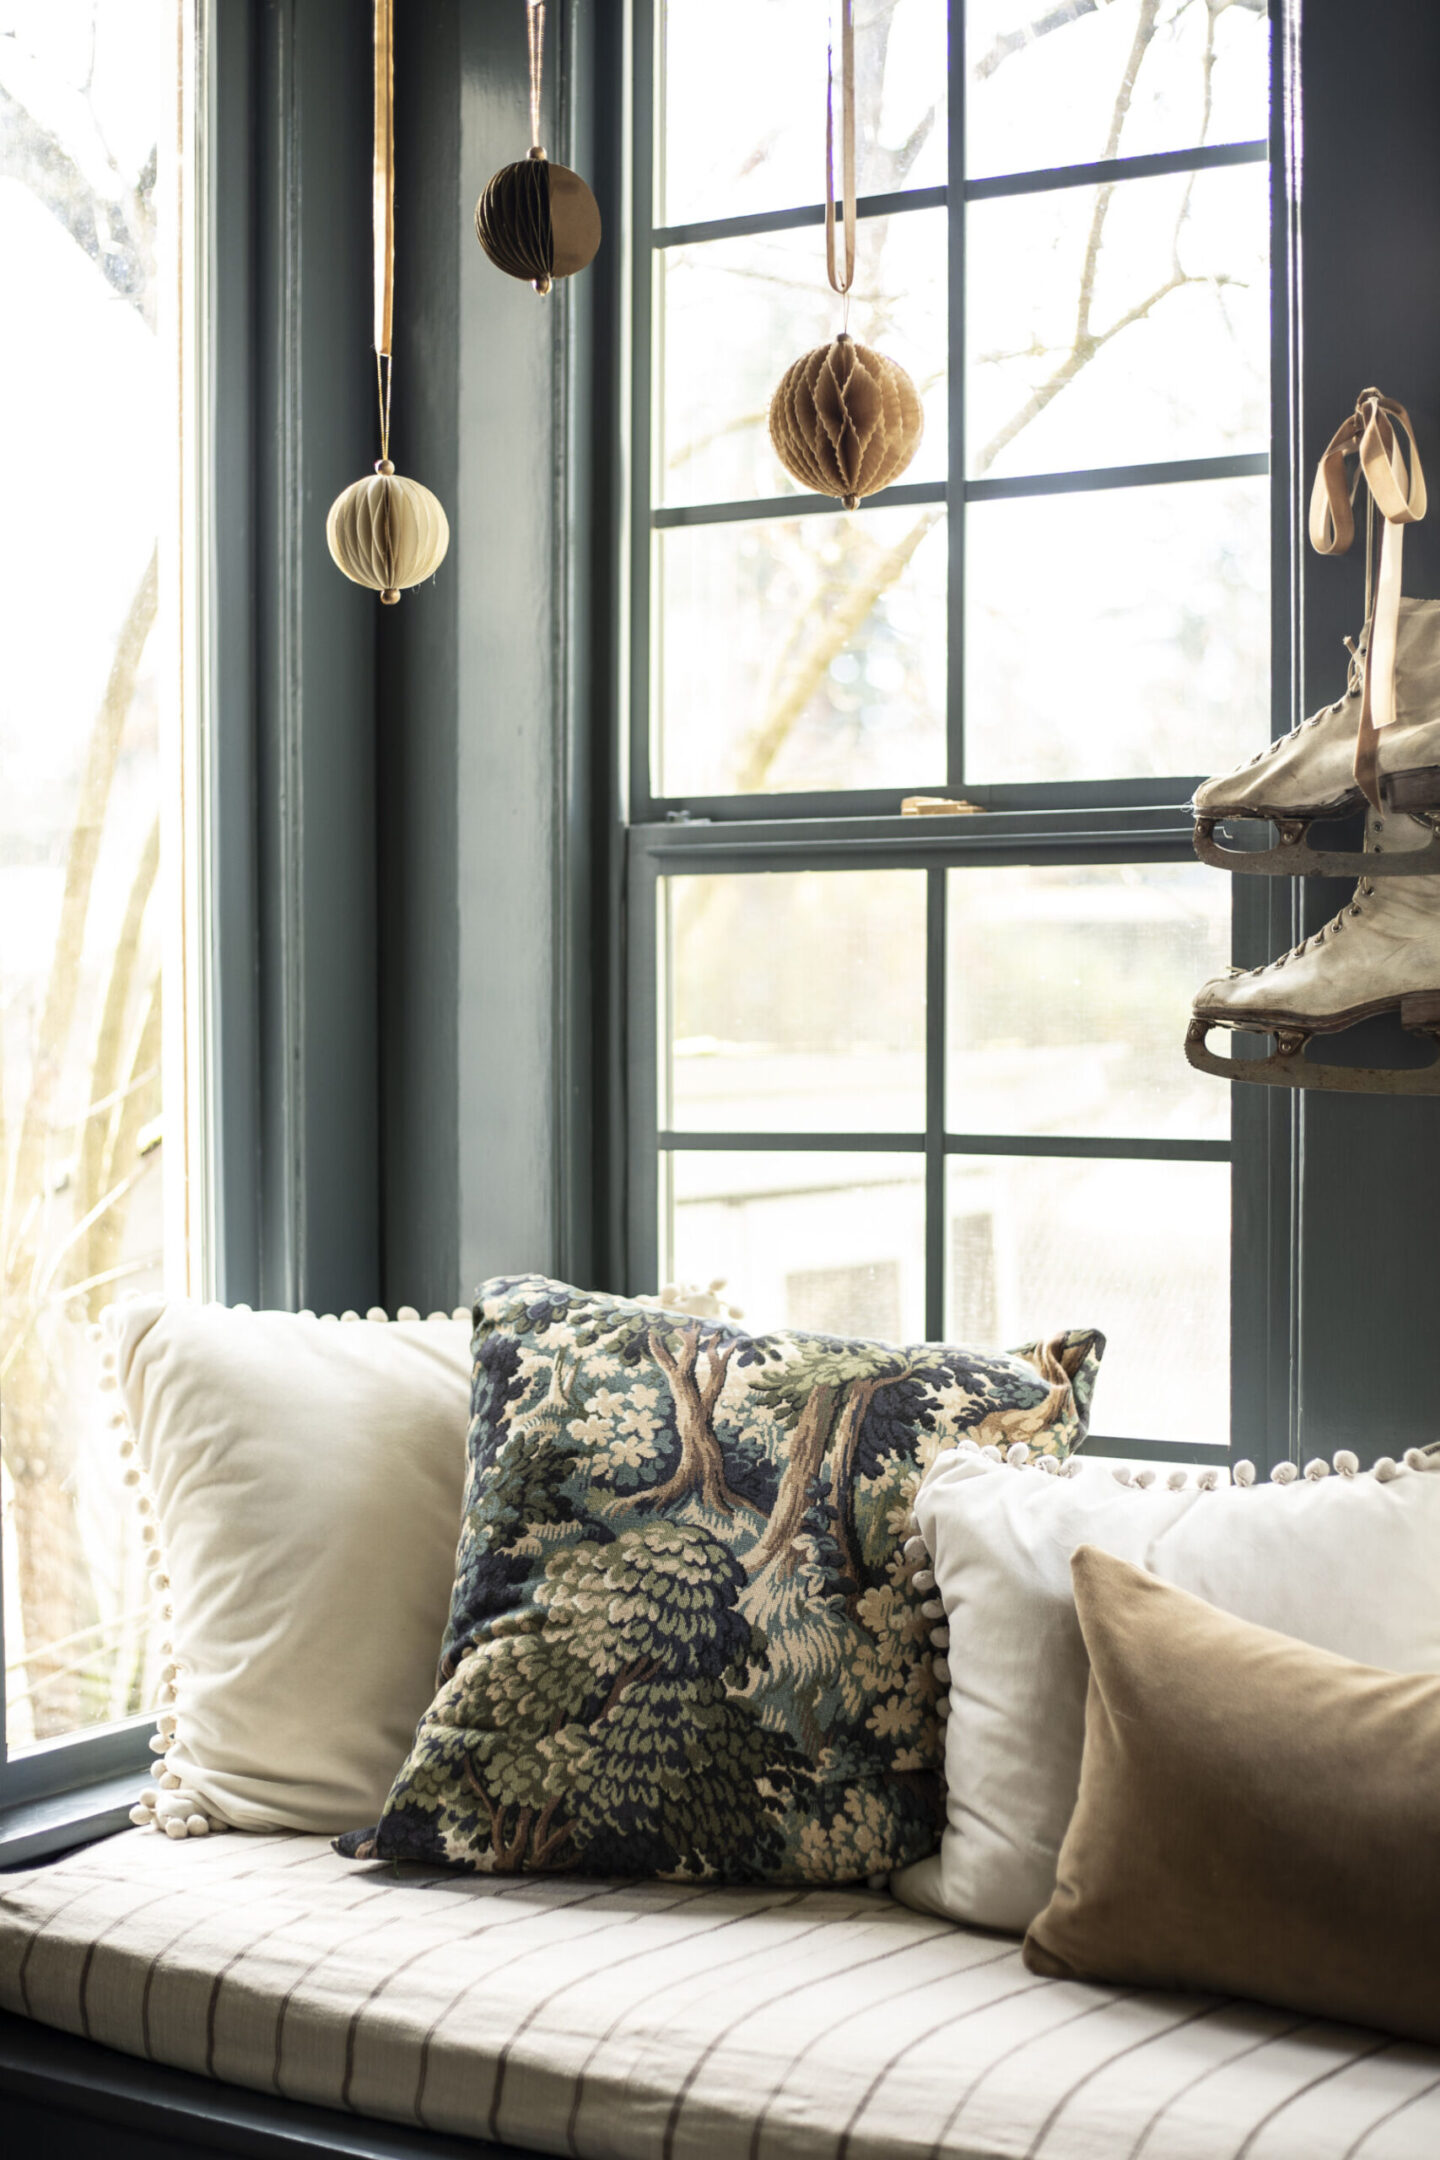
My two favorite ones are the white ones that I made with cardstock, and the light brown ruffled ones…those are made out of muffin tin liners! I love the extra detail and texture that is added by the ridges.
And that completes this DIY Christmas Ornaments round up! I hope you’re inspired and that you can add one or more of these cute trendy options onto your tree this year!
Don’t Forget to Sign Up for Handmade Holidays:
Enter your email address here to sign up for Handmade Holidays!
Related Christmas Content for This Year:
- How to Style an Edwardian Front Porch
- How to Style a William Morris Inspired Christmas Bedroom
- Touring a Victorian Christmas Living Room
…and there are still more to come!
Pin These 6 Easy DIY Ornaments For Later:
