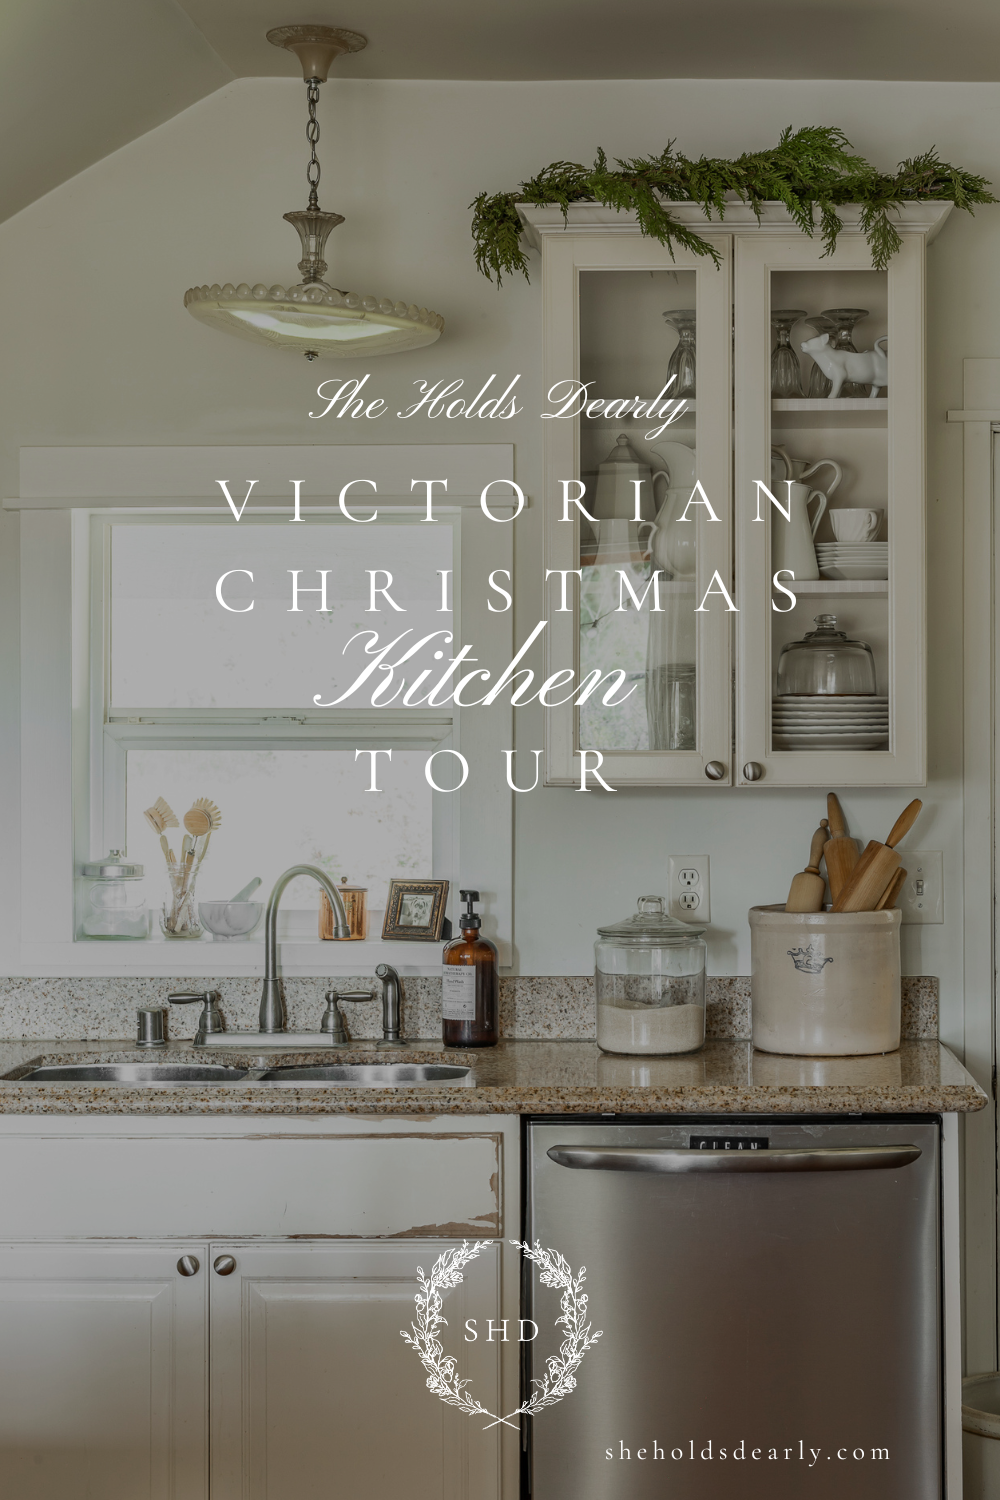
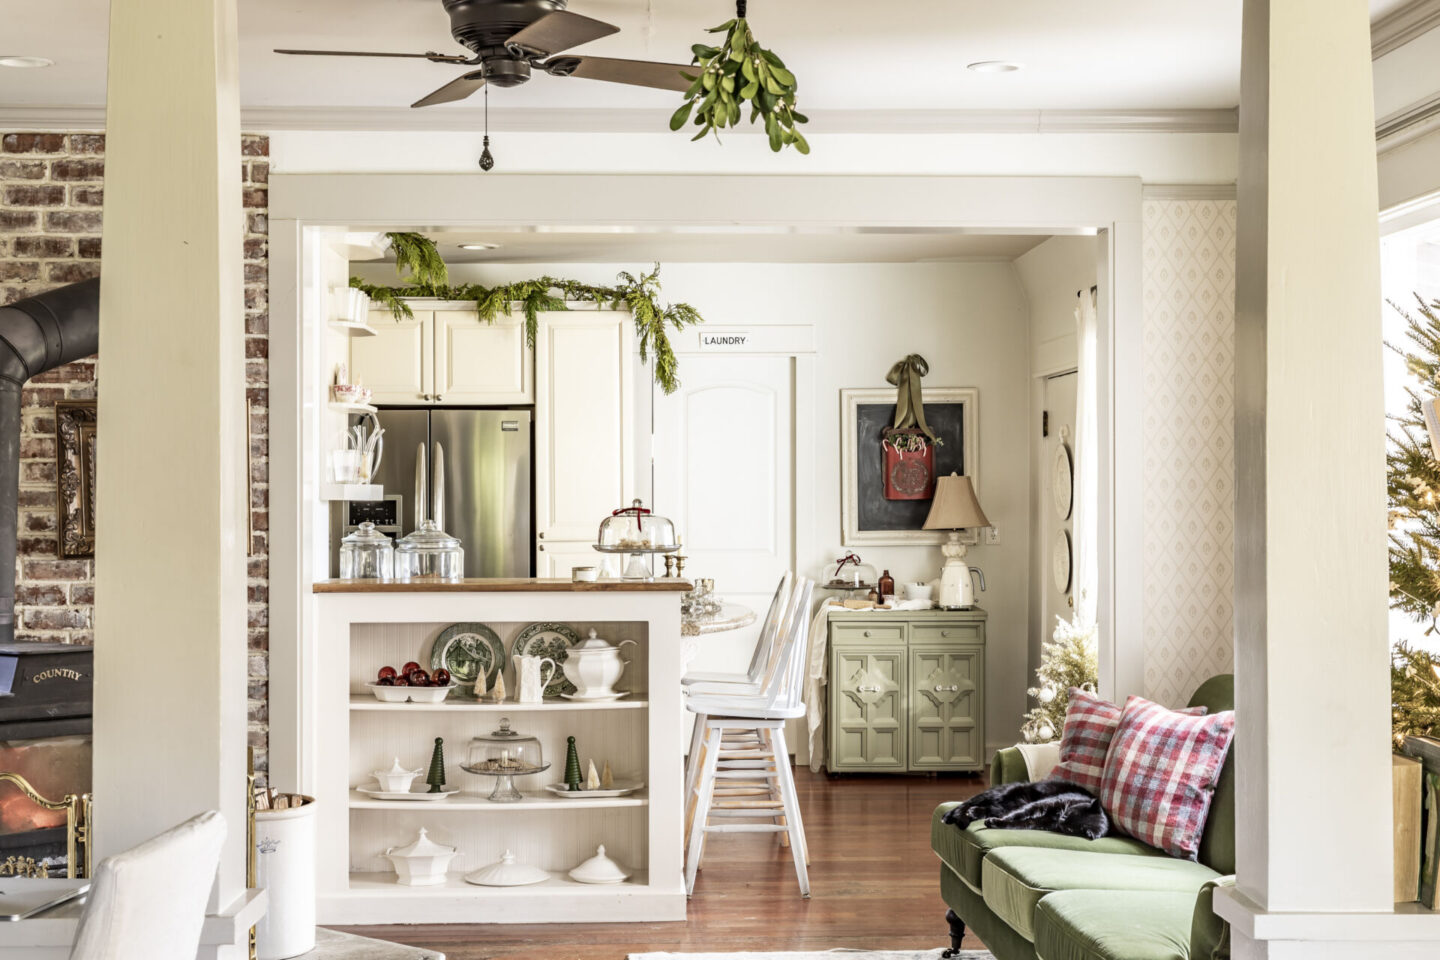
Subtle Victorian Style in a Christmas Kitchen
Styling a Christmas kitchen can feel tricky – but I’m going to let you in on some tips that make it easy while I give you a tour of my Victorian inspired Christmas kitchen for this year!
Kitchens probably aren’t often the first thing you think of when you start to decorate for Christmas, but don’t let that stop you from putting some thought into how you can continue the celebration through that space!
Most years I do decorate mine; and while it’s often understated, that doesn’t mean it can’t be beautiful!
*This post contains affiliate links to products I know &/or love.
Handmade Holidays Email Series:
This year over on Instagram I had an impromptu idea to start a group where we’d work through 24 DIY projects to get us prepared for Christmas. The response was phenomenal, and it was such a joy to work through 6 weeks of ideas with so many members of the SHD community!
We’re all finished with the emailed portion of the class, but I’m excited to share that it’s not too late for anyone who would still like to be involved!
If you sign up HERE or by entering your email address below, you’ll receive a single recap email that includes links to all 6 of the previous emails covering all 24 projects!
There’s a video tutorial for each week along with supply lists, inspiration photos and linked sources!
This resource will only remain available for 2023 through Christmas, so sign up now for the jam-packed recap email, as well as some December surprises that are still trickling out!
How to Style a Victorian Inspired Christmas Kitchen:
Let’s start with the countertop, shall we?
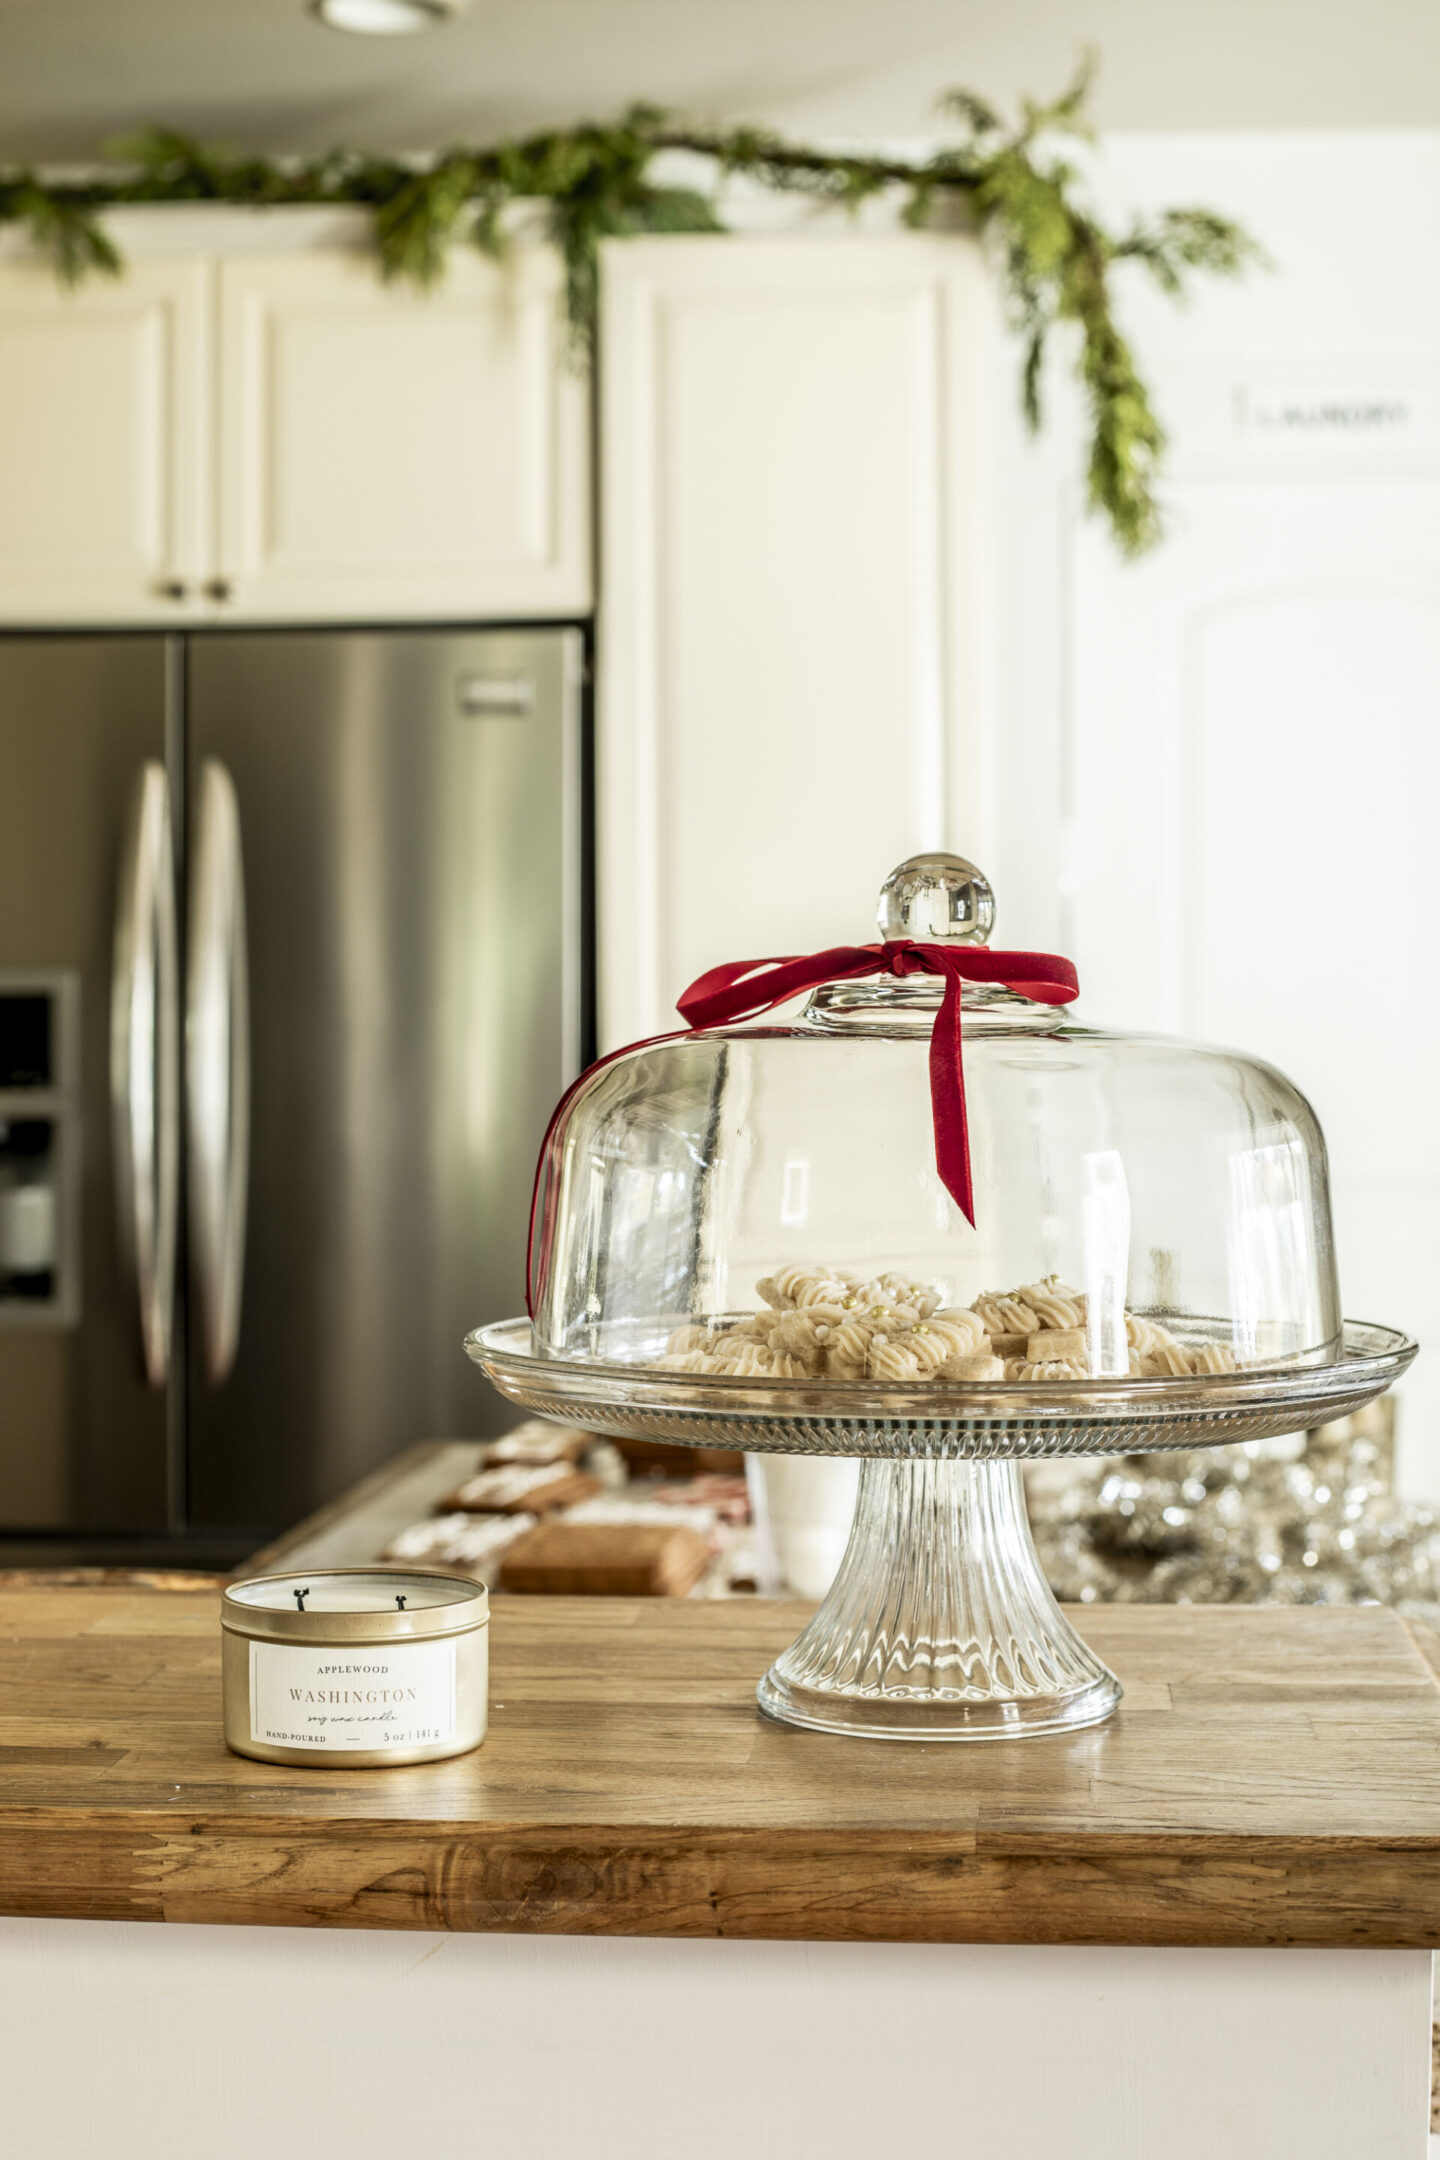
Because I like to have a functional counter-top space, I usually keep my seasonal decor at a minimum in this prime work space.
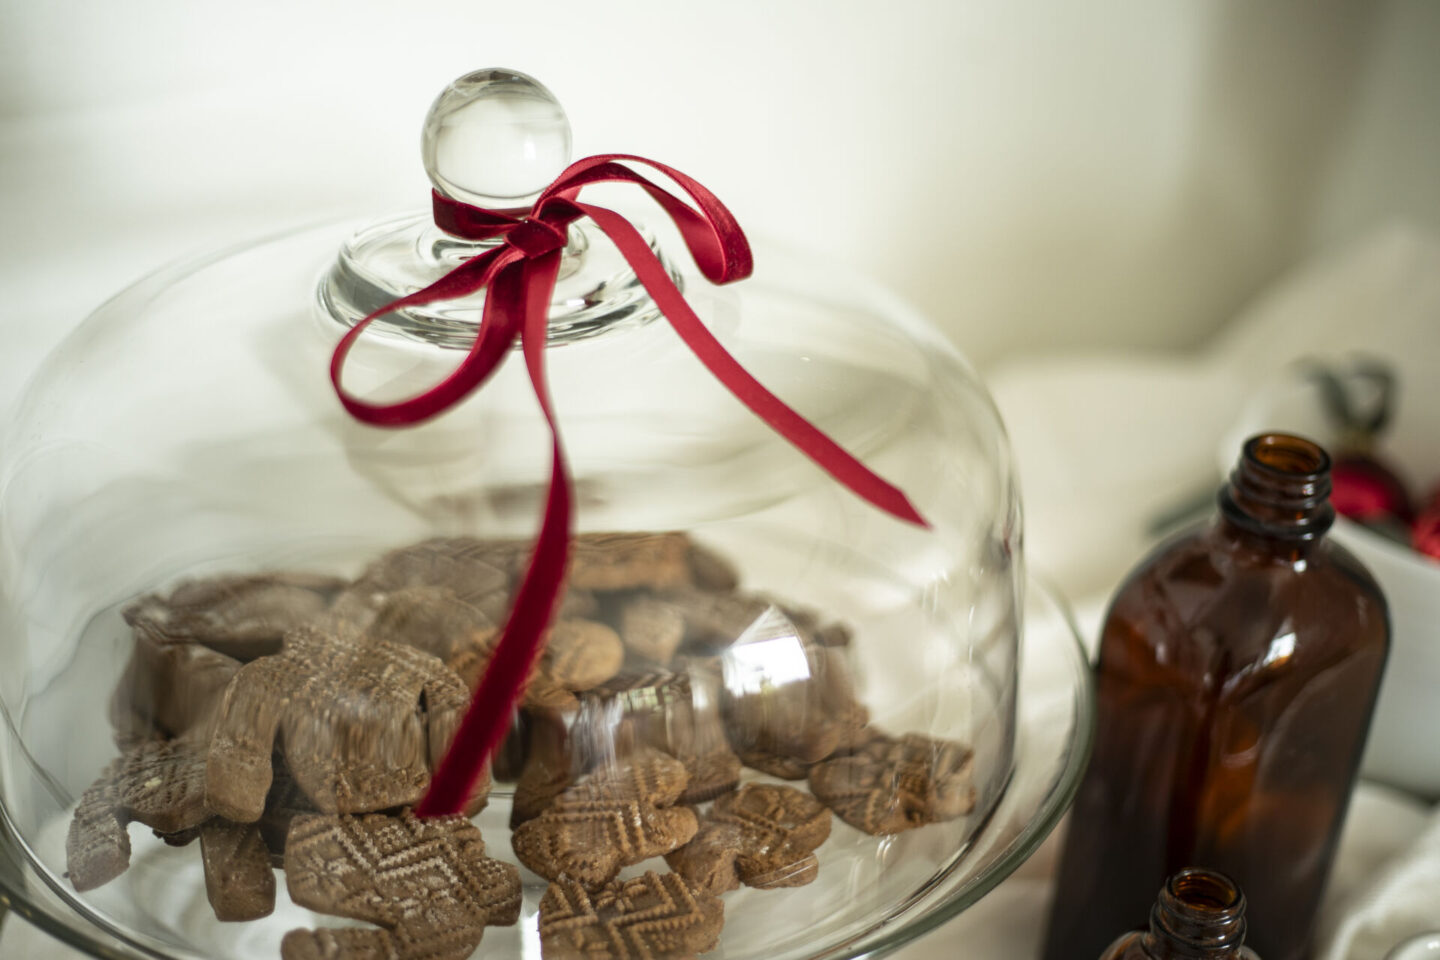
At the top of the bar, I set up a glass cake stand with a red velvet ribbon tied at the top. Inside I stacked some of the Christmas tree cookies that I made during our Handmade Holidays Series.
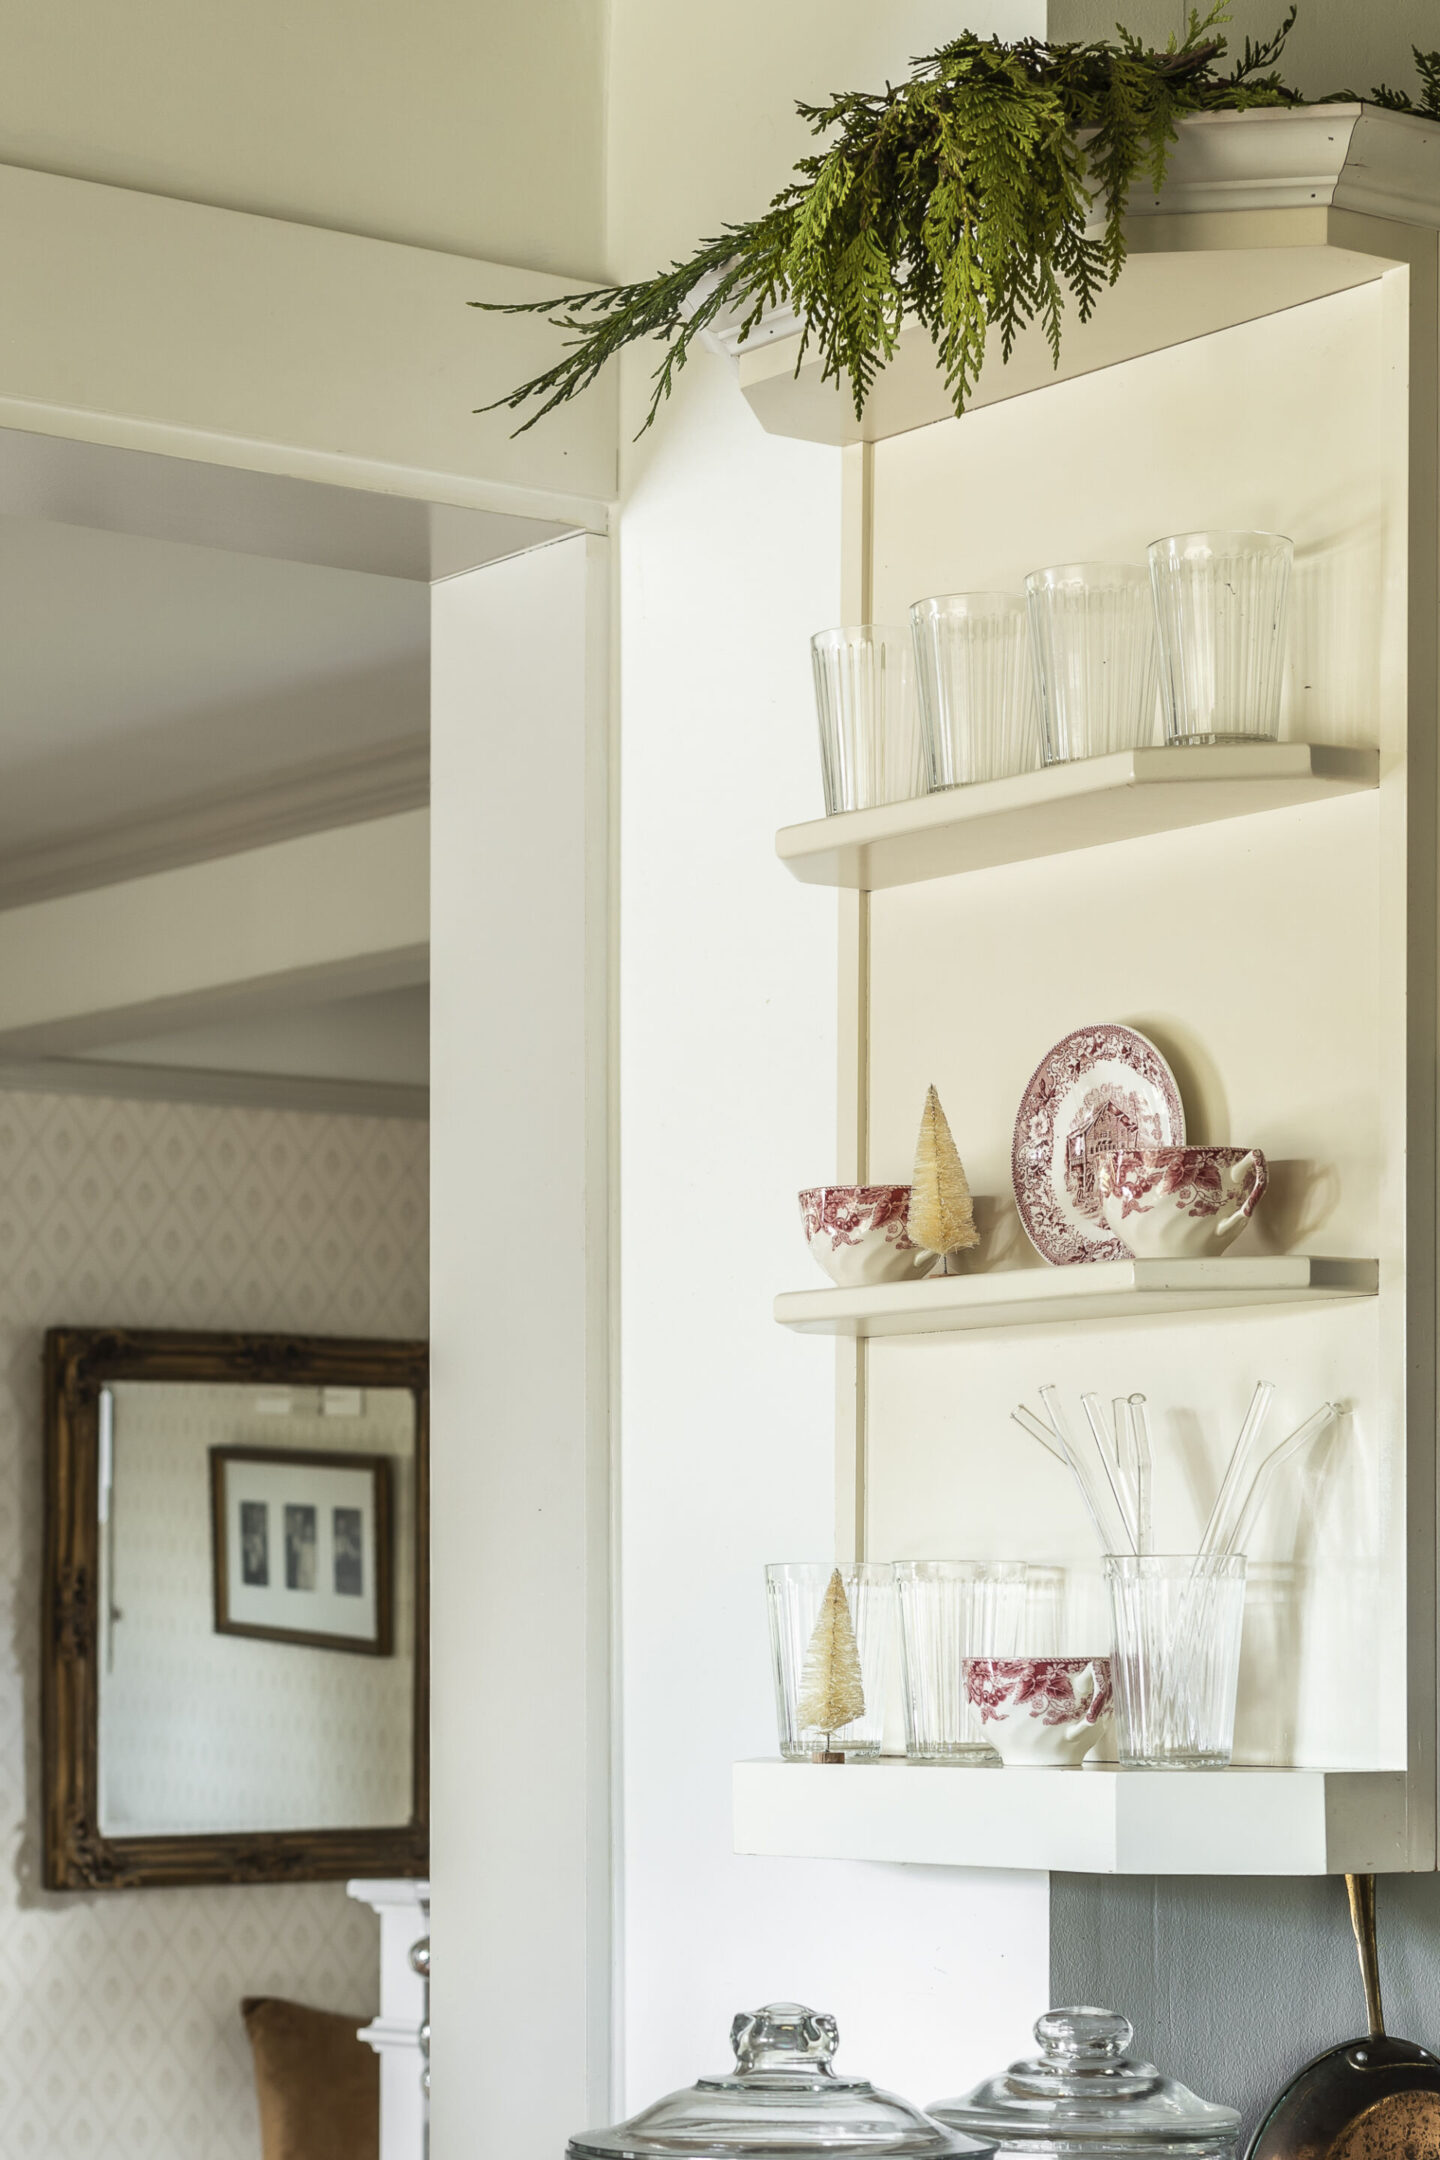
I chose to do minimal styling on my cabinets, but I did add some beautiful white and red transfer ware and tiny off-white bottle brush trees to our open shelving above the counter.
I also love adding fresh greenery above my cabinets – this year I used lots of fresh cut cedar from our yard.
The backside of our countertop bar area has a small shelf that faces our Fireside room that I love decorating for the seasons.
If you have any questions about decorating and styling shelves – I’ve got an older post that can answer all your questions.
For those shelves I used my green and white transfer ware, my white dishes, another beautiful glass cake plate filled with cookies, and a white dish filled with amber glass ornaments that I DIY’d this year!
If you ever have ornaments that you love that simply don’t go along with your tree decor as well as you were hoping, I always suggest displaying them in an open dish! They can add such character, and in this case, a great pop of contrasting color, too!
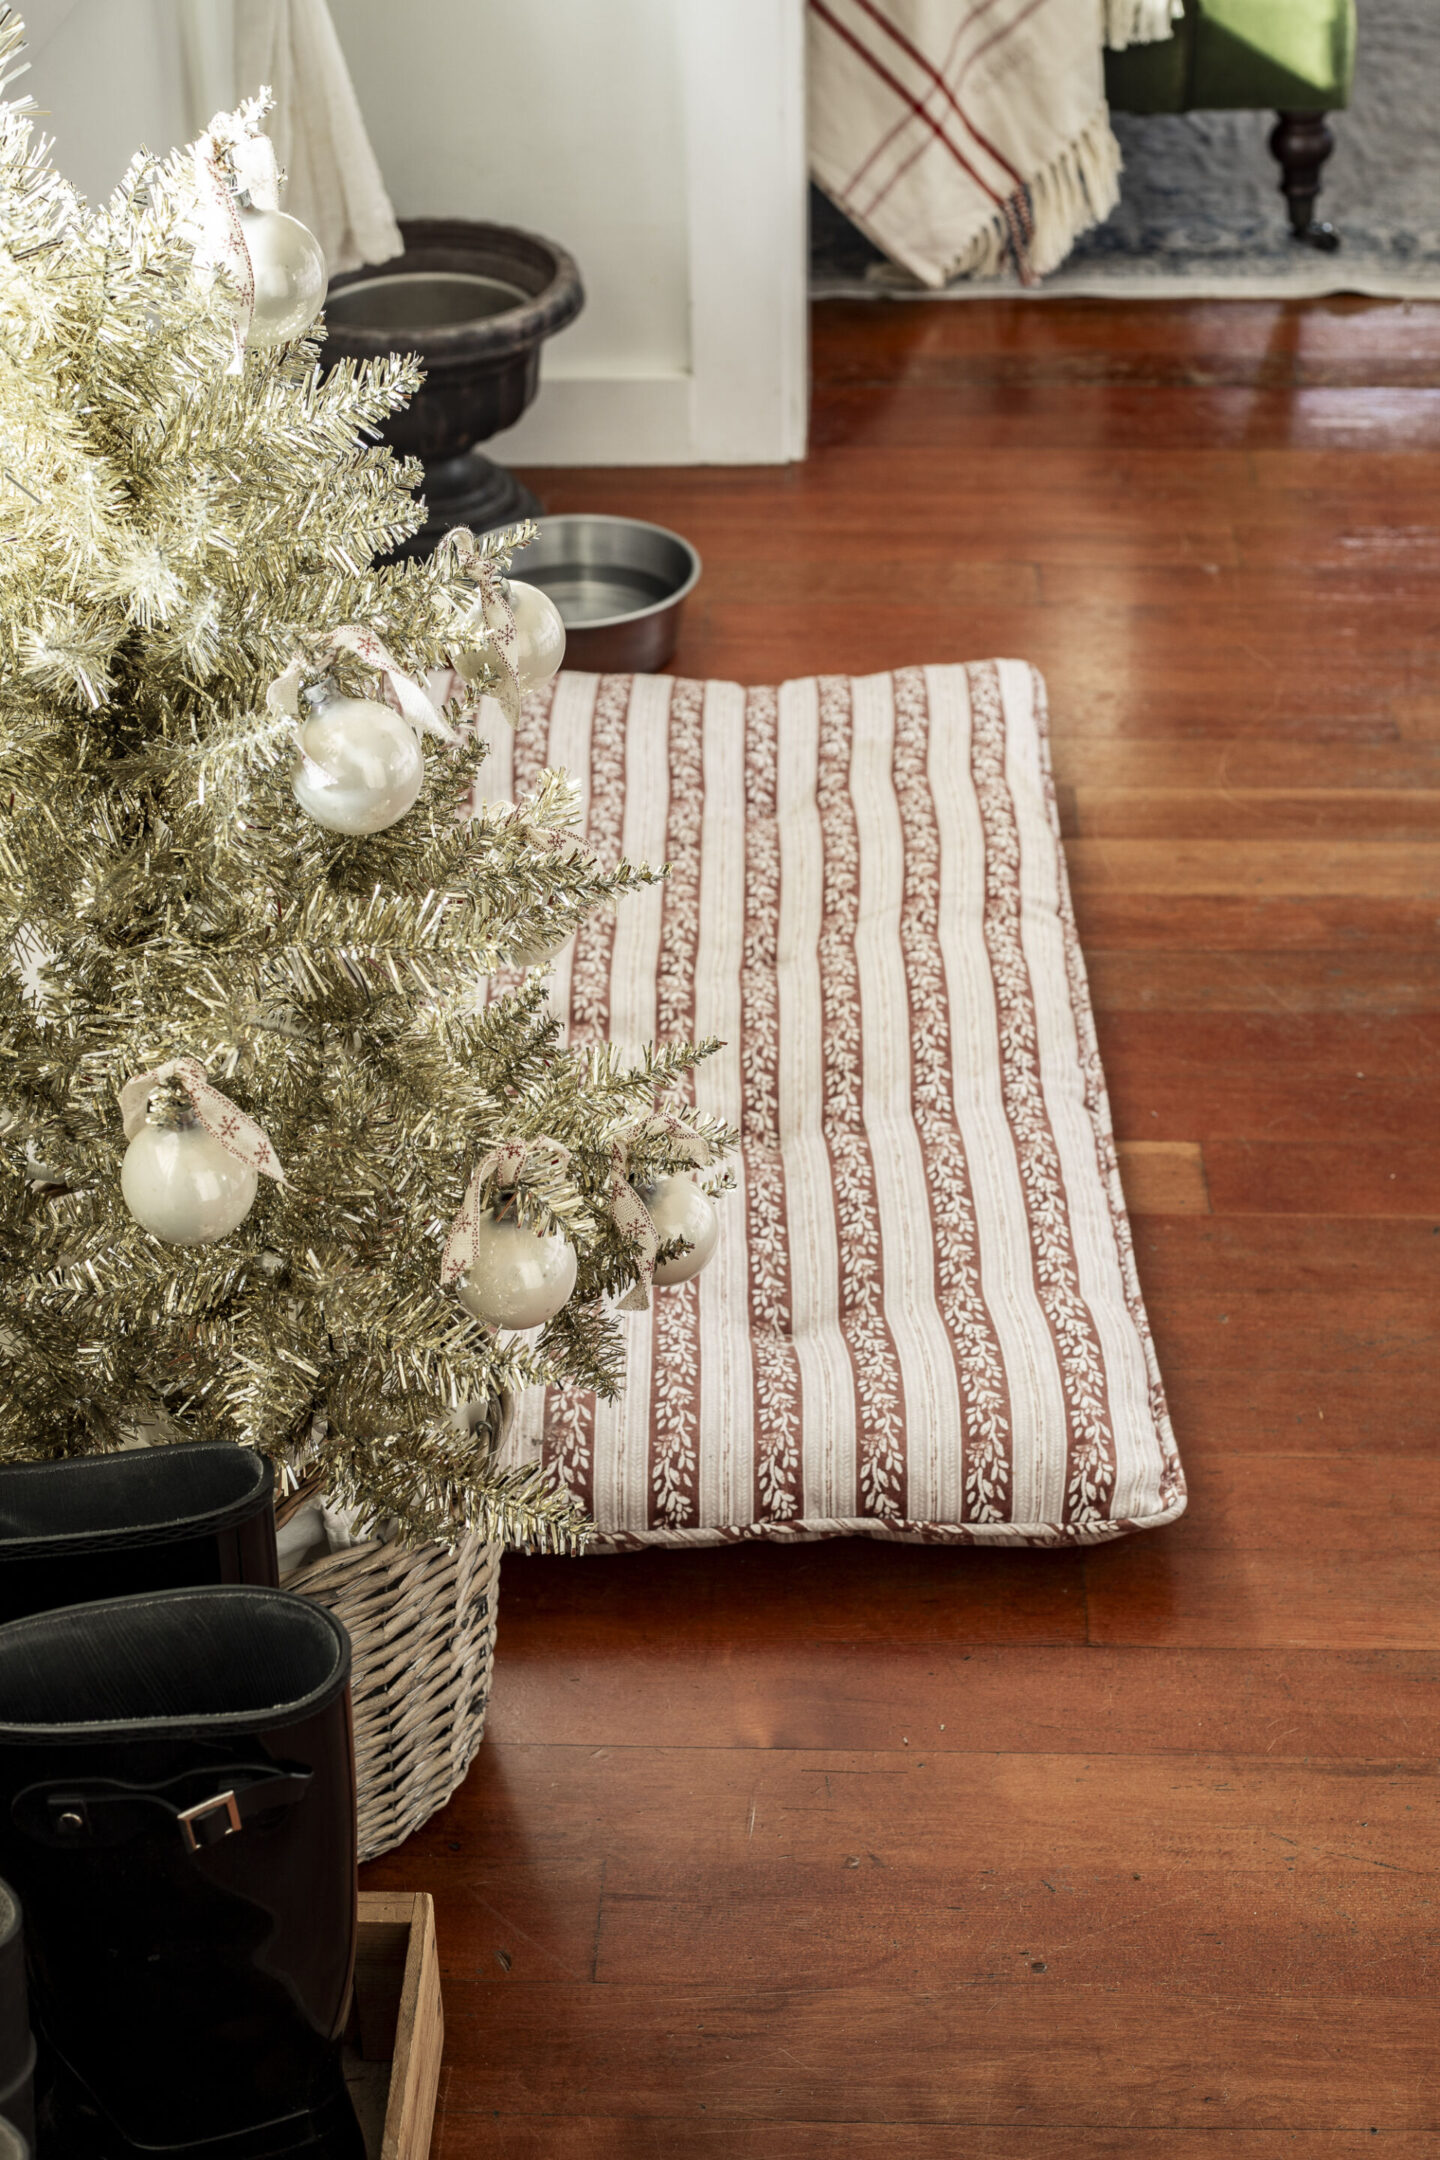
Across from the kitchen bar, underneath the window that leads out to our “chicken porch”, I have a little area set up for our dog, Kiera.
I added in a sweet block printed dog bed that I found at Home Goods next to what we call Kiera’s tree. It’s a cute 36″ Vickerman’s tree – I highly recommend this brand! I styled it with vintage glass ornaments that I found at Goodwill.
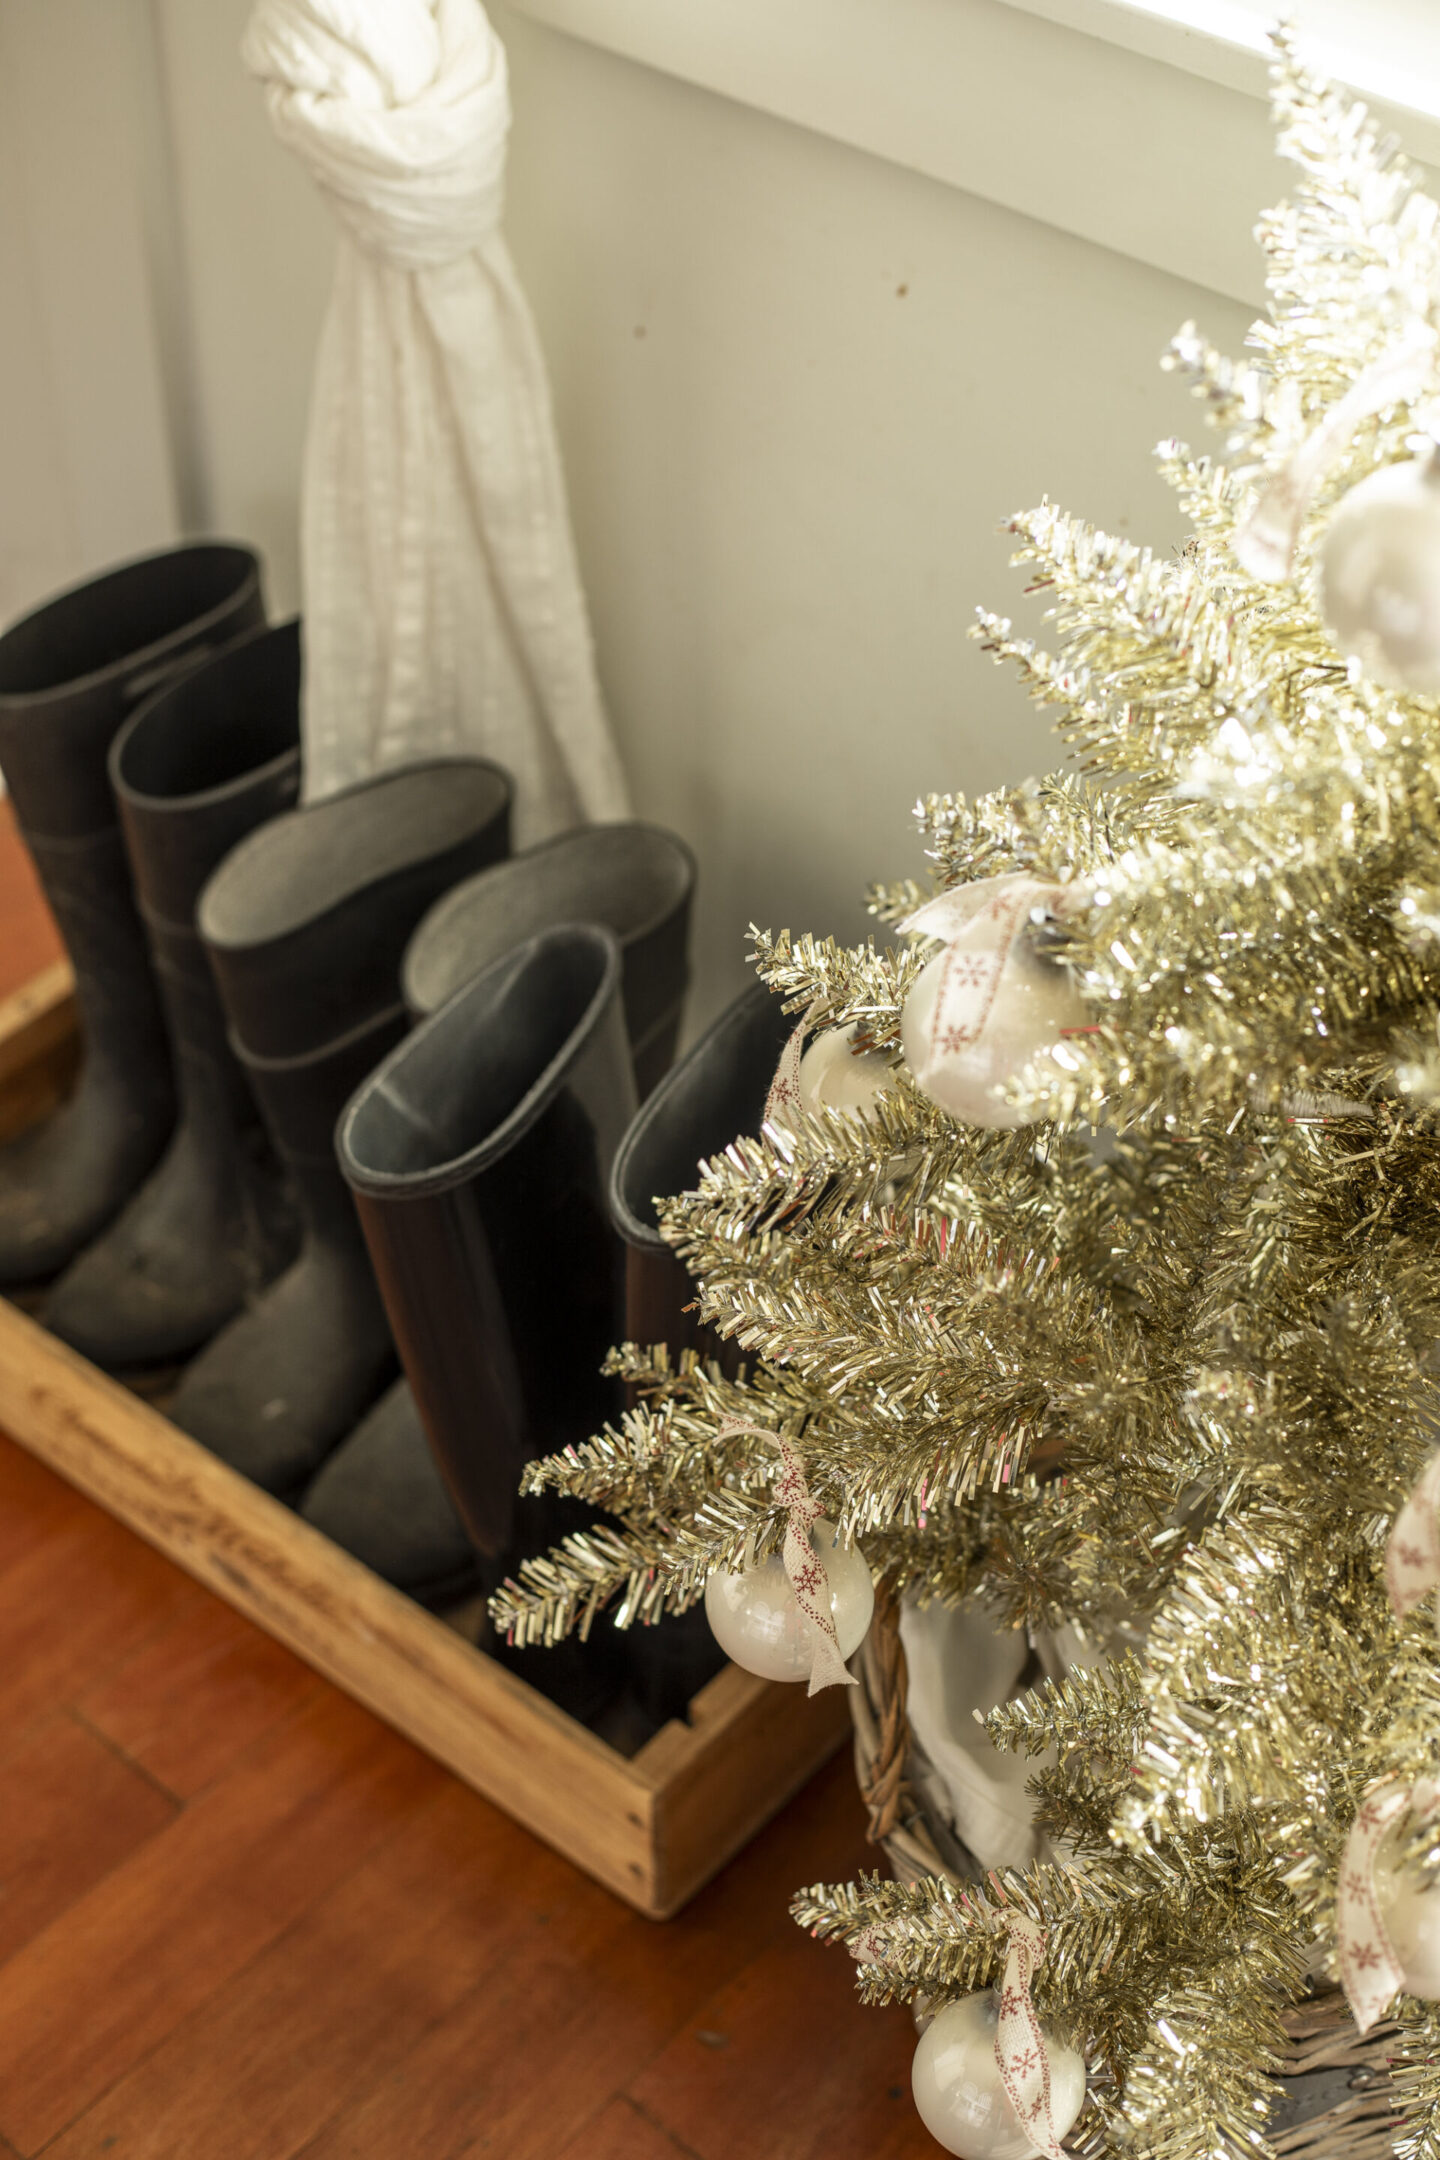
I swapped out their standard ornament hooks for this beautiful red and white ribbon that I found at JoAnn Fabric & Crafts. I love that it adds a vintage and French feel!
Near the door, I keep our boots in a vintage wine crate.
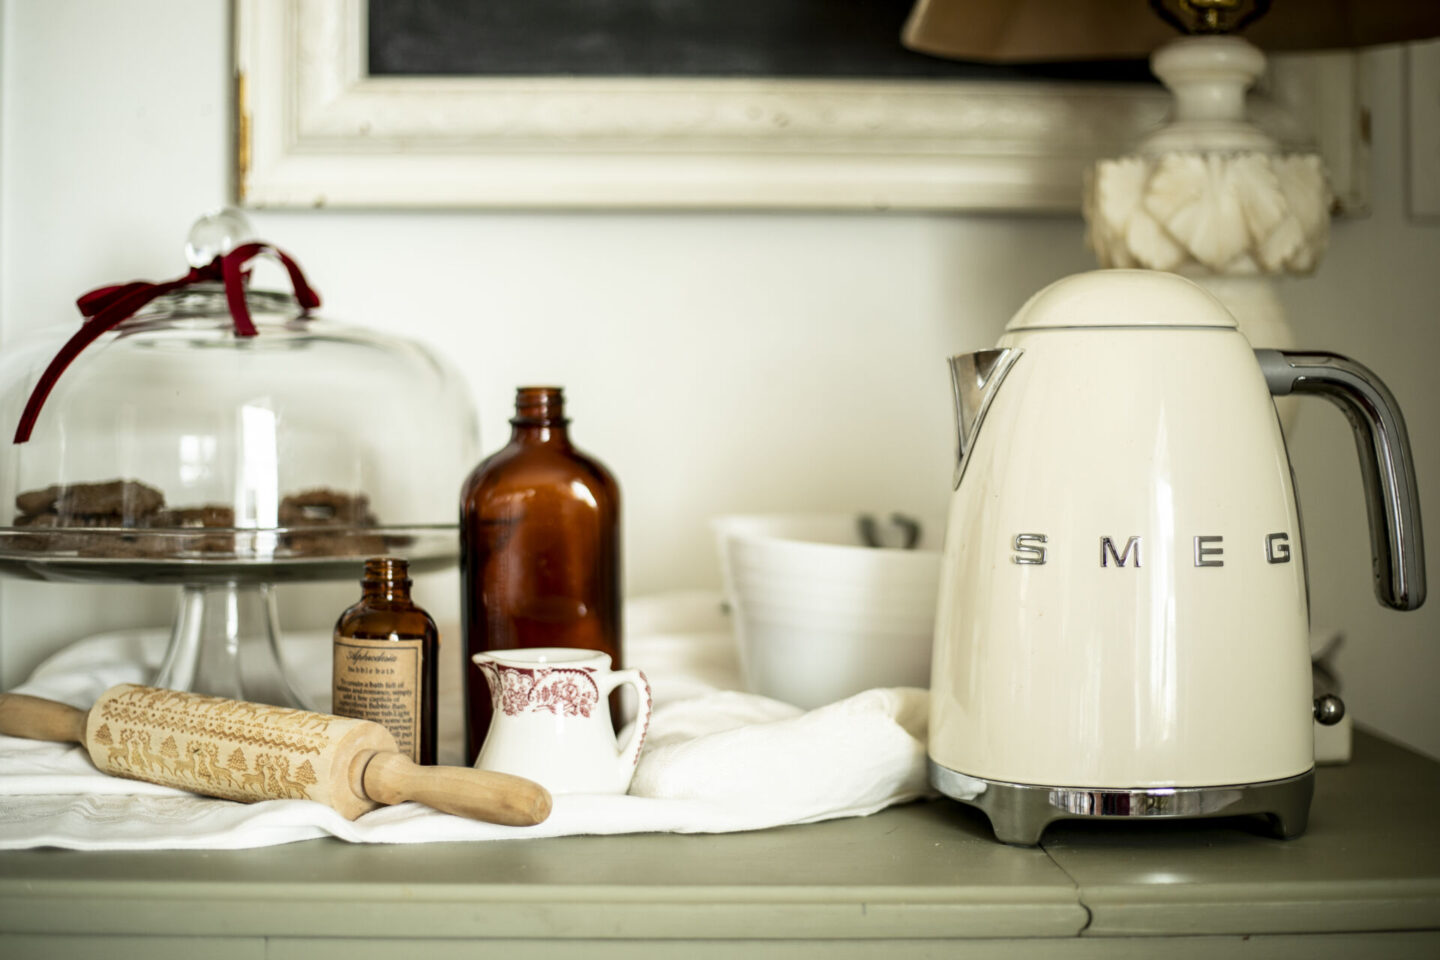
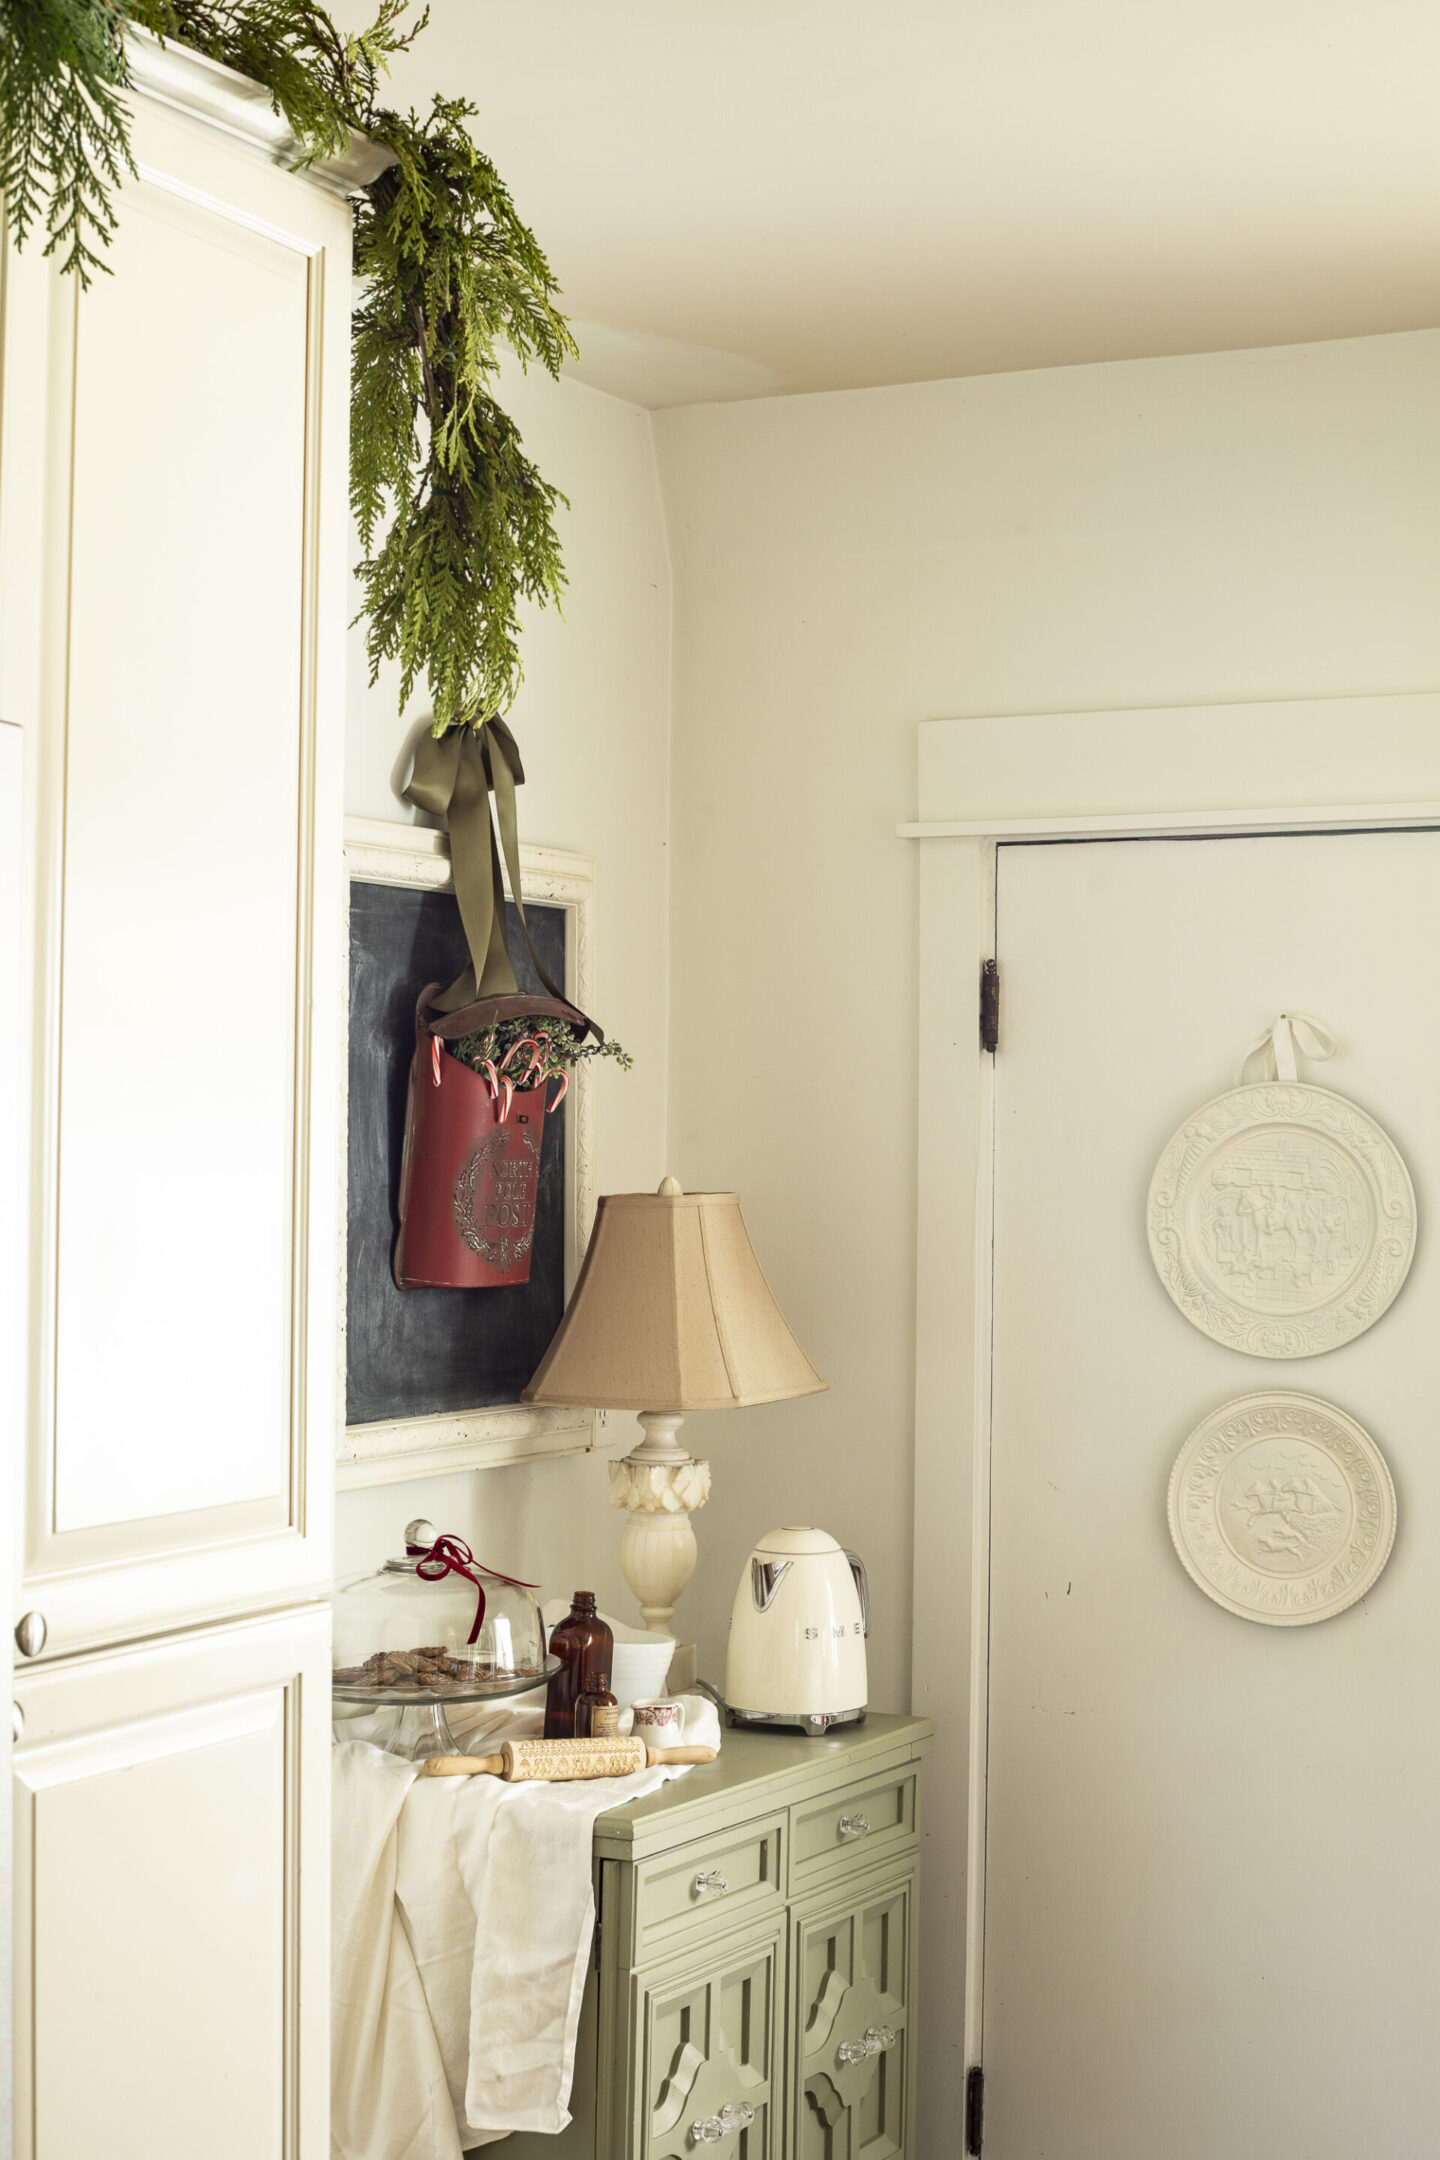
The next corner is near what I like to call my “sewing cabinet”. I love stocking this area with treats for my family.
I added another glass cake dish with velvet ribbon and filled it with more homemade cookies.
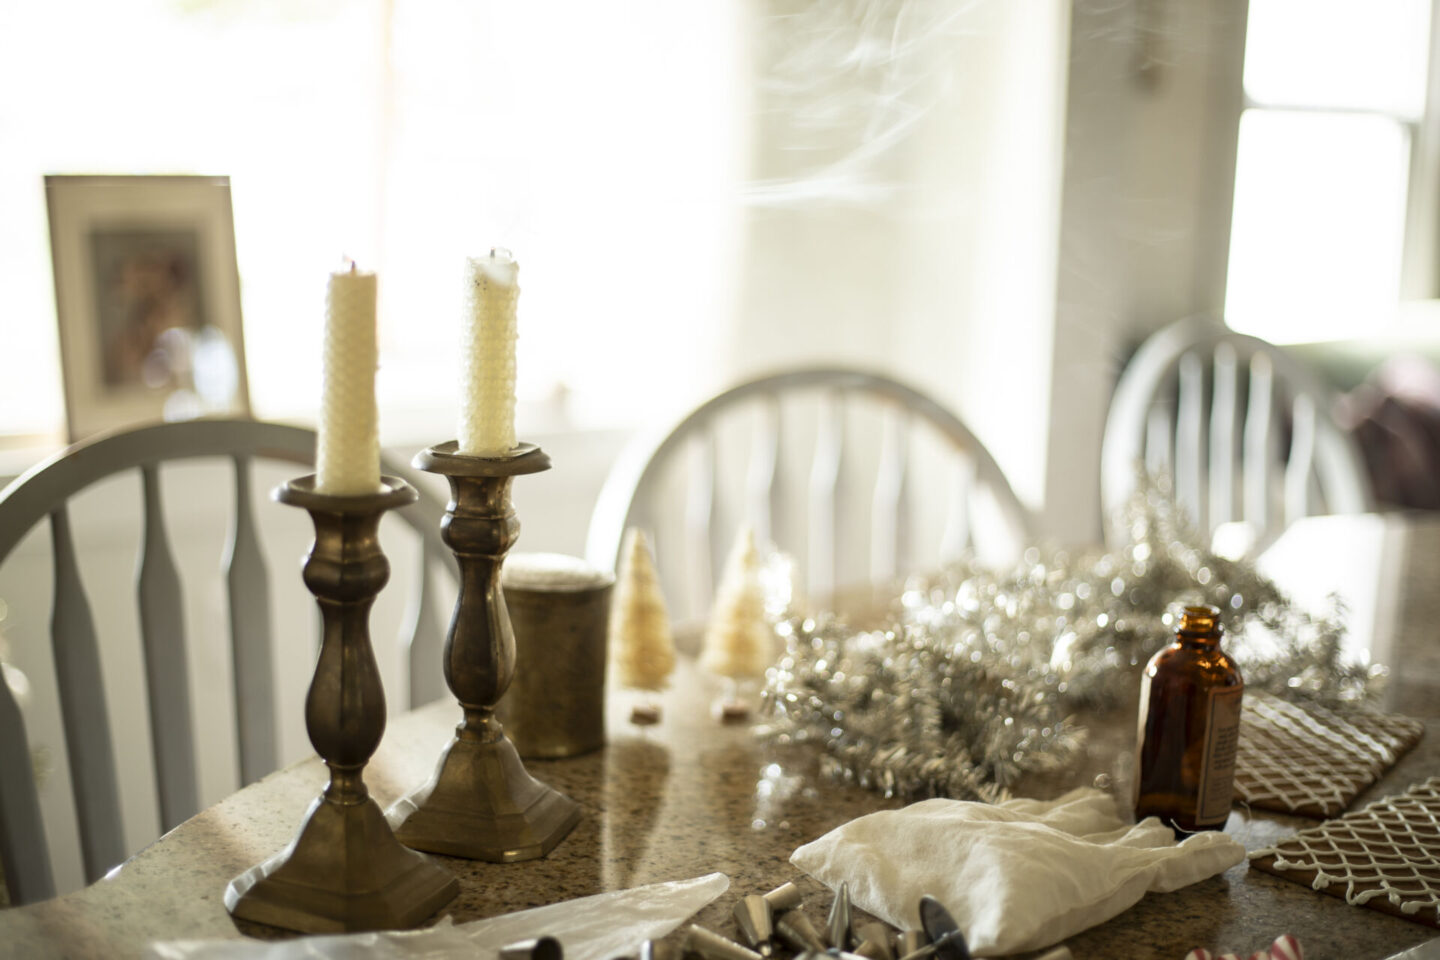
Next to that I set up our tea-kettle for warm drinks and a few little details reminiscent of Christmas baking.
I love using amber glass in baking vignettes because you almost can’t help but think of vanilla!
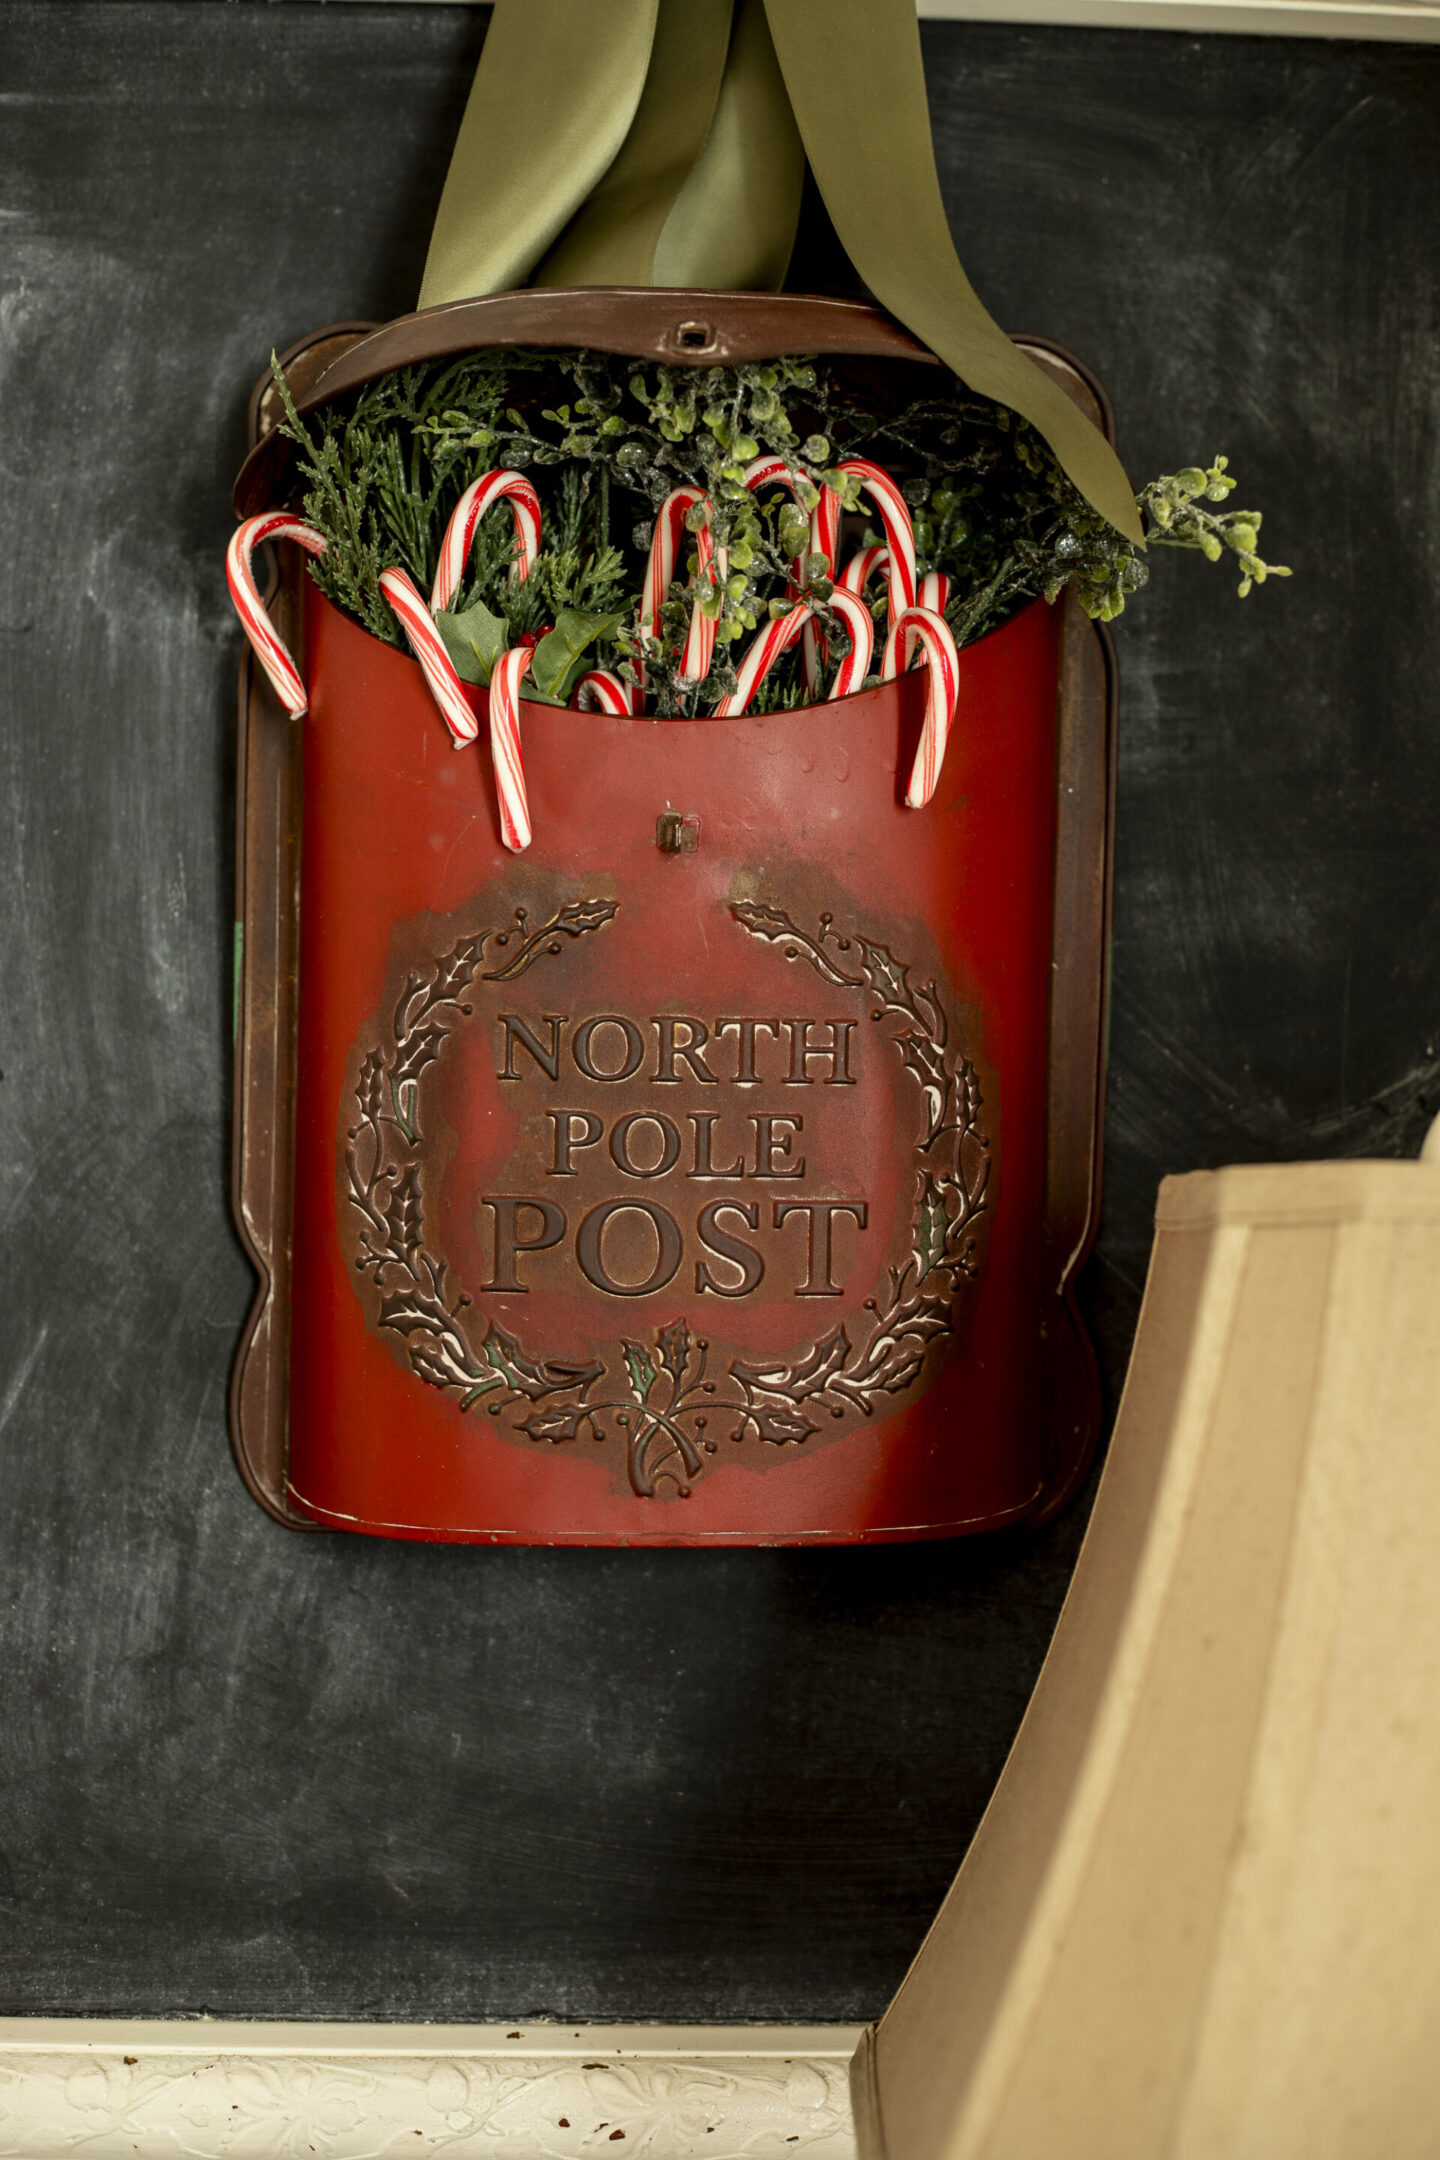
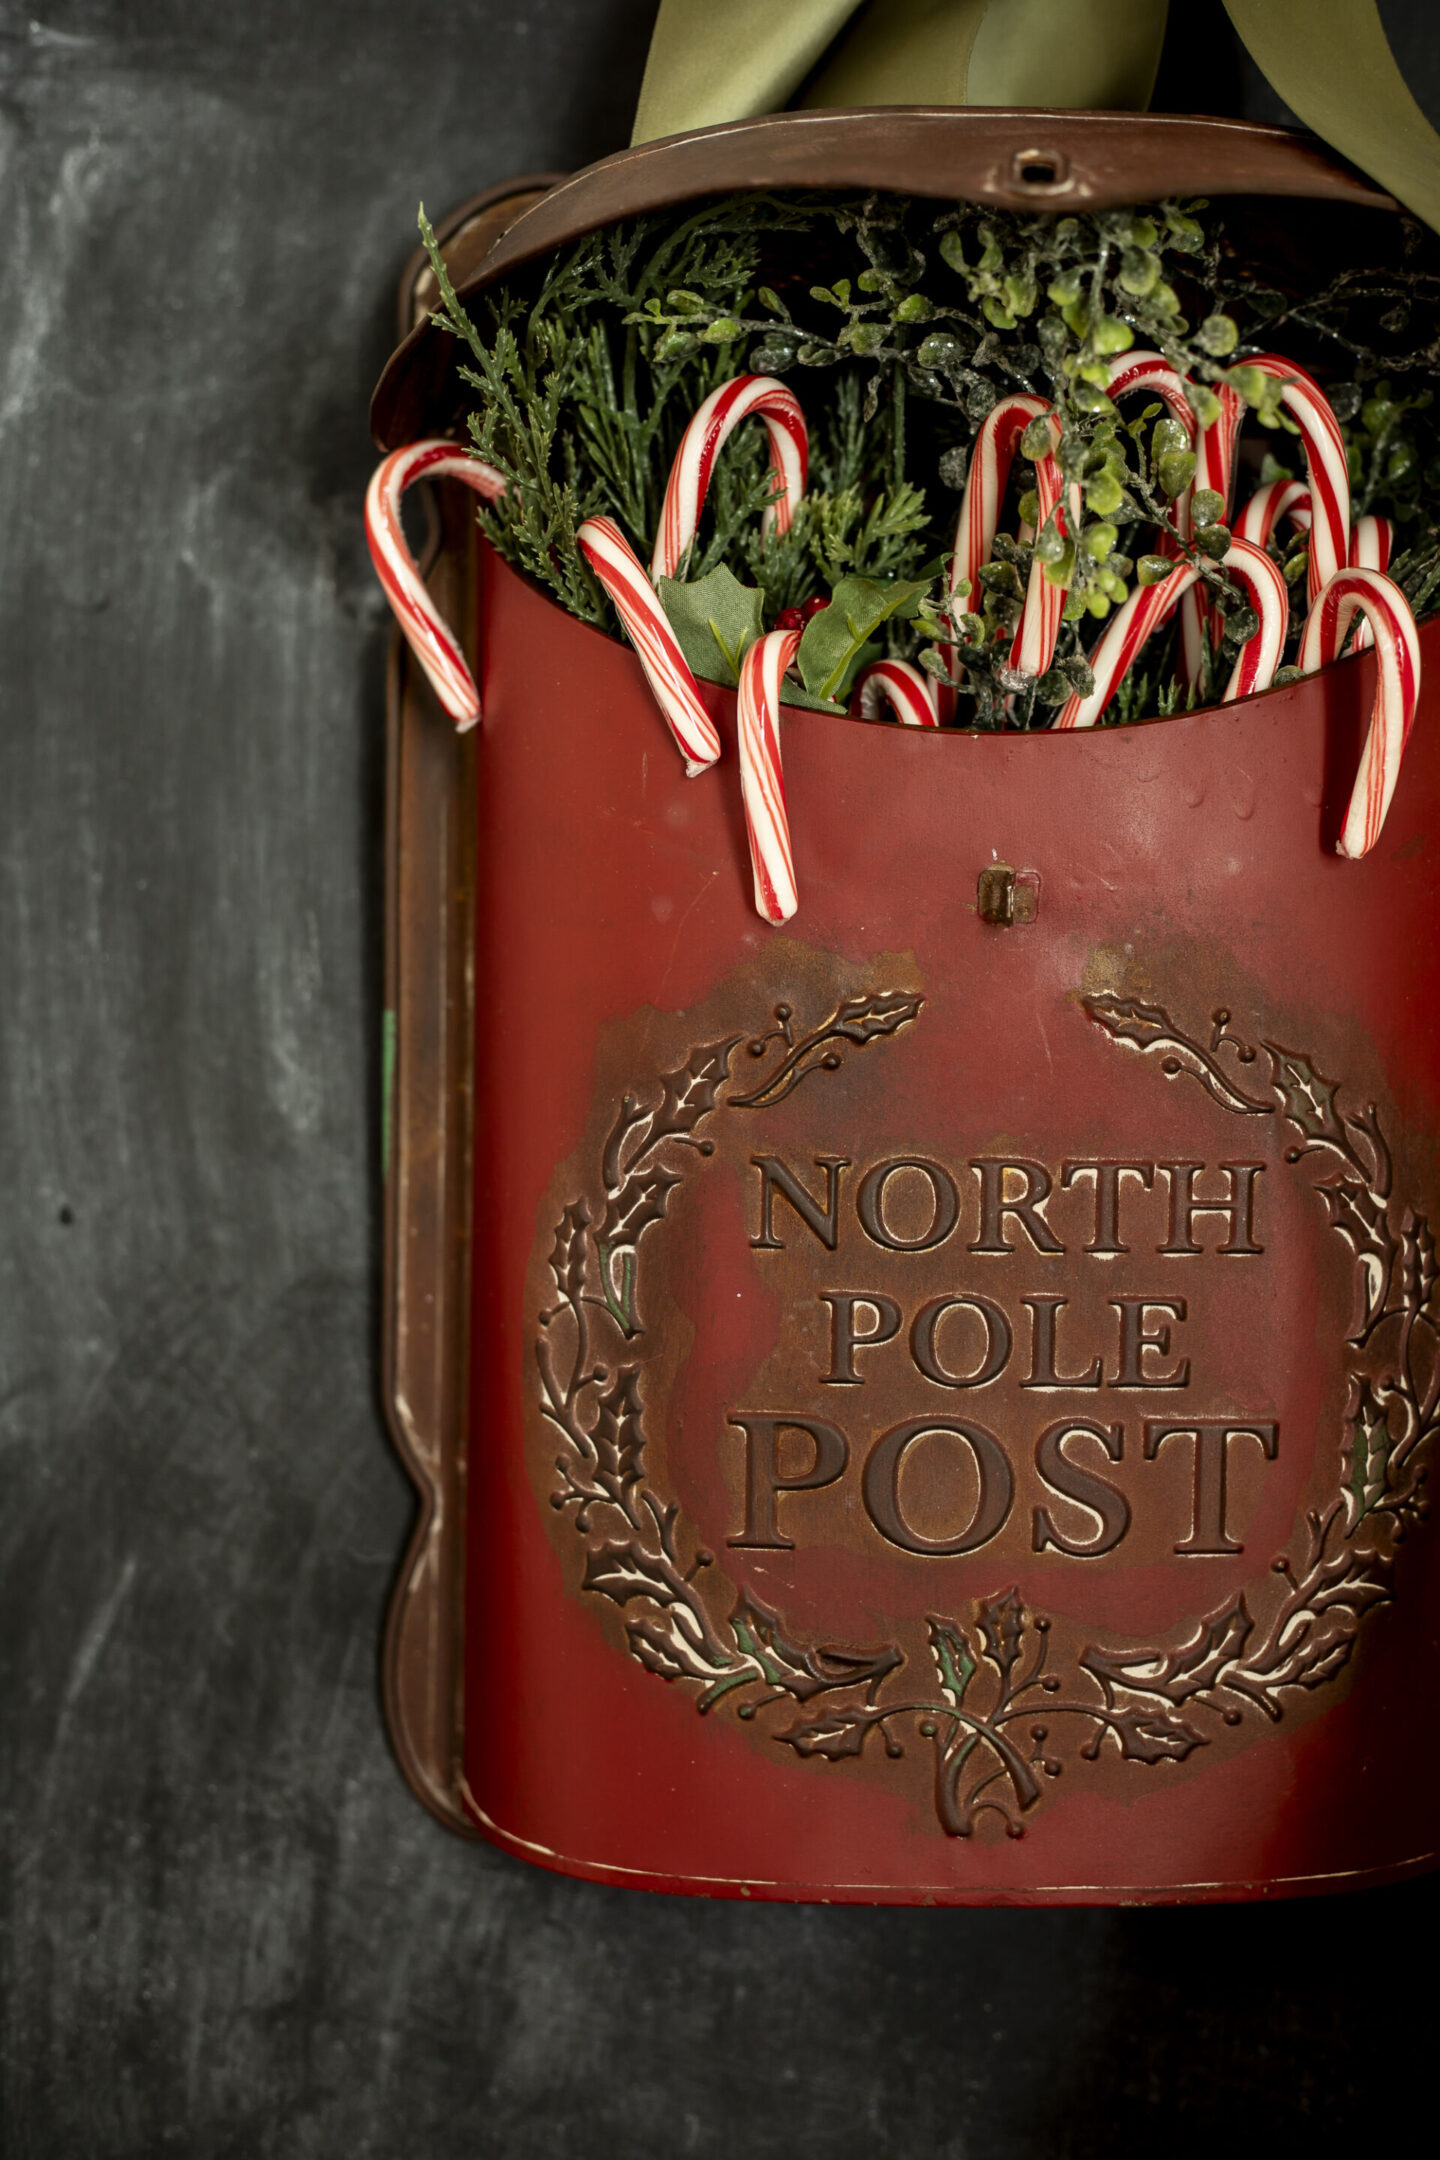
I hung up my vintage red “North Pole Post” box on our homemade chalk board and stocked it full with candy canes and greenery.
I originally got the mailbox from a Tractor Supply store, but they’ve since been out of stock. I’ve found similar ones on Amazon.
Swinging around into the main kitchen, you’ll notice that other than the cedar boughs on top of the shelves, most everything else is classic for the whole year.
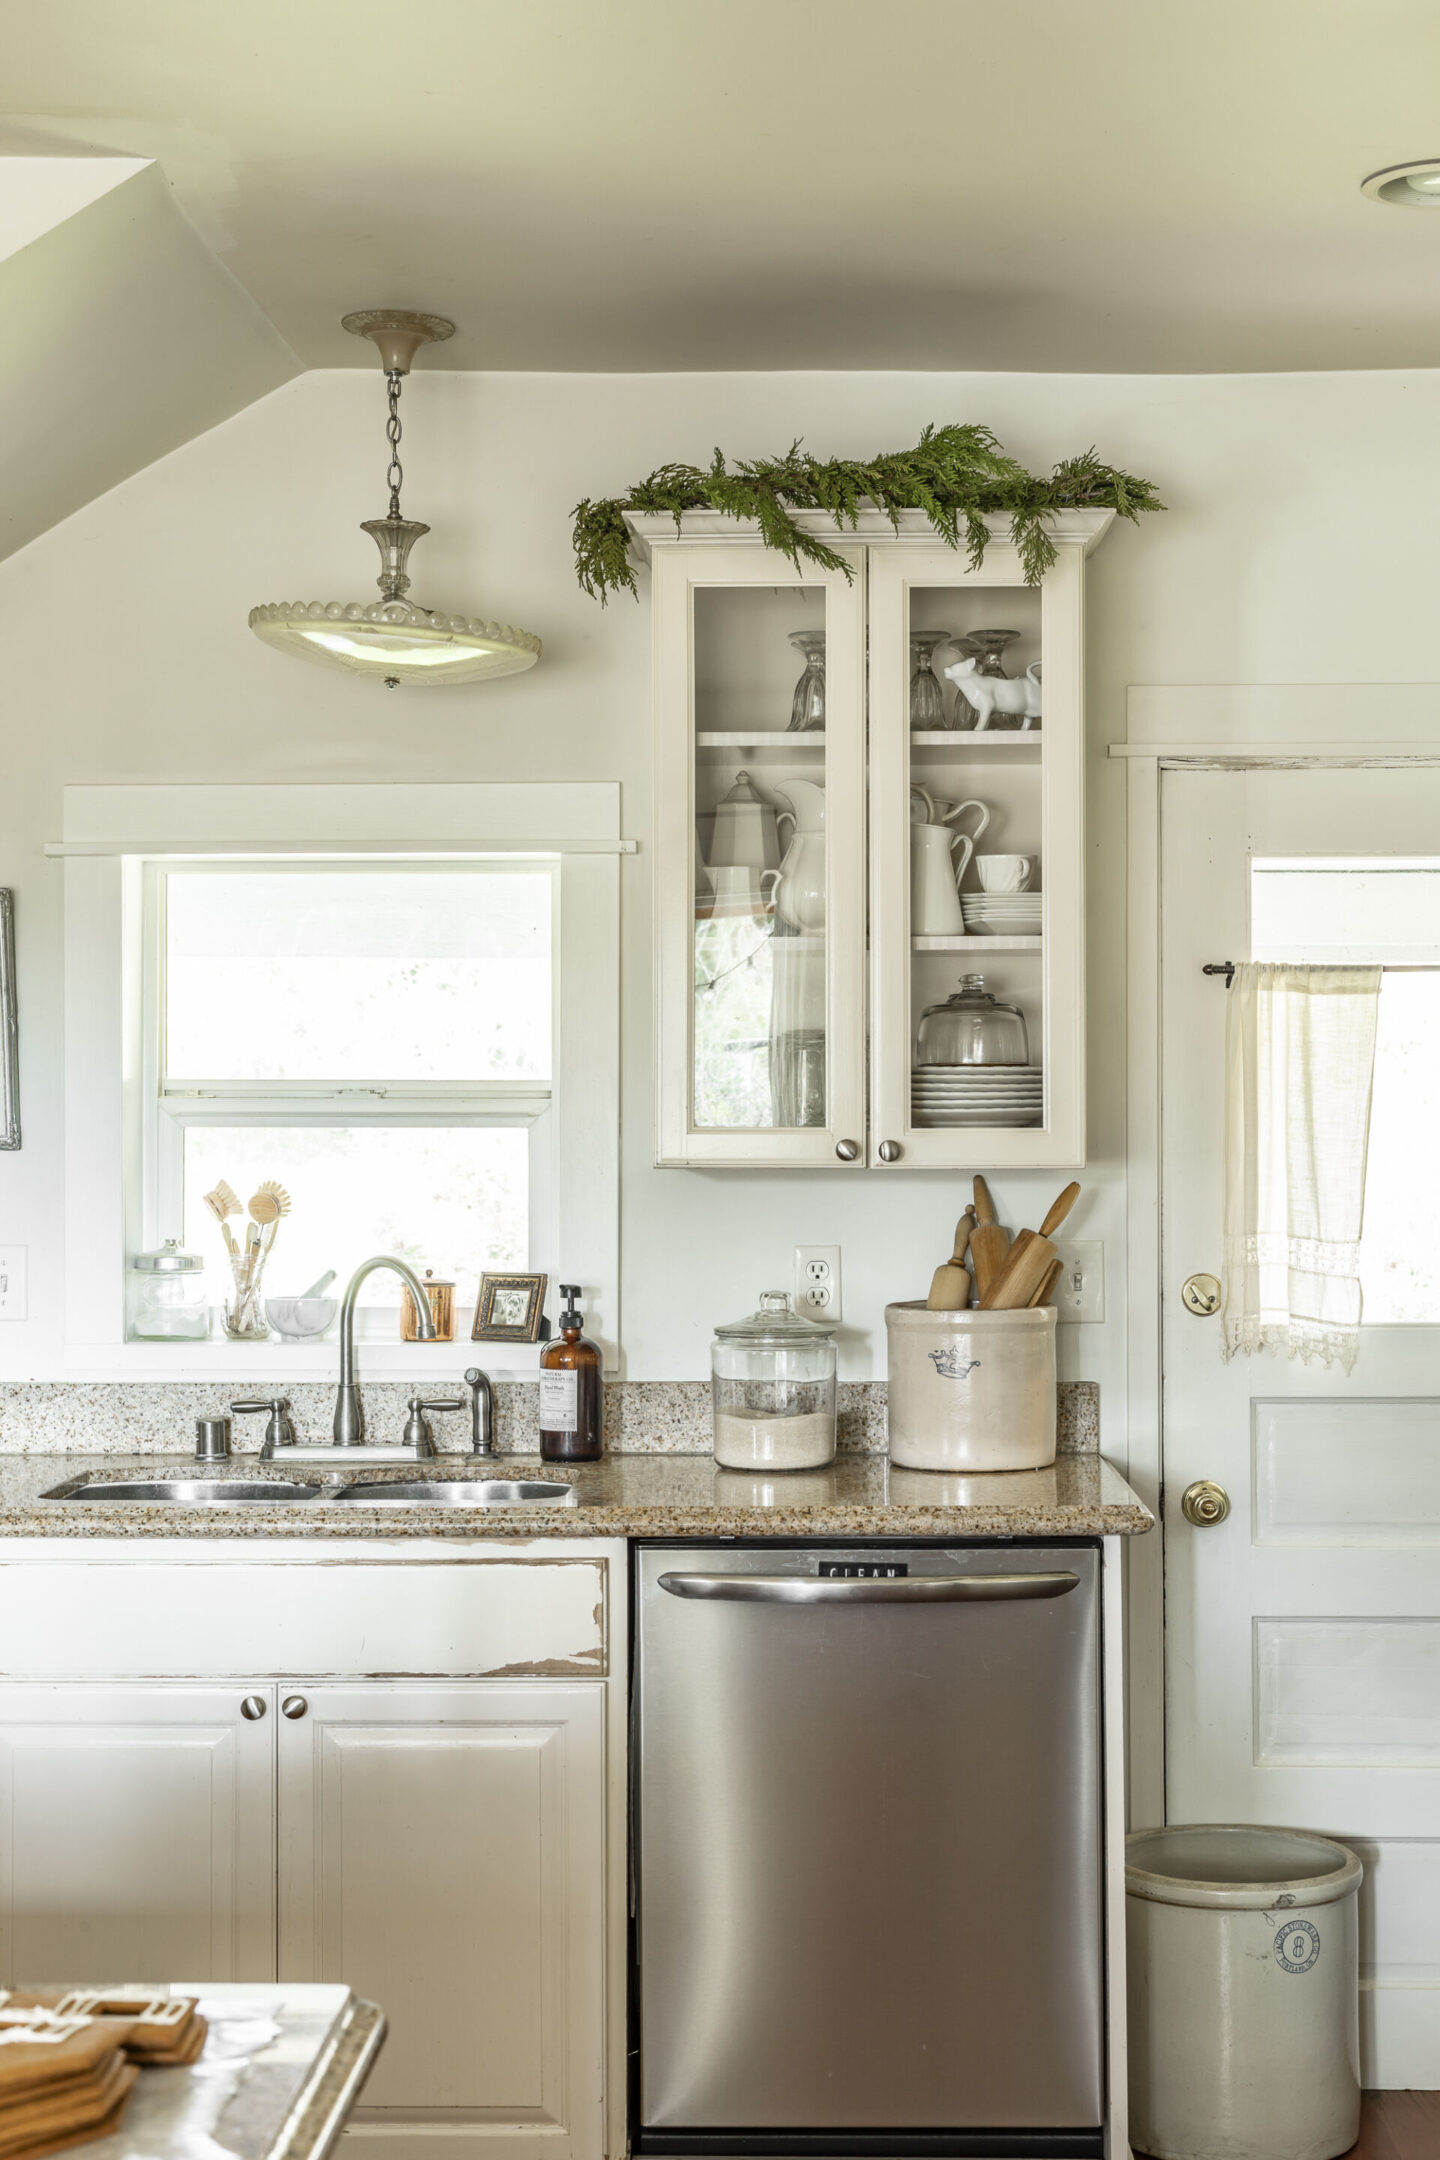
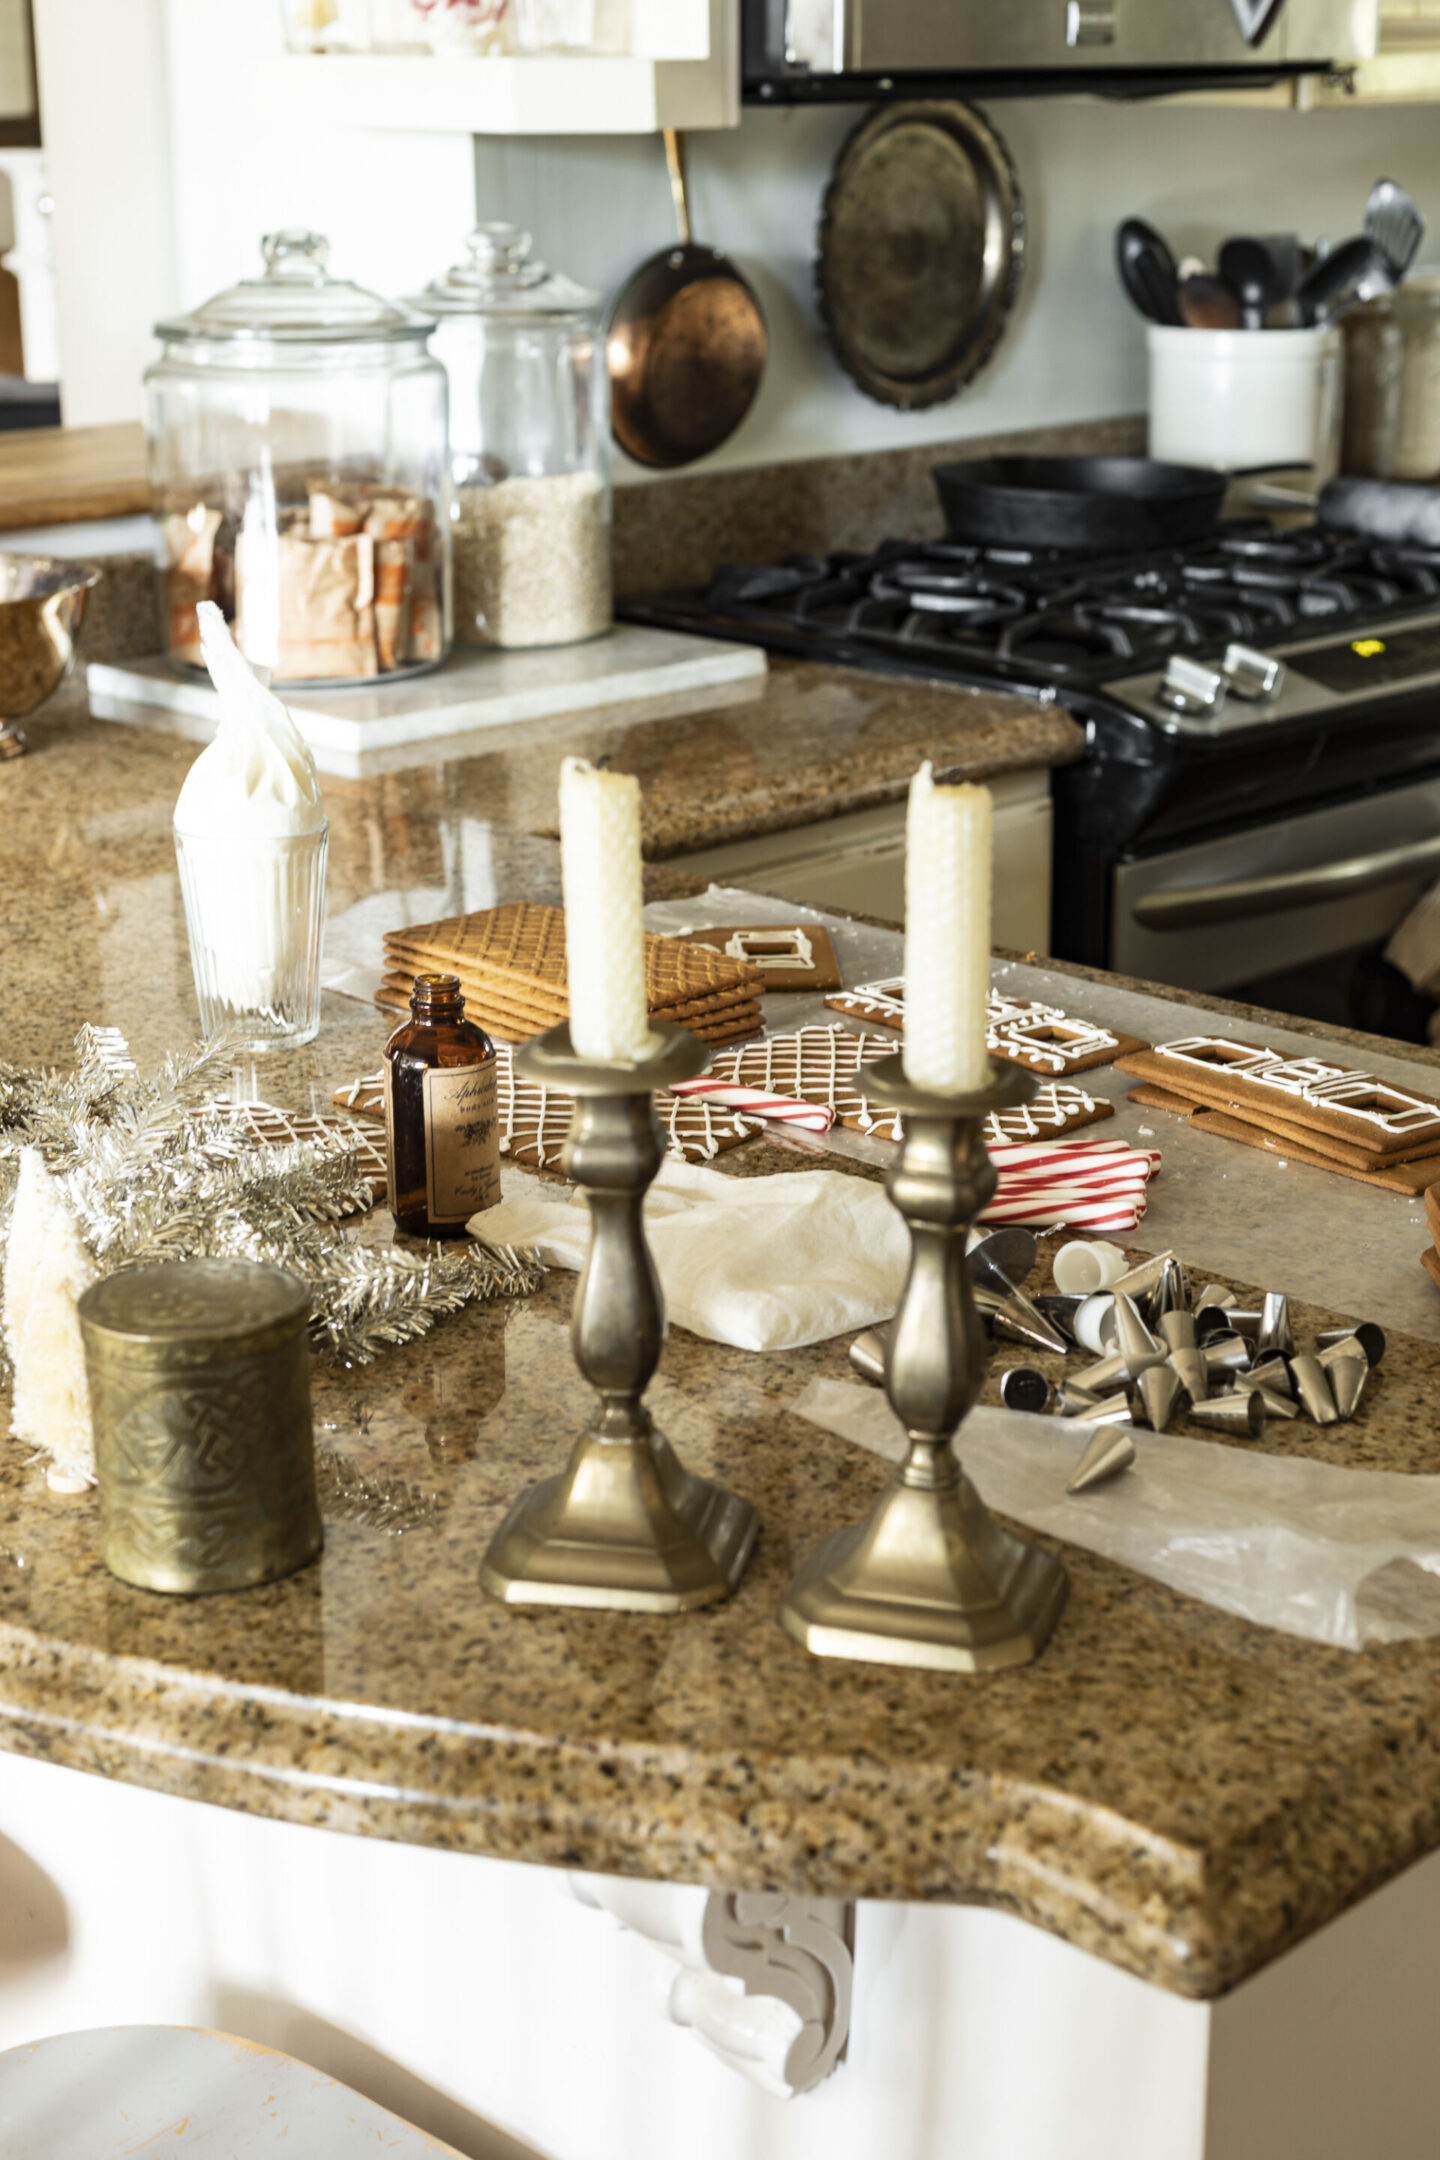
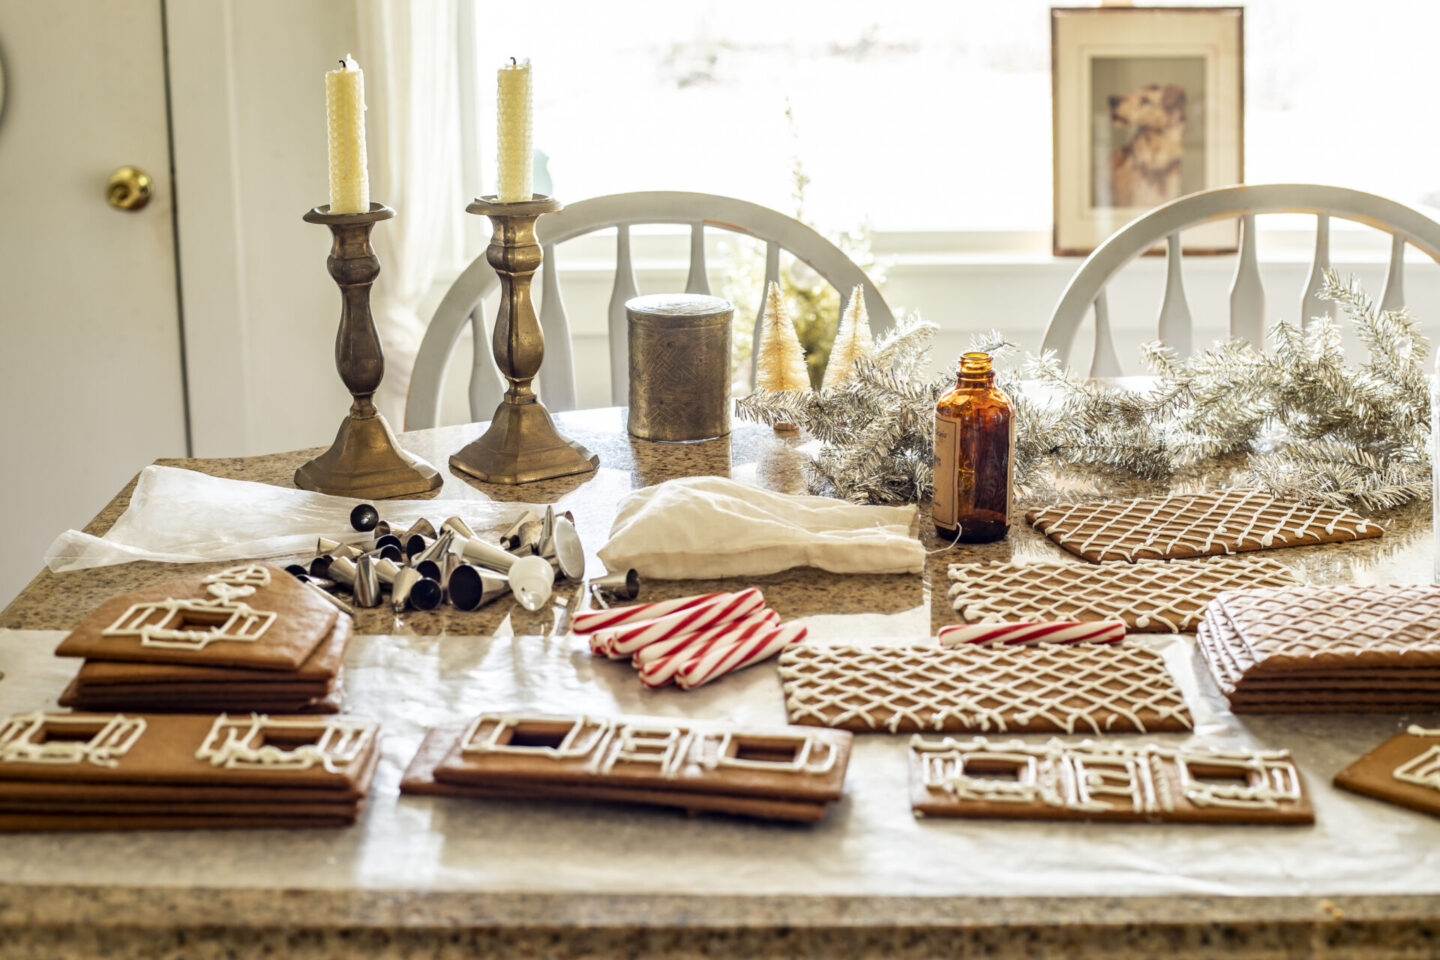
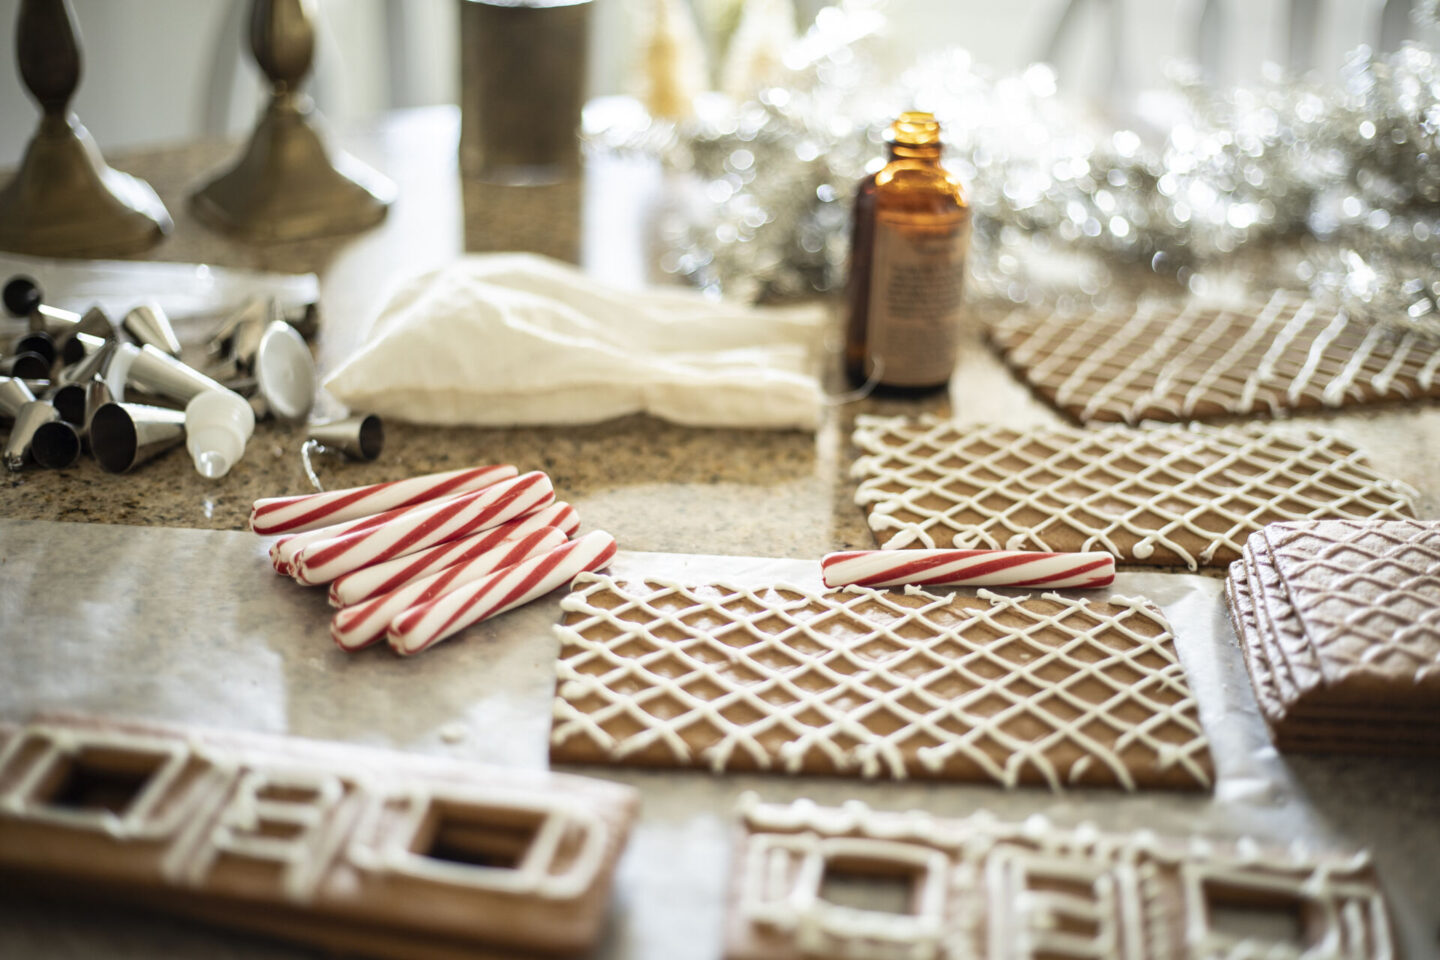
The last space, my countertop, is currently taken up with in-process gingerbread houses!
Last year I found 4 gingerbread kit boxes (VINTERSAGA) from IKEA in their post-Christmas clearance! I’ve saved them all this year in order to have them ready to assemble for decorations.
If you don’t already go shopping for post-Christmas sales, I highly suggest that you do! You can find some great steals, and they feel like presents when you open them months later to get them ready to use for the first time!
I included some additional details and tips about how to assemble the best Gingerbread houses in my Handmade Holidays series for 2023.
*New Handmade Holiday Series for 2024 has begun – click HERE to register*
And that brings us to the end of this year’s Victorian Inspired Christmas Kitchen! I hope you enjoyed it, and if you’re looking for additional Christmas content, I’ve linked some here for you!
Related Victorian Christmas Posts:
- How to Style an Edwardian Christmas Front Porch
- How to Style A William Morris Christmas Bedroom
- Touring a Victorian Christmas Living Room
- 6 Easy & On-Trend DIY Ornaments for 2023
With more on the way!
Don’t Forget to sign up for the Handmade Holidays for this year:
Pin this Victorian Style Christmas Kitchen for Later:
