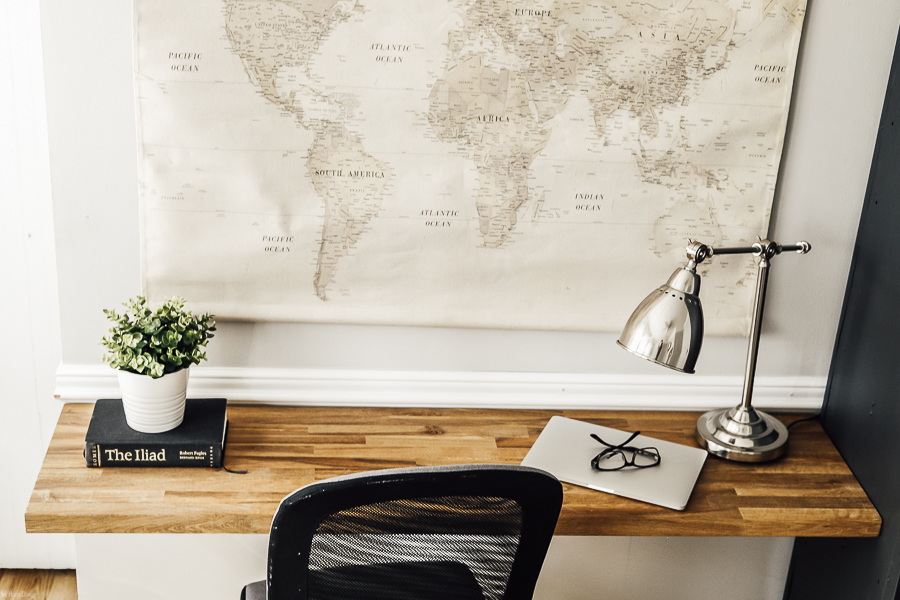
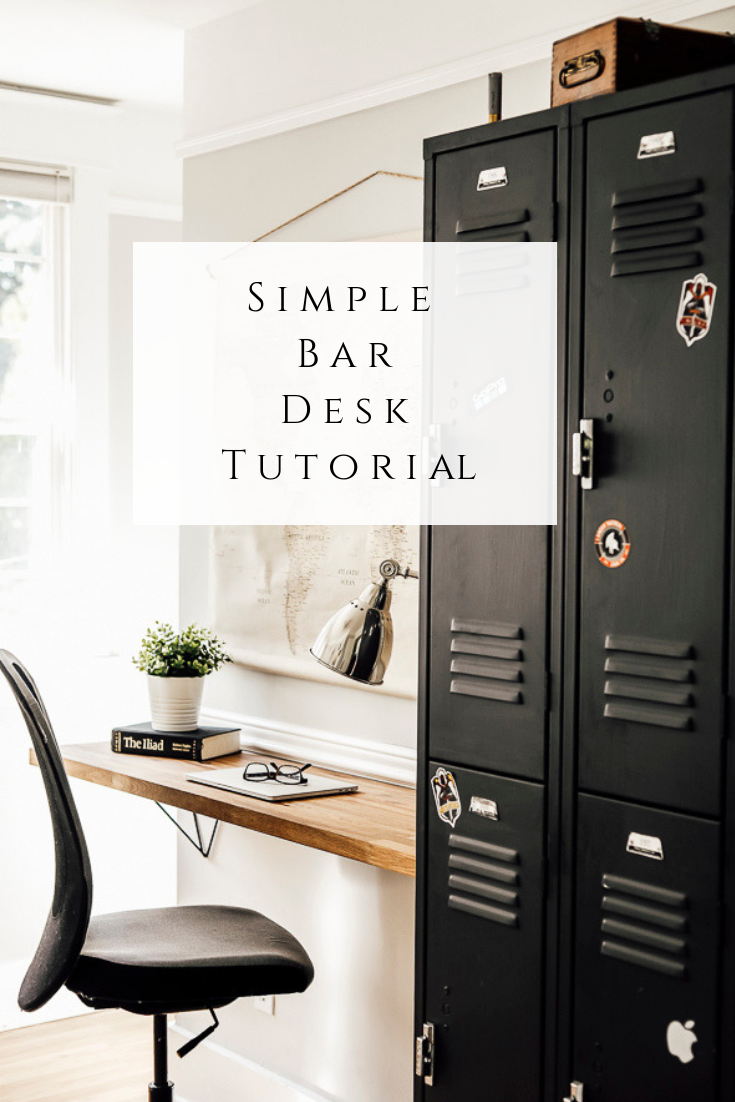
Simple Bar / Desk Tutorial
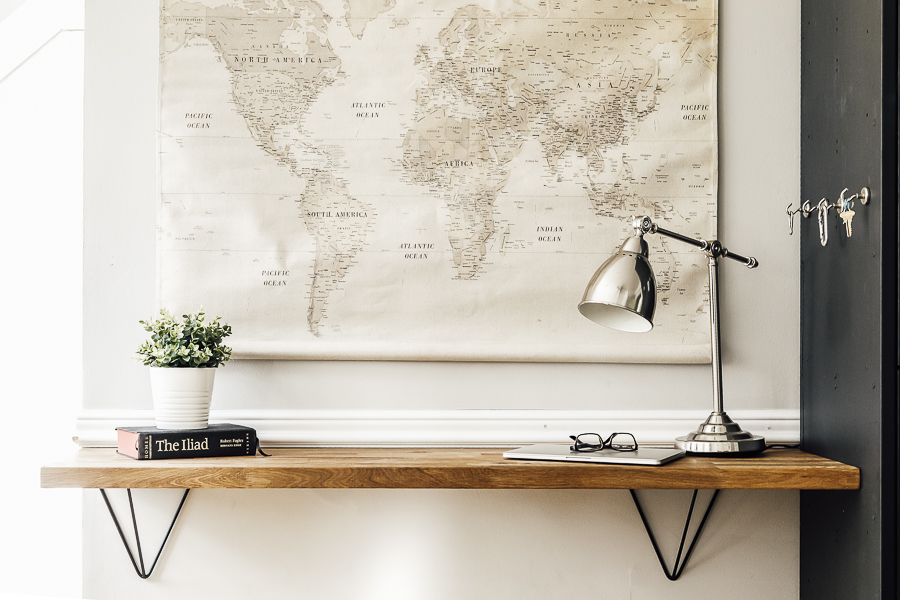
This Simple Bar / Desk Tutorial has just the right touch of industrial means functionality that makes it the perfect choice for any small space.
I especially love it for teens’ and children’s homework stations.
Once we installed this, I found each of our kids bending over their school books all crammed together at the new desk. Never mind that it was built specifically for my son and the girls have their own work spaces!
The bedrooms in our 1906 farmhouse are small and oddly shaped, so creative floor planning is a must.
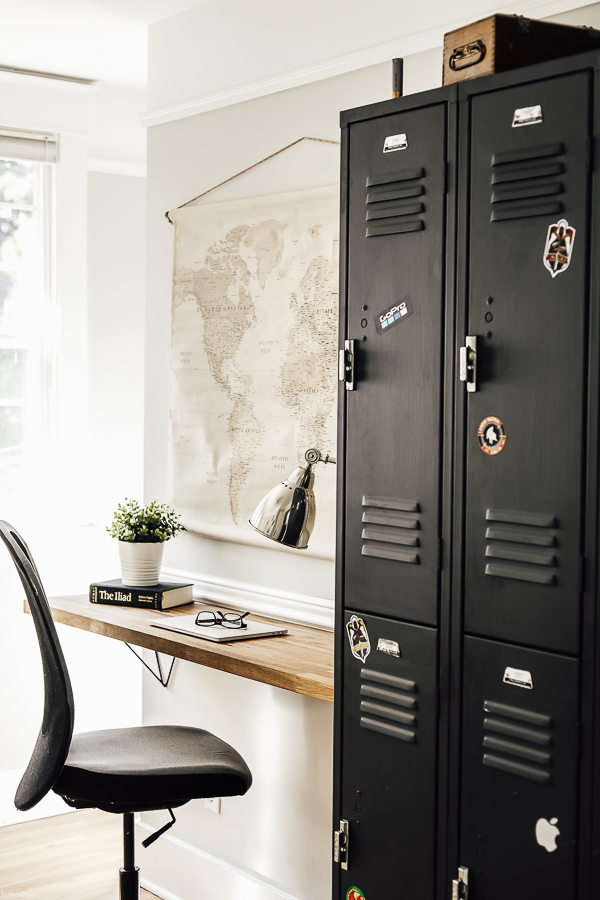
With my son being in his teens now, it was high time to update his little boy room to something more manly. But, I didn’t have a ton of floor space to work with.
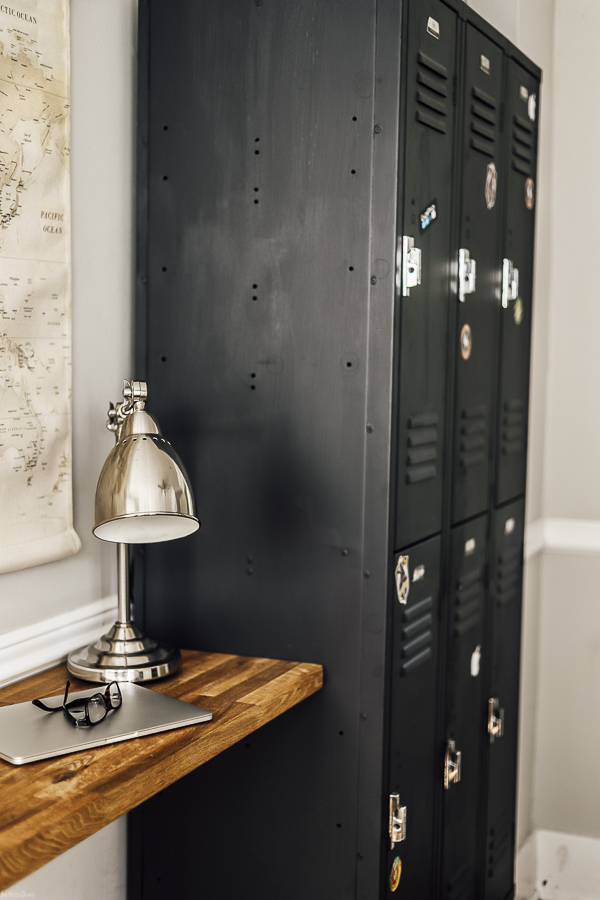
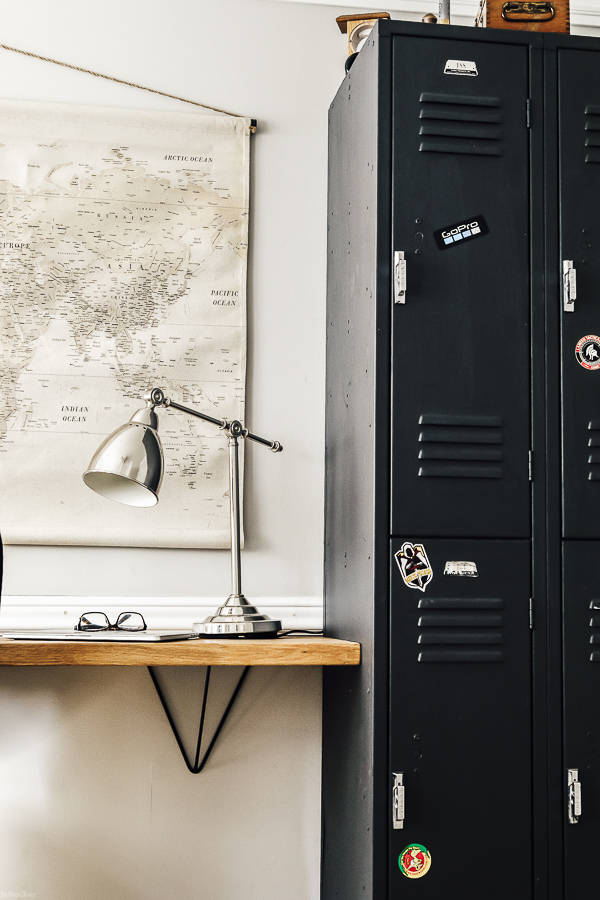
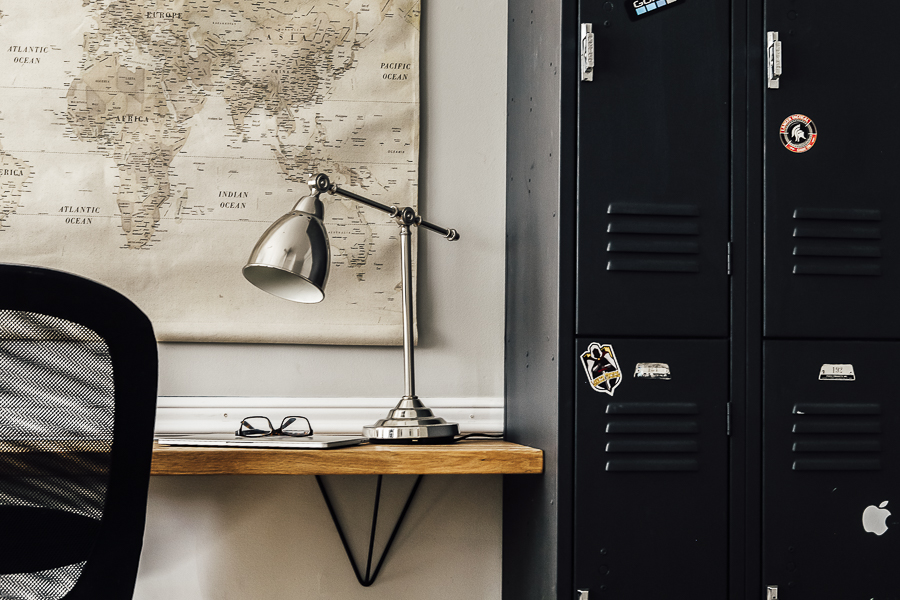
After I painted some free lockers in Fusion Mineral Paint called “Ash” and moved them up to his room, I could see there was really only one spot left for a desk. And it would need to be a small, shallow desk at best!
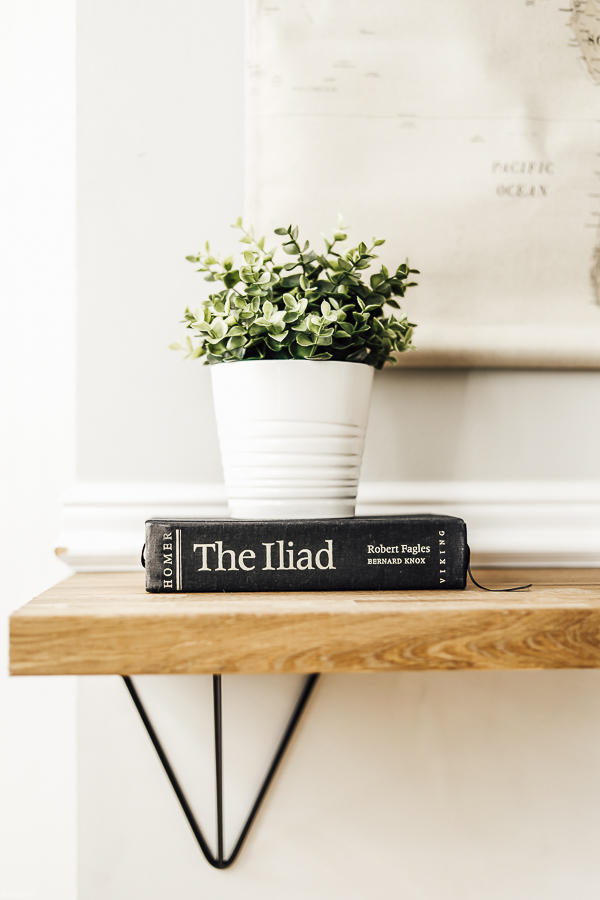
Enter the bar desk.
Perfection!
You can watch the video to see the project in action, but here’s what you need to know in order to make your own bar / desk.
Simple Bar / Desk Tutorial
Materials
*This post contains affiliate links to products I know &/or love.
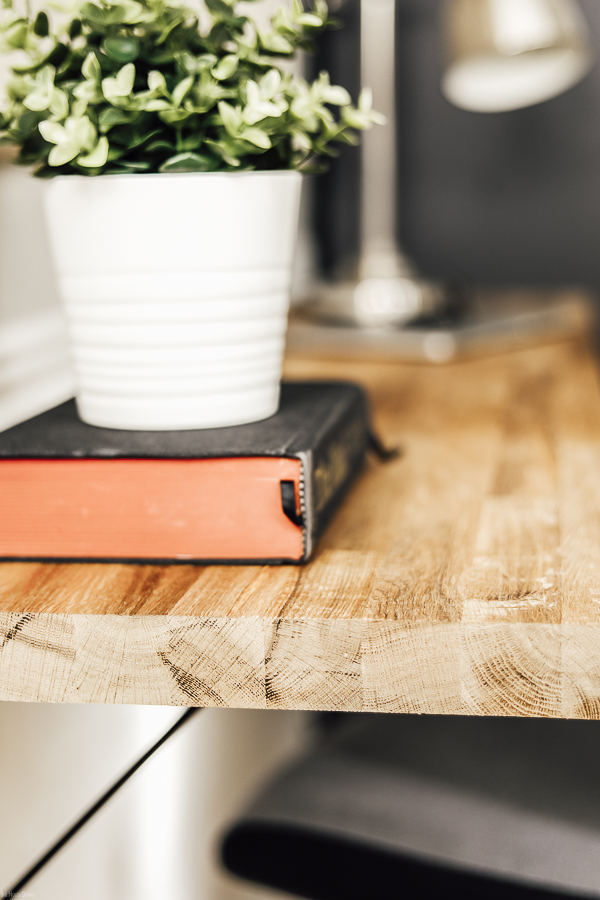
- Butcher block, or thick board i.e. oak veneer plywood- also, check Craigslist before you pay full price, anything about 15″ deep and 3/4″ thick.
- Measuring Tape
- Table Saw or Compound Miter Saw, if your piece is almost the right size.– please, note, cutting a large sheet of butcher block is very difficult because it is sooo heavy. Make sure you have an experienced woodworker do this part.
- Brackets
- Screws- 5/16 x 3″ lag screws for load-bearing and molly screws for the non-load-bearing side of the bracket.
- Impact Driver or Ratchet– for lag screws
- Drill- for pilot holes
- Level
- Optional- sander and finish for wood
Tutorial
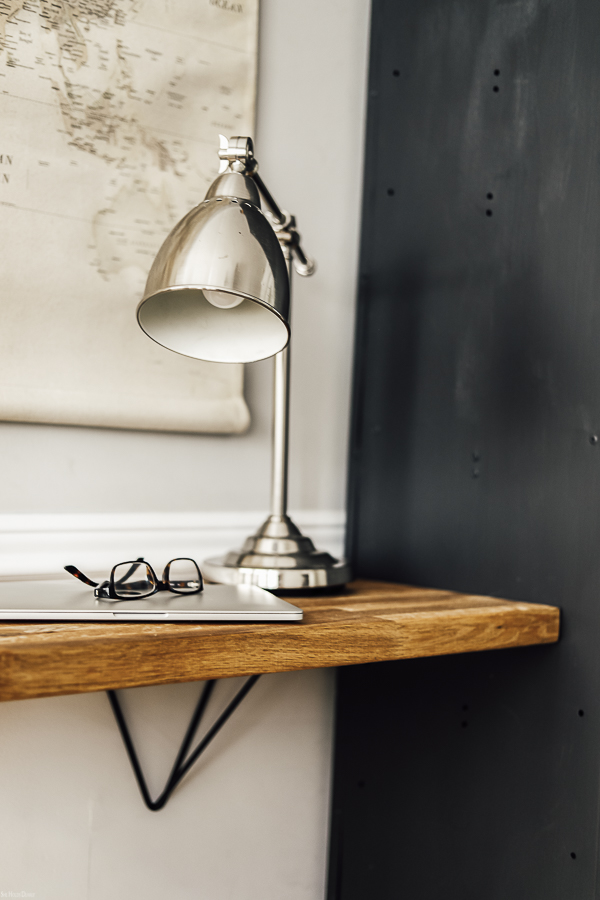
- First, you will need to get your desktop to the desired size. I recommend no more than 15″ in depth if you want to see the brackets. If your bar / desktop is any deeper, you won’t be able to see your brackets and the board gets very heavy. Fasten a 2×4 to the wall for added stability, if your board is deeper than 15″, you won’t be able to see it anyway. Also, we were going for a really simple look, so we took the desktop all the way to the corner of our space.
- Now figure out where the studs are using a stud finder or tapping a small nail into the wall. You will need to anchor the brackets to the studs! Because of the shape of the brackets, we could only have one side anchored to a stud. The pre-drilled holes were too small for the lag screws, so we had to drill the holes a little bigger. The other side of the brackets were installed using the molly screws provided with the brackets.
- Screw the brackets to the underside of the bar / desktop.
- Finally, we fastened the right side of the desktop to the locker to add stability. This was done by opening the locker and fastening through the locker side. You may find that you have to do this if your desktop is fairly deep or the desktop is heavy. This is an important point in the installation so the desk doesn’t pull off the wall!
- We didn’t even sand, finish, or seal our wood, the kids liked it the way it was.
You Can Watch the Video Here
Subscribe to the She Holds Dearly YouTube channel!!
Pin for Later
Click on the image below to take the quiz!