Create Your Own Design Board
Design boards are really helpful, and they’re not just for bloggers, YOU can easily create your own!
You’ve probably seen them all over Pinterest and instagram, under the names “design board”, “mood board”, or the more old-school “collage”, but they’re really all based on the same idea.
Gathering a group of pictures of your inspiration for a design and putting them in one place to get a feel for how they’ll work together.
This is helpful because it’s a quick reference as you’re shopping and searching for specific items, but it’s also helpful to see the items all together to make sure that the vision in your head comes out the way you’re intending!
(And trust me, sometimes you will end up changing bits and pieces of your original design! That’s just part of the process!)
Back in my earlier design career, I used an actual binder to keep track of my inspiration pictures (cut from magazines) for my dream kitchen. I share a little bit more about that in my post DIY Farmhouse Kitchen Remodel.
*This post contains affiliate links to products I know &/or love.
I’m happy to say that now that technology has advanced, design boards can be even more professional and put together than before, and it’s not as hard as you might think!
As I mentioned before, designers and bloggers have kind of cornered the market on design boards, but just because they’re doing them really well, doesn’t mean you, as a DIY designer can’t achieve similar results with some practice and honing your skills!
As I tell the ladies in my design group, it’s great to be inspired by fellow designers and decorators, instead of feeling intimated or jealous of what they’re sharing!
My friend Jamie at So much Better with Age did these design boards recently for a project she was needing some help deciding on.
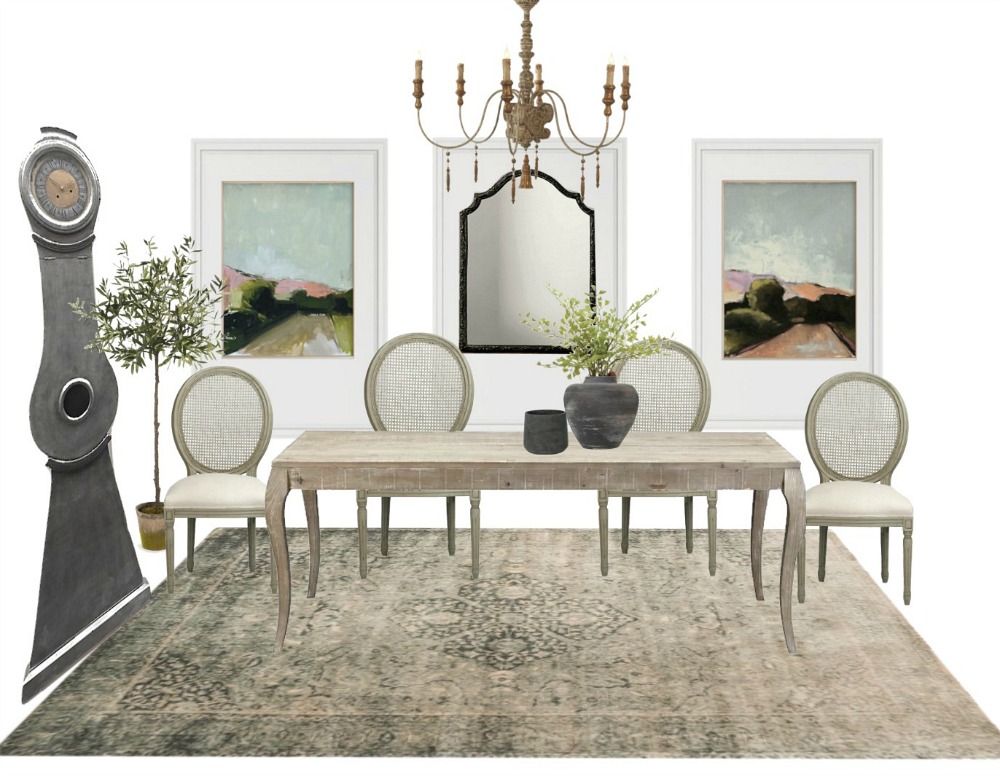
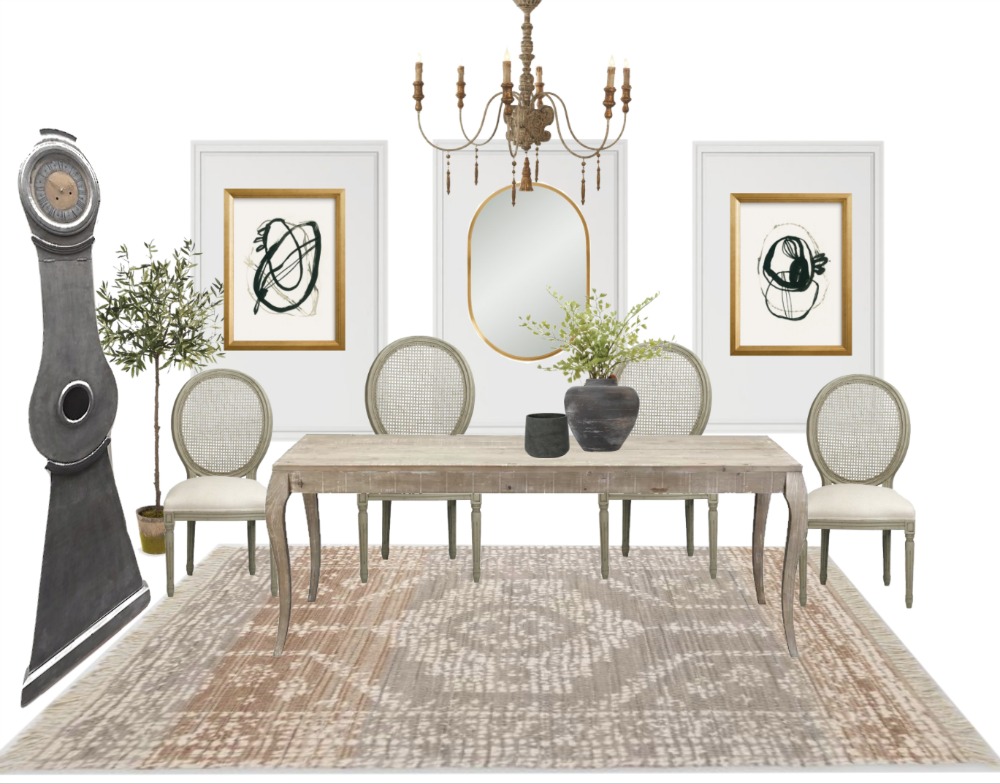
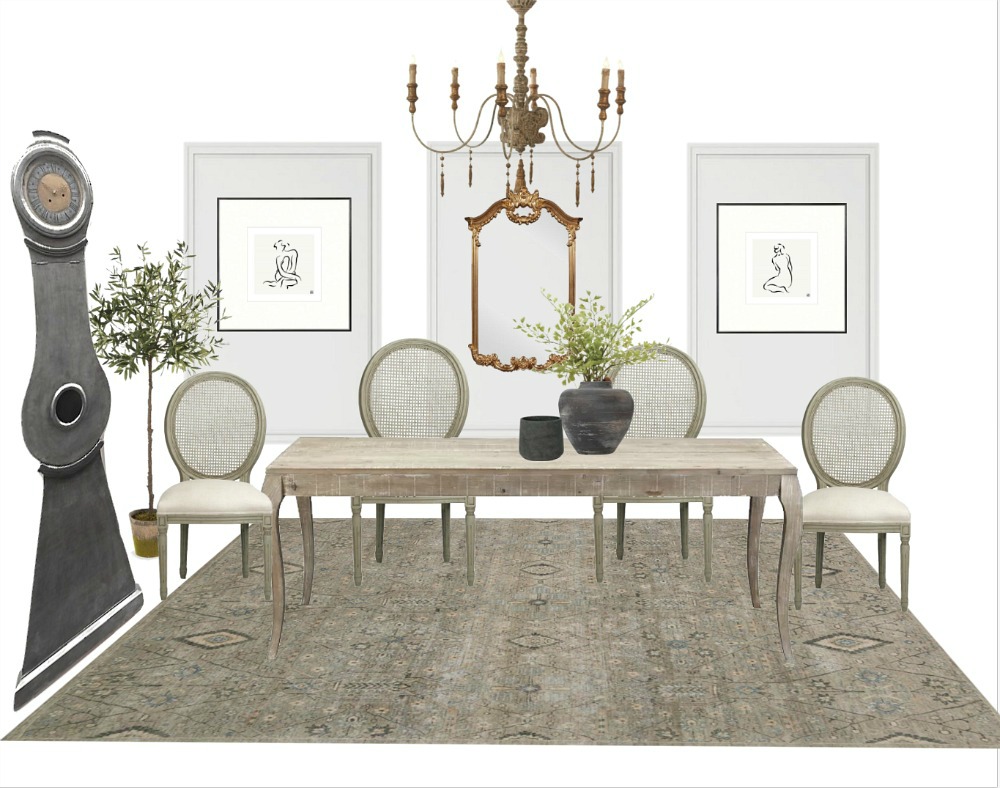
And my friend Deb from Seeking Lavender Lane does beautiful 2d design boards and 3d renderings of her planned spaces.
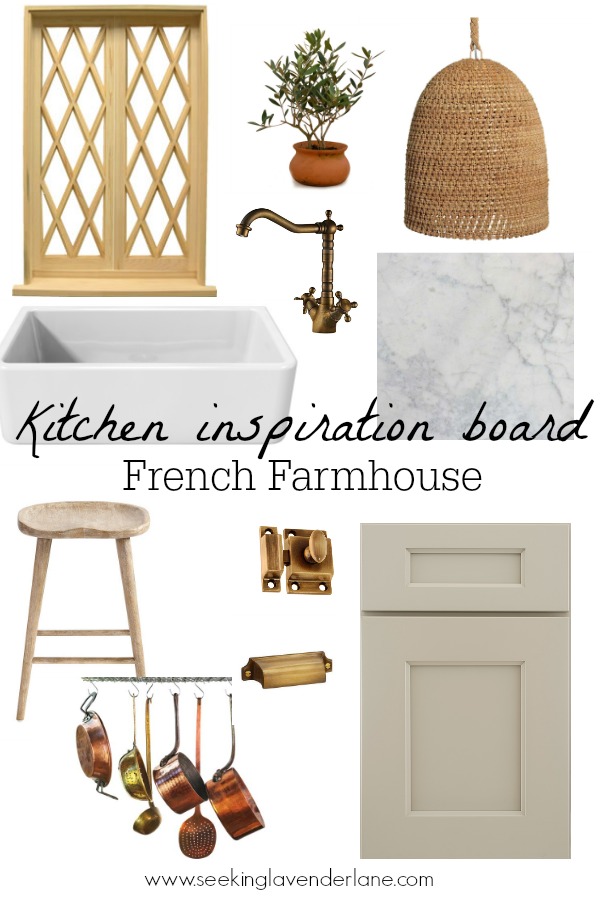
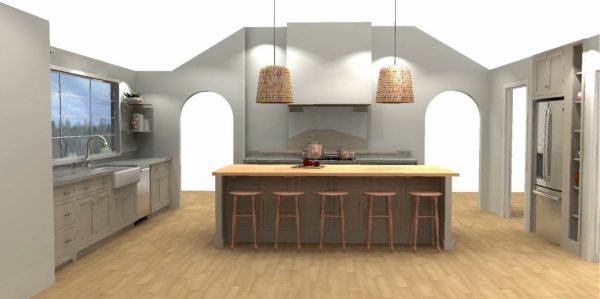
Now 3d renderings are a little beyond beginner level, but rest assured, even if this is your first time, you’ll be able to create a great standard design board!
Another perk to having a design board, aside from simply having all of your inspiration at your fingertips is that you can actually save money by doing these boards because they help you edit and narrow down your choices until you have a really good feel for the final look.
How to Create Your Own Board
For this example, I’ll be creating a design board for my Husband’s office space that we’re designing and setting up for him to work from home.
Step One | Collect Images of all your Pieces.
The pieces I know I’ll need are:
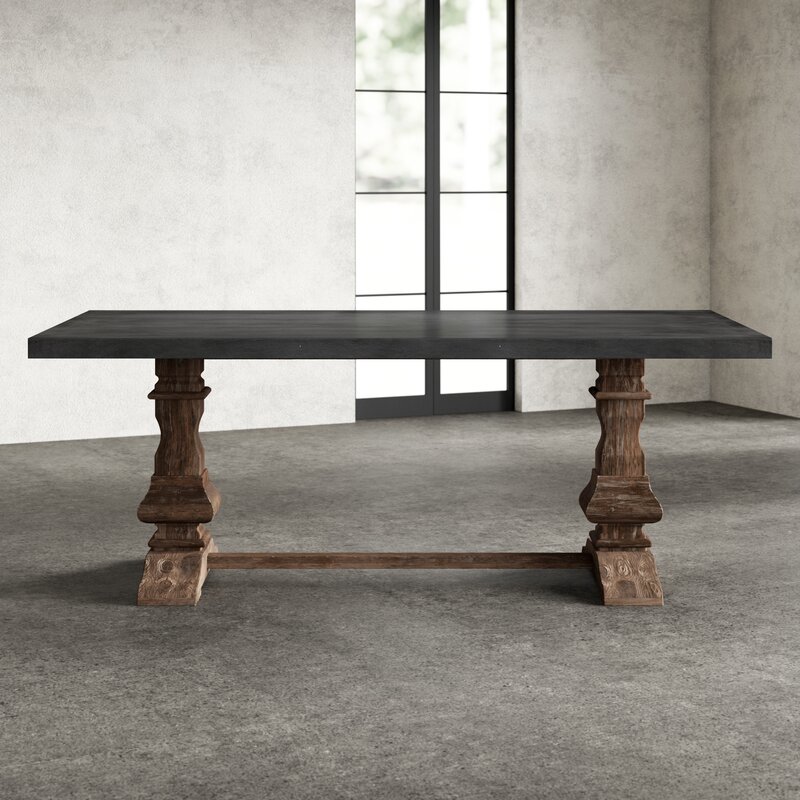
- His desk (we’ve decided to use the faux concrete table we just finished last week!)
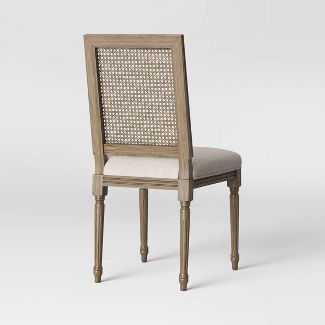
- Office chair
- Windows and curtains (to recreate the space in our bedroom where his desk will be set up)
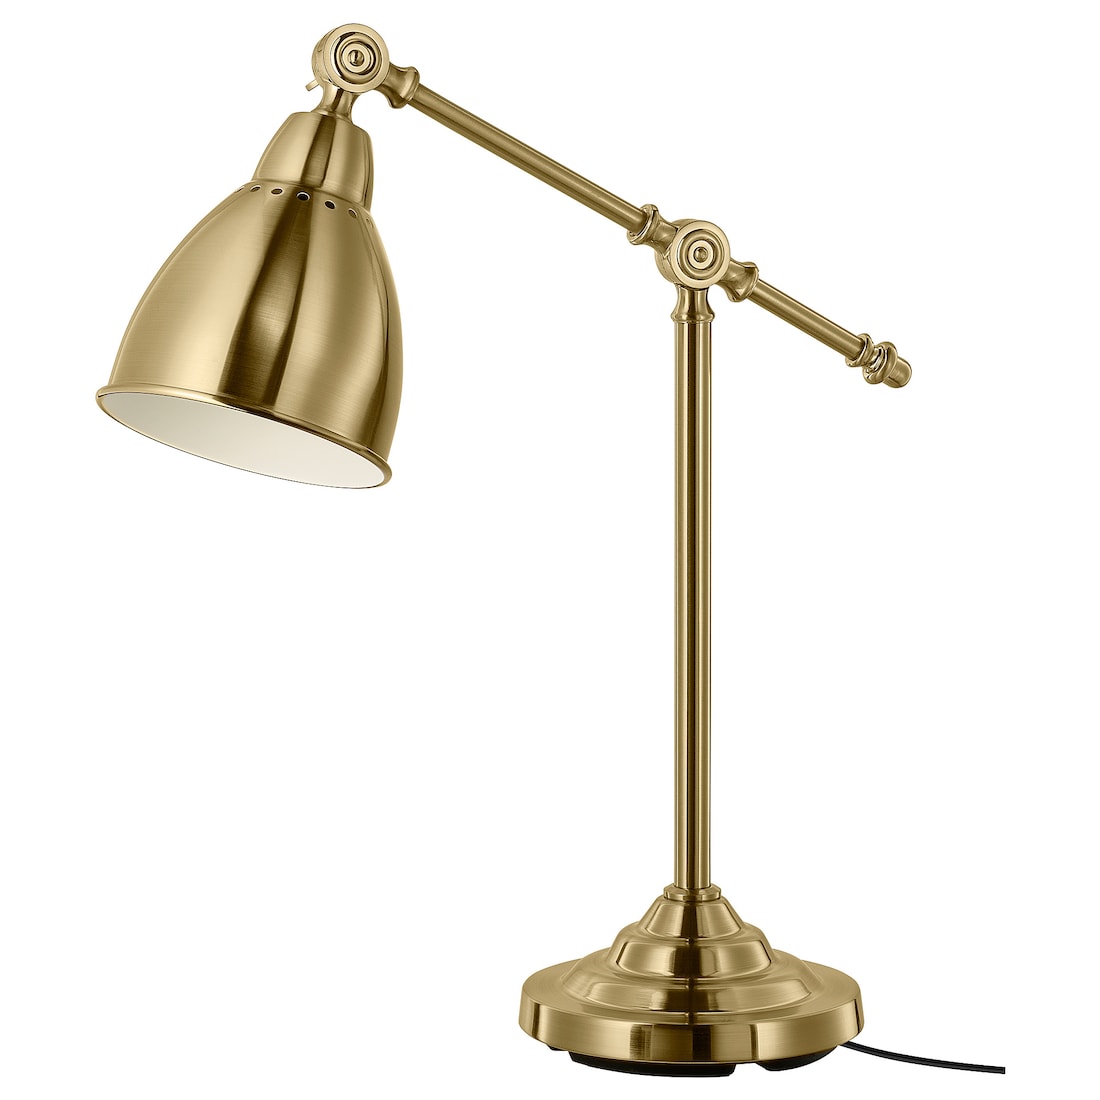
- Lighting
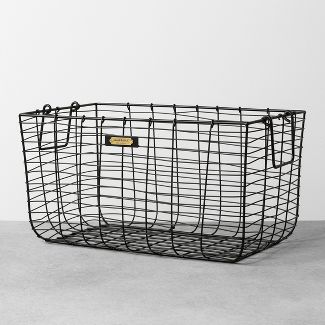
- Storage (floor basket and a office organizer for on top of the desk)
- A rug
- Art & other finishing touches
To collect these images, you’ll want to either:
- Find them online at their retail store
- Check Google stock images
- If you are wanting to include a DIY piece, Check Etsy or Wayfare for something similar!
Some of my favorite websites to search when I have something specific in mind are:
- Overstock
- Ballard Designs
- Pottery Barn
- Anthropologie
- Rugs USA
- The Container Store
- Art . com
Once you find images of the piece you want (or as close as you can get it), you’ll want to make sure of the following things:
- Pick an image with a white background when possible (this part isn’t absolutely necessary, but it makes it more simple and the end result looks much cleaner!)
- Pick the best angle of the image that will make the most sense in your design. (As an example of this, for my husband’s chair, I picked one with the seat back facing me so that the chair would look almost like it’s tucked under the desk, which I grabbed a picture of straight on.)
Save it to your computer by right clicking and selecting “save as”.
I recommend setting up a folder on your computer ahead of time so that you can save everything into one single place as you gather them.
Once all your images are compiled:
Step Number Two | Upload them into a Design software.
My personal favorite is canva.com. I have the pro access which costs $10/month, but they do have a free option with some limited tools.
Step Number Three | Create your Design.
I often like to start with 11 x 8.5″ as my custom dimensions.
When you’re placing your items on this screen, you’ll want to keep in mind the layering that comes with designing things on different planes.
Start with the back of the room (things like the windows and curtains first) and work your way forward.
When you put something like a desk in the “foreground” of the picture, it’s helpful to create an optical illusion of it being closer to you by setting it a bit lower and resizing it to be a little bigger than the items behind it.
Canva has purple guide lines that are really helpful for keeping things the correct size and lined up straight.
Step Number Four | Use Canva’s tools to set your pictures how they fit best.
Canva has tools to crop images, flip them from one side to the other, resize, etc.
If you have the pro features (or accept the 30 day free trial), you’ll have access to the background removal tool – which I use often!
Step Number Five | Download your Picture to your computer.
I usually save my design board pictures as a png file!
For a more detailed look at exact the process, check out the YouTube video!
The Design Board for my Husband’s Office:
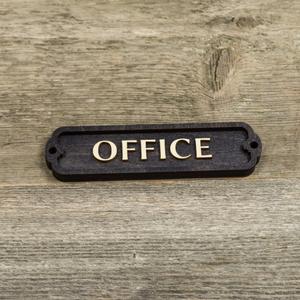
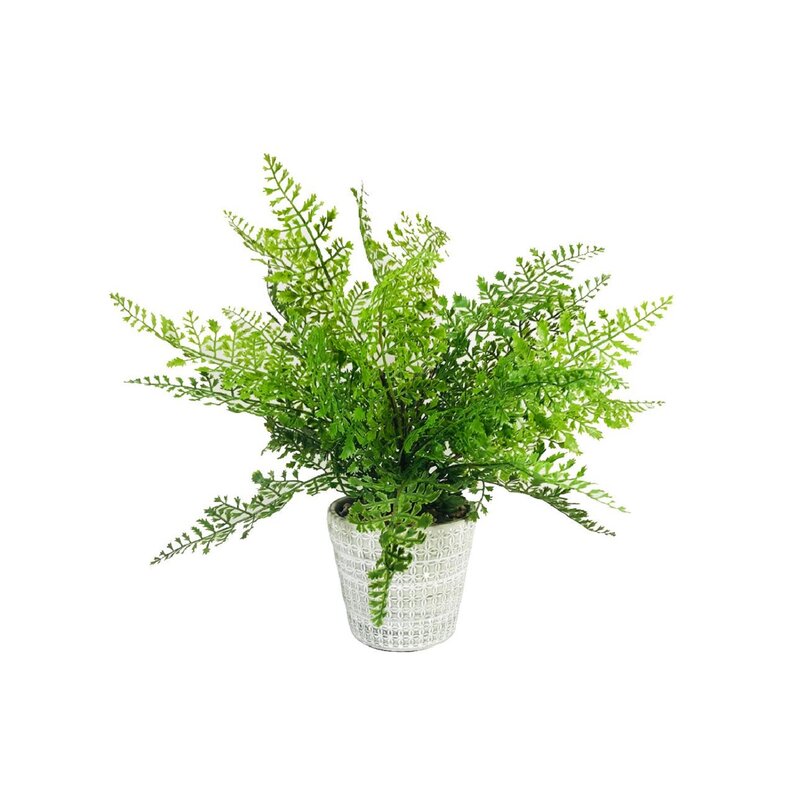
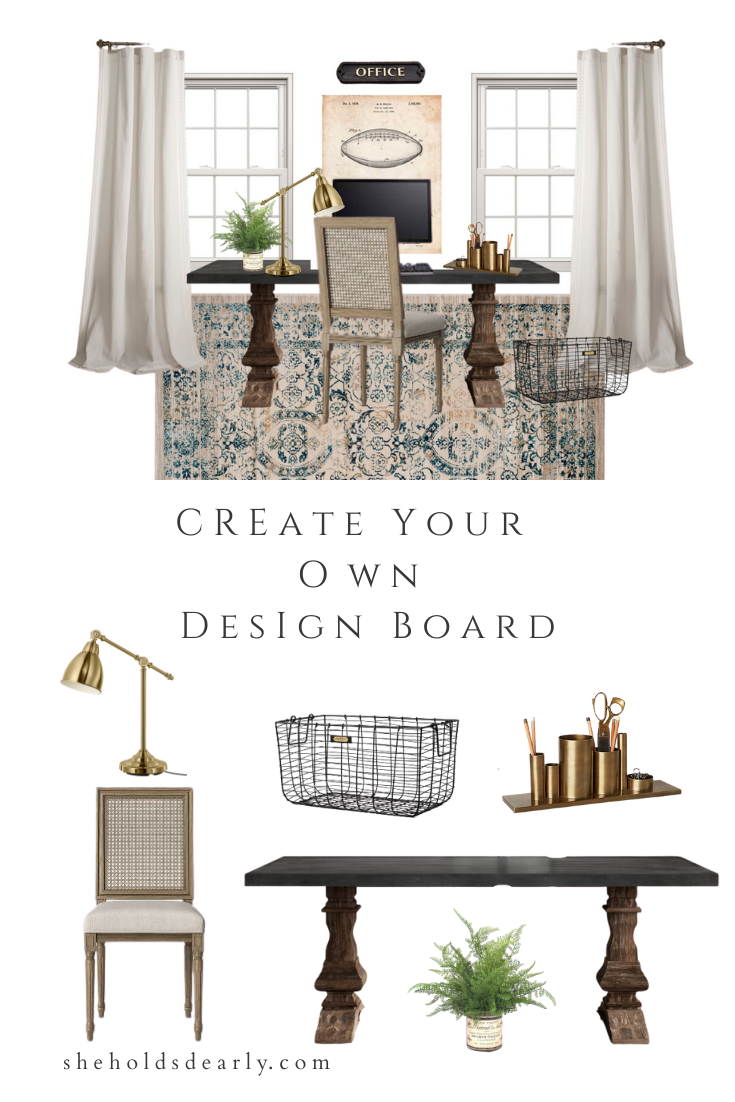
Here are the pieces I gathered:
Concrete Table (similar to our own DIY version – but check out the difference in price! $1400 for a store bought one, less than $100 for ours!)
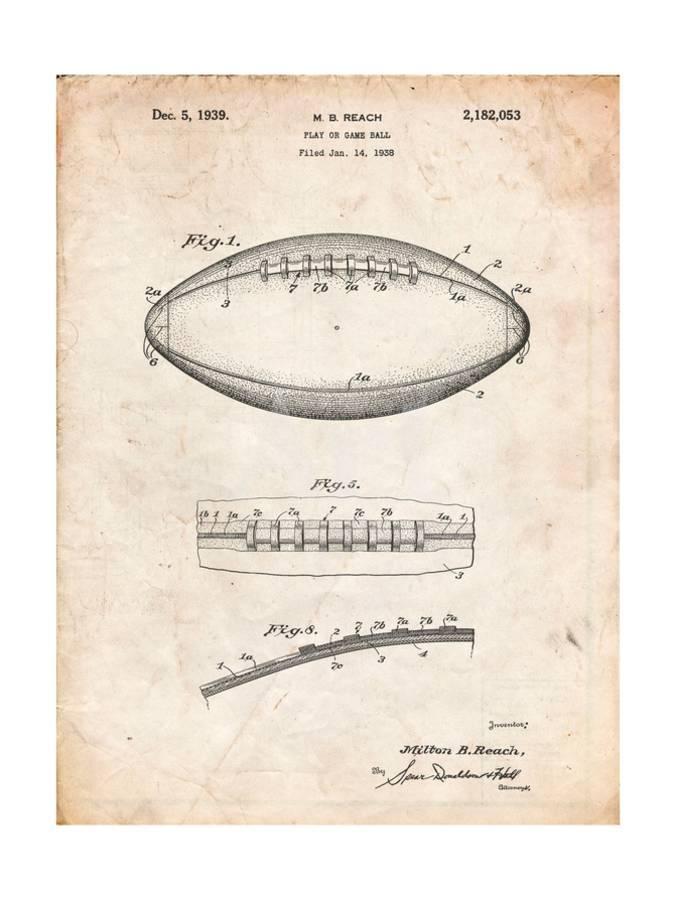
Football Patent Office Print (I really love patent prints for more masculine spaces!)
And this is how they looked when I was all said and done:
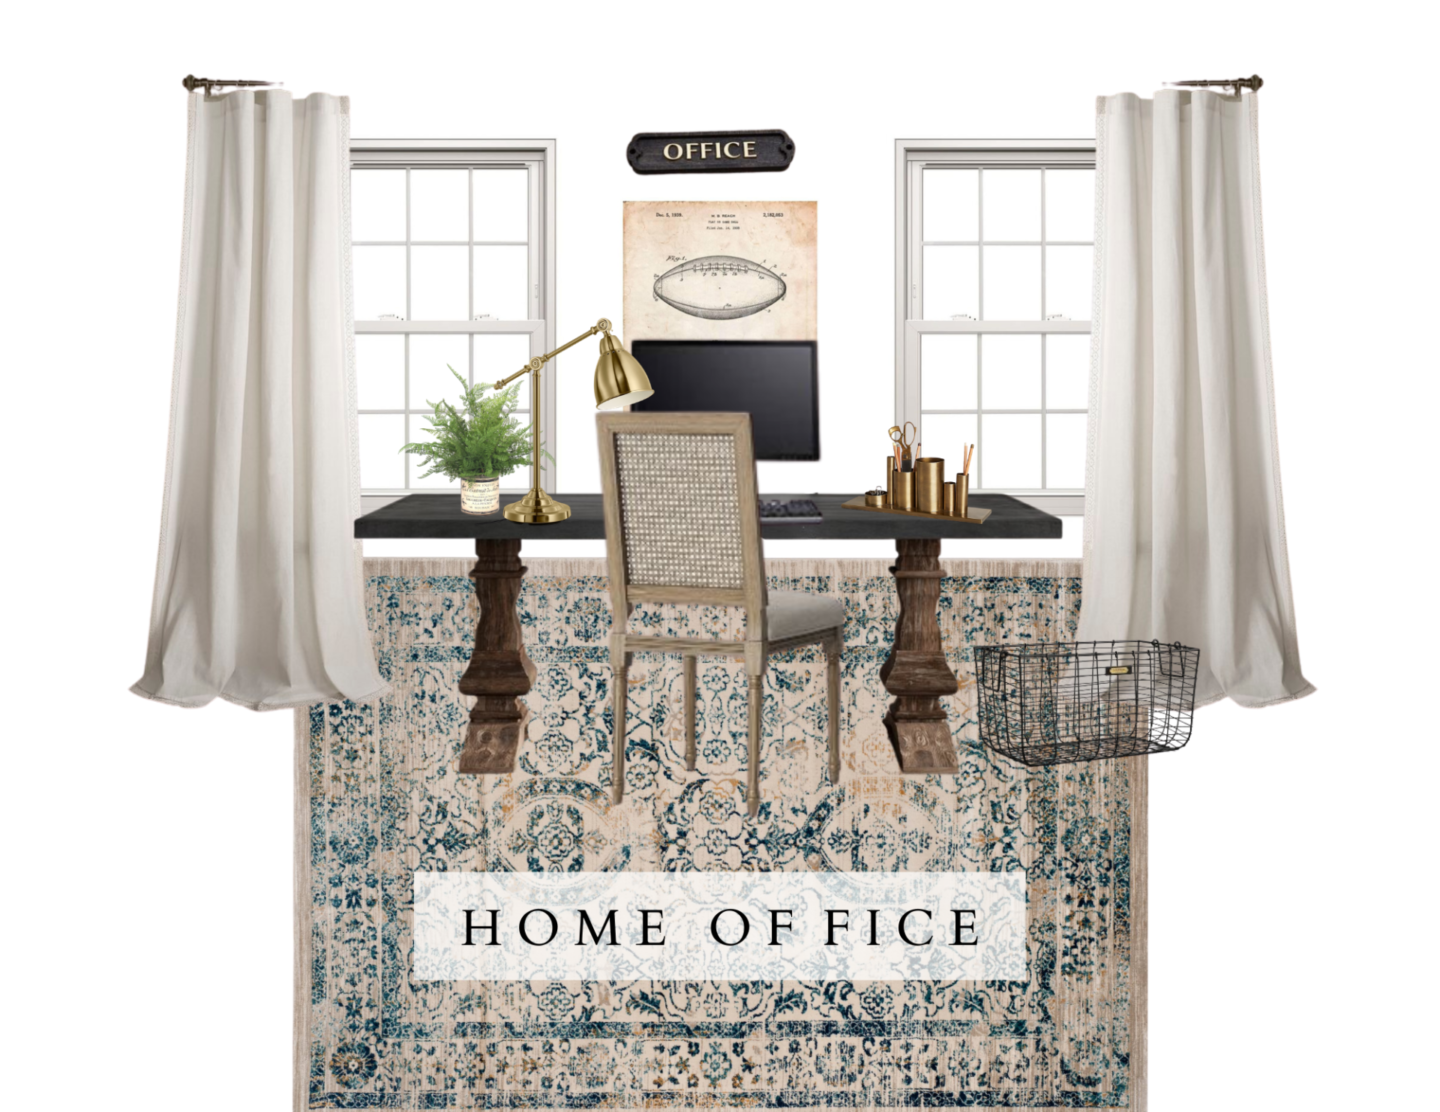
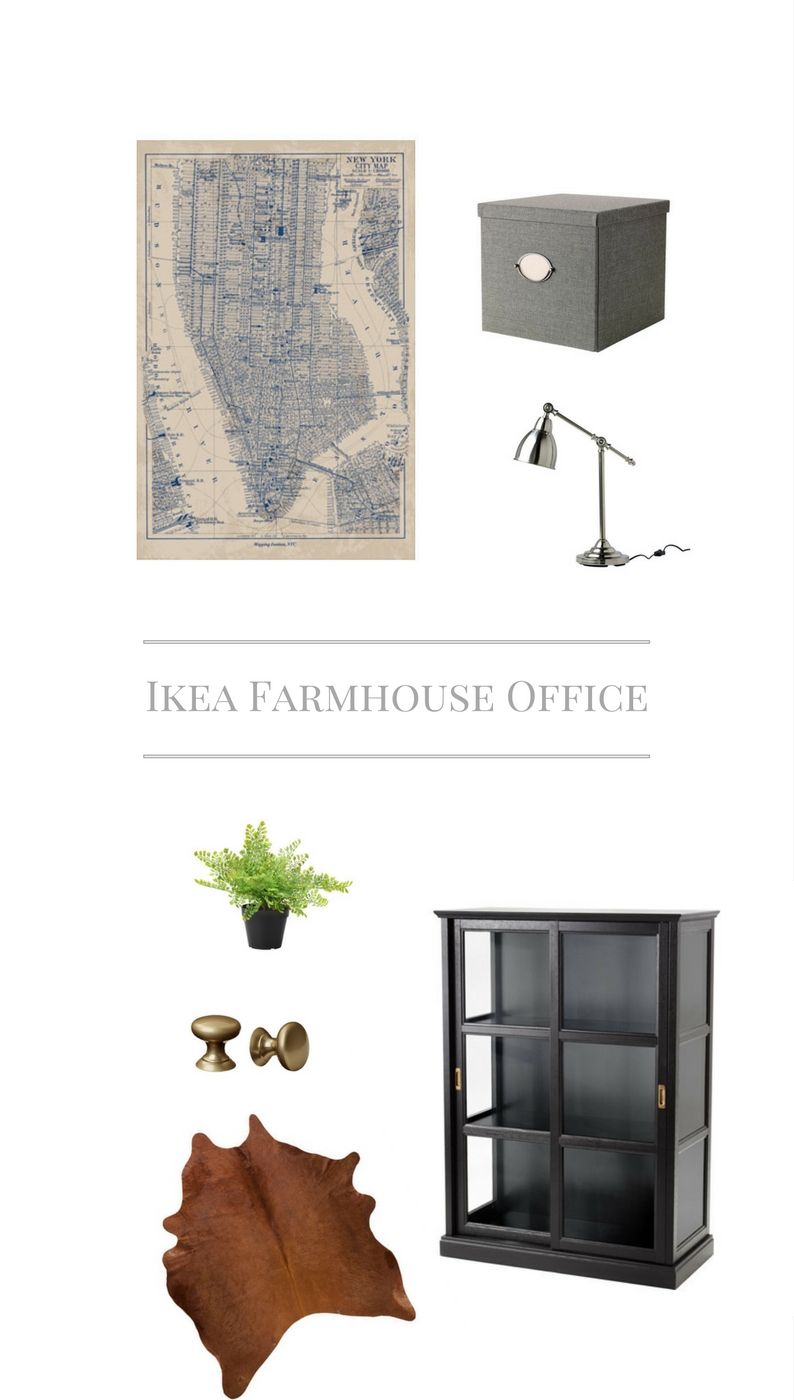
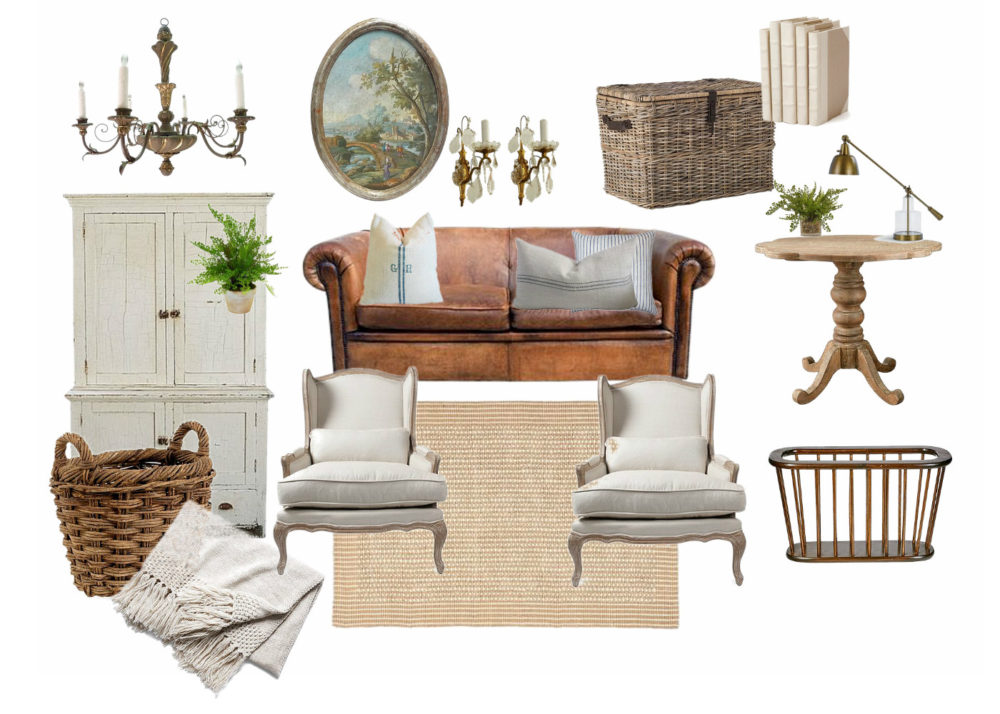
Here are a few of my other design boards:
Sometimes they’re just really simple.
And sometimes like this one for our home office I lay them out as close to how the room will look as possible.
I hope this gives you a good starting point and that you have success making design boards of your own!
Let me know in the comments below if you have any questions!
xoxo,