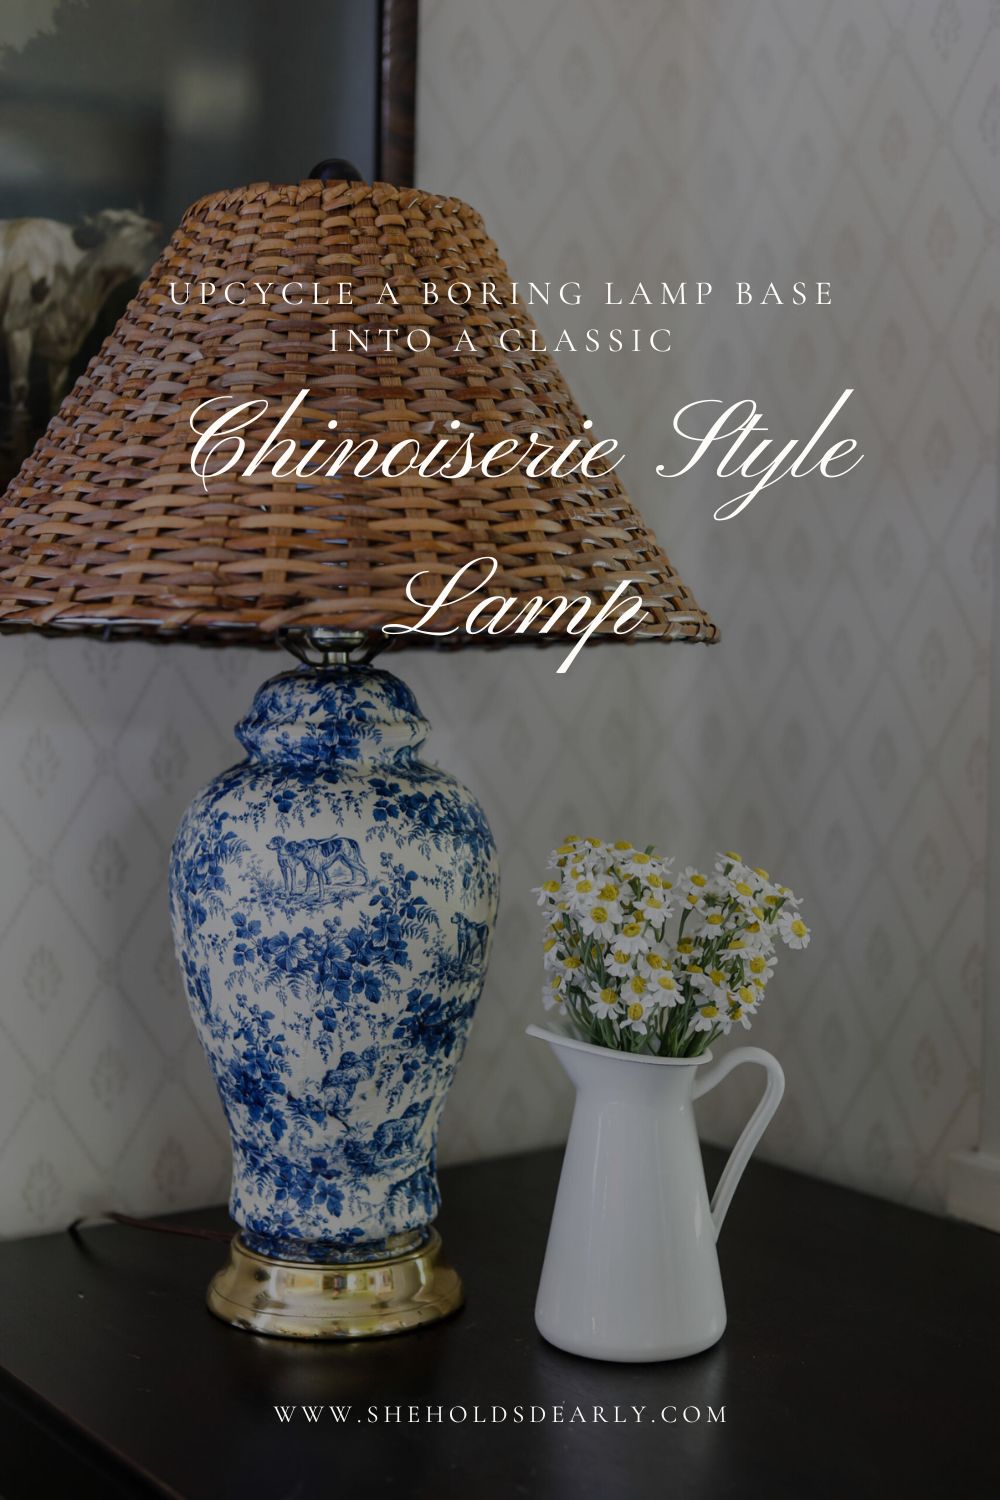
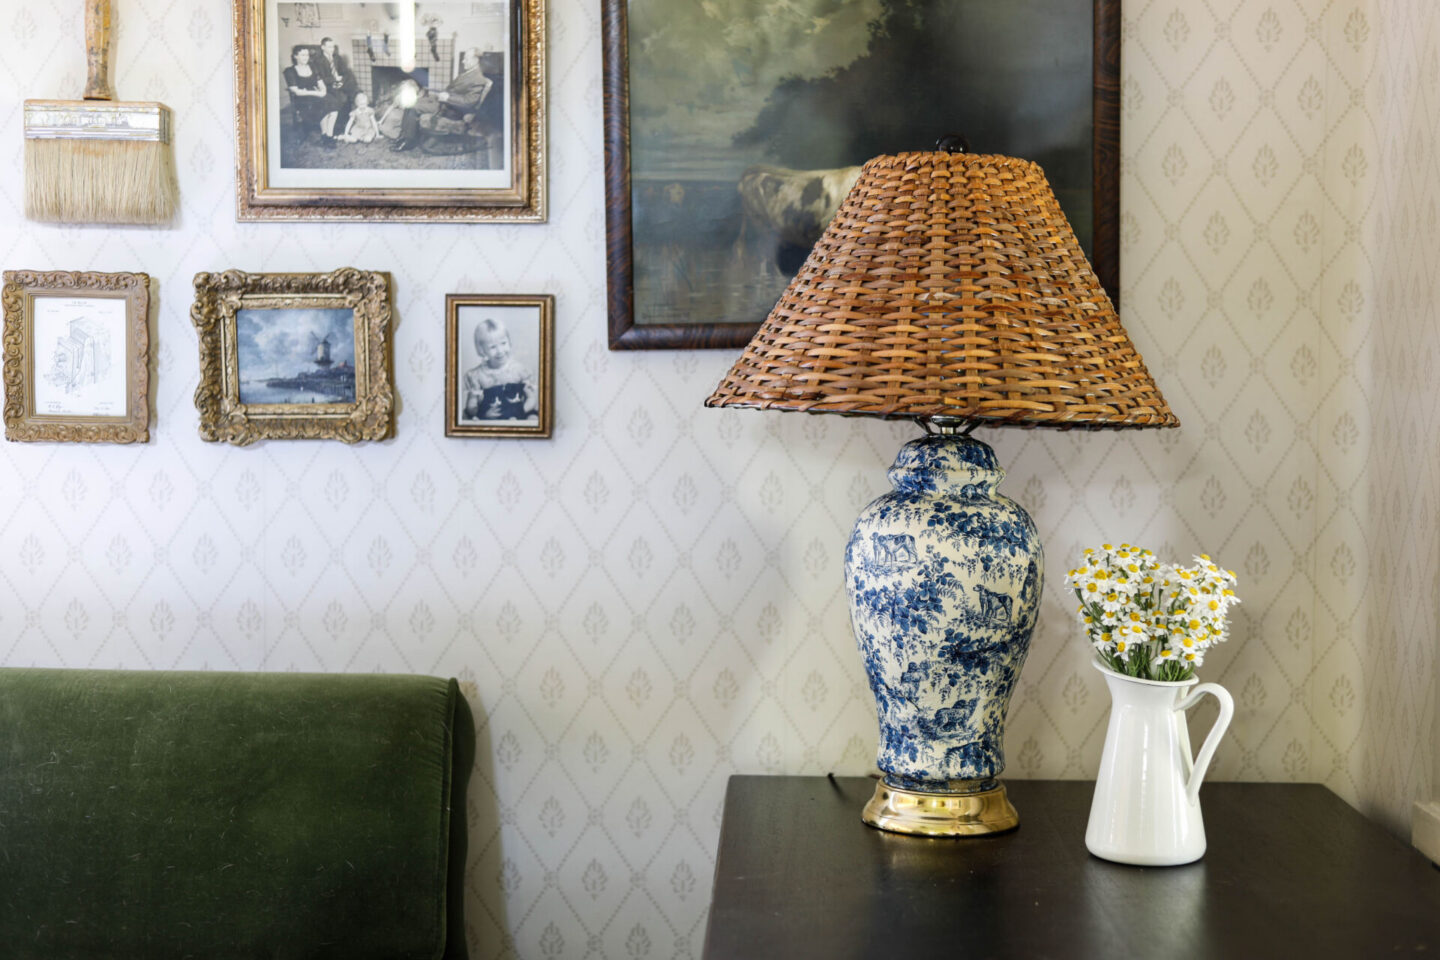
Create An Easy Upcycled DIY Chinoiserie Style Lamp
Purchasing a Chinoiserie style lamp can cost anywhere from $100-400 (and beyond); so instead, I thrifted a simple lamp base and created my own!
One of my favorite parts about being able to DIY my own items is that I get to save a lot of money upcycling items from the thrift store into things that fit my style and look like they cost hundreds.
I have a full workshop that shares about my process for sourcing great pieces second hand that is perfect for summertime. If you’re going to go thrifting this summer, you might as well go Thrifting Like a Pro!
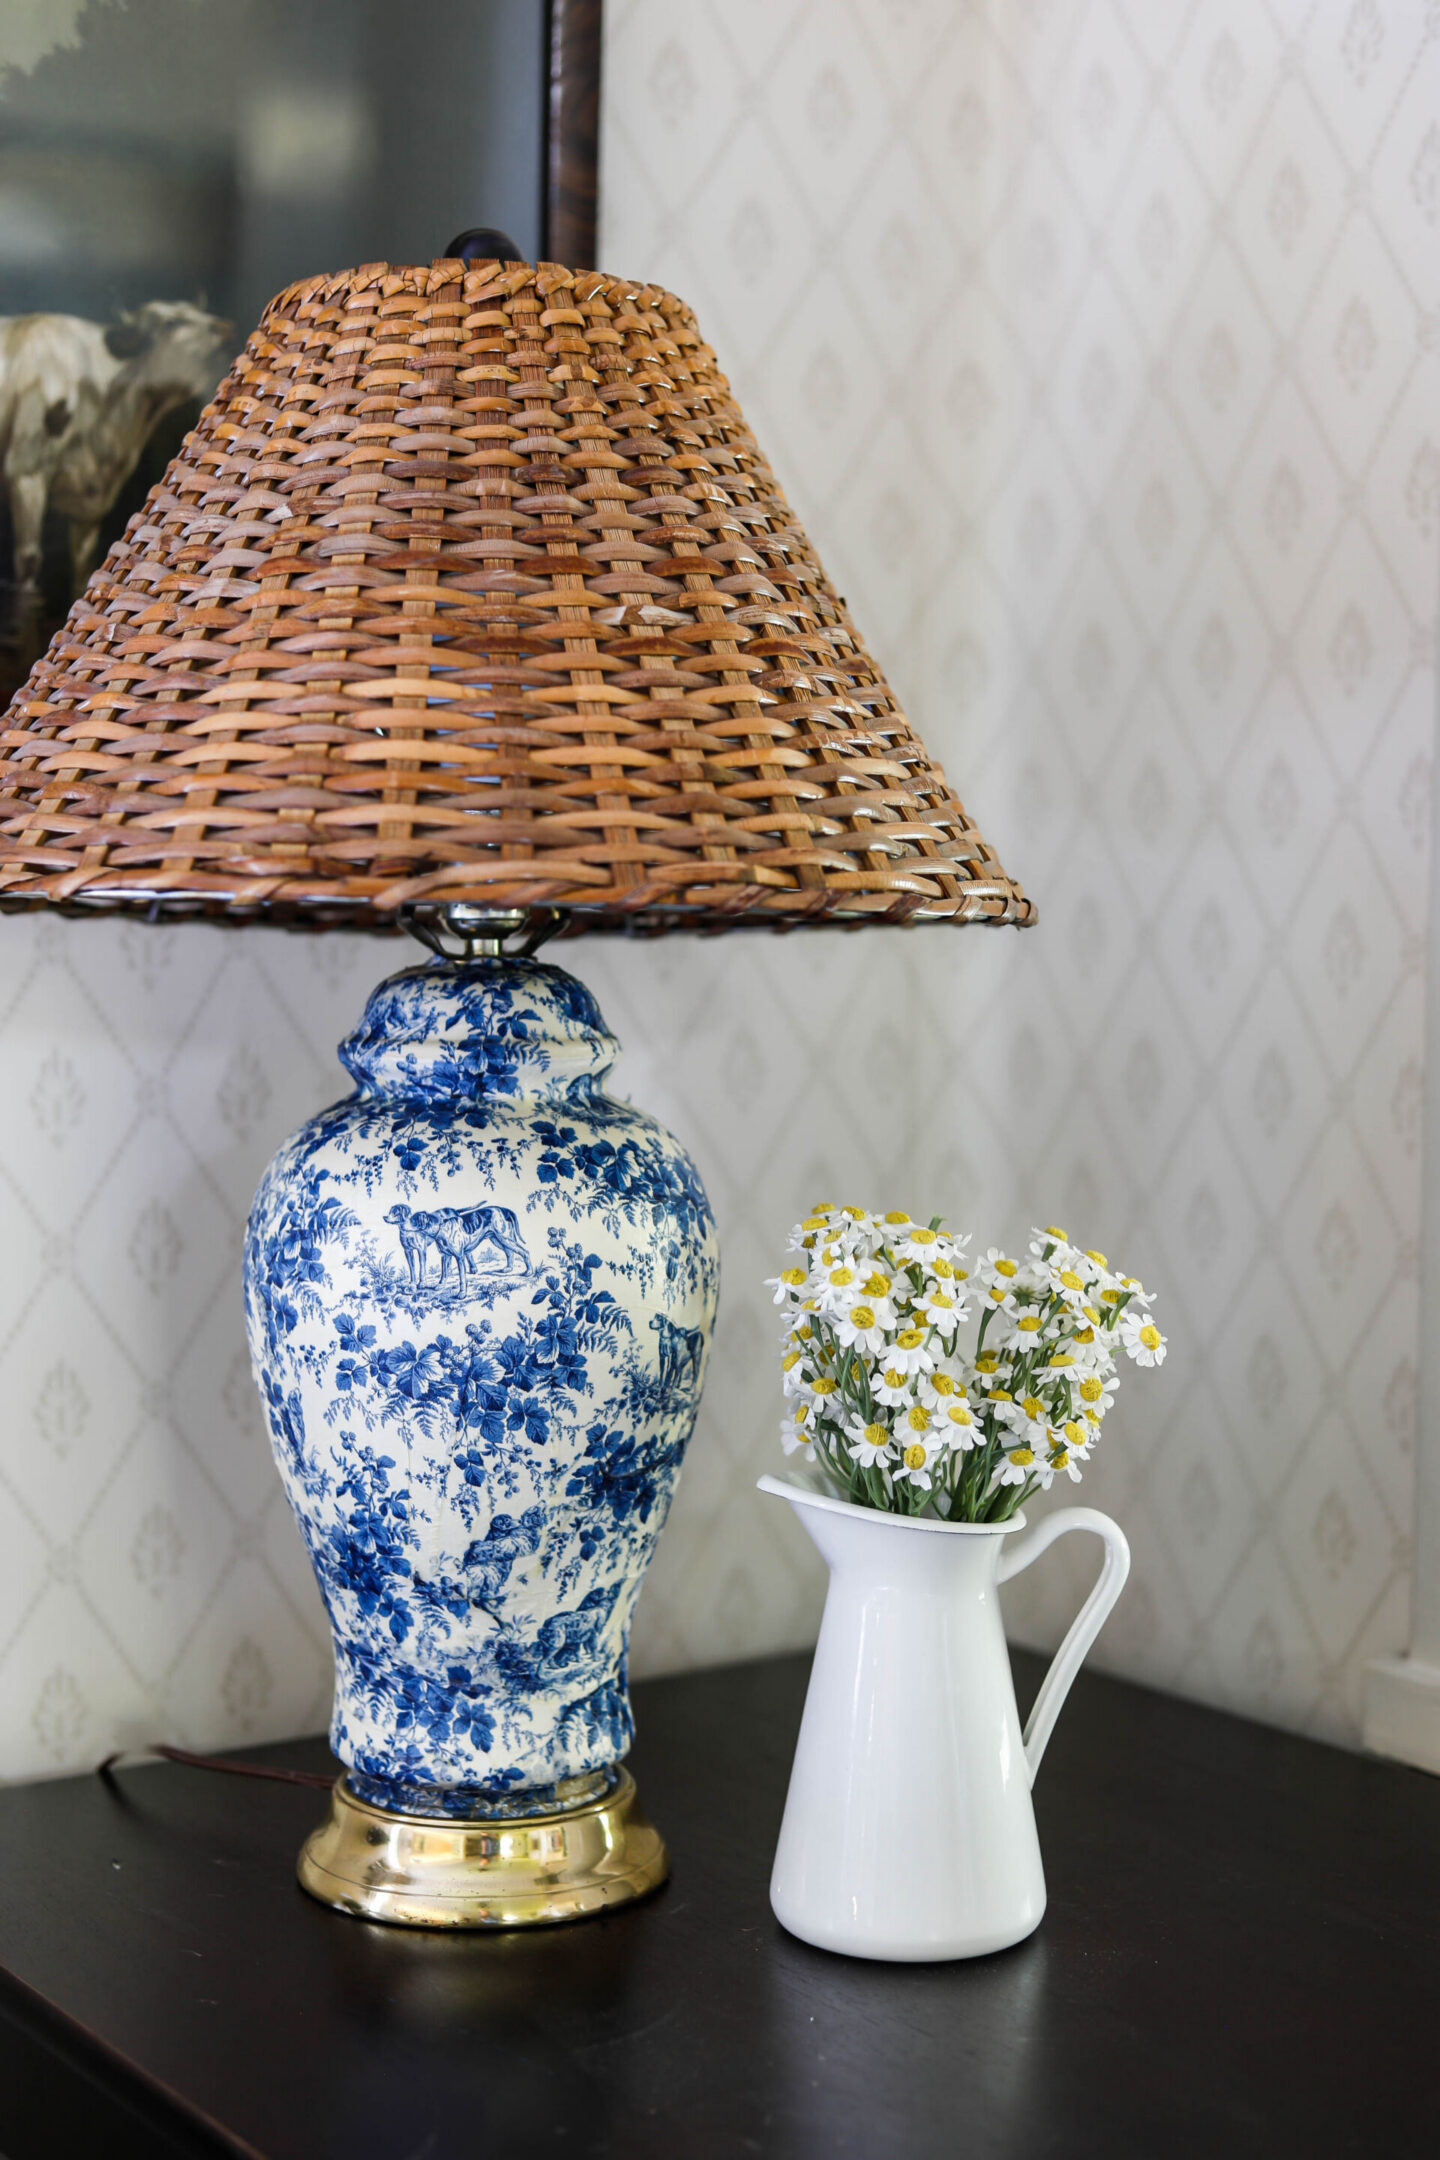
So that is how this project began! I found a lovely ginger-jar style lamp base for $10 at Goodwill, and knew it would look great turned into a Chinoiserie style.
Watch The Full Process Here:
*This post contains affiliate links to products I know &/or love.
Create your Own Chinoiserie Style Lamp:
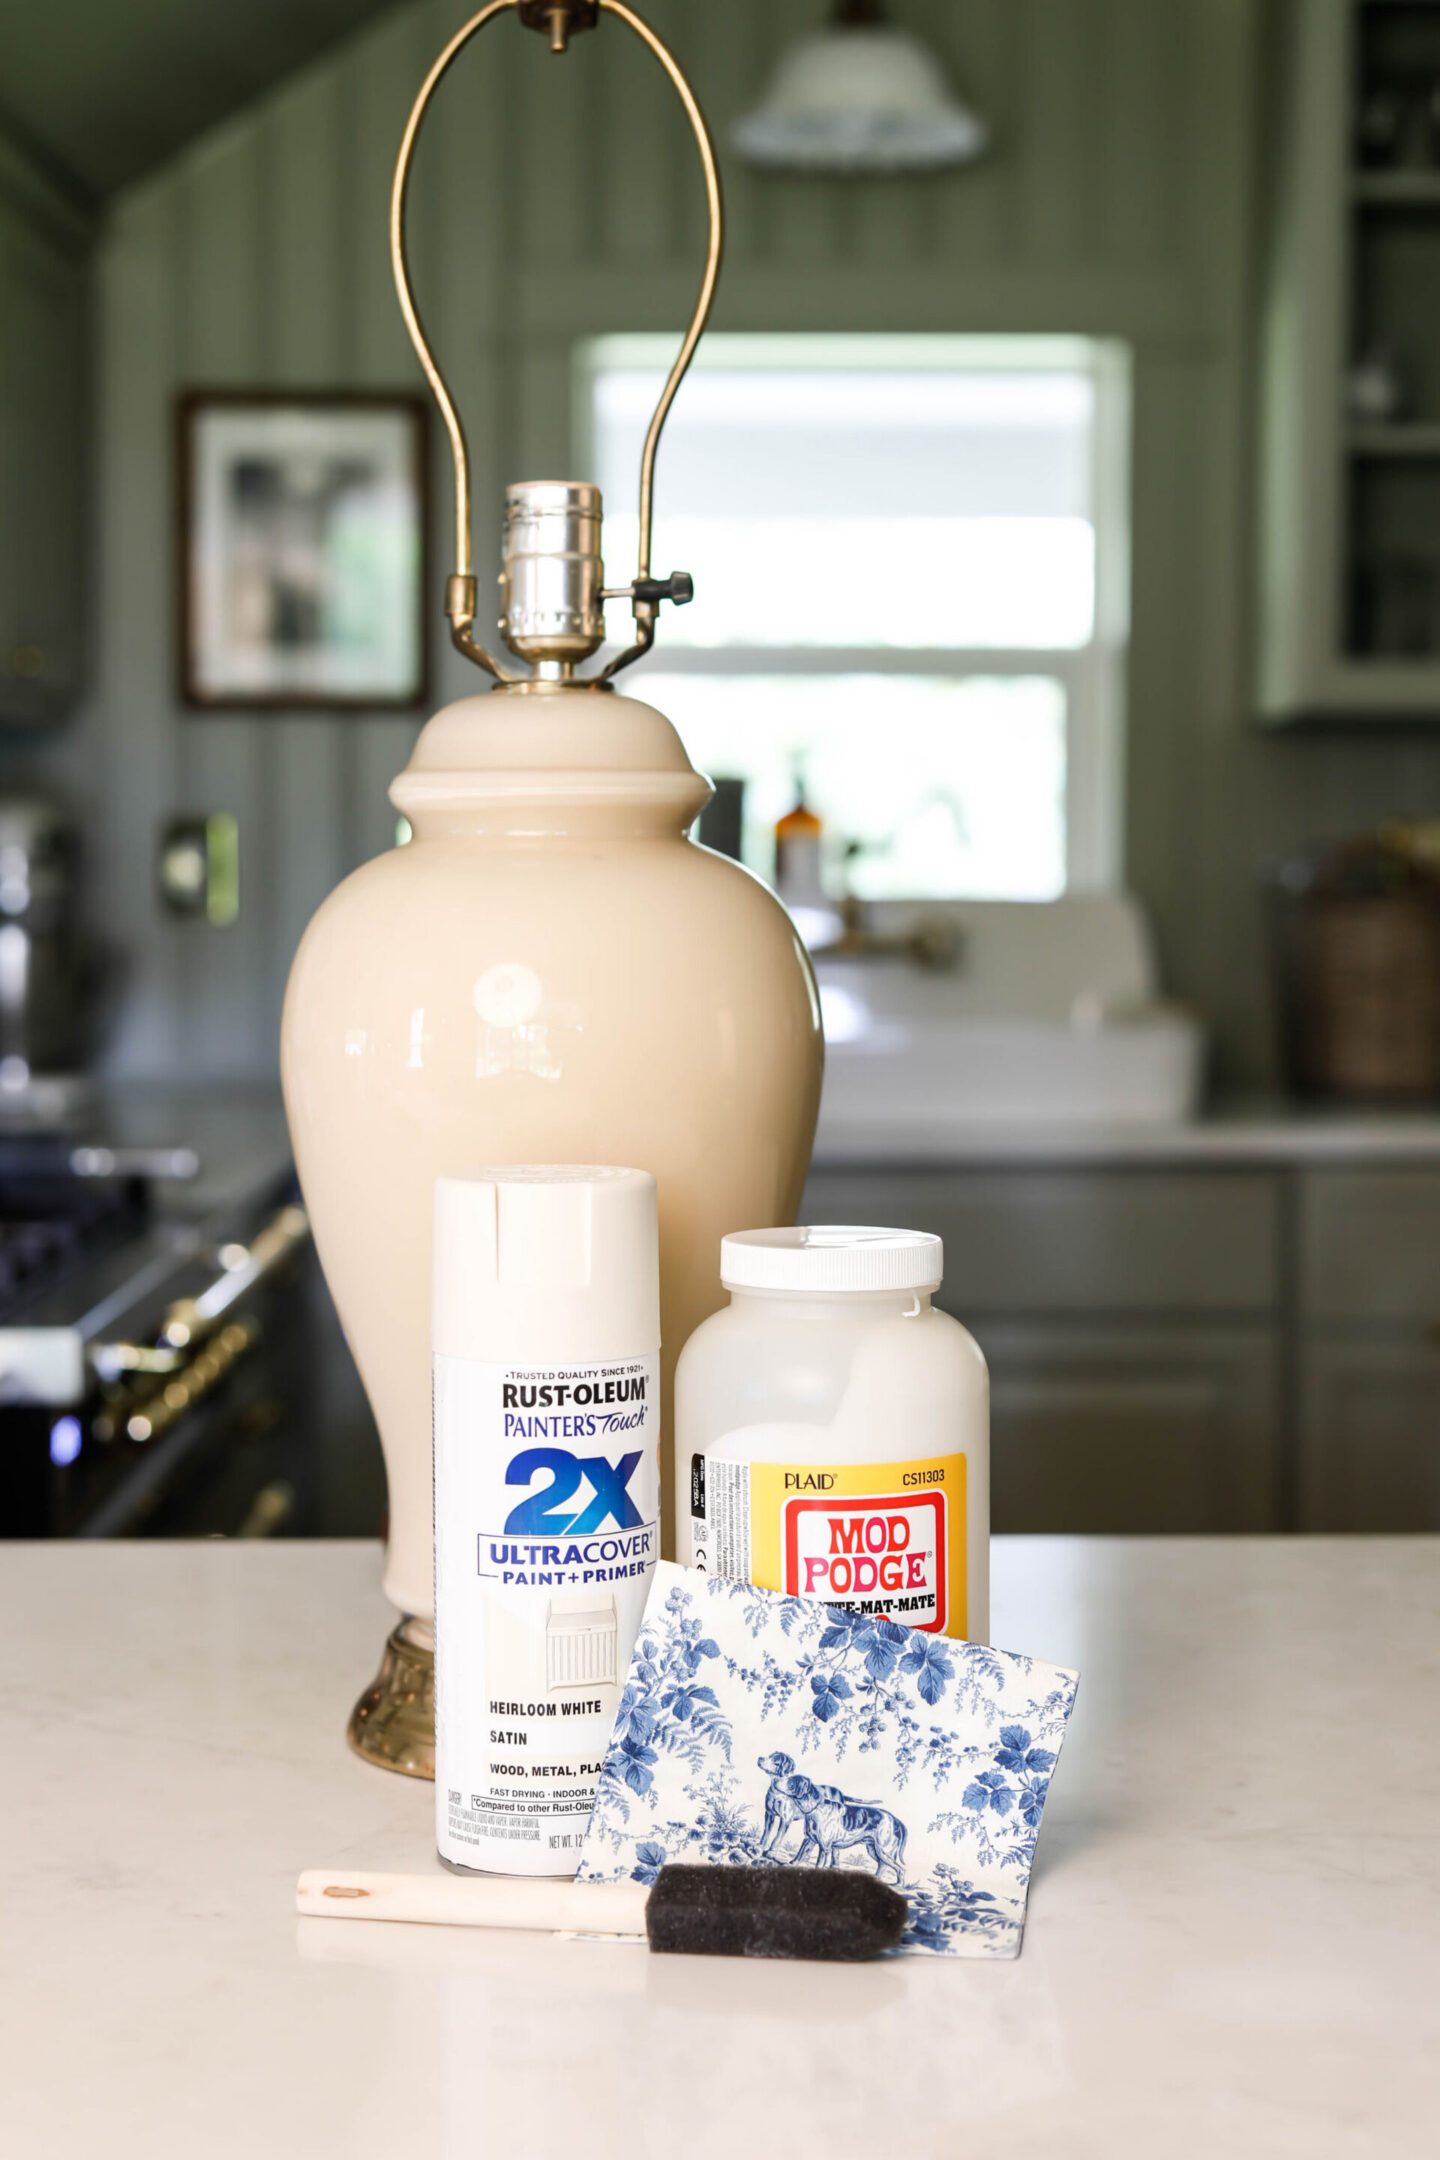
Supplies:
- A lamp base
- Blue & White Napkin | I used these Blue Hunting Toile Napkins from Caspari – they also have more traditional chinoiserie style napkins, as well as other toile options.
- Mod Podge – Matte
- Small Foam Paint Brush
- Plastic Wrap
- Optional – Heirloom White Spray Paint (Whether you need this or not will depend on the color of your lamp base. I wanted to have a beautiful creamy white base for underneath the napkins I had chosen.)
Tutorial:
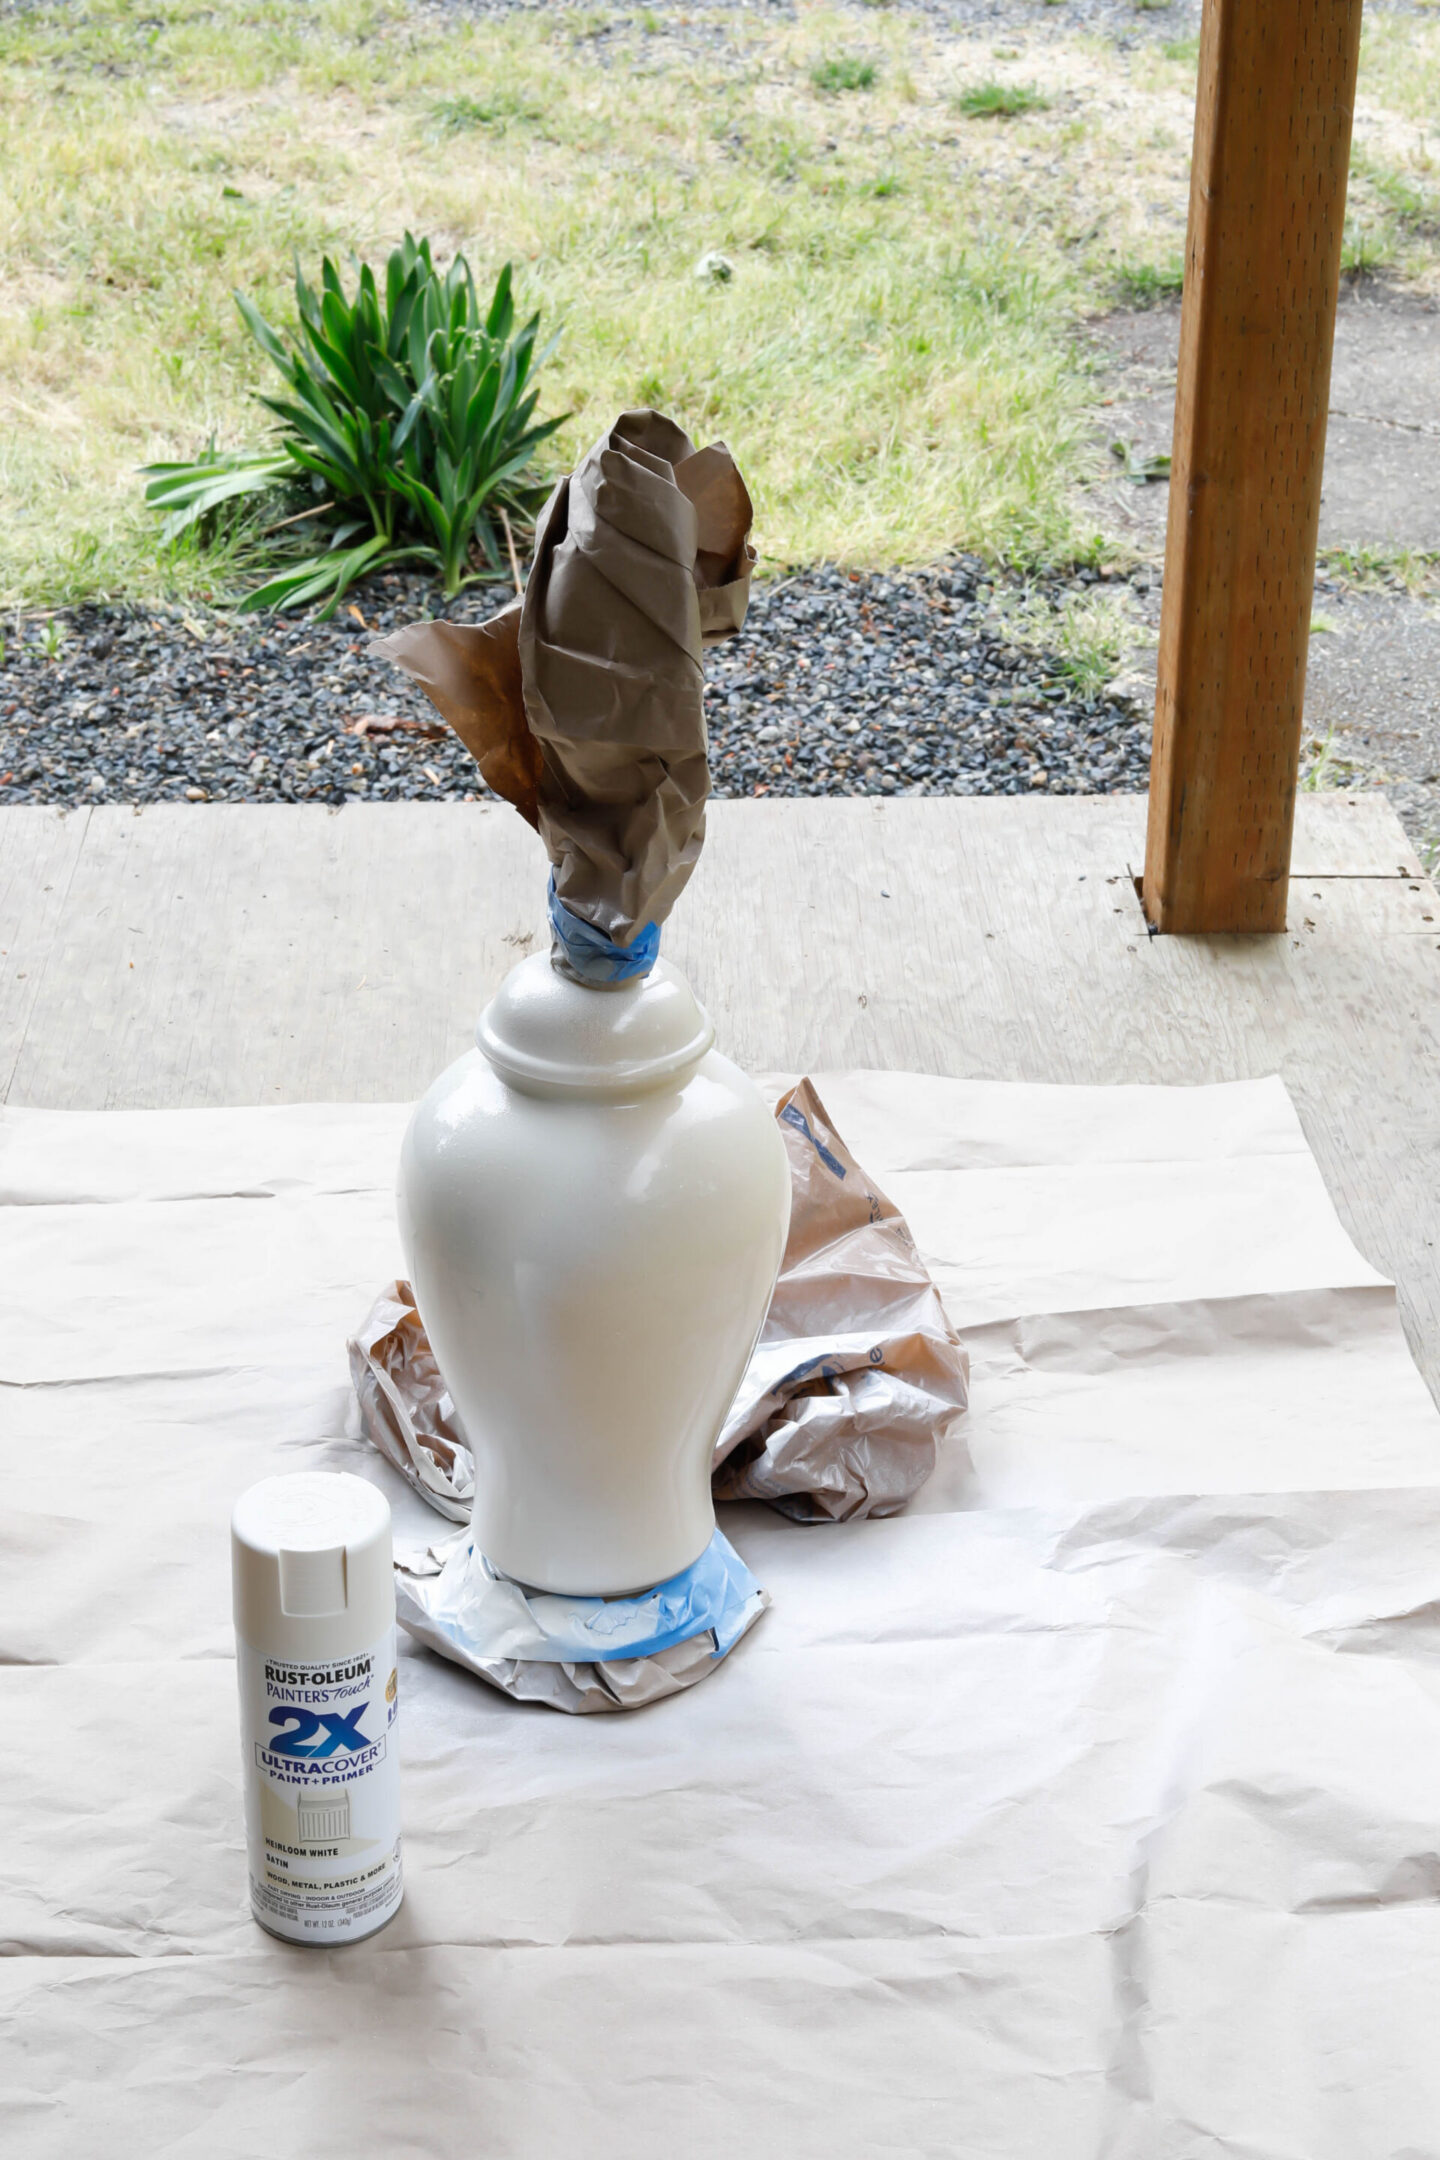
- Prepare your base with a neutral solid color if necessary. I chose to use my favorite Heirloom White spray paint over the beige color that the lamp I purchased came with. This was as simple as taping off the base and the harp, and giving it a quick, even coat of paint.
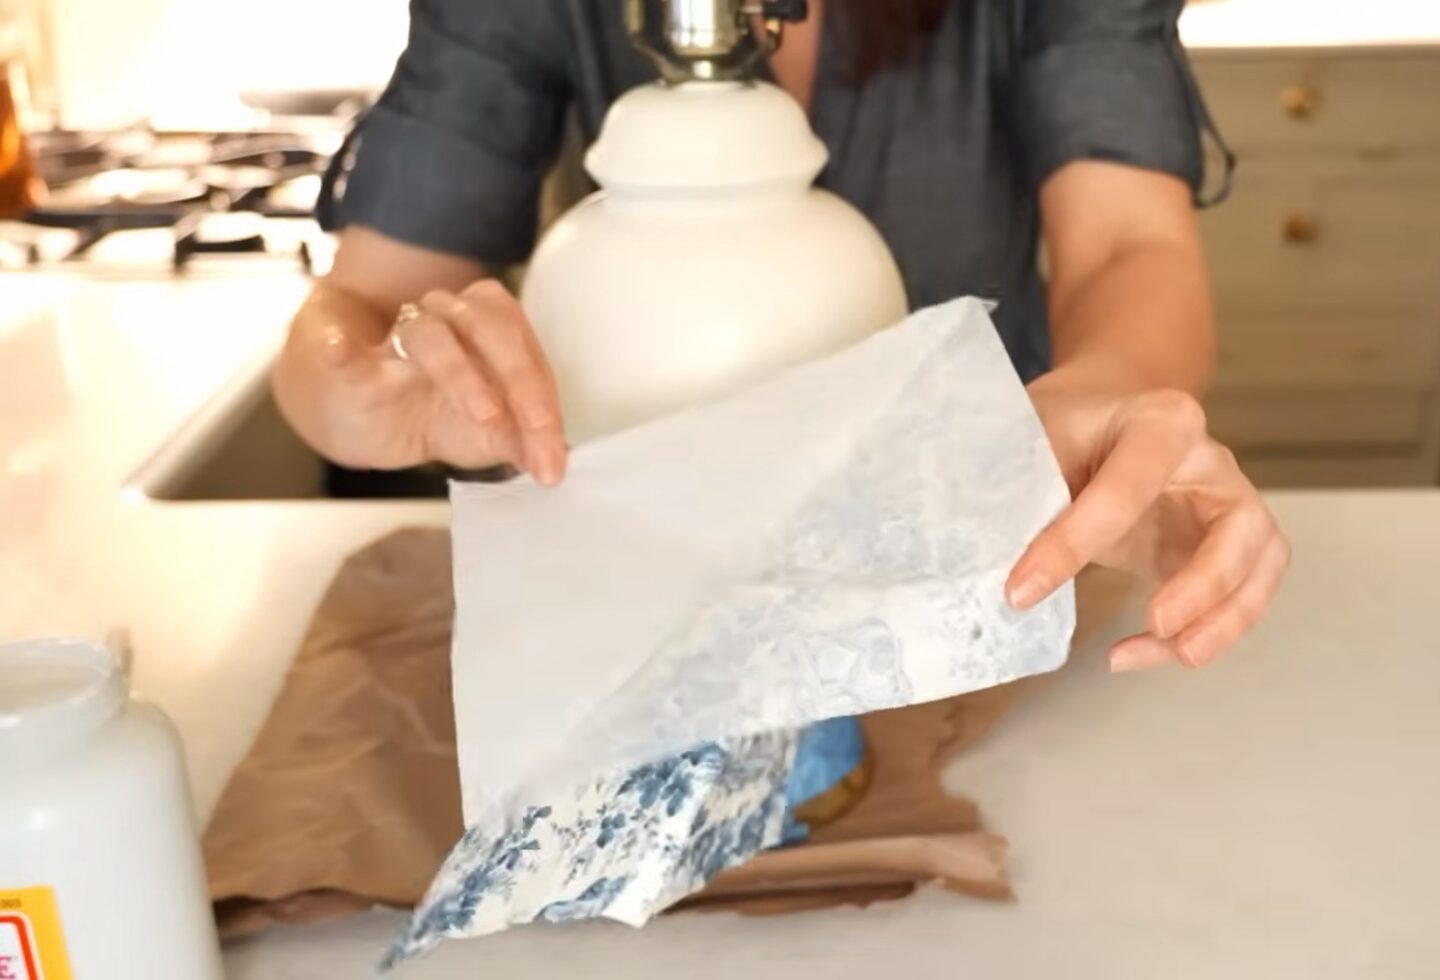
- For your napkins, you’ll want to separate them so that only the top ply with the printing is left. For these Caspari napkins I used, there were two plain white plys that I removed.
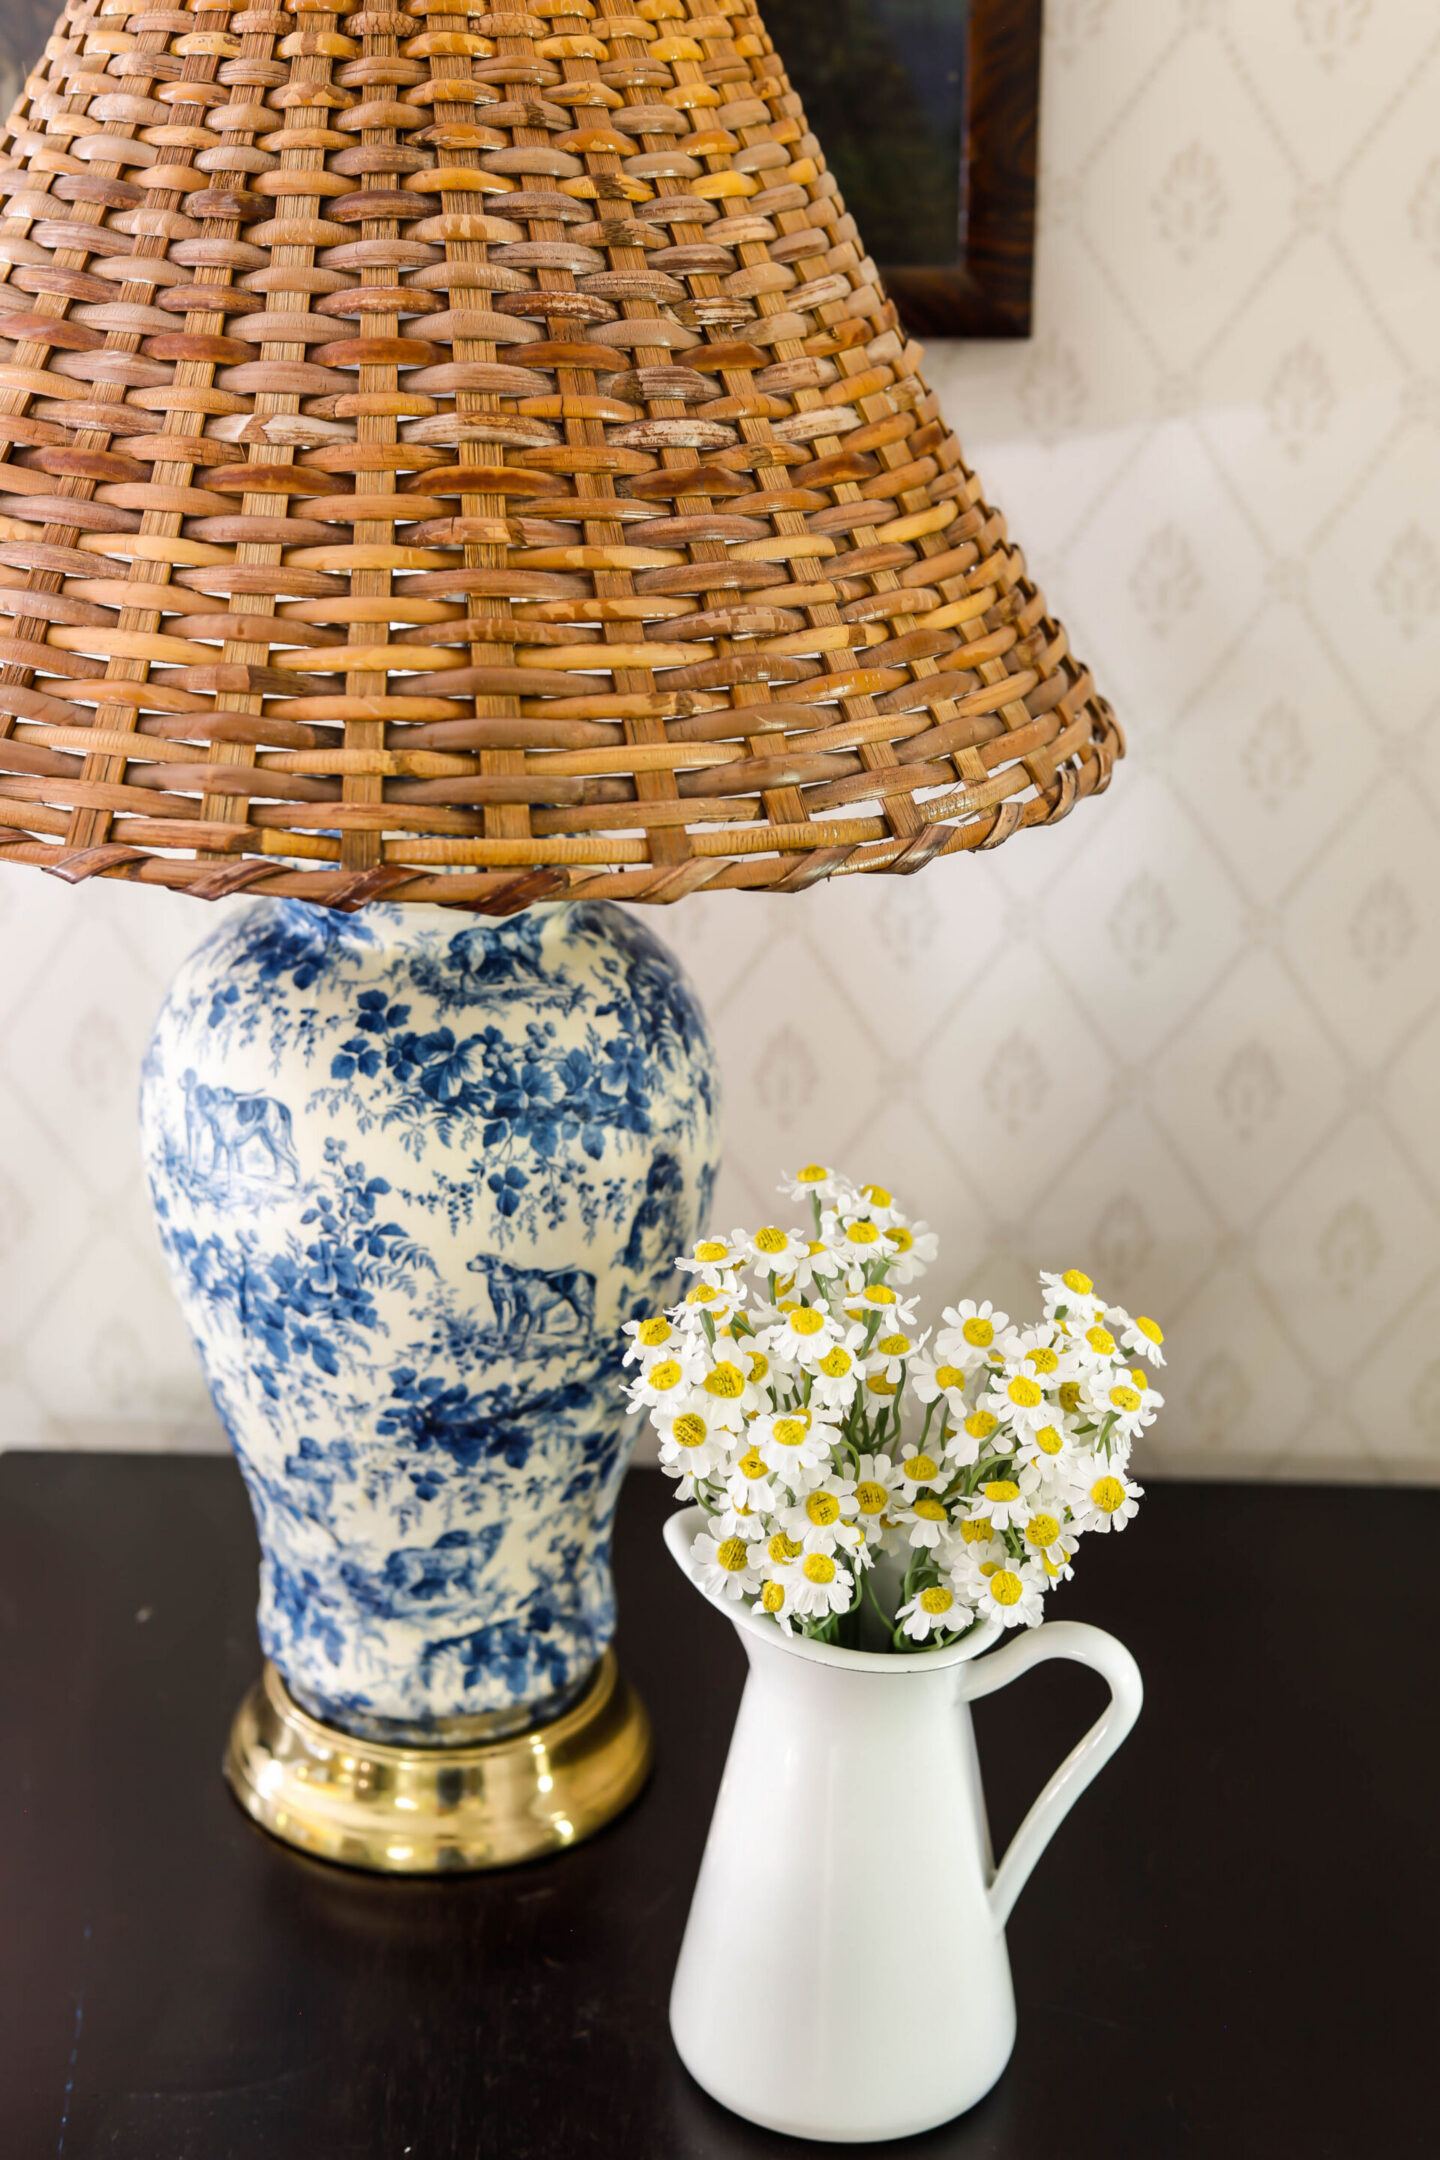
- With your foam brush, apply a thin, even coat of the mod podge across the widest portion of your lamp base. I recommend starting here with your favorite part of the design on your napkins (for me, it was the dogs), because this is the area that will show the least amount of distortion as you shape the square napkin to fit the rounded base.
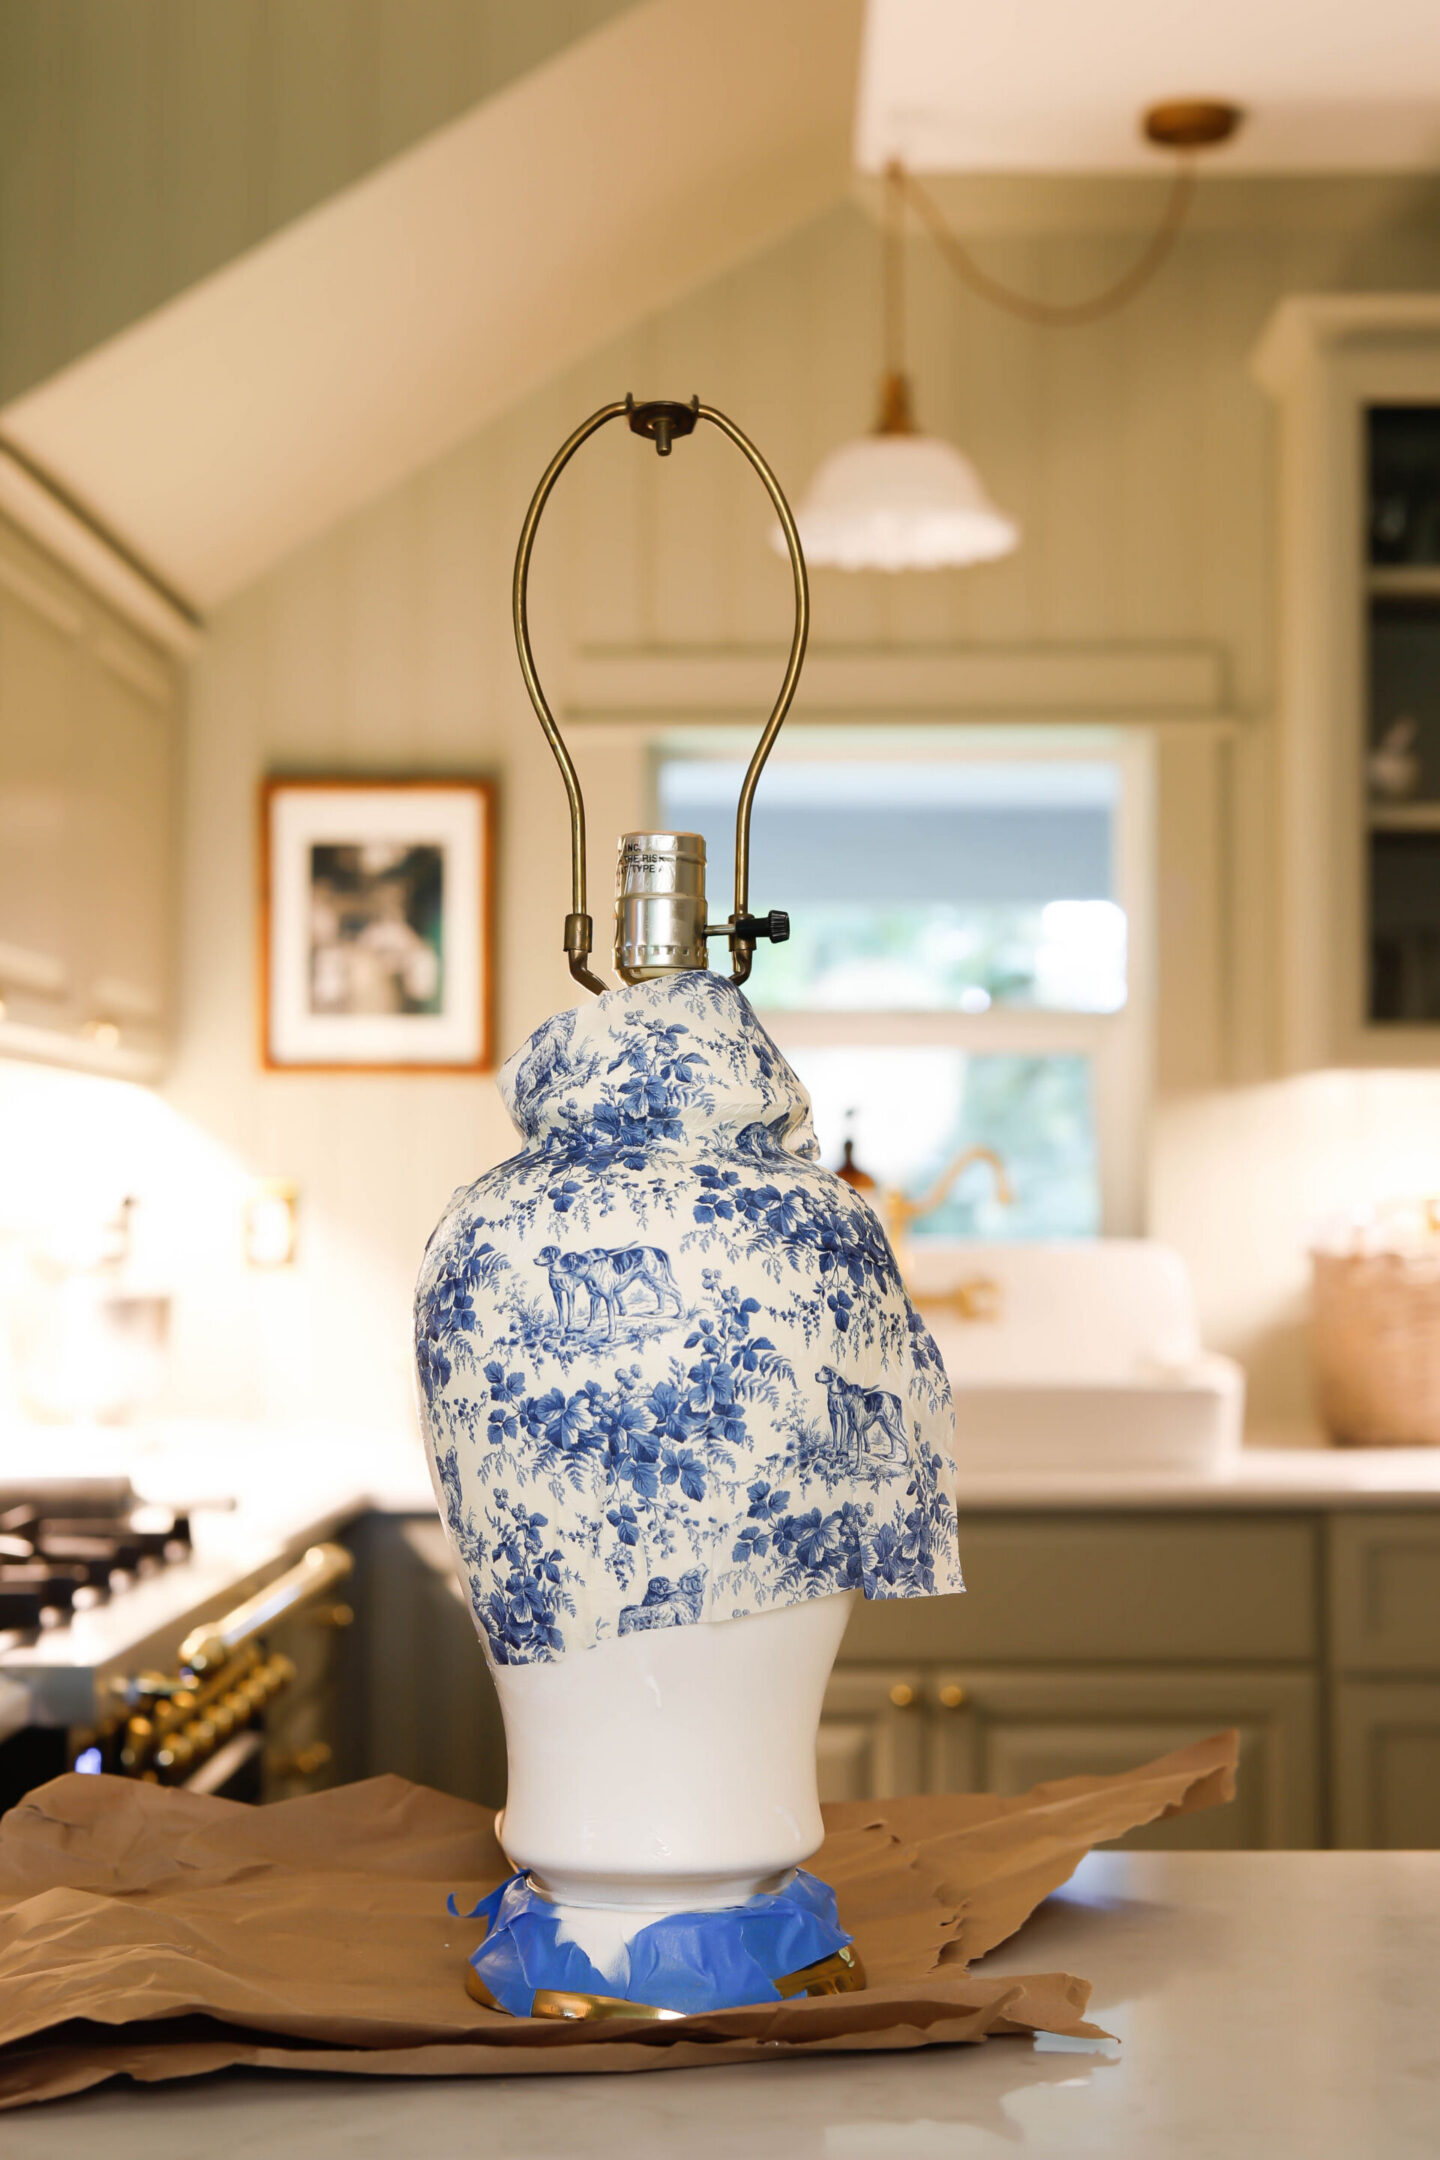
- Layer a piece of plastic wrap over the napkin to help shape it to the vase without ripping the fragile paper.
- Continue shaping, adding additional mod podge to the vase base as necessary until your full piece is laid.
- Add more mod podge and additional sheets of napkin until the vase is covered. When I got to the bottom of the vase, I was able to use smaller cut sections of the napkins to fit.
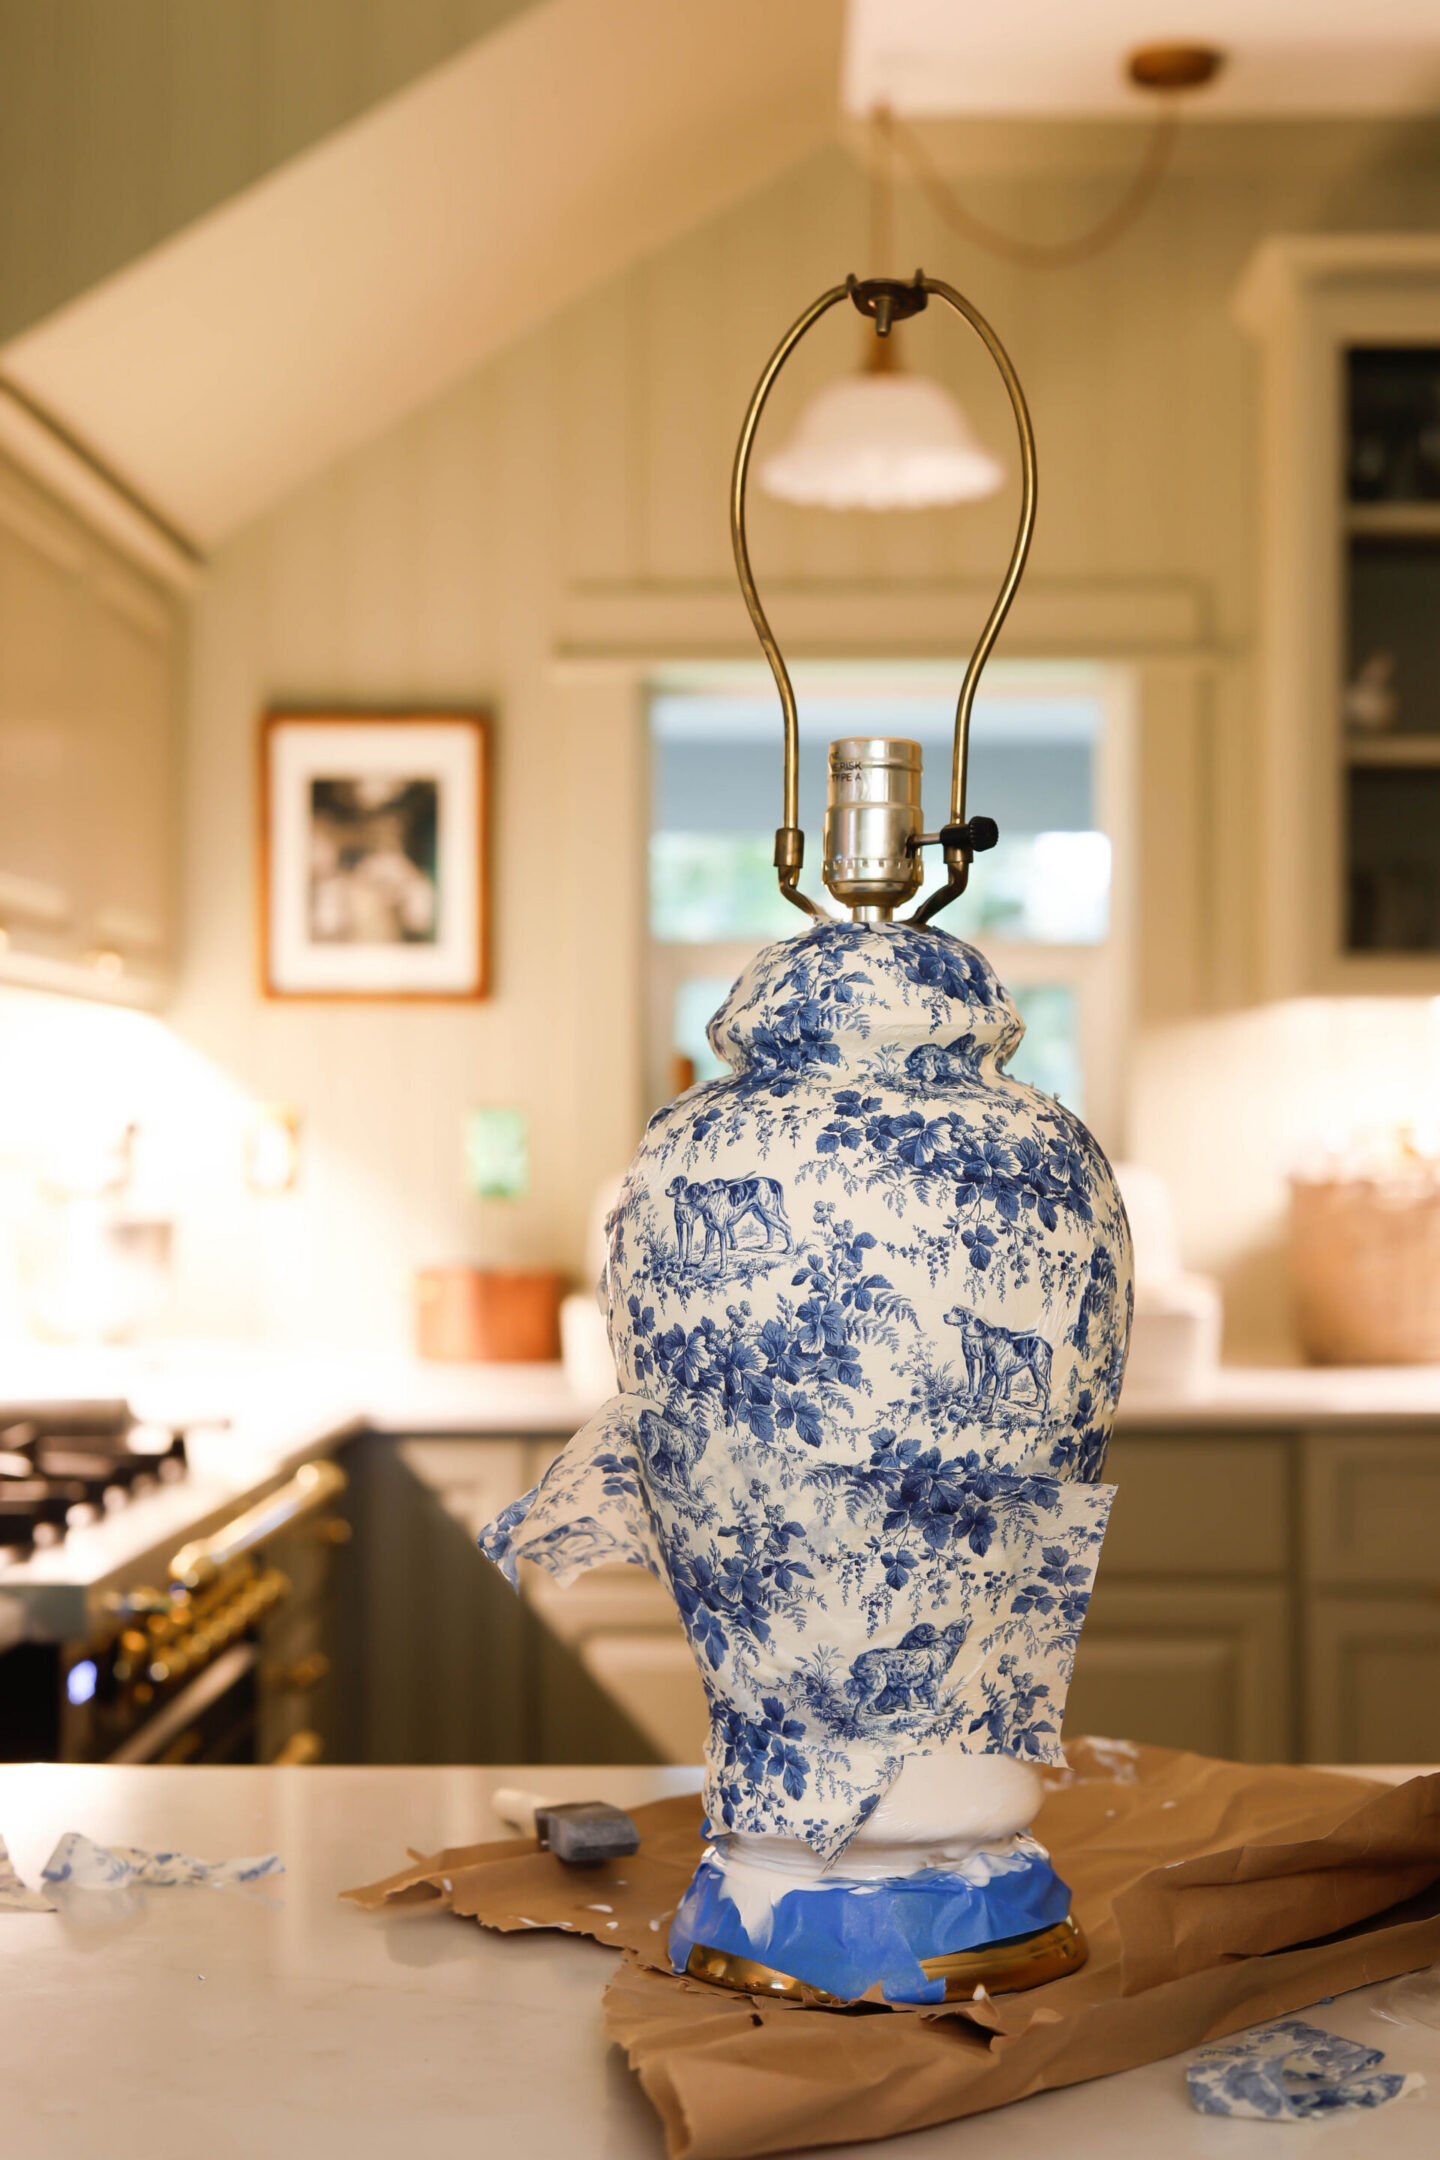
- Once the mod podge is dried, trim off any excess pieces of your napkin around the base and top of your lamp base.
- Then add 1-3 coats of mod podge (follow directions for the drying time between each layer) to protect your finish.
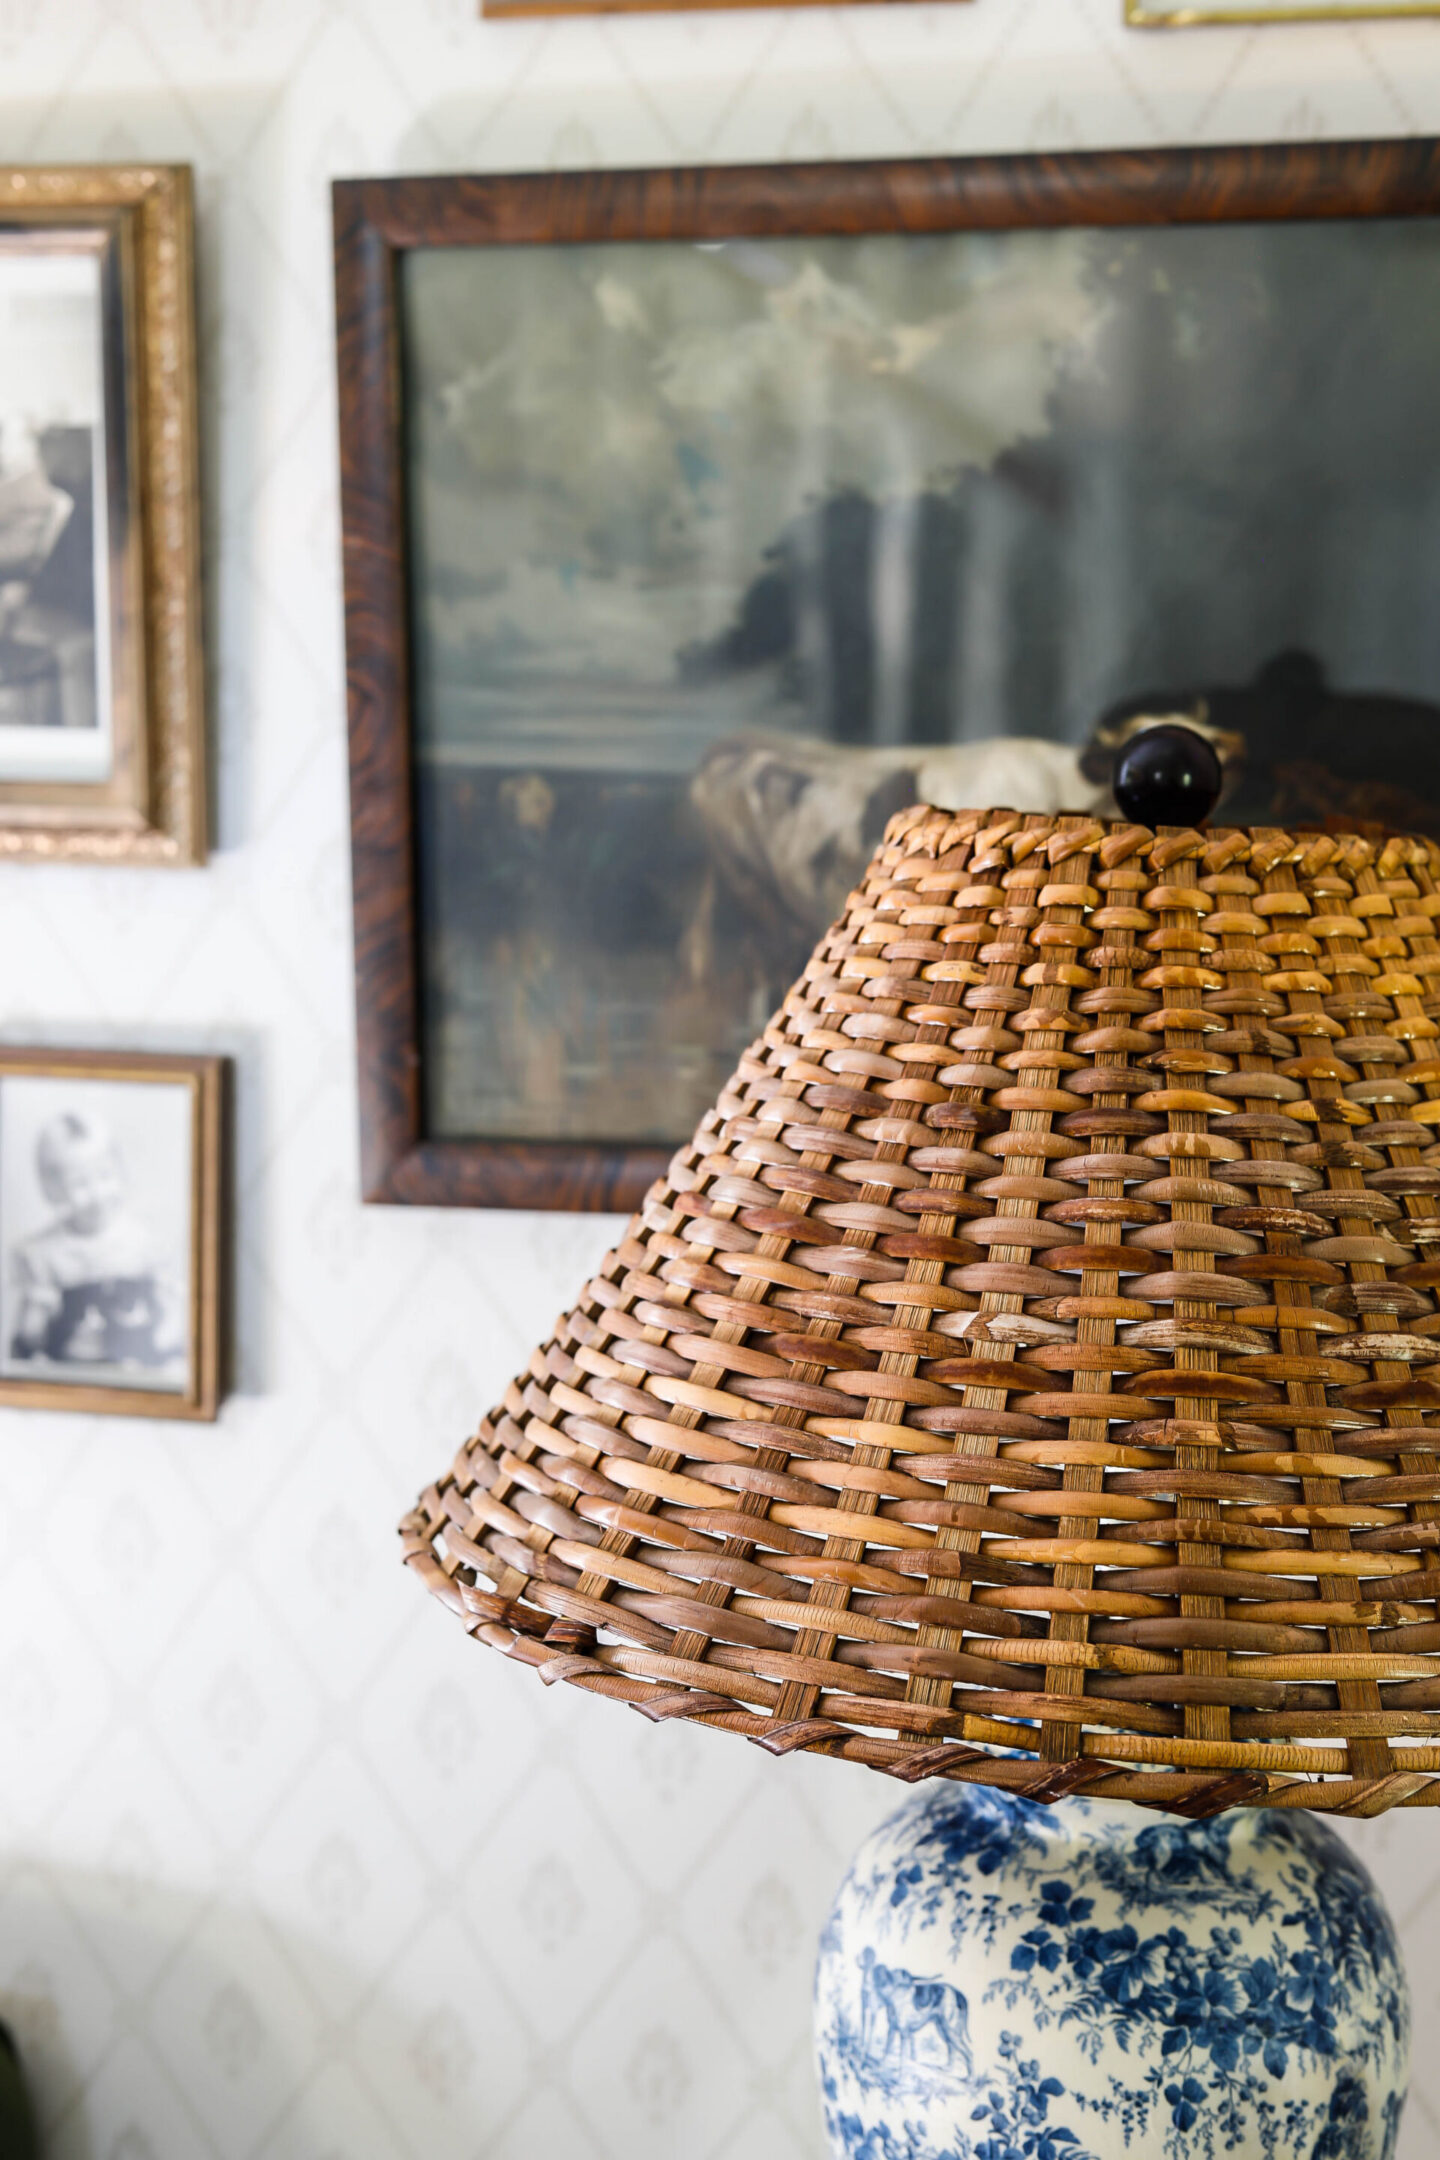
And that’s it! I finished mine off with a beautiful wicker shade.
Related Blog Posts:
- Get Your Printable Patriotic Packet if you love DIY!
- Make your Own Federal Mirror Knock Off
- DIY a Vintage Style Patriotic Bunting
- How to Decorate for America’s 250th Birthday
Pin this DIY Chinoiserie Style Lamp Tutorial for Later: