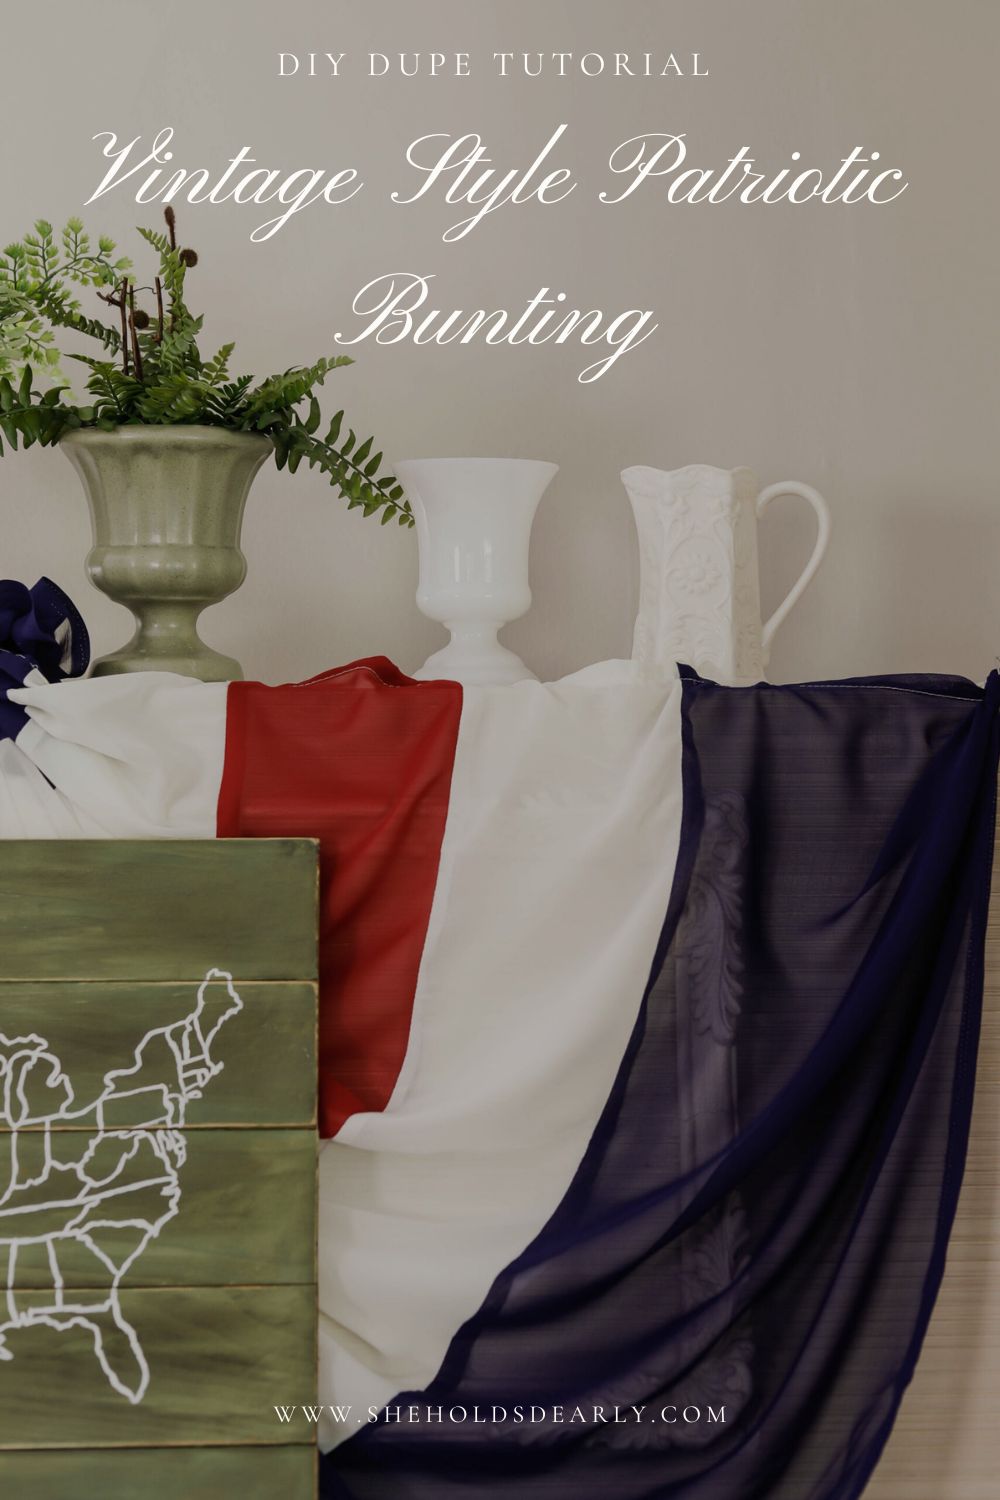
Make your own Patriotic Bunting Dupe to Save $200!
I fell in love with a beautiful, vintage patriotic bunting – but the $250 price-tag was a bit out of my price range. So instead, I made a DIY version for less than $40! This is a simple low-sew tutorial, great for even a beginner!
While I was at Brimfield this year with the gals from my Bespoke Design Retreat – I saw this magnificent vintage bunting styled in one of the booths (with an equally beautiful federal mirror in front of it).
As soon as I saw it, I knew I wanted a version for my own patriotic decor.
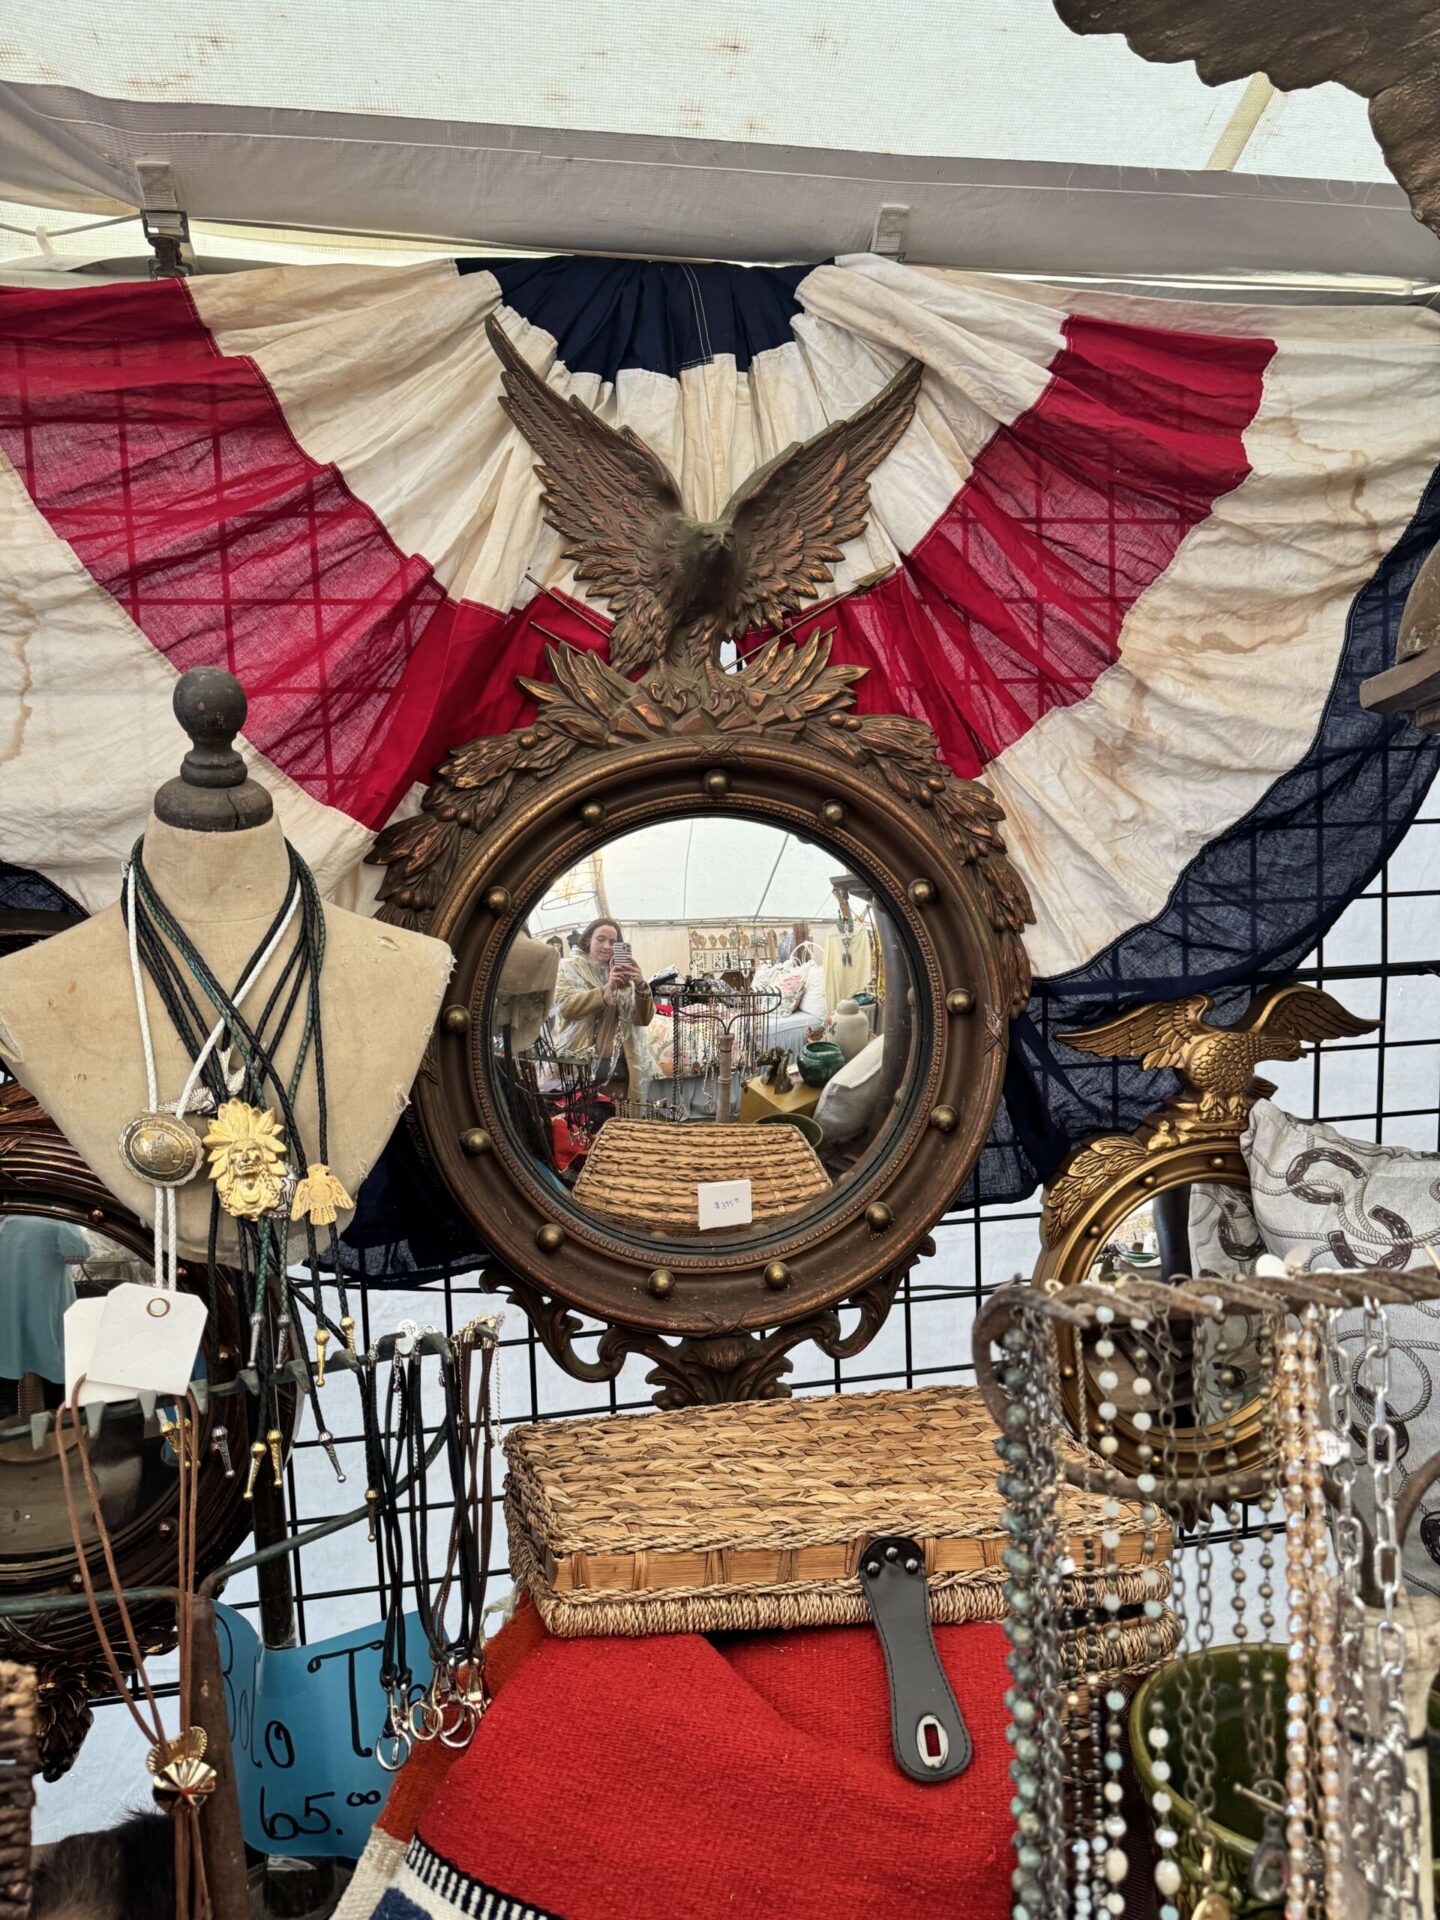
I checked the price. $250. And while that is understandable for a true antique – it was a bit out of the range I wanted to pay. Especially since I knew with the right fabric and a little DIY – I could have one done in no time for much cheaper.
Over $200 cheaper, actually!
Watch for Yourself:
*This post contains affiliate links to products I know &/or love.
The DIY Patriotic Bunting Dupe Tutorial:
Supplies Needed:
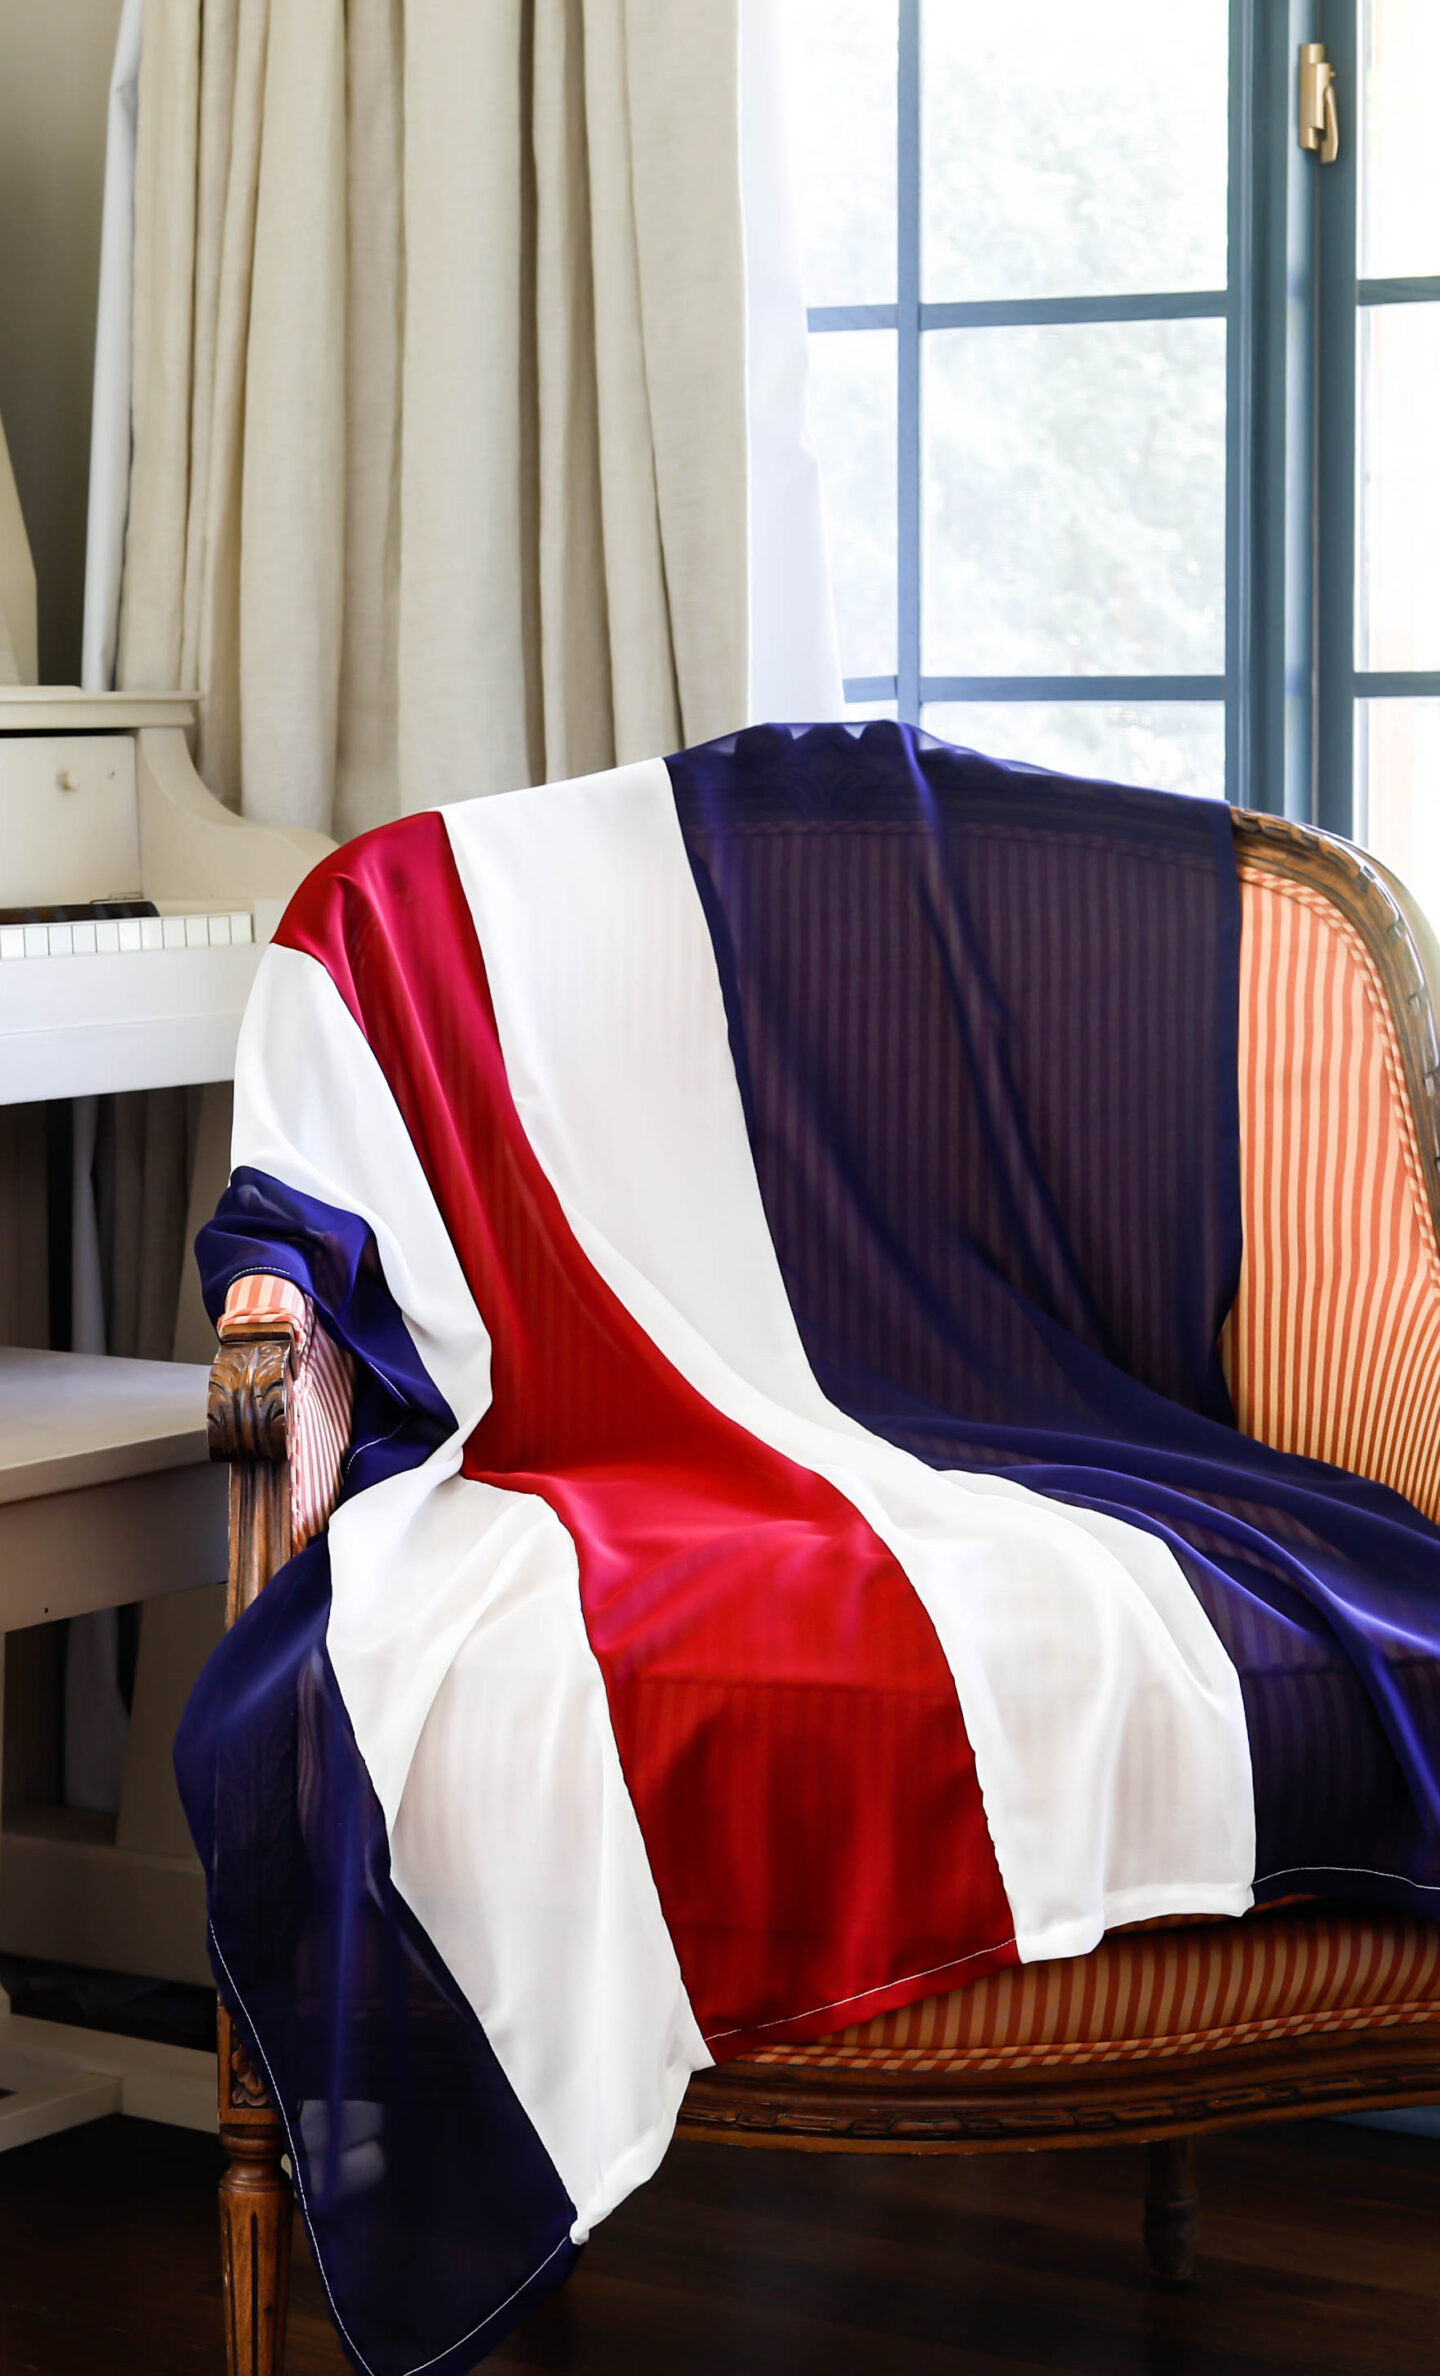
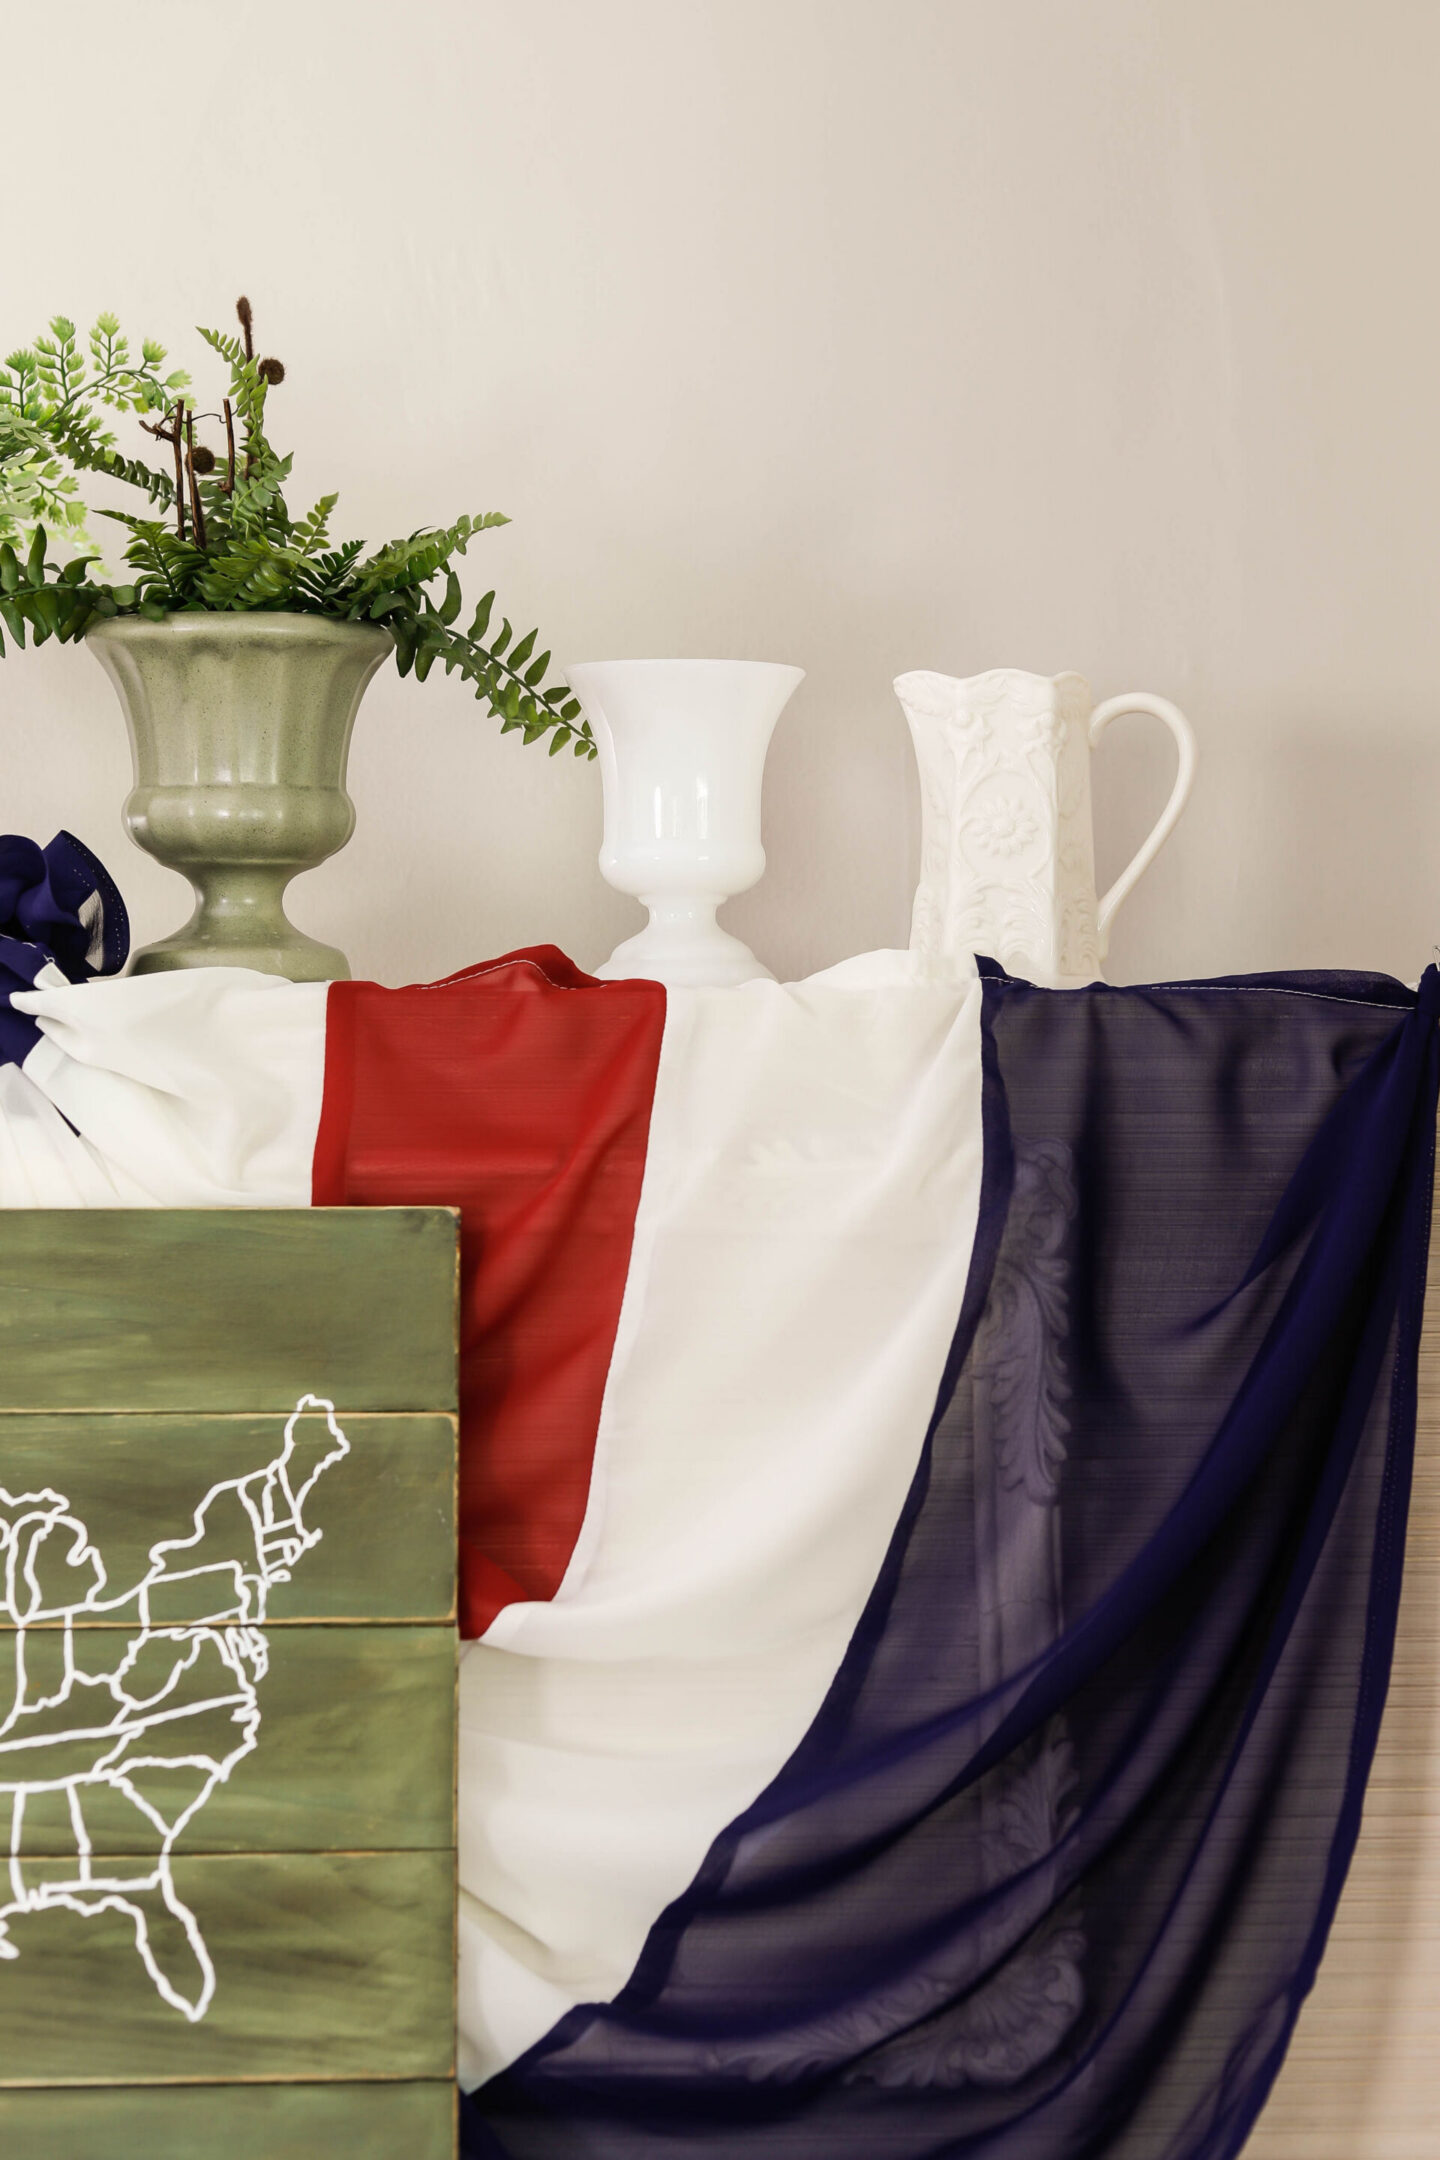
- 4 yards Blue Chiffon – “Navy” (This color comes in 5 yard sections – the remaining yard+ could easily be used to make a beautiful patriotic runner!)
- 1 yard Cream Chiffon – “Ivory”
- 1 yard Red Chiffon – “Burgundy”
- Sewing Scissors
- Measuring Tape or Ruler
- Sewing Machine
- Iron & Ironing Board
- Rubber Band or Thread & needle
- Command Hooks (for hanging)
If you would prefer silk chiffon, you can find it on Etsy: Ivory | Burgundy | Navy. (Note : this will increase the cost of your materials compared to the standard chiffon.)
How to make your patriotic bunting:
Measure and cut the following pieces from your chiffon:
- (2) 7″ x 60″ pieces of Navy
- (2) 7″ x 60″ pieces of Burgundy
- (4) 7″ x 60″ pieces of Cream
- (2) 14″ x 60″ pieces of Navy
Split these pieces into 2 separate piles. Each group of 5 pieces will make one half side of 1 full bunting.
Sew your pieces together along the long side in the following order:
7″ navy section + cream 7″ section + 7″ red section + cream 7″ section + 14″ navy section
Press your seams open
Hem the bottom (14″ navy) section and the 2 “outside” edges of both your two pieces.
(You could also sew the middle two edges together if you wanted them to be more secure long term instead of hemming. Because of where I knew I would be hanging mine in a place where it wouldn’t be moving, I just arranged the middle section to put the hemmed edges at the back.)
Take the top edge (smaller 7″ wide section of navy) and bunch it together into your hand. I used a rubber band to secure it together, about 4″ down from the top of the material. If you wanted to, you could use some navy thread and a needle to hold the top edge cinched together, too.
Repeat with the 2nd half.
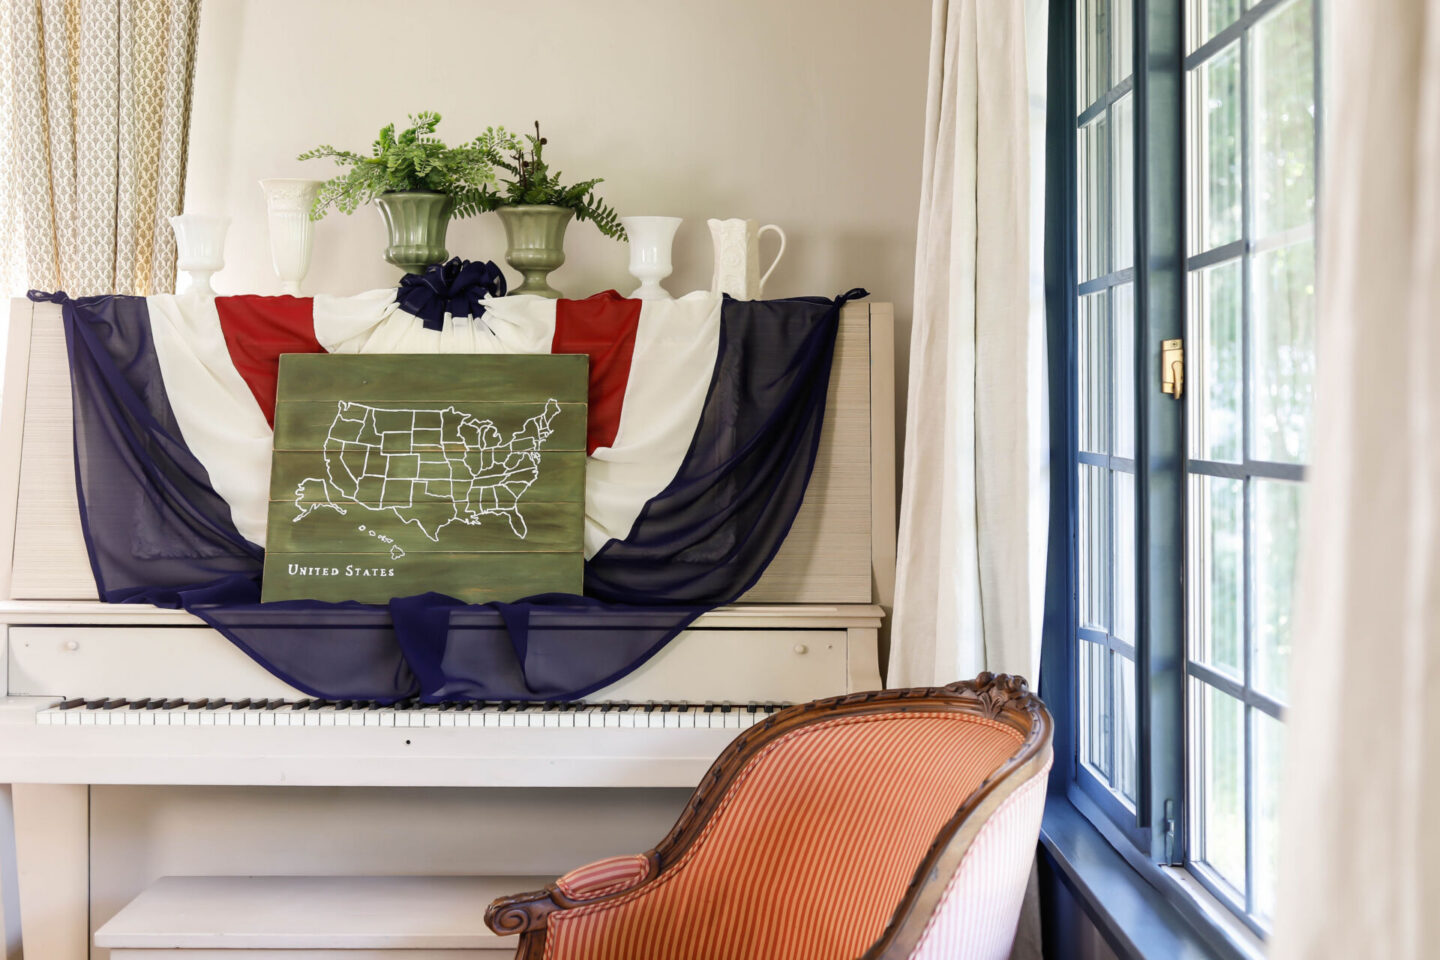
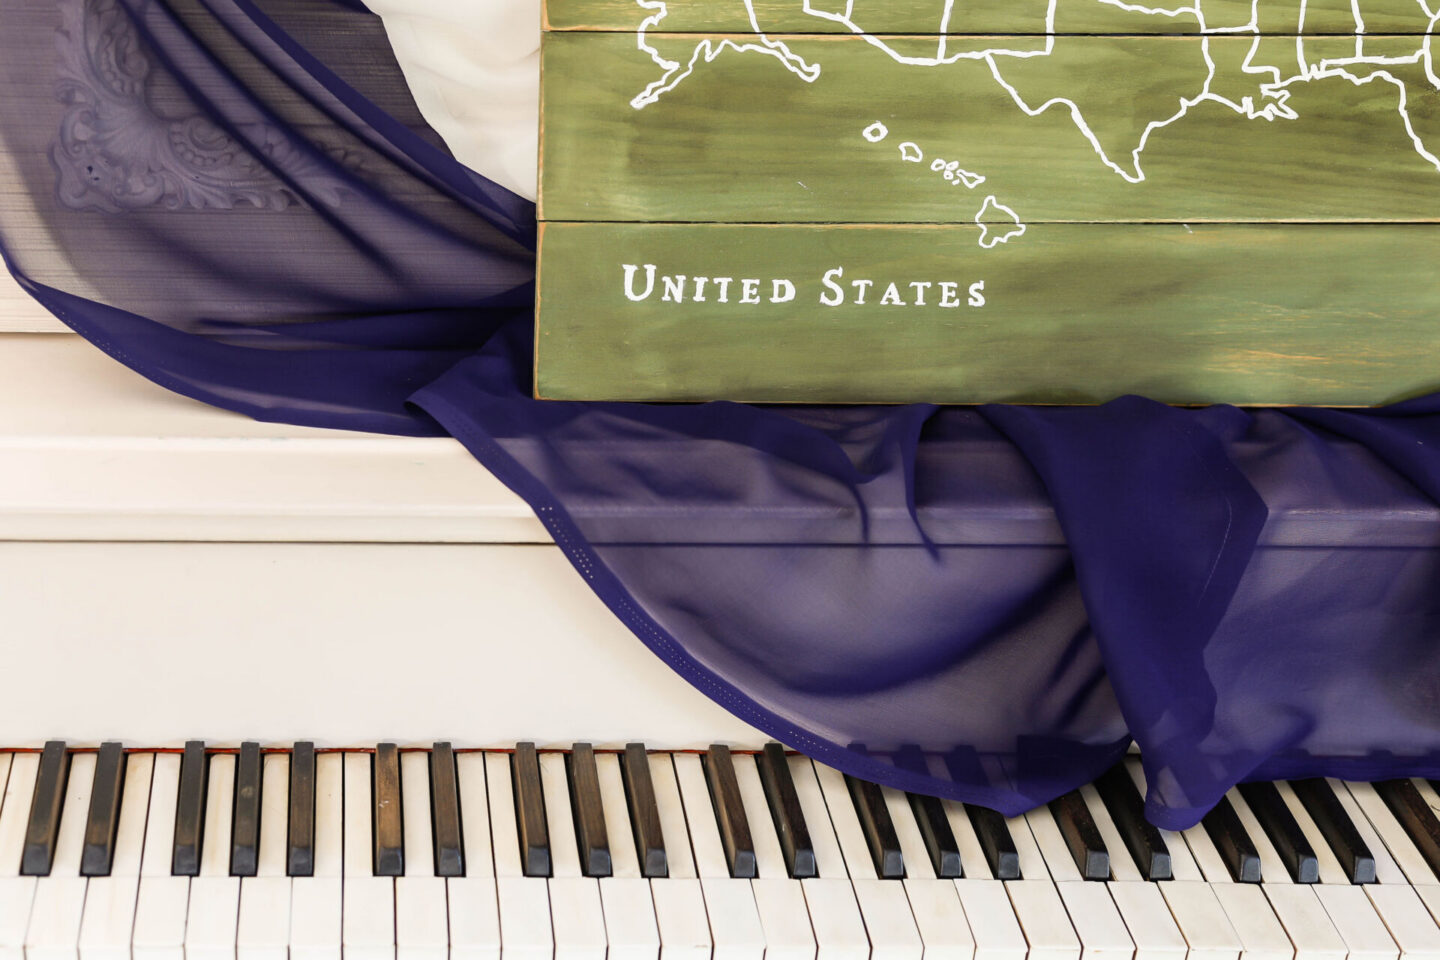
And that’s really as easy as it is! I used command hooks and scotch tape to secure it onto my piano as one of our summer patriotic focal pieces in our living room this year.
Looking for more 4th of July DIY Projects? You’ll love my FREE Patriotic Printables – delivered straight to your inbox!
Related Posts & Resources:
- FREE DIY Patriotic Printable Packet for your 4th of July Decor
- USA Map Sign Tutorial
- How to Decorate for America’s 250th 4th of July
- Easy, Festive & Patriotic Summer Living Room Decor
Pinterest | Vintage Fourth of July | Vintage Summer Decor |
Pin this DIY Dupe Patriotic Bunting for Later: