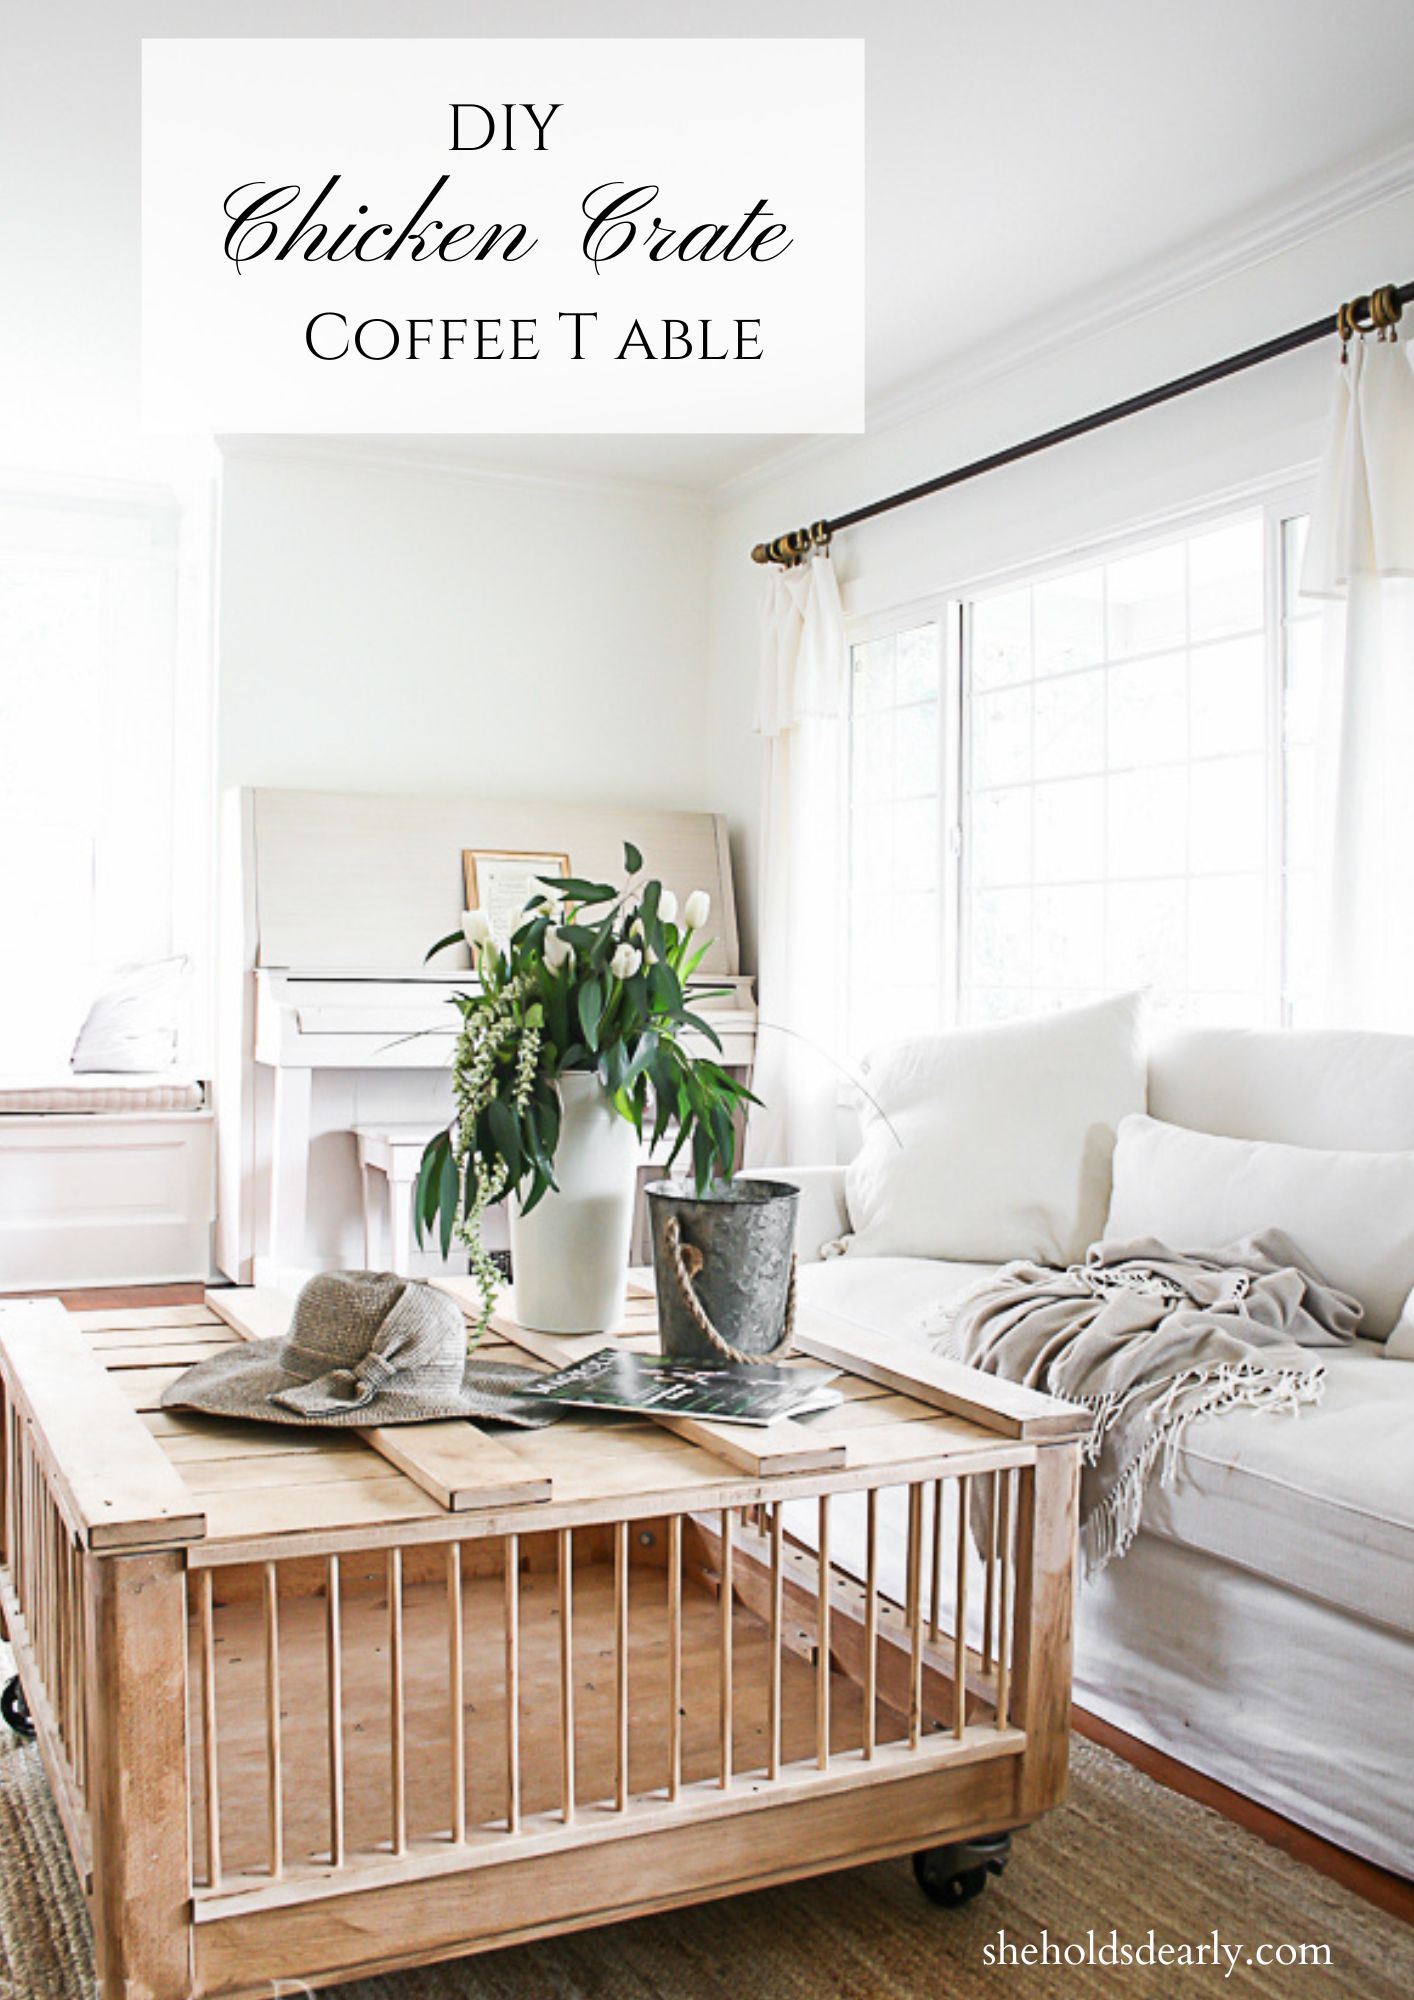
DIY Chicken Crate Coffee Table
Buying a vintage chicken crate for a coffee table can be expensive and risky due to how fragile the wood can be. You can DIY your own Chicken Crate Coffee Table if you have dowels, extra wood and a simple table!
Our 1906 farmhouse was originally built by a chicken farmer who brought thousands of baby chicks with him on a train to start a new life on the West Coast.
When we gave our living a makeover last year, see the Farmhouse Living Room Reveal, I really wanted the coffee table to reflect some of this history and be a focal point for our family of six. This coffee table from My Sweet Savannah was my inspiration.
I looked at antique chicken brooders online, but they were tiny and rickety at best, so I camped out on my idea for a while. Eventually, I found a heavy square cofffee table at the thrift store for $9!
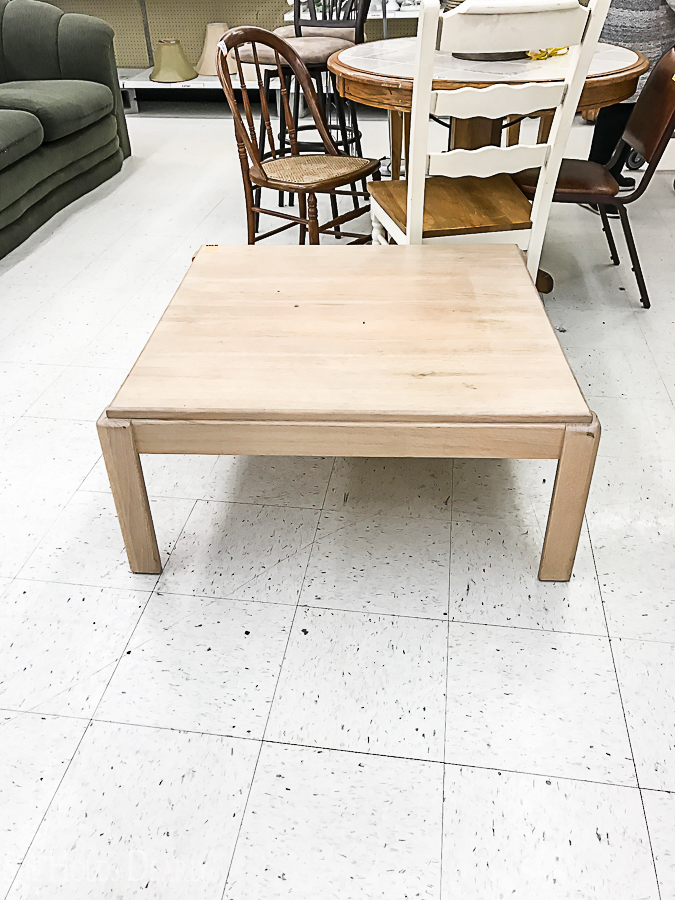
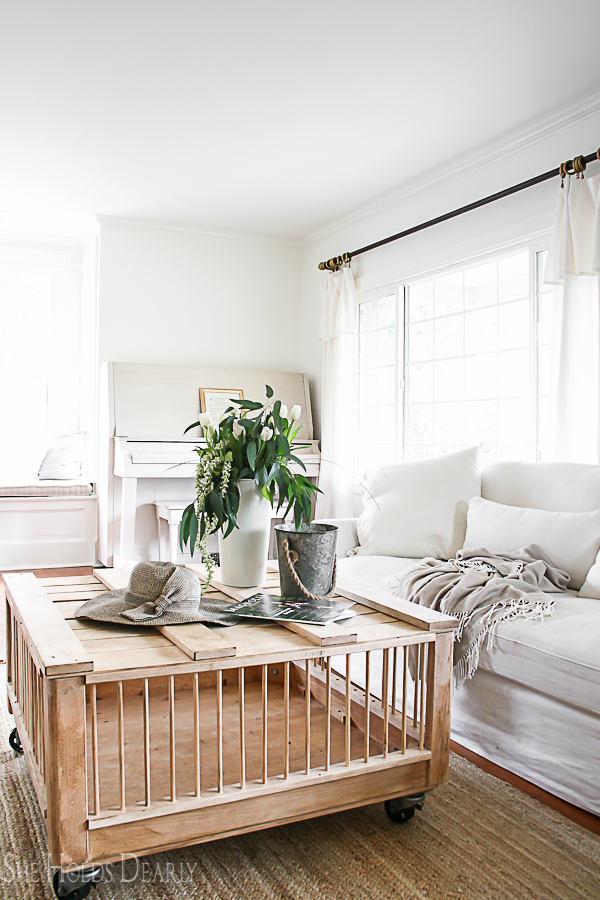
We flipped it upside down, added some trim, dowels, casters and furniture wax and Voila!
Our very own DIY Chicken Crate Coffee Table!
Let me break it down for you.
DIY Chicken Crate Coffee Table
Supplies
*This post contains affiliate links to products I know &/or love.
- Simple square or rectangular table
- You may want to cut down the legs if it is too tall.
- Radial orbital sander or sand paper
- Compound miter saw
- 1×2’s
- We used maple
- Dowels
- We used 3/8″ pine
- Drill
- Drill Bit
- use something slightly larger than your dowel size
- Clamps
- Nail gun and nails
- Air compressor
- Thin wood for the top
- Pencil, ruler
- Wood glue
- Mallet
- Furntiure wax or stain, rag or brush
- Casters and screws
- Glass top (optional)
Tutorial
- First, sand down your table and the edges of your 1×2’s, these are super sharp and have a shiny coating on them that will resist your stain or furniture wax.
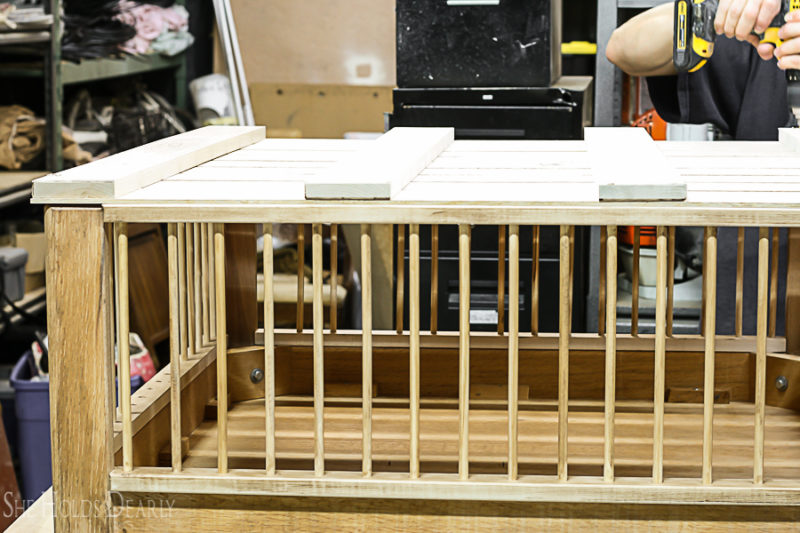
- Second, cut 8 1×2’s the width between the legs of your table, these will house the dowels.
- Decide how far apart you want your dowels, ours are 2″ apart, and mark your 1×2’s.
- Drill the holes using your slightly larger drill bit.
- Be sure to label all your 1×2’s before assembling, top and bottom and which side of the table!
- We left about six missing on the center of one side for easy cleaning later on.
- A trick we used was to stack our 1×2’s, two at a time, clamp them to the work bench and carefully drill straight through the top 1×2 and down 1/4″ into the bottom 1×2. This ensures that your dowels will all line up perfectly with the top and bottom holes.
- Next, cut your dowels to the appropriate lengths and hand sand these, as well, to remove the shiny coating.
- With your table upside down, glue and nail the first 1×2’s in place. Add your dowels, tap in place with your mallet, and your top 1×2’s.
- Now is the time to stain or wax before the top goes on.
- Finally, cut your thin top boards, ours are spaced 1/2″ apart, nail them to the supporting boards before nailing the whole top of the crate in place.
- Finish applying your wax or stain.
- Add your casters and you are done!
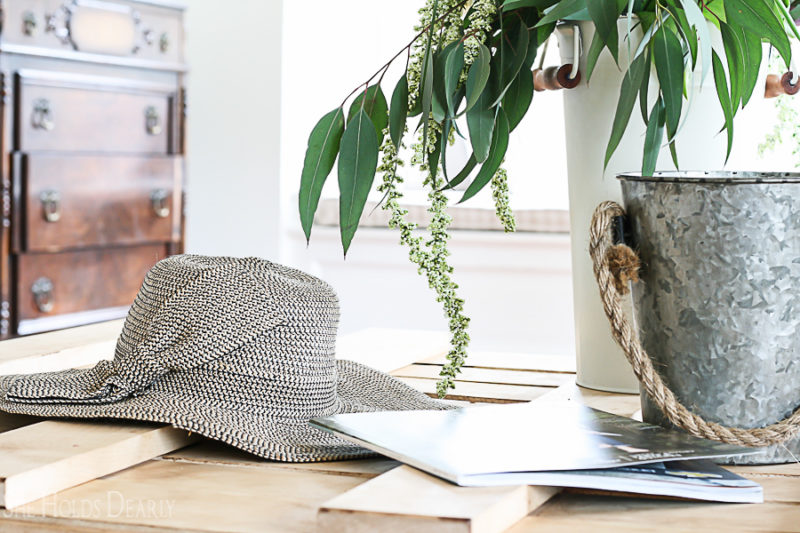
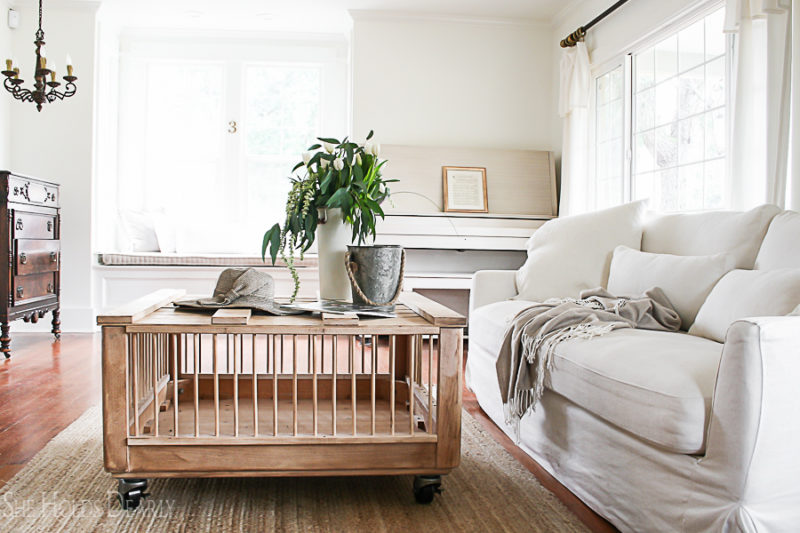

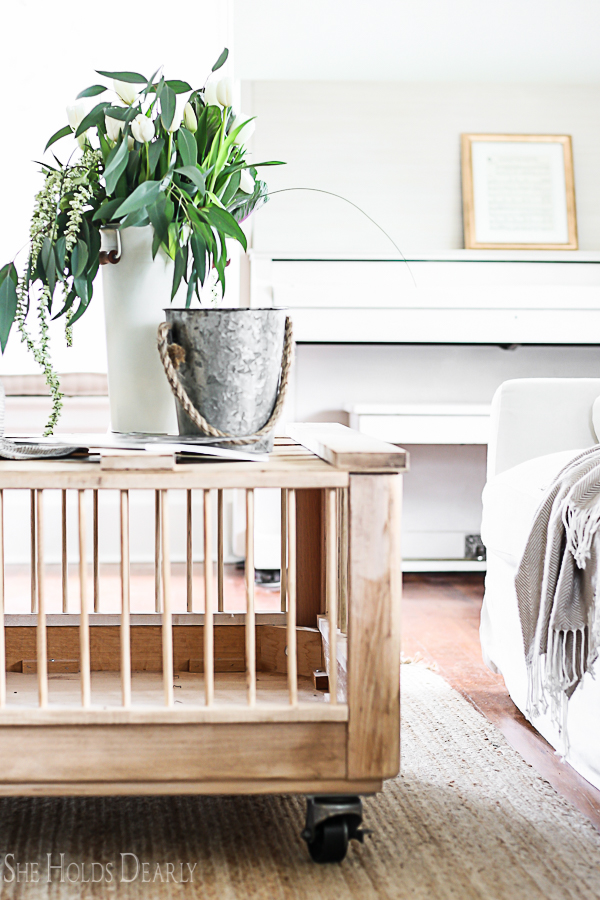
This well-built, sentimental coffee table has been just what we needed in this room and it always turns into a conversation piece when we have guests.
If you are trying to find a solution for a coffee table, I hope this has helped!

Thanks for stopping by our farmhouse and stay tuned for more custom DIY projects!
Pin this DIY Chicken Crate Coffee Table for Later:
