Add a Zipper to a Pillow in 10 Minutes
If you’re looking for ways to make your throw pillows more versatile, zippered pillow covers are hands down the easiest way to do that! And lucky for you… I’m going to teach you how to add a zipper to a pillow cover in just 10 minutes!
Changing out throw pillow covers is one of the very best ways to update a room, especially as the seasons change.
If you buy all the cute pillows you see, it can a) get pretty expensive, and b) you end up needing to store a LOT of pillows, which take up a good amount of room.
So here’s an easy interior designer tip. Make your own pillow covers and simply swap them out for seasons and occasions as needed!
The covers themselves will be less expensive since you can often find fabric on sale, and storing flat covers is a BREEZE. (Click HERE to see how I store and organize my seasonal decorations.)
If you make your own, it can be tempting to just skip the zipper and sew the whole thing closed…
But the secret though, is that you make sure to always add a zipper.
I know it’s an extra step to have the correct zipper handy, and it seems a bit more complicated, but truly, in just ten minutes you can add that zipper and reap the benefits for many seasons to come!
Why Should I Add a Zipper to my Pillow Covers?
In addition to the “pros” I mentioned already
- Saving Money
- Ease of storage with your seasonal items
Zippered pillow case covers are also so much easier to clean!
I like to use my pillow covers outside on our front porches and when the weather allows, out near our fire pit on our adirondack chairs, and sometimes even on the ground for a variety of teenager’s themed birthday parties.
There’s a freedom that comes from knowing that the covers can simply be un-zipped and popped in the wash if they get dirty while being used.
I’m New to Sewing… Is Adding a Zipper Something I Can Really Do?
My first sewing project EVER, was a pillow. It was a weird, little animal with button eyes, but technically it was a pillow.
So, yes, I’d say that pillows are a great place to start learning how to sew! Yours doesn’t even have to have button eyes.
The greatest thing about pillows is that they’re pretty much all standard straight sided rectangles and squares. This is what makes them one of the best starting projects for a beginner sewer.
I will say that while I’ve made LOTS of pillows over the years since that little animal, I do sometimes get a little foggy on the process for adding zippers if it’s been a while since I did it last.
When I’m out of practice I’ll often make mistakes and or add steps that aren’t necessary.
I’m hoping that writing it all out here for you will also cement it firmly in my mind for the next time I sit down to add another zipper to a pillow of my own.

This post contains affiliate links for your convenience. Click here to read a full disclosure.
If you’re thinking, “I’m not really The DIY Type…”, and you’ve stumbled upon this post, have no fear.
There are also great options for pillows and covers you can simply purchase. (I do this often, too! I don’t DIY every pillow, just when I have a specific item in mind or find the perfect material.)
Click on the images below to find these pillows.
[show_shopthepost_widget id=”2710528″]
But, for those of you who pride yourself on your DIY abilities, here you are:
How To Add a Zipper to a Pillow in 10 Minutes:
Supplies:
- Pillow Form
- Feather pillows are my favorite and I get most of them at Goodwill for a couple of dollars. Just check the throw pillow section, it doesn’t matter what the current fabric is. It is the pillow form you are looking for.
- Feather pillows feel kind of crunchy and hold the shape you make with them better than the other types of pillow forms.
- If you are sensitive to feather and down pillows, my favorite synthetic alternative can be found here on Amazon.
- Desired Fabric
- This step may take many, many hours for a creative woman, I get it!
- Measuring Tape
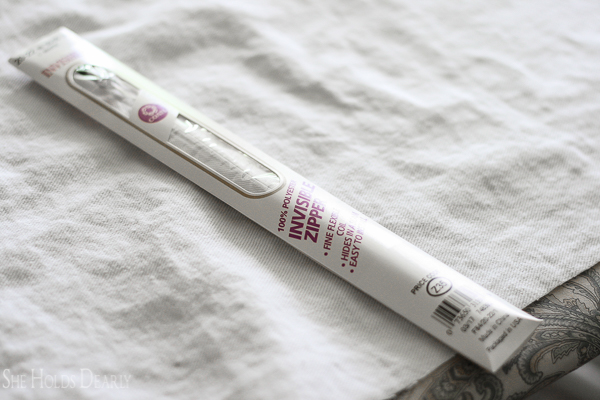
- Invisible Zipper
- Use one that is 1-2 inches wider than your longest edge.
- Sewing Machine
- Use a zipper foot. (They are skinnier than a typical sewing machine foot and allow you to get a nice straight even stitch, even when you pass the zipper pull, where normal sewing machine feet cannot fit.)
- Matching Thread
- Straight Pins
- Sewing Scissors
- Iron
- Ironing Board
Zipper Tutorial:
- Wash and dry your fabric and pillow form (if it is thrifted).
- Start by flattening the pillow form as much as you can. Measure the two perpendicular sides.
- Write down your two numbers.
- Add one inch to both of these numbers to give you a 1/2″ seam allowance on all four sides.
- Measure out the square or rectangle and cut out two pieces of fabric, right sides together.
- Iron the zipper flat and unzip.
- Pin the right side of the zipper (BE CAREFUL HERE) to the right side of one of the fabric pieces.
- Leave some of the zipper ends hanging out on each side.
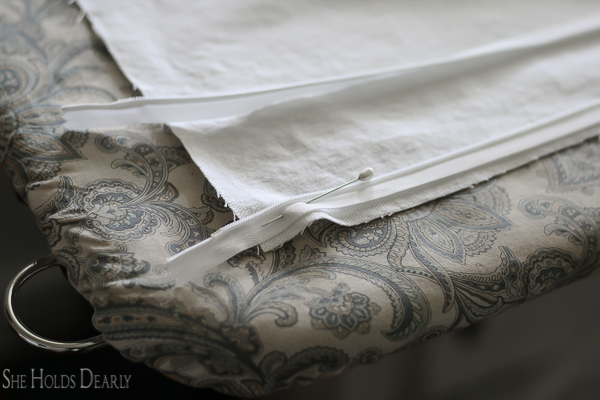
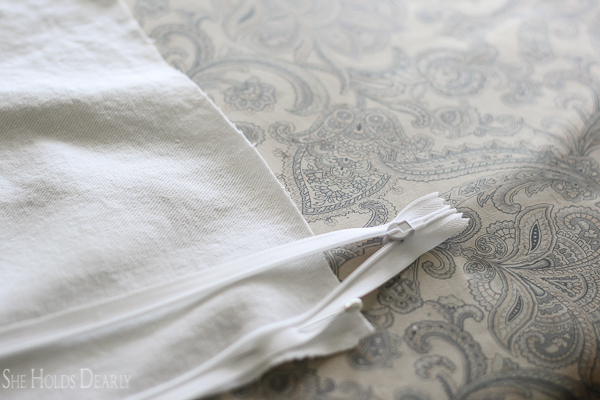
- Stitch the one side of the zipper into place.
- Don’t worry about doing a backstitch at the beginning and end of the stitching. Just stitch one straight line up close to the zipper teeth.
- Trim the tails of the threads off.
- Now line up the other side of the zipper to the right side of the second fabric piece and repeat on the this side.
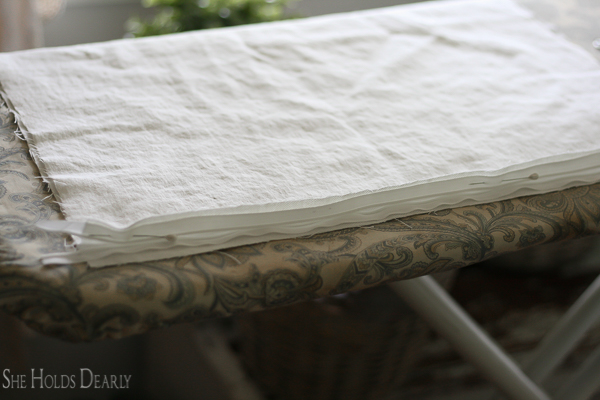
- Next, zip the zipper closed, leaving about four inches unzipped.
- Stitch around all three unfinished sides of the pillow.
- Skip the pins to save time. Just keep lining up the edges.
- Use a 1/2″ seam allowance.
- Sew right through both ends of the zipper hanging off the edges. This will keep the zipper from coming unzipped on either end.
- Trim the tails of the thread and the extra zipper ends.
- Turn right side out.
- Finally, iron the pillow cover and insert pillow form.
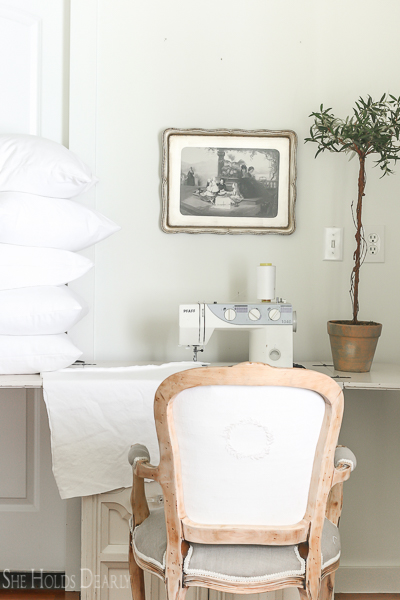
Piece of cake!
Now you can have the luxury of a zipper in all your DIY throw pillow covers.
And as a fun extra, this same tutorial could be used if you’re wondering how to sew a zipper in a cushion for a washable cover. Whether they’re: box cushions, cushions for outdoor furniture, bench cushion covers, you name it! It will follow this same simple process!
Let me know if you have any questions!
Pin this 10 Minute Zipper Tutorial for Later:
