How to Design a European Style Kitchen
What a glow up! Come see our newly remodeled European style kitchen – I’ll share all the details here!
After living in our home for 15 years, it was time to give our kitchen a glow up – and I knew that a classic European style kitchen would speak to my heart and the desires I have for sharing this space with my family and our friends.
So we got to work!
Click to see the FULL Playlist of kitchen remodel videos.
*This post contains affiliate links to products I know &/or love.
The Process from Start to Finish
This project started 1 1/2 years ago with our decision to re-finish the wood floors throughout our entire main level. The stain we had chosen 15 years prior was far too orange and we wanted a more classic medium wood tone.
I went into this project SO ambitiously, prepared for the whole thing to be done in just a few days.
Please, please learn from my mistake and plan ahead accordingly. About 92% of our time was spent sanding.
Sanding. Sanding. And more sanding.
And while you’re sanding – your space is going to be just COVERED in dust – in every single nook and cranny.
By the time we were done, I felt for sure that we were going to be crazed, or at the very least a little traumatized.
Flash forward, and they did turn out beautifully and I am so happy with the shade we chose, so looking back with some time & distance between us, I can say that I think it was worth it!
My European Style Kitchen Inspiration:
Before I get too much further into the rest of our choices in this kitchen transformation – I wanted to share one of the photos that inspired me the most in this process.
It’s this galley kitchen designed by Heidi Callier

Photo Source : The Grit & Polish – Home Tour // A Charming Seattle Carriage House
I loved the green and that it was color drenched – giving the whole space, which isn’t huge, a wonderful cohesion.
Can you see some of that inspiration coming through?
New Countertops
When we were remodeling this kitchen after purchasing the house, I relied heavily on the mood board I’d created in the 10 or so years leading up to our home purchase. It was the 2000s and tuscany style was having it’s turn in the spot light.
At very first, I was so excited to have my “dream” granite counters in place – until we had lived there a few more years and they already started to feel very dated. They were also incredibly hard to photograph – which is tough when you like to document and blog your projects.
So I started dreaming again, and knew that when the opportunity presented itself to replace them, I was going to choose something VERY classic and lasting.
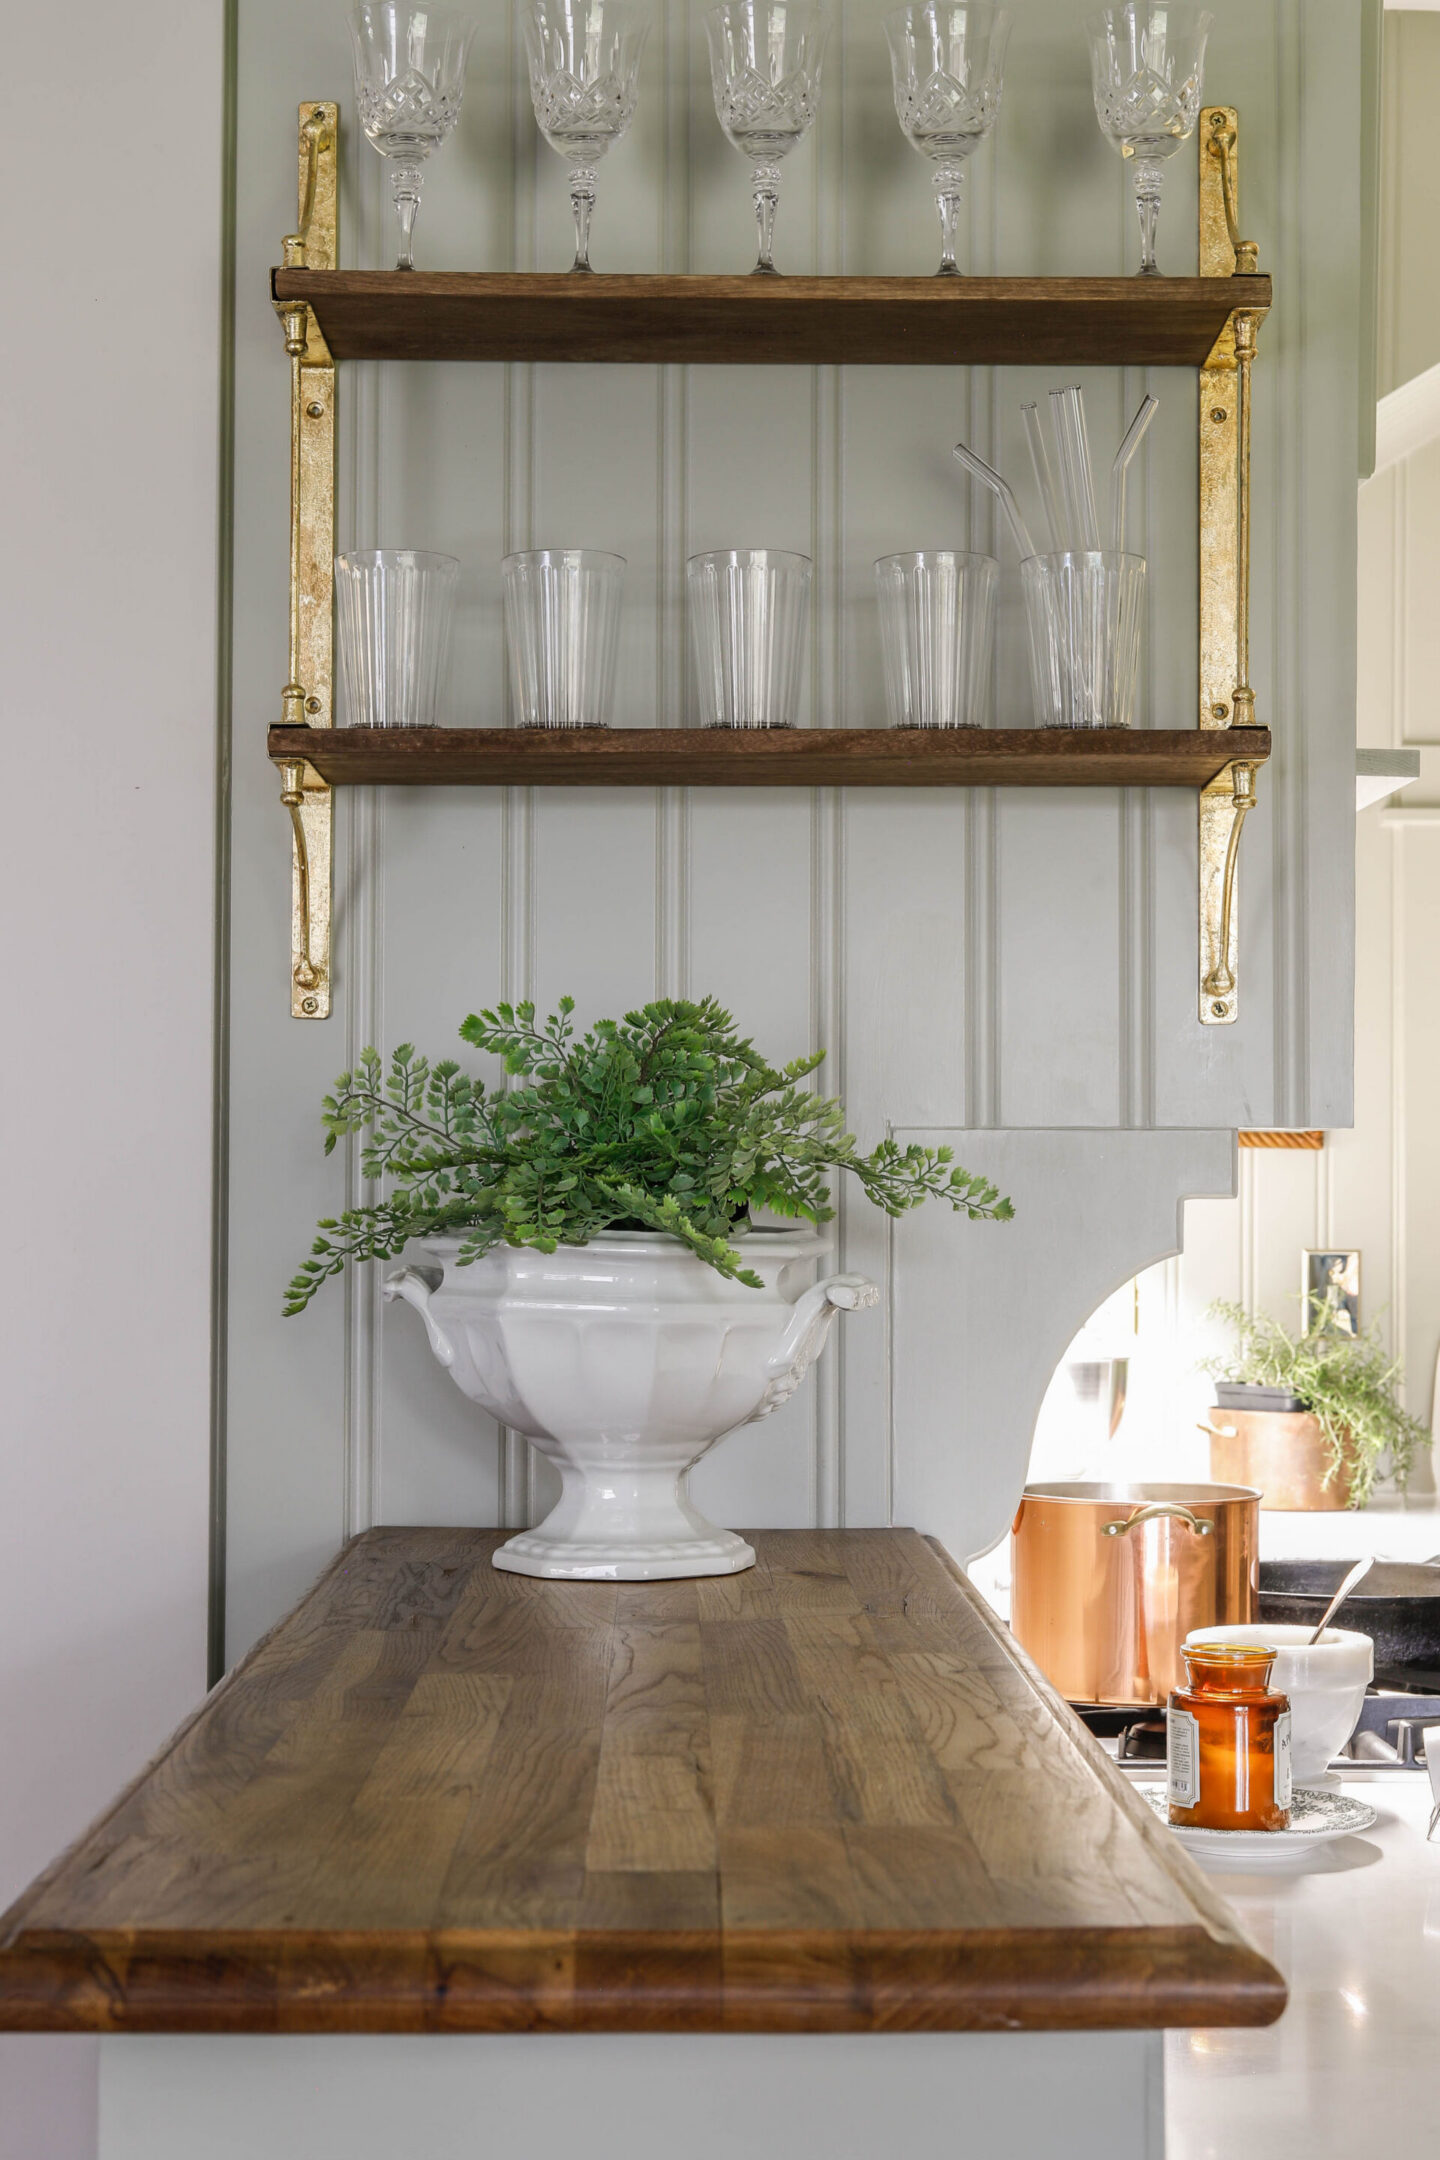
After researching, I settled on quartz – specifically Calacatta Monaco. It looks very similar to Carrera marble, which is one of the most classic finishes for counters.
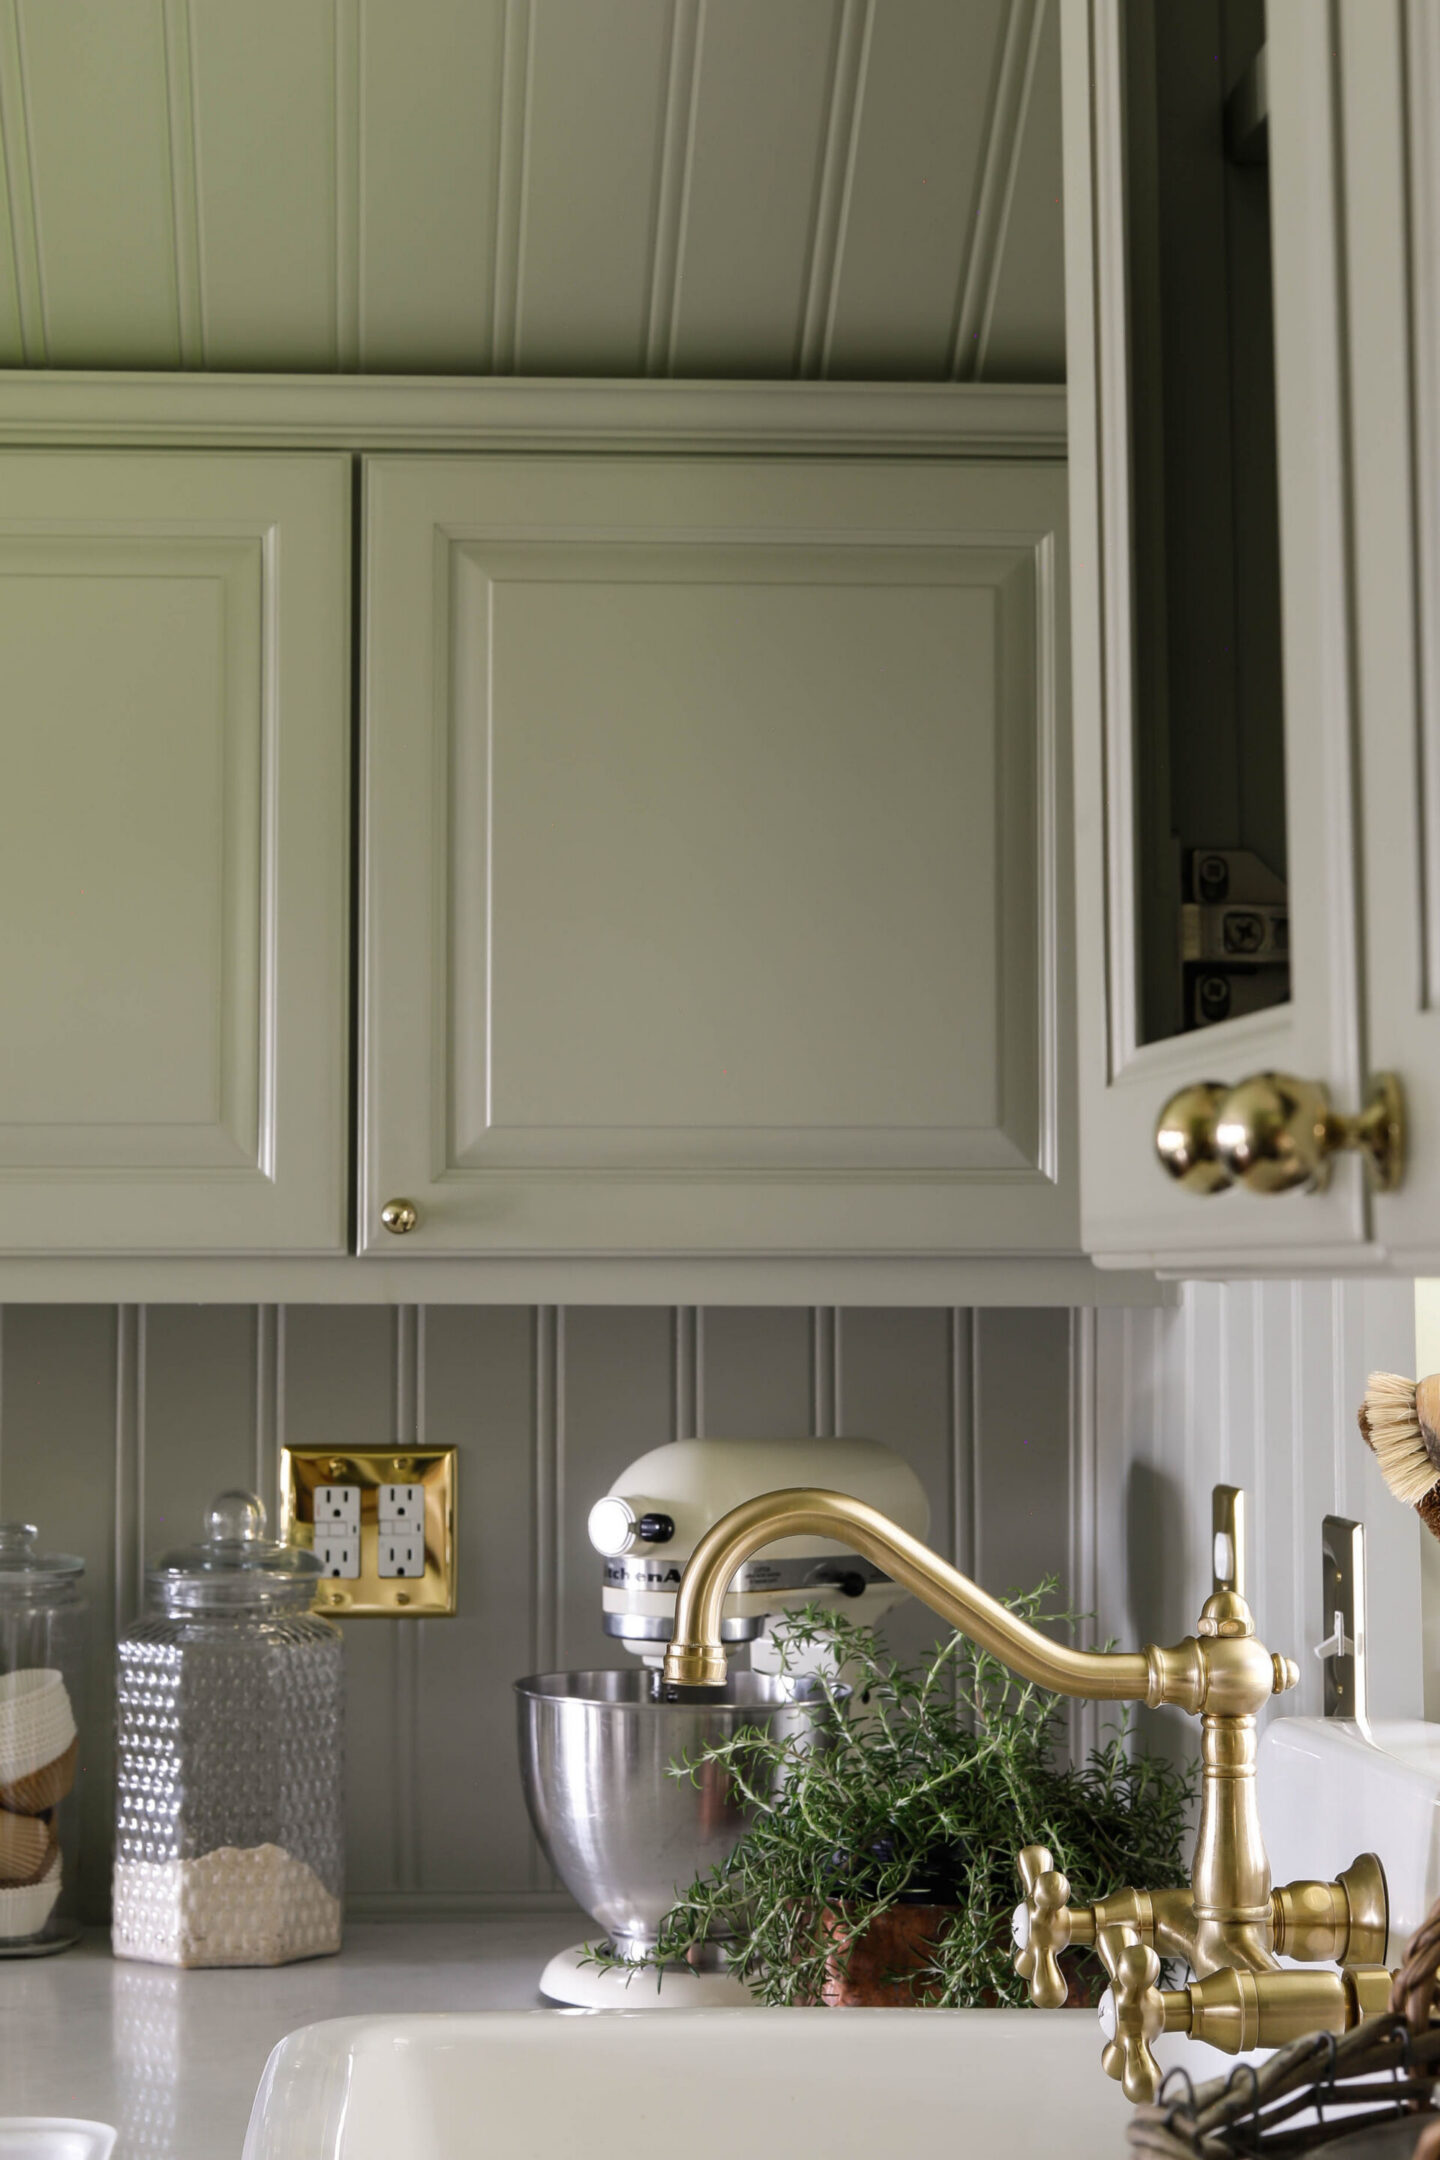
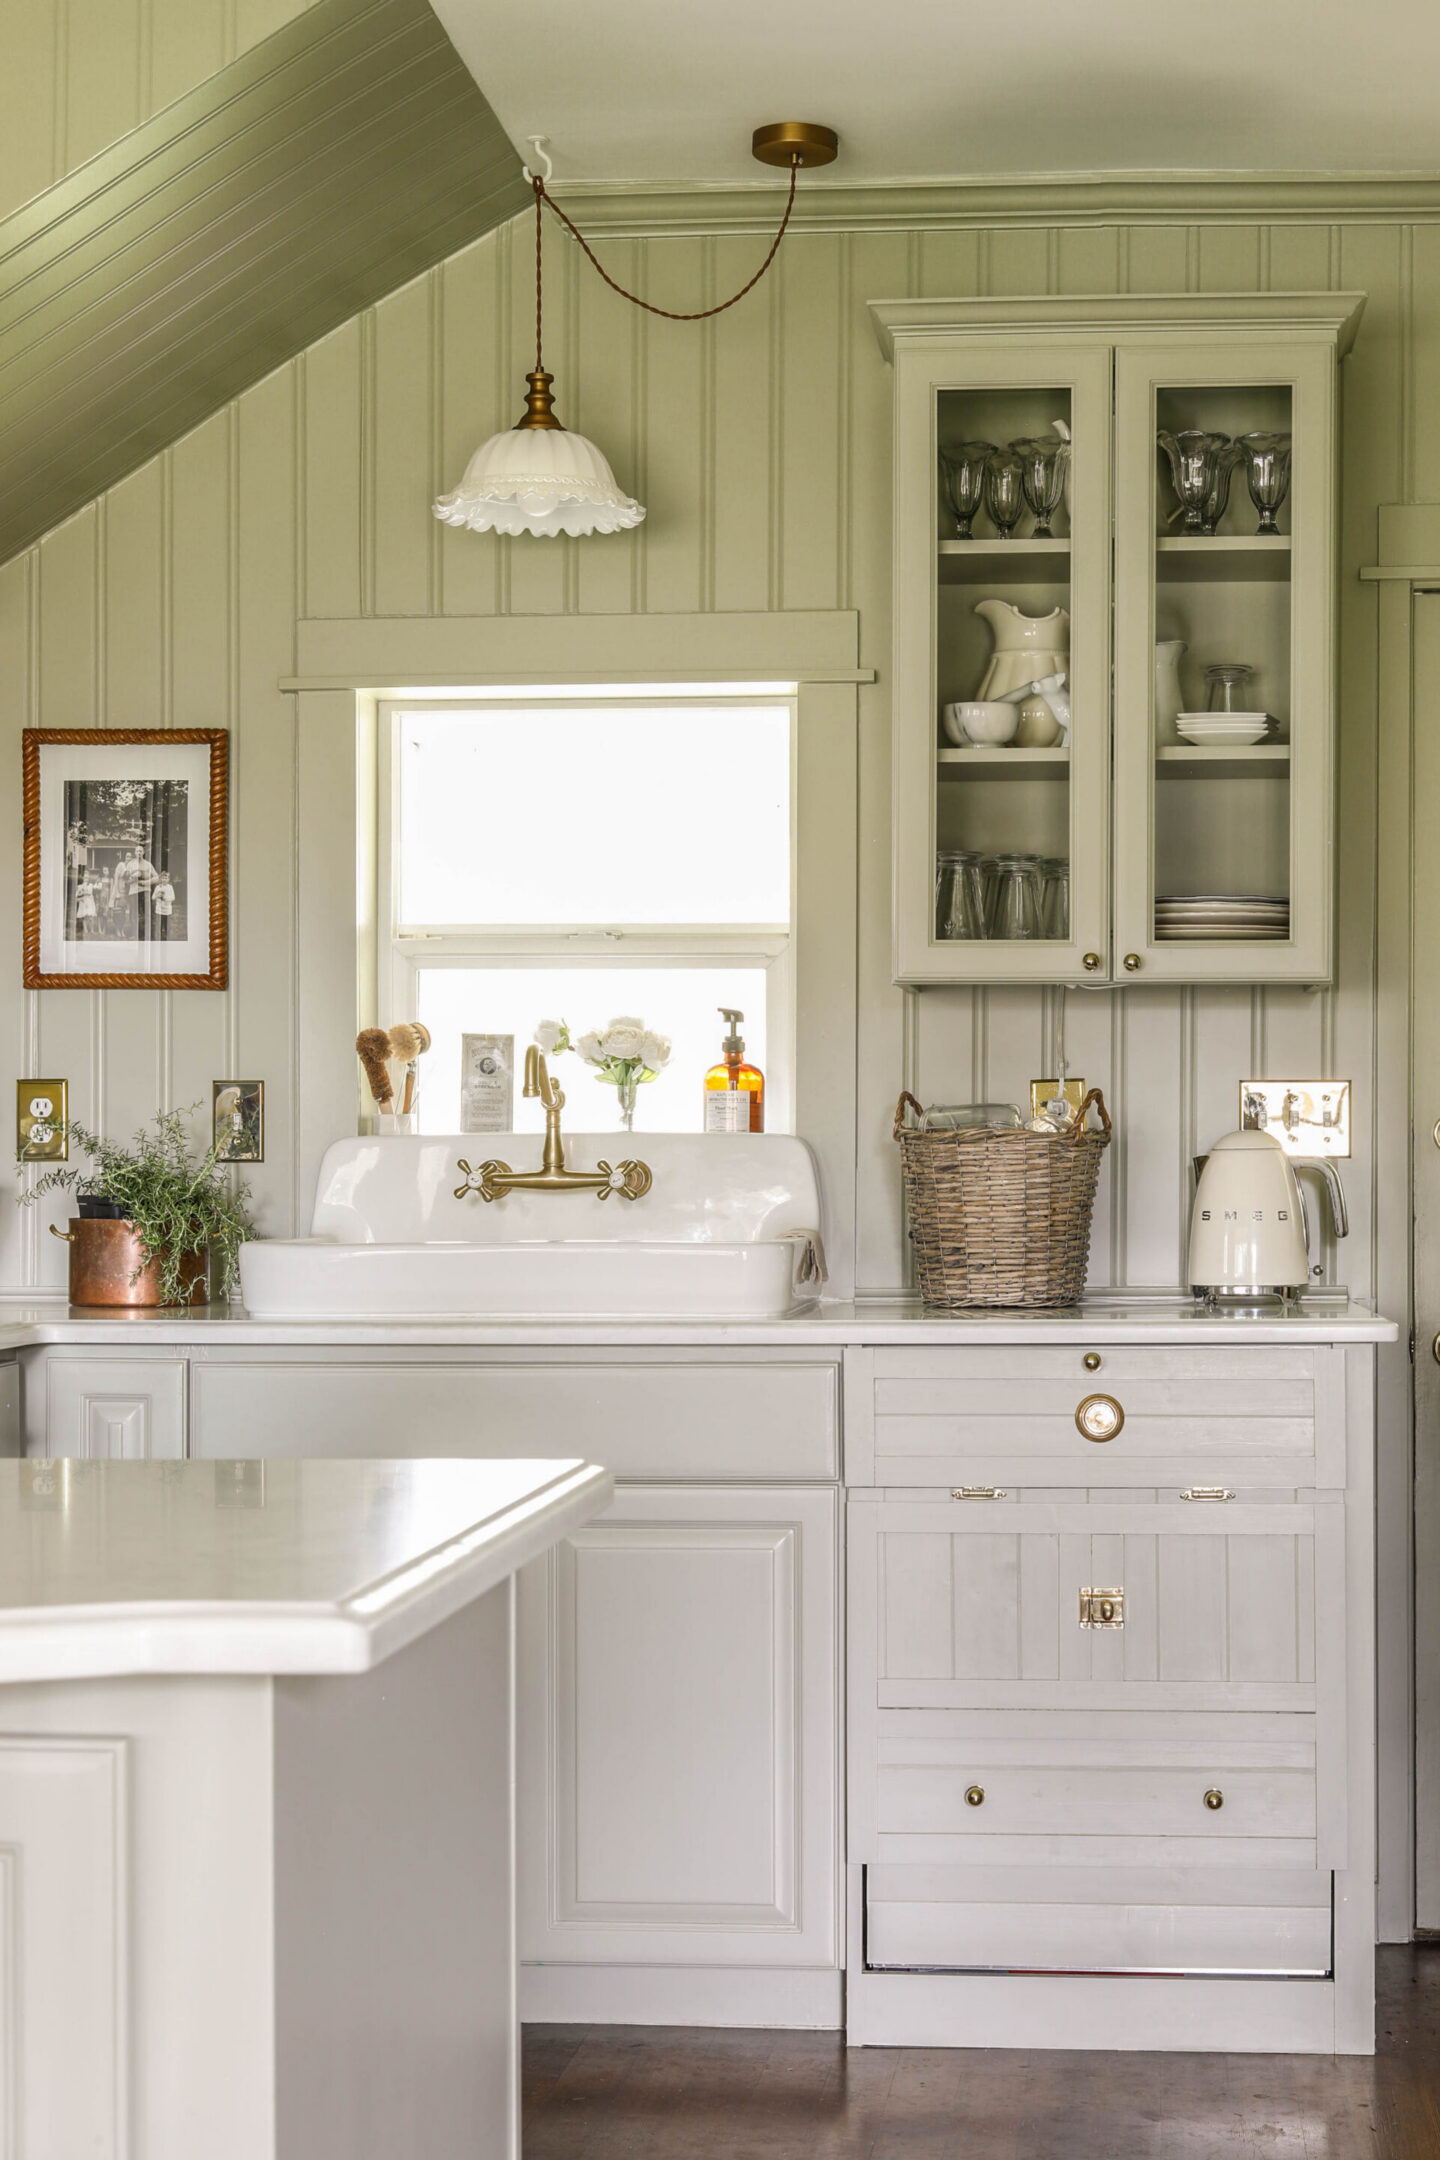
Bead Board Panelling
Our project to add bead-board paneling throughout the entire room was also something I can look back on now and appreciate that we accomplished it because I love how it looks.
With our home being over 100 years old, there has been so much settling that there are no straight edges, no corners that meet exactly right – and when you’re doing something like bead-board, that means lots of additional measuring, cutting and spackling.
I was very inspired by my friend Marynn of wildflowerhome.interiors, like this example from her den.
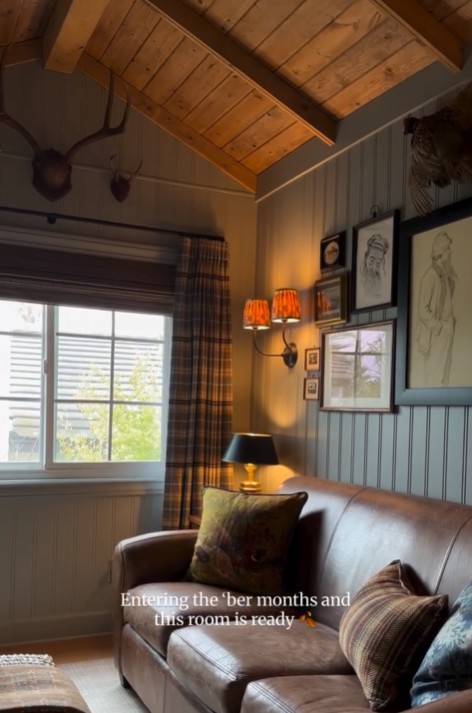
She let me know that the bead-board she uses is from Lowes, so we picked up the same type for our walls.
Cabinet Updates & New Paint
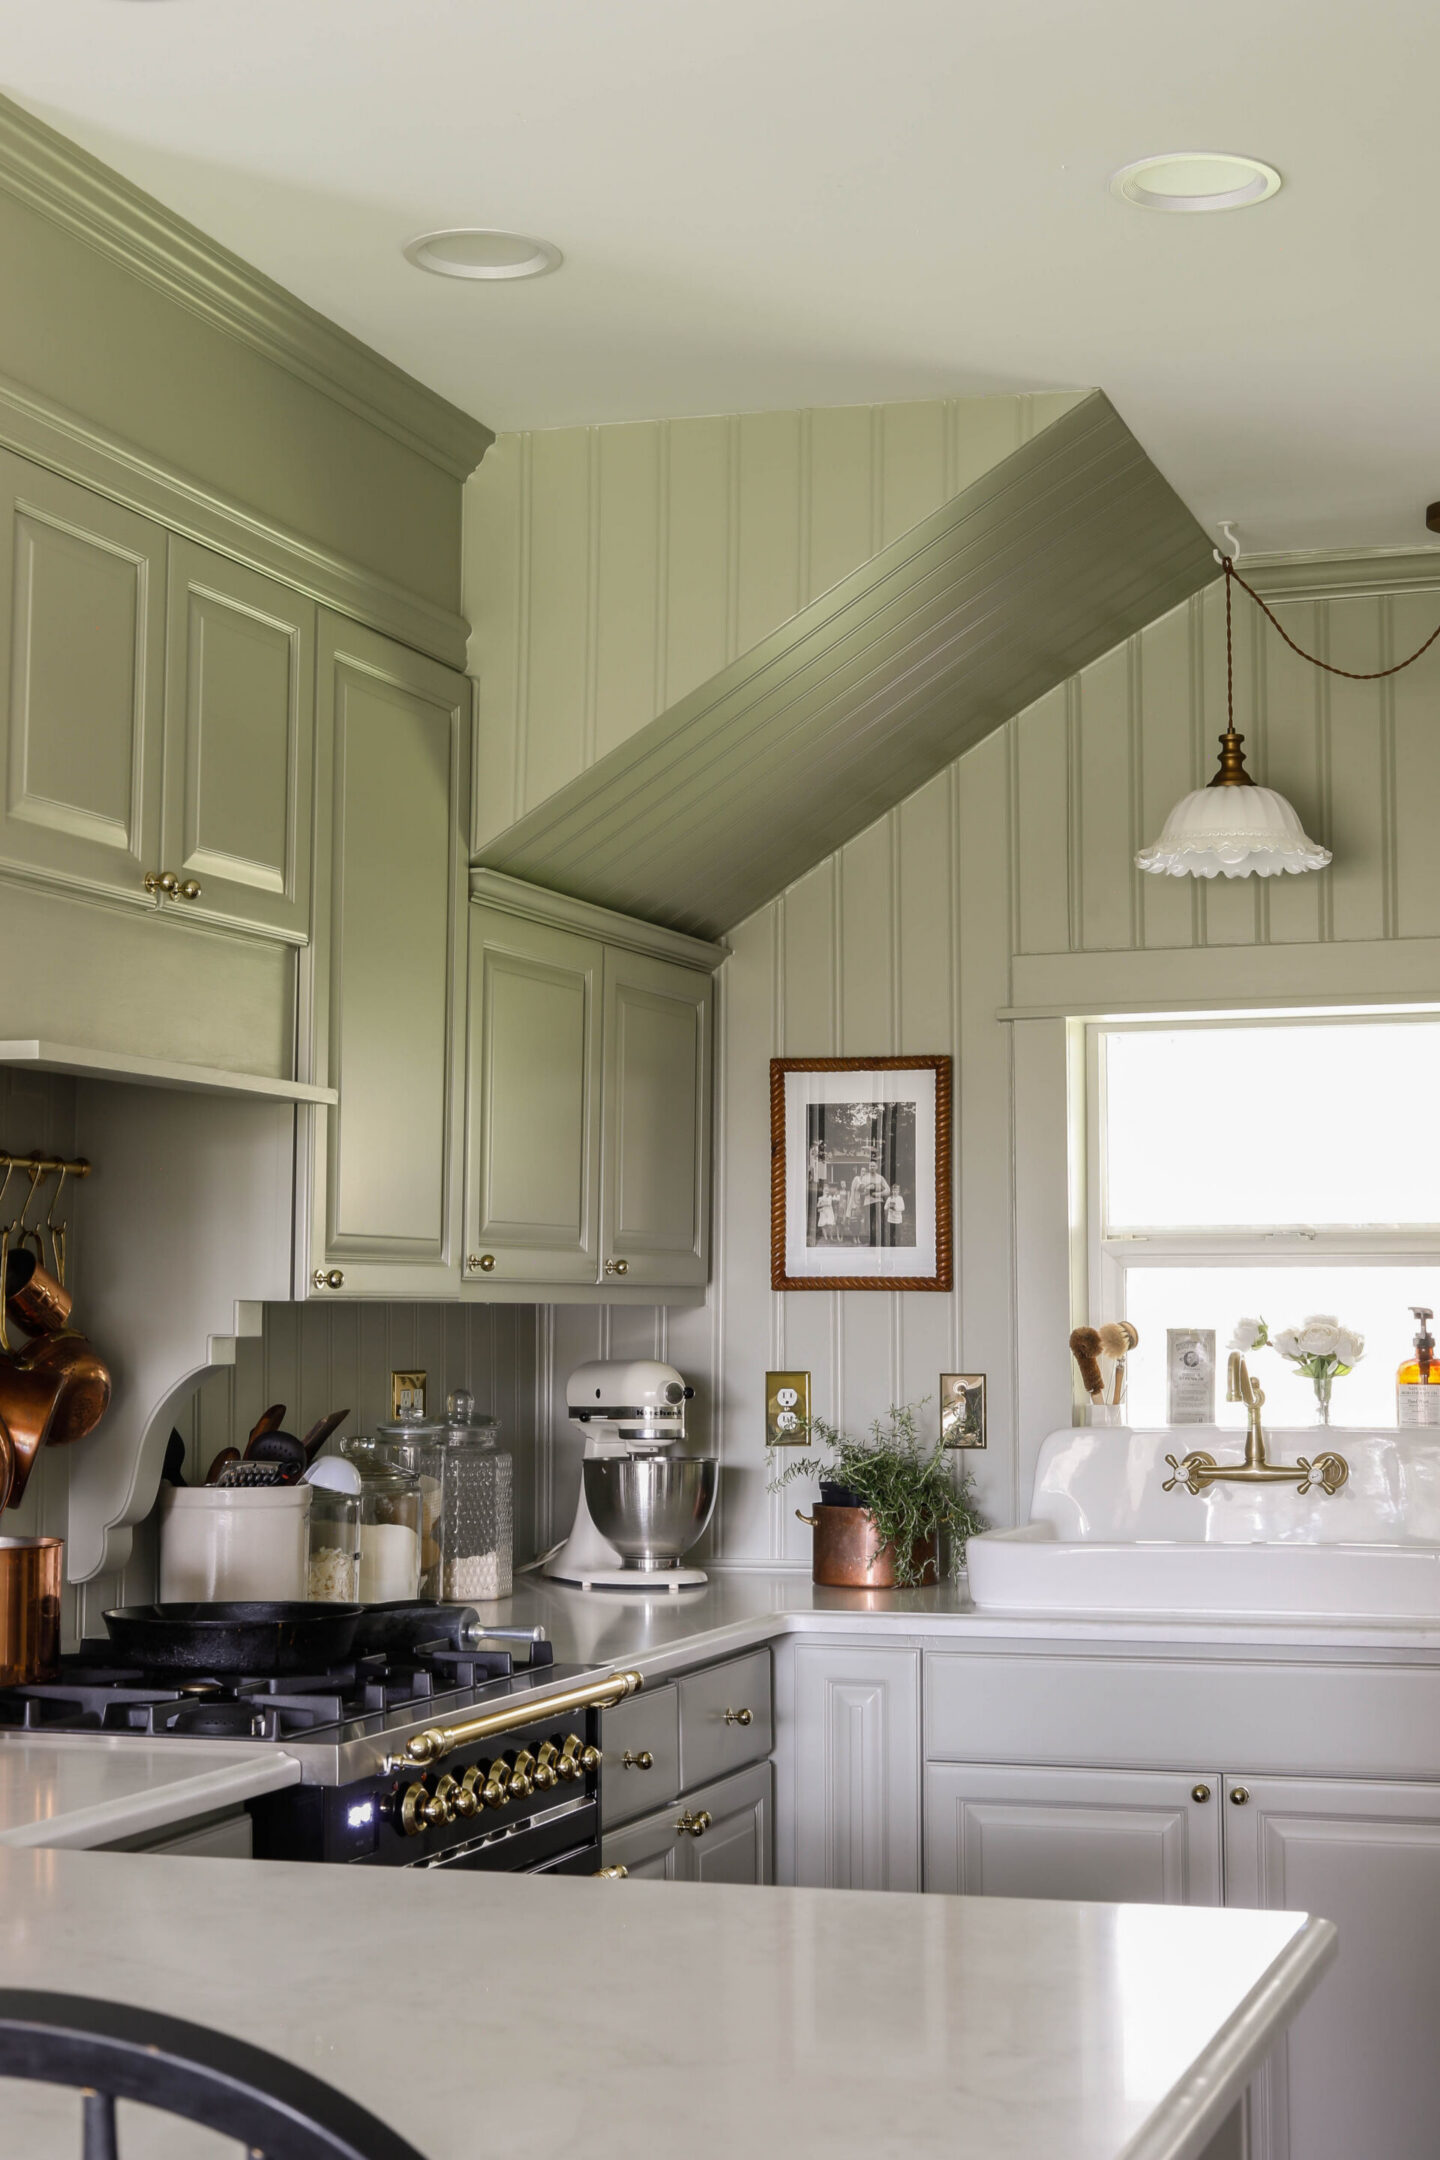
In addition to installing the beadboard, we also created risers above our cabinets to give them a vaulted to-the-ceiling look.
Everything was then caulked, sanded and prepared for the big day…. We had the entire kitchen, including our cabinetry painted in Farrow & Ball French Grey.
We used this color for the first time in our Anne of Green Gables Guest Room – and have loved it ever since!
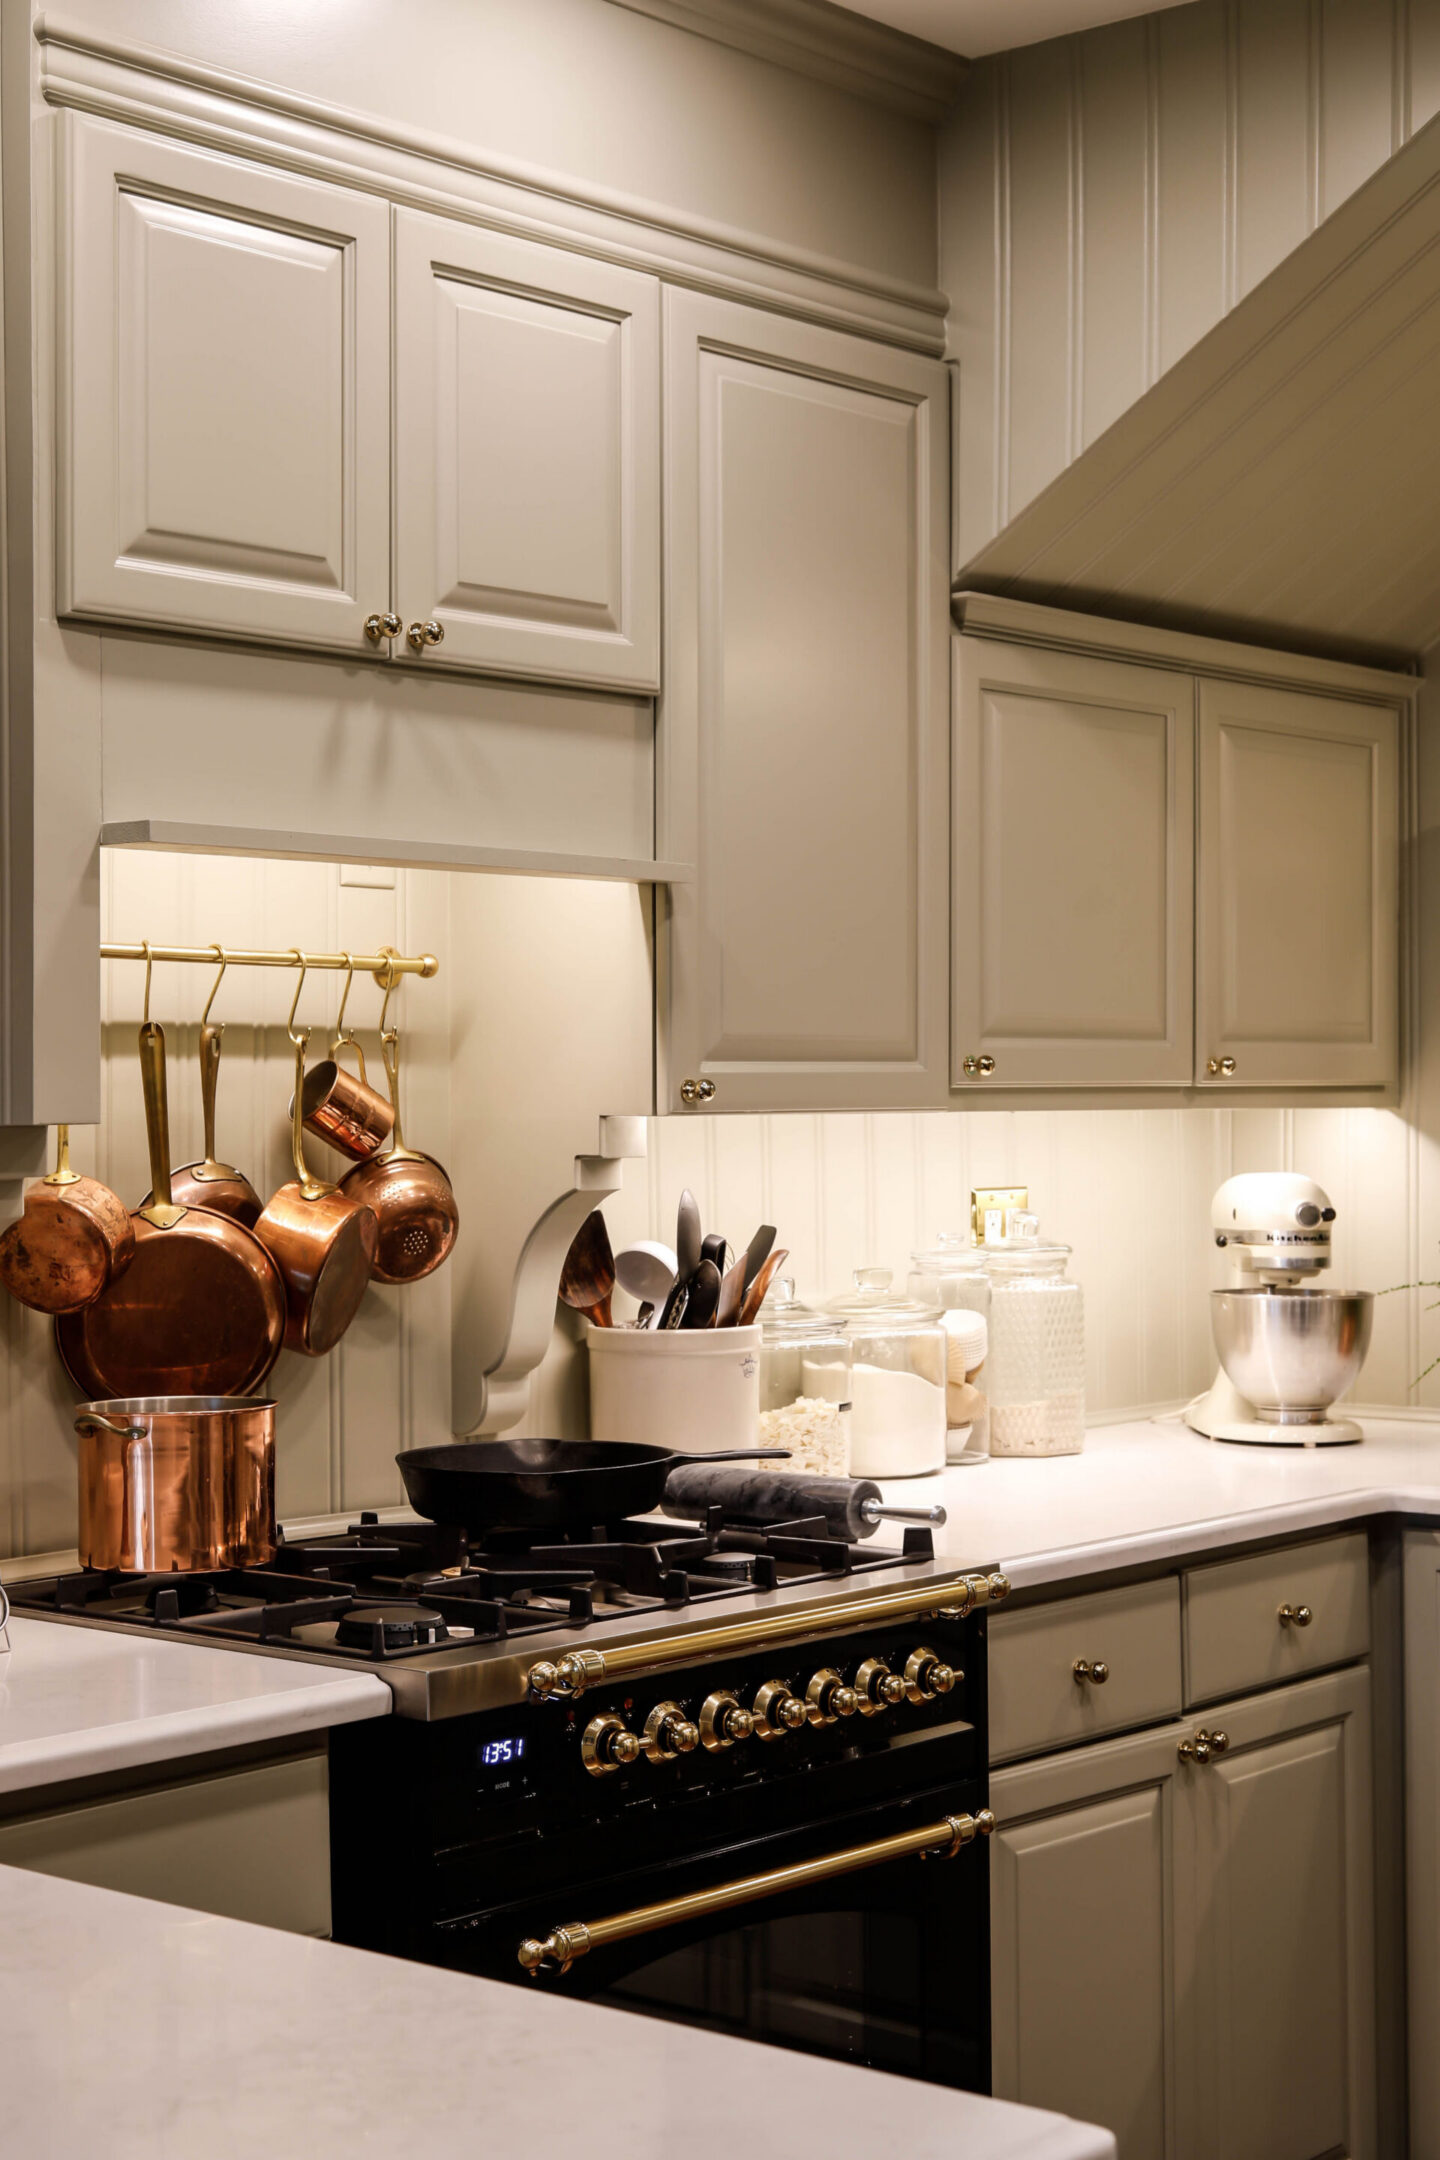
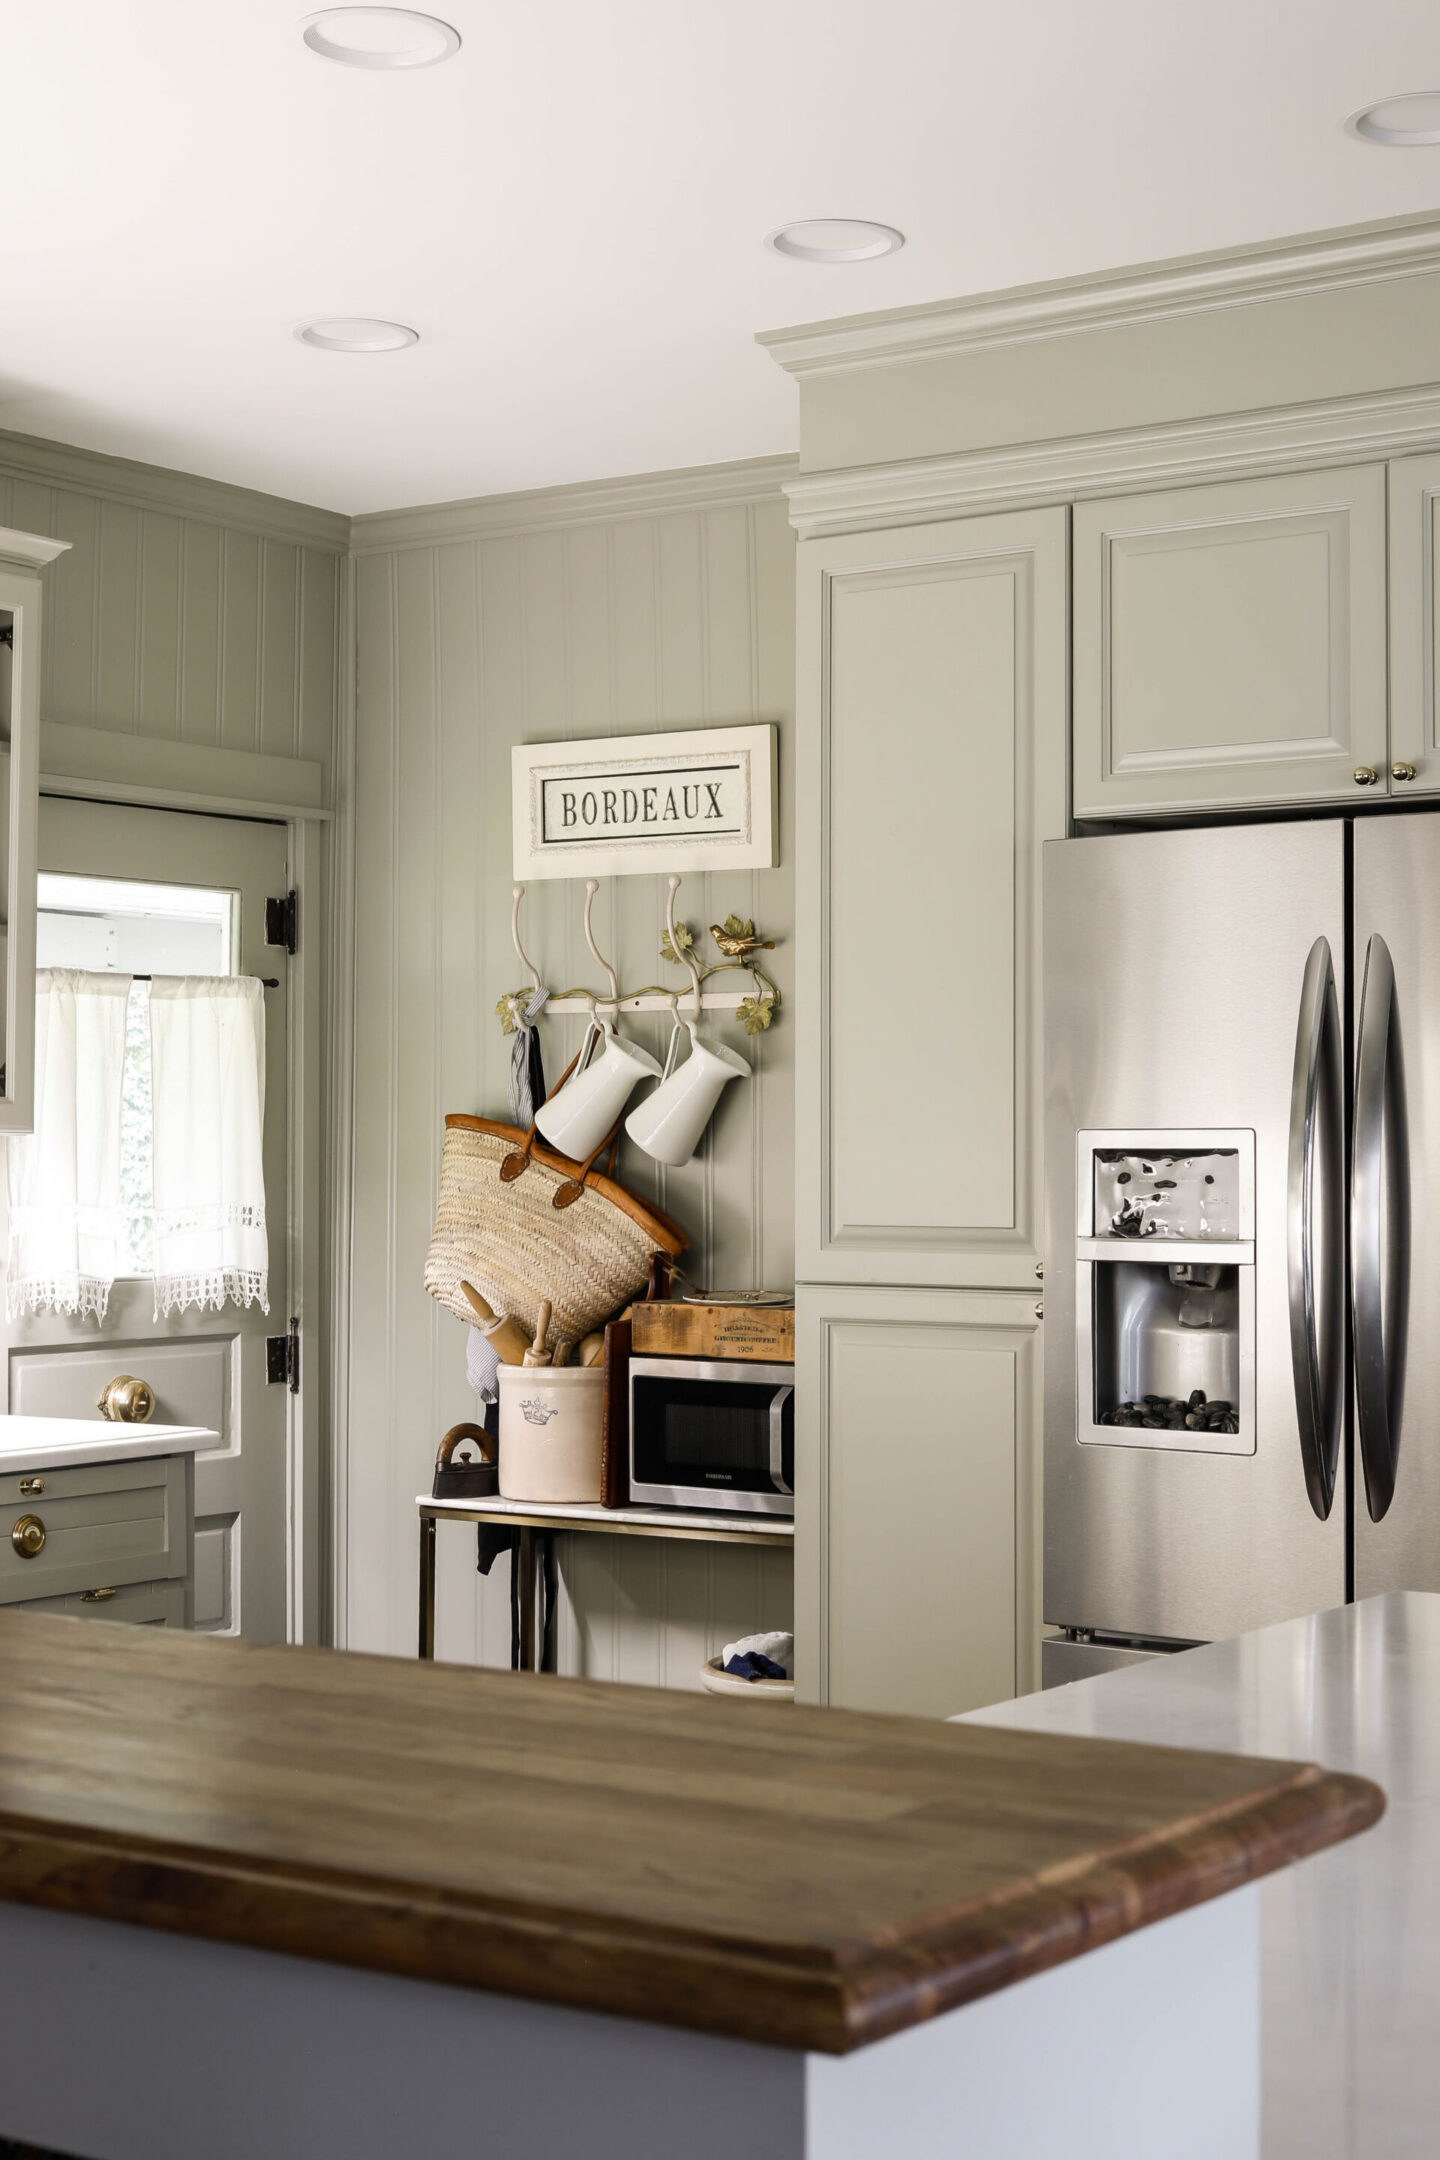
Updated Appliances
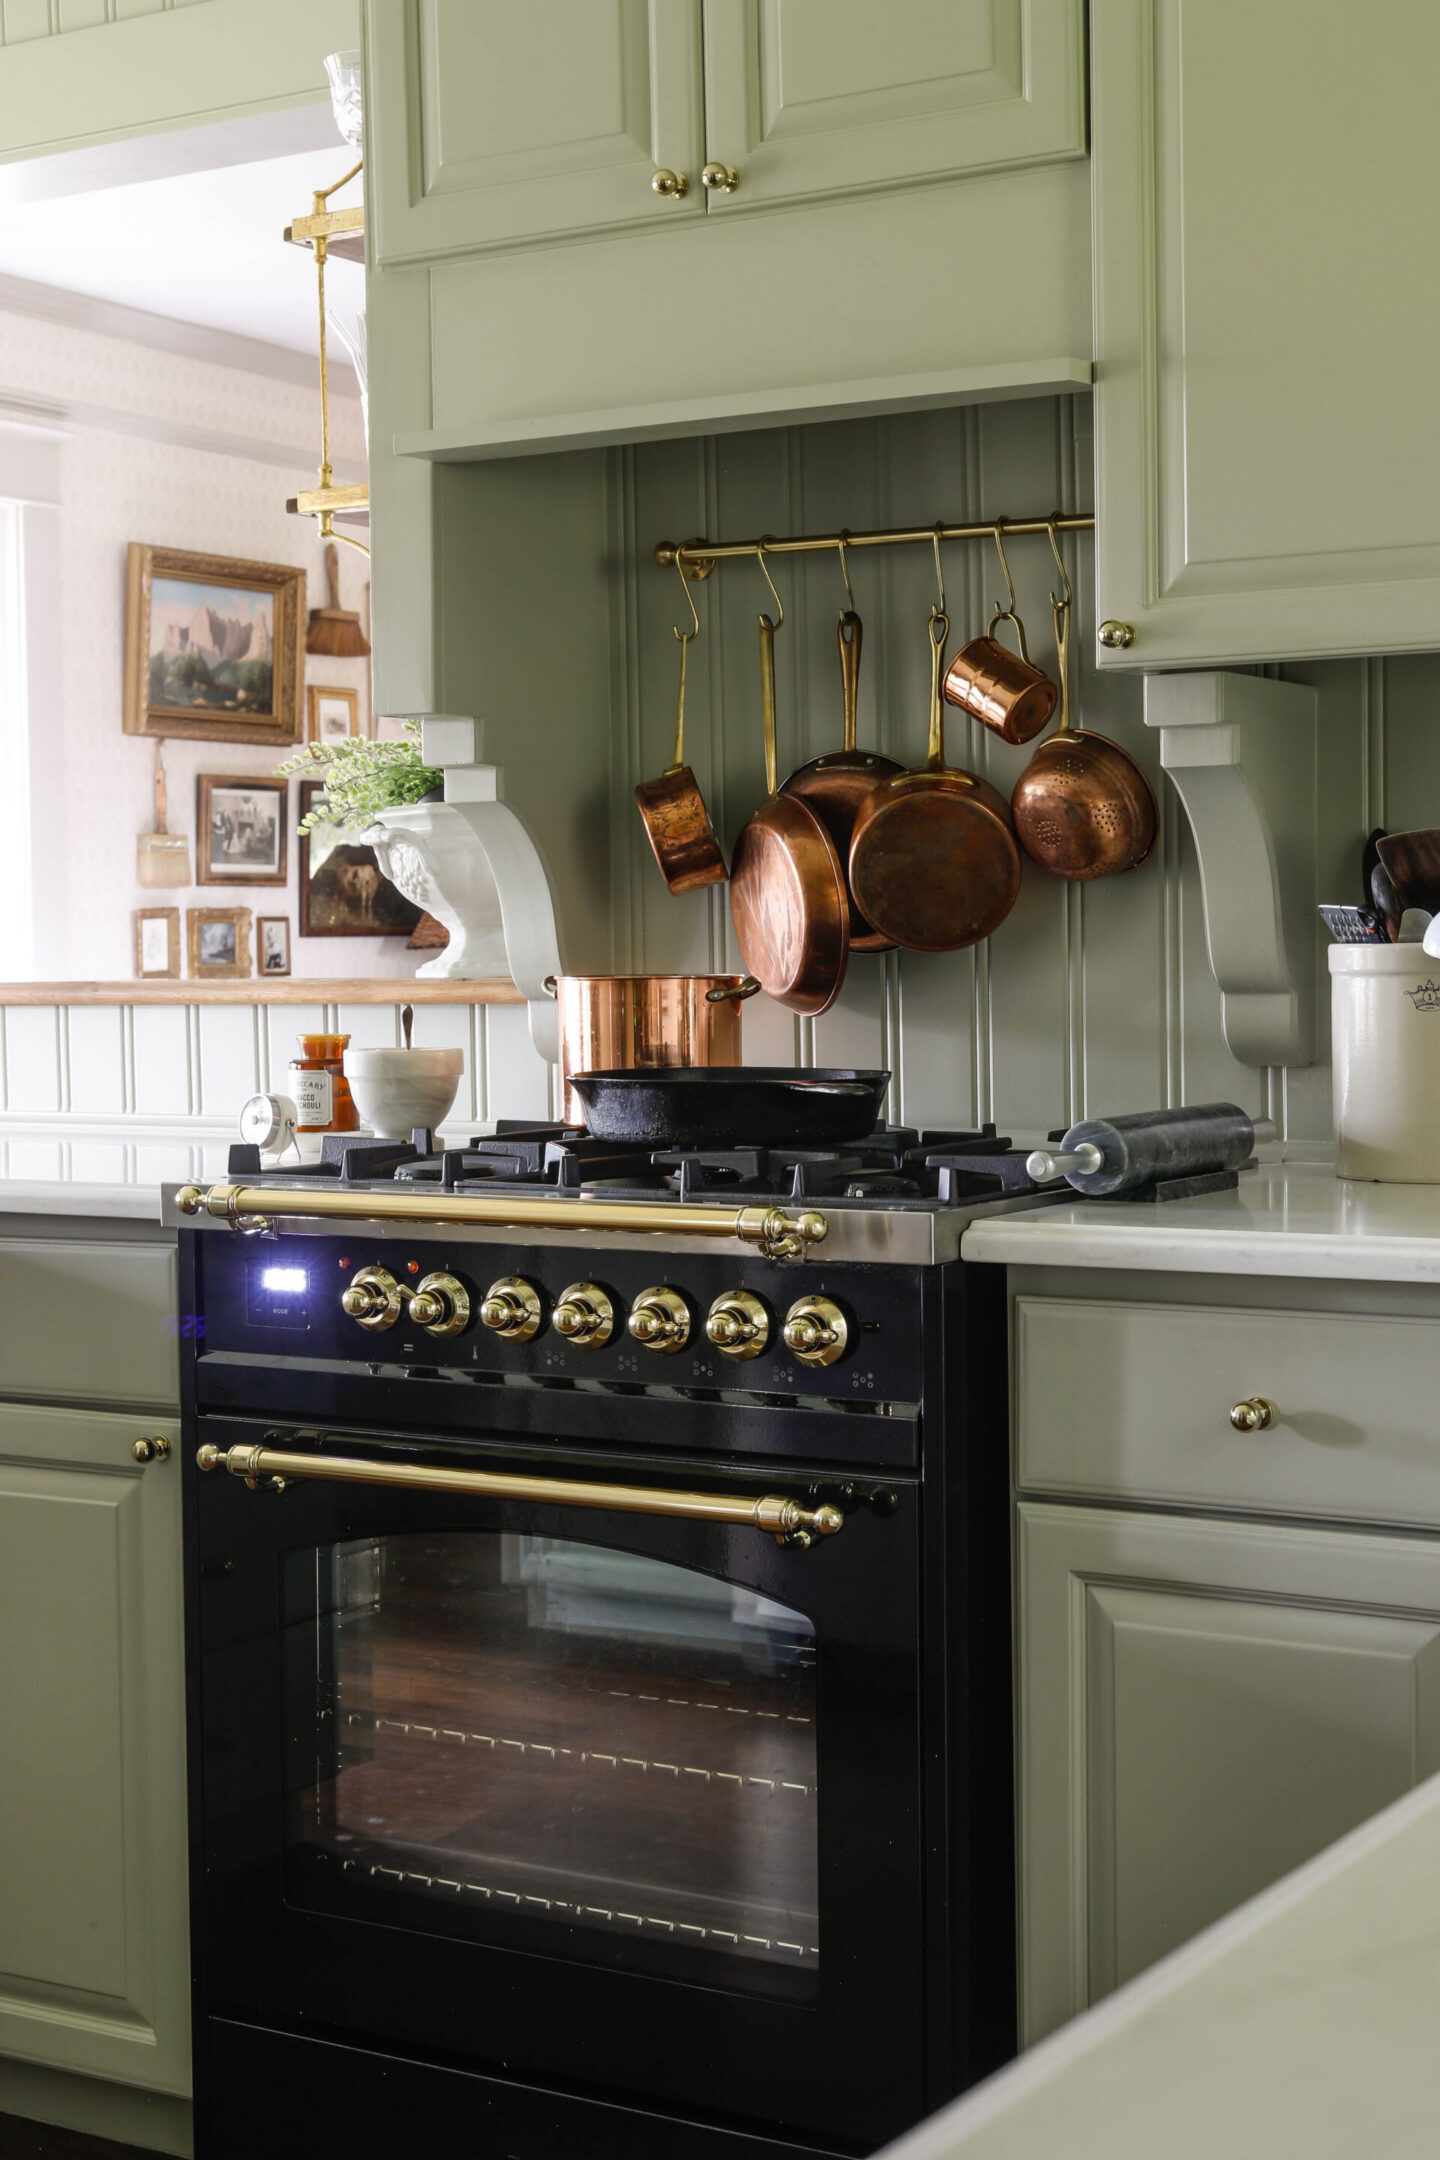
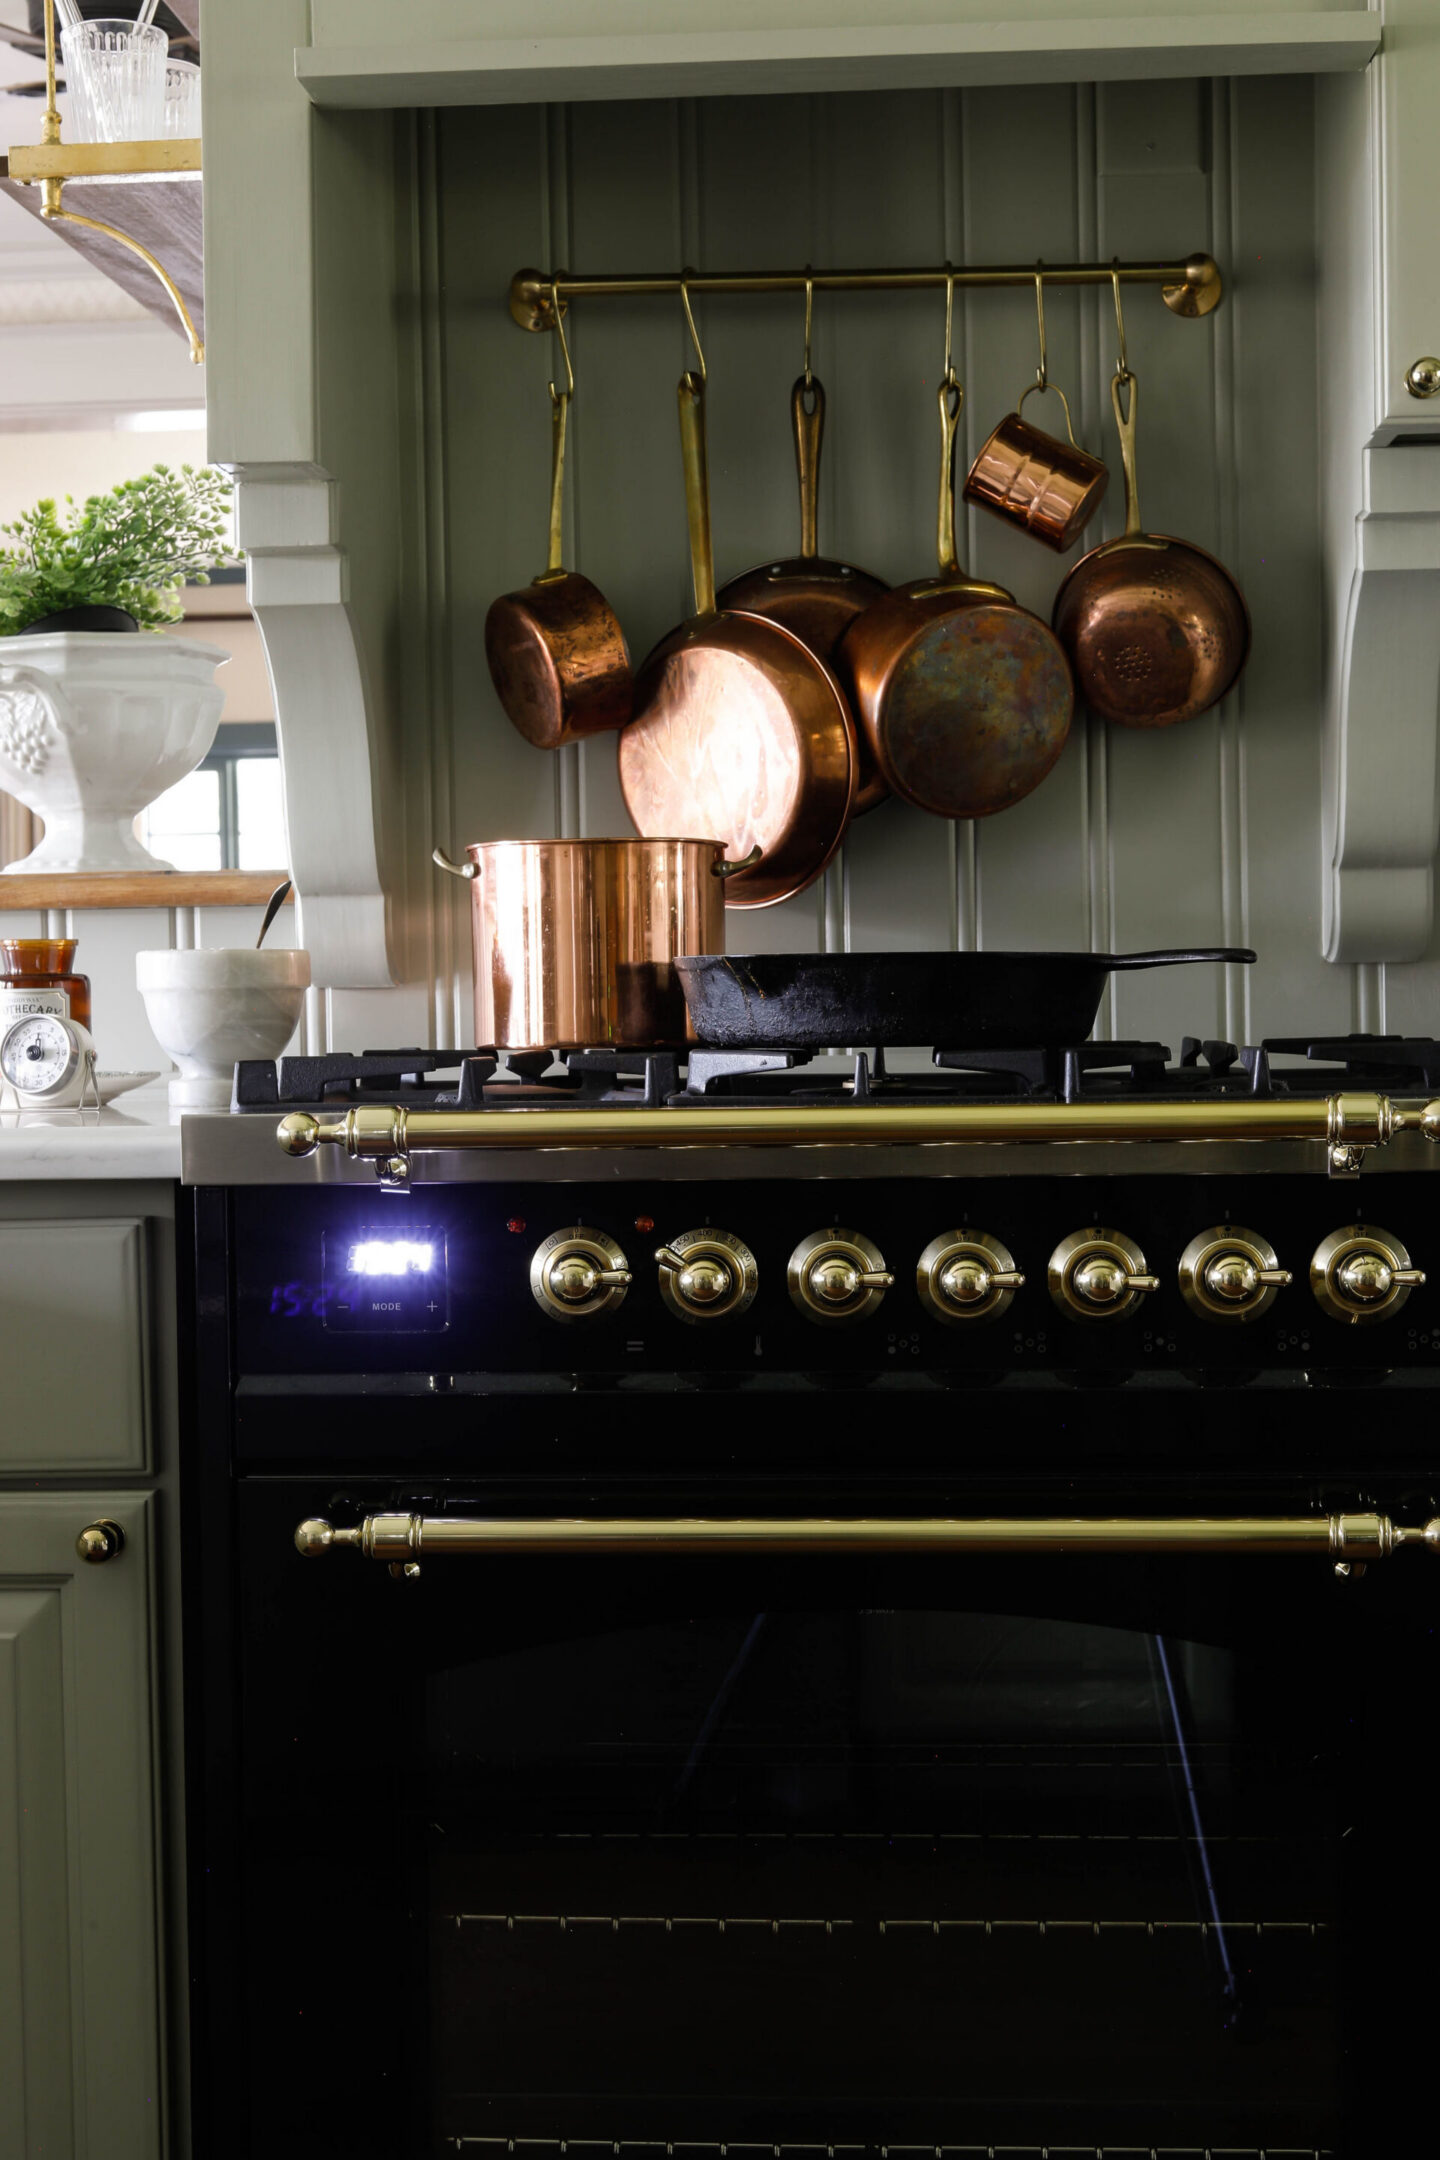
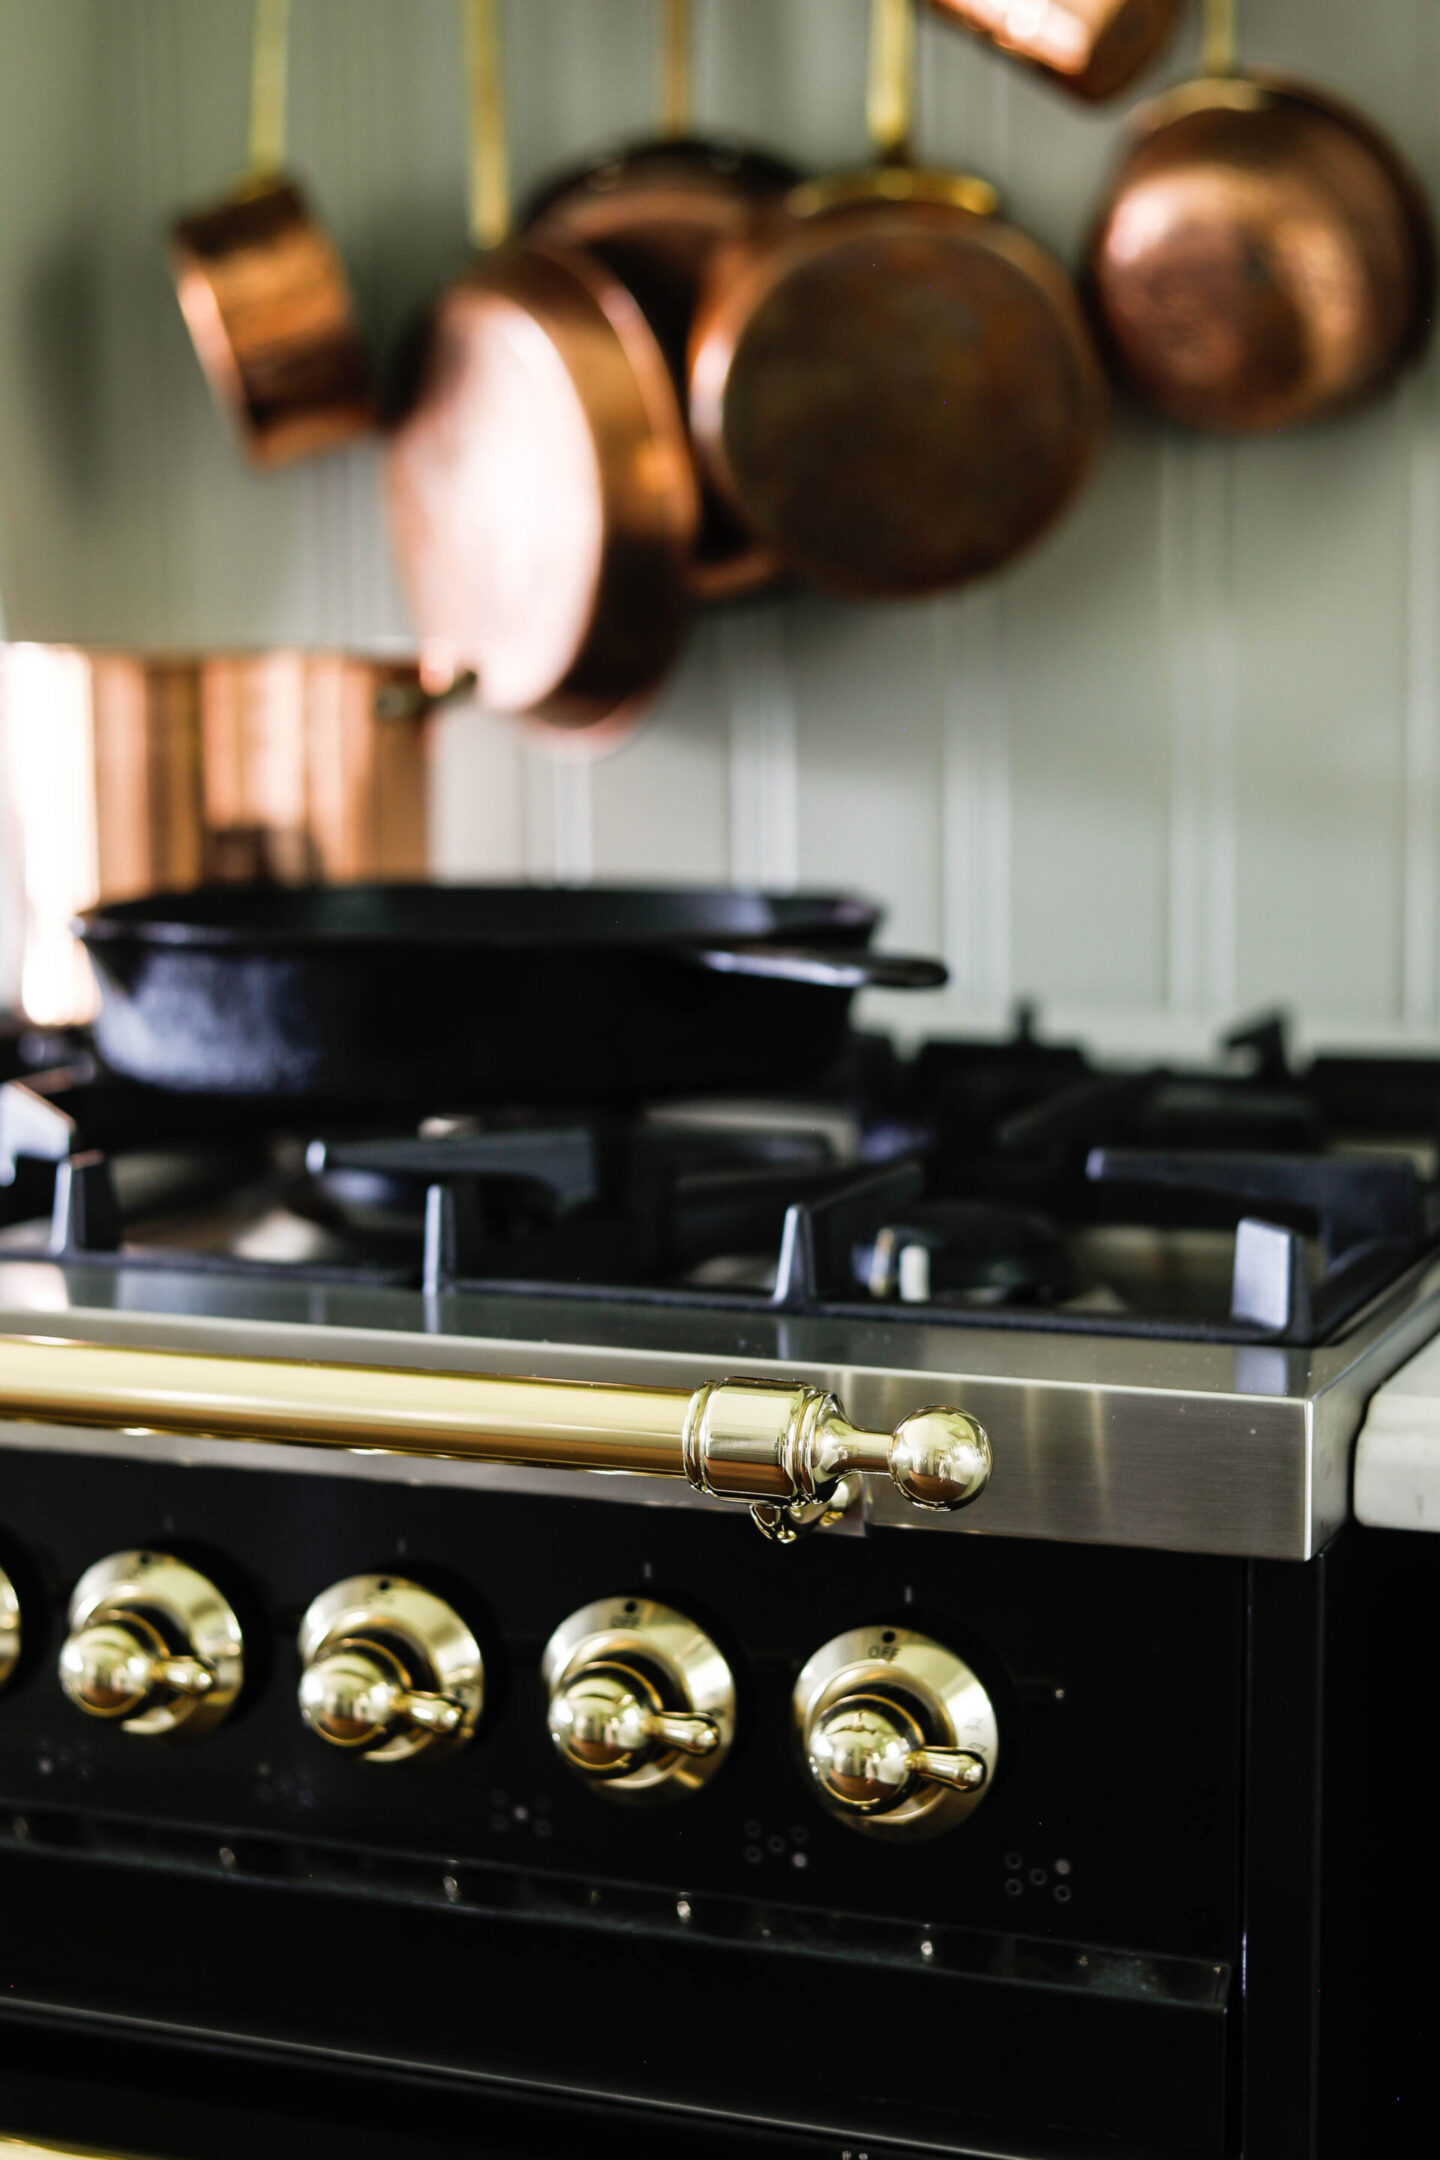
Part of this kitchen upgrade was to get a brand new Ilve stove (which I share all about in this blog post).
And because I did not want a microwave hanging over the top of our show-stopping range we removed it.
Our old microwave had stopped working years ago, and we had already replaced it for function’s sake with a small unit that we keep on the side of our fridge – but we hadn’t gotten around to removing the old one until we began this glow up.
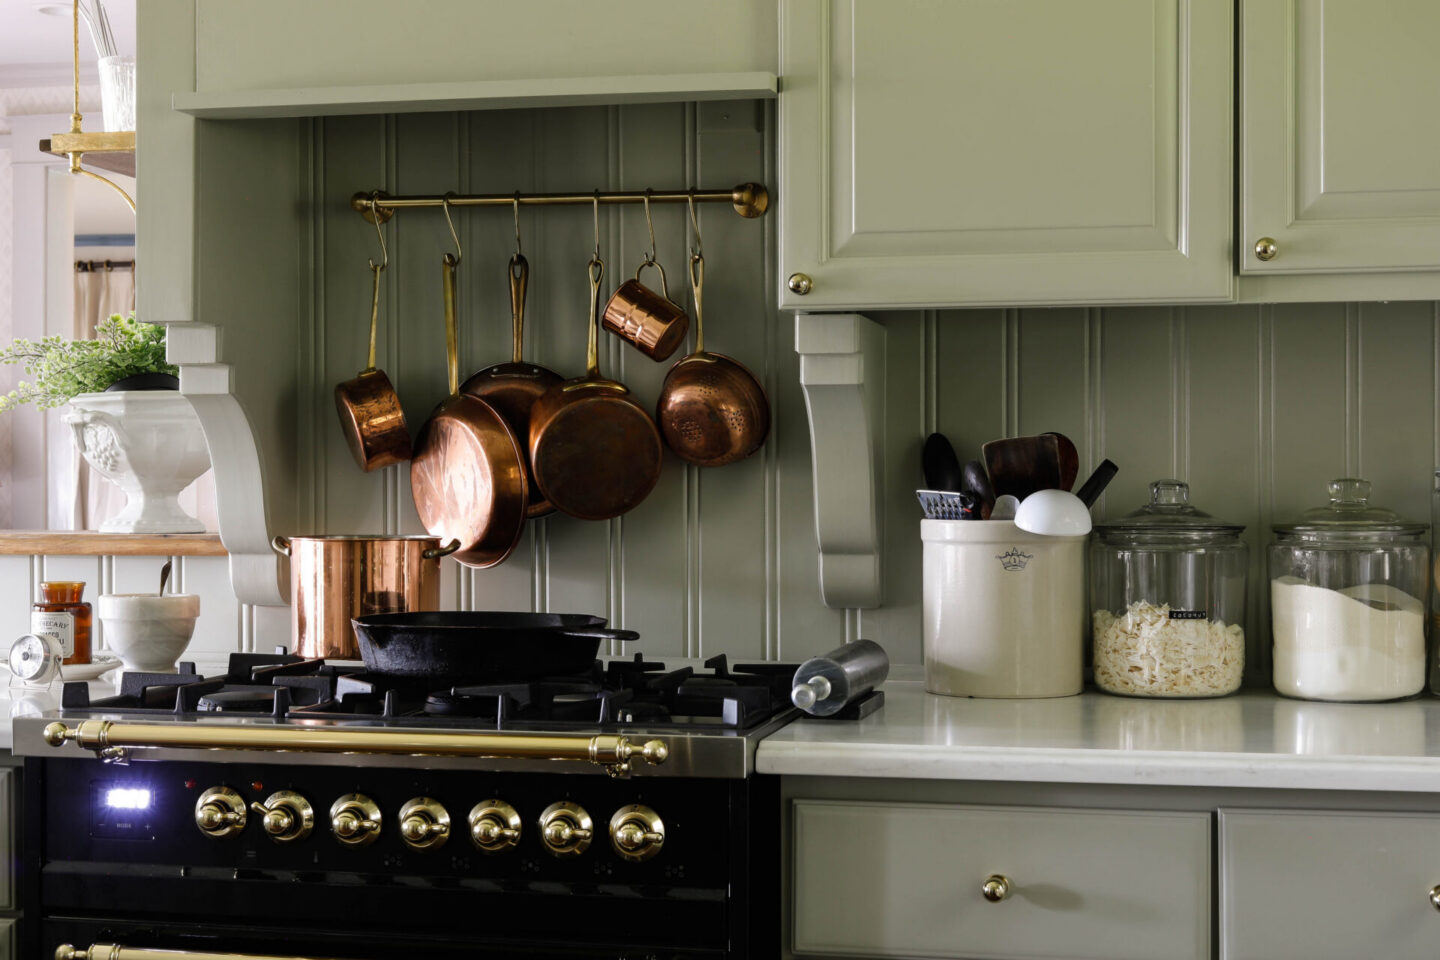
In the space that was left after the microwave was removed, we added in a mantle style range surround with simple trim pieces and big corbels.
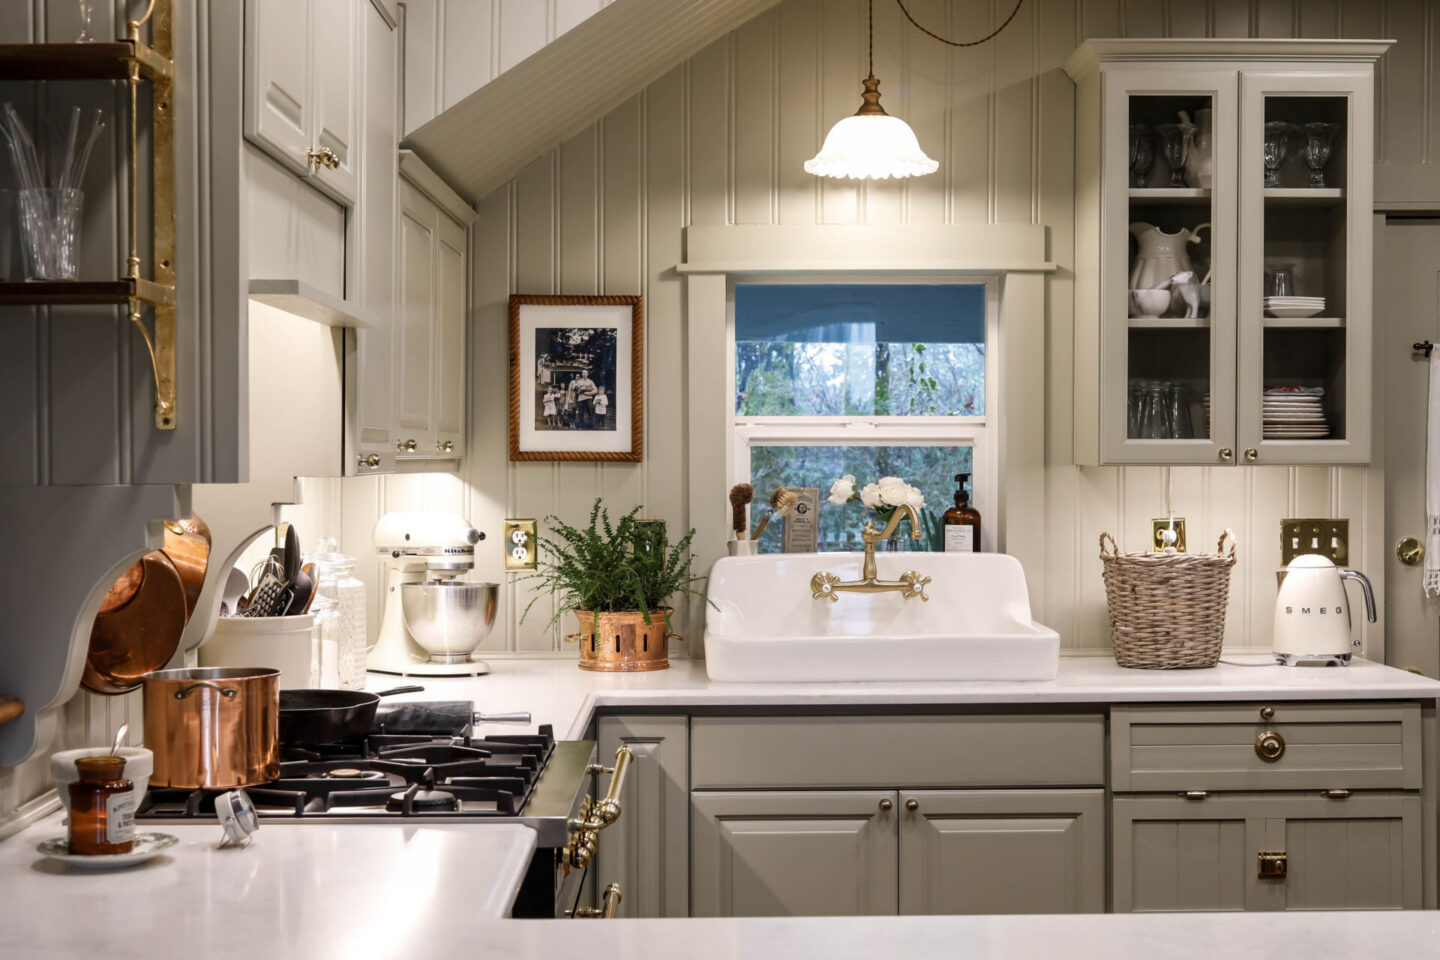
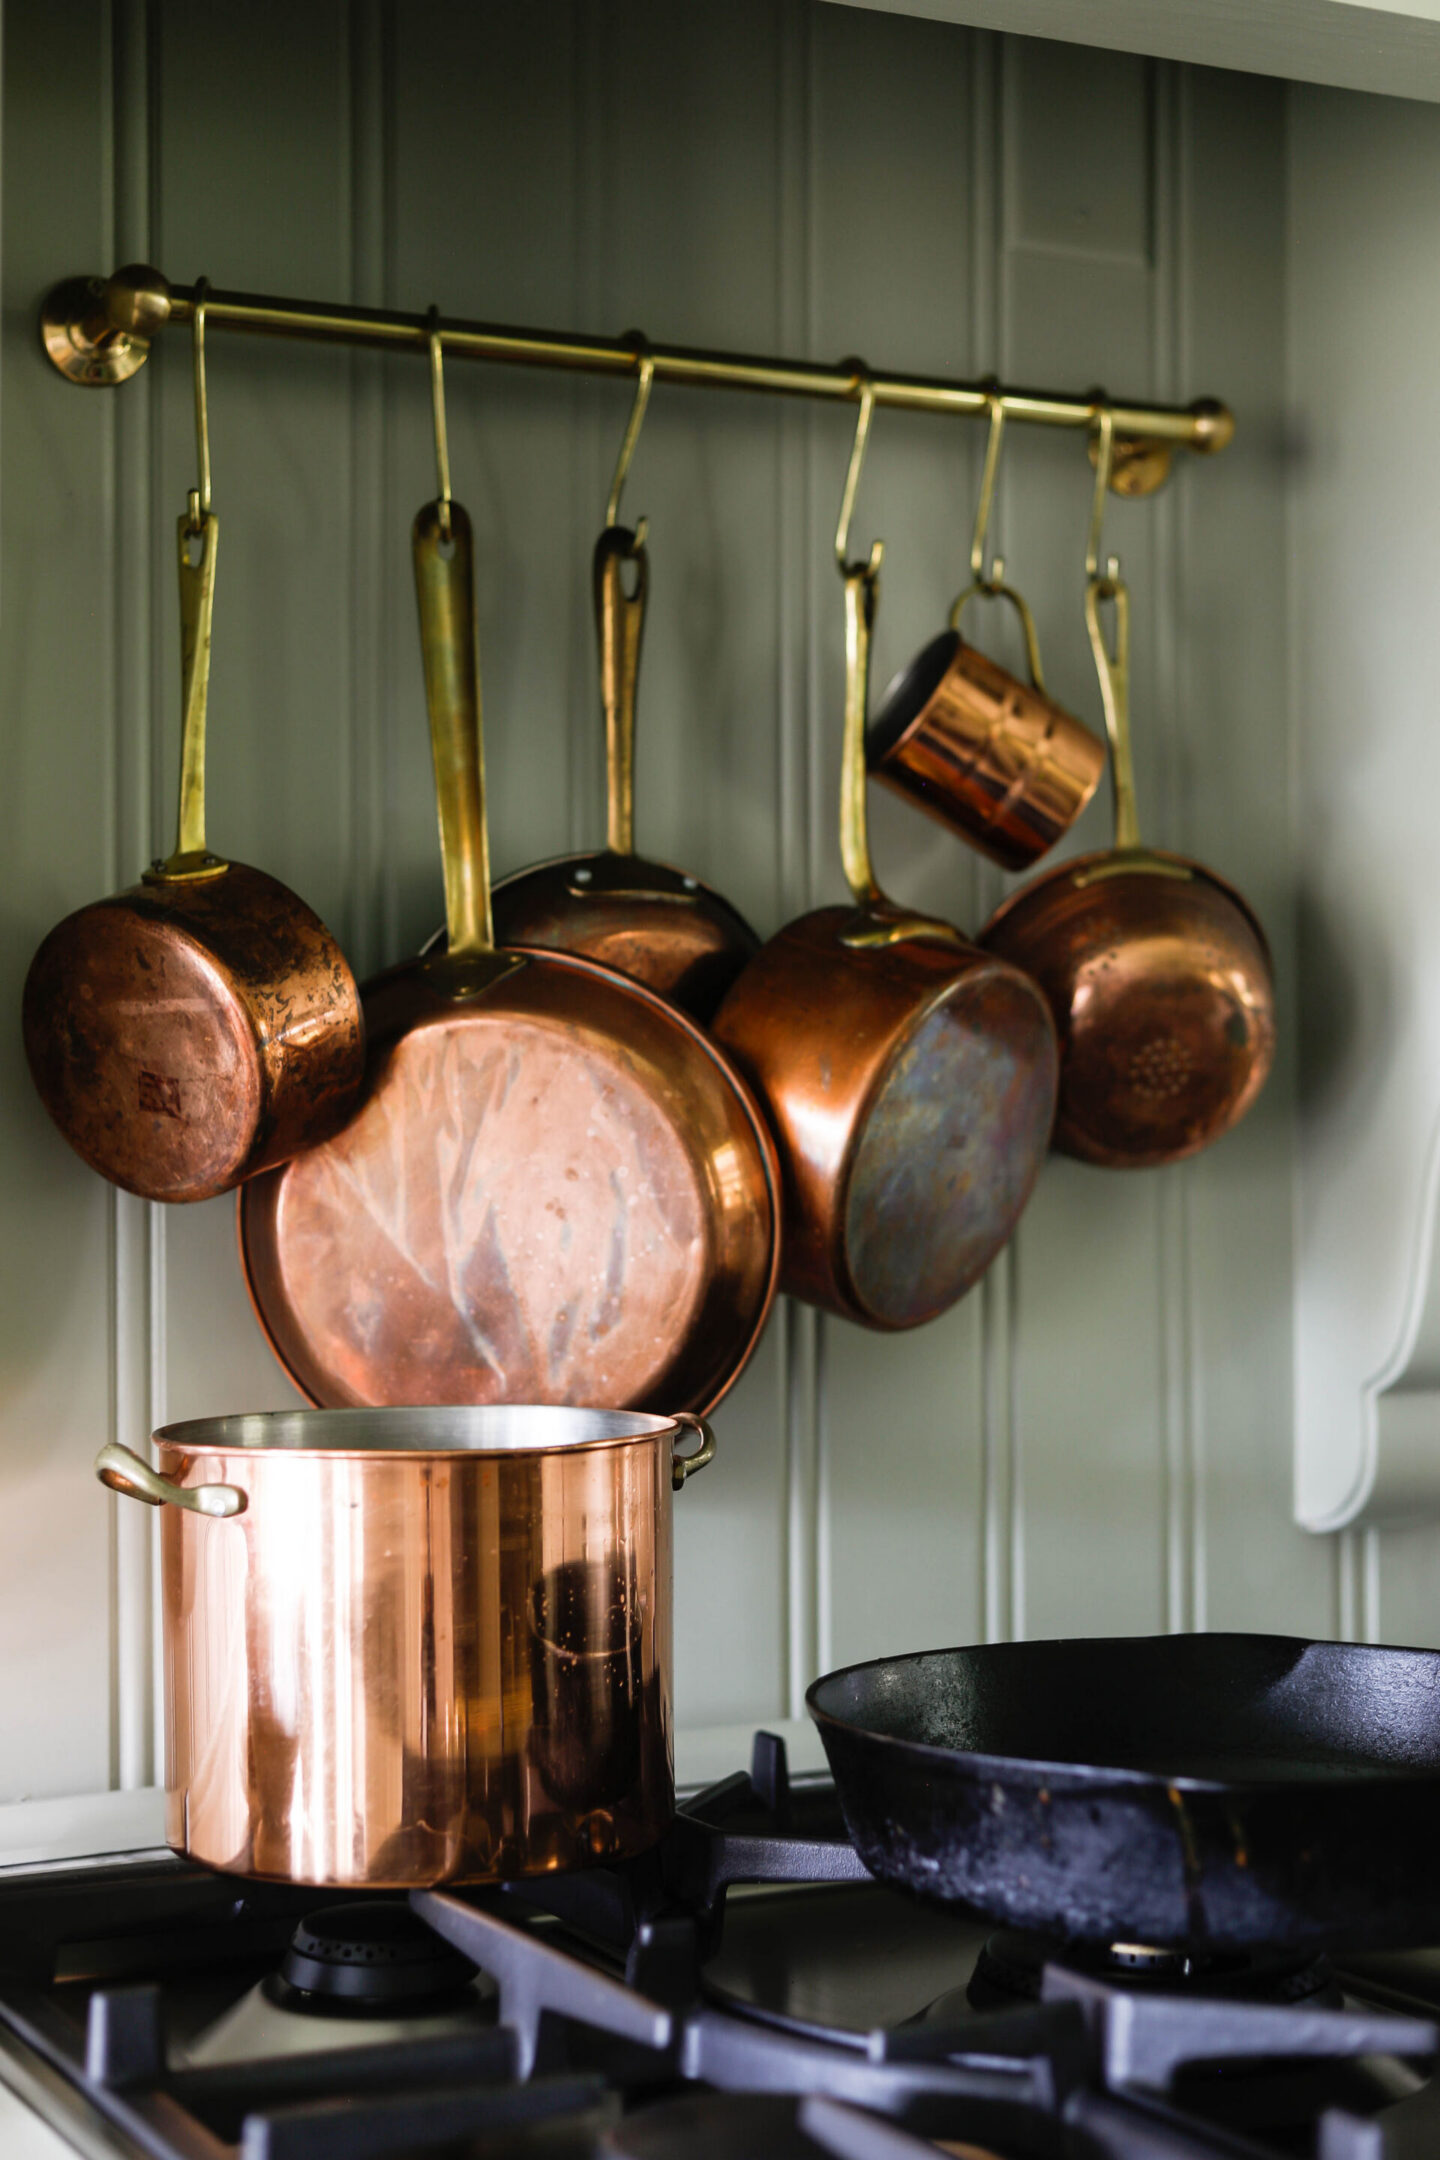
And of course I used the wall behind the range to display my selection of thrifted copper pots.
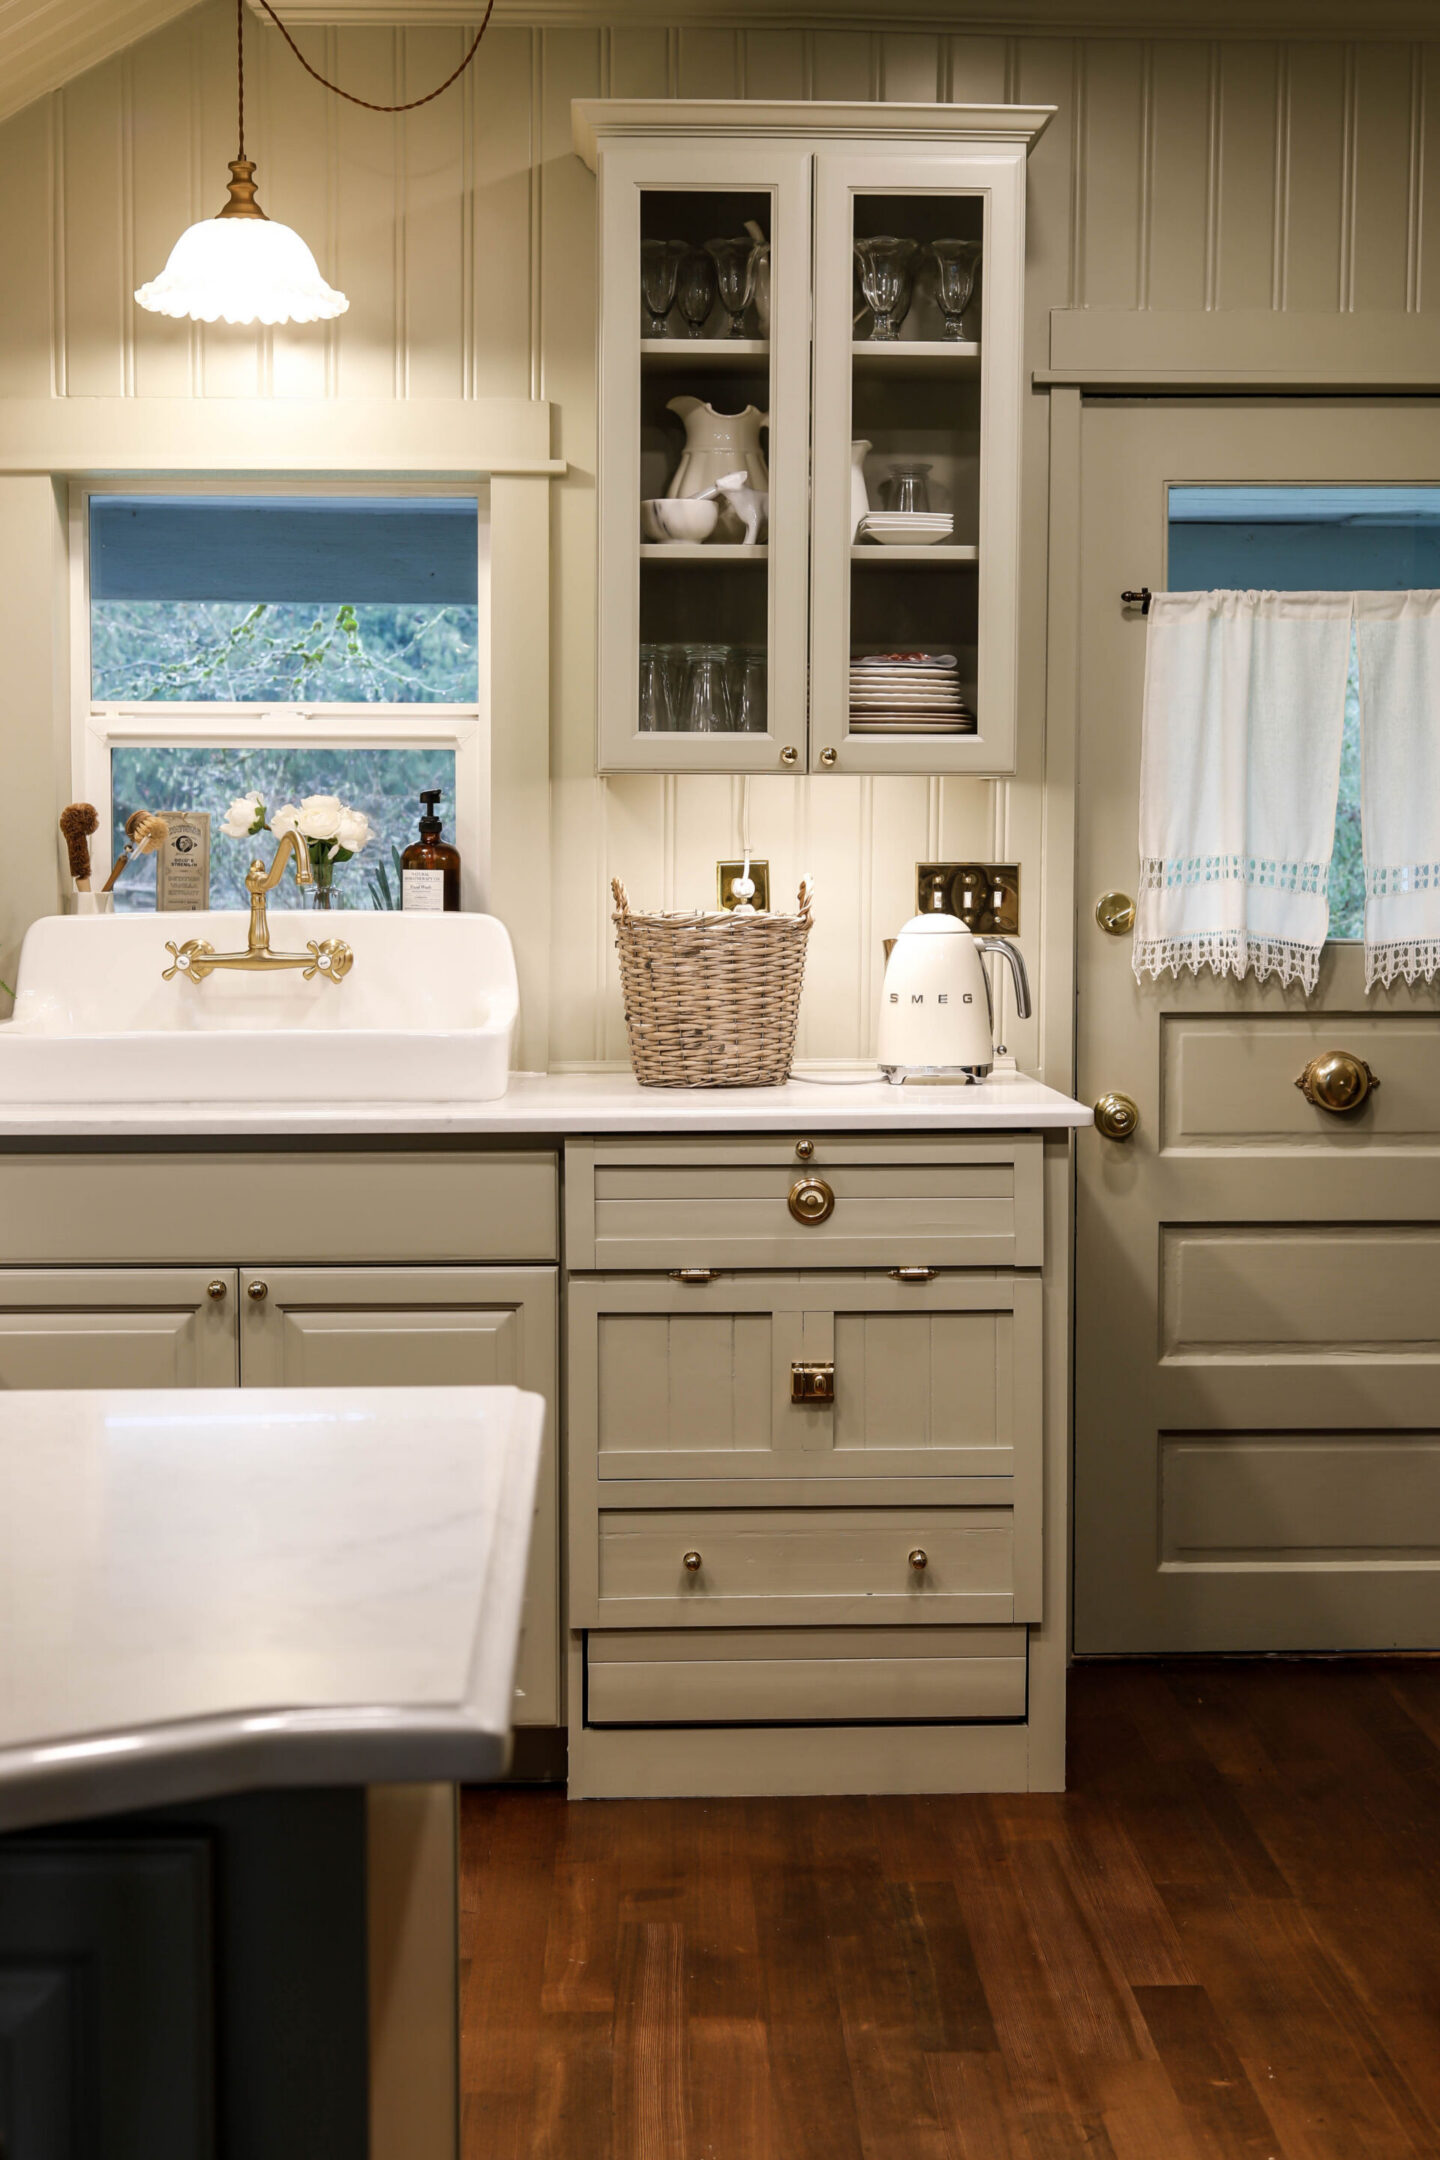
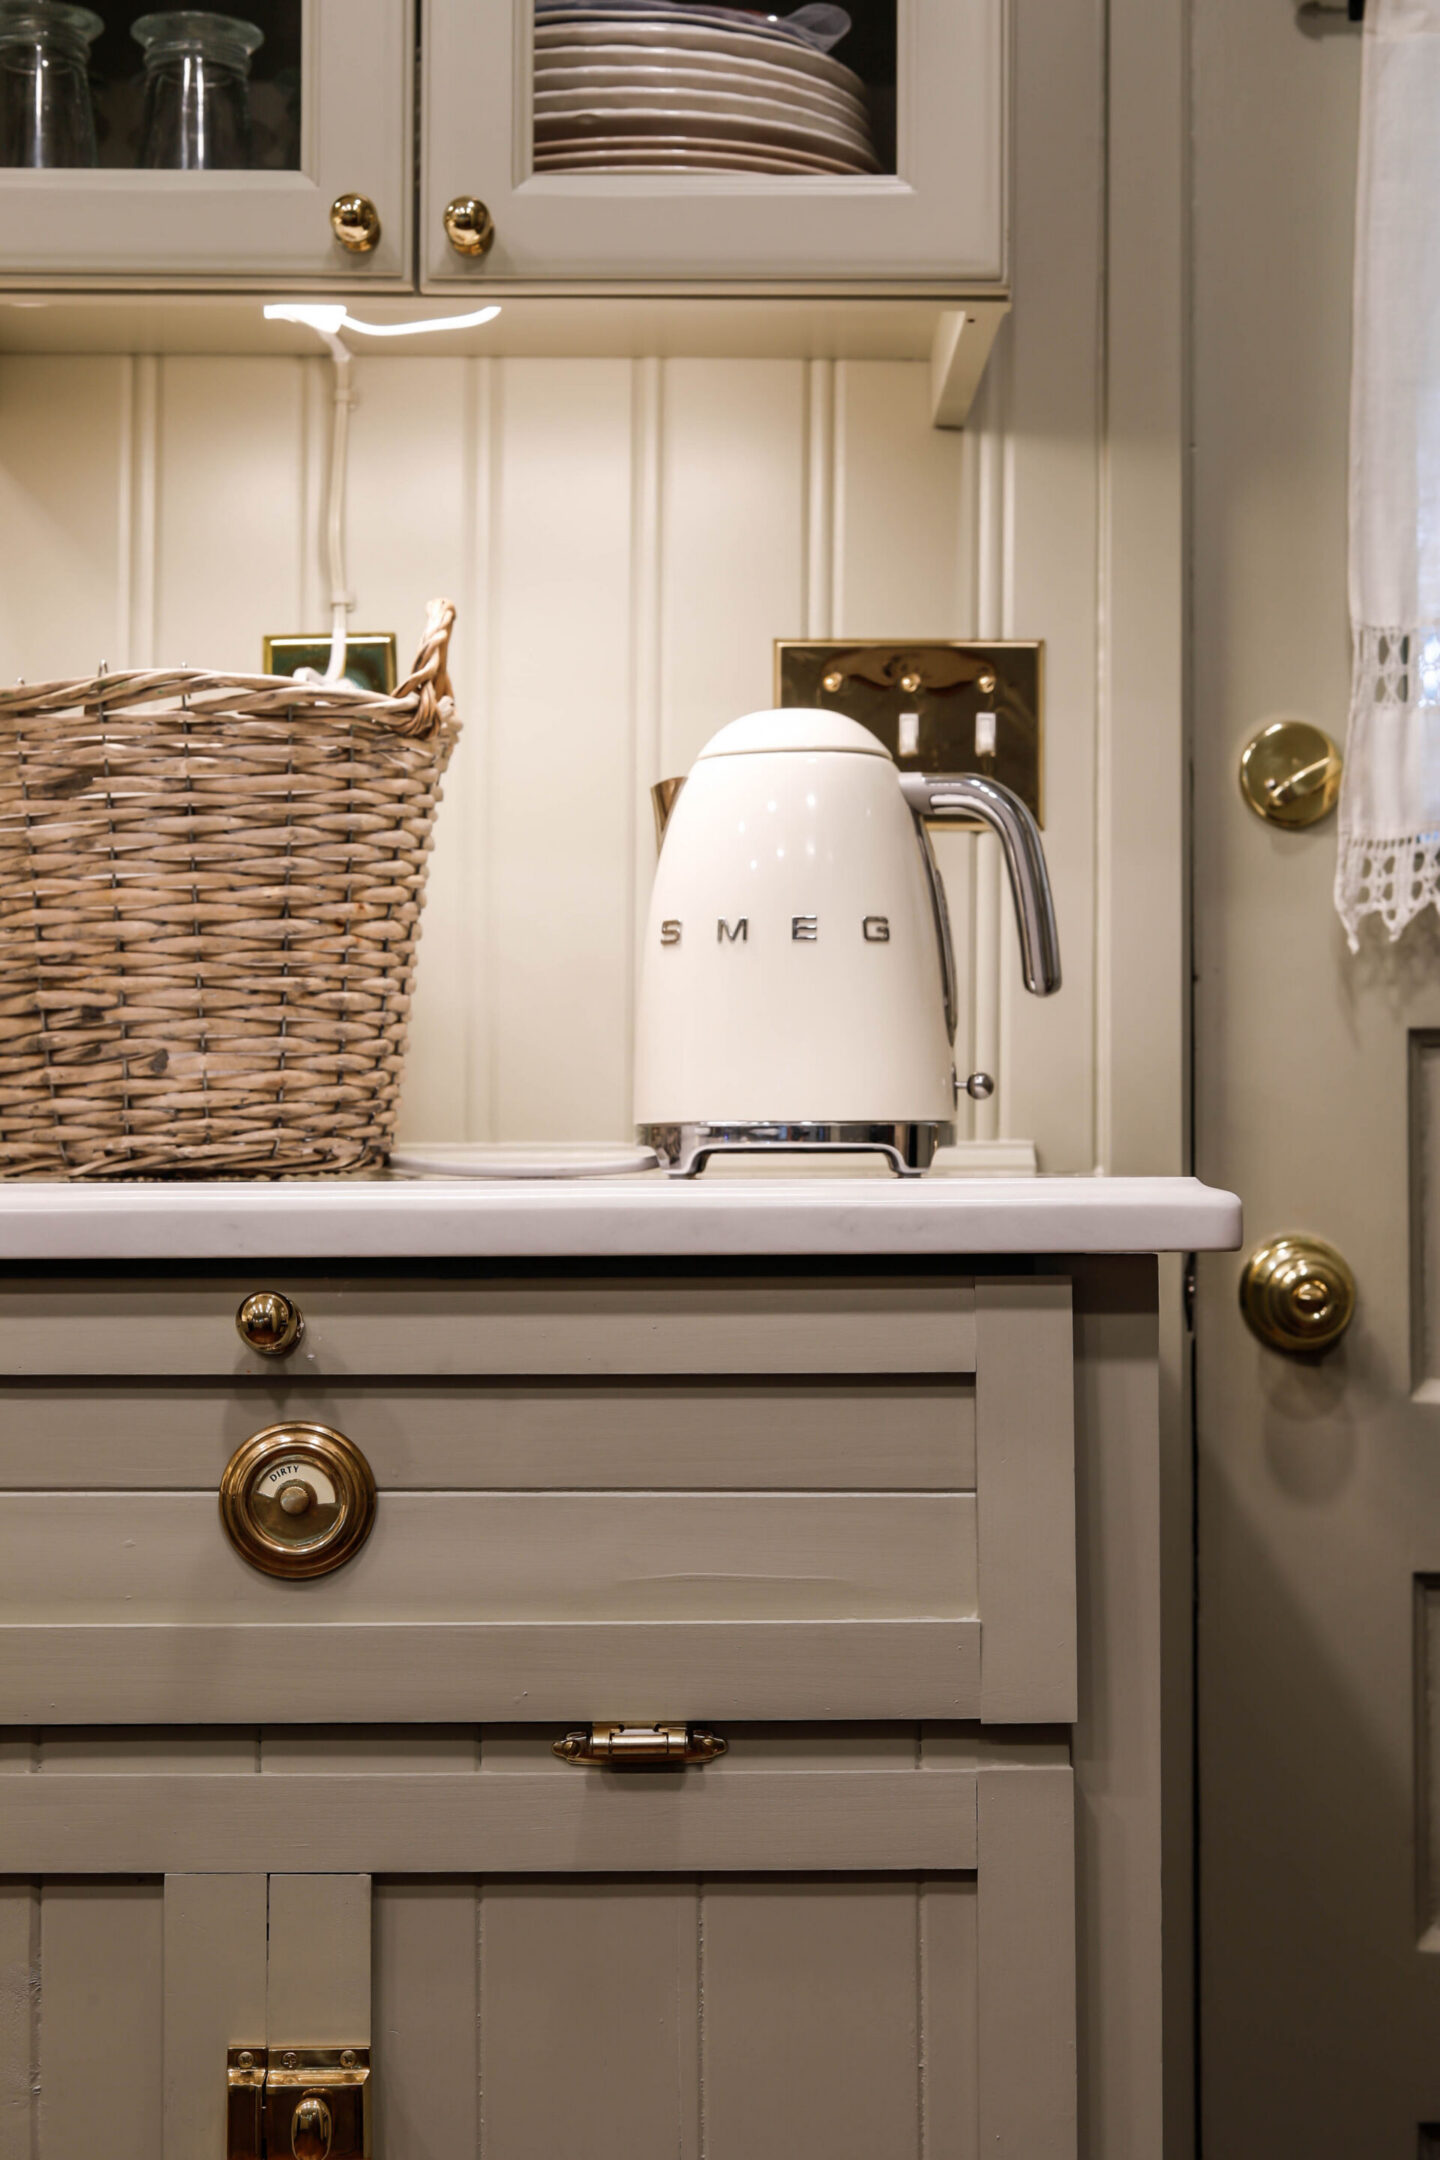
We also decided that we wanted to follow an idea that Andrea from Pine & Prospect had done to hide their dishwasher behind a faux ice-chest finish.
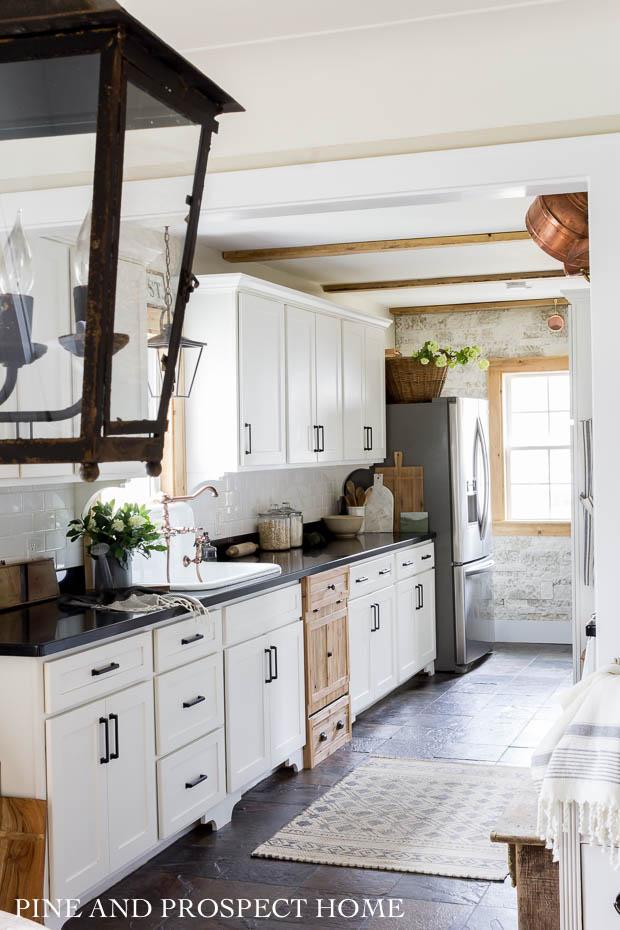
The idea behind this is to create a more vintage looking panel to make the modern invention fade into the background.
I just love the way it turned out!
The vintage style knobs, pulls, and dishwasher dial really add to the nostalgia & make it feel more like a true ice-chest. I love that it feels integrated and still has all of the functionality we have come to love and rely on.
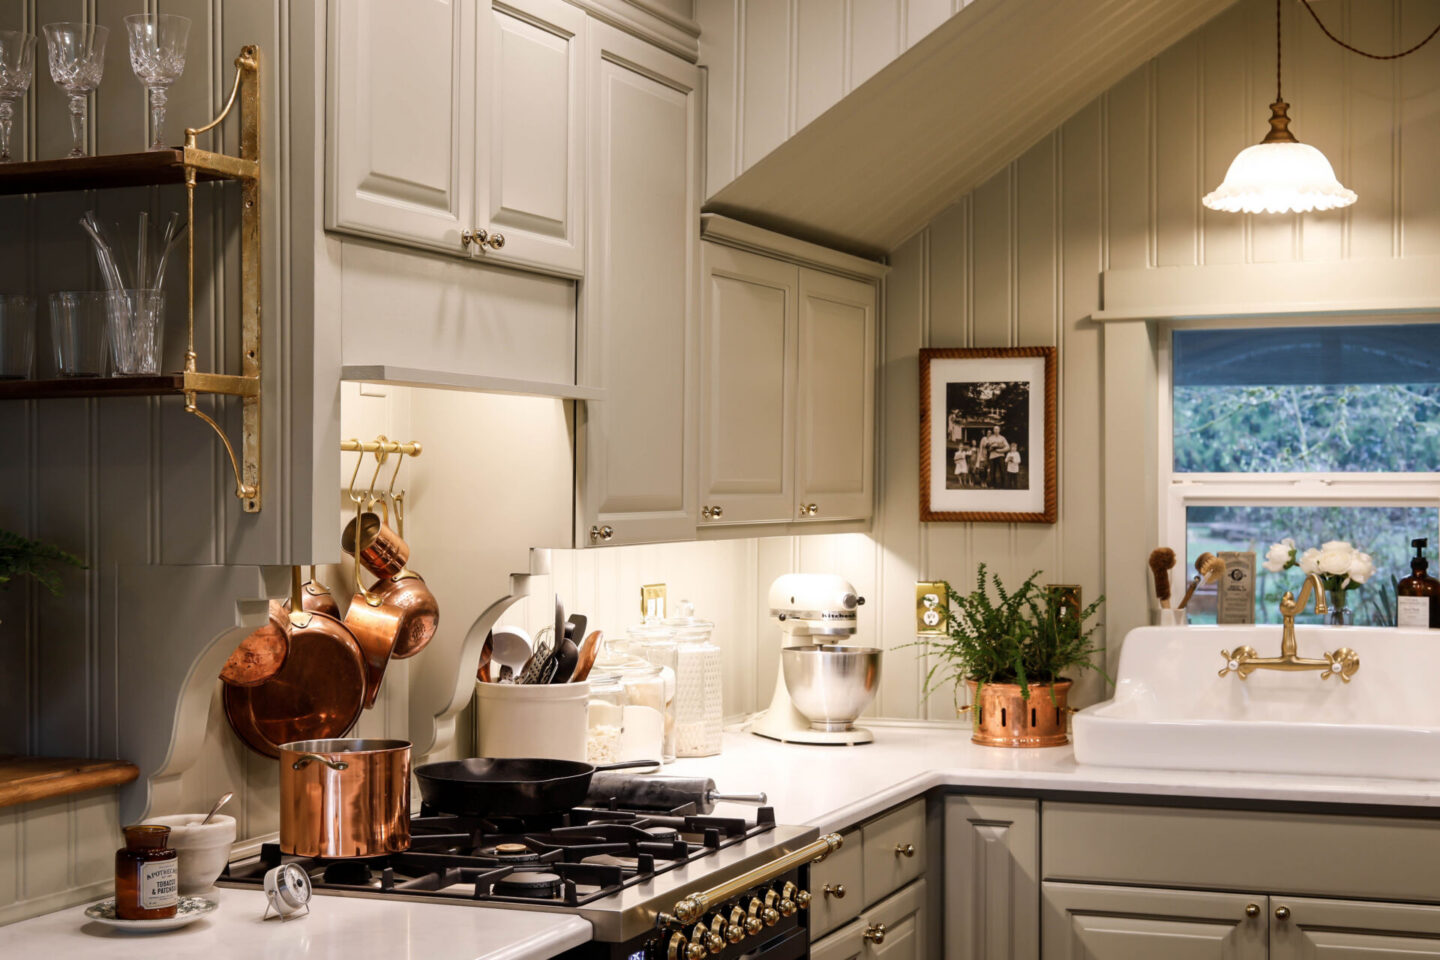
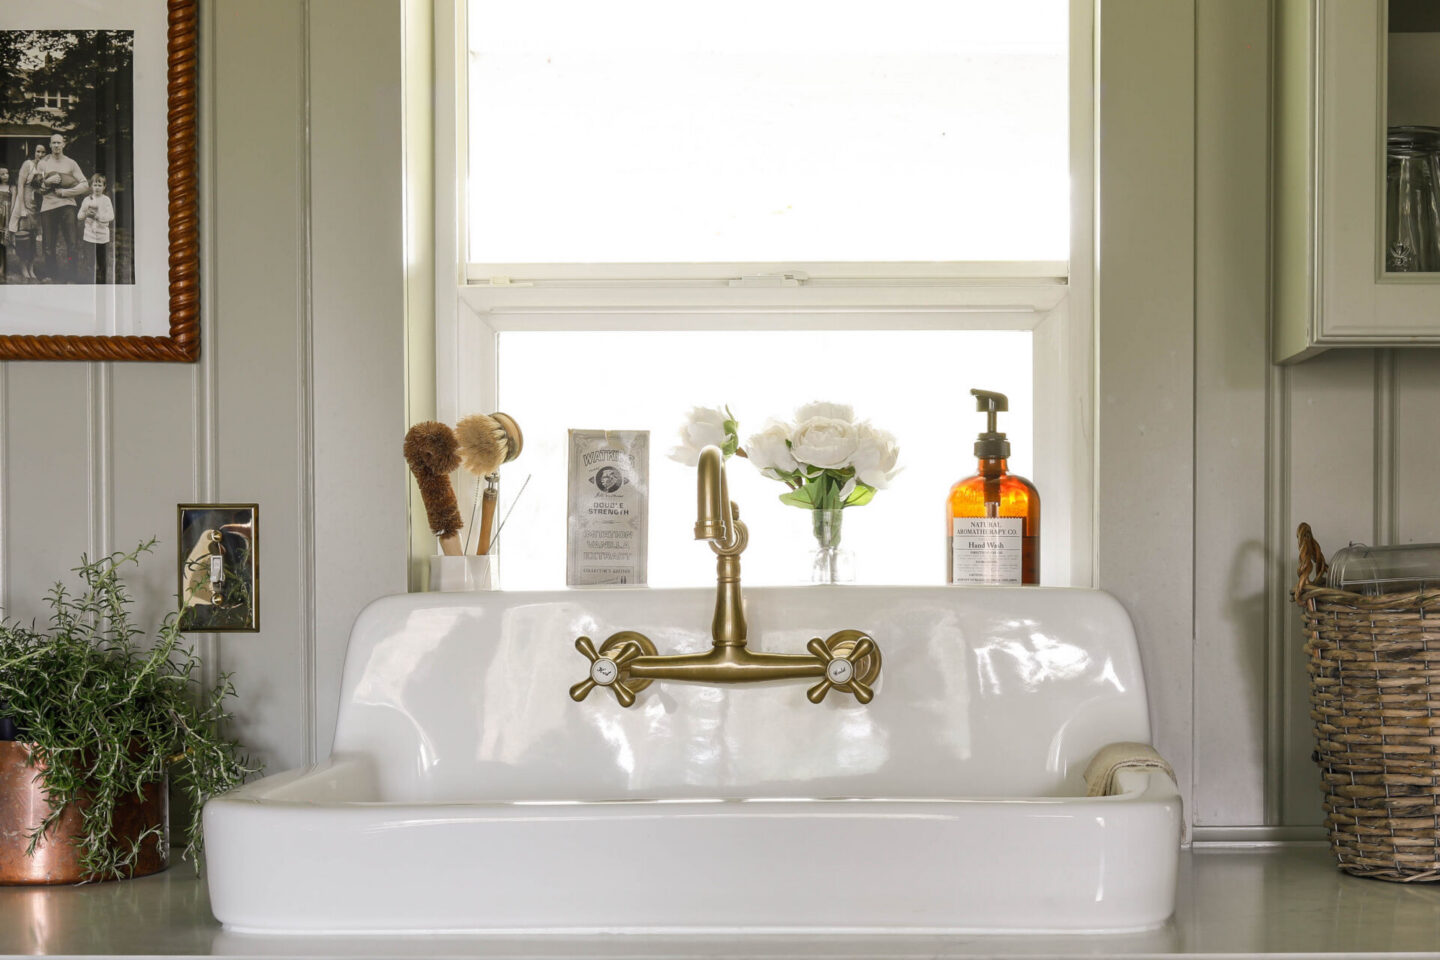
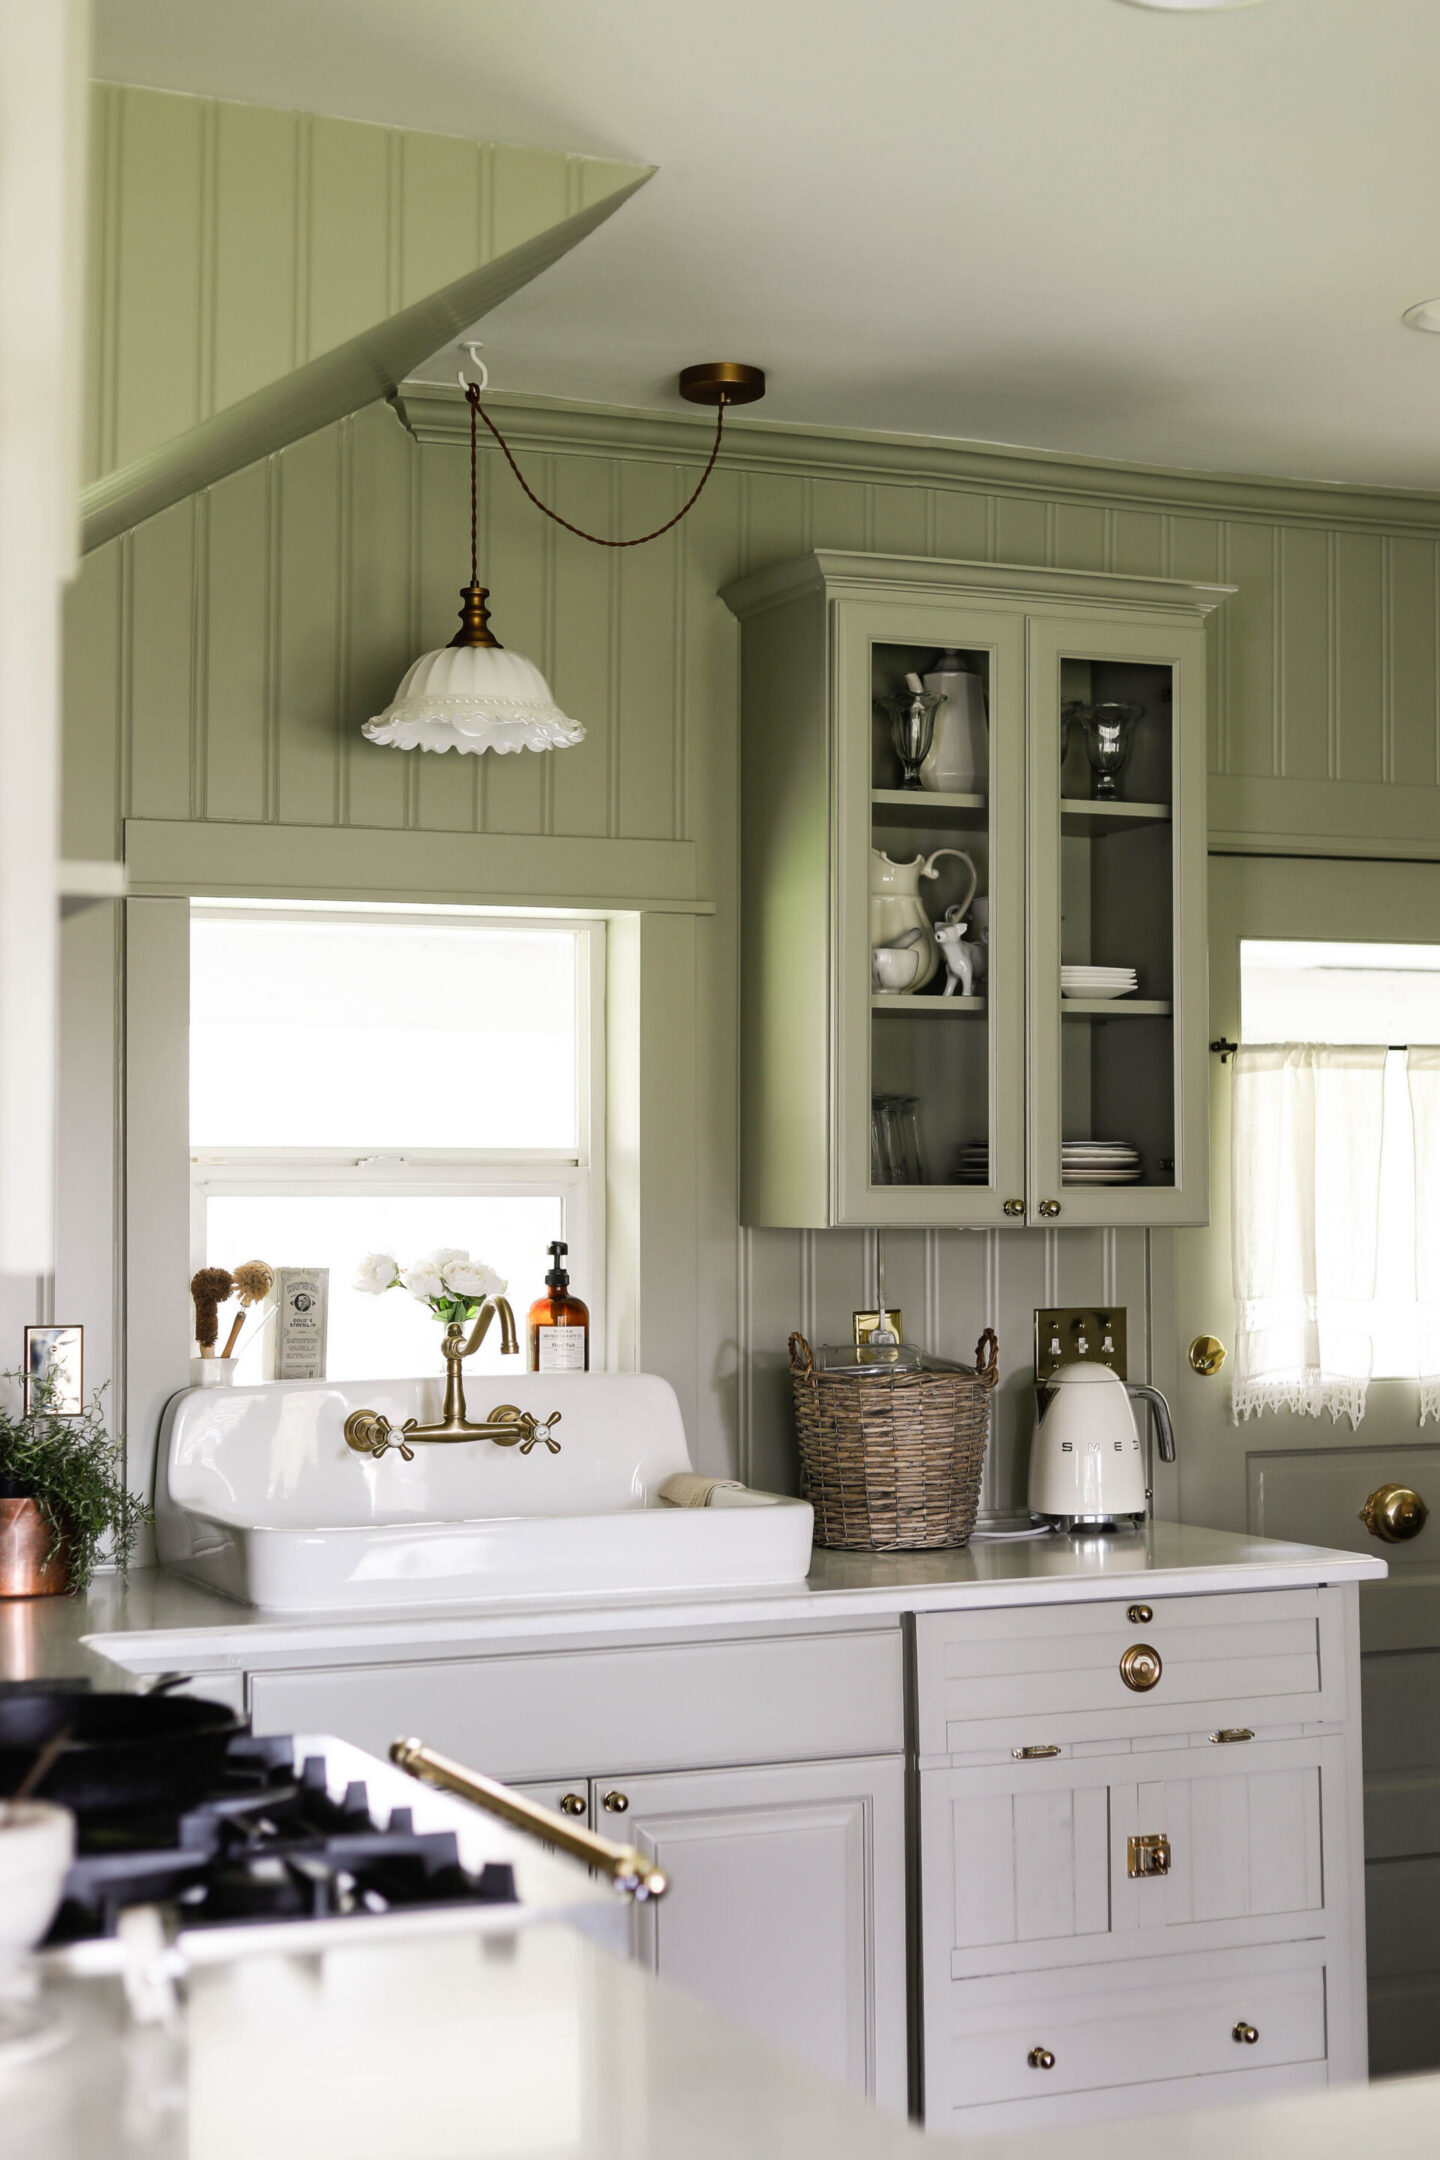
New European Style Kitchen Sink & Hardware:
We upgraded our sink to a more antique style with the high apron back and the wall mounted faucet with knobs.
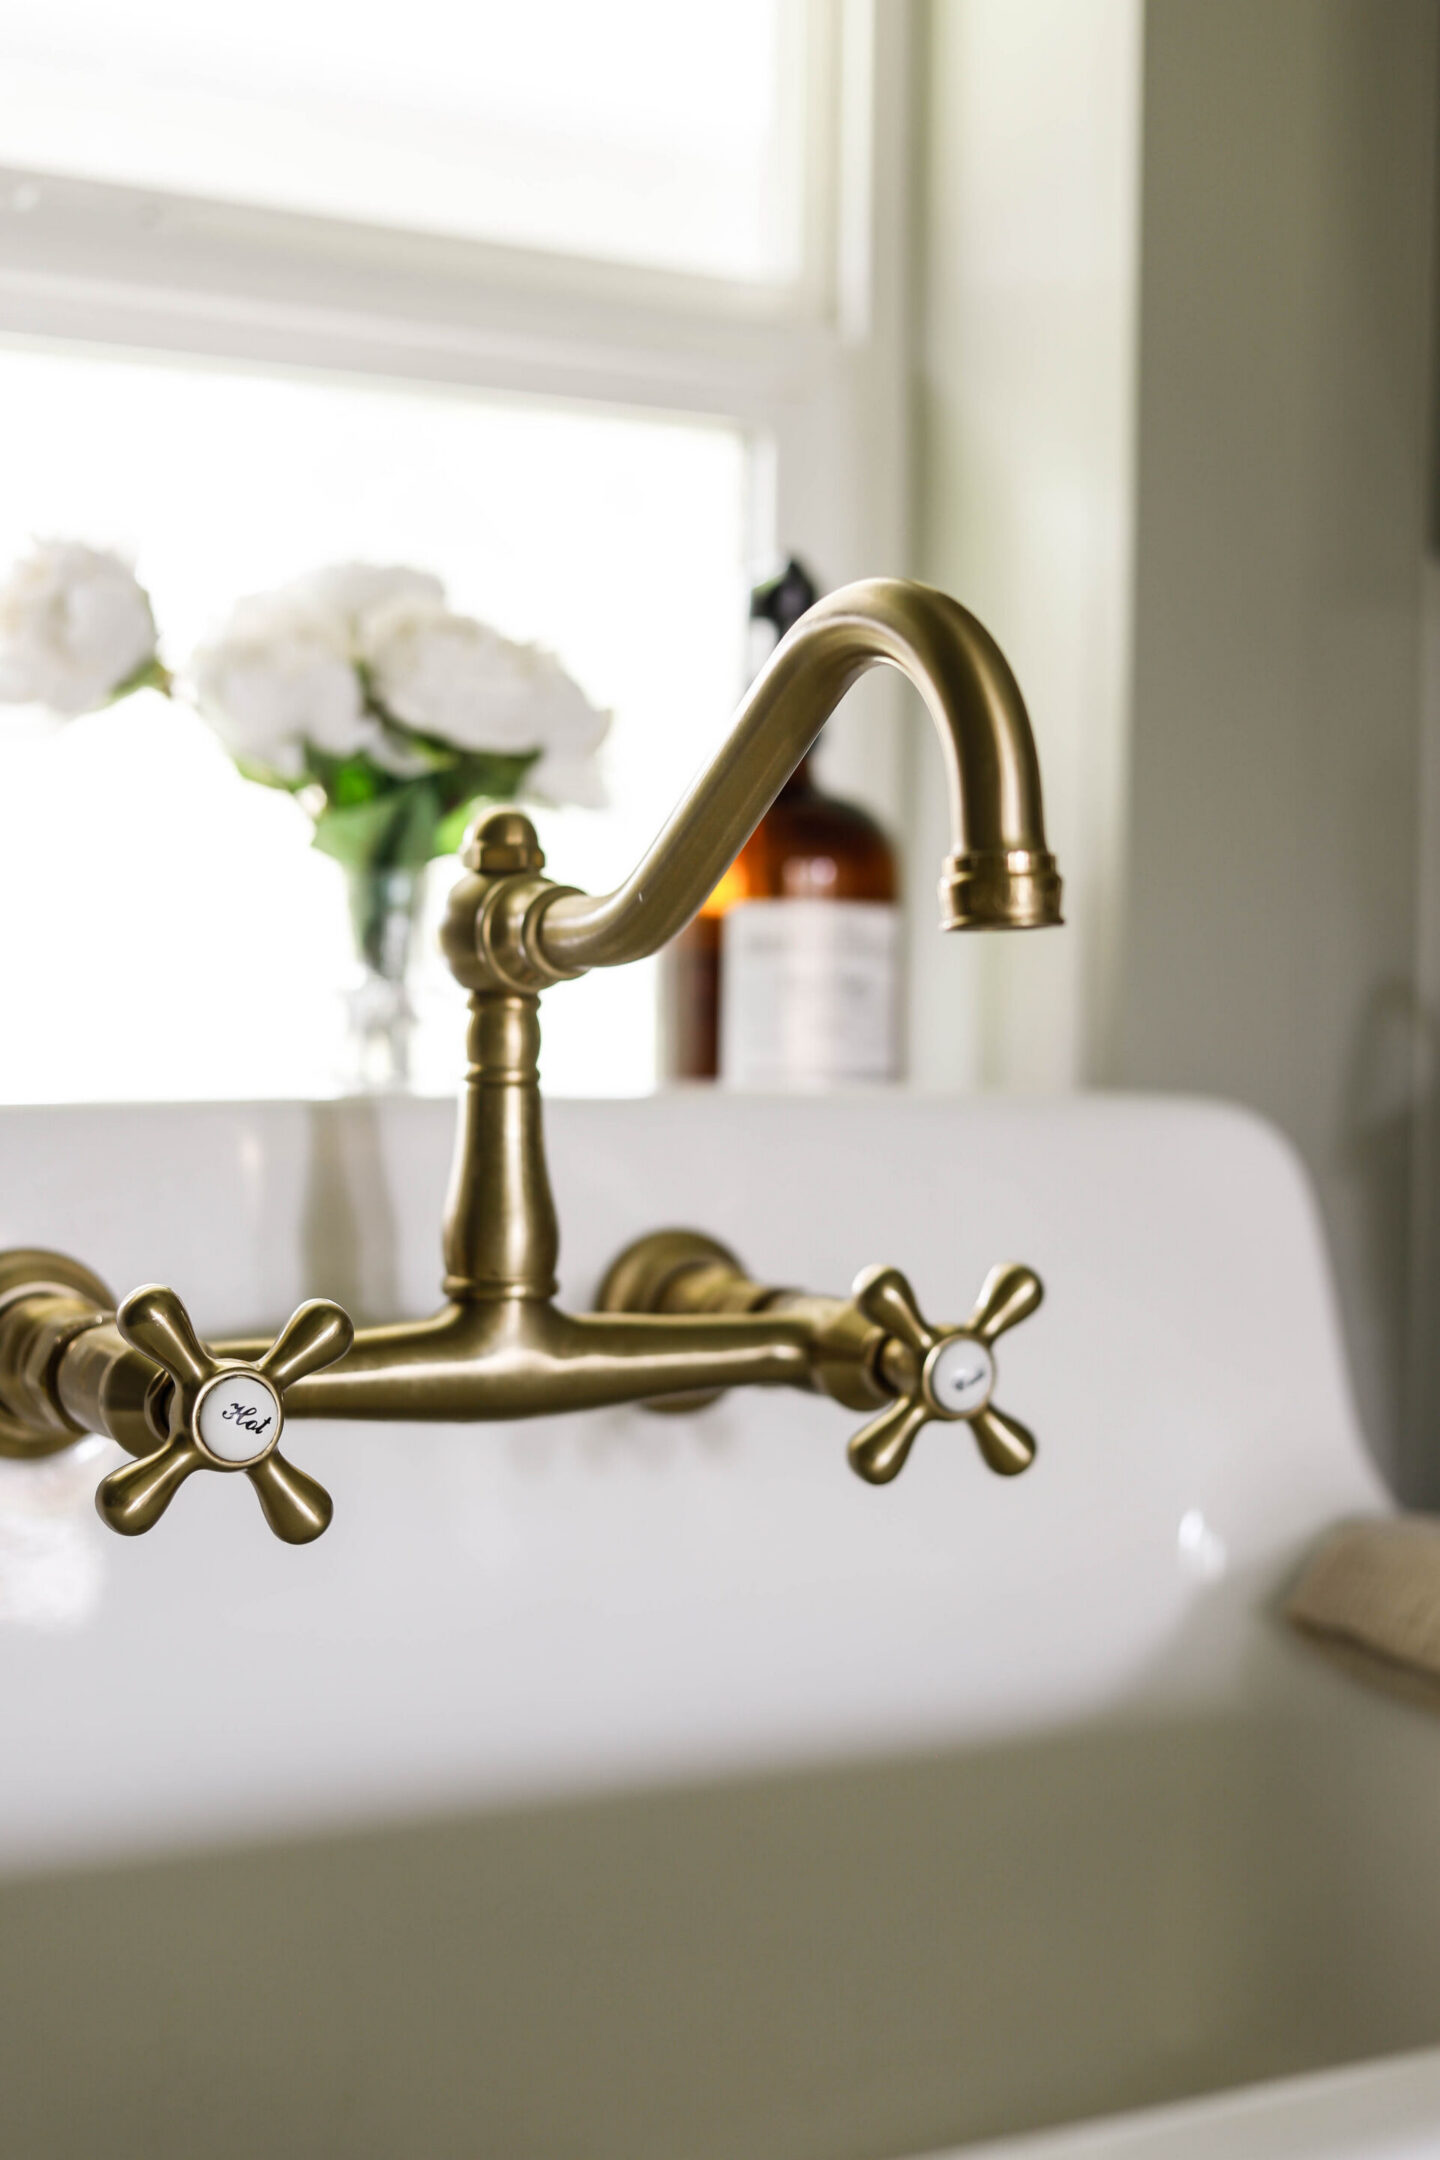
The longer goose-neck faucet took a little getting used to – but I love that it can pivot to rinse the full sink without requiring an additional sprayer!
Updated Lighting
Throughout the process as we were making these changes, we did also end up moving the can lights in the kitchen to make more sense with the raised cabinetry.
One of my favorite lighting changes was adjusting the fixture above our sink. Because of the angled wall to the left of the sink that is the base of our second floor staircase – the light had always been slightly off-center of our sink.
We adjusted it with a swag so that it is centered over the sink with a new light fixture – and I couldn’t be happier!
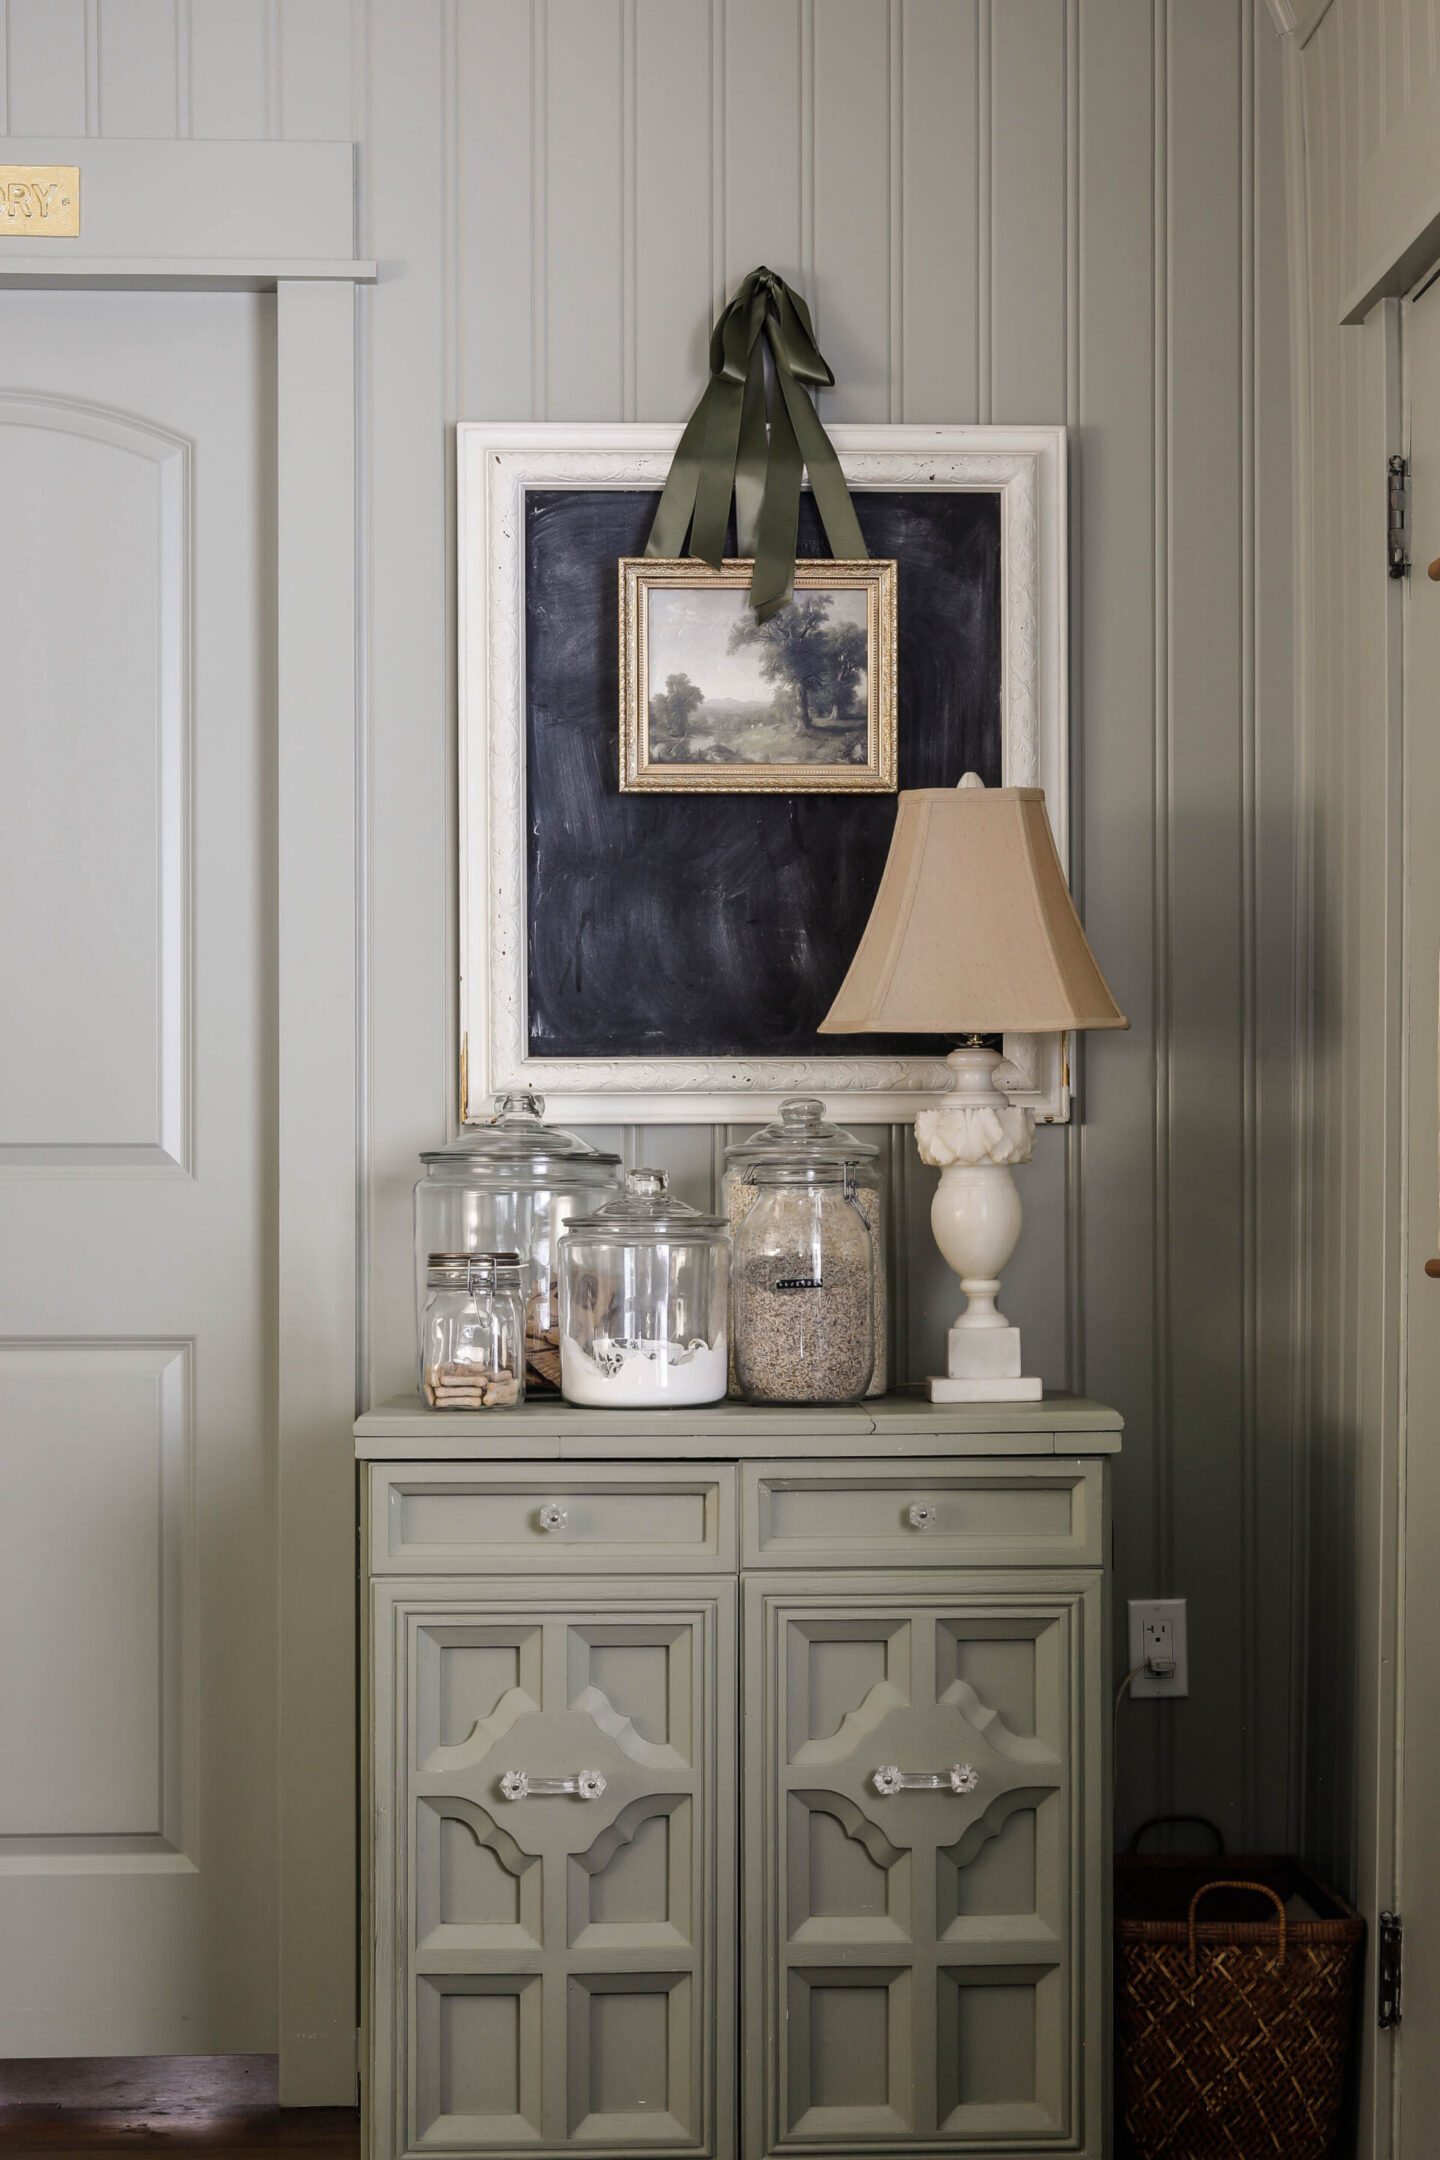
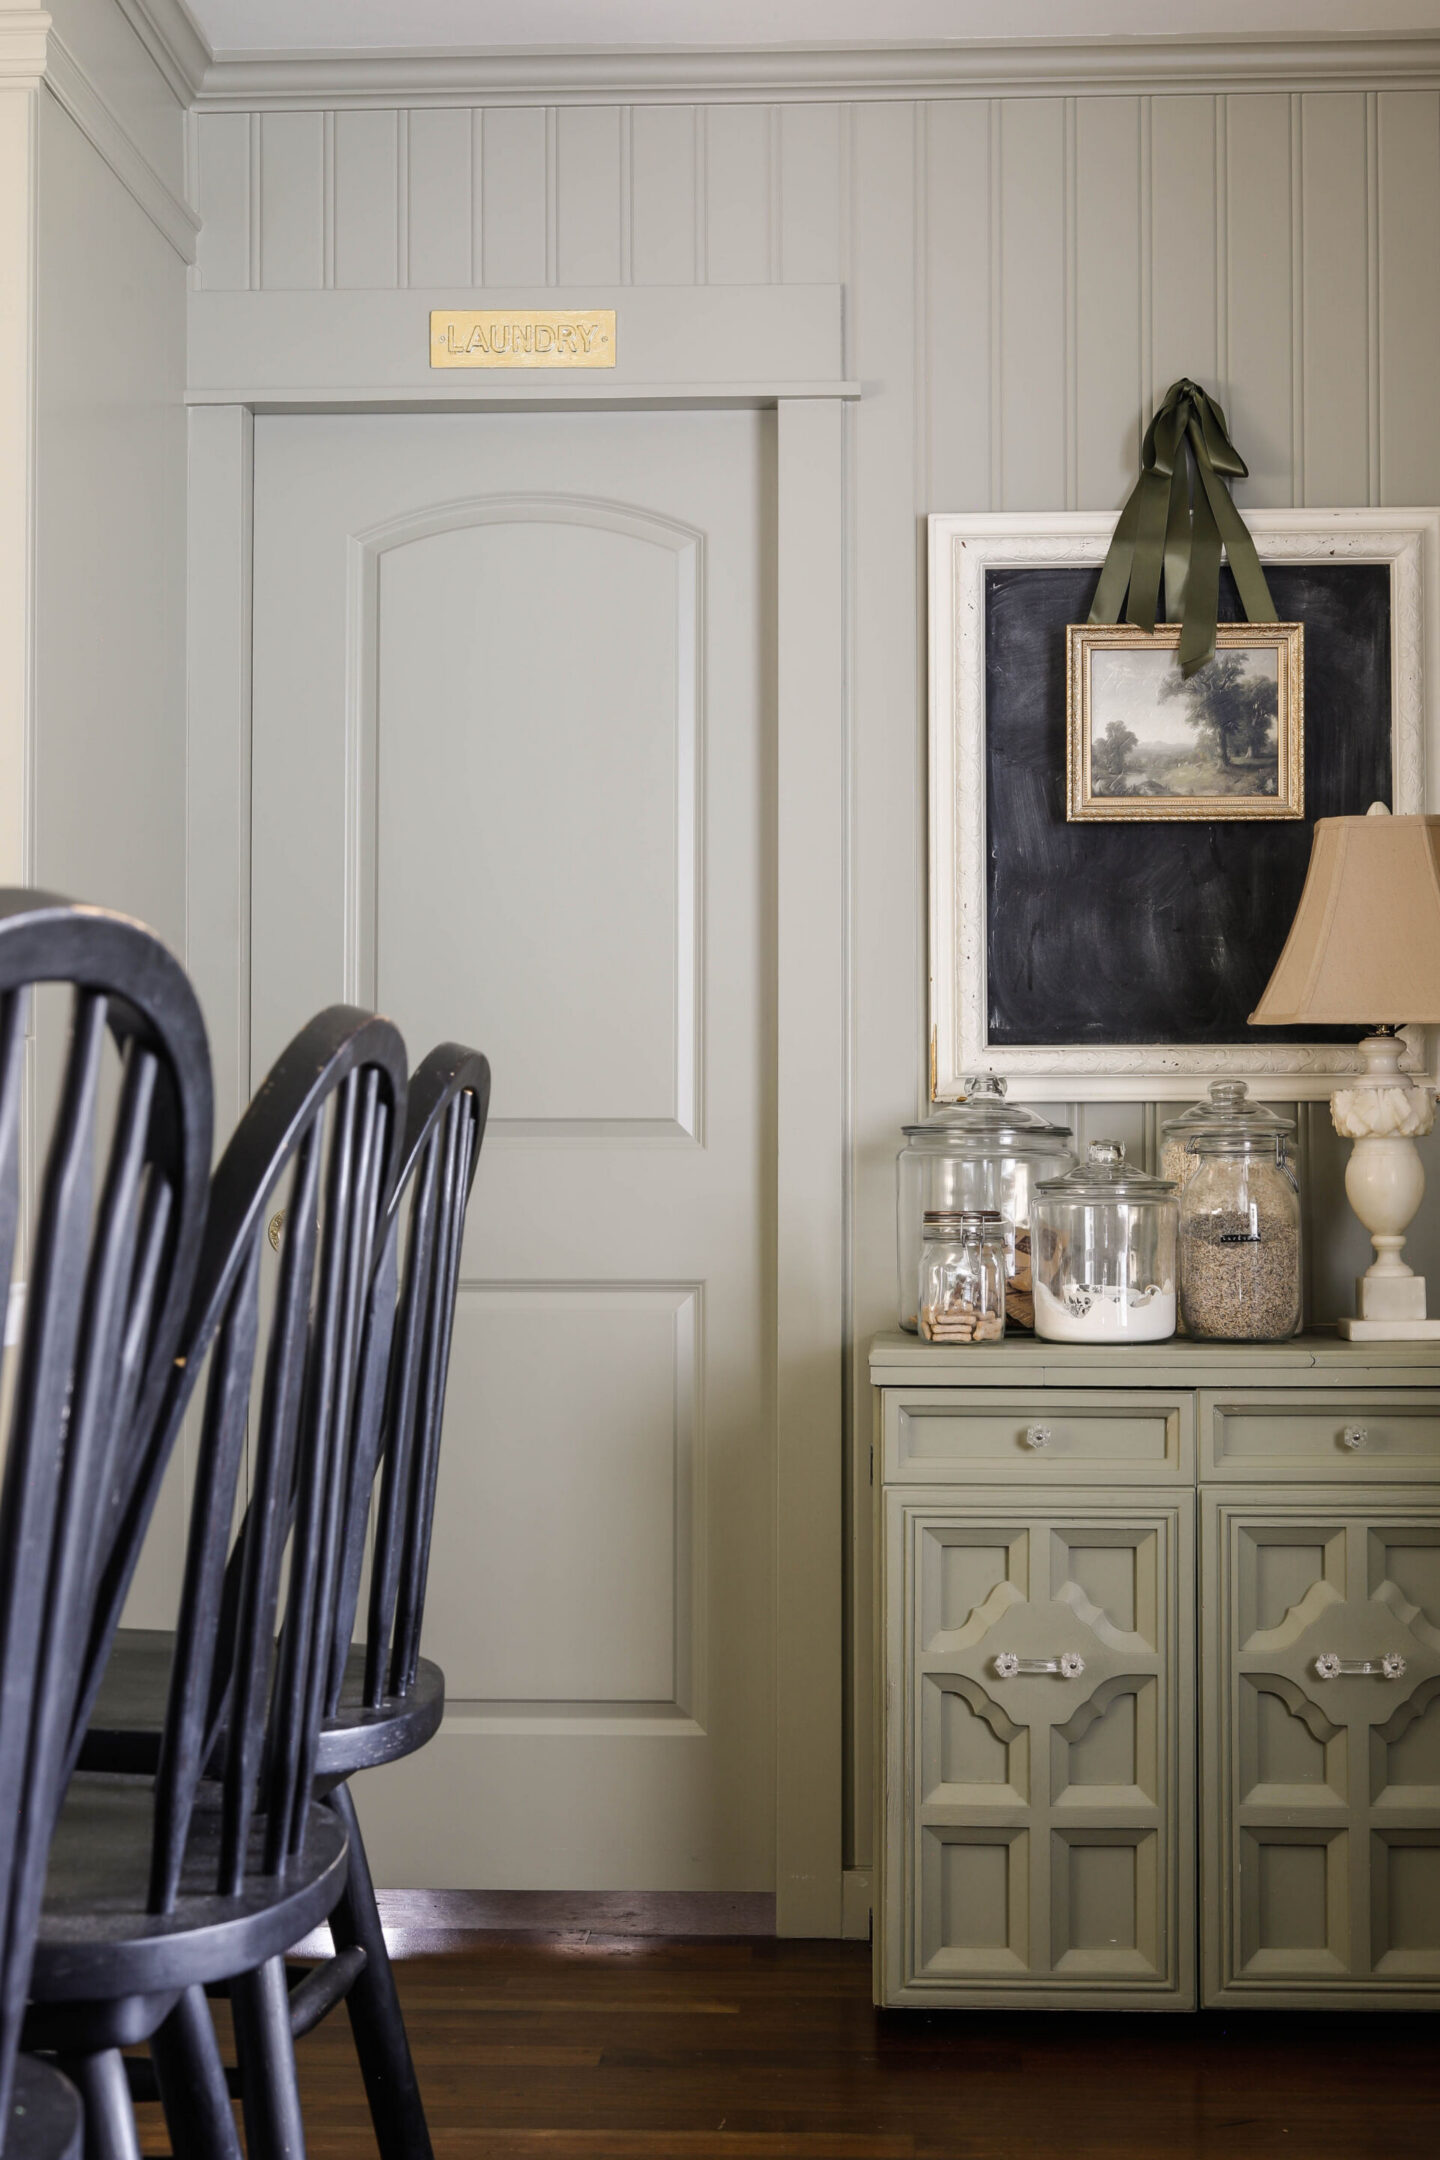
And those are the details! Now I’ll let you enjoy some more photos of the space. Each time I enter the room I like to just take it all in!

Sources:
- Countertops | Quartz Calacatta Monaco
- Beadboard
- Wall & Cabinetry Paint | Farrow & Ball – French Grey
- Stove | Ilve 30″ Nostalgie II
- Magnolia | Dishwasher Clean & Dirty Dial
- High Apron Back Sink
- Kingston Brass Faucet
- Light Fixture Above Sink
- Bee Theme Pocket Door Pull
Related Posts
- The Beautiful Ilve Stove of my Dreams
- 6 Ways to Update Your Builder Grade Kitchen
- DIY Farmhouse Kitchen Remodel
- 12 Vintage Style Cleaning Supplies that Double as Decor
Pin this European Style Kitchen for Later:


