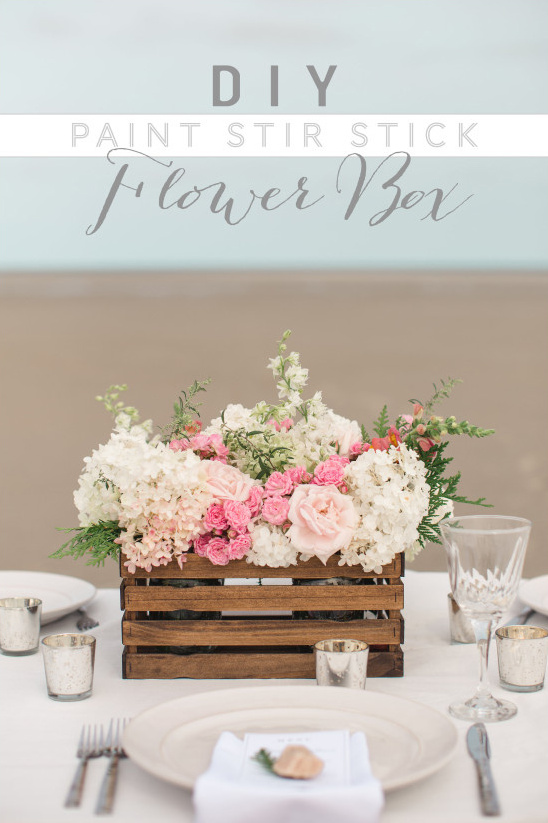
Make an Inexpensive Paint Stick Crate
Need an an inexpensive option for a wooden crate? Maybe for wedding centerpieces, a party or spring decor? This DIY paint stick crate may be just the answer!
I originally stumbled on this project via Pinterest. It was one of those where I saw it, loved it, pinned it, and then couldn’t get it out of my mind! Do you ever have those moments of inspiration? Those are the projects you know you HAVE to try!
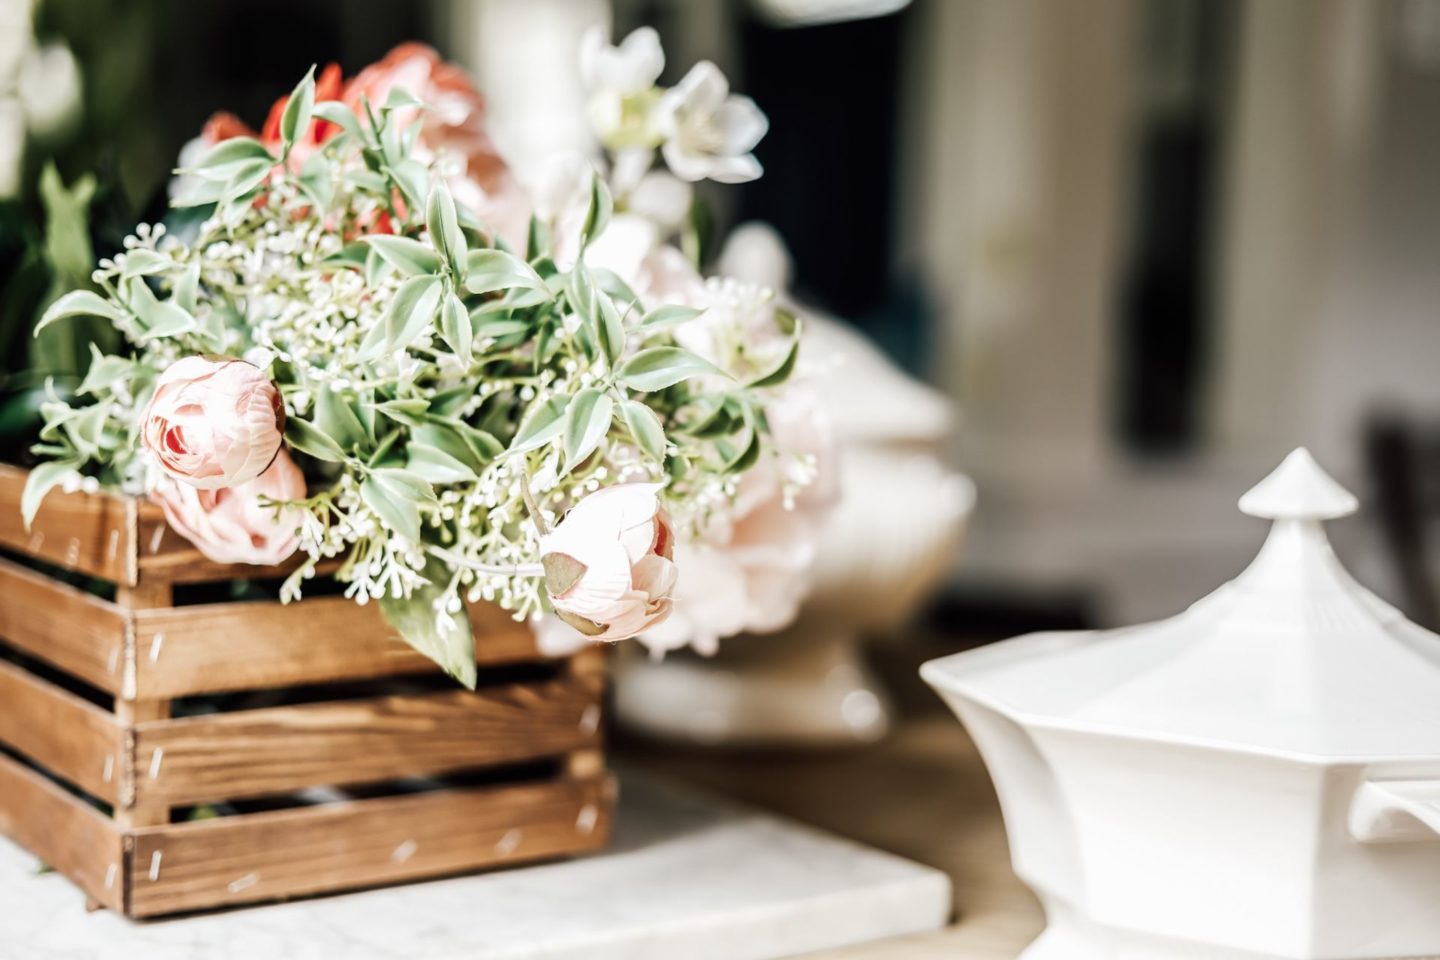
I knew these would be great for my spring decor or as gifts for friends! I love any project that I can picture using for many different occasions! This one also happens to be inexpensive and simple to put together, which is the icing on the cake, as far as I’m concerned.
The tutorial I followed was this one by the Wedding Chicks blog. They made them to use as containers for floral centerpieces. Isn’t that a beautiful idea?
A couple of things I learned by making these paint stick crates…
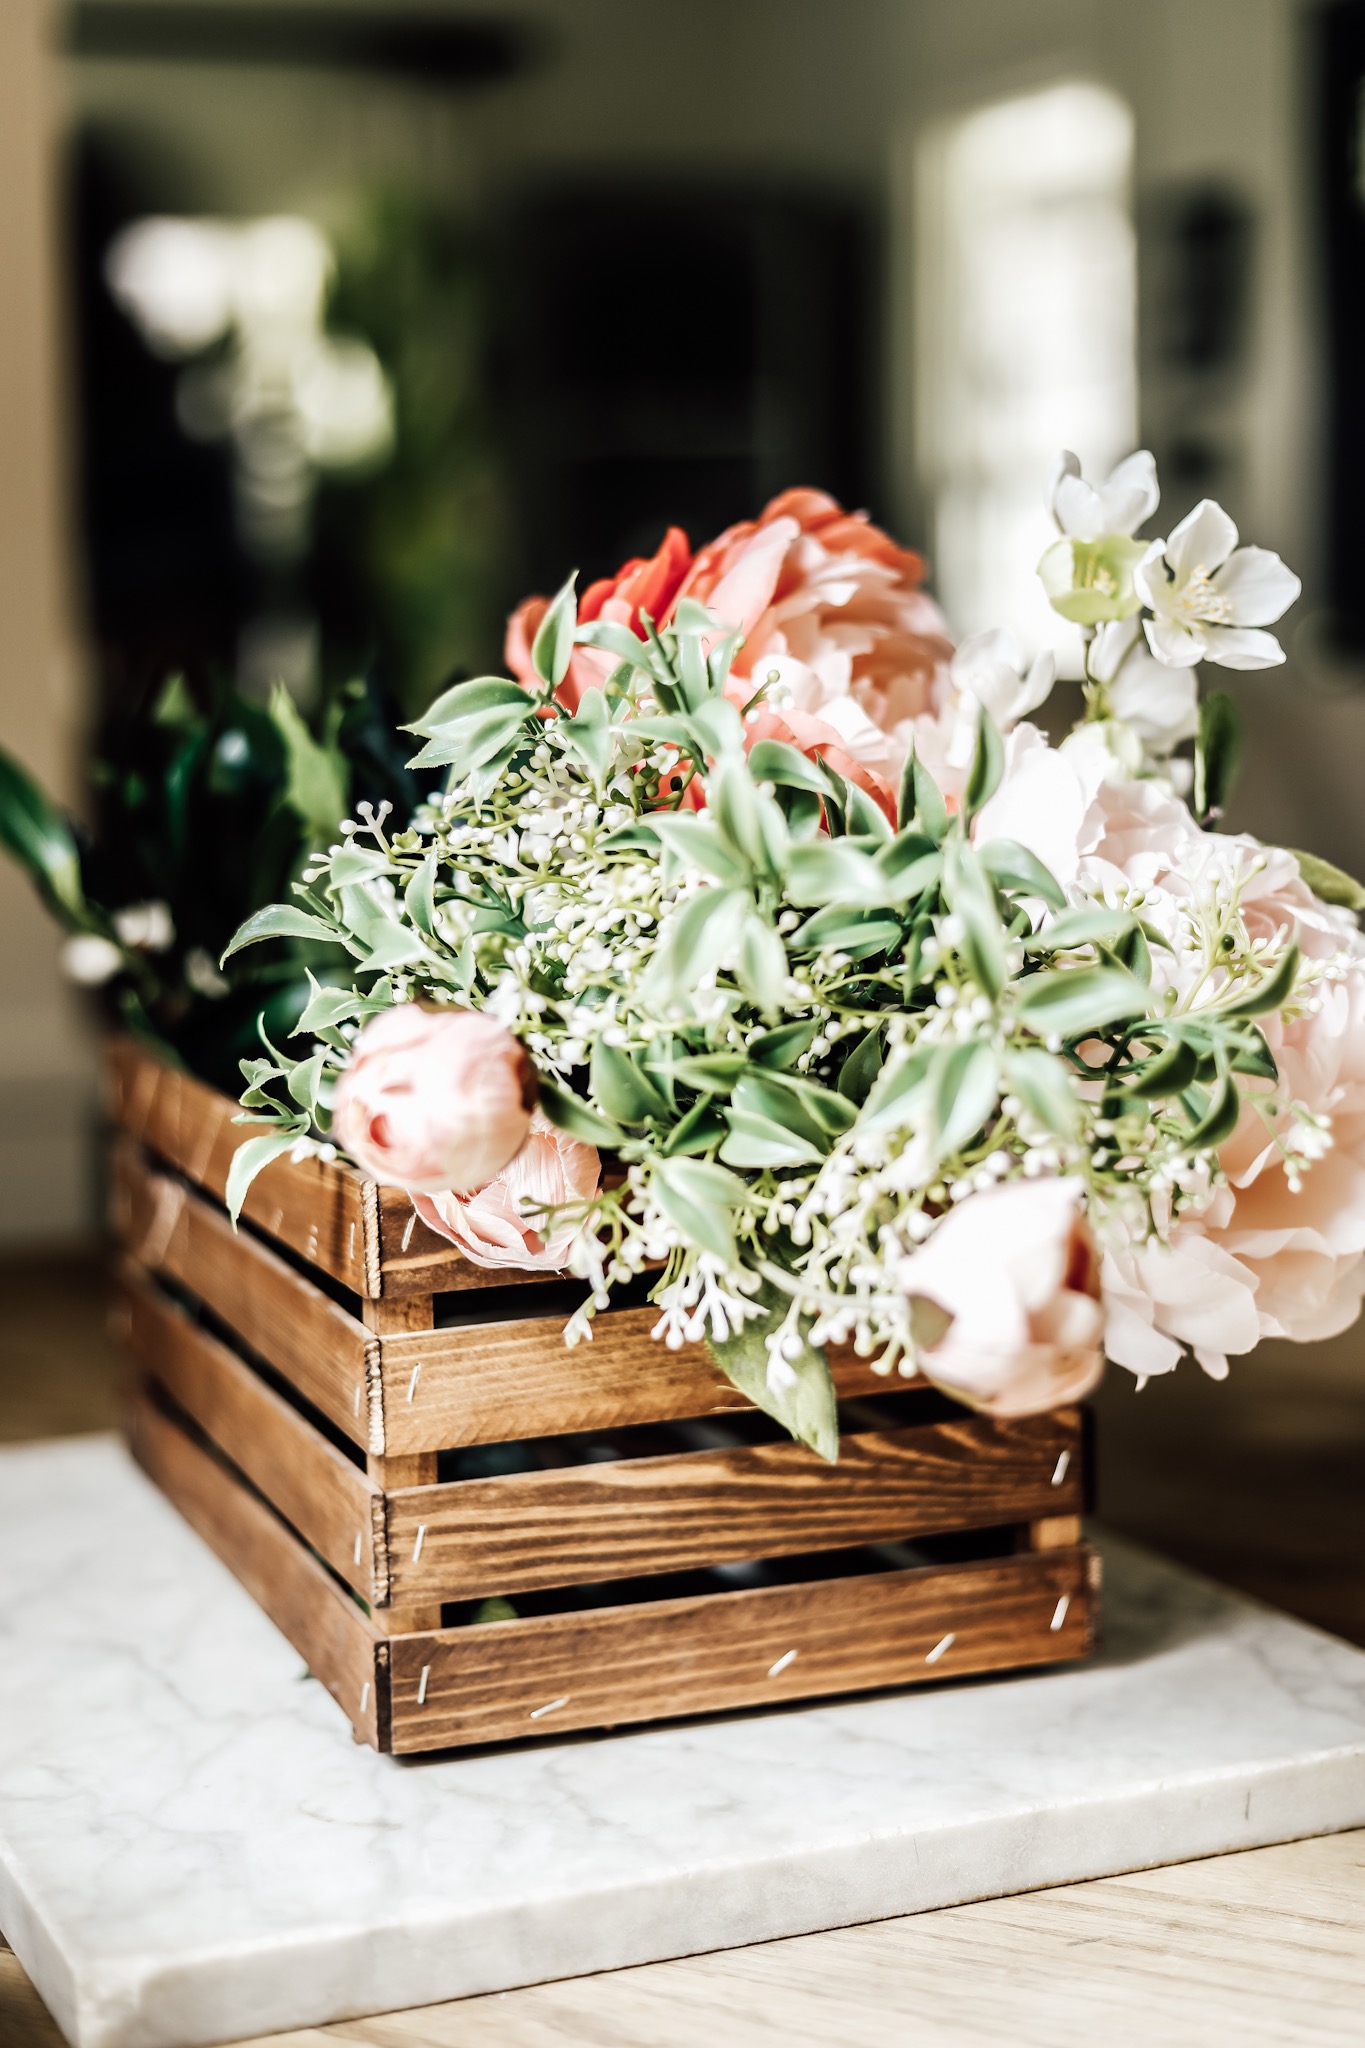
For my crates I knew I wanted to start by making some for my spring decor. I love the look of dark, aged wood, and treated my wooden stir sticks before I got started to make them that beautiful rich brown.
The first box I made I used “old English” furniture polish as a quick and easy treatment. The second box ( the one pictured here in this post) I used Minwax gel stain – which I’ve used before with other projects and really loved.
Staining them carefully with gloves and wiping the excess stain off with an old rag made them practically dry already – but I left them overnight as an extra precaution to make sure they were ready to handle!
I also realized that while you CAN make these with the free home depot stir sticks, I decided to “splurge” and buy $2 worth of their packaged ones that have less going on in the color and marketing department.
These more simple paint stirrers do have a ruler still etched in on one side, but you can either choose to put the emphasis on that – anyone else thinking “super cute teacher gift”? Or you can simply put the ruler sides INSIDE the crate, and they’re barely noticeable at all. This is the route I went!
Another tip is to NOT try to skip the glue! I made that mistake the first time I made one of these boxes and the wood was slipping all over the place as I was trying to staple the pieces in place. AND I feel like the box is less durable overall with only staples holding it together.
Take the extra step and add that glue!
*This post contains affiliate links to products I know &/or love.
Supplies:
- (20) Paint Stir Sticks
- (1) 36″ long 1/2″ wooden dowel
- Chop Saw or Hand Saw
- Measuring Tape
- Wood Stain or Furniture Polish
- Staple gun & staples (You can use a handheld stapler or one with an air compressor. This is the one I have and love!)
- Wood Glue
Prep:
Cut your wood stir sticks into the following pieces:
- (8) – 12 inch paint stirrers – Full length. These will be your box sides.
- (8) -7 inch paint stirrers – These will be your box ends.
- (4) – 11 3/4 inch paint stirrers – These will be your box bottom.
- (6)- 5 1/4″ square dowels – These help create the structure of your box.
Stain or Polish your wood pieces and let them dry (overnight is best).
Now we’re ready to assemble our Paint Stick Crate!
Take two of your 1/2 dowel pieces and lay them down in front of you parallel to each other approximately 7″ apart.
Make 4 glue dots down the length of each dowel with “even” spacing -it’s OK to eyeball this step, it doesn’t need to be perfect, you just want a dab of glue close to where each “rail” piece will end up.
Then lay down (4) of your 7″ stir stick pieces horizontally across the two sticks, lining the ends up flush with the edge of the dowel.
Once you’re happy with the alignment, staple each stick down on either end into the dowels.
Repeat this process 1x with the remaining end pieces. You’re half way there!
The next thing is to create a spot for the bottom to attach to. In order to do that, you’ll use your remaining (2) dowel pieces and staple them to the bottom inside edge of each of your end pieces. I did about 3 staples along the length once I positioned it and aligned it flush with the bottom of my last rail.
Next the process for adding the sides to the crate is pretty much the same as the ends, but you do need to work with the sides of your two newly created edge pieces, so it’s a little less stable.
Before you begin adding your side pieces, you have one more design decision to make! You can either alternate the handle divots of each stir stick back and forth from left to right, or you can put them all along the same side.
It doesn’t matter what you decide – just make sure you’re intentional to get the look you want! The same can be said for whether or not you want the ruler to show. Make sure you are placing and stapling your pieces based on that preference!
Now back to the sides:
Carefully glue one side of your two dowel end pieces and place the first of your 12″ segments across between the top two edges.
(Make sure you remember that the dowel piece you added is now officially the bottom edge- make sure to align both end pieces the correct wa so your bottoms are both down!)
Staple the top rail down, then do the bottom the same way. Having the top and bottom done first creates enough stability to easily set the remaining two dowels where you think they look best aesthetically and the wiggle room to play around with that spacing before stapling them down.
Now you’ll have a box with all 4 sides done!
Flip it over with the bottom edges facing up and place some glue along the support dowels.
Spread your (4) 11 3/4″ wood stick segments evenly along the bottom of your crate.
(There’s a little gap between the support dowel and the corner dowels – I suggest covering that up with your two edge pieces to start!)
Staple all four down once you’re happy with placement.
And that’s it! You’ve got a beautiful, functional (for light duty work) crate for $3!
Pin this project:

Can’t wait to see what you use your crates for!
Warmly,
Welcome to
SHE HOLDS DEARLY
Categories
All Posts
Handcrafted
Room tours
SECOND HAND
Seasonal Decor
Design lessons
Subscribe


