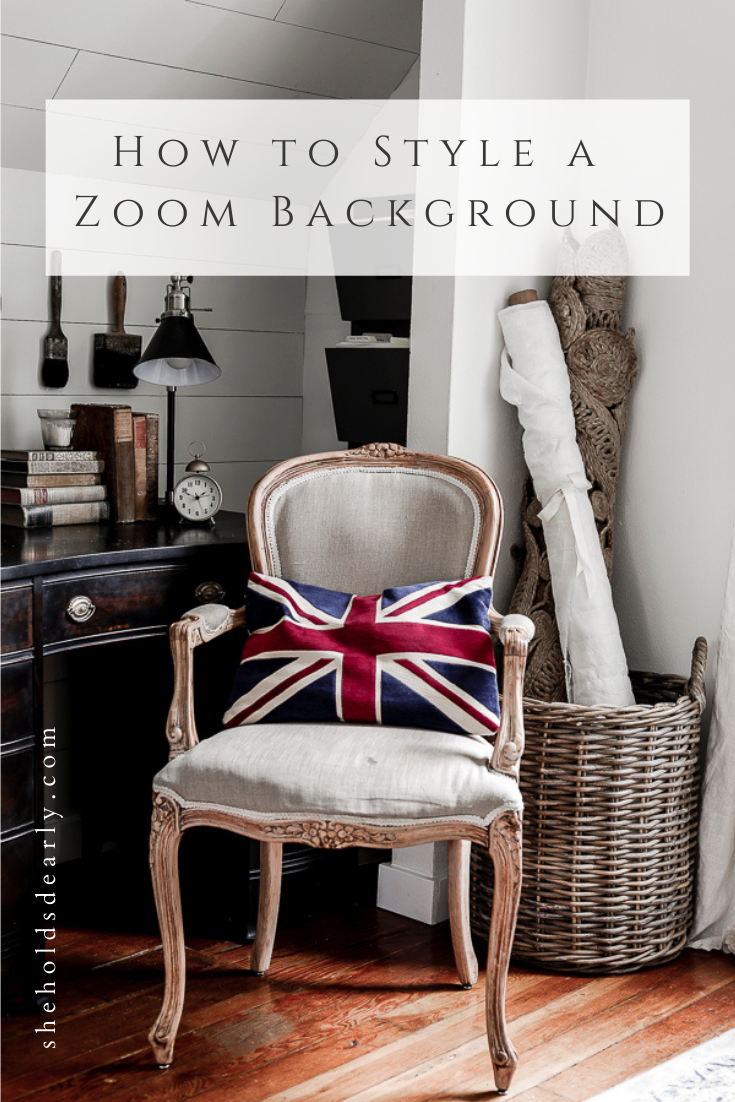
How to Professionally Style a Zoom Background
Have you found yourself on zoom more in the past year or so? Today we’re talking all about how to make a zoom background that you’ll be proud to sit in front of for future calls!
As part of my Behind the Scenes design group, I’ve actually been doing weekly zoom calls since the middle of 2019! I like to say we were on zoom before it became the thing to do!
And it was actually one of my students who suggested this idea of creating a how-to guide for creating a better background for video-based calls and meetings.
After she mentioned it, I did some research on YouTube and was surprised to see that there really wasn’t much out there talking about this topic – and it’s really needed! So many people are using zoom and other video-conferencing programs and feel embarrassed about their space, sometimes even so much that they prefer not to even turn their camera on!
I’m glad to get a chance to share what I know about creating professional zoom backgrounds that keep the focus on you and what you have to say, and not on distractions around you.
*This post contains affiliate links to products I know &/or love.
There are Three Important Areas to Focus On:
In every video call or class, there are three areas that give you opportunities to stand out – either in a good or bad way.
- In Front of You
- Yourself
- Behind You
I’ll give you some tips about each one to help you ensure that when the focus is on you & your space, it’s for a good reason!
#1 | In Front Of You
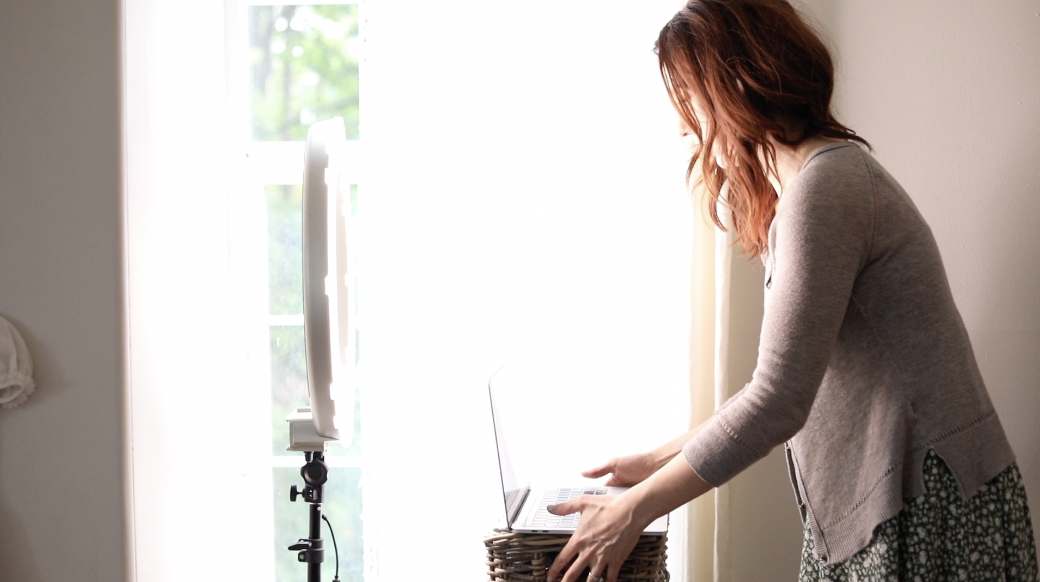
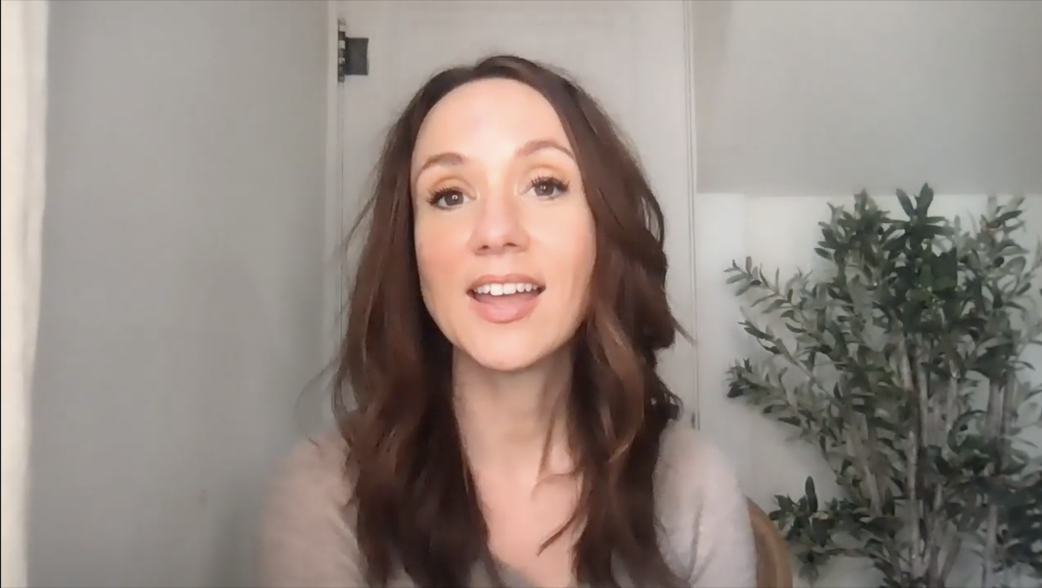
The single most important thing to plan that will happen in front of you during your video call is your lighting!
Here are the best ways to use your lighting to your advantage to help you look your best:
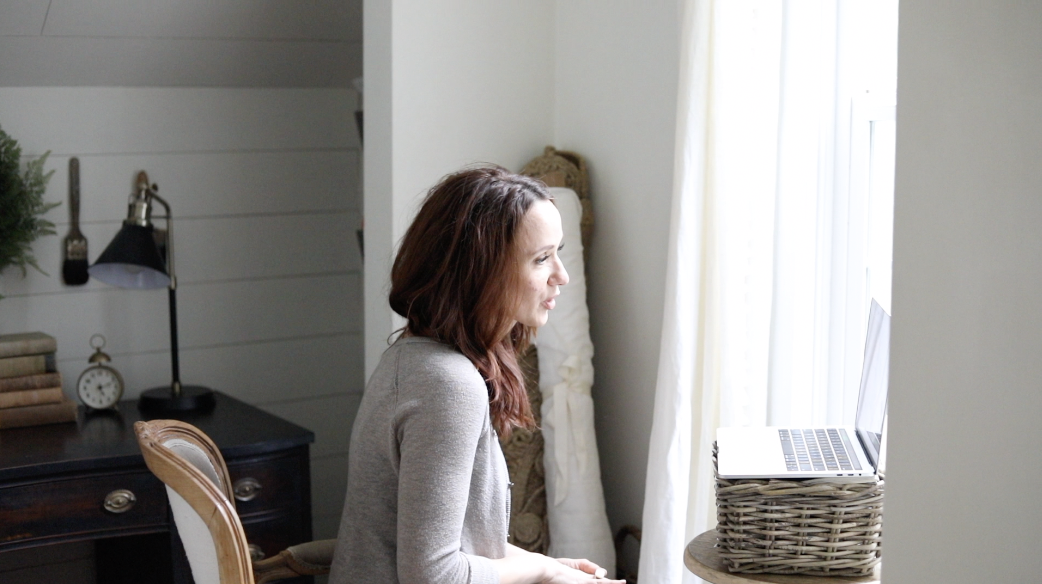
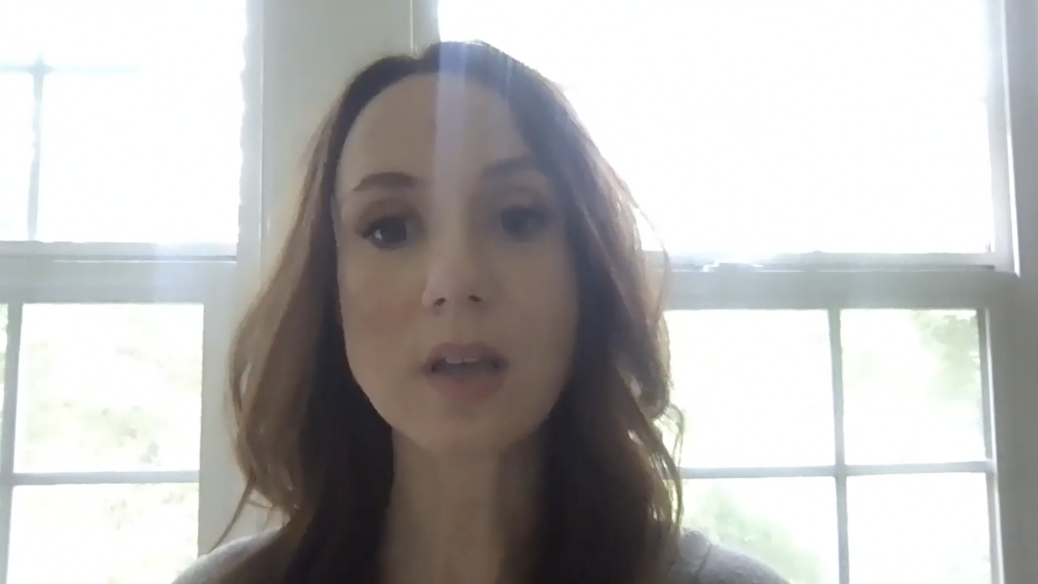
If you have the option, use natural filtered daylight. This doesn’t mean you want bright sunshine streaming down on you, but if you have a window that is partially shaded (without casting shadows across your face), OR if you have plain white curtains that you can pull closed to diffuse the light – you’ll have the best lighting option around.
Facing a window can almost take 10 years off your age due to how it softens and disguises things like wrinkles and discoloration or blemishes. If you can’t face a window directly, you can have the window at your side which is the 2nd best option. Depending on the angle, side lighting can sometimes highlight some of the things that direct light softens, but it’s still one of the better options!

But whatever you do, don’t sit with the light from a window behind you. This creates something called “backlighting”, and your camera won’t do you any favors with this set up. Most computer cameras cannot deal with the high contrast and difference between someone sitting in front of the camera and bright light streaming in behind them.
And usually they will default to a much darker setting to compensate for the bright light, and then you’re literally left in the dark in your video. Which is less than ideal, to say the least.
Your second best option for lighting is to supplement with other lights.
If all you have is a table lamp, you can set it right in front of or just off to the side of you computer and a little higher than your head. This is the option I use when I have calls or meetings later in the evening when natural light is no longer available.
Or if you’re using zoom and video calls often, you can invest in a ring light. I got one off amazon for about $150 that I use often for recording videos for my YouTube Channel and Behind the Scenes classes.
Most of the ones you’ll find give you options to adjust the color of the lighting and have adjustable stands to change the height and orientation.
As a note, though, ring lights can be especially tricky if you have glasses, (more about that in a little bit) and even without glasses on, will often reflect back in your pupils which can be a little distracting once you notice it, so that’s something to be aware of!
The worst types of lighting are overhead lighting (like using your ceiling lights with no supplementation from a window or lamp), and backlighting like I mentioned earlier.
Avoid them whenever possible and try some of the other options to see if it elevates your overall zoom experience!
#2 | Yourself
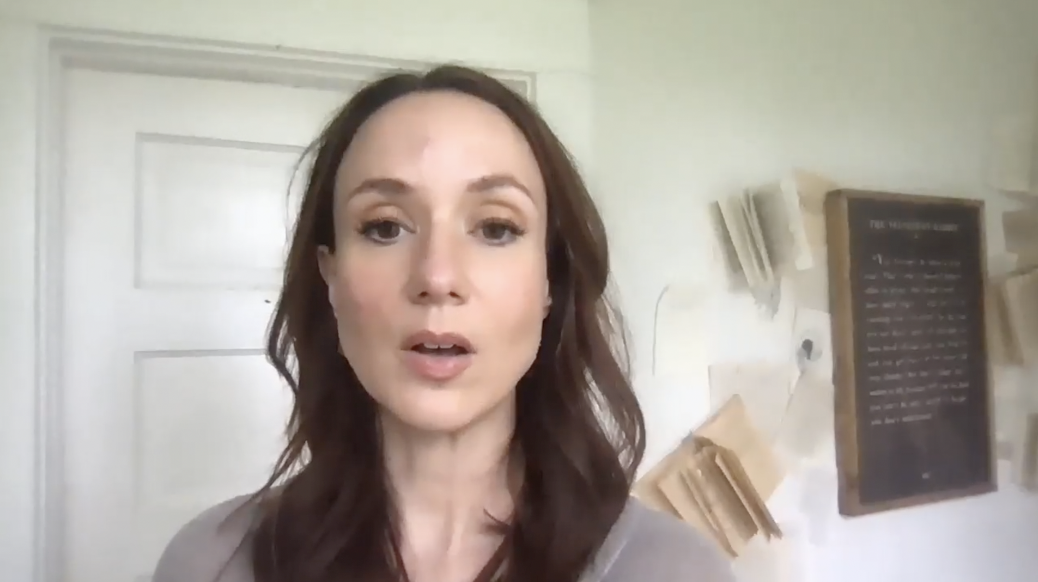
Next we focus on ourselves – the ones in front of the camera!
I’ve found that before calls and classes, it’s really the time to take a quick 10 minutes to pop in front of a mirror and freshen up anything that’s needed. Whether that’s styling your hair, or re-washing and drying just your bangs or adding some mascara. Taking a few minutes to feel put together can make it so much more enjoyable and easy to focus when you’re in a meeting or on a call.
The times I’ve tried to take shortcuts and didn’t spend those ten minutes preparing, I typically feel more flustered and distracted during the call just wishing I’d gone ahead and gotten it done ahead of time. Learn from my mistakes!
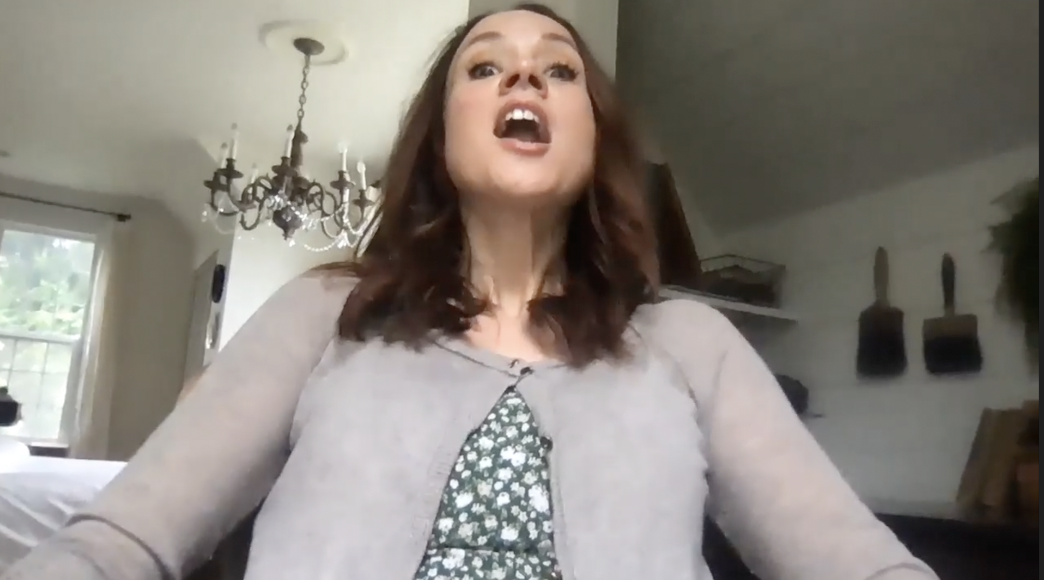
Also, focus on where your camera is and what angle you’re sharing with your viewers. Anything down lower than your head is going to be much less flattering than having the camera slightly above your eyes.
Again, learn from my mistakes.
A couple of other general tips:
Do your best to look into the camera itself when you’re speaking instead of at the videos of your colleagues, classmates, customers, etc… I know it’s difficult and feels un-natural, but it will give a much better end result for their view of you!
You want to be close enough to the camera that the top of the video frame hits just above your head.
And sitting up straight and tall, and slightly forward will help your camera know to focus and emphasize your head and face over other body parts. (If you find this difficult to remember, you can tuck a lumbar pillow behind you!)
I mentioned earlier that ring-lights can show a reflection back in your pupils and glasses, and the best way to avoid that is to raise your light and angle it back down so that it’s above the height of your natural glance to the computer and camera.
If you notice that your computer monitor itself is reflecting back onto your glasses, you can usually adjust the brightness in your computer settings. This seems especially relevant to me when I do calls in the evenings.
And last tips about YOU behind the camera, do your best not to touch your hair or face! (I’m still always having to practice this one). The experts say it’s very unprofessional and distracting, so the more you can keep your hands away, the better!
#3 | Your Background
Finally, the most fun part!
I first started paying attention to video backgrounds when one of my favorite photographers on YouTube, Peter McKinnon did a video all about how to make the most of video backgrounds.
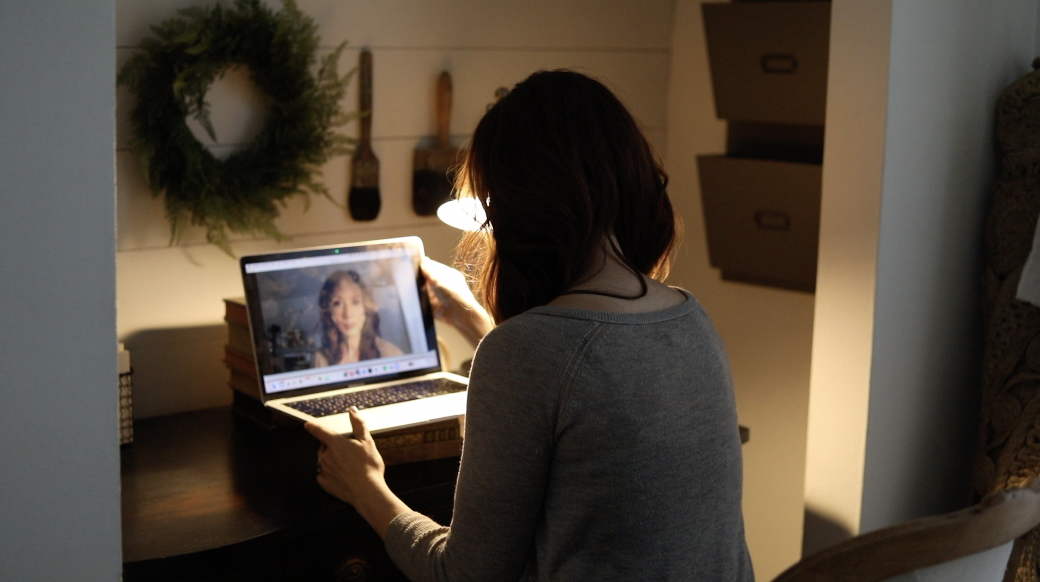
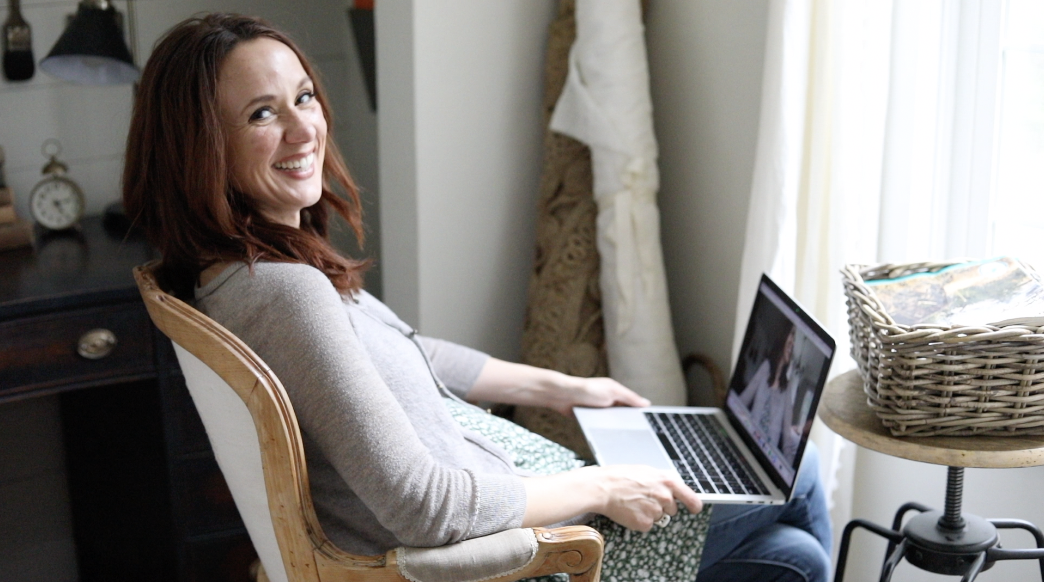
One of the points I loved most that he shared is to create a sort of frame around yourself using elements of your background. I’ve used that tip often in my zoom backgrounds, like when I flip the camera around and use my vintage door as the backdrop.
That’s actually one of the things I love most about my little corner in our bedroom that houses my closet office. I can set up for zoom meetings in three different ways depending on other circumstances and feel good about each set up without a lot of prep. My space is always ready and it doesn’t matter what might be going on in the rest of the house.
If you can, analyze where you can set up yourself up a little studio of sorts to get the most bang for your buck when you set up a zoom background without having to take it down and reset it each time.
A couple of things to avoid in your Zoom Background:
Before we jump in to all the fun things to include, let’s talk quickly about some things that can really detract and distract during video calls.
Ceiling fans is a big one – because boy there’s nothing much more distracting that a ceiling fan in motion behind someone’s head!
A less general and more likely set of things to avoid is anything that could be classified as clutter. Depending on where you are, the types of items will change, but the best rule of thumb is to clear away everything that isn’t intentionally added to your design for the space as a make-shift zoom studio.
Now the things to add!
I love it when people include items in their backgrounds that speak to who they are!
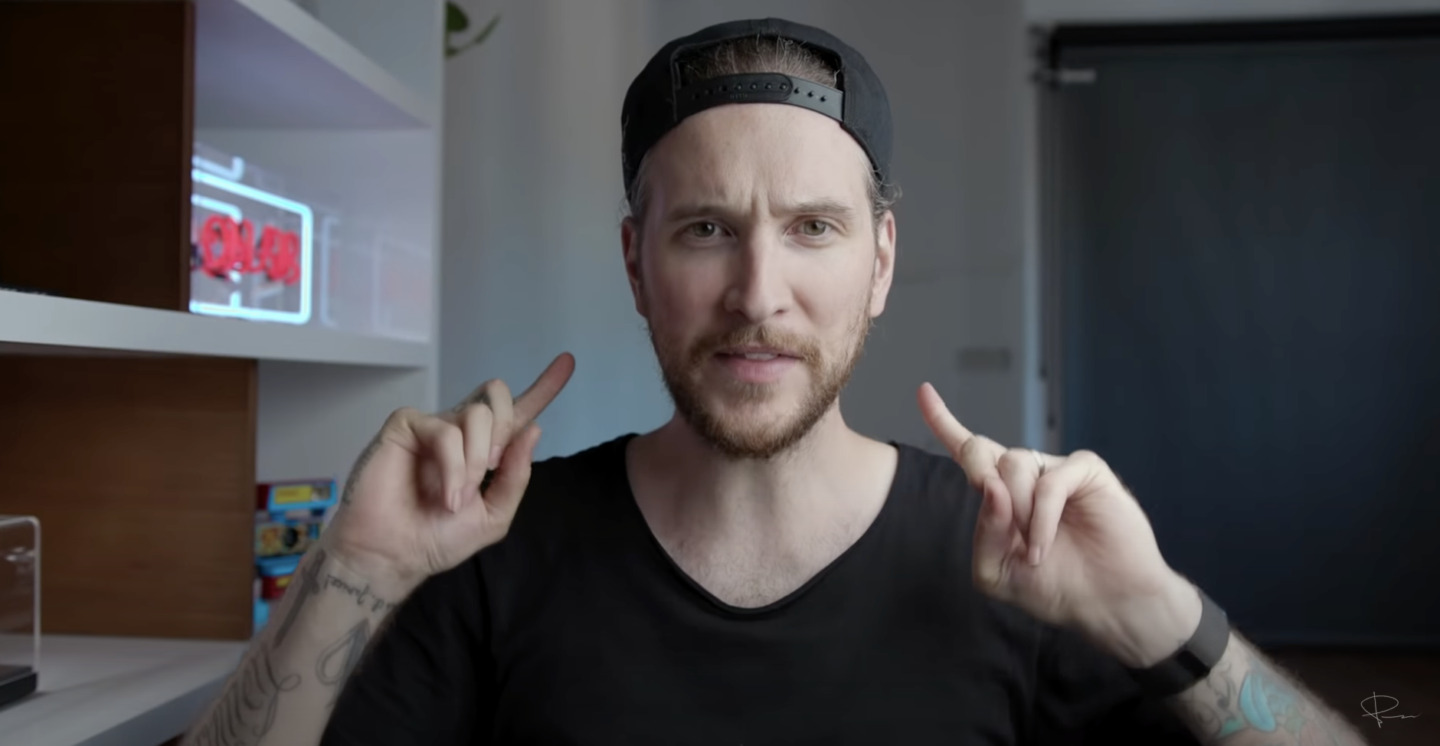
Take this chef for example. He’s got his chef jacket on, but behind him he also has beautifully styled kitchen shelves which are 100% relatable to his job and the content he’s sharing.

I’ll share some more examples below that really highlight this idea well.
Some visual tricks that I learned about in photography classes apply to backgrounds as well. A flat wall behind you with some leading lines (horizontal lines leading from the “front” of the space back to the middle center.) on either side of your head helps the viewers eye focus on you.
If you don’t have a flat wall behind you, you can use a corner and the adjoining walls as your leading lines. (That’s how my set up works!)
Having décor or furniture on both sides of you is great as well, but make sure that you’re not accidentally obstructing pieces of the design or having things “jutting out” from your side or from the top of your head. (I had an unfortunate instance once where a fern wreath on a door behind me turned into a green lions mane…)
Make sure you have a cute chair! I know it seems like a kind of silly detail, but knowing that your chair will blend in or add to your decor if you have to hop up during a call is a nice touch!
Some Examples of Great Backgrounds:
Once you start paying attention to backgrounds, you’ll start noticing good ones all around!
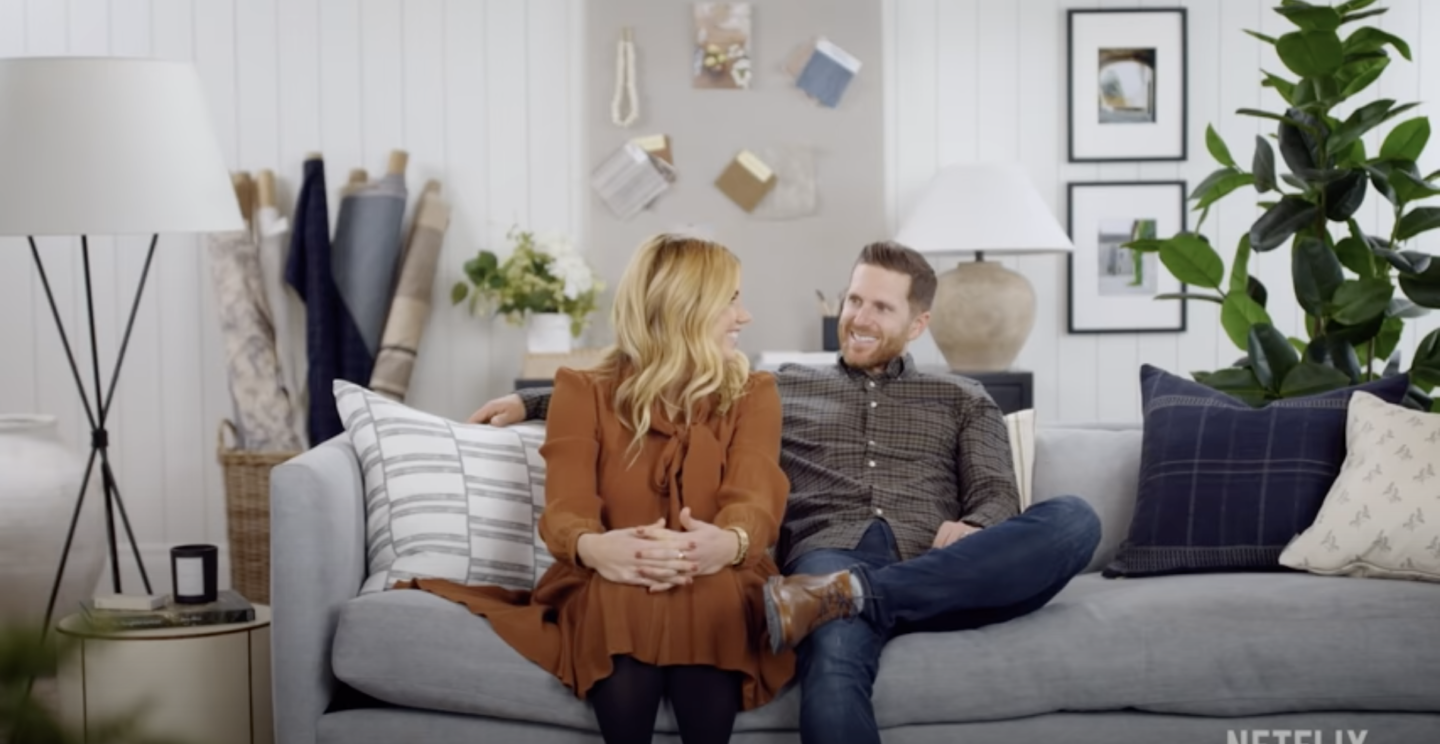
I’ve been really inspired by this cute set up by Shae McGee and her husband for their Netflix show Dream Home Makeover. The furniture is cute, I love the rolls of fabric behind them (it’s one of the main reasons I chose to add a rolled rug and roll of fabric in my office/zoom background set up!), the design board on the wall, the cute pillows, the plant. So many elements working together perfectly!
I love learning, and I’m usually taking 3-4 classes via audio books or masterclasses at any given time.
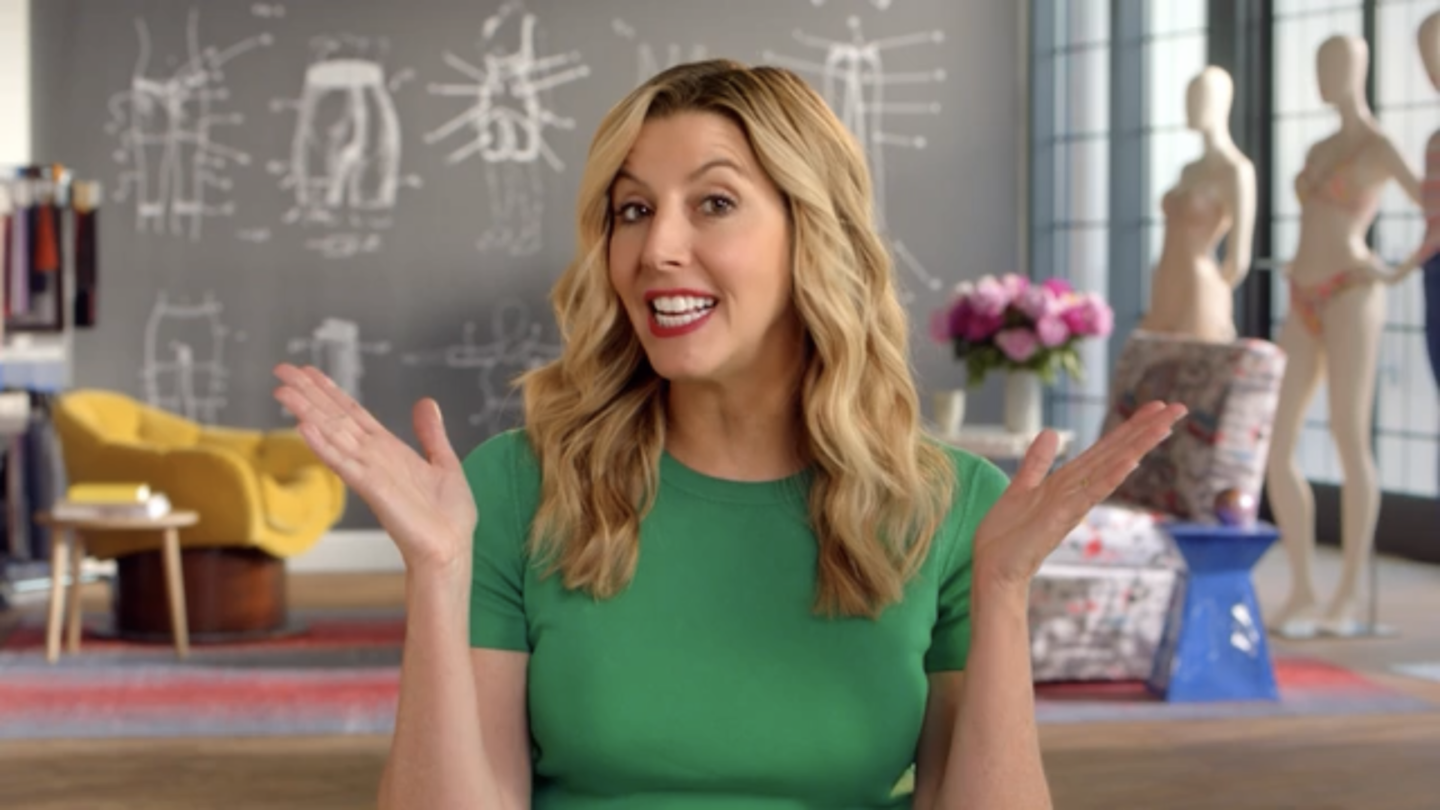
I recently did one put on by Sara Blakely who started the Spanx company and just LOVED the way they chose to style her backgrounds.
She’s got a great flat mural-like background with spanx schematics, fun colorful furniture pieces on either side, fabric swatches, and mannequins.
In another set of shots, they zoomed quite a bit further in, keeping the fun backdrop, and having her sit in the fun mustard chair.
A+ to whoever designed these set ups for her!

This is Daniel Pink who teaches Sales & Persuasion, but I also love what they’ve done with his backdrop.
He’s got much bolder lighting, a flat back wall, nice leading lines along the bar desk and shelving, and a great blue velvet chair.

Howard Schultz is the former CEO of Starbucks, and I love that they created his backdrop to look like a cute coffee shop!
The mural looks like a window overlooking a street scene, the tables are on either side of him balancing the frame, and the shelf with all the coffee mugs gives us some more of those great leading lines.

Natalie Portman went another direction with her background, using not only a free standing backdrop, but also the framework that holds it up. It gives the whole shot a “behind the scenes” feel that I think can make it even more relatable.

Practice Makes Perfect!
My last tip is that you can always pop onto zoom and start a new meeting with yourself as the only participant to get a feel for how your lighting, background, and angles are all working together. There’s no better time to move and adjust things than when you’re on your own without co-workers and classmates watching!
I hope these tips give you some ideas to try and that they produce a more inviting space during your zoom calls and a more confident you!
If you’d like to join my Behind the Scenes Design Group, you can add your name to the waitlist below and you’ll be notified when we have our next opening for new members.
Pin This for Later:
Until next time,


