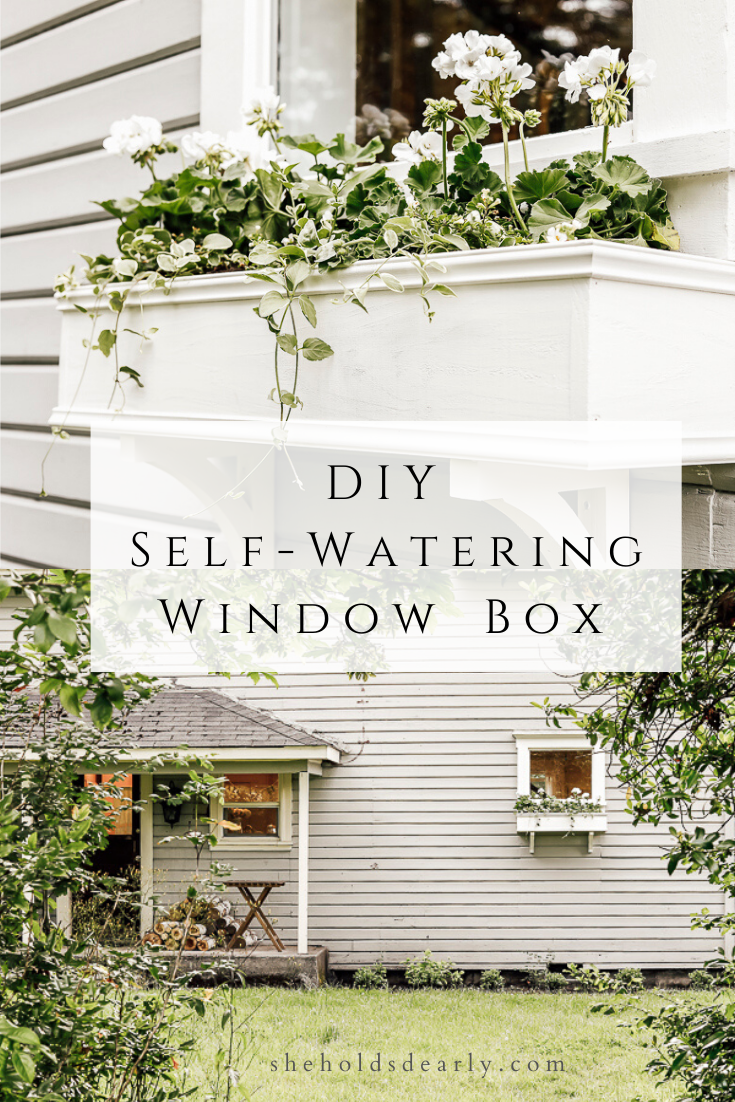
DIY Self Watering Window Box
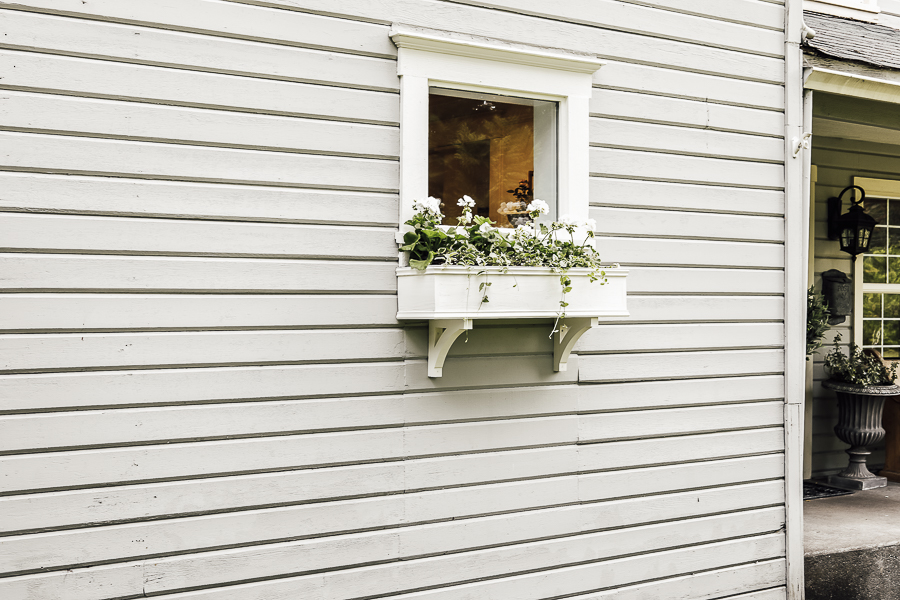
If you have an odd little window or even a big window on your house exterior that you are wanting to dress up a bit, try adding a self watering window box!
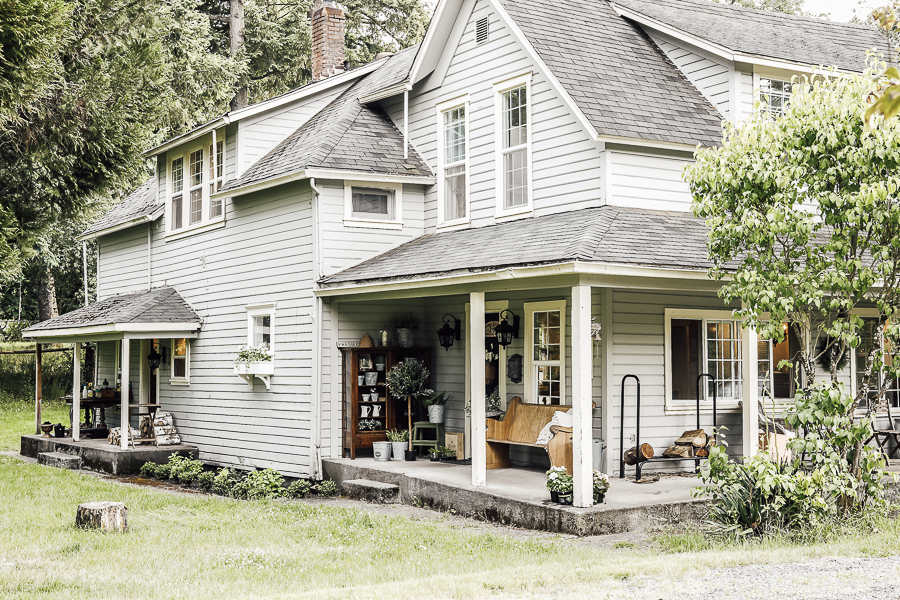
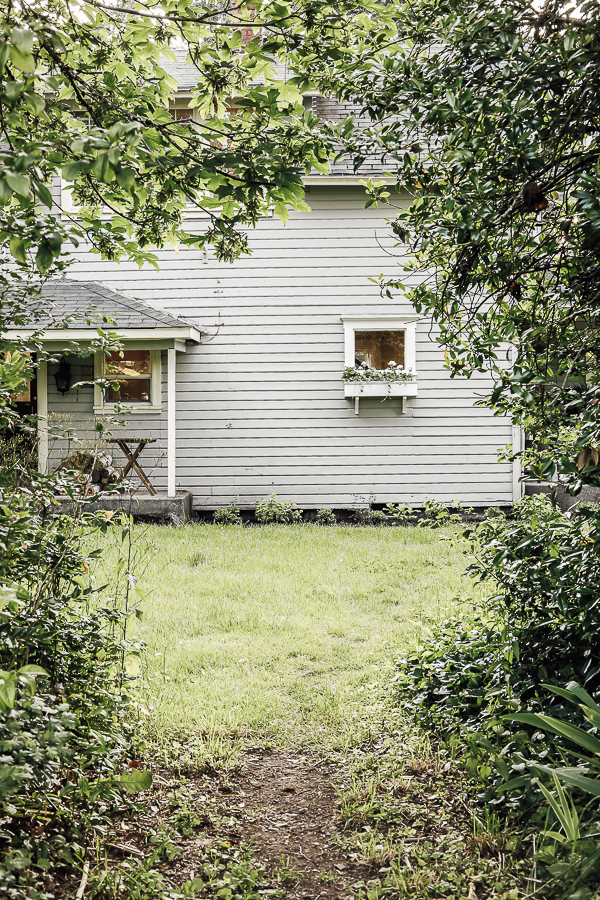
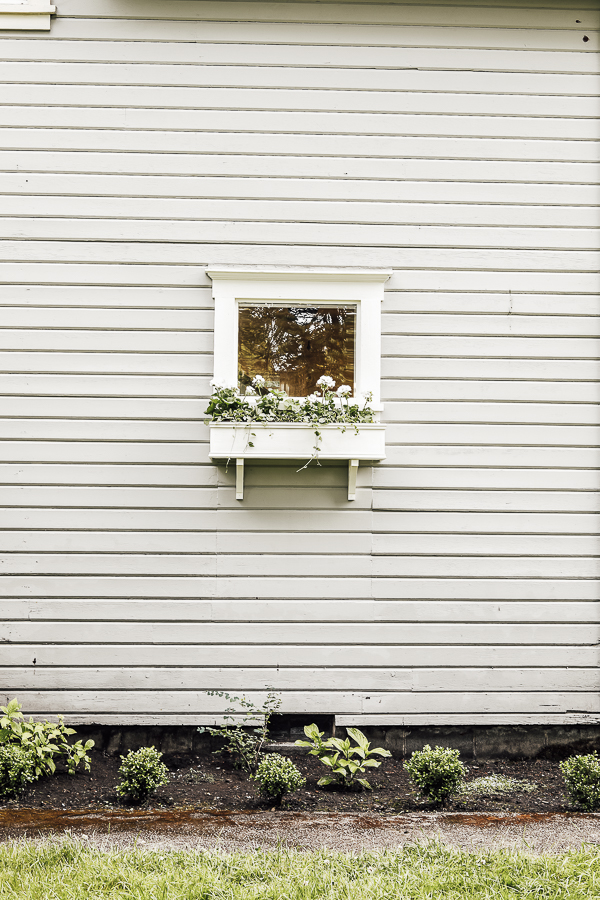
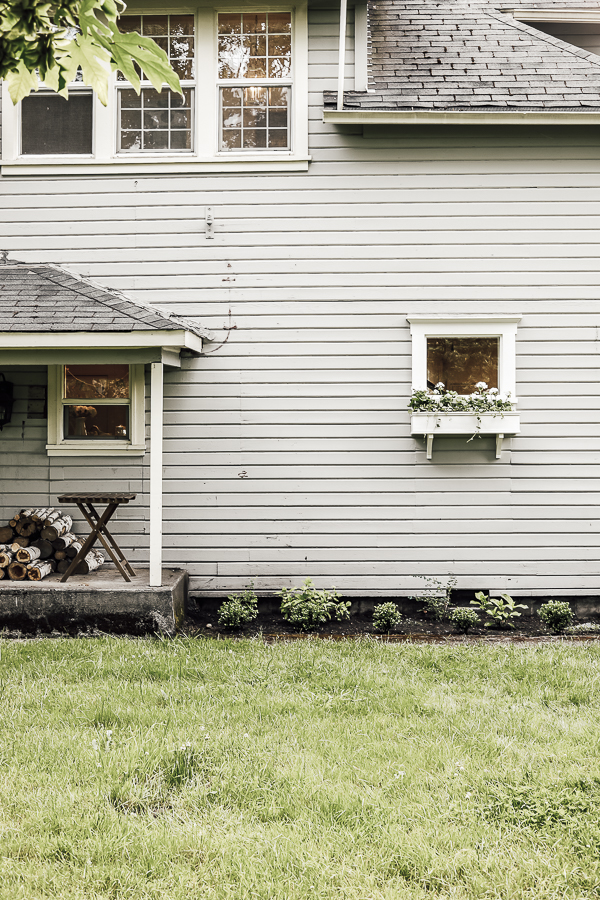
We have this cute little window on the side of our house. I love that it is tucked in along our staircase going to the second story and that our cat has claimed it’s window sill as his own vantage point for bird and squirrel watching.
However, from the outside it kind of gets lost in the magnitude of the house, kind of like a little postage stamp on a wall. The proportions are all off.
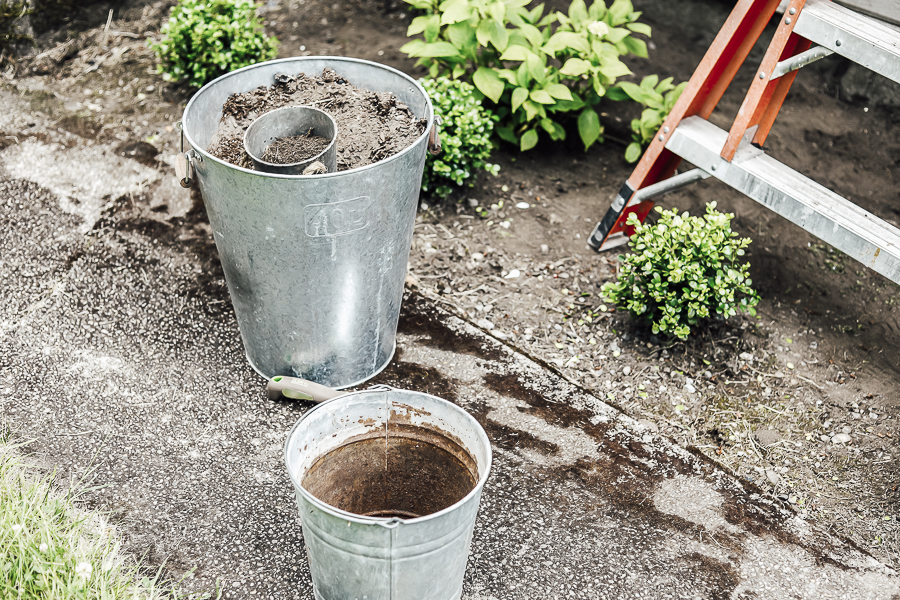
In an effort to save money, I planted smallish shrubs in the flower bed below, in the hopes that one day they would indeed fill out the space.
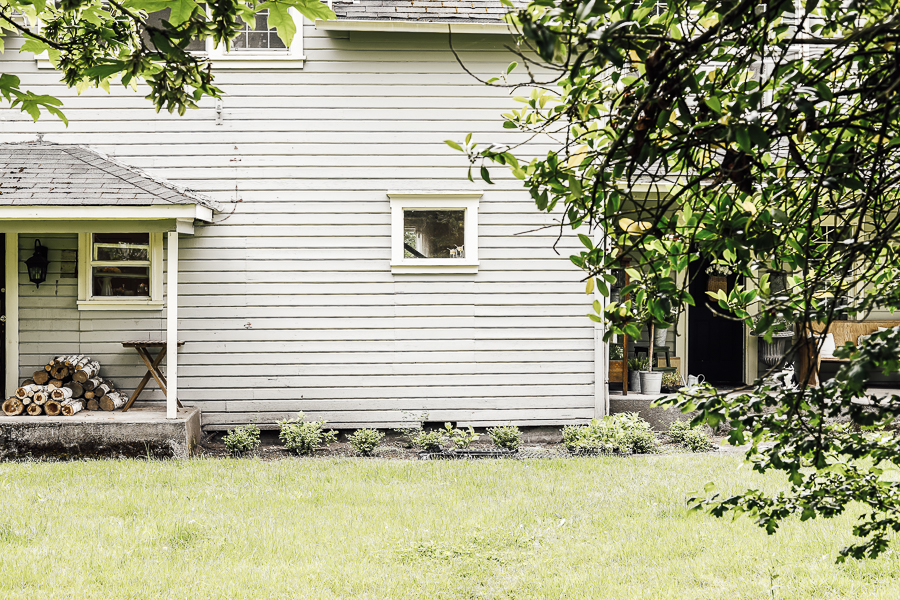
I look forward to that day where the ground is fully covered in blue star creeper, the three large white hydrangea bushes are as tall as I am and the individual boxwood have grown together to form a low, formal hedge.
Sigh. Until that day, I will improvise with my French tuteurs. In the winter, I will place two of them on either side of the window for some added height, but I use them during the rest of the year in the garden.
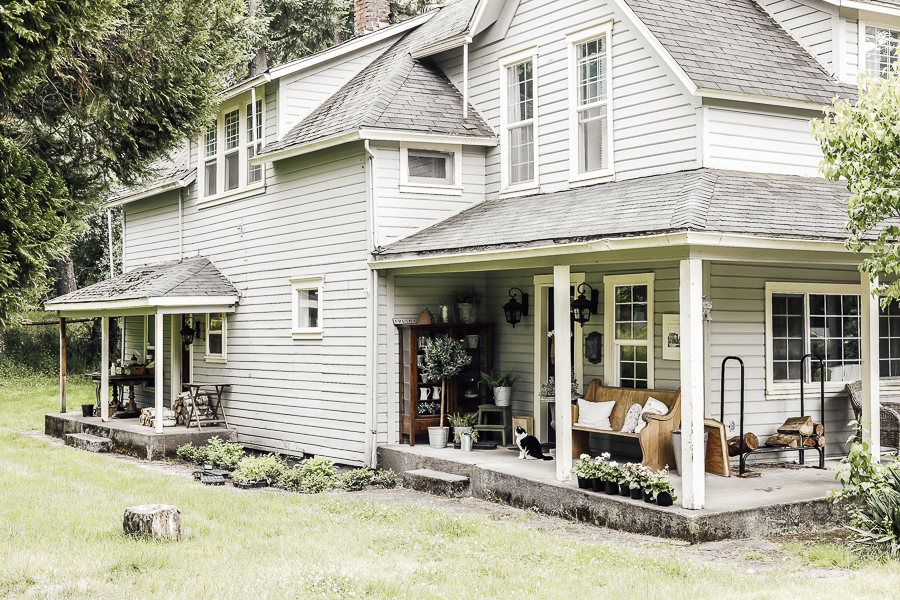
We have had some ideas on our Pinterest boards for how to remedy this sad little window and the first step we are taking is to add a self-watering window box.
We thought we’d take you along on the process and give you all the deets!
Here is my inspiration piece from Grandin Road. . .
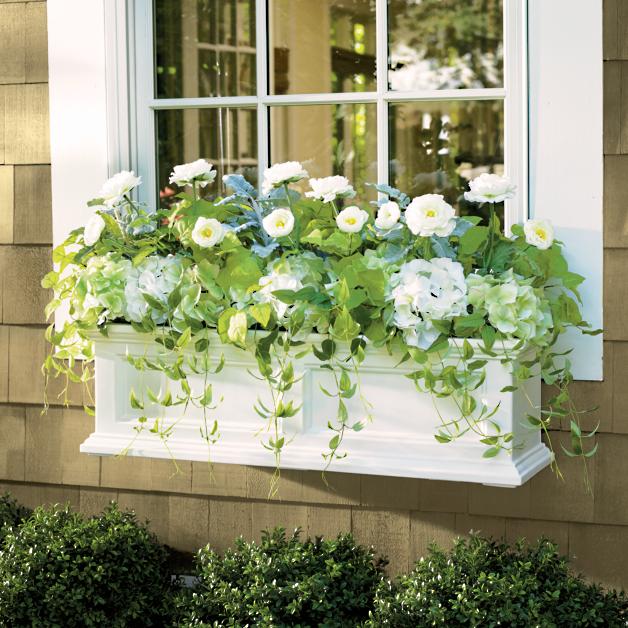
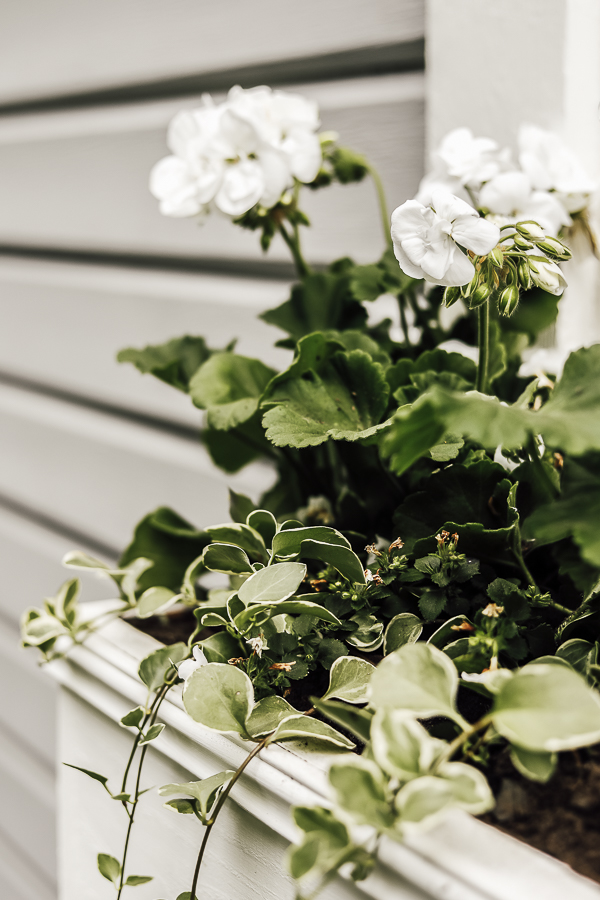
I knew I wanted some tall white flowers in the back, some shorter white flowers and some trailing vines.
I also love the look of the trim on the top and bottom and was considering adding corbels.
Because of the height of the window, I needed to simplify the watering process, as well.
My husband designed a basic watering system that
- allows watering in one spot,
- offers protection from overwatering,
- keeps the muddy water off the side of the house and
- waters from the bottom up, so as not to disturb the dirt while promoting healthy plant growth.
Whew! No small feat, if you ask me!
We headed off to Home Depot (our home away from home), got in a disagreement about the exact design (uggh!) and went to pay.
Hmmm, I seemed to have forgotten my wallet and oh wow, my husband forgot his, as well. No worries, I could just write a check.
Wrong! I needed my i.d. for that.
I called my daughter, to bring my wallet, but she couldn’t find the keys because I had hers in my purse.
Anyway, two hours later, we made it home. But, we immediately realized we didn’t get enough wood and a rain storm had started.
It’s Ok, just hold umbrellas over everything and find some scrap wood. Oh. my. goodness.
I tell ya, DIY projects develop a lot of character AND they are usually worth the headache!! So, stay with it, my dears!
Good things are coming your way!
Learn More about my Elite Decorating Academy:
If you’re looking for a comprehensive interior design course, you’ve got the right gal! Head over to elitedecoratingacademy.com to learn more about the course I created with YOU in mind!
DIY Self Watering Window Box
Supplies
*This post contains affiliate links to products I know &/or love.
- Cedar boards for box
- Any trim that you like for the face and sides
- Corbels
- Saw
- Exterior screws
- Drill
- Finish nailer
- 3/4 inch PVC
- 3/4 inch elbow
- 3/4 inch end cap
- 1 1/2 inch PVC (could use all 3/4 elbows and PVC, but the larger opening makes it easier to water)
- 1 1/2 inch elbow
- 1 1/2 to 3/4 inch transition
- PVC cement
- Duct tape
- Plastic for lining
- Staple Gun
- Pivoting bit tip
- Gravel or small rocks to keep dirt out of the watering holes
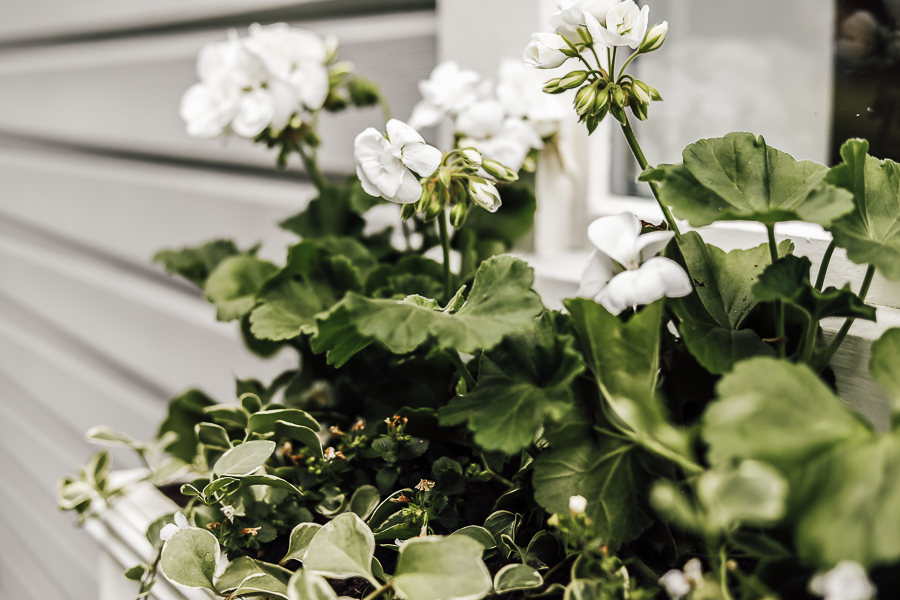
- Flowers for filling- we chose white geraniums, white bacopa and vinca vines.
- Potting soil
Tutorial
Assemble the Window Box
- Measure the width of your window, including the trim. This is your finished size.
- Add on the depth (we used 8 inches) for the two sides.
- Cut the face, bottom and back boards (minus the thickness of the side pieces, these will go on last).
- Drill pilot holes and screw the back and face boards to the bottom board. The screws will be covered with the trim.
- Drill pilot holes and screw the two side boards on the two ends.
Add Drainage for Excess Water
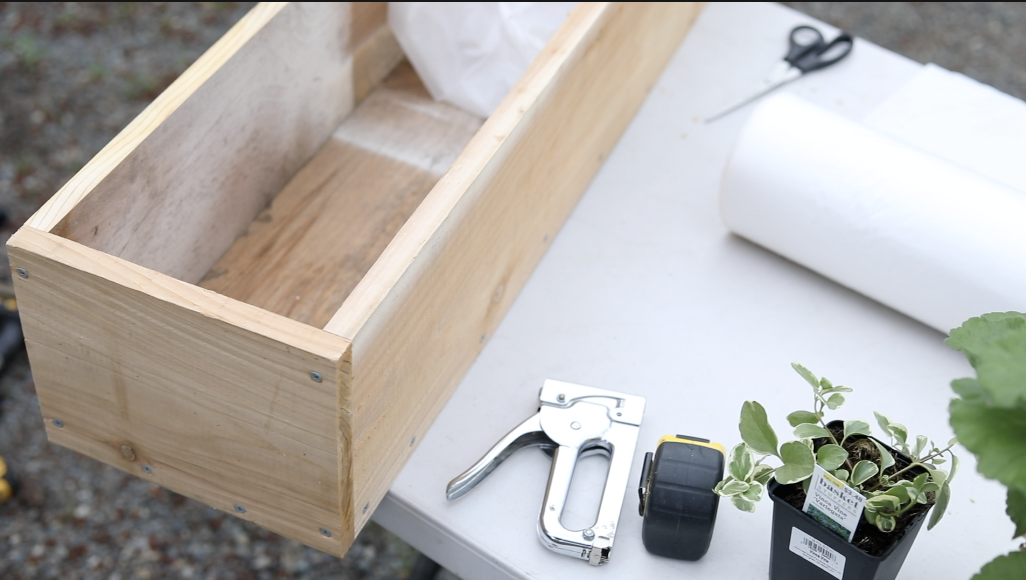
- Cut a 5 inch and a 1 1/2 inch piece of PVC.
- Add the elbow between the two pieces and adhere with the PVC cement.
- Drill a 1 1/8 inch hole in the front corner of your window box, the other front corner will be where you water.
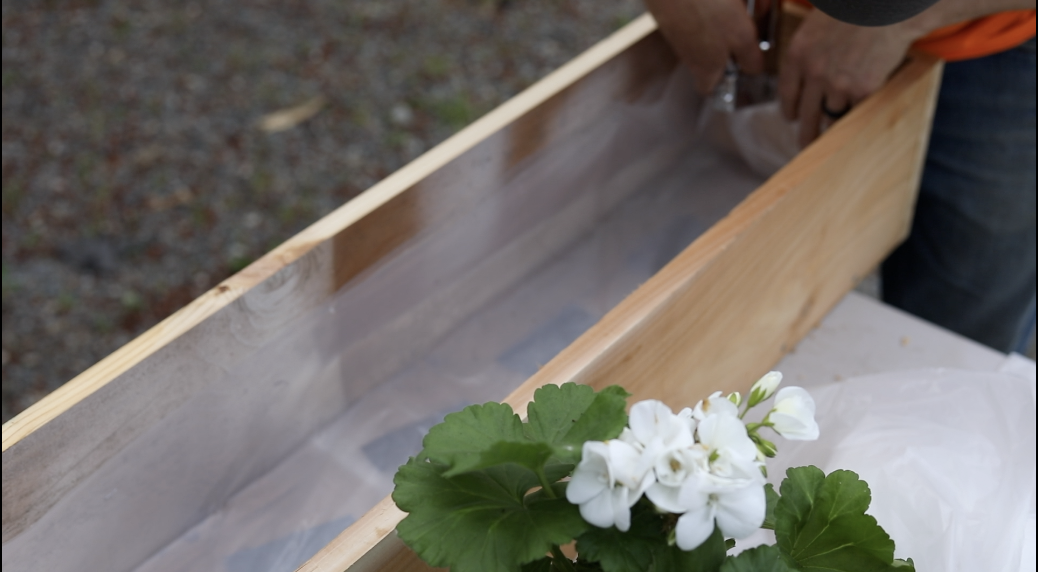
- Line your box with heavy mil plastic, staple in place at the top edges, but leave the corner with the hole open a little.
- Add in your PVC piece and tape to plastic with the duct tape.
Add the Watering System
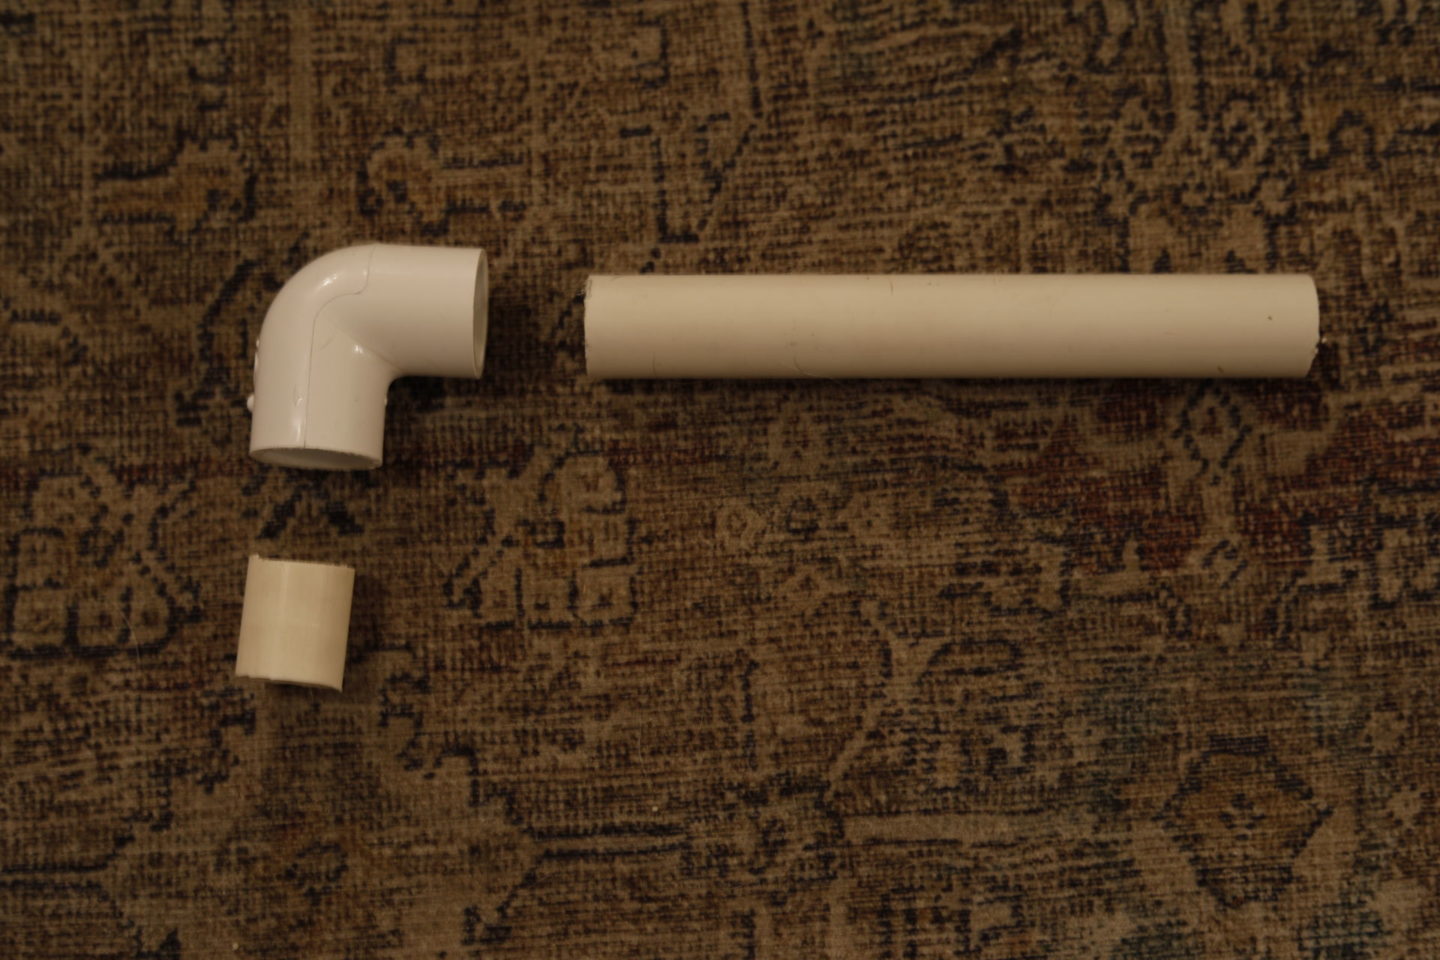
- Cut the 3/4 inch PVC to the length (minus four inches) of your box.
- Cut the 1 1/2 inch to the height (minus 1 1/2 inches) of your box.
- Drill alternating holes along the bottom of the 3/4 inch PVC
- Assemble the three pieces like you did above and adhere with PVC cement.
- Place this in your box diagonally with the the large opening PVC in the front corner. See the video to watch the watering system in action!
Add Trim and Paint
- Cut your trim pieces and miter the corners.
- Attach the trim to the face and sides of the window box using a finish nailer.
- Paint the box with trim and corbels to match.
Install and Fill with Flowers
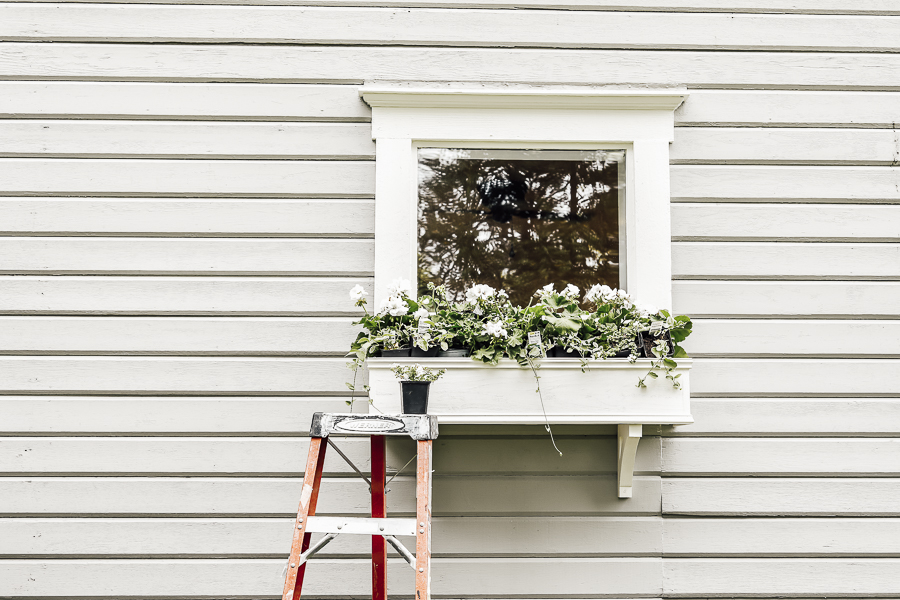
- Drill pilot holes and add screws to attach the window box to the side of the house.
- Shim (as needed) the corbels and attach to the house in three places.
- Use the suggested tool in the supply list, if you are having trouble with the angles of the corbels.
- Add smalls rocks around each of the holes in the PVC pipes.
- Practice styling your plants before you actually plant them.
- I ended up using about four white geraniums along the back and then alternating bacopa and vinca along the front.
- Loosen up the roots a little on each of the plants right before you plant them.
- Add in the potting soil along the bottom and sides of each plant, as you go along.
- Water thoroughly.
- And ENJOY!!!!
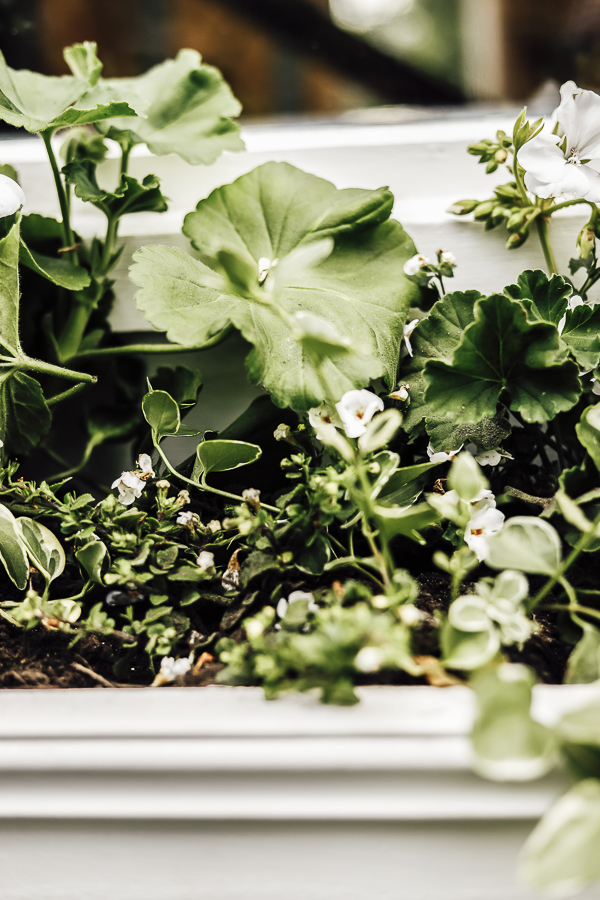
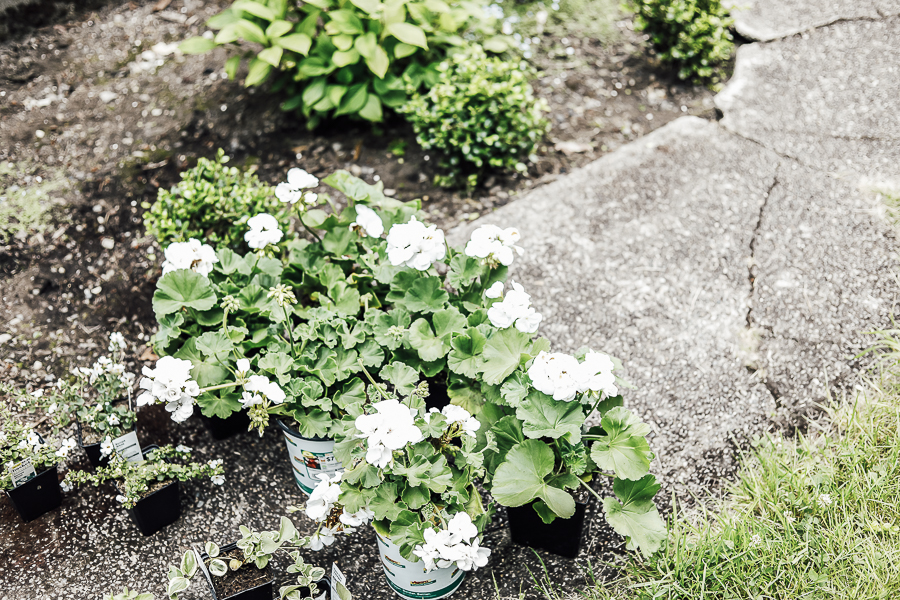
We made it! Despite the fiasco in Home Depot, the rain storms and the design challenges we faced, we got another project checked off the list.

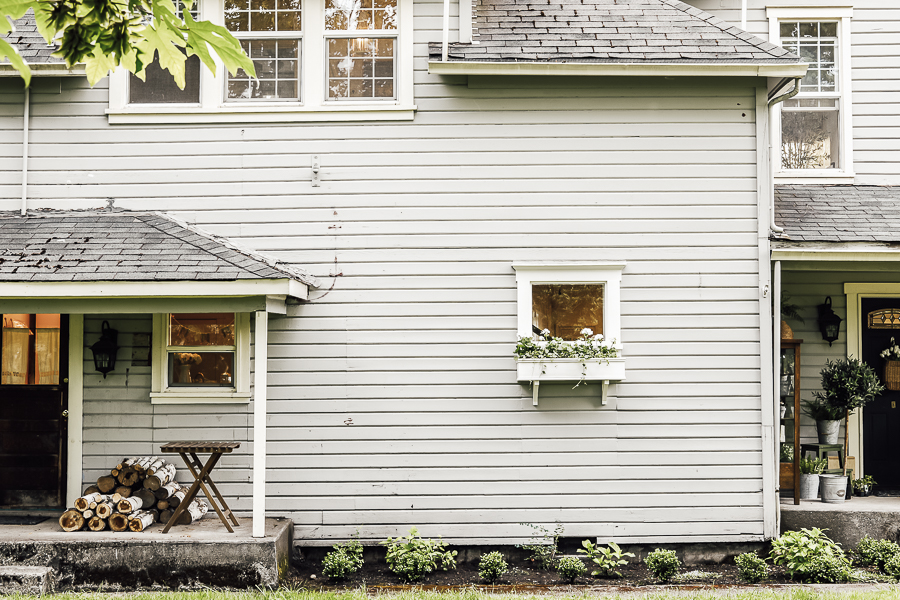
Shop This Look
[show_shopthepost_widget id=”4078306″]
Stick with it, ask me questions in the comments below and tag me on Instagram using the hashtag #sheholdsdearlyinspired so I can feature your work in my Instagram stories!

Thank you for always cheering us on in our DIY journeys and for your comments over on YouTube. We love what we do and love passing it on to you so you can feel more confident in your home and DIY skills!
Pin For Later
