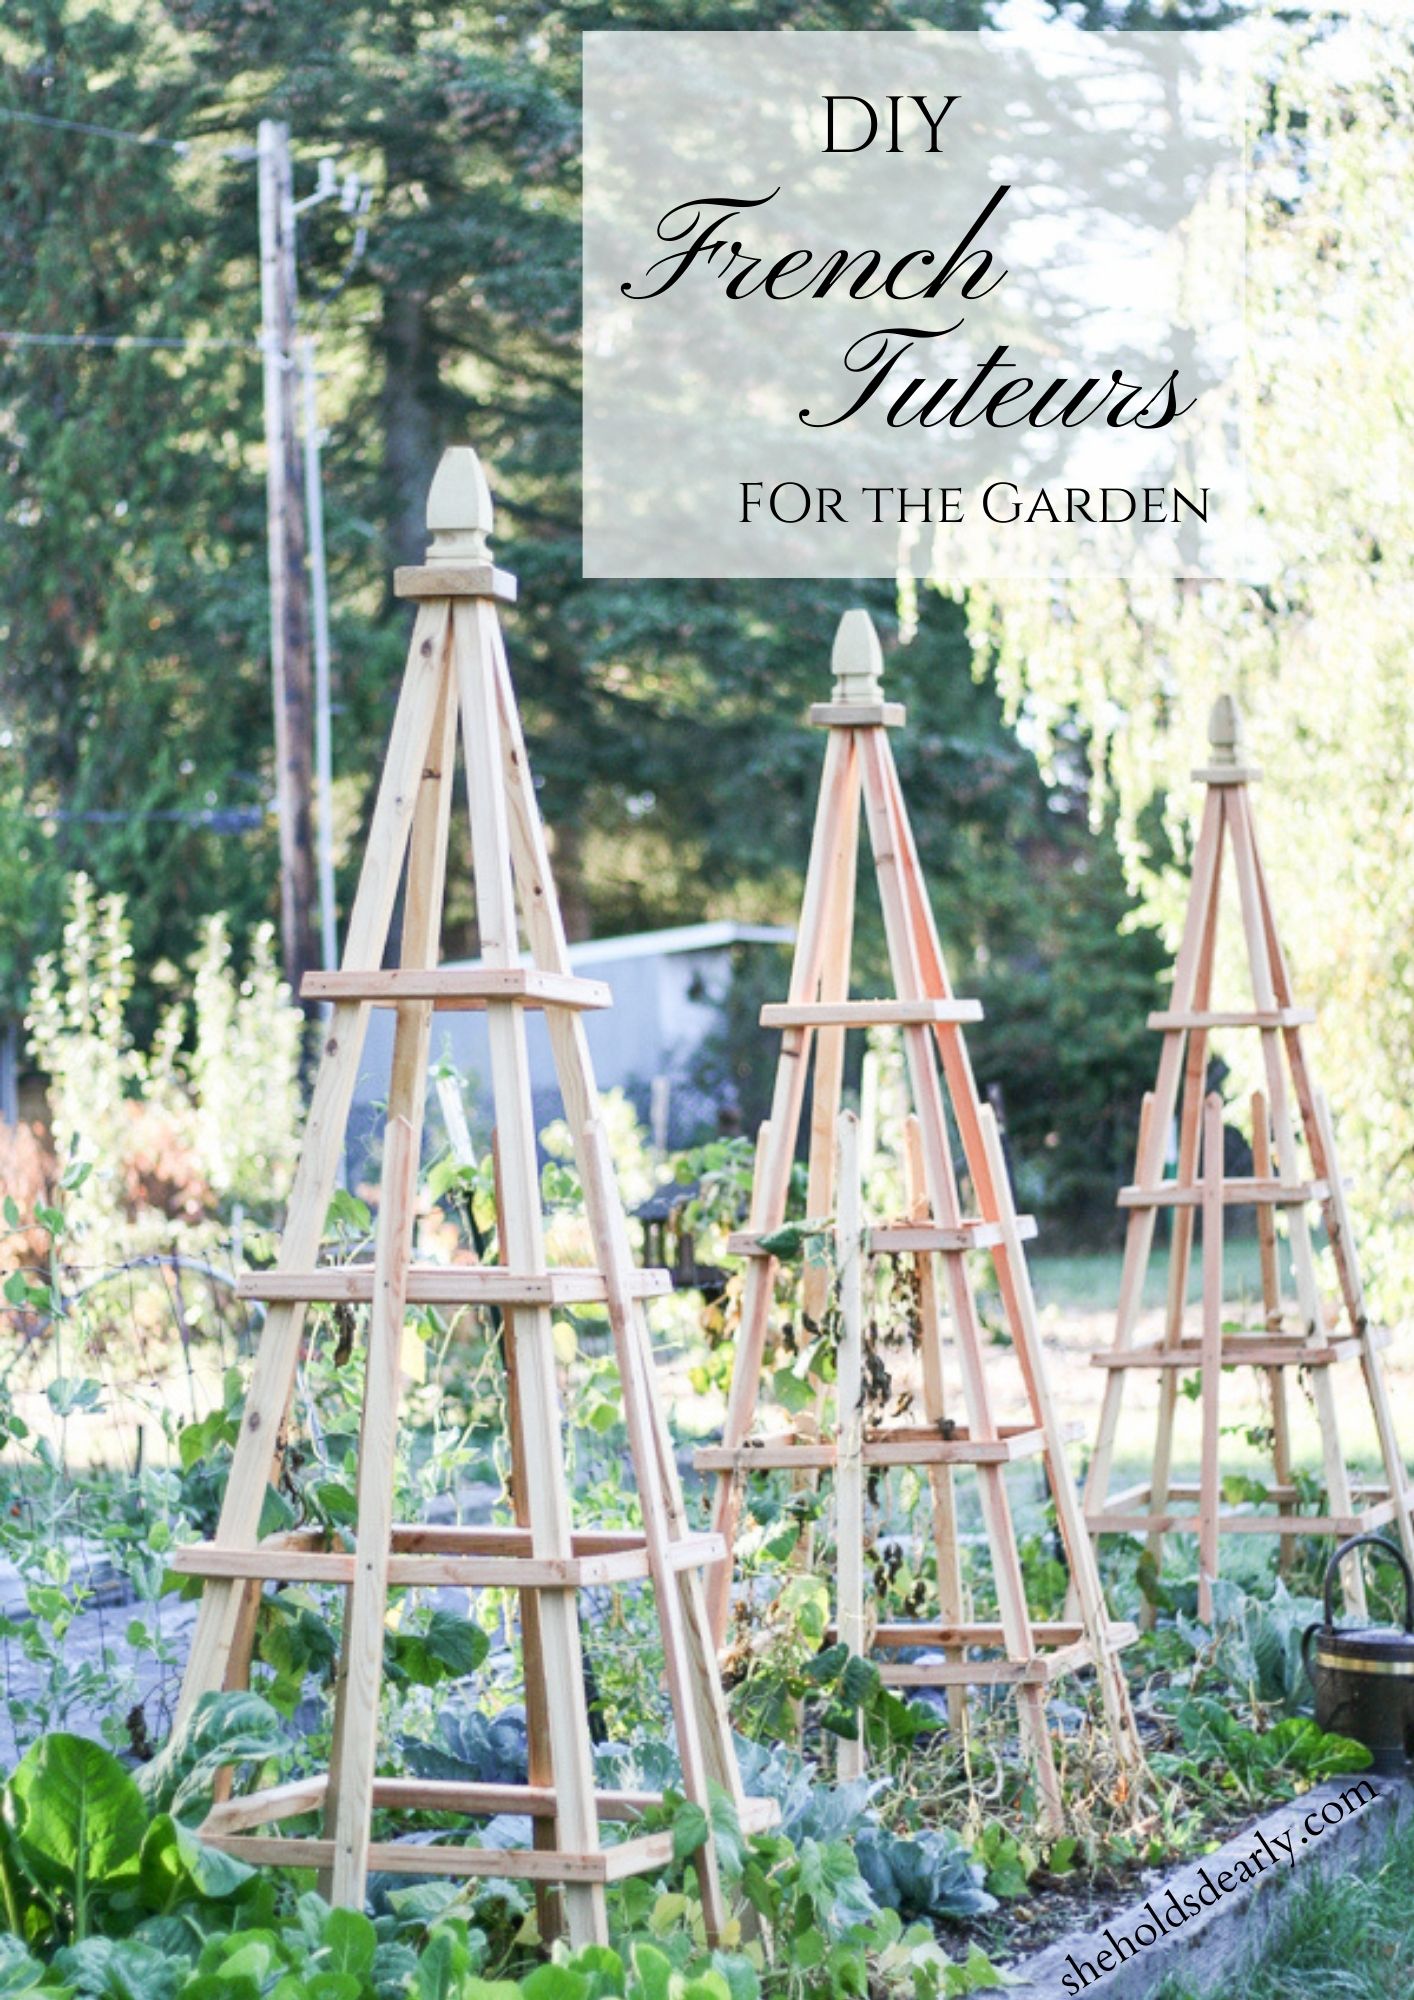
How to Make a French Tuteur For your Garden
Looking for a functional AND beautiful way to give your garden plants some support: French Tuteurs are the way to go, and they’re easy and quick to DIY with a tutorial like I’ve got for you here today!
Tuteur is the french word for “trainer”, as in a place for vines, climbing roses, green beans etc. to grow on. You may be more familiar with words like obelisk, teepee, trellis, tower and pyramid.
This post contains affiliate links to products we know and love. Click here to read a full disclosure.
At any rate, I wanted to share a fun project that my husband and I did together last summer. I saved the information for you because I thought it would make a good springtime post and an even more fantastic mother’s day gift idea!
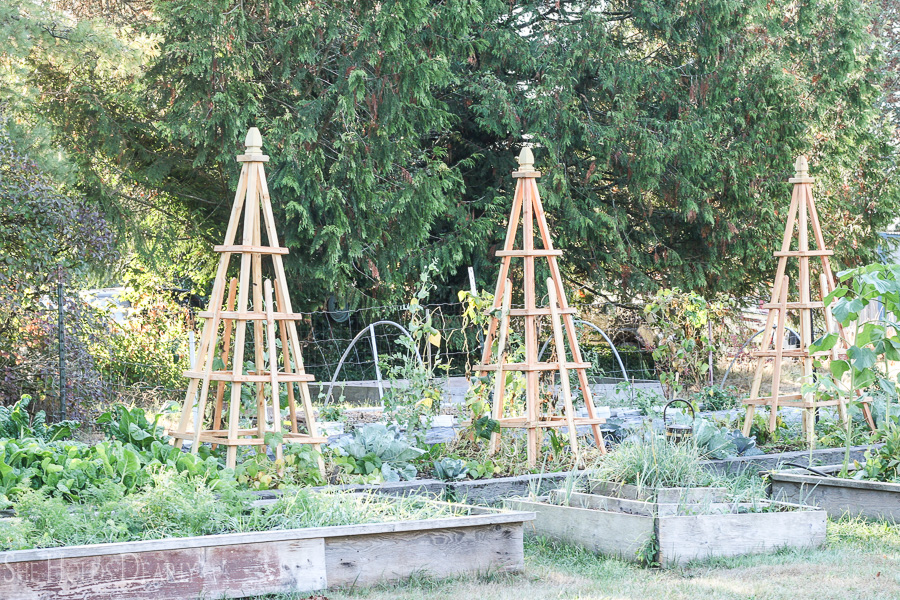
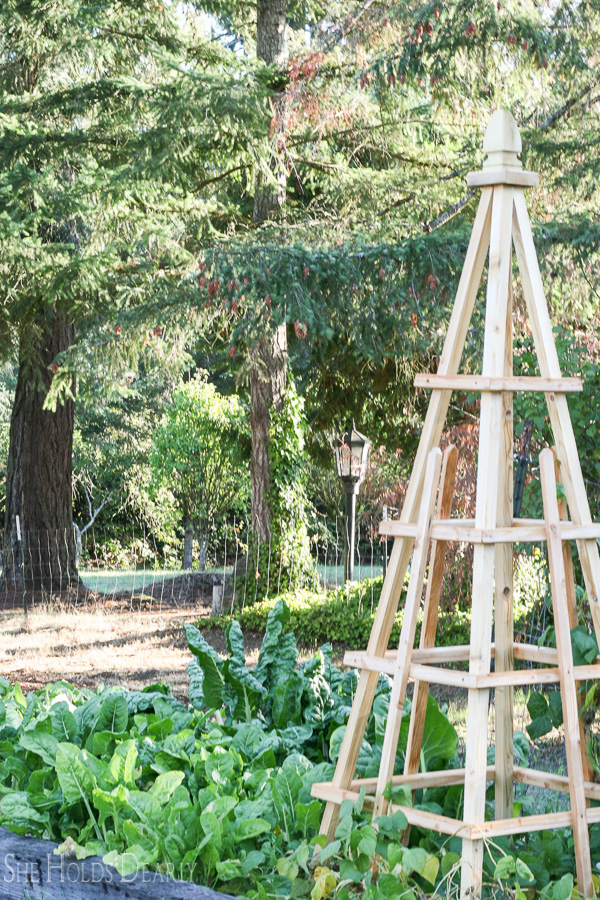
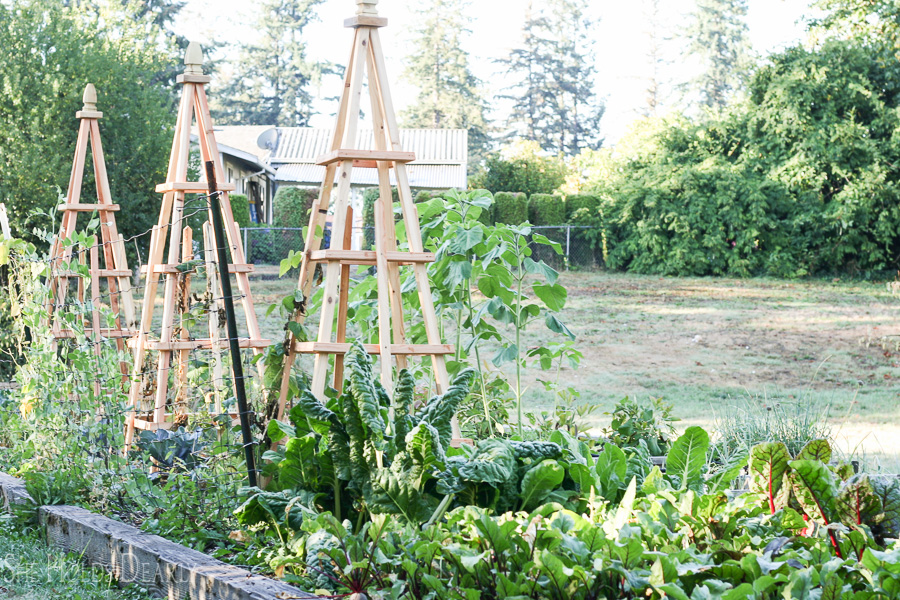
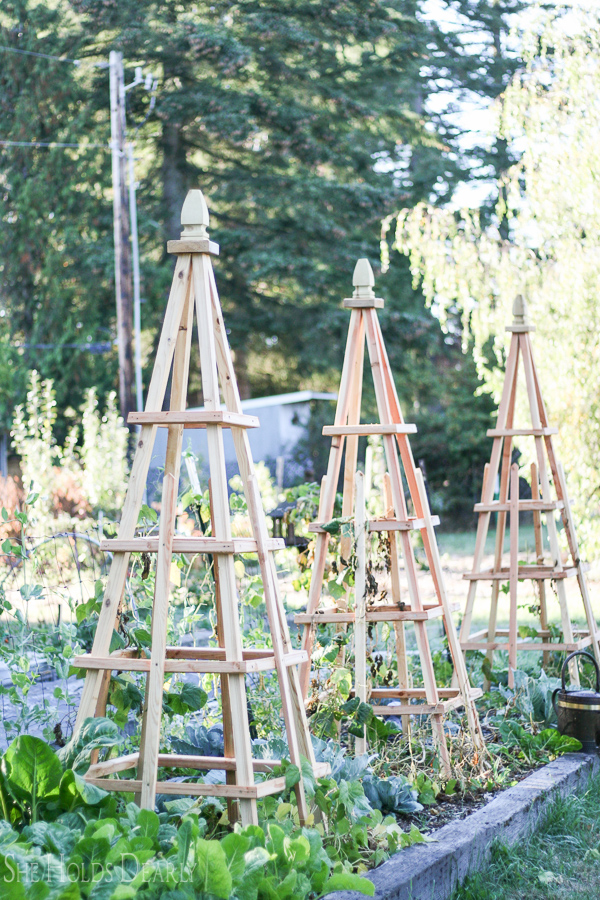
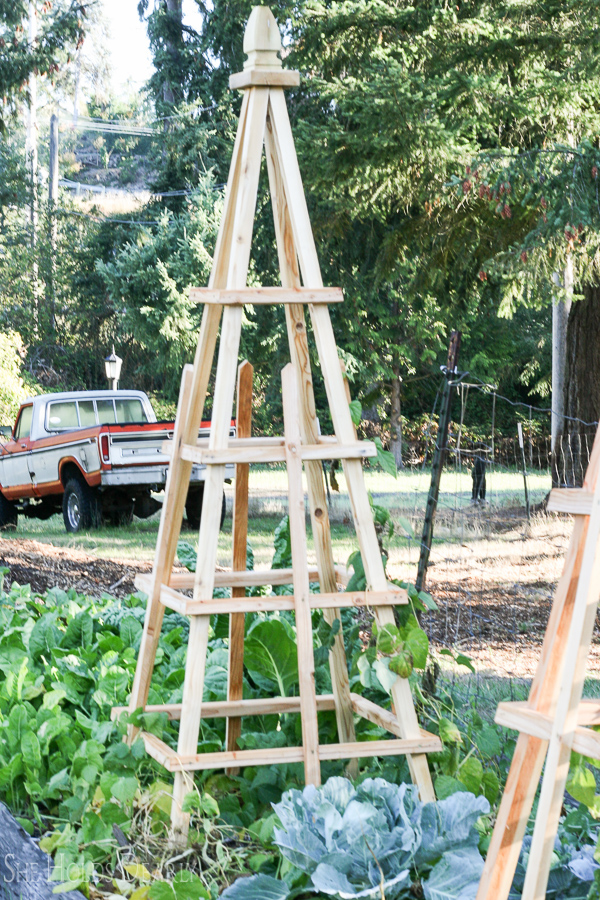
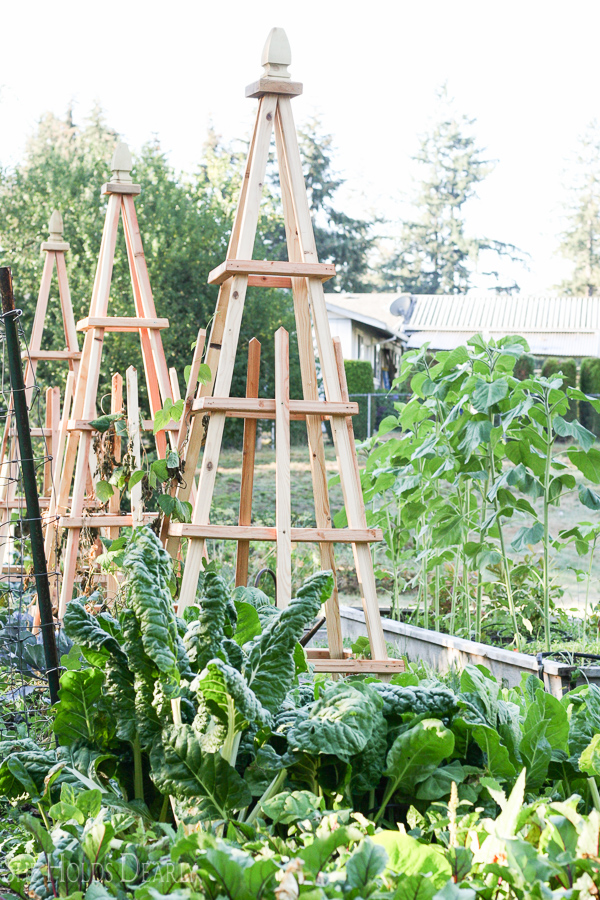
We built three tutuers for our green beans to grow on and they are just stunning in the middle of a garden.
And get this- each one only costs $25.00 worth of wood and 90 minutes to make!
That’s it.
So, if you love this idea, put a bug in someone’s ear to make you one- or three– of these DIY French Tuteurs for mother’s day!
Speaking of A Great Gift…
Why not gift yourself or a friend with a registration to the Elite Decorating Academy for a comprehensive course in interior design! The course includes 28 hours of practical teaching broken down into 160 classes (an average of 10 minutes each).
The perfect fit for any schedule, and any stage of life! Whether you’re a DIY fan or a professional wanting to brush up on your skills, this course is for YOU!
Head over to elitedecoratingacademy.com to learn more and to get registered!
Supplies Needed
Note: adapted from this brilliant post from Sew What’s Next.
- Your Copy of The Printable Building Plans
- Purchased Finial from Home Depot or Etsy (sometimes you can find these on Facebook Marketplace, too.)
- Square top Piece to put the finial on (You can cut this yourself, or you can find similar at Home Depot or Etsy by searching for “post caps”.)
- 8 Pieces of Wood 2″x 2″x 8′
- 2 Pieces of Wood 1″x 2″x 8‘
- Level
- Drill
- 2 1/2 Deck Screws
- Wood Glue
- 16 Gauge Nail Gun and Galvanized Finish Nails
- Compound Miter Saw

DIY French Tuteur Tutorial
Make sure to purchase the $17 Printable Building Plans HERE for a more lumber specific cut list & instructions!
For Vertical Supports
- Cut your vertical supports in half and saw off all eight ends to make a point. These do not need to be exact, they are only for decoration.

For Legs
- Create your legs & cut the angles for the triangular “teepee” like structure of the base.

For Cross Member
- Cut your boards to create the 3 supportive cross-members.

Assembly
- Fit the cross members into four frames and nail with the nail gun

Next comes the assembly! I walk you through exactly how to fit all of these pieces together in my printable building plans.
By the time you have all your lumber cut and your cross members assembled, the rest takes just a few minutes more and you’ll have fantastic tutueurs for your garden!
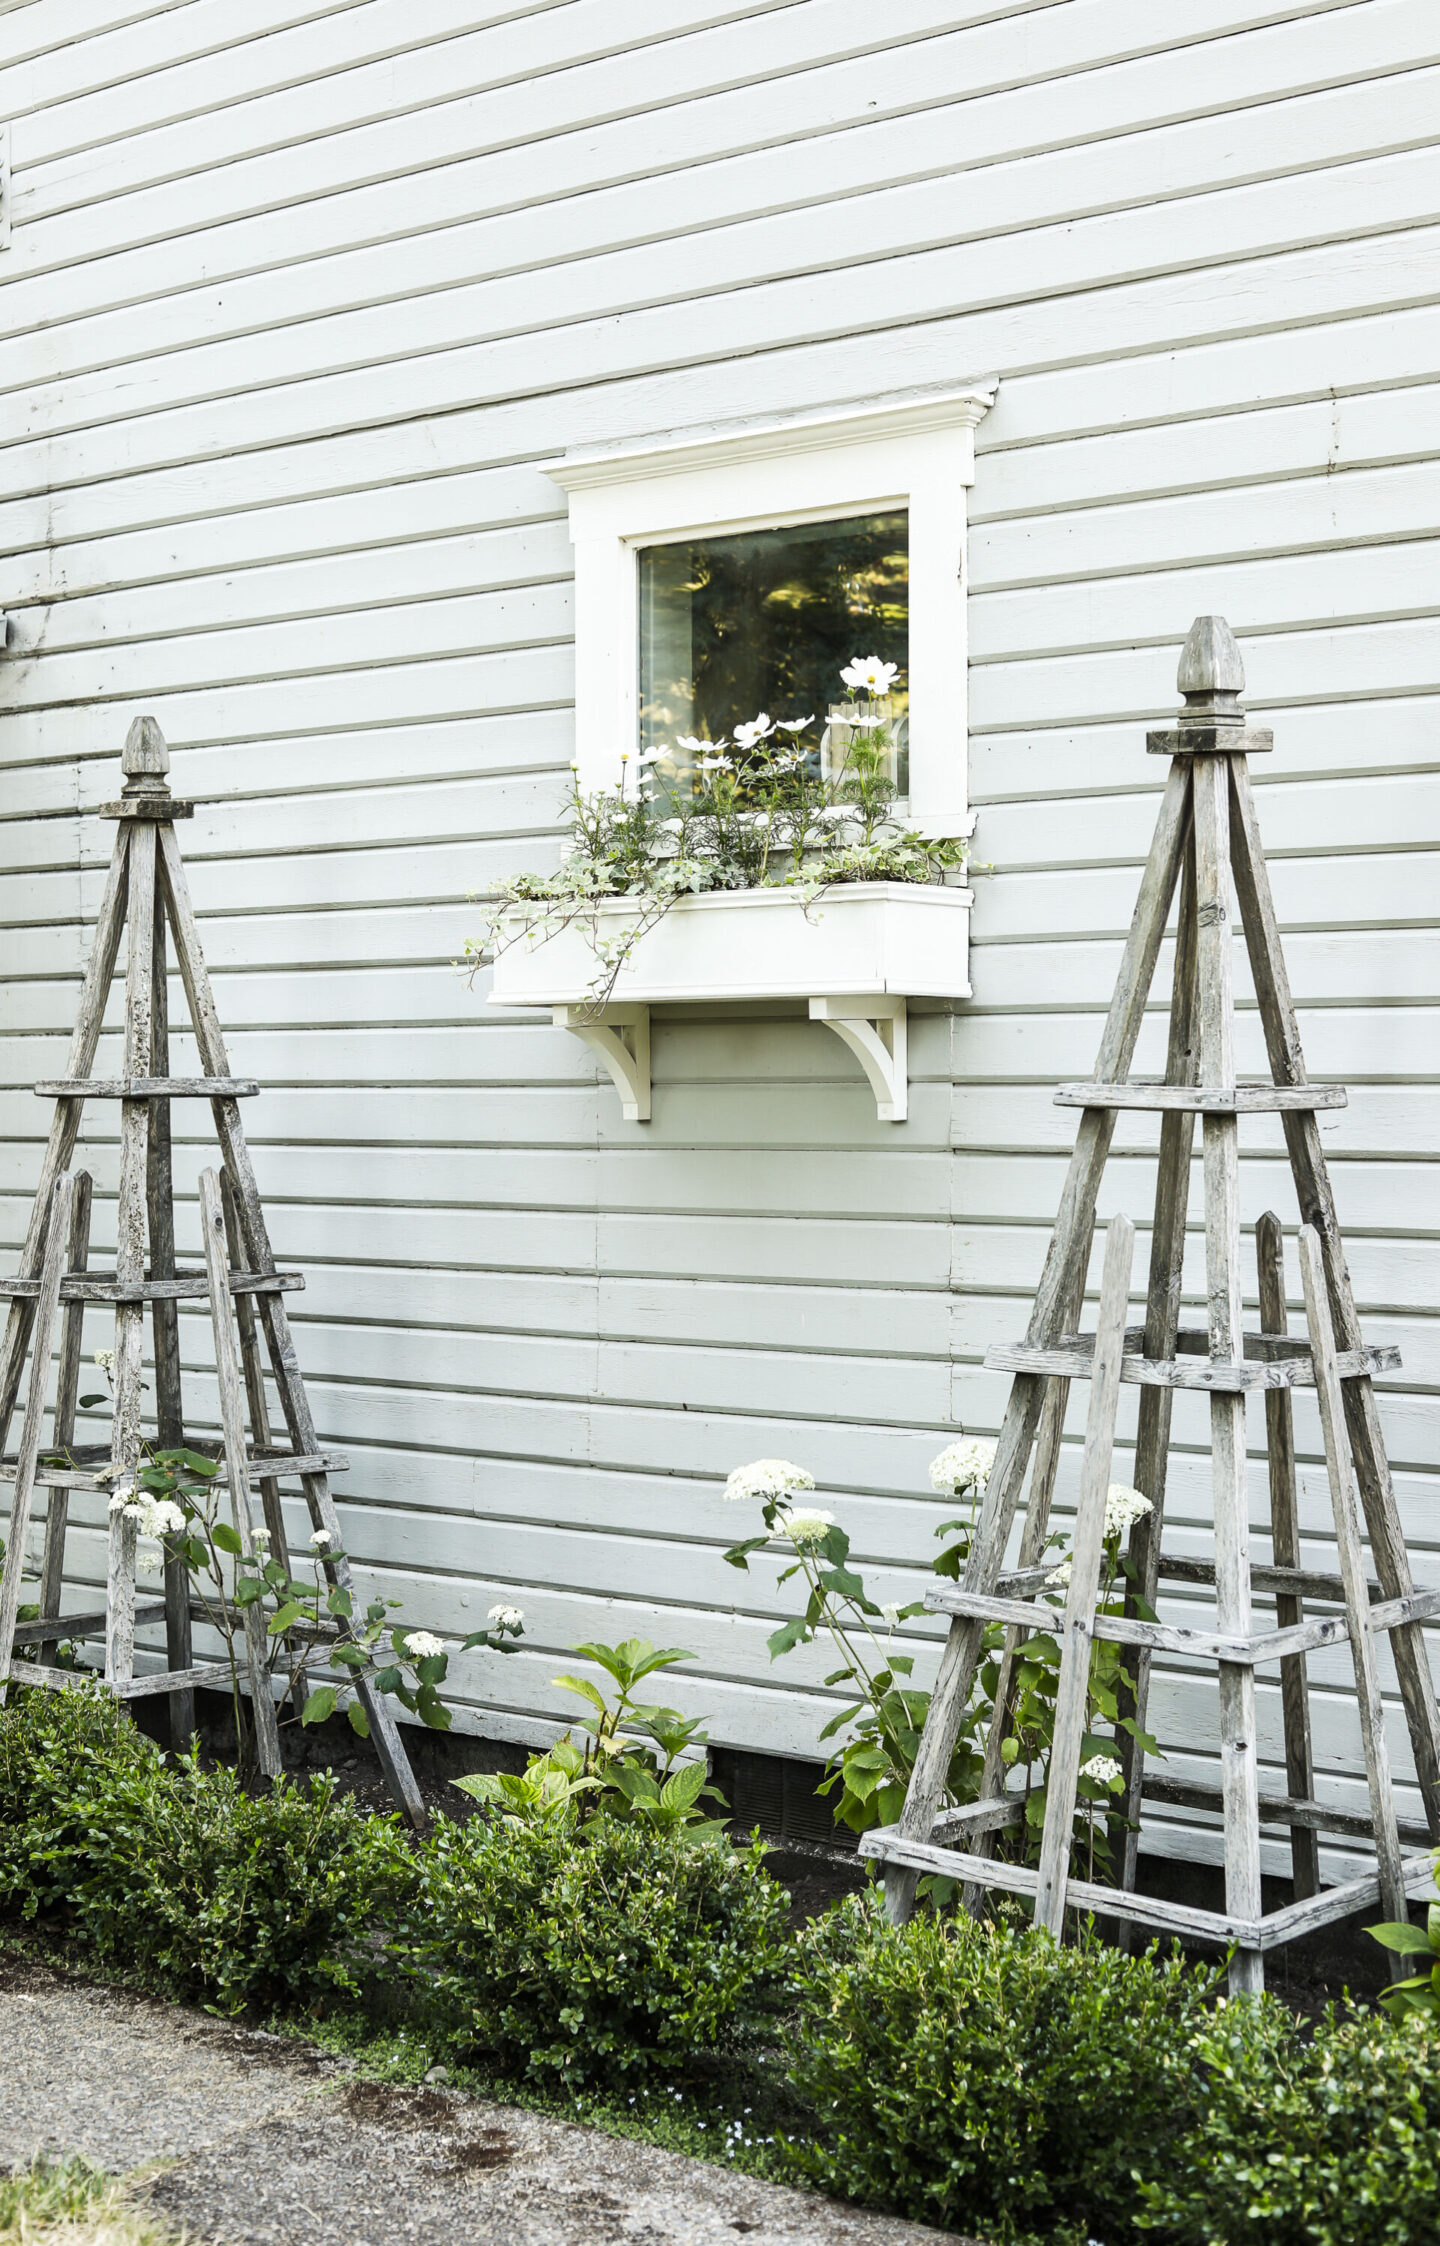
The last decision will be if you want to paint or stain them! We just left ours natural and they turned gray with time.
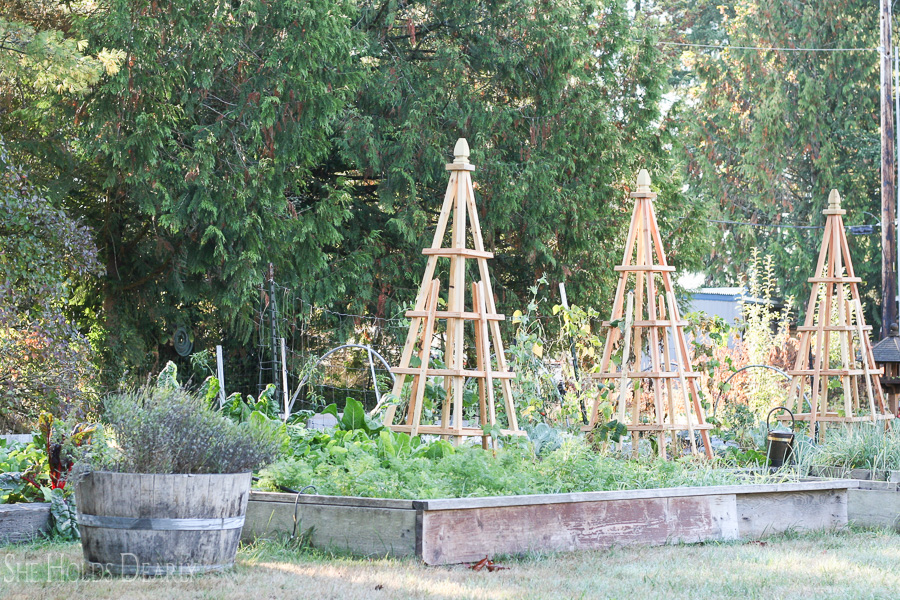
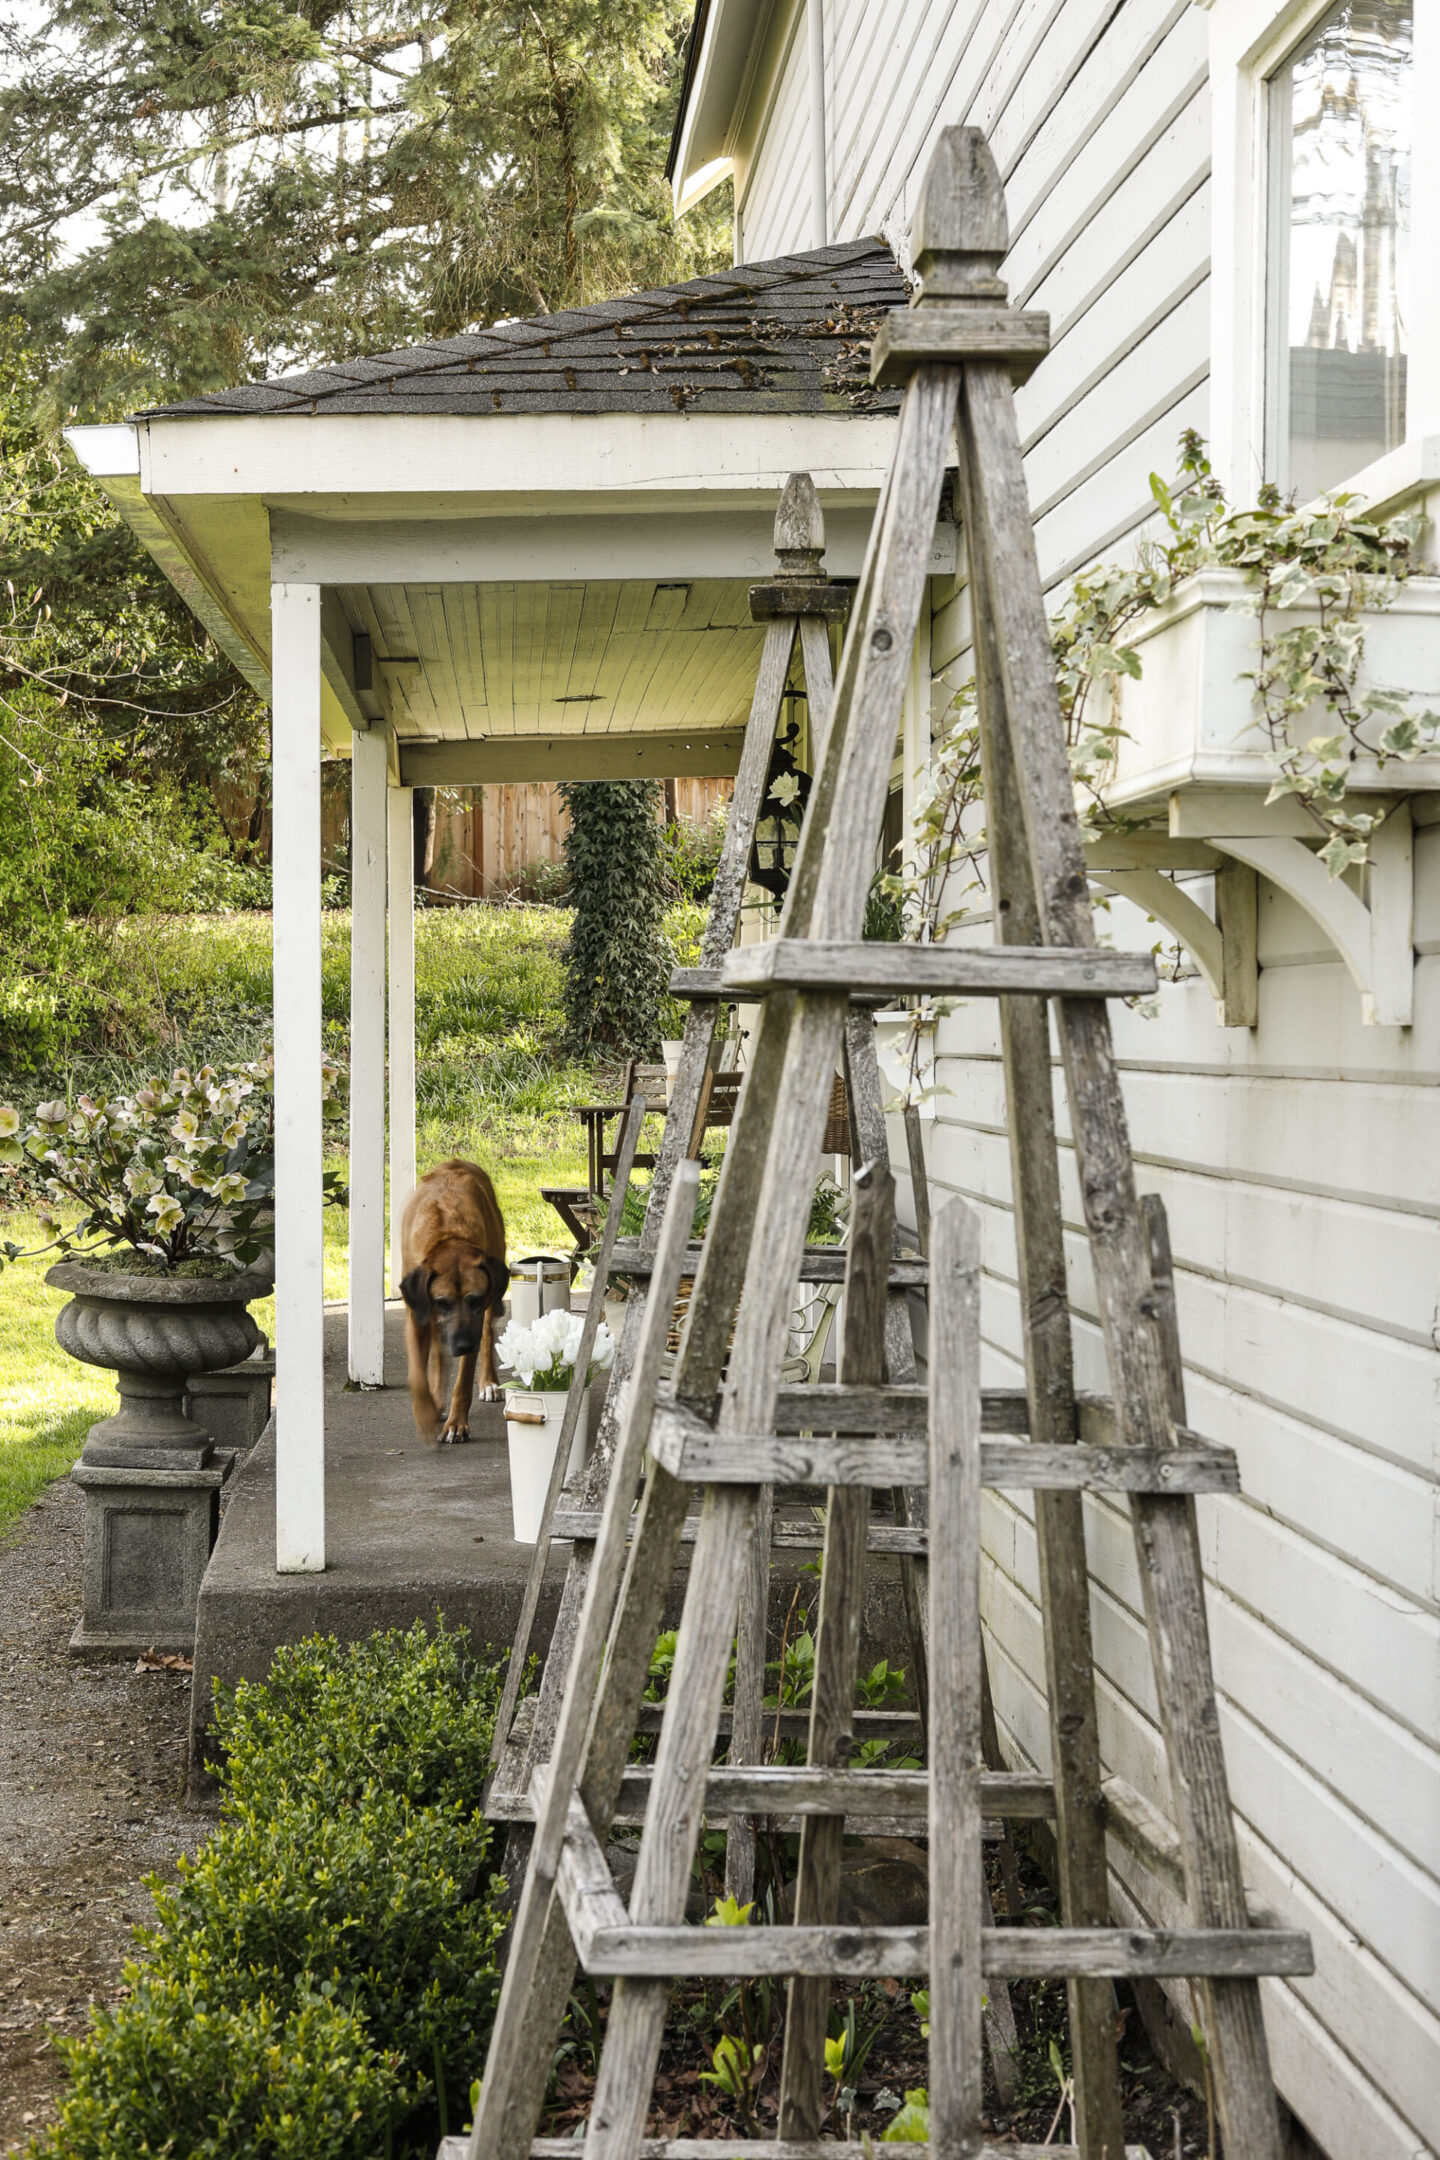
You can see here how they’ve weathered with age over the past 8 years.
If you are on Instagram and you do make one or some of these tuteurs, please tag me and I will share you on my account!
As someone who loves DIY, do you also love to Thrift?
If you’re like me, you might like thrifting as much as you love a good DIY project – and that’s why I’ve created my 90 minute Thrift Like a Pro Workshop! In this course I teach you all of my best tips & tricks from 20 years of thrifting experience with a goal of saving you thousands. It’s worked for me for years, and I’m so excited to be able to share all of that information with you in one place!
Click HERE To register now. The course is fully online and self-paced, so you can watch, and re-watch it at your leisure!
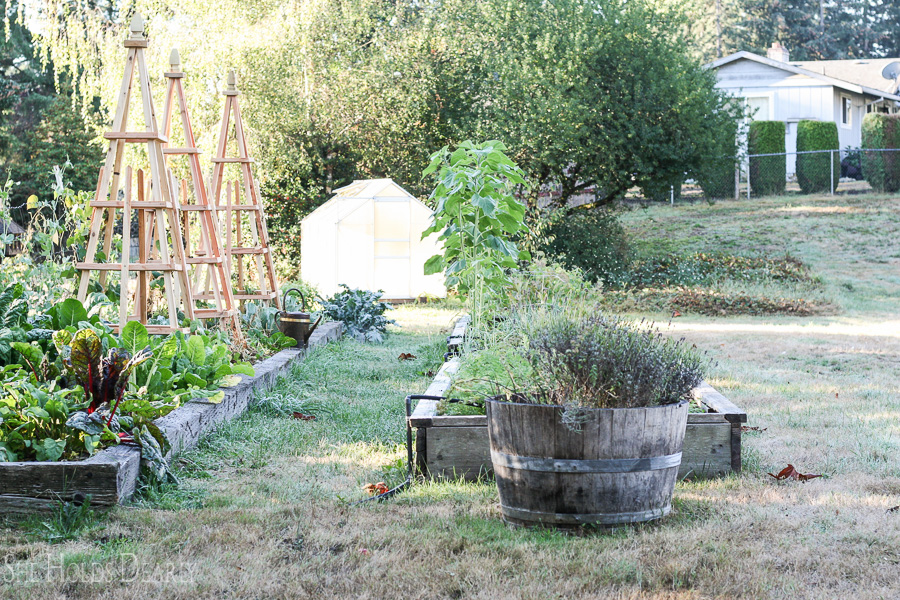
I love the weathered look now, as much as I loved them fresh & bright when we first made them!
Get your Printable Building Plans today & get started!
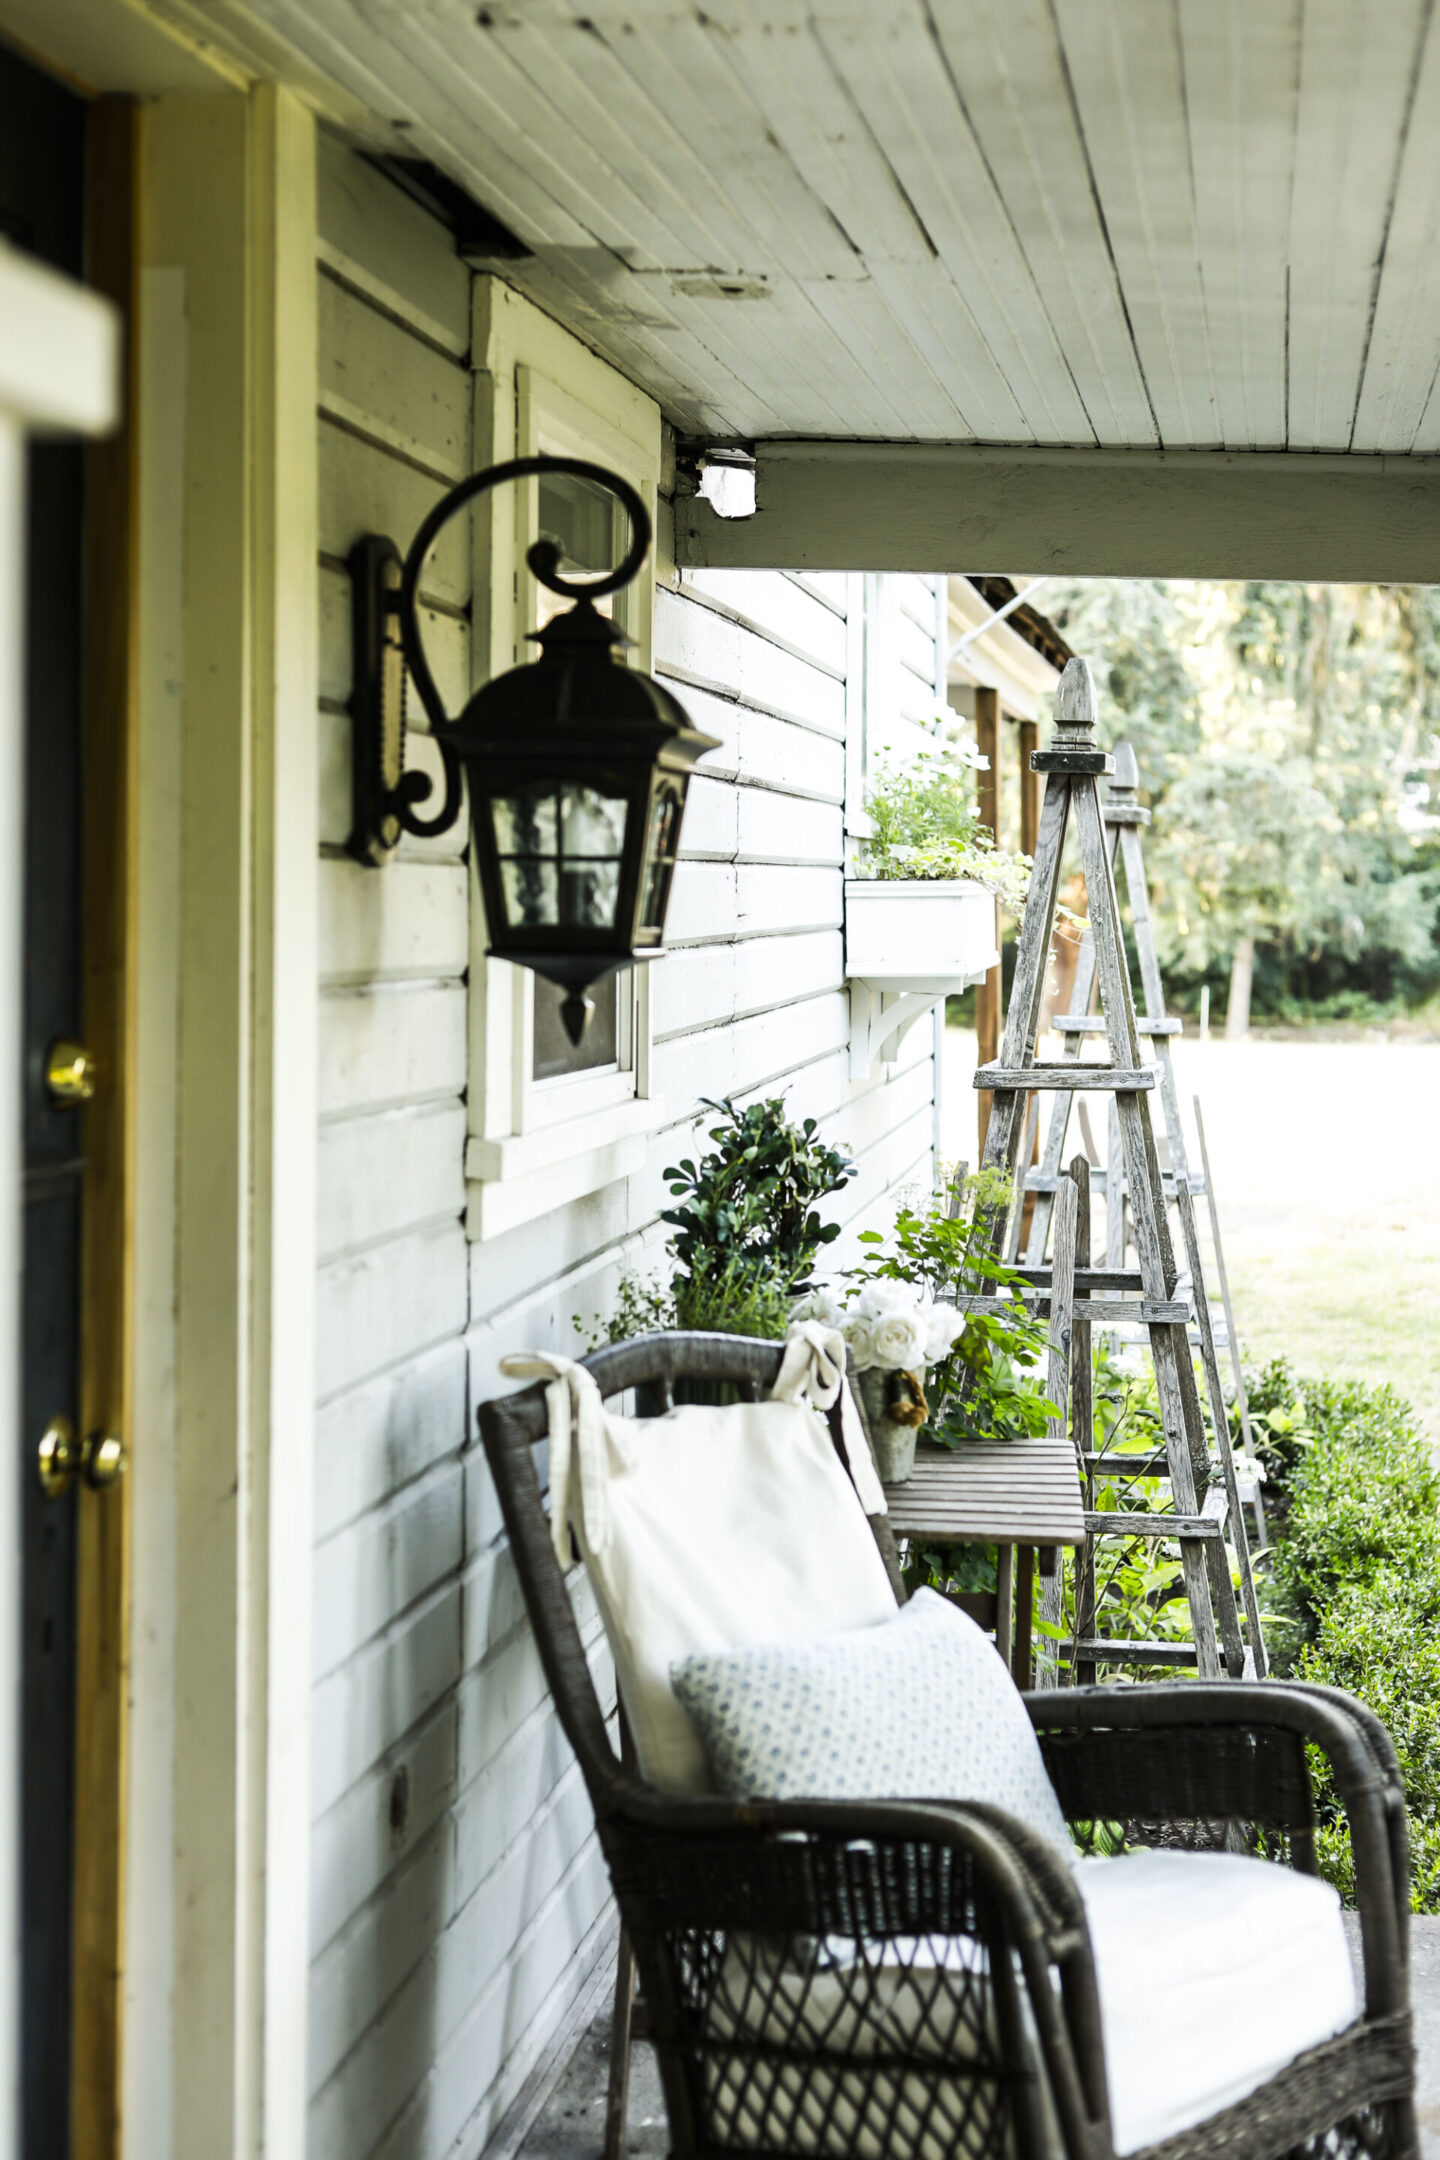
I hope you get a chance to make these beautiful, functional focal points for your yard or garden, but if you aren’t able to make them yourself, here are a few similar options available for purchase.
Don’t Forget your Printable Building Plans!
Pin these DIY French Tuteurs for Later:
