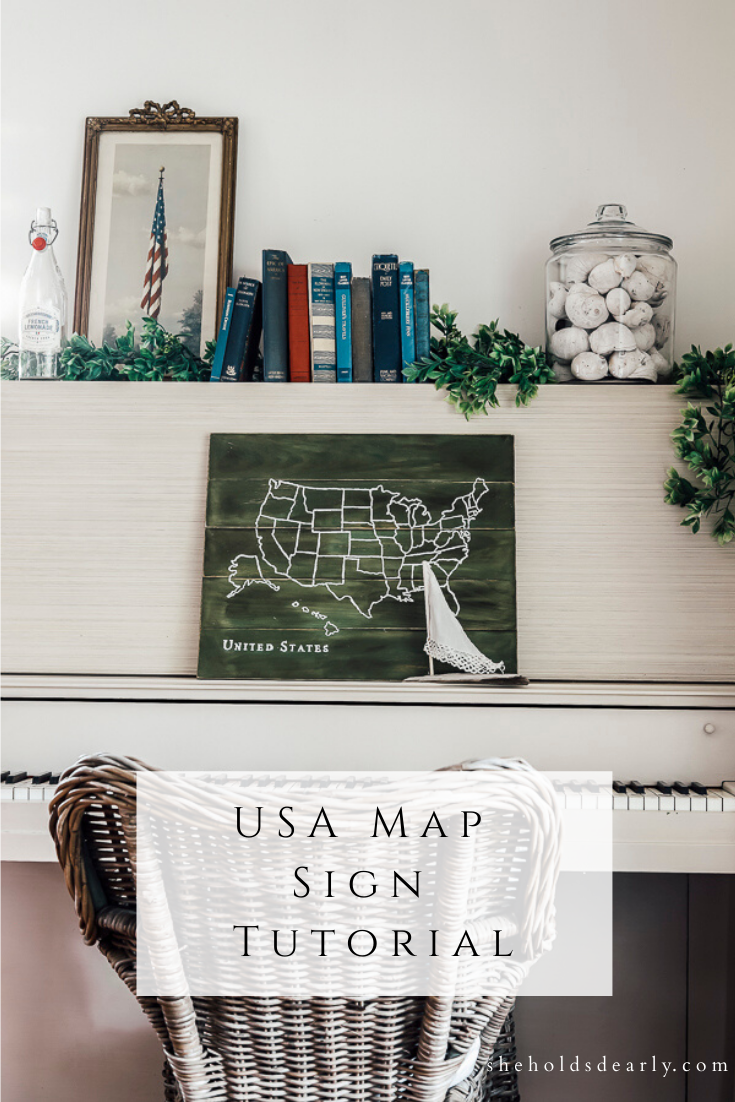
USA Map Sign Tutorial
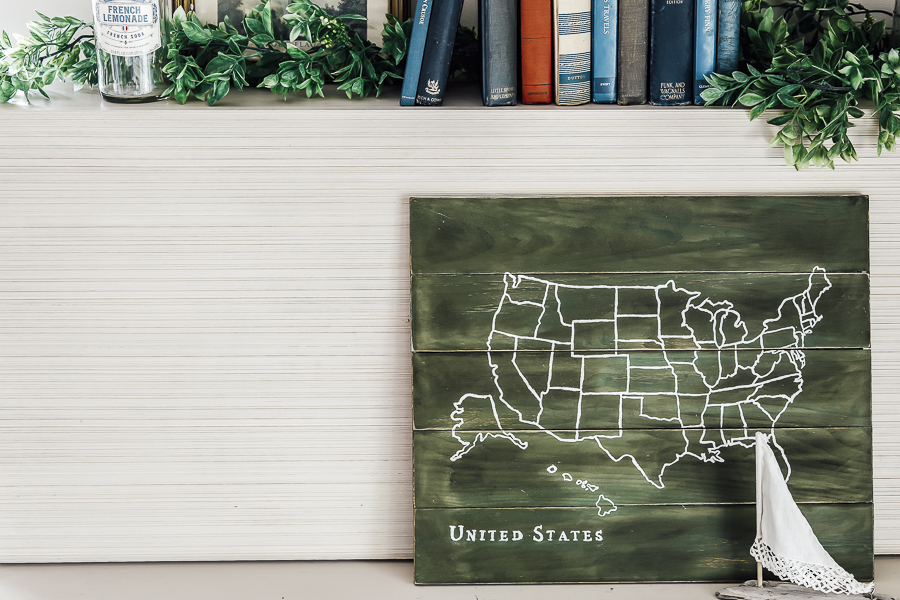
Come along while I show you how I made this USA Map Sign!
Being able to make your own versions of decor ideas that inspire you is one of the greatest feelings! I originally saw this idea from my friend Beth on her blog, Unskinny Boppy. She bought hers, but I wanted to try my hand at a DIY version!
I could have made the background shiplap board, but for the sake of time, I chose to buy mine online.
I used some of my favorite paints and waxes that I already had at home, and I had my large scale paper map printed at a local printer.
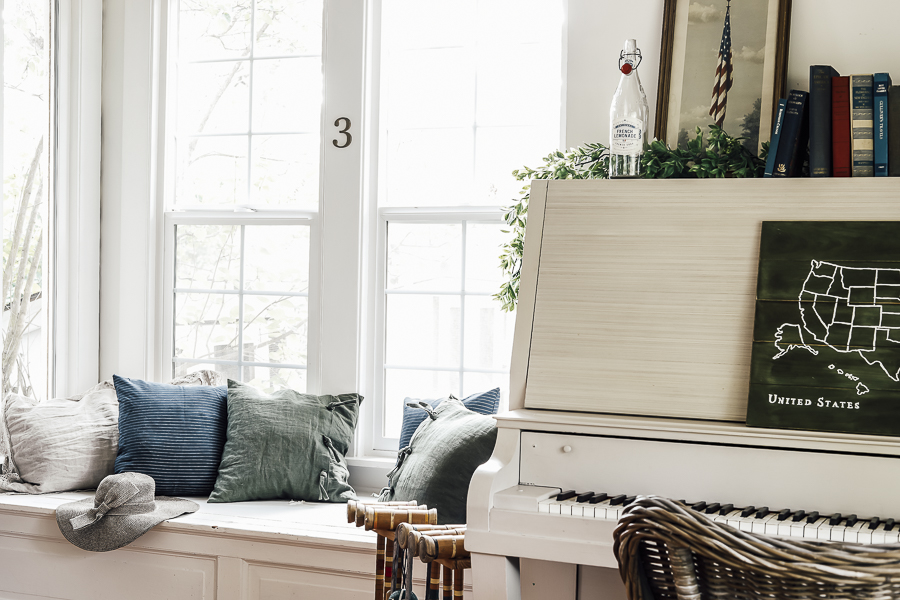
I’m pleased with how it turned out!
*This post contains affiliate links to products I know &/or love.
Supplies you’ll need for your USA Sign Map:
- Shiplap/Pallet Board (17.5″ x 21″)
- Milk Paint – Miss Mustard Seed “Boxwood” – Sample size or 1 Quart size
- 1 1/2″ Angle Brush
- Tiny Whisk for mixing
- Sandpaper (220 grit is my favorite)
- Glove
- Annie Sloan Dark Wax
- Old t-shirt
- Printed Map and “United States” wording, you can print the design I used here. Have the map enlarged at Kinko’s or Office Max to fit your sign.
- Chalk
- Scotch Tape
- White Paint
- Tiny Brush
Tutorial:
Step One | Mix your Paint
Miss Mustard Seed Milk paint comes in a powder that you mix with water. The ratio is 1:1. I used 2 tablespoons paint powder and 2 tablespoons of water and mixed with a tiny whisk I have just for this purpose. I stir for about 1 minute.
Because milk paint is powdered milk, minerals and pigment, it’s important to really mix it well.
You want the consistency of the paint to be similar to pancake batter.
After I mix the paint I leave it for about 10 minutes before painting.
Step Two | Paint your board
I painted the whole board lightly – not worrying too much because I knew it would be distressed.
After my board was painted, it reminded me of an old classroom chalkboard! I really love that look, but knew for this project I wanted to match the inspiration picture closely.
If you liked the idea of an old, vintage-looking school chalkboard map, you might want to skip these next steps for the distressing and wax and just leave it painted.
Step Three | Distress Your Board
Sand the board lightly along all the edges, and at the points where the boards meet.
I did my sanding outside because the milk paint can be pretty dusty when sanded.
Step Four | Add your Wax
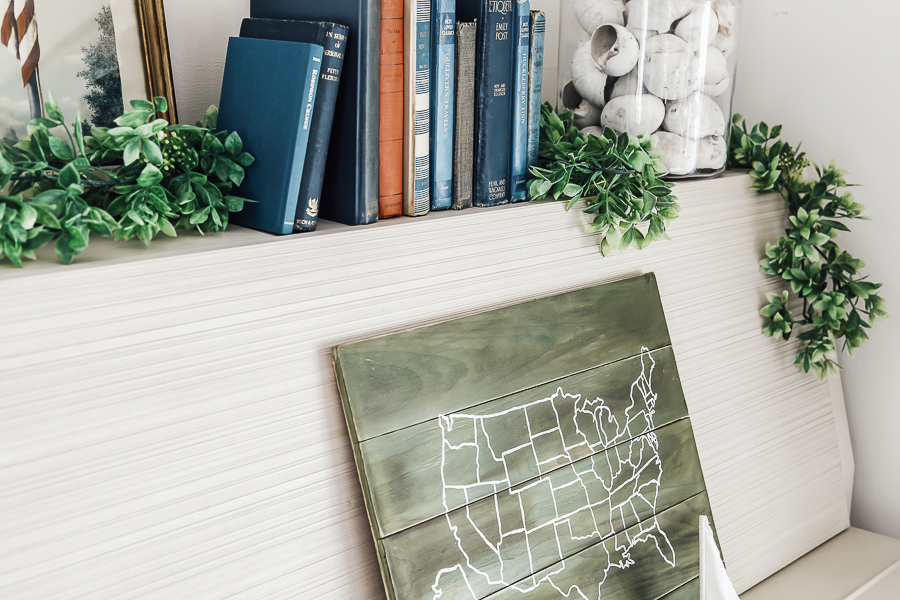
Annie Sloan wax is my favorite wax – it’s got the perfect texture. Not too creamy, not too dry. In this project, I chose to use dark wax.
It goes on pretty heavily, so I tried to be careful to keep it relatively even.
I realized after I was done that it didn’t go on as smoothly as I was used to, and I think it was probably because I was working with unfinished wood.
If you’re someone who wants a really smooth finish, I’d suggest using a good primer first, or multiple coats of your paint.
I like to use an old T-shirt to apply my wax, and I usually wear latex gloves underneath to keep the wax out from under my nails.
Watch the Tutorial on Video!!
Step Five | Transfer your Map onto your painted wood.
There are quite a few different processes you can use for this, but in this case, I did a chalk transfer.
Flip your map face down onto a flat surface.
Lay your chalk on it’s side and rub it over the entire surface of the back of the map.
Flip it over carefully (there might be excess chalk dust to drop into a trash can – so it doesn’t fall on your floor) onto your prepared board.
Tape down the edges as needed so it doesn’t move.
Then carefully trace over each line with a pencil pushing pretty heavily. This helps force the chalk into the wood below, just enough to create a good line to follow with your paint.
Step Six | Paint over the chalk outline
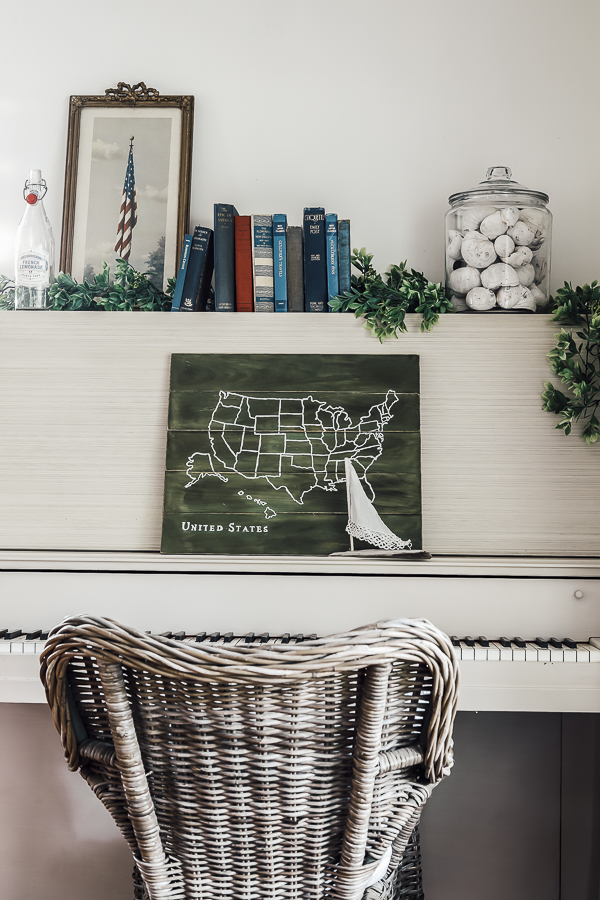
Using your white paint and a tiny/thin brush – go over all the chalk lines carefully.
I felt like the East coast might not have been quite as sharp as I would have liked with the brush I had – but hopefully those of you who live there will forgive me!
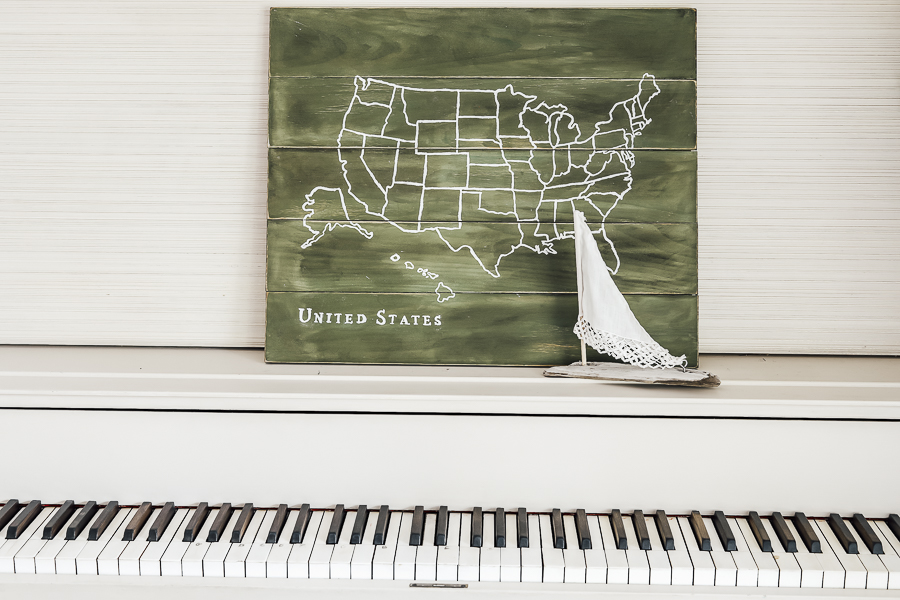
In addition to the outline of the states, I also added the words “United States” in a cute font in the bottom corner.
I chose to add it there because I knew it would look best with the styling I had planned for my piano!
That’s it – you’re done!
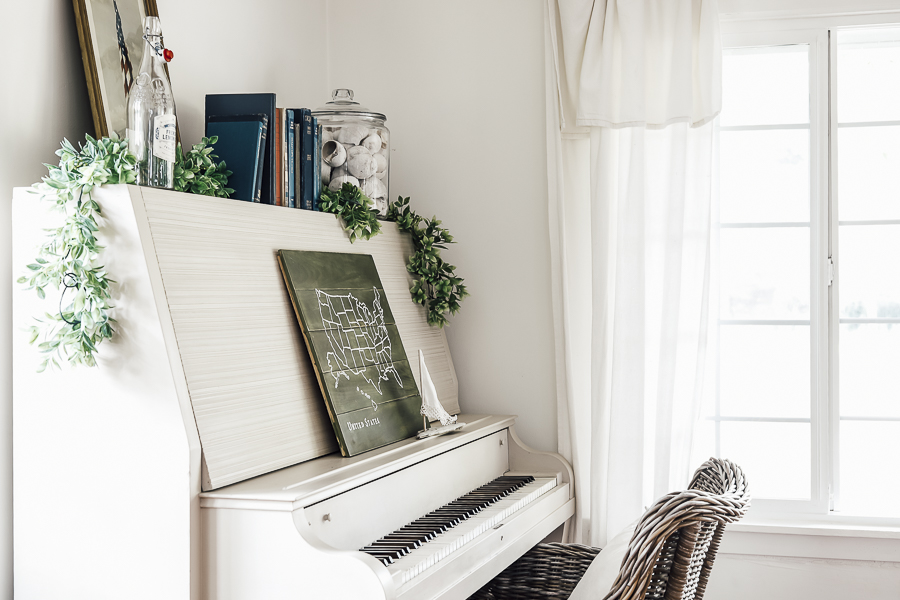
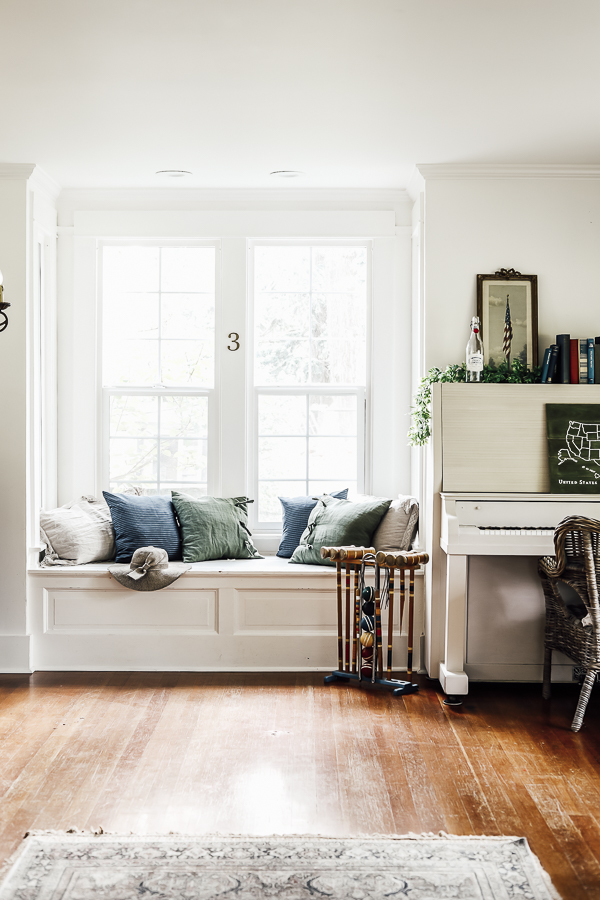
I love that this is one of those projects that can be changed and modified to exactly what you’re after!
You can choose to do a patriotic option if you’re looking to fill a gap in your Fourth of July decor like I was.
Or if you’re looking for another summer option, or even if you decide to do this months from now for another season or event!
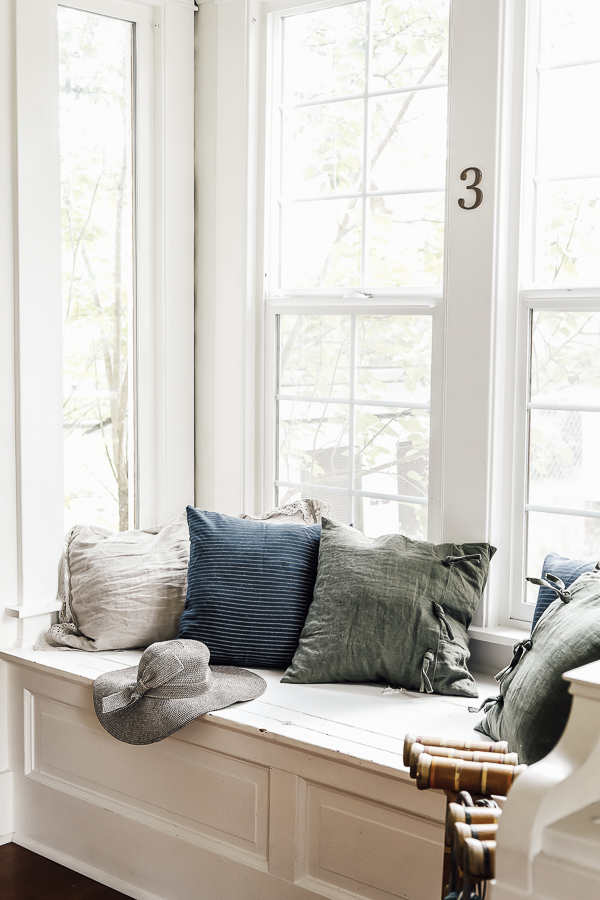
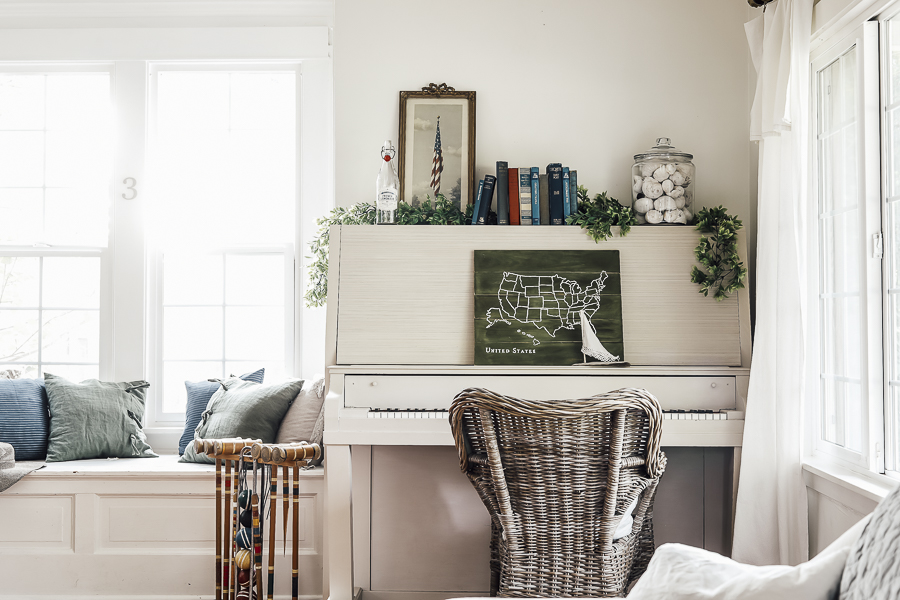
I hope this gives you a fun idea of something to try for yourself!
If you do make one, I’d love it if you’d tag me on Instagram, and/or add the #sheholdsdearlyinspired to make it easy for others in our community to find your work as well!
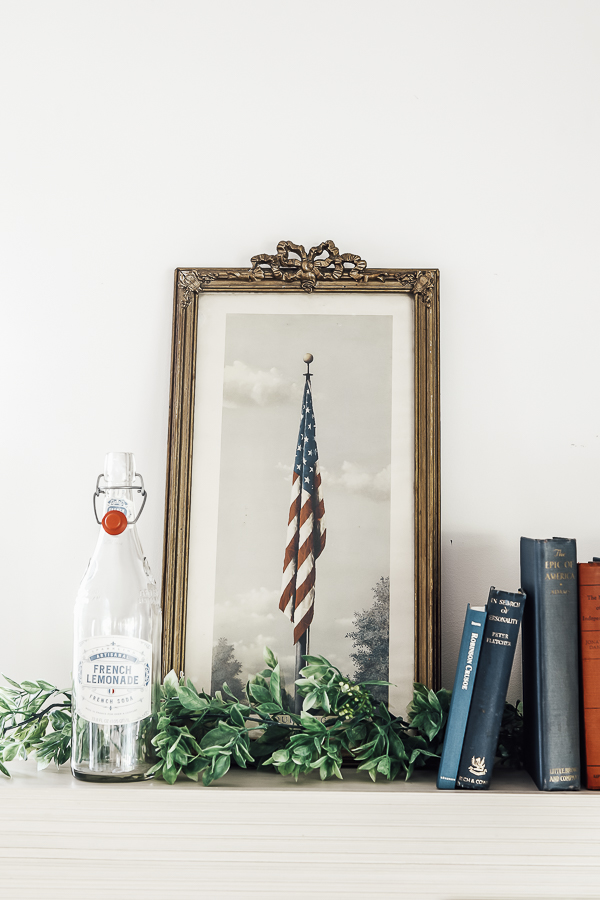
And if you are wanting to style your sign in a similar fashion, here are the steps I follow when I set up a vignette.
- I clear and clean the space, this is really the only time a deep clean, actually. Changing out decor is the perfect time.
- Next, I collect a pile of things that I think may work. All my seasonal decor is kept in big bins and the contents are carefully inventoried and recorded on my computer.
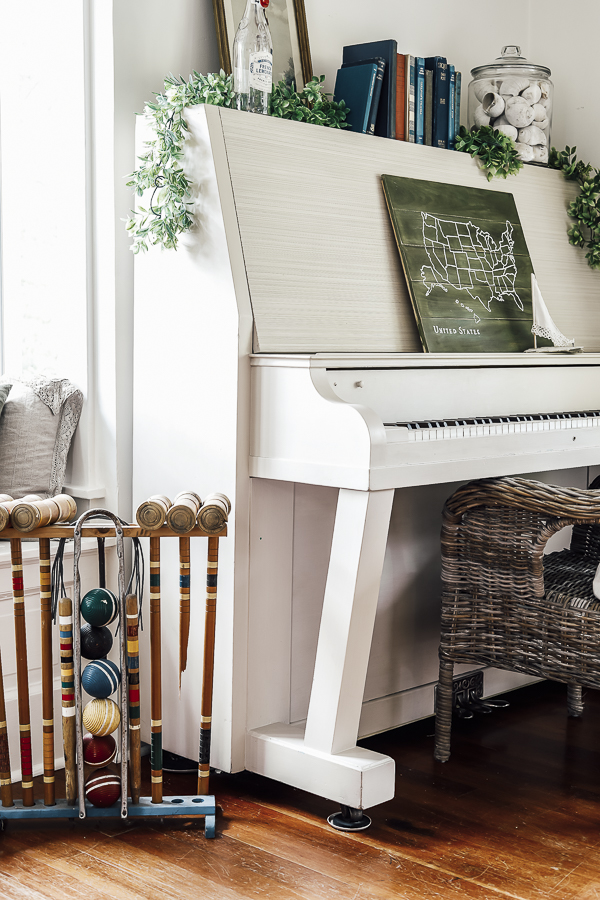
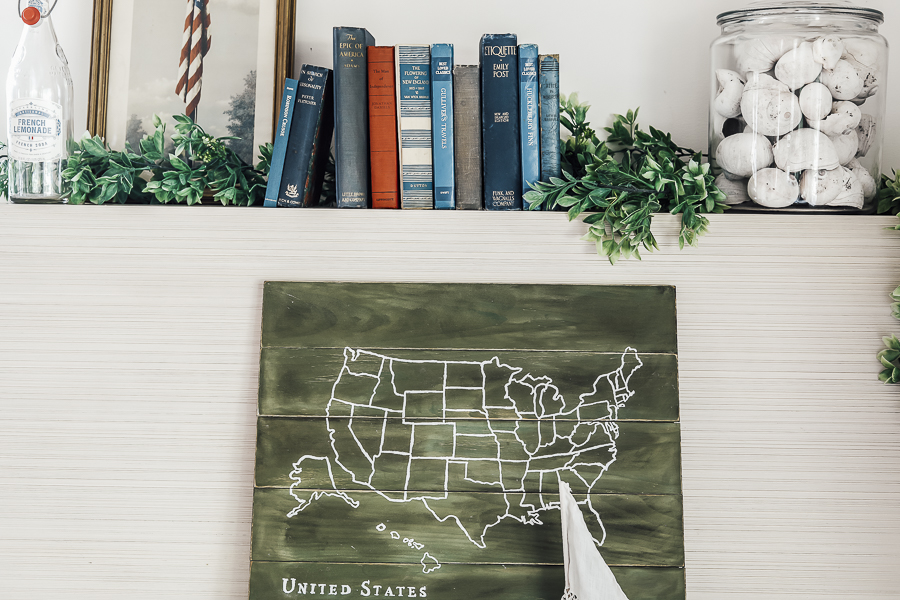
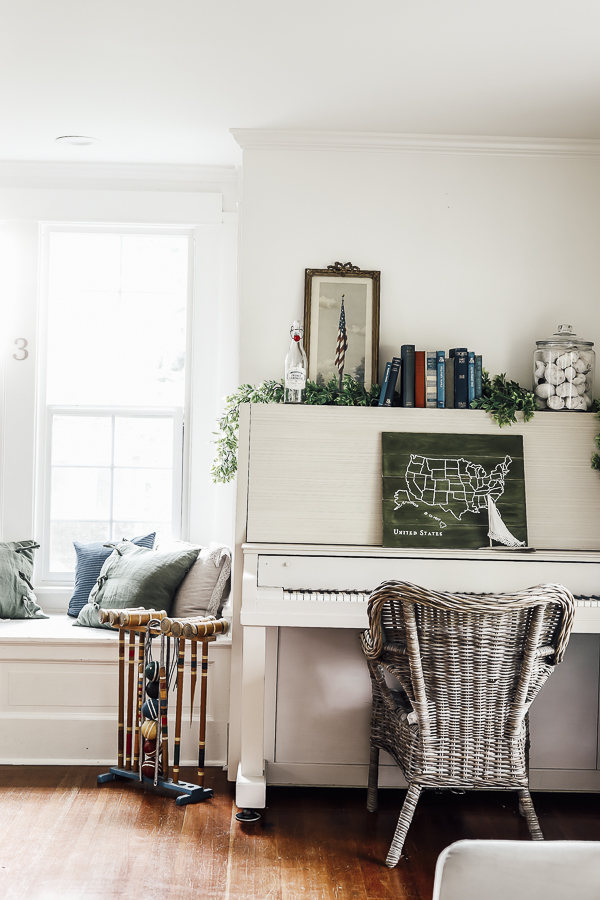
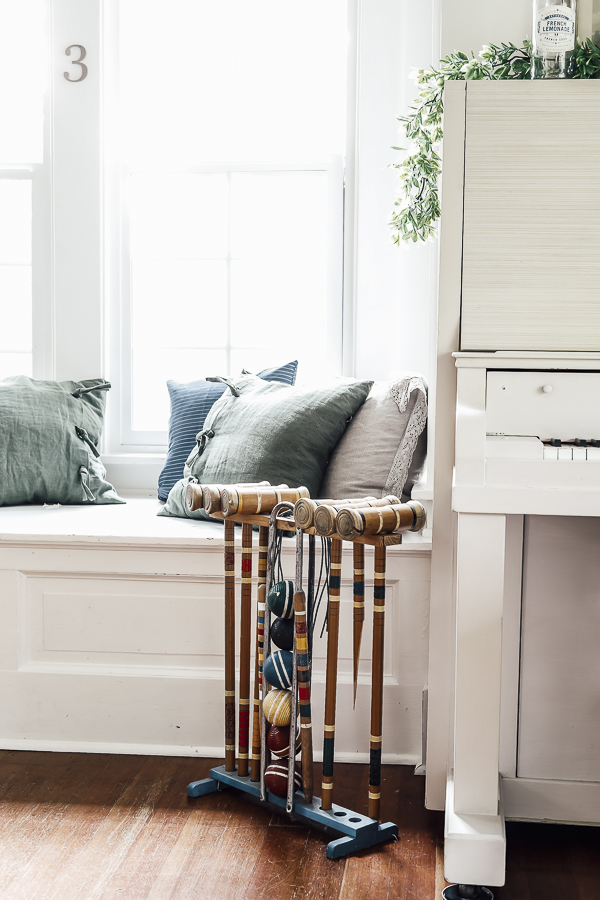
- Then, I added in the big pieces, so the wicker chair, croquet set, the map sign, fall pic and jar or shells.
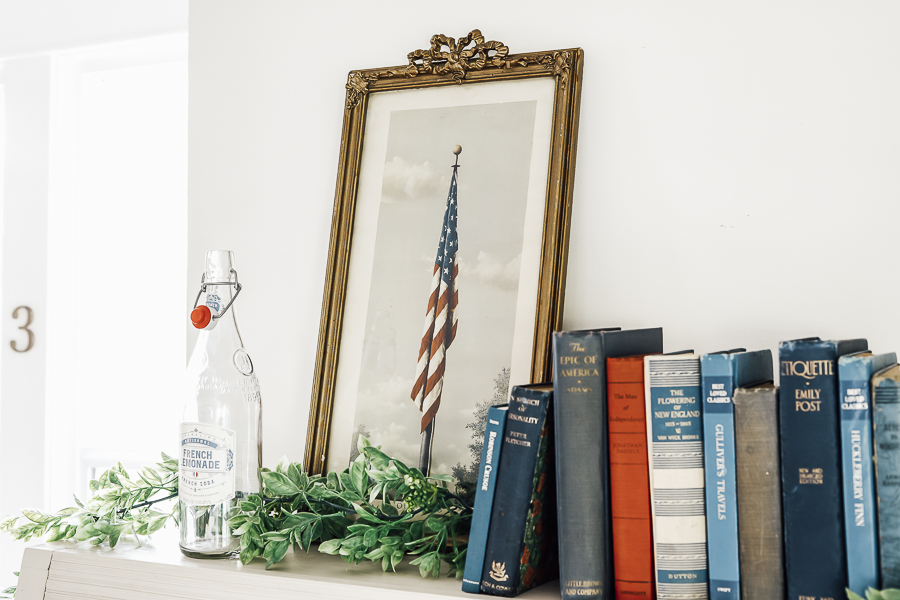
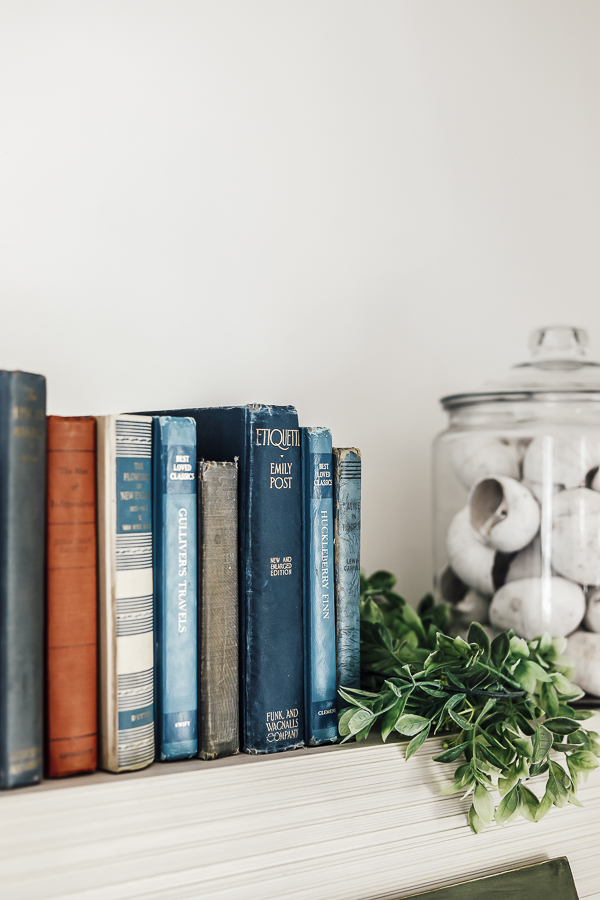
- I decided on the books instead of some dishes and flags I had because they seemed more on theme with the map.
- I always add in a pop of greenery, in this case a couple of garlands.
- Finally, some smaller detailed pieces were chosen, the lemonade bottle repeats the glass of the jar of shells and the lace of the little sailboat (you make one of those with this tutorial) mimicked the title on the lower left hand side of the sign.
Shop This Look
[show_shopthepost_widget id=”4051254″]
Pin this project for Later:
