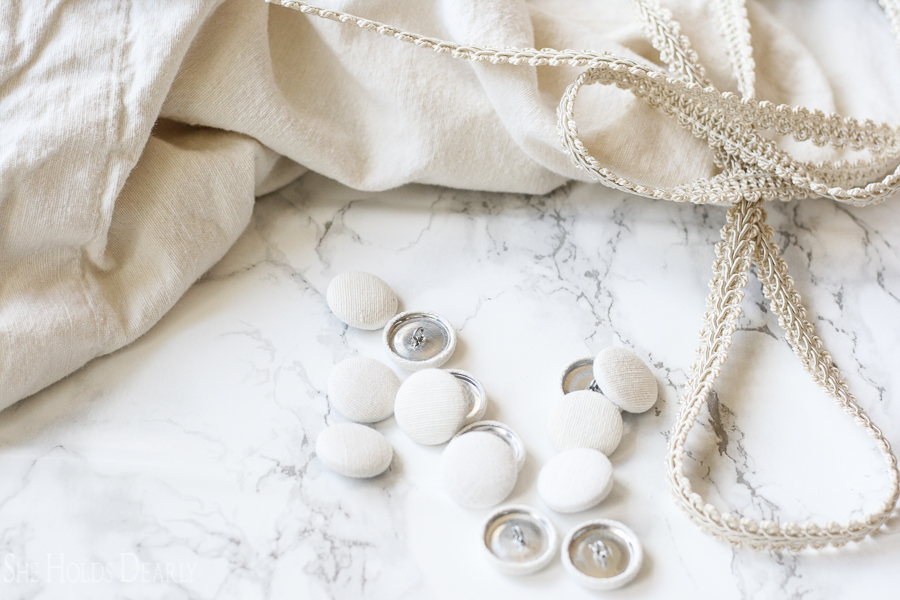
DIY Covered Buttons
It’s the details that really bring a piece to life and tell of its quality, don’t you think? Piping, double sided satin, lining, pleats, embroidary, crocheted edges, princess seams . . . Sigh.
And buttons. Buttons are always a deal breaker for me. Did your mom have a big jar of random buttons that you would sift through your hands when you were little? Mine did and I would carefully search for the little animals and stars.
Over time it was the mother of pearl and fabric covered buttons that would stop me in my tracks. If I were to find an item with either one of these, the likelihood that I would be buying it would skyrocket.
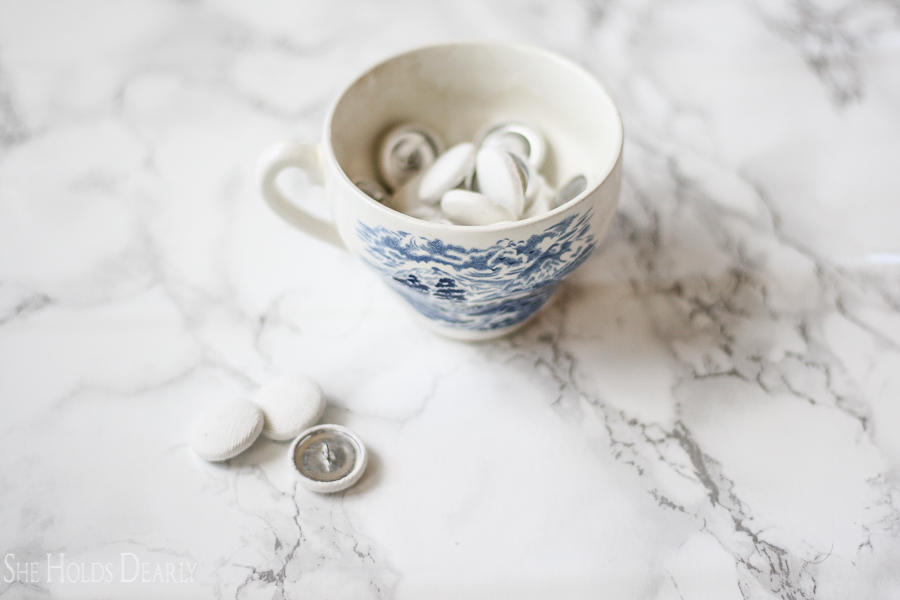
And, why yes, my wedding dress did have tiny, silk covered buttons down the back.
How did you know?
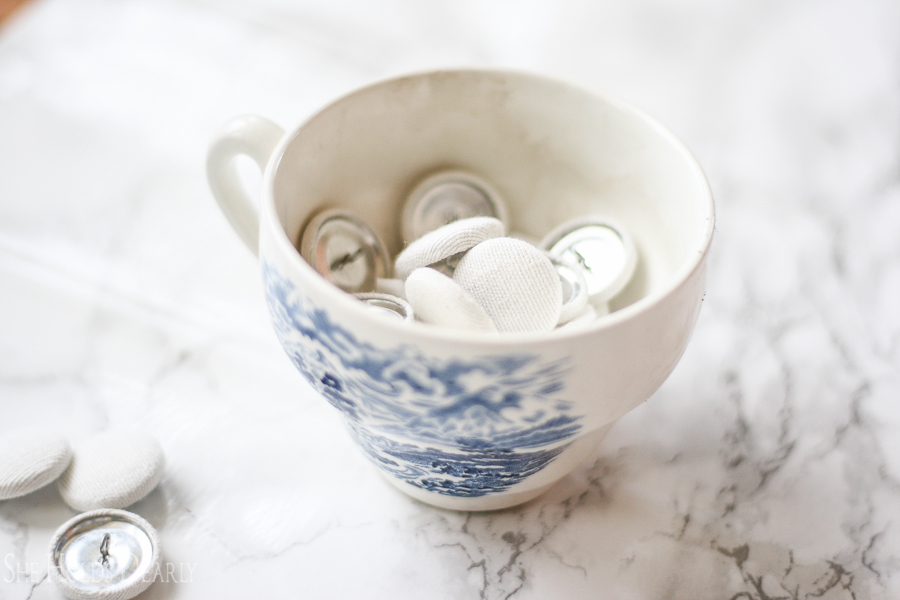
The two chairs in my living room are getting their makeovers and seeing as they are tufted, are needing some new covered buttons. Being able to make your own custom, covered buttons is a wonderful trick of the trade to keep in your back pocket.
So, let me show you just how easy it is.
Supplies Needed
This post contains some affiliate links to products I know and love.
Click here to read a full disclosure.
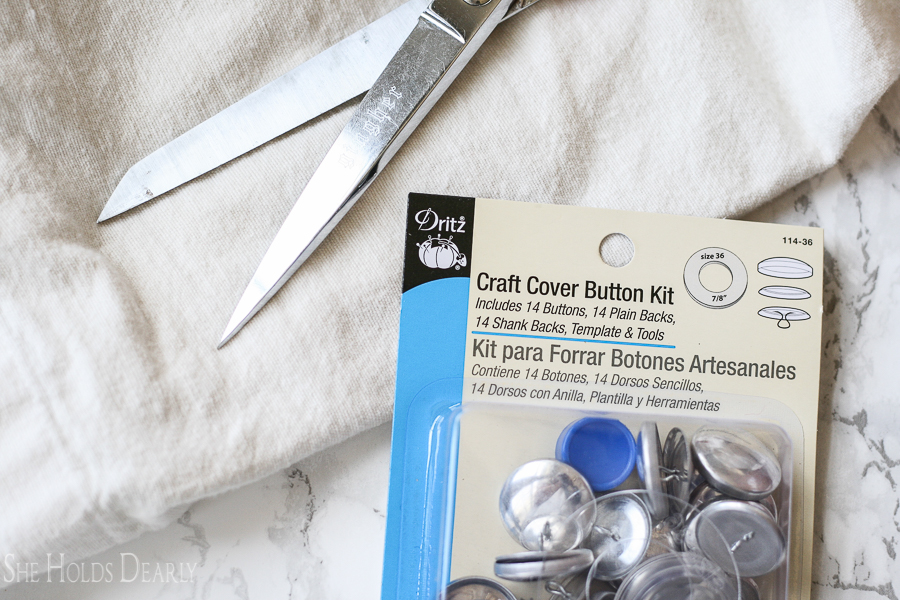
- Covered Button Kit
- I’m using size 36 which is 7/8″
- Pen or Pencil
- Fabric Scissors
- Your choice of fabric
Tutorial
- Using the template provided in the kit (it may be on the cardboard backing), trace circles onto your fabric
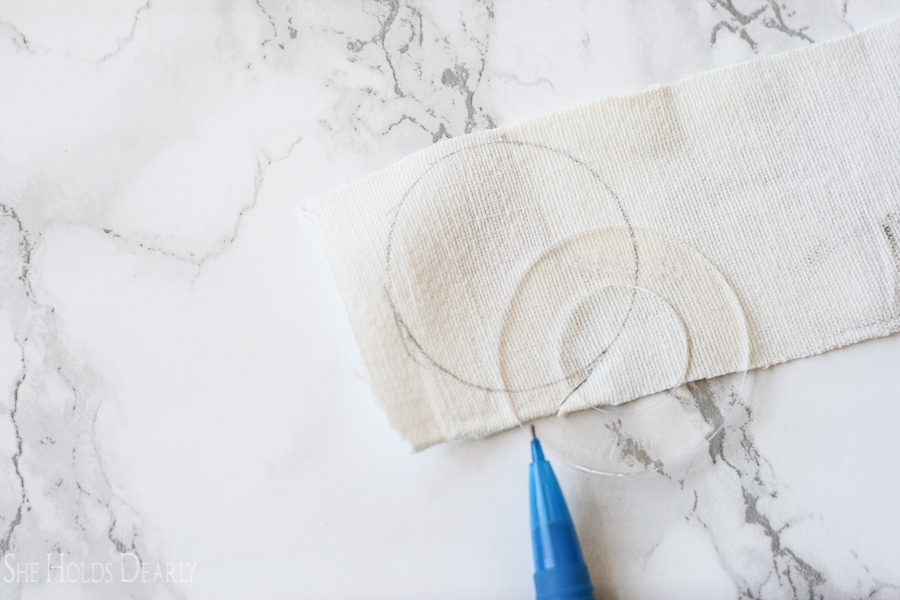
- Cut out the fabric circles.
- Place the fabric in the mold, right side down and add in the cap part, called “the shell.”
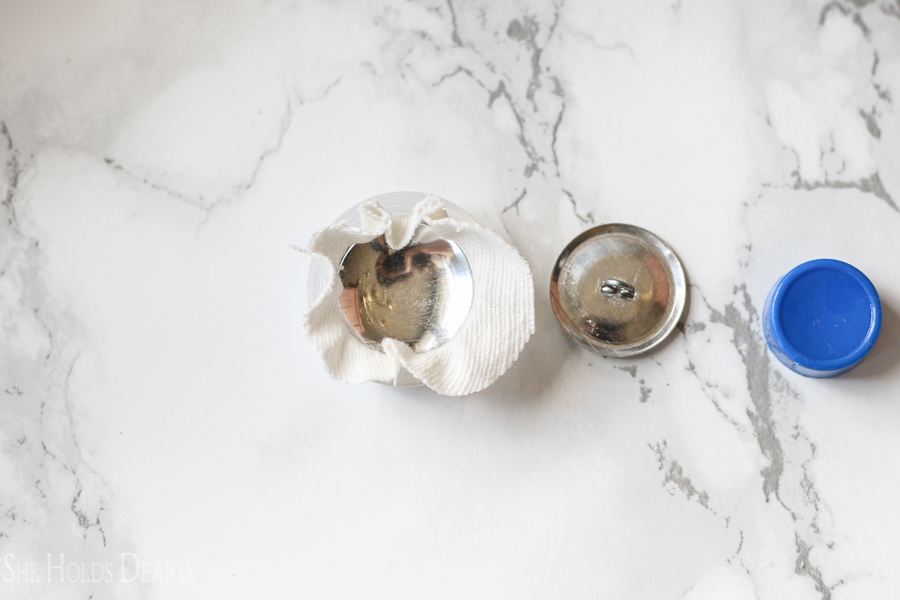
- Now tuck all the edges of the fabric down inside the shell really well, no raw edges hanging out.
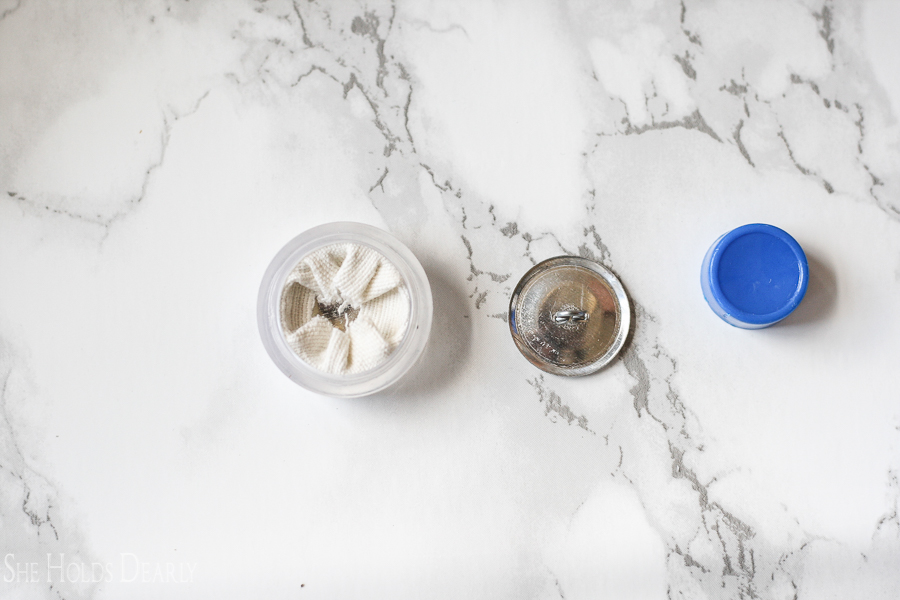
- Add in back of the button and center the pusher (this is the hardest part to get right) over the little stack of pieces.
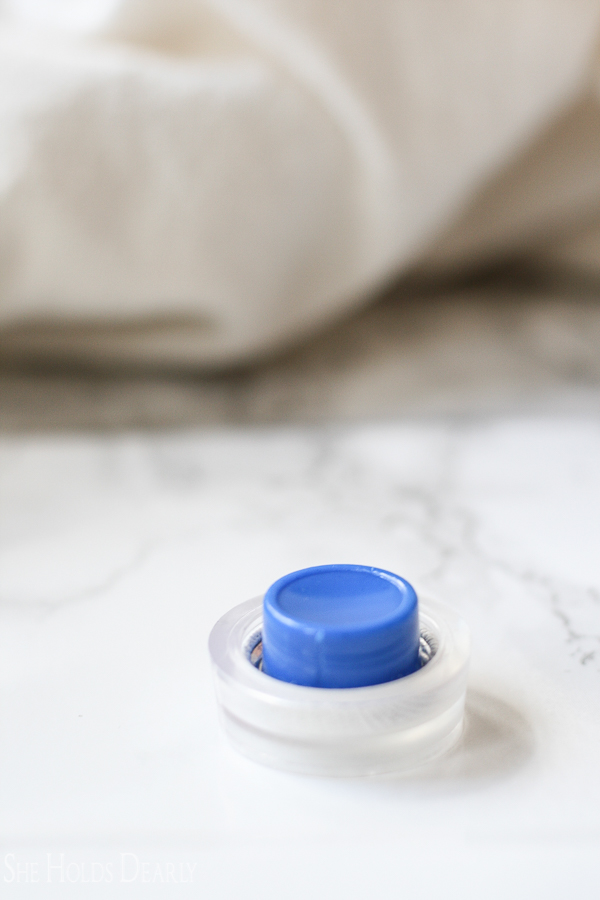
- Press the pusher really hard, so it is all pressed together to make the button.
- I use the heel of my hand and press with both hands really hard, all at once.
- Do this on a hard surface.
- Finally, pop out your pretty, little button and pat yourself on the back for being so clever.
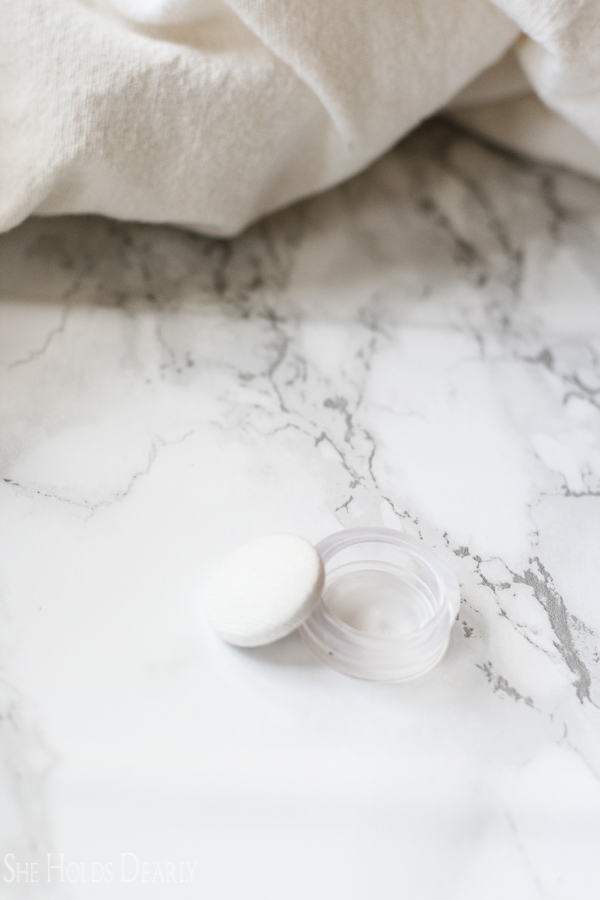
So, there you have it! Not too difficult, if you ask me.
The possibilities are endless and covered buttons give such a finished look to anything you’re making.
I’m off to try to finish a tufted chair.
What projects will you use your covered buttons for?
