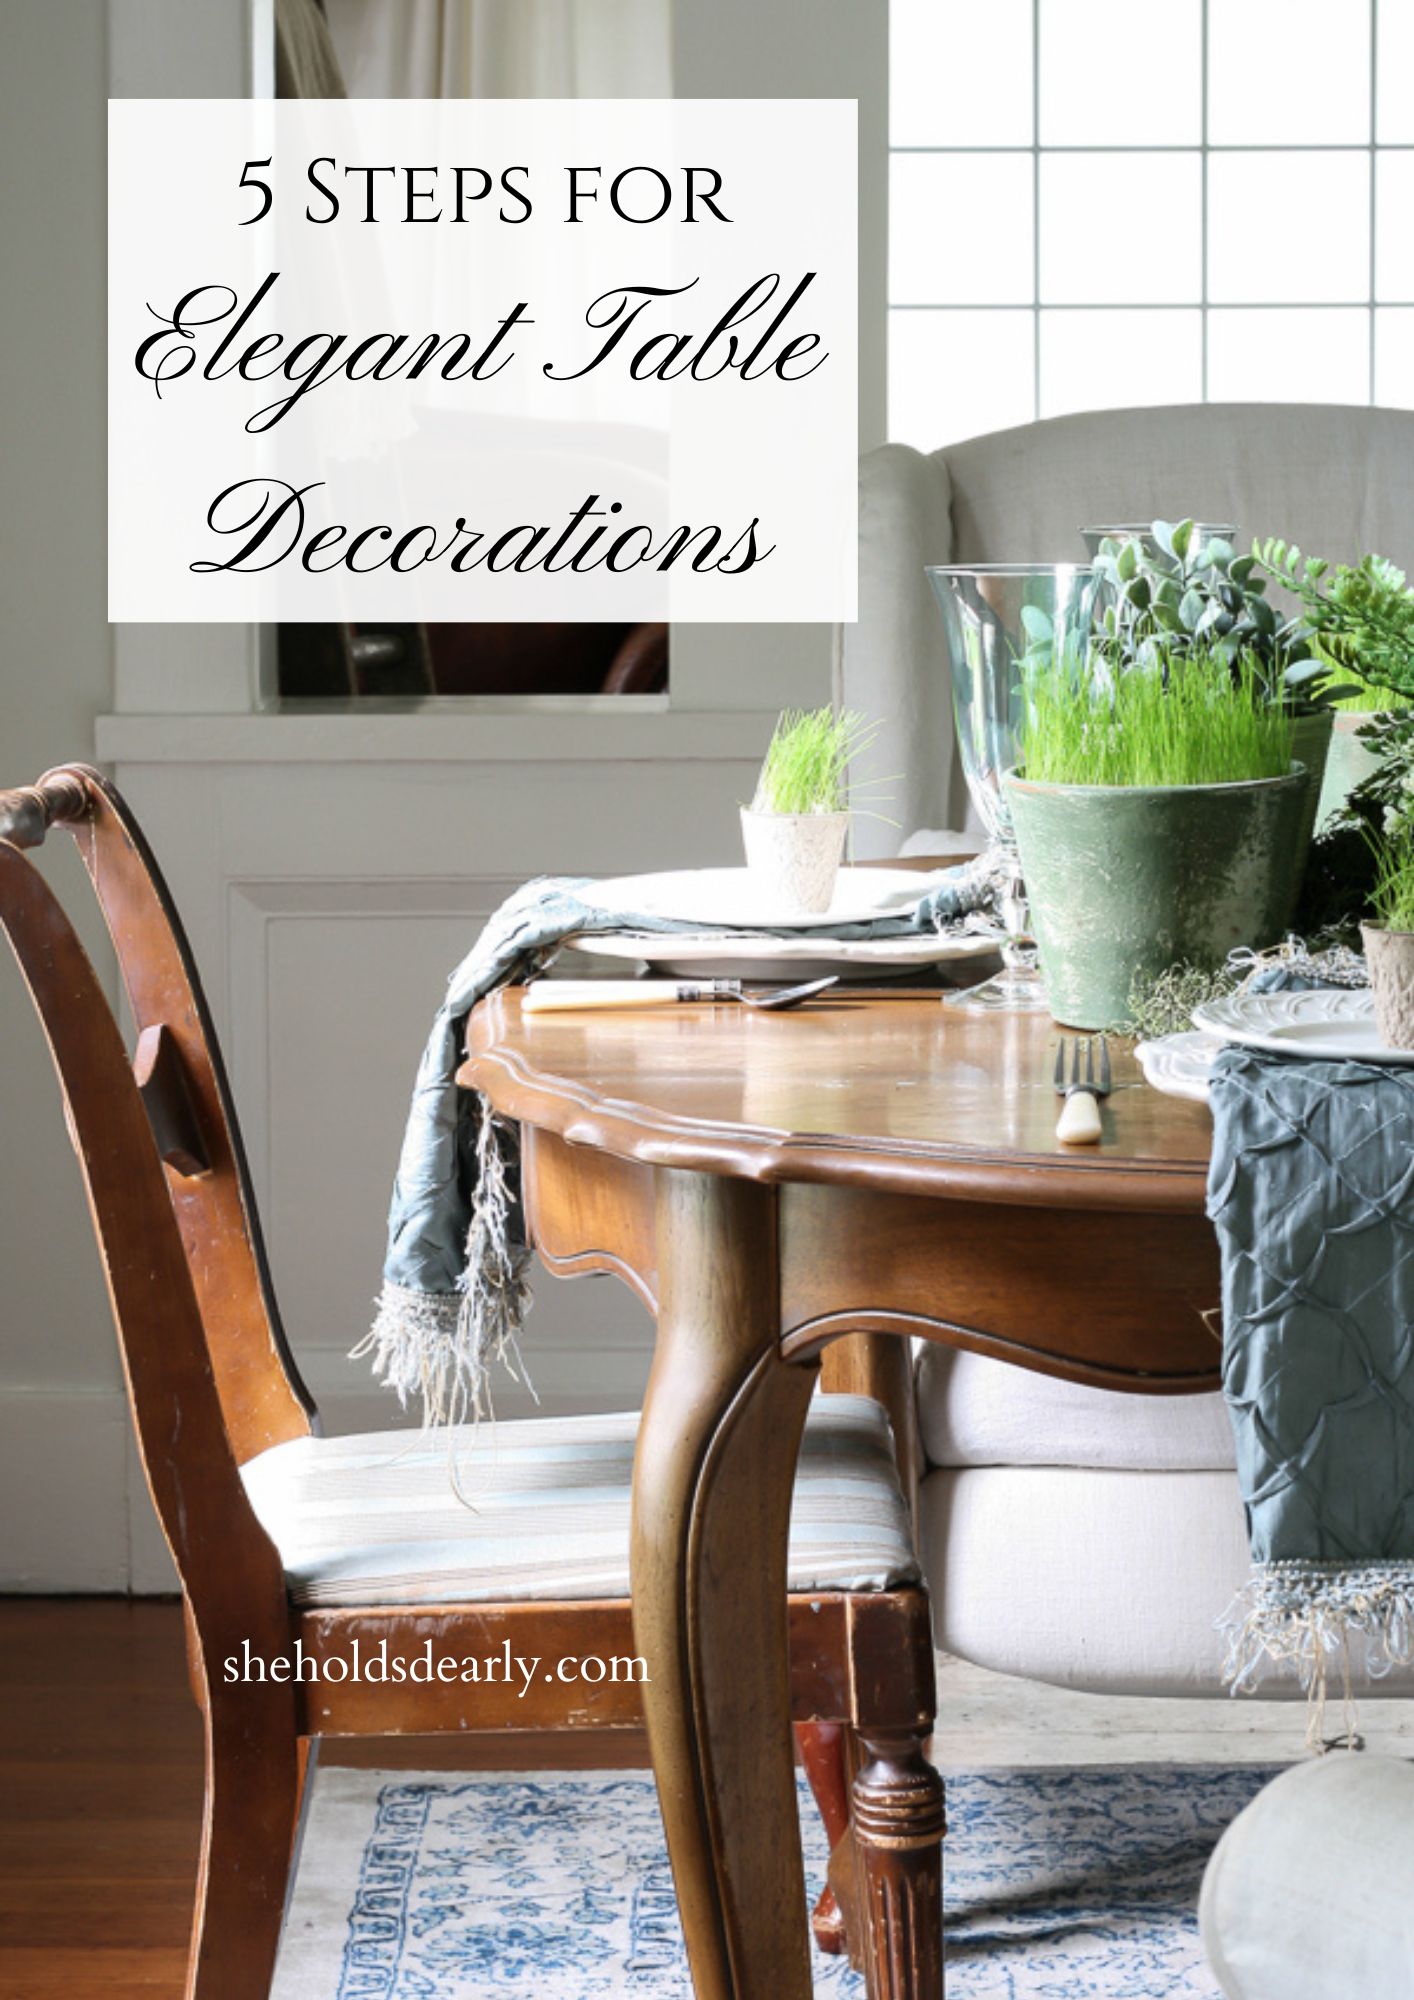
How To Set An Elegant Easter Table
Creating a tablescape for any event can be a daunting task. But, there are some secrets designers use to pull off those gorgeous tables we see all over Pinterest.
Breaking the process down into steps can take you from staring at the empty table with a blank look on your face to a confident hostess who can relax and focus on her guests.
Speaking of hosting, I will be hosting Easter at my house this year for the extended family. For so many years, my mother would host most of the holidays. But, I see her tire more easily and I feel the torch being passed to me as the new matron of the family.
A serious job, indeed.
One that I love.
Actually, even when she would host, I always got assigned the table decor. So, I have been doing all the holiday table decorating since high school.
Here is the process I use each time and it seems to be a dependable formula, so I am passing it on to you.
Be sure to scroll to the end of this post for more Easter table decoration from some of my favorite farmhouse bloggers, as well.
I am so proud to be part of their tour today!
5 Steps to Elegant Table Decor
1) About three weeks before the event, decide on one or two dominant colors.
- Commit to using only those colors.
- Place any needed online orders.
Last Easter I used two tones of yellow and this year is going to be turquoise and green.
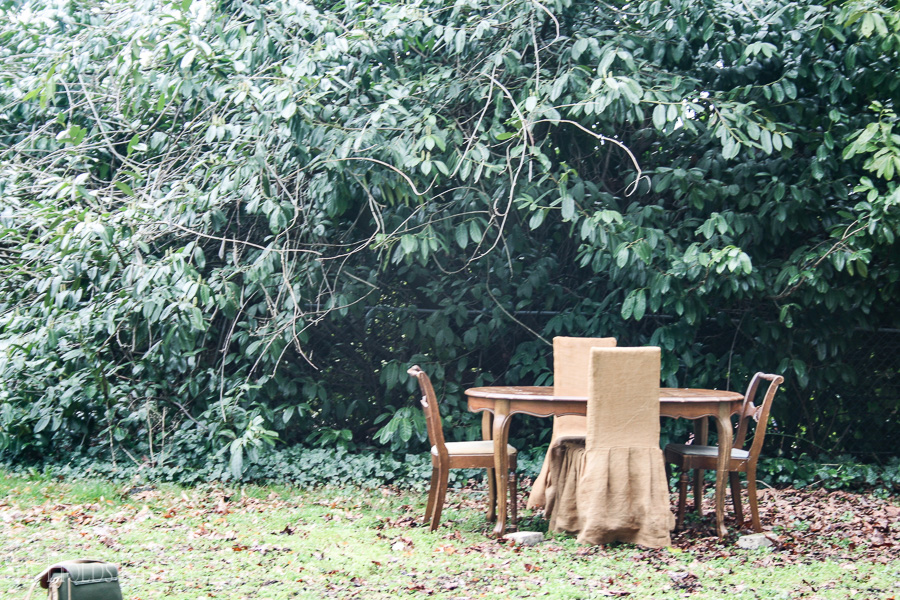
I had visions of photographing everything under this wall of wisteria on our property. But, this was as far as I got (my camera bag didn’t even get pulled from the picture) before a torrential downpour occured.
Maybe for the real Easter- and with wisteria blooms!!
2) Decide on your linens, these will be your foundation.
- If a table is nice enough, I will just use some kind of runner.
- Try to do something a little 3-D for the center, even if it’s just crumpling up a piece of fabric.
- Cloth napkins are really worth the extra effort on a special day.
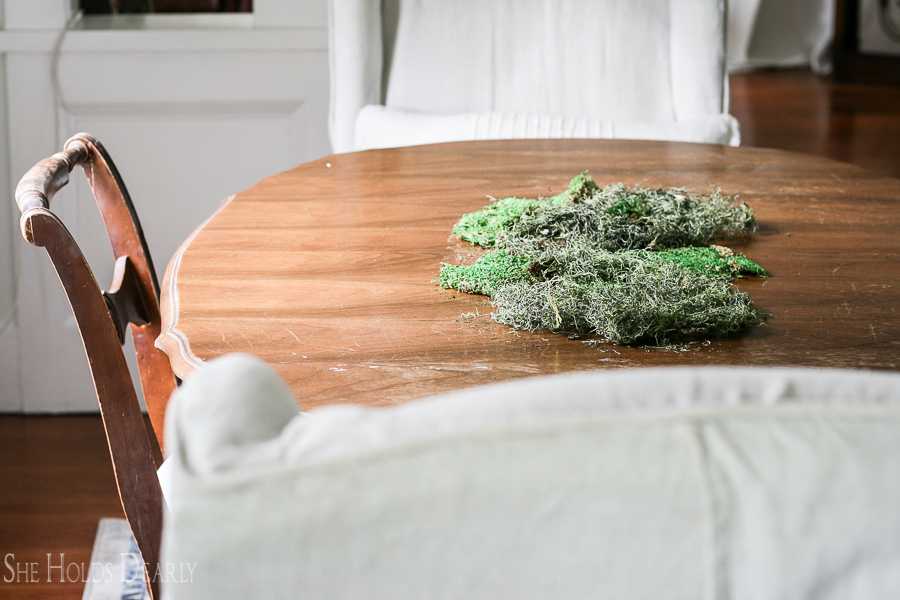
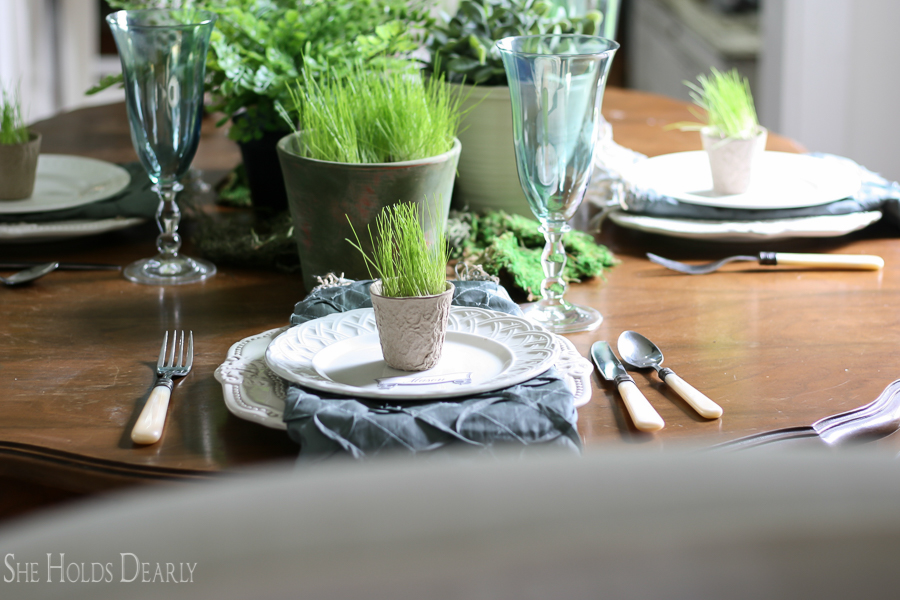
I decided to use moss down the center of the table. So simple.
3) Bring in some centerpieces.
- A collection is extra nice.
- Be very careful about the height, if it obstructs the view of anyone during conversation it will be removed in 2.2 seconds flat and placed on the floor by the guys (the voice of experience speaking here).
- Aim for lots of contrasting textures here.
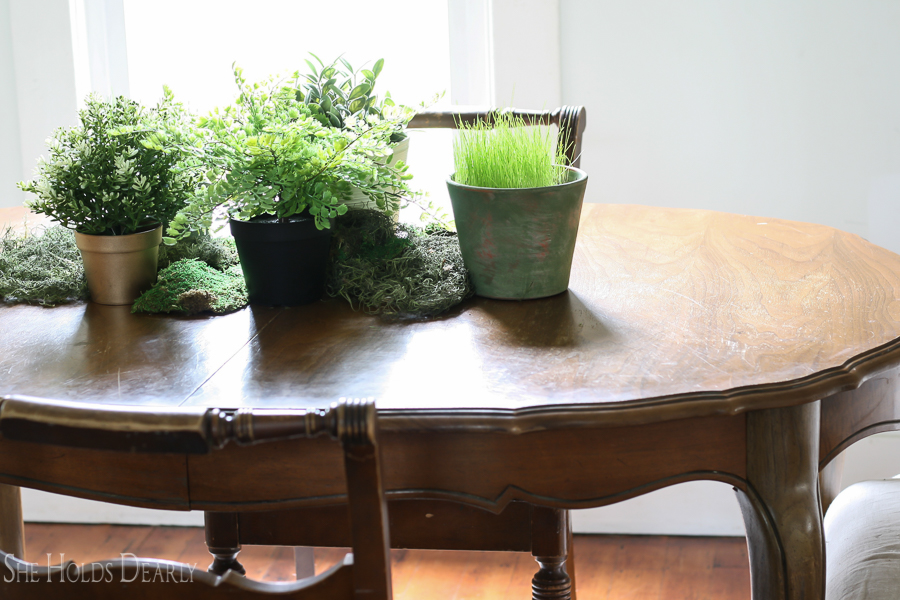
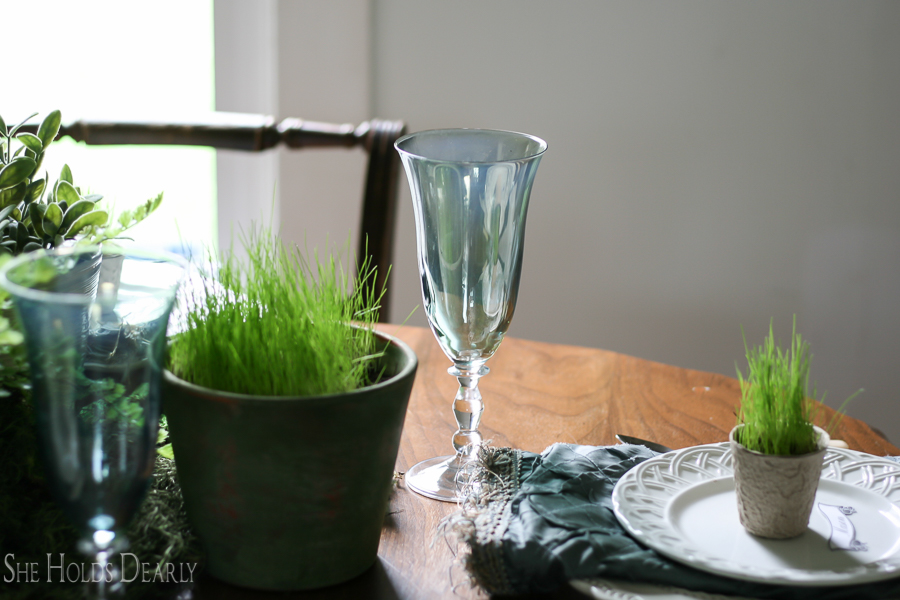
I pulled faux plants from around the house and planted some grass in pots a couple of weeks before these photos.
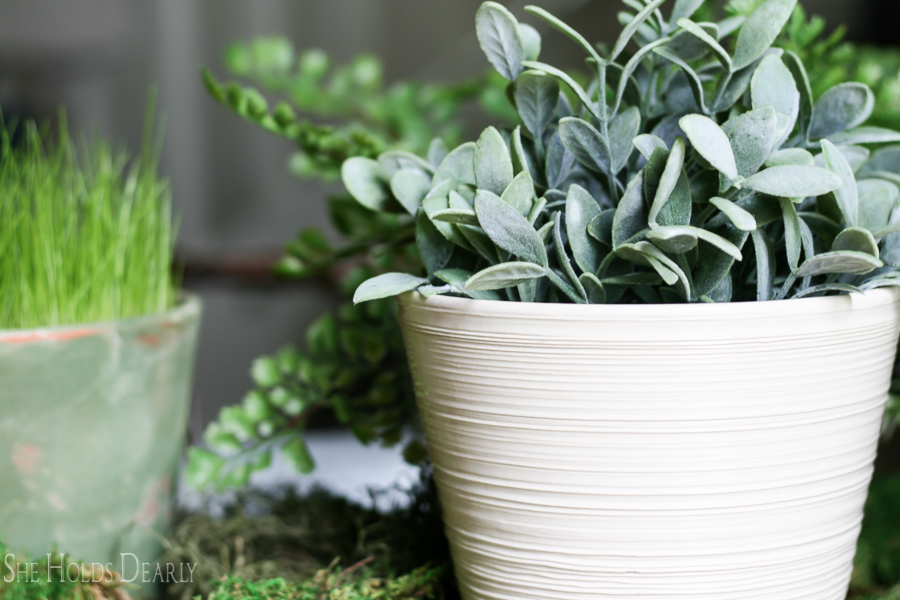
4) Assemble all your dishes, chargers, goblets, napkins and silverware and start layering.
- Again, the more contrast in colors and textures the better.
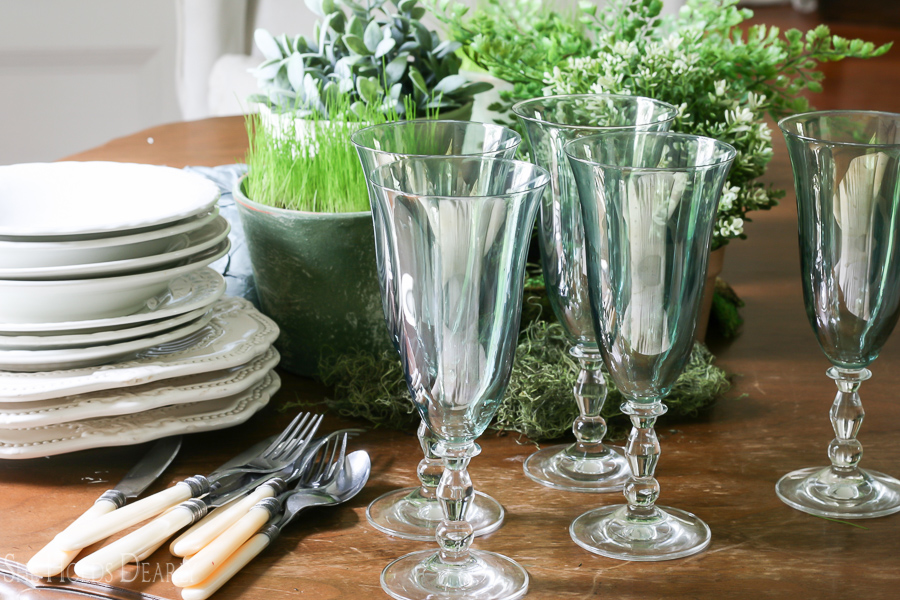
Everything I am using here is from garage sales, except the silverware, which was on clearance at Target several years ago.
Keep your eyes open for dishes when you are out thrifting!
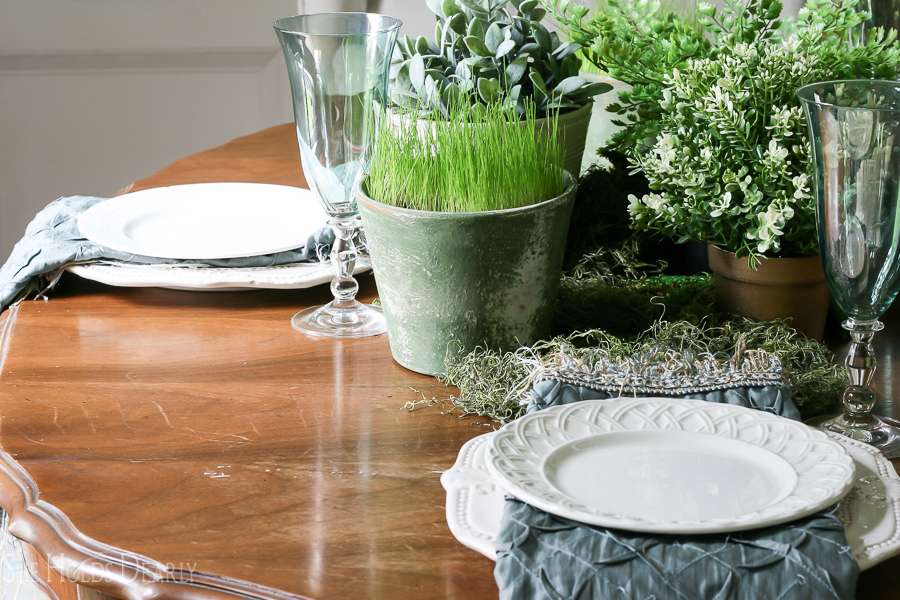
5) The final step is to bring in the details, this is the cherry on top, so to speak.
- Try to repeat some aspects of the centerpieces on a smaller scale.
- Ideas include chair decor, printed menus, place cards, candles, even a tiny gift.
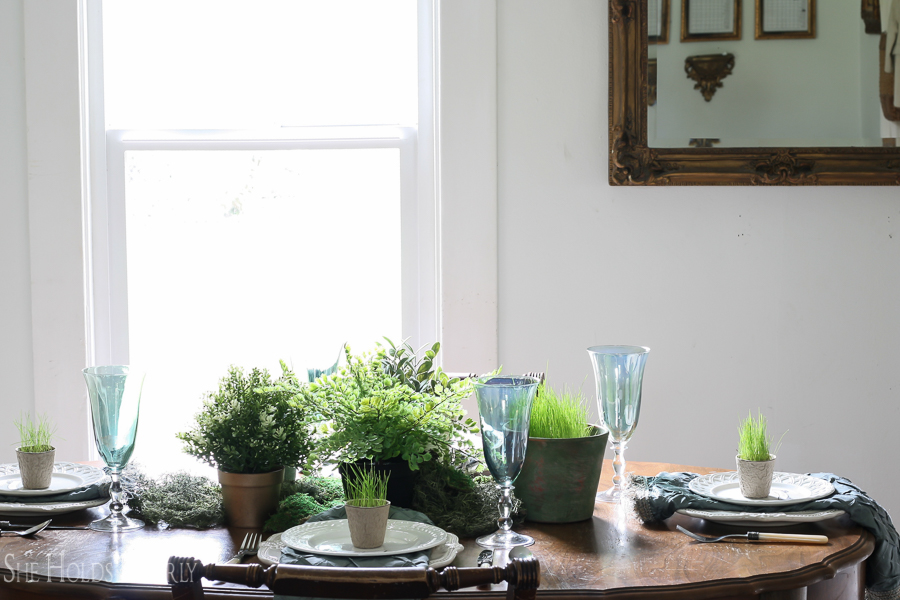
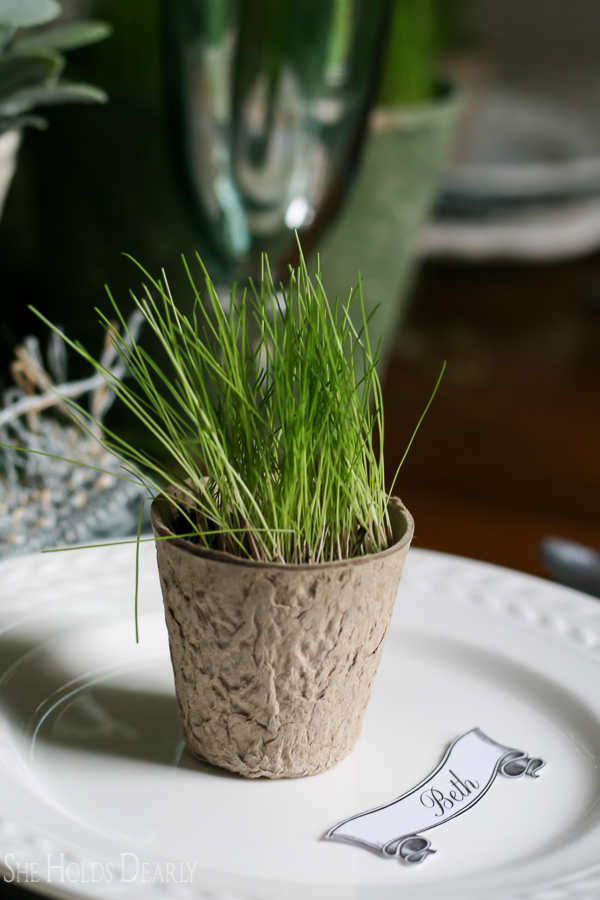
To repeat the centerpieces, I planted little peat pots with grass seed.
Grass is always so perfect for Easter and it stirs my heart to remember the Sunday morning resurrection.
This post contains some affiliate links. Click here to read a full disclosure.
And last, but not least, a tiny place card can make a guest feel so loved.
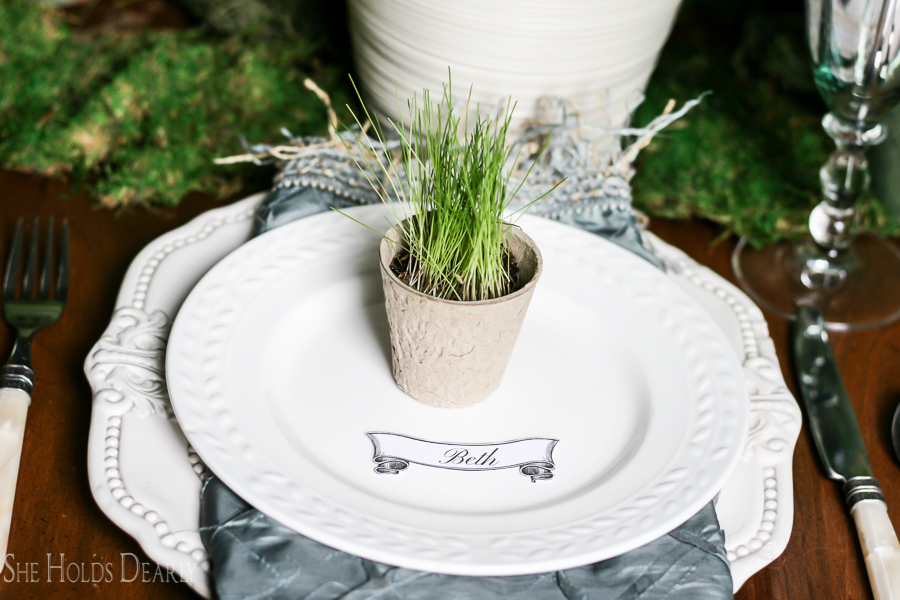
I printed these from my friend Lauren’s blog, uploaded the banners to Canva.com and added the names using the “Pinyon Script” font.
So if you find yourself in the place of being the hostess anytime soon, take a deep breath and work your way through each of these simple steps.
I am always fascinated as the end result unfolds in front of me.
Get This Look
[show_shopthepost_widget id=”2559139″]
More Table Decor Inspiration!
Pin These 5 Steps to Elegant Table Decor for Later:
