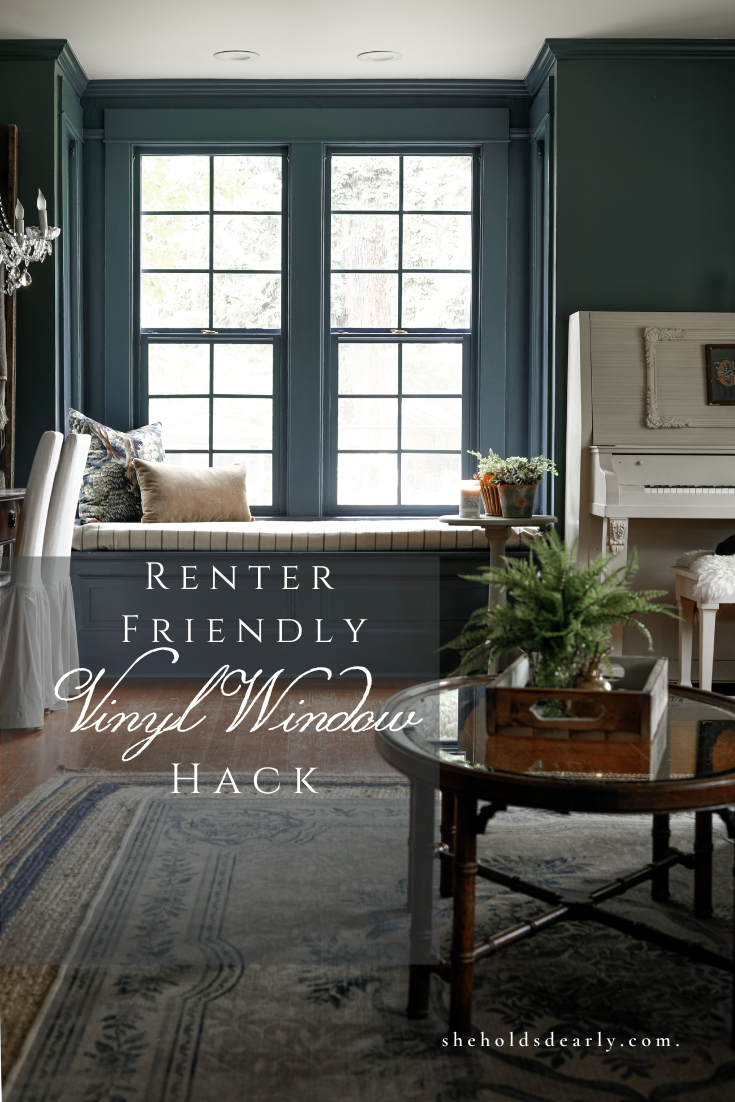
How to Change the Color of Vinyl Windows
Painting Vinyl Windows requires a lot of prep, and unfortunately, you’ll never be able to get them back to their original state. But have no fear… I’m sharing my renter friendly vinyl window hack for transforming your windows into whatever color your heart desires!
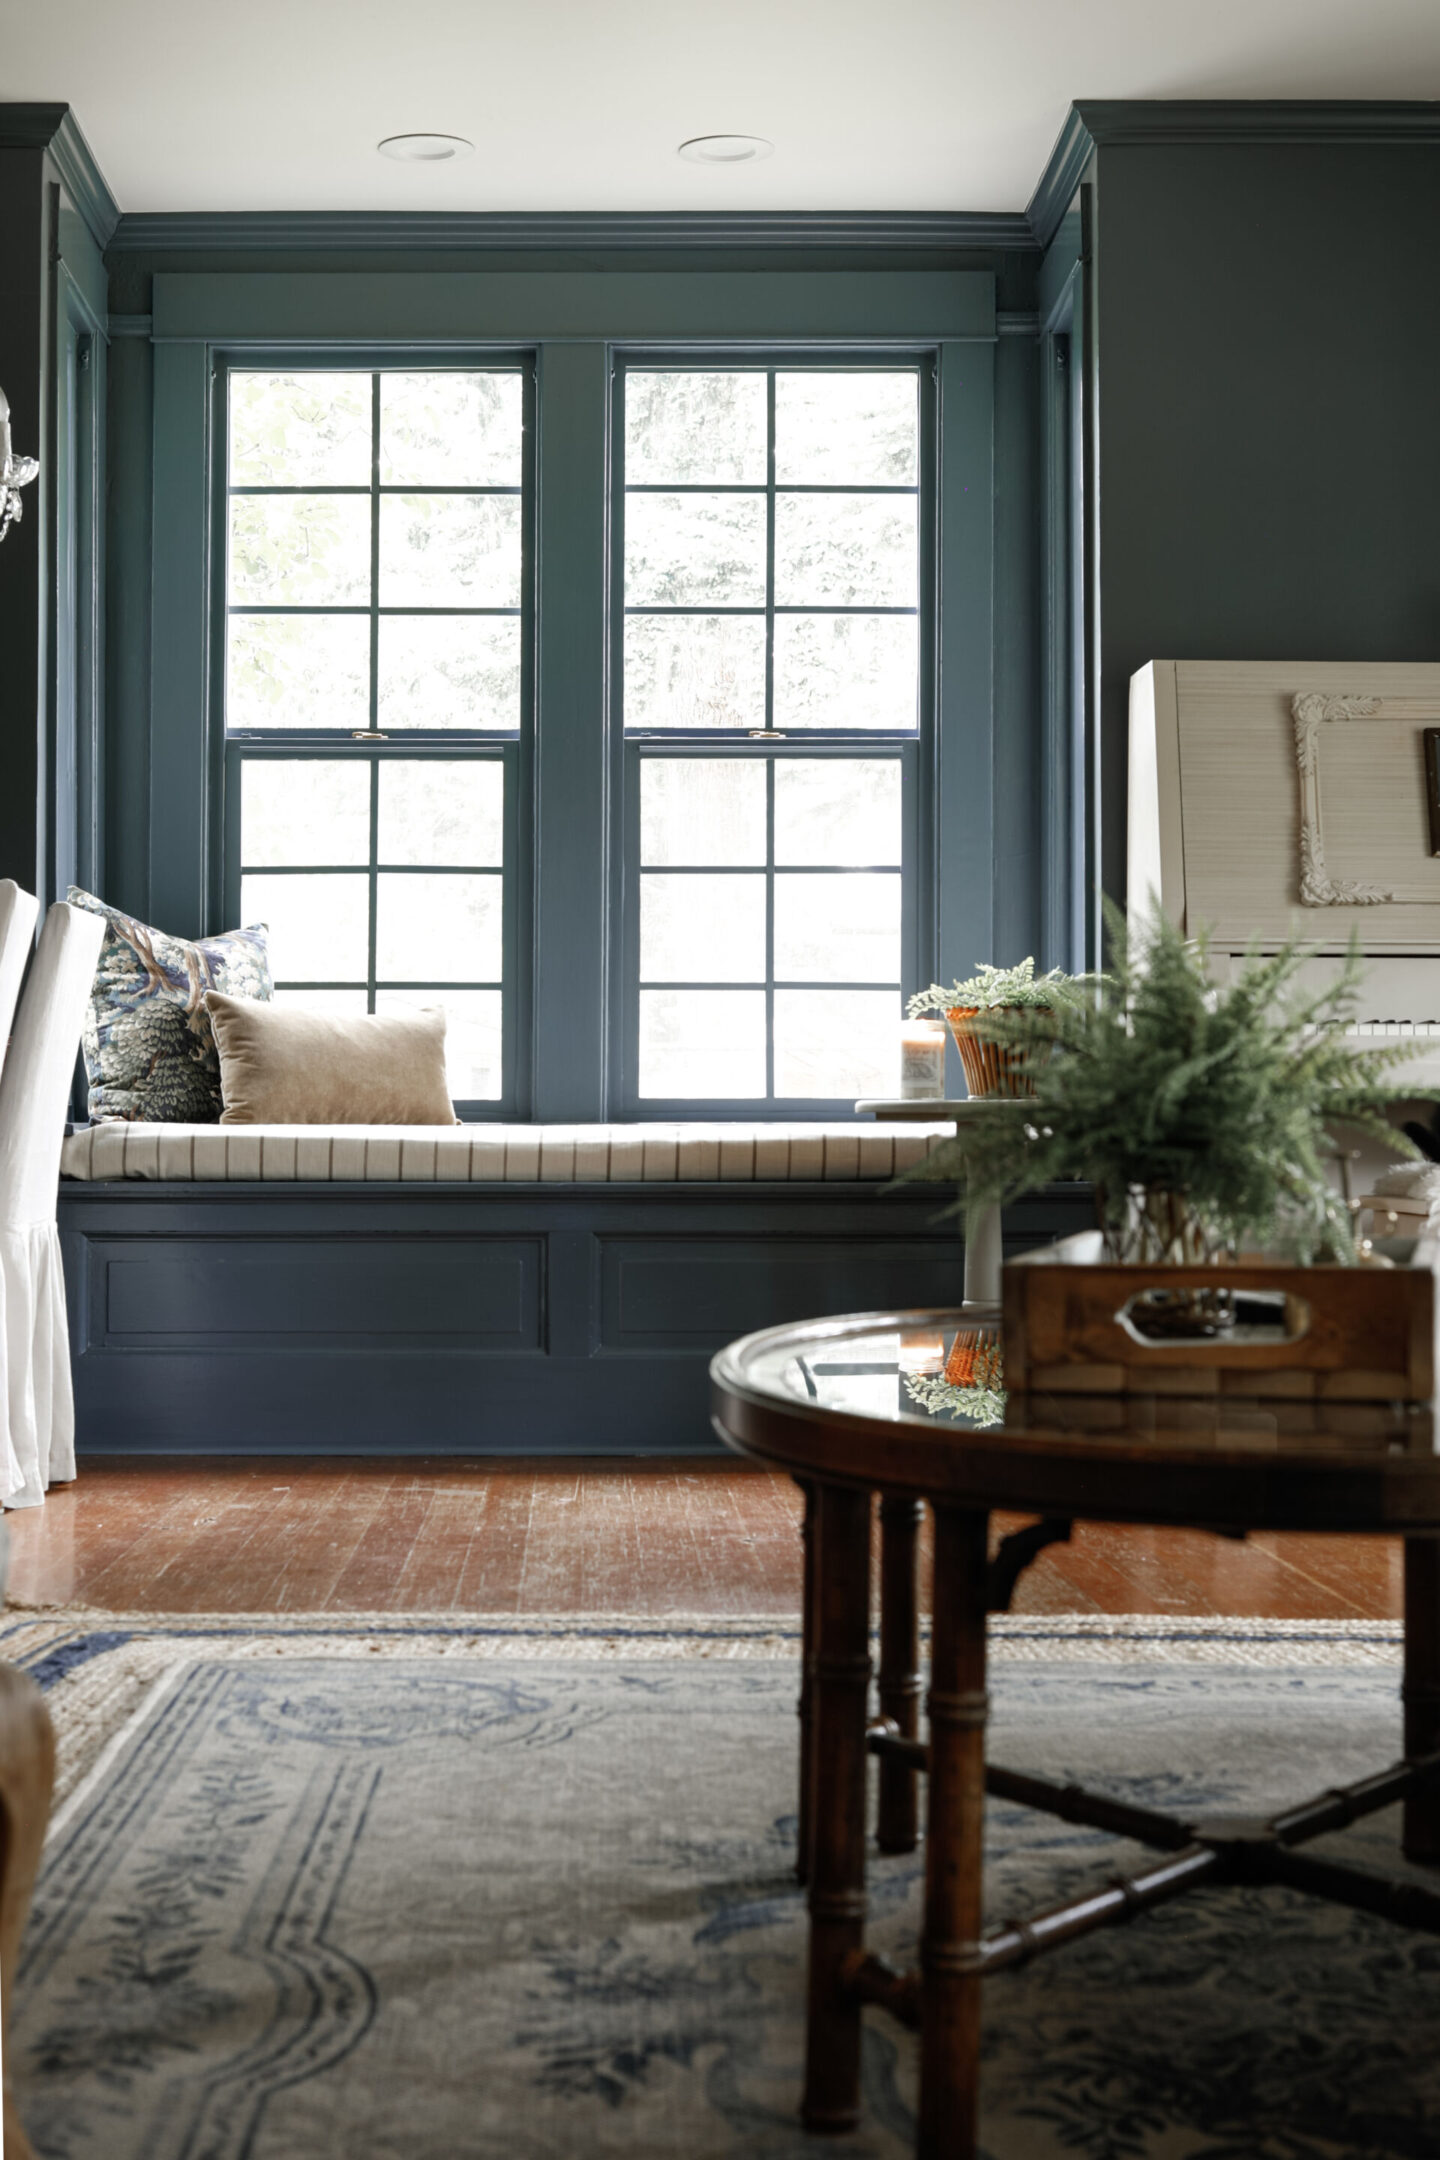
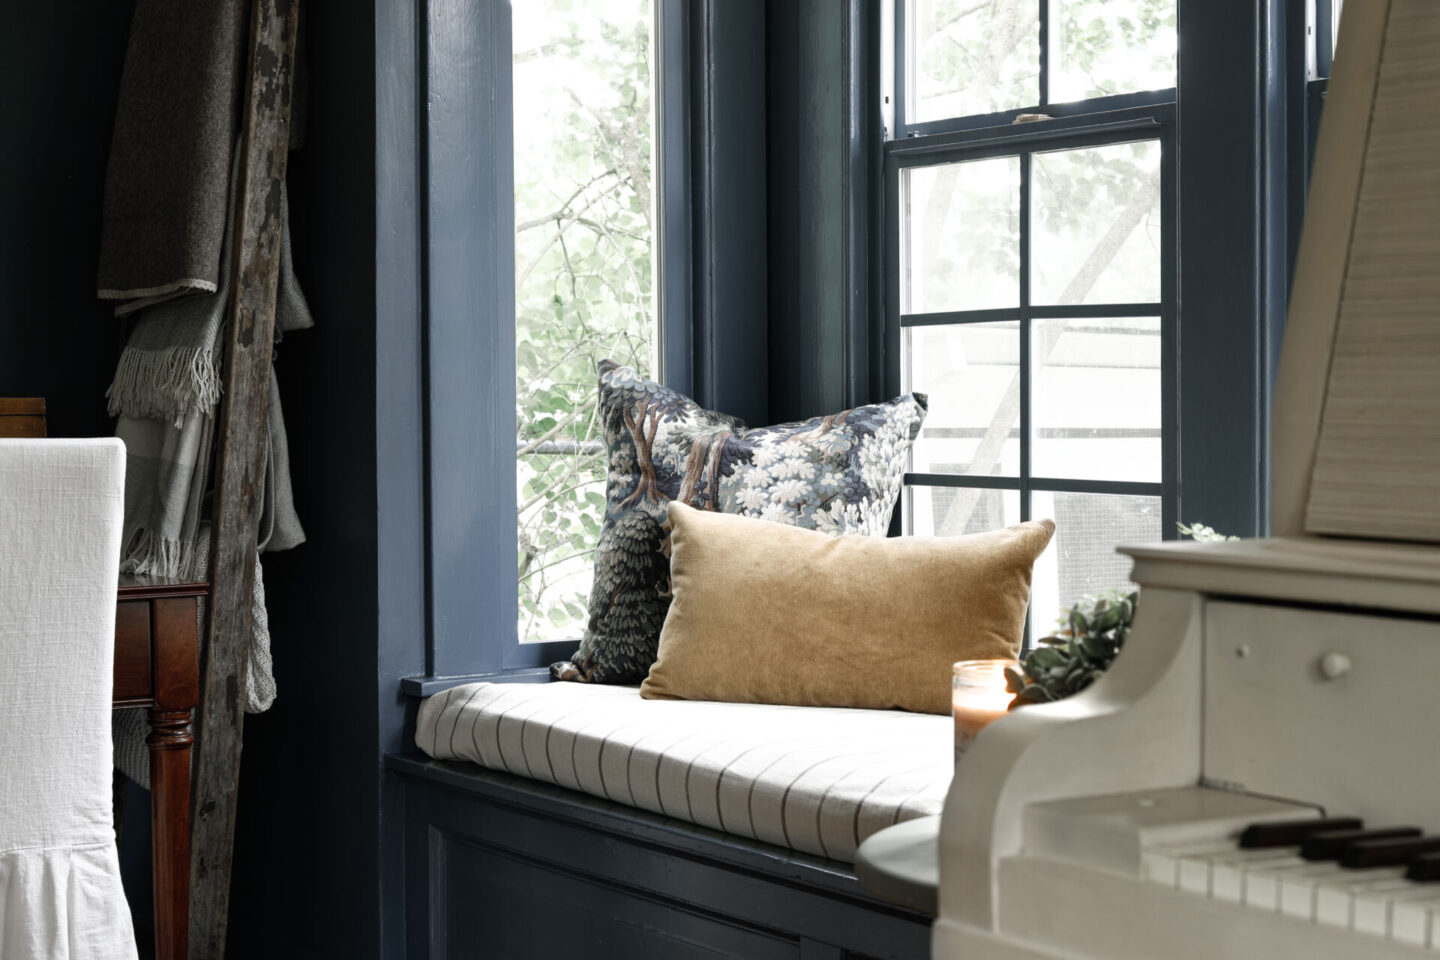
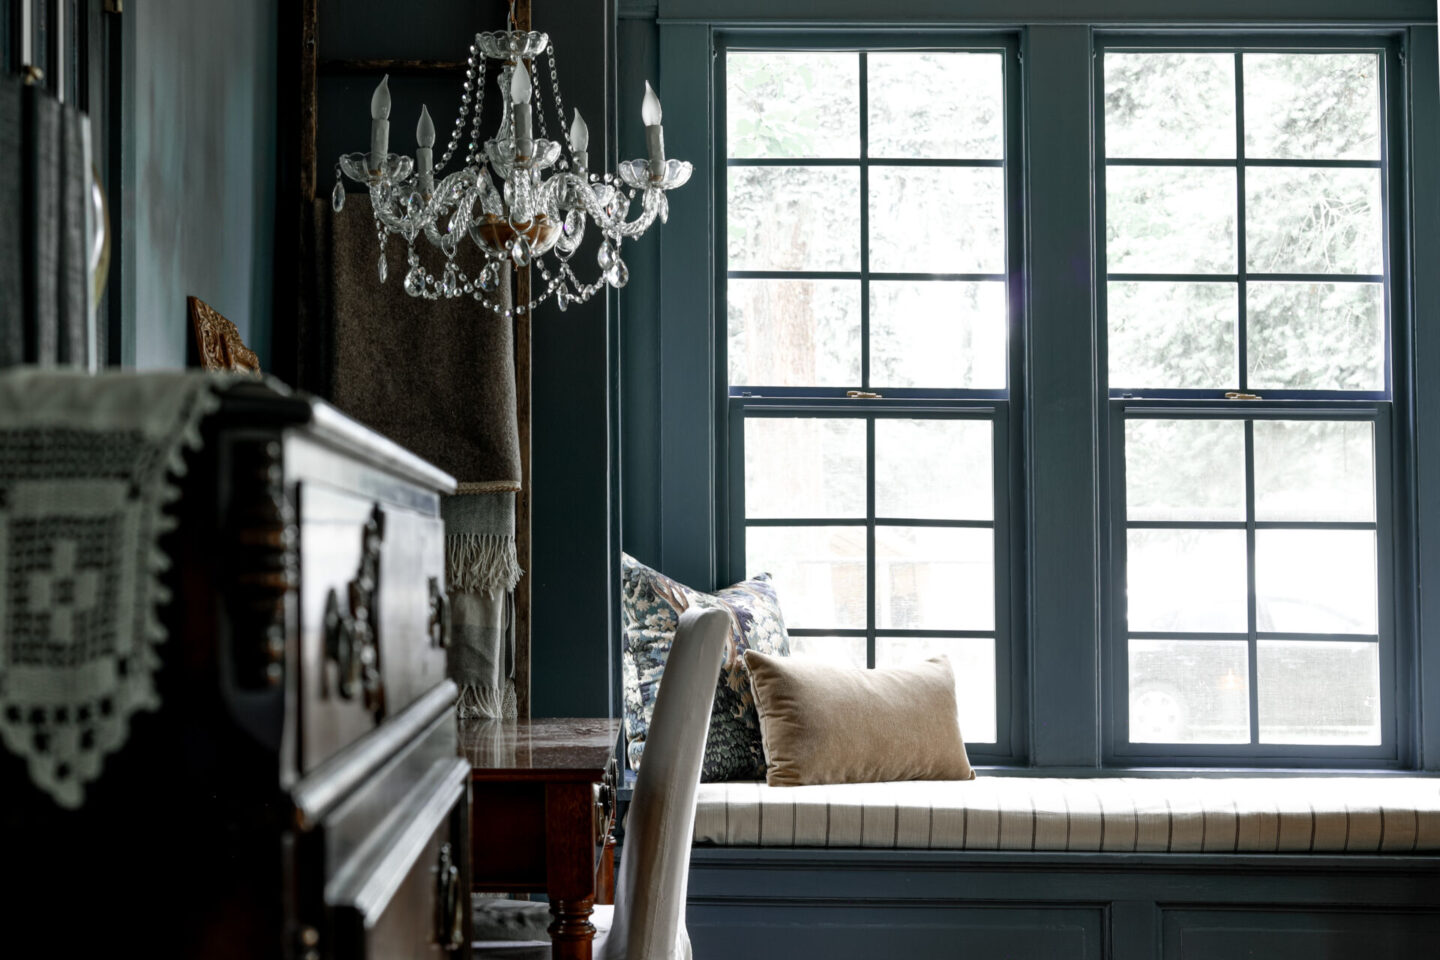
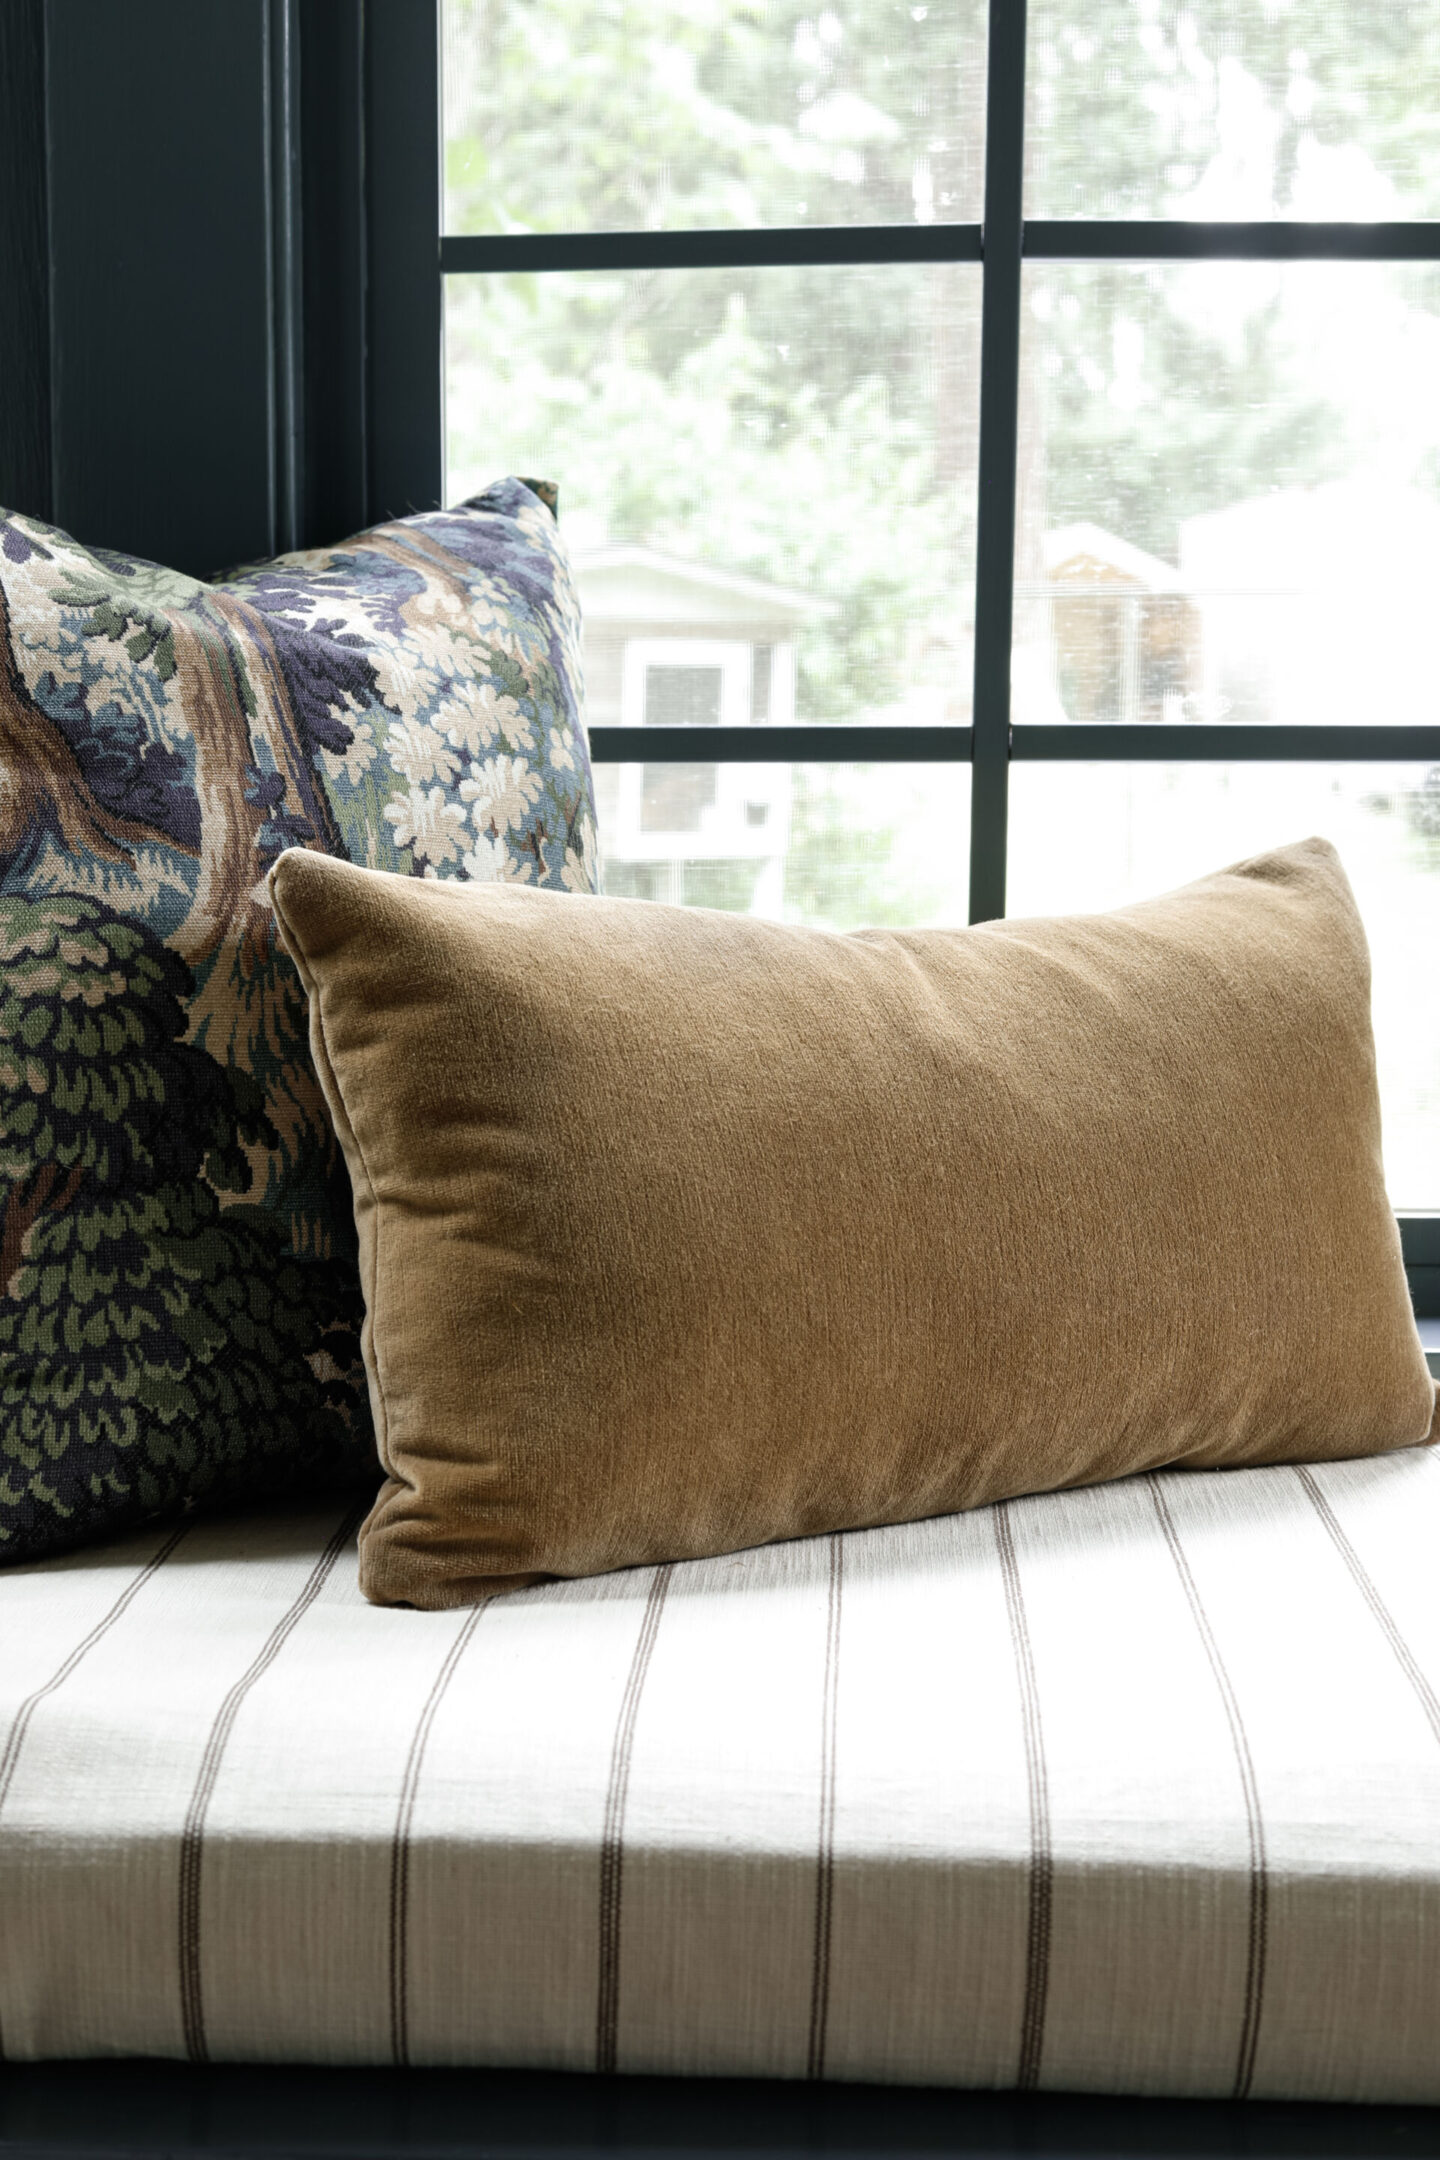
I’m taking my living room in a dark academia direction, and just knew that my white vinyl windows were tethering the look and keeping it from it’s full potential.
I have been so inspired by this picture from the Mayhurst Estate run by my friend, Casey throughout this design process, and I am SO excited to see this room and their many other beautiful spaces this fall at my Bespoke Design Retreat!
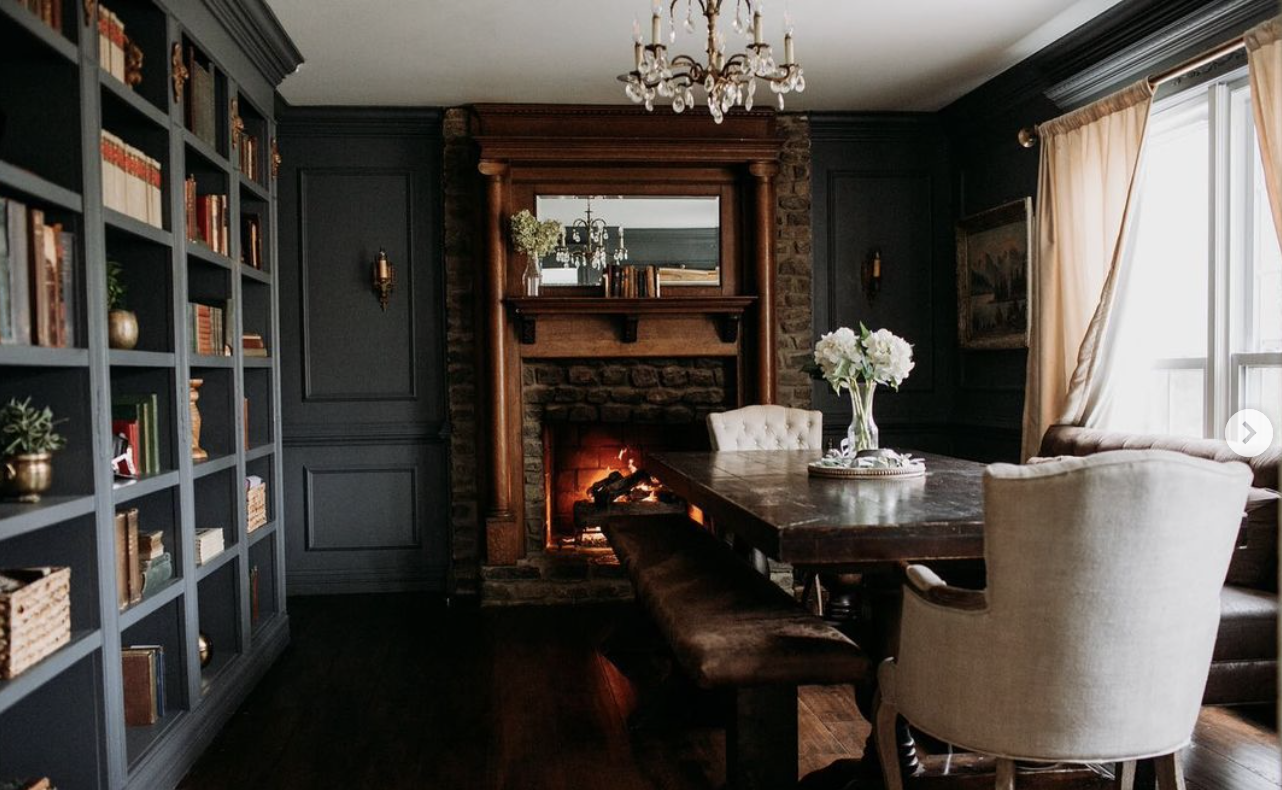
If you’re not familiar yet, Bespoke is a 4-day, custom interior design treat that I am hosting at the Mayhurst Estate (In Orange, Virginia) from September 18-22! There are just under 15 spots left, and you can find out all the answers to your questions and save your spot by visiting: bespokedesigretreat.com!
** If you’re reading this post after August 1, 2023 – Registration for the 2023 trip is already closed, but you can join the Waitlist Here to be notified for future Bespoke events! **
*This post contains affiliate links to products I know &/or love.
To Paint the Vinyl Windows or Not to Paint the Vinyl Windows…
I knew I wanted the windows to match the color of our walls (Sherwin William “Slate Tile”), but figuring out HOW to do it provided me with quite a few sleepless nights.
My husband and I were on the same page that while painting the vinyl windows was possible, it was not the ideal because once painted, they will never get quite back to how they look now.
And as someone who likes to update this room about every 5 years, I knew that painting the windows would be too much commitment.
That meant I needed to perfect a temporary, or “rental friendly” vinyl window hack!
If you prefer to learn via vlog style teaching, you can find out all about my trial and error process on my YouTube channel. Keep reading on to find the tried & true 3-step method that was born out of my experimenting!
The Renter Friendly, Color-Change Vinyl Window Hack :
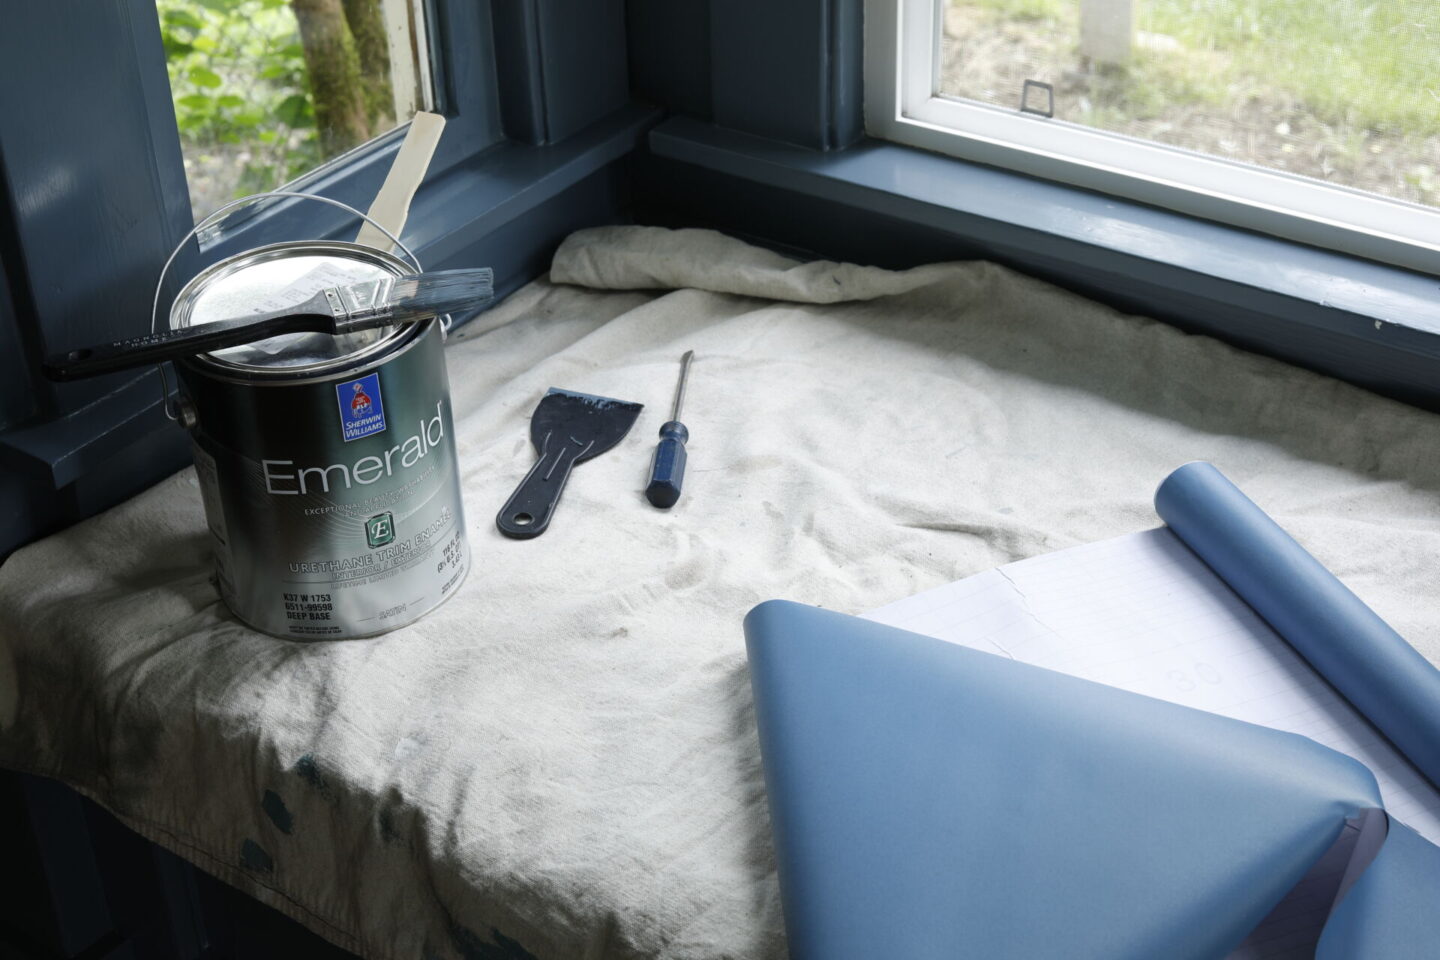
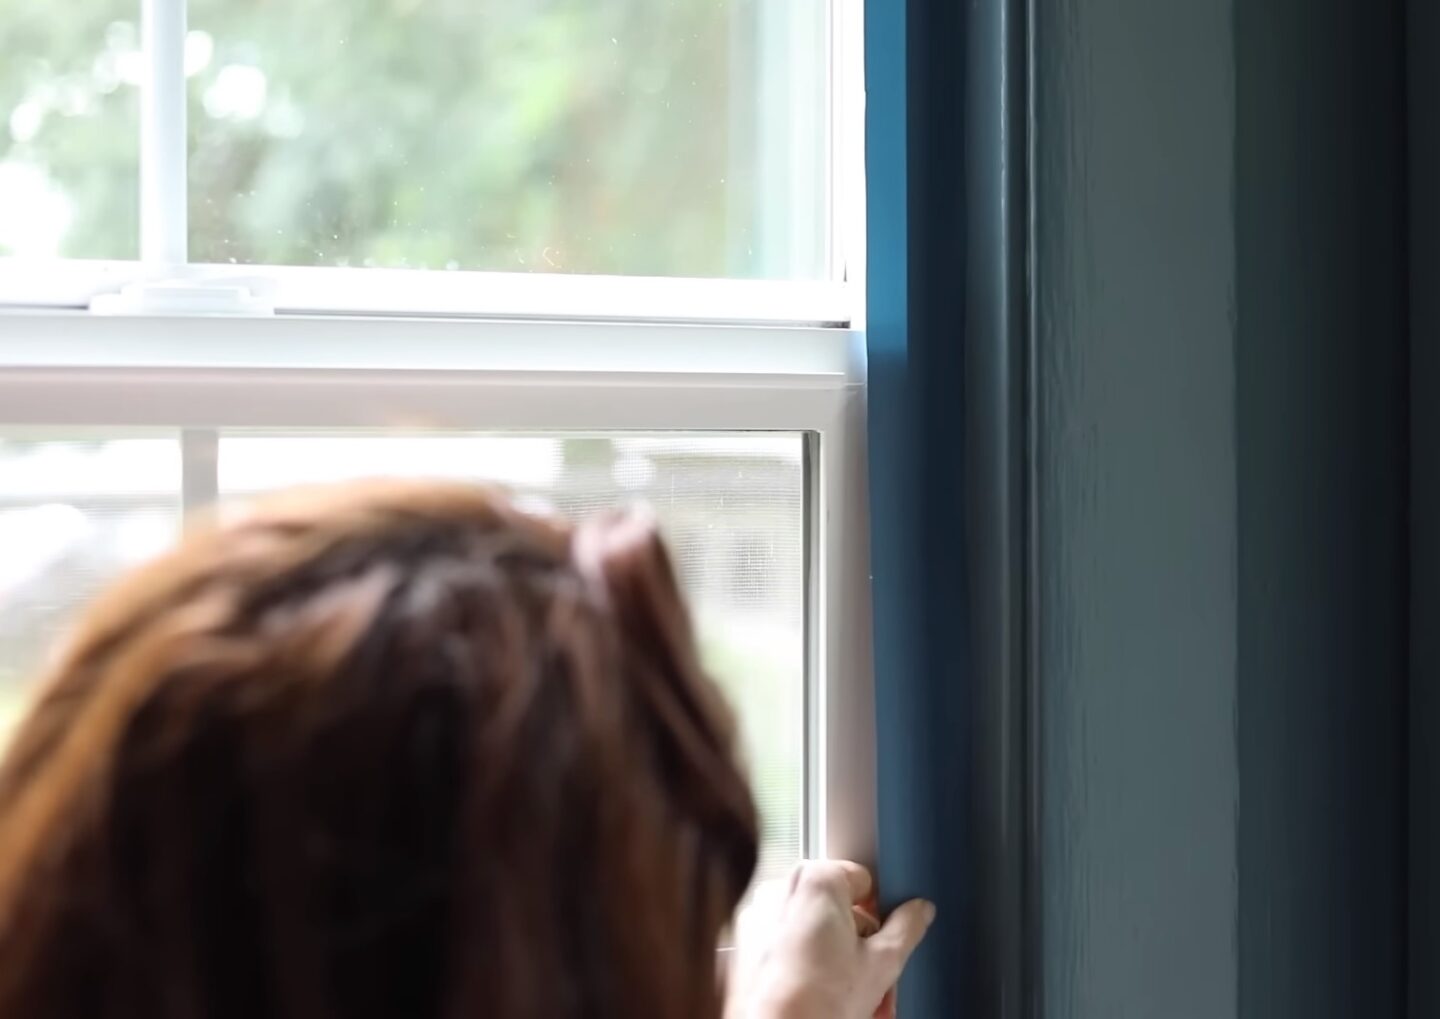
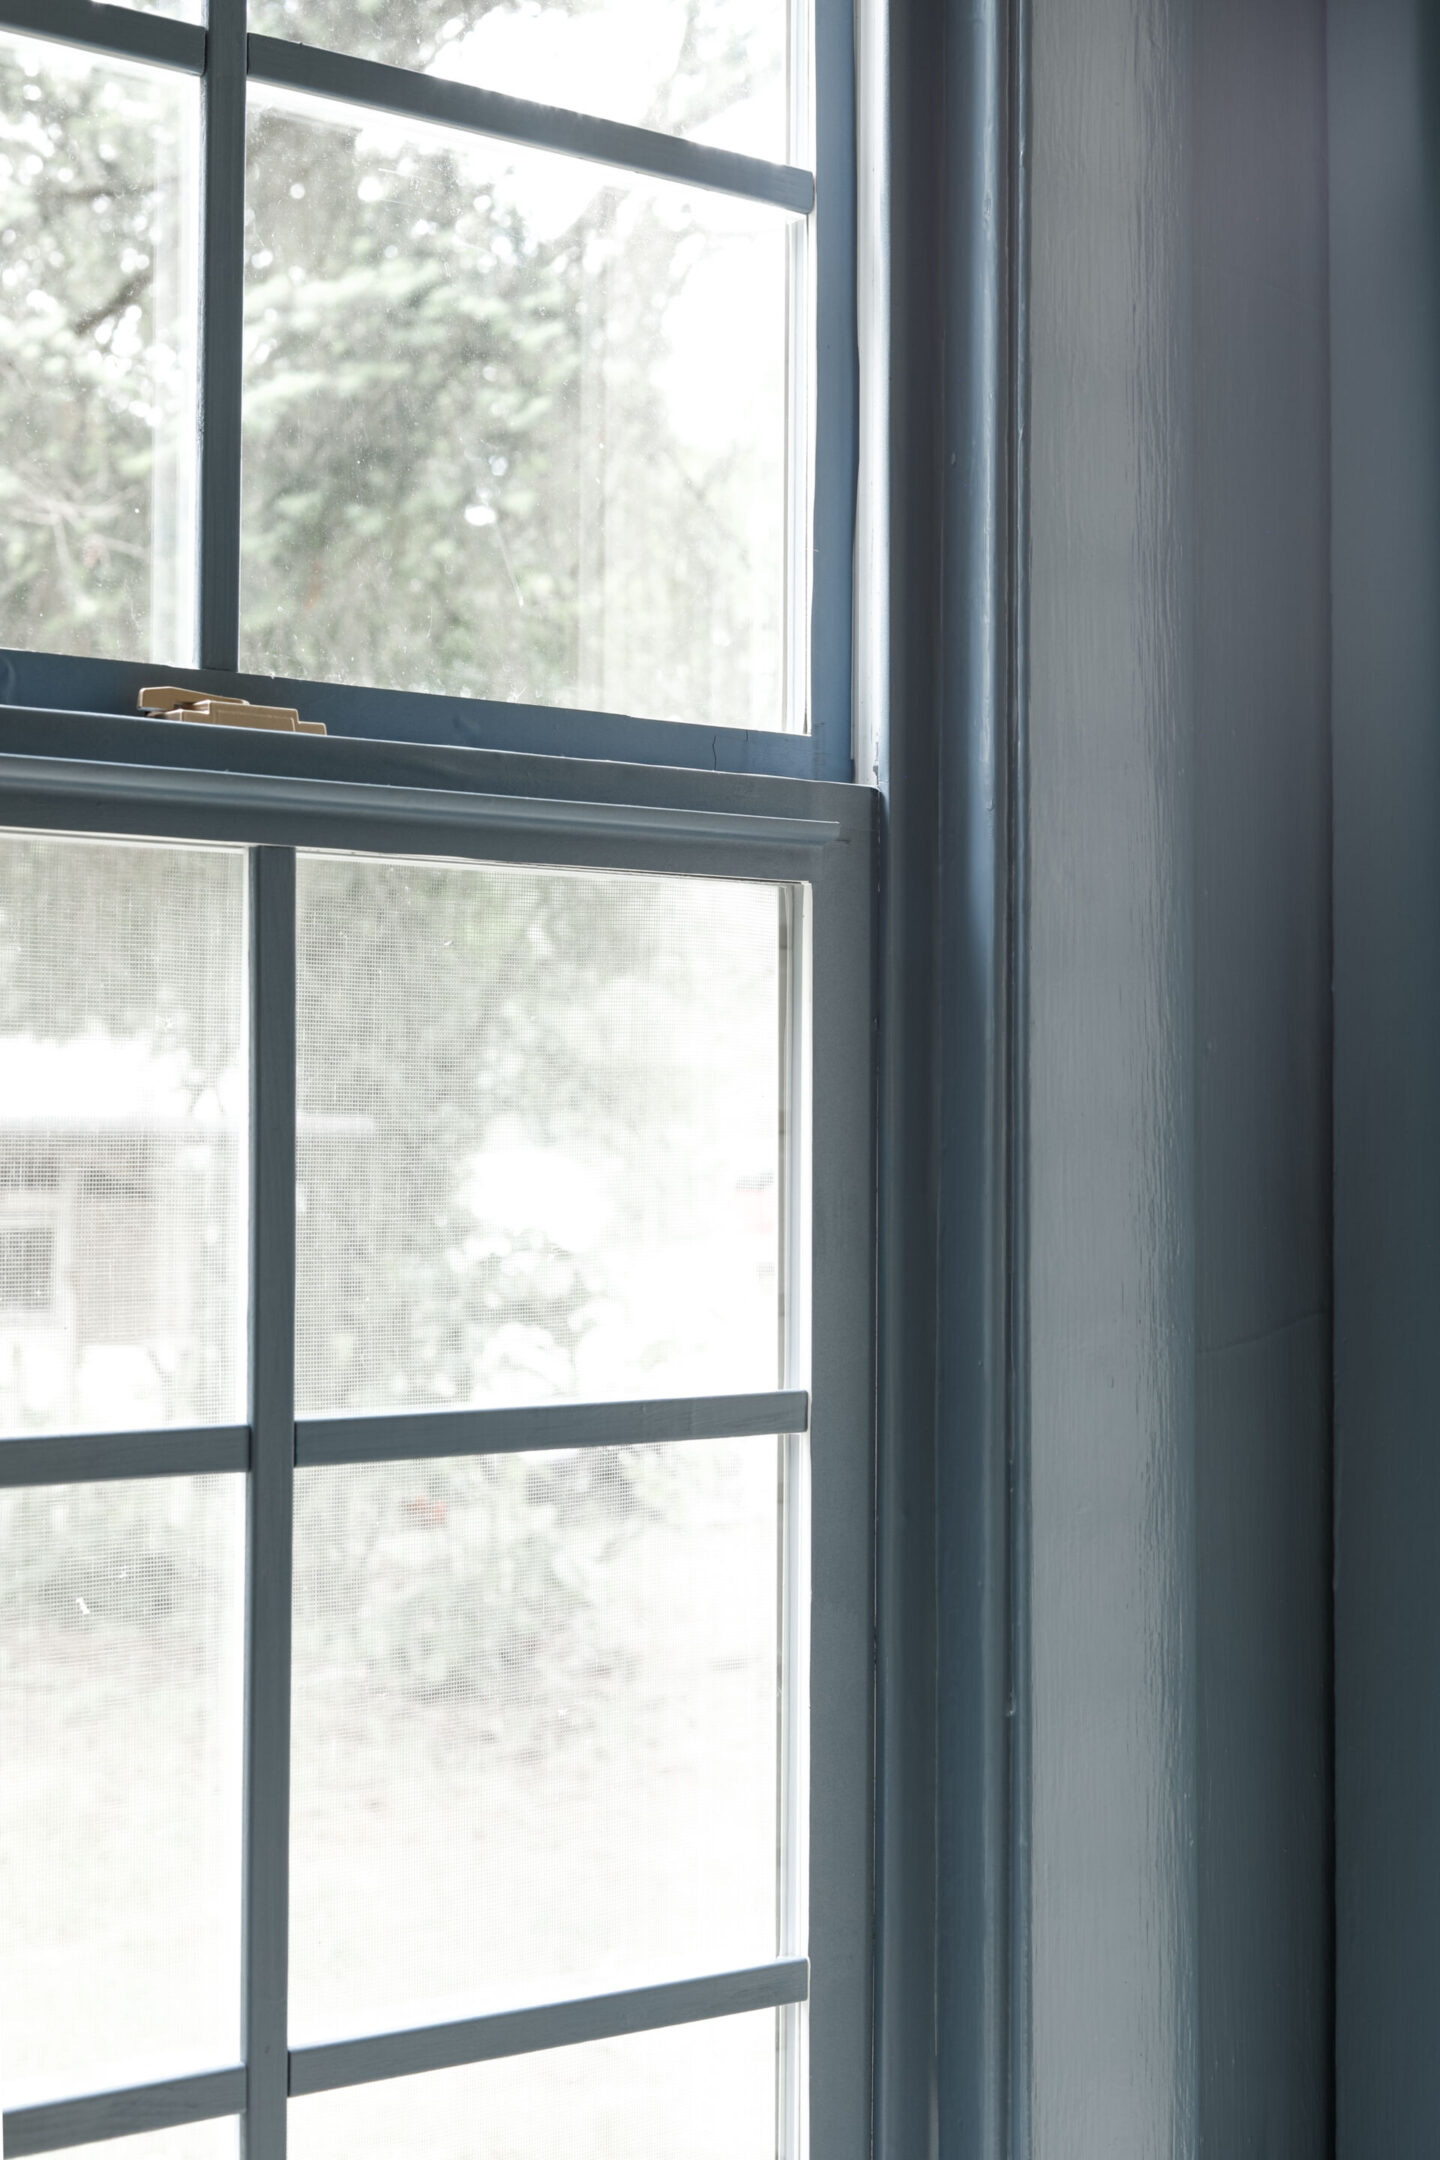
Step One: Cover non-moving sections of the window (the frame) with paintable wallpaper and paint in place with your selected color.
I was so excited when I found this paintable wallpaper on Amazon, and was surprised how much the color resembled our new wall color! They’ve got a good selection there, and you can always just start with white!
Attach your paintable wallpaper just like you would regular contact paper.
Tip: Wrap around the parts of the trim that are most visible from the most common angles you & your visitors are likely to see. I did not cover every internal section of the track.
Once you’re done wrapping, trim the excess with a razor blade.
Tip: Once you have attached your contact paper and are ready to paint, paint the window in two sections (top and bottom, or right and left – depending on your window’s orientation) so that you do not accidentally paint the window closed. Paint the inner edge, the one that is closest to the window while the window is pushed to the opposite side of the track and let it dry before pushing the window back into place.
Step Two: Measure, Cut & Paint your Muntins (The crossbars)
This step is optional and depends on if you’re wanting the cross-bar detail. Most of my vinyl windows already include the white muntins in between the two panes of glass, so I chose to use screen molding from Home Depot to cover them up in the new color.
I didn’t want to drag out our power tools for this project, so I used these handy miter shears from Amazon instead. They make it so simple to cut through small pieces of trim like this, and because of the angle guide, you can even use them for mitered corners.
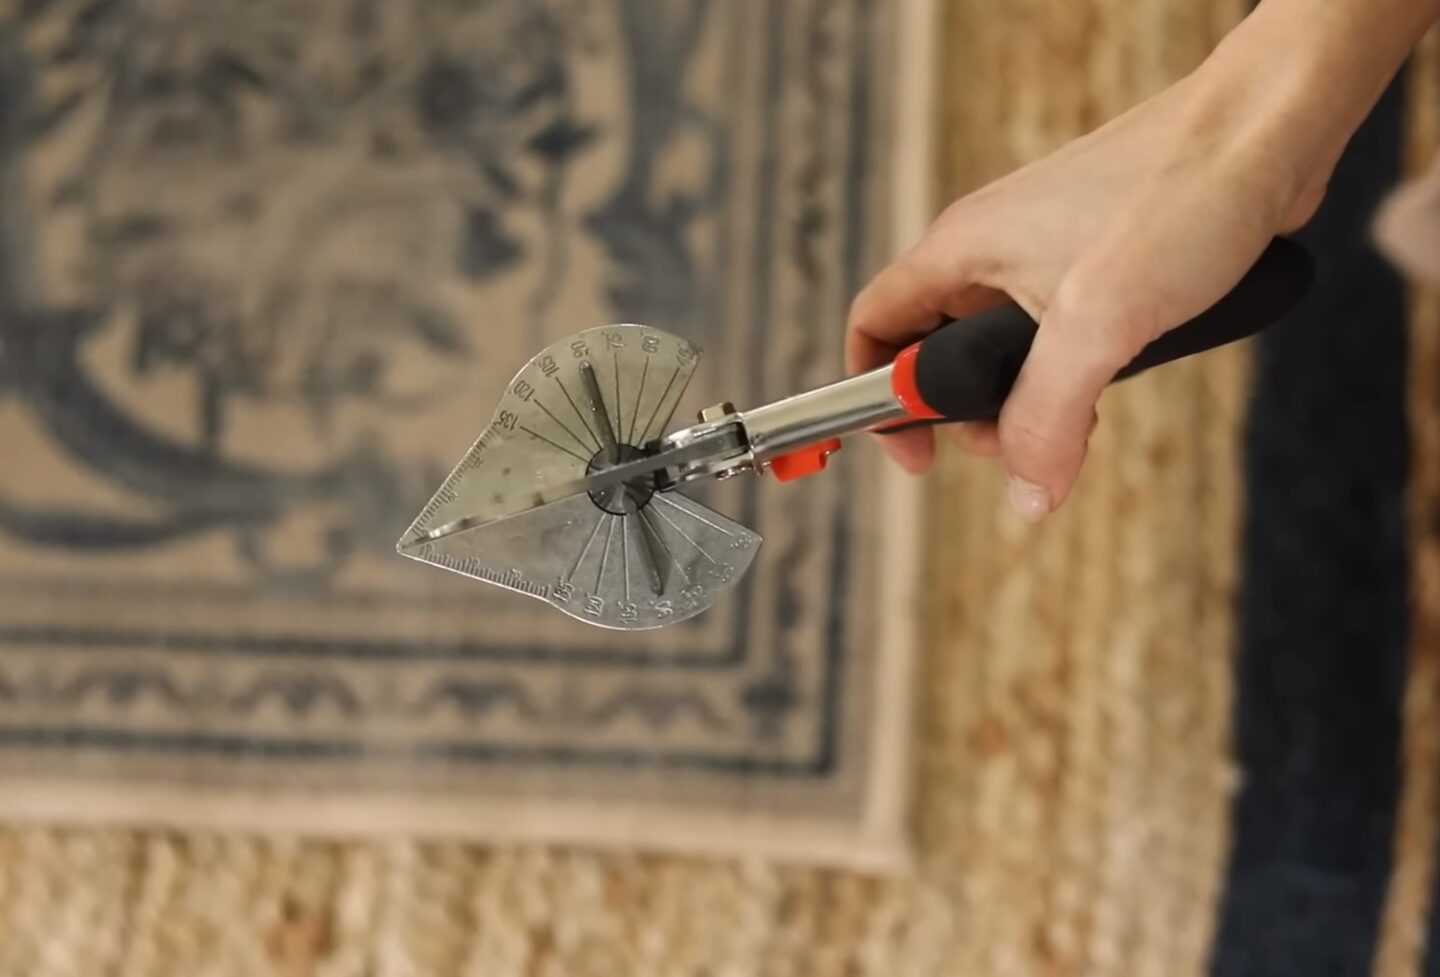
Once I cut the pieces I gave them a light sanding and painted them with our room color.
My muntins were just slightly wider than the original cross-bars, and I noticed that the edges where some of the paint had spilled or dripped could be seen from outside the windows – yikes! I covered the back side up with a piece of plain white contact paper so that it would look uniform from the outside.
Then I attached each muntin to the window with two small beads of clear caulk.
Step Three: Paint a large section of paintable wallpaper. Once dry, cut into strips & apply, like contact paper to the moving sections of the window.
For the window itself, I chose to stop my bottom piece at where the window met the frame when closed. The fit wouldn’t allow any contact paper to have remained there, and I don’t mind seeing the sliver of white when the window is opened.

Once you’ve added your pieces and wrapped them to cover the small inner lip against the window, use your razor blade to cut away the excess.

I chose to paint my hardware because I knew that if I stuck with a favorite, like gold, I couldn’t go wrong, even when the room eventually changes to it’s next design down the road.
I simply removed the screws, took it outside and sprayed it with my favorite gold spray paint, then re-attached it.
When I finished with the first window, I just KNEW I had gone the right direction. Look at this comparison between the before and after! It’s easily 10x better.
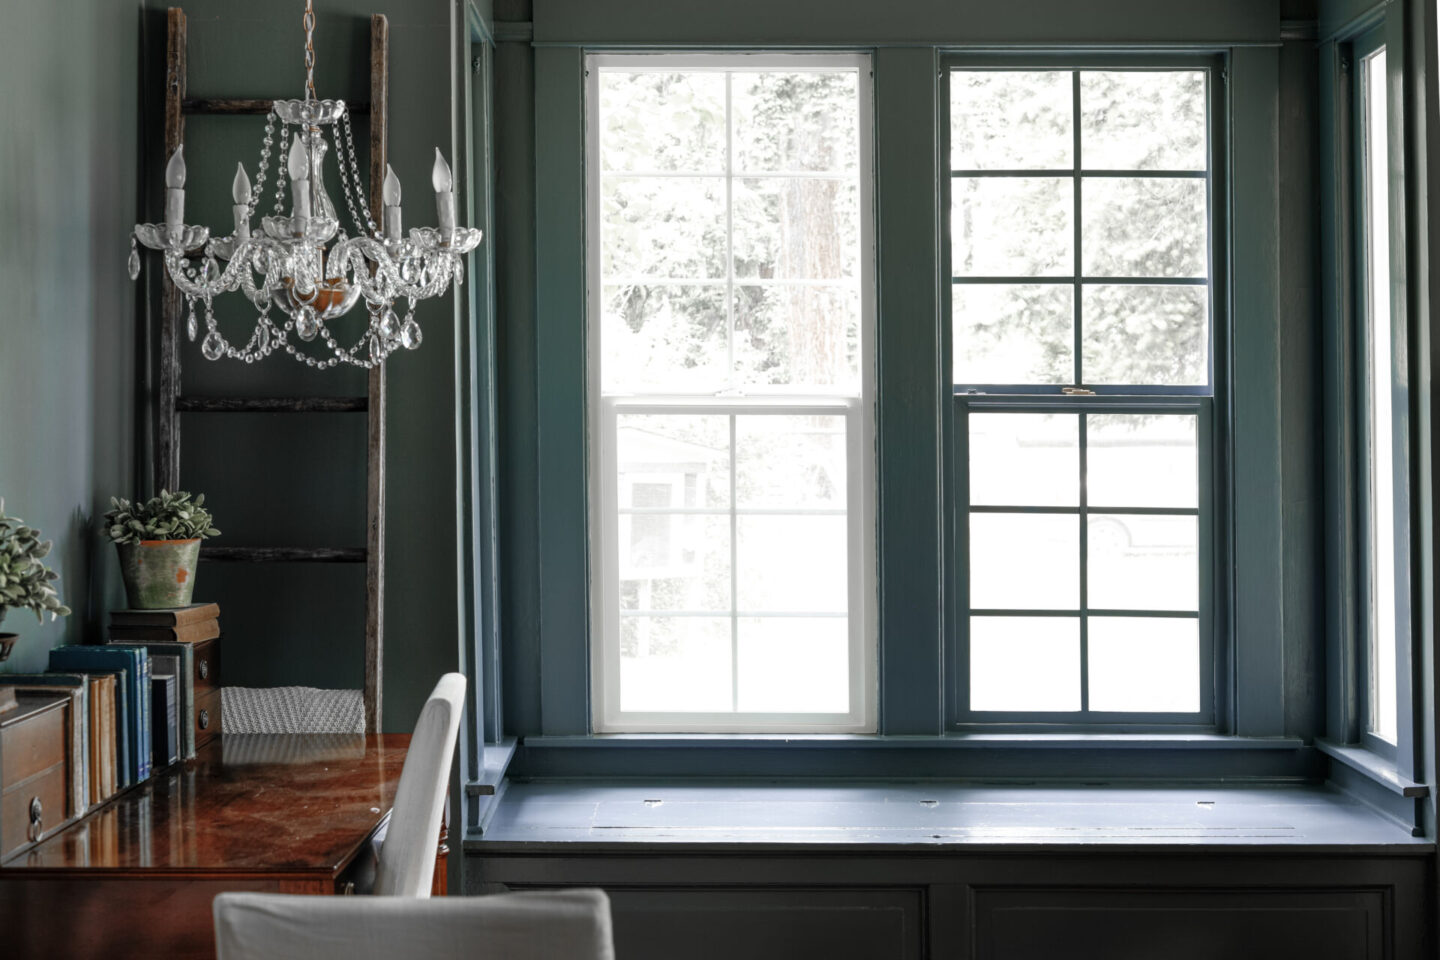
What a huge difference!
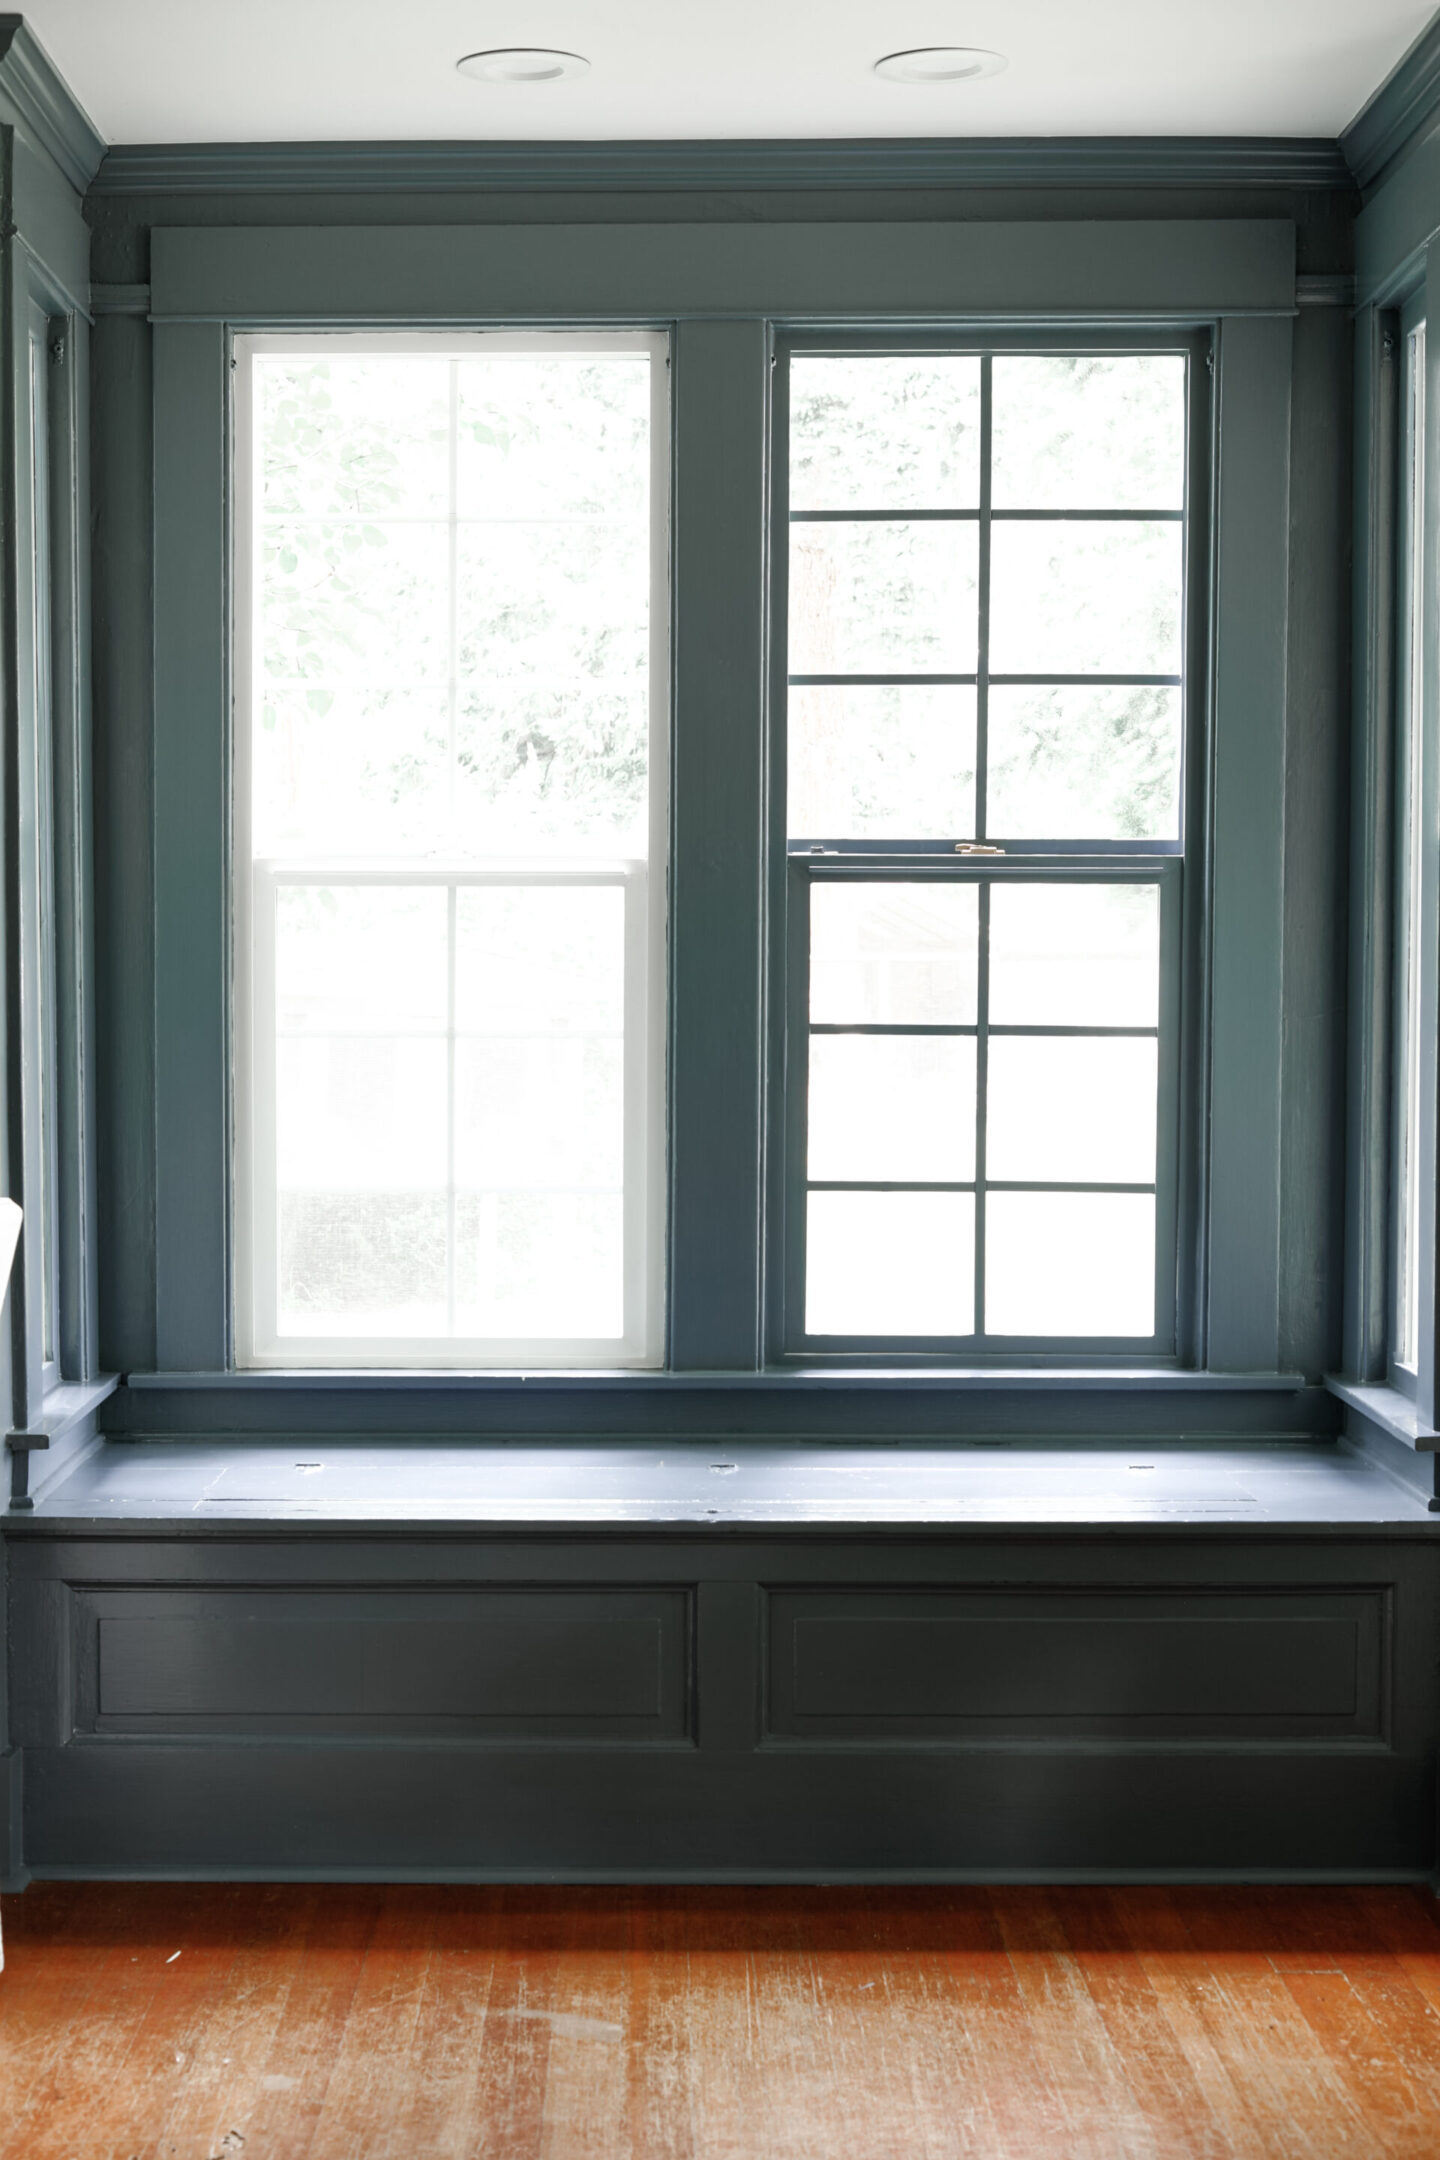
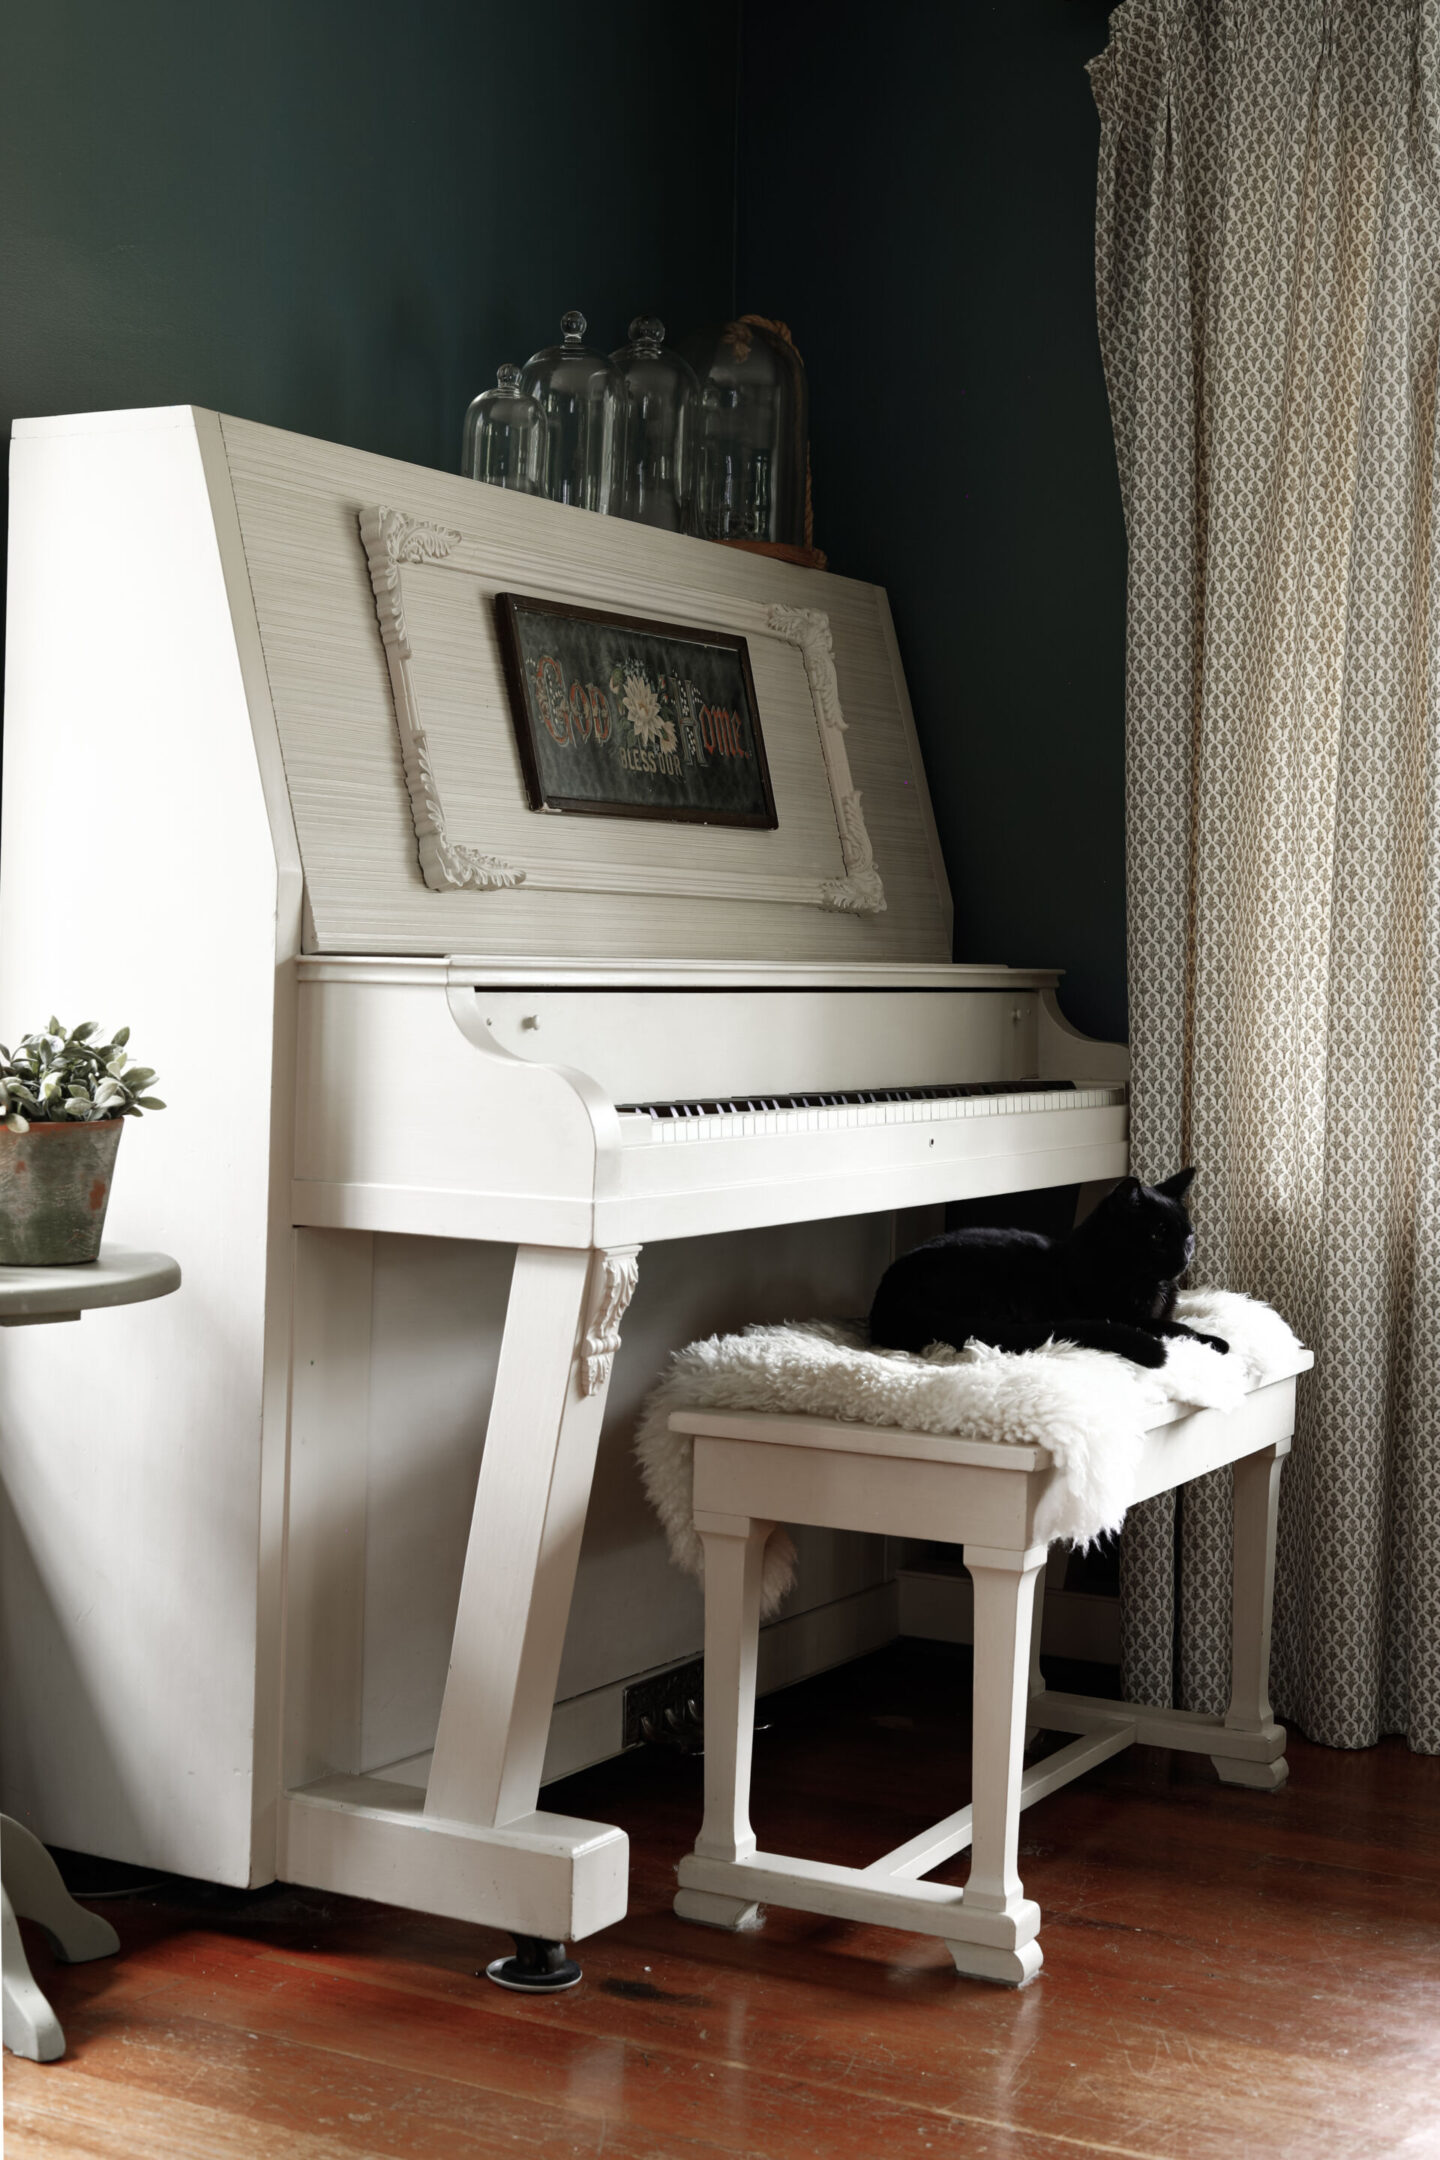
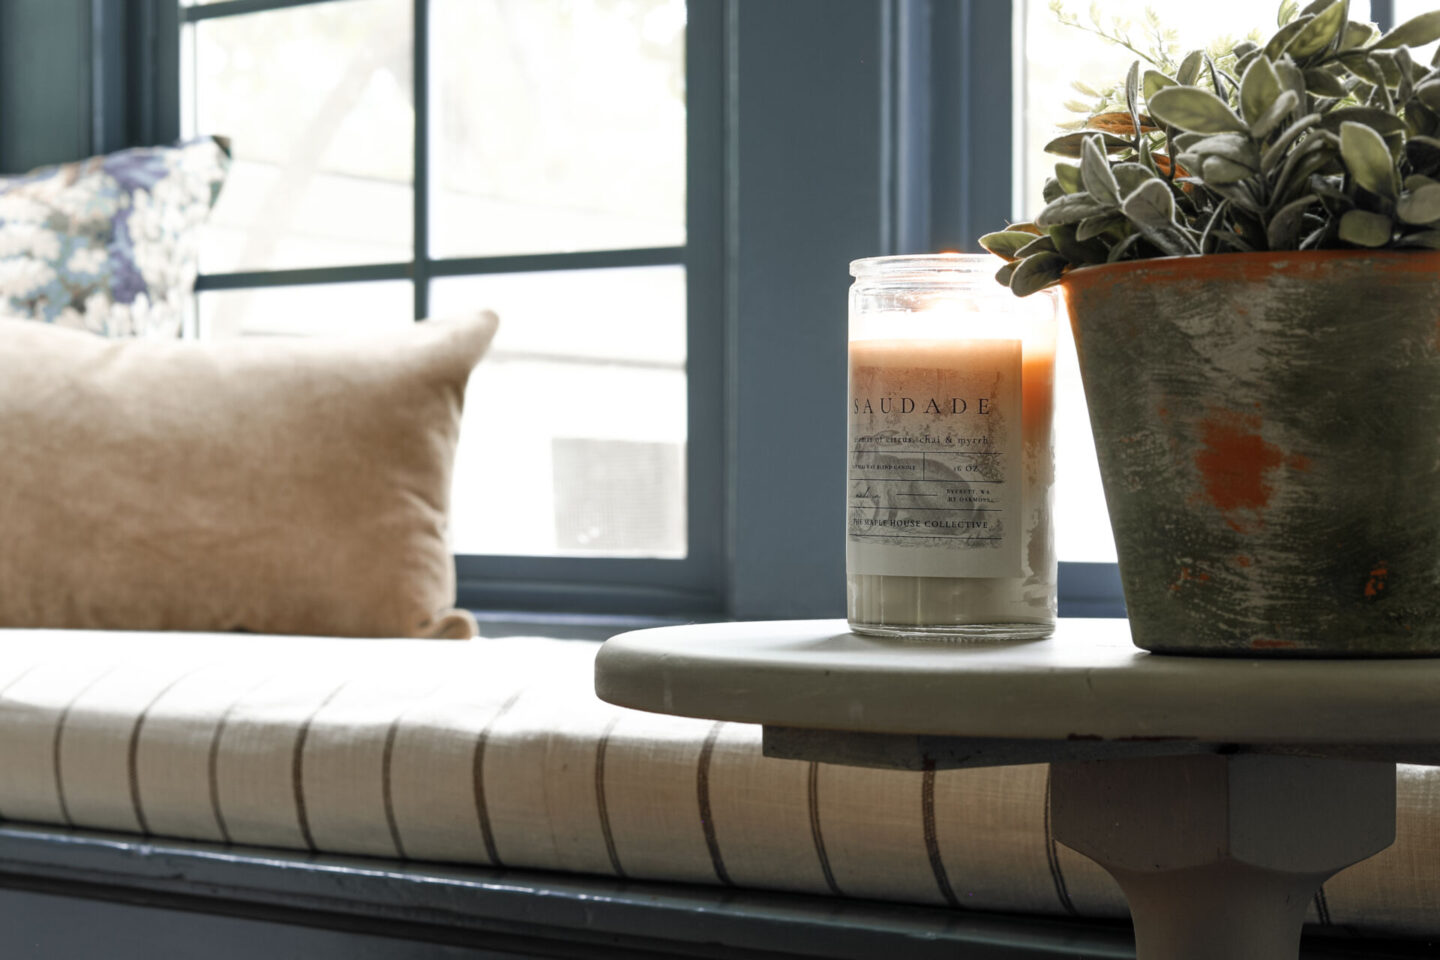
And finally, before you go… here are some sneak peaks of how this transformed space is coming along! I’m hoping to be finished and ready to do the full reveal of this updated room with you before too long!
And scroll all the way down to the bottom for additional related posts and resources related to this handy vinyl window hack!
Don’t forget… You’re Invited!
Save your spot at the Bespoke Design Retreat by visiting bespokedesignretreat.com!

Related Blog Posts & Resources:
- DIY French Mattress Cushion Tutorial
- Living Room Progress & Design Questions
- Living Room Design Decisions
- Pinterest | Vintage Windows
- Pinterest | DIY She Holds Dearly
- Pinterest | Dark Academia Style
- Pinterest | Vintage Living Rooms
Pin This Renter Friendly Vinyl Window Hack for Later: