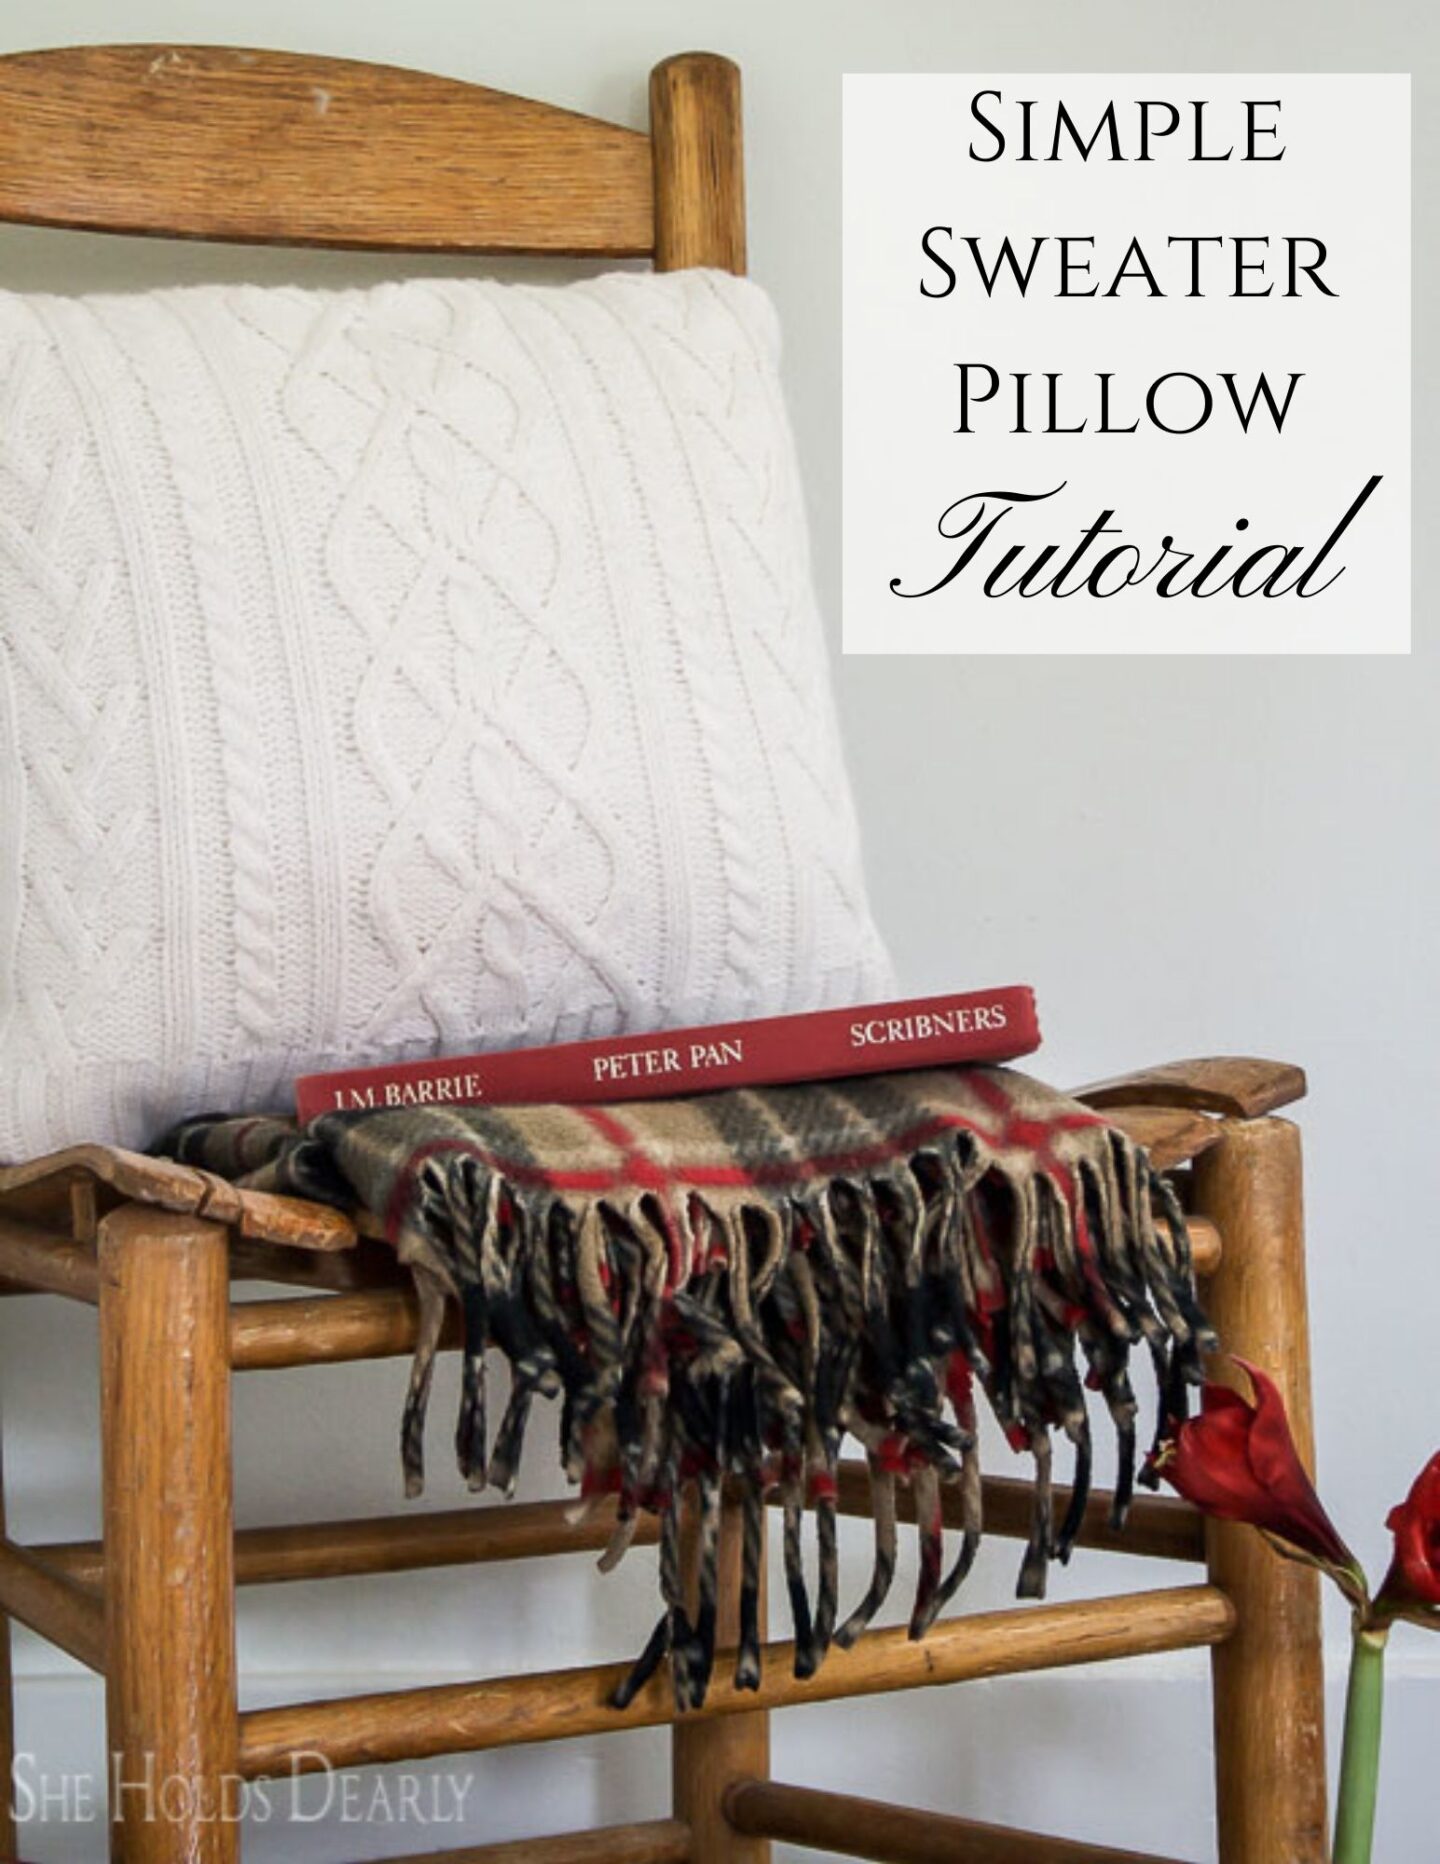
Simple Sweater Pillow Tutorial
This simple DIY sweater pillow project is just right for the reader who is intimidated by sewing.
Please believe me that you do not need to be proficient with a sewing machine. If you can do basic mending with a needle and thread, you most certainly can make yourself a sweater pillow.
I had found a sweater at the thrift store in the fall and grabbed it with the intention of turning it into a pillow for Christmas. It didn’t get done in time for the holidays. But, I’m happy to say that this particular endeavor will work just fine any time during the fall and winter months.
The result ending up being exactly what I was going for, so this summer I hope to be collecting more white sweaters during the garage sale season to make even more pillows.
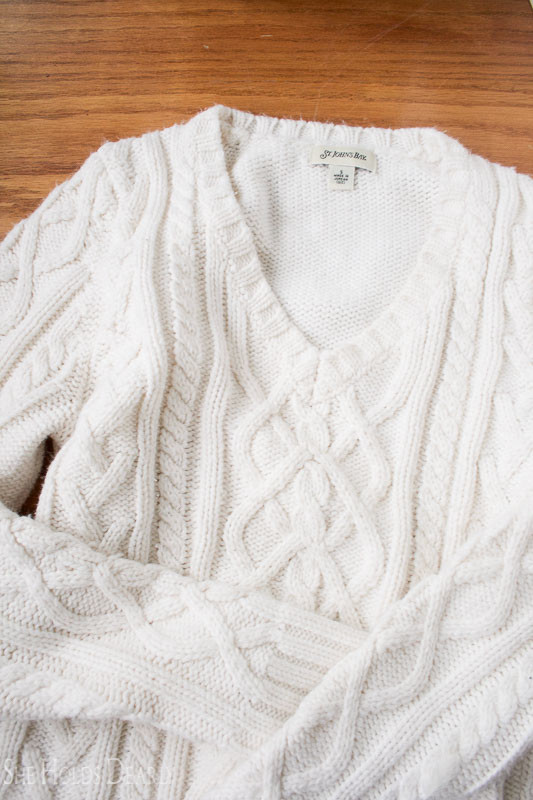
When you are choosing a sweater to repurpose, I suggest picking a larger one. The one I used here was a size small and I think it would have been a little easier to work with if it had been bigger.
*This post contains some affiliate links. Read my full disclosure here.
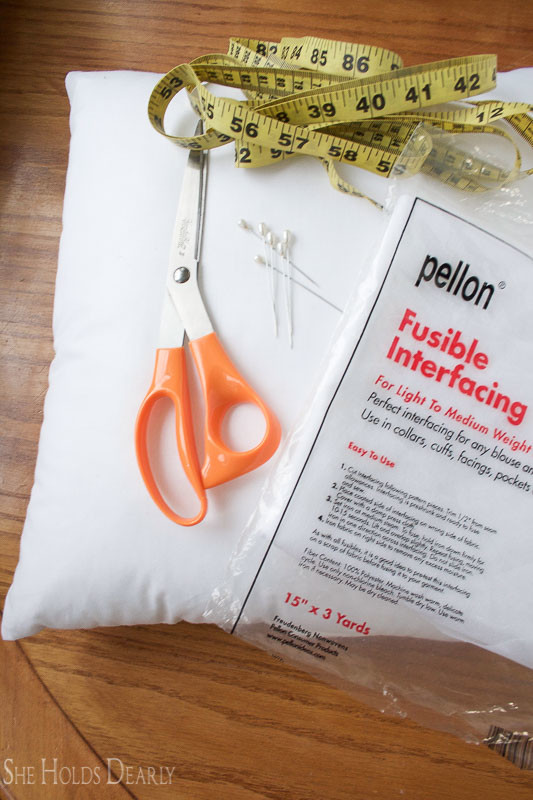
Supplies:
- Sweater
- Pillow Form
- Tape Measure
- Pins
- Fabric Scissors
- Sewing Machine and Thread or Needle and Thread
- Fusible Interfacing (optional)
- Iron (optional)
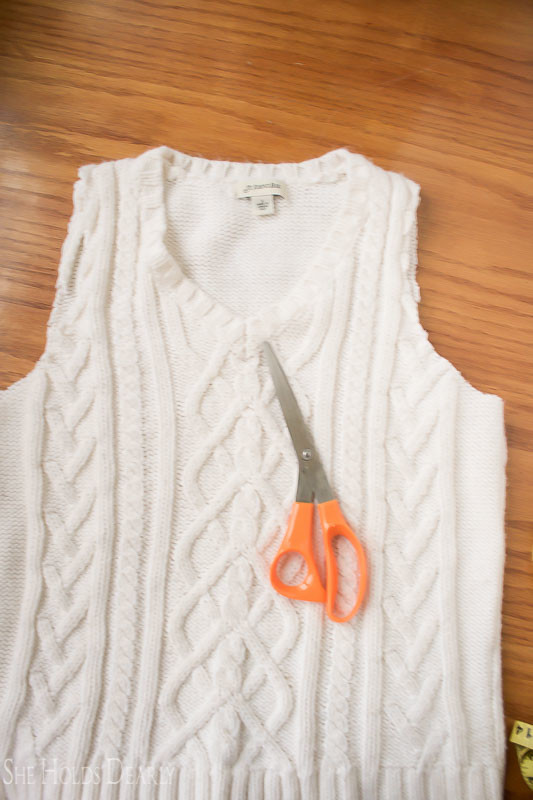
The textures on the front of this sweater were what caught my eye, but again, I regret not looking in the large section of the store because the pillow form I had was technically too large. I will show you how I made it work, though.
Start by cutting off the sleeves so you can get a feel for exactly how much room you have to work with. I saved the sleeves to make some boot cuffs for my daughter.
Now cut straight across the top to remove the collar and shoulders. Make sure the back and front are perfectly aligned before you cut, pin them together if you need to.
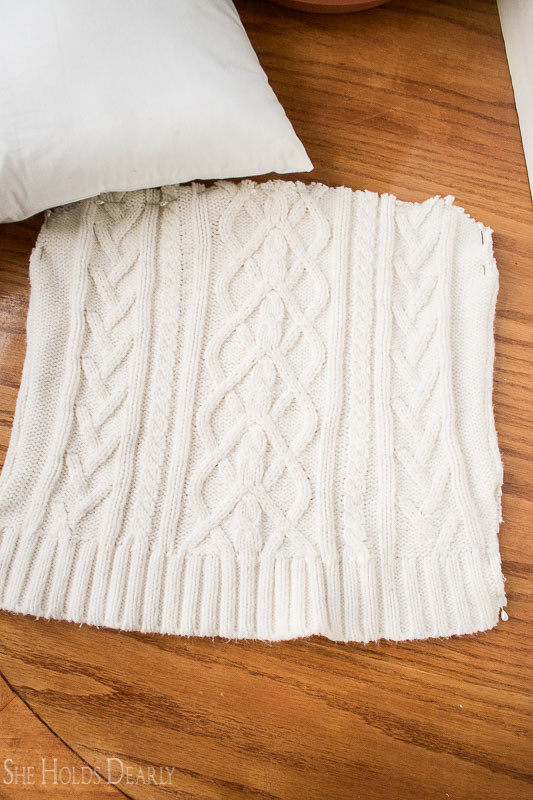
Measure your pillow form across the middle from top to bottom and side to side. Flatten it as best you can to get the most accurate measurements.
Then, you need to add 1/2 inch seam allowance to each side. Use these new, higher numbers when you cut your sweater and interfacing.
If you are using interfacing, you will want two pieces. Cut them to be the exact same size as your two sweater pieces and iron them onto the insides of your sweater pieces. The interfacing makes the seams much smoother on the finished product because it helps control the stretchiness factor while you are sewing.
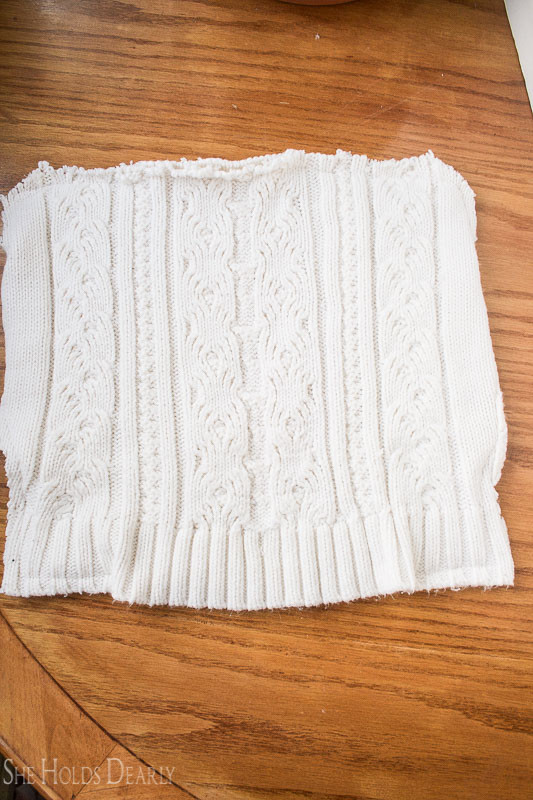
Now, when I measured my pillow form I had a little problem.
My pillow form was a 16 inch square, but I only had enough sweater to cut a 15 x 16 inch rectangle, with no seam allowance.
Great.
The good news is that sweaters are very stretchy! I decided to forego the interfacing to maximize stretchiness and just make that pillow form work.
I cut the two sweater pieces into a 15 x 16 inch rectangle and kept going forward.
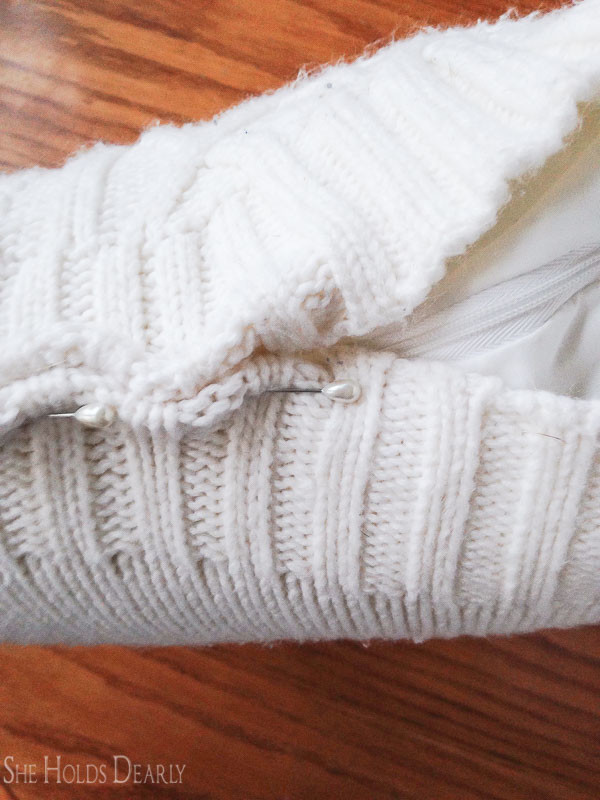
Once you have your cutting done, you will need to put the right sides together (if you aren’t used to sewing lingo, that means you need to sew it inside out). Pin the two pieces together and stitch around three sides 1/2 inch from the edges. For the fourth side, just stitch a few inches in from both corners, leaving an opening to fit your pillow form through.
Now trim anything extra from the sides that will make your seams look lumpy, taking care not to cut your stitches. Turn right side out, insert your pillow form and begin pinning that last opening closed. Tuck 1/2 inch of the edges inside and hand stitch closed. I recommend the slipstitch for finishing pillows.
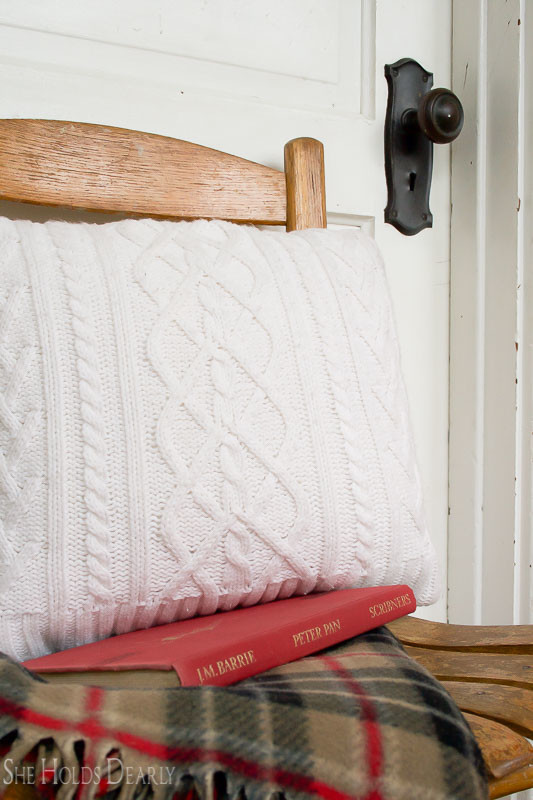
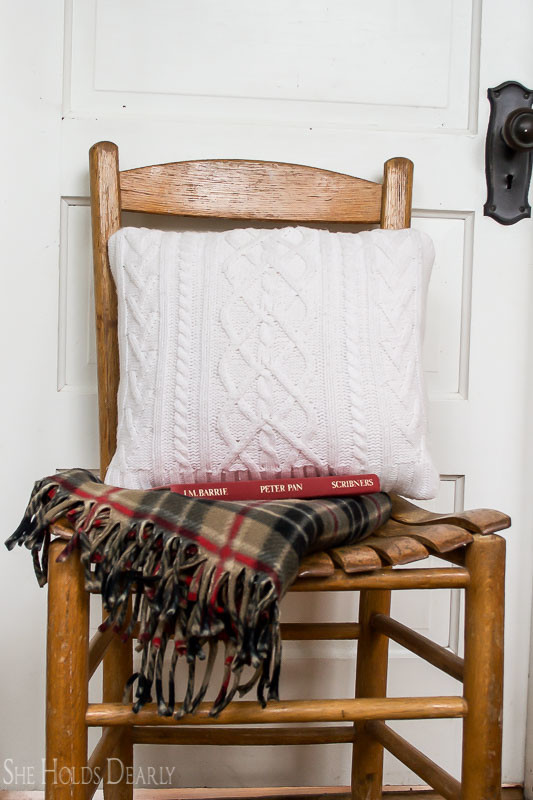
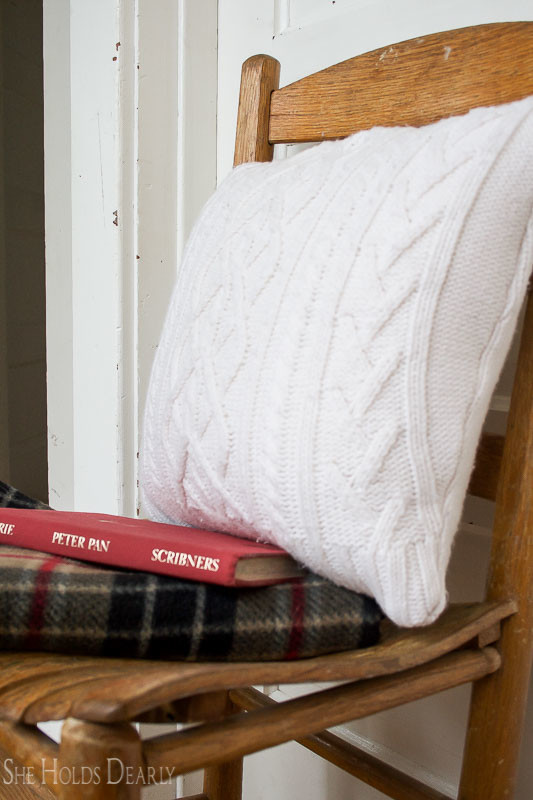
You did it!
Now, pat yourself on the back, fluff your pillow and go find a perfect spot to display your handiwork!
Shop This Look
[show_shopthepost_widget id=”2766358″]

Pin this Simple Sweater Pillow Tutorial for Later: